

Updated October 2026
Under blacklight, ordinary things turn into neon. Hair, fabric, powder, paint, even a splash of water with the right ingredient glows like a movie poster. UV photography is one of the most fun ways to break out of a creative rut, and you can start with gear that costs less than a dinner out. This guide gives you six UV photography tips to get glowing, vivid pictures, from lighting setup and camera settings to props and safety.
The inspiration is a COOPH video with professional photographer Markus Berger, who shows how to get “freaky under blacklight” with a handful of UV props. The video is embedded below, and it is worth watching before you try any of this.
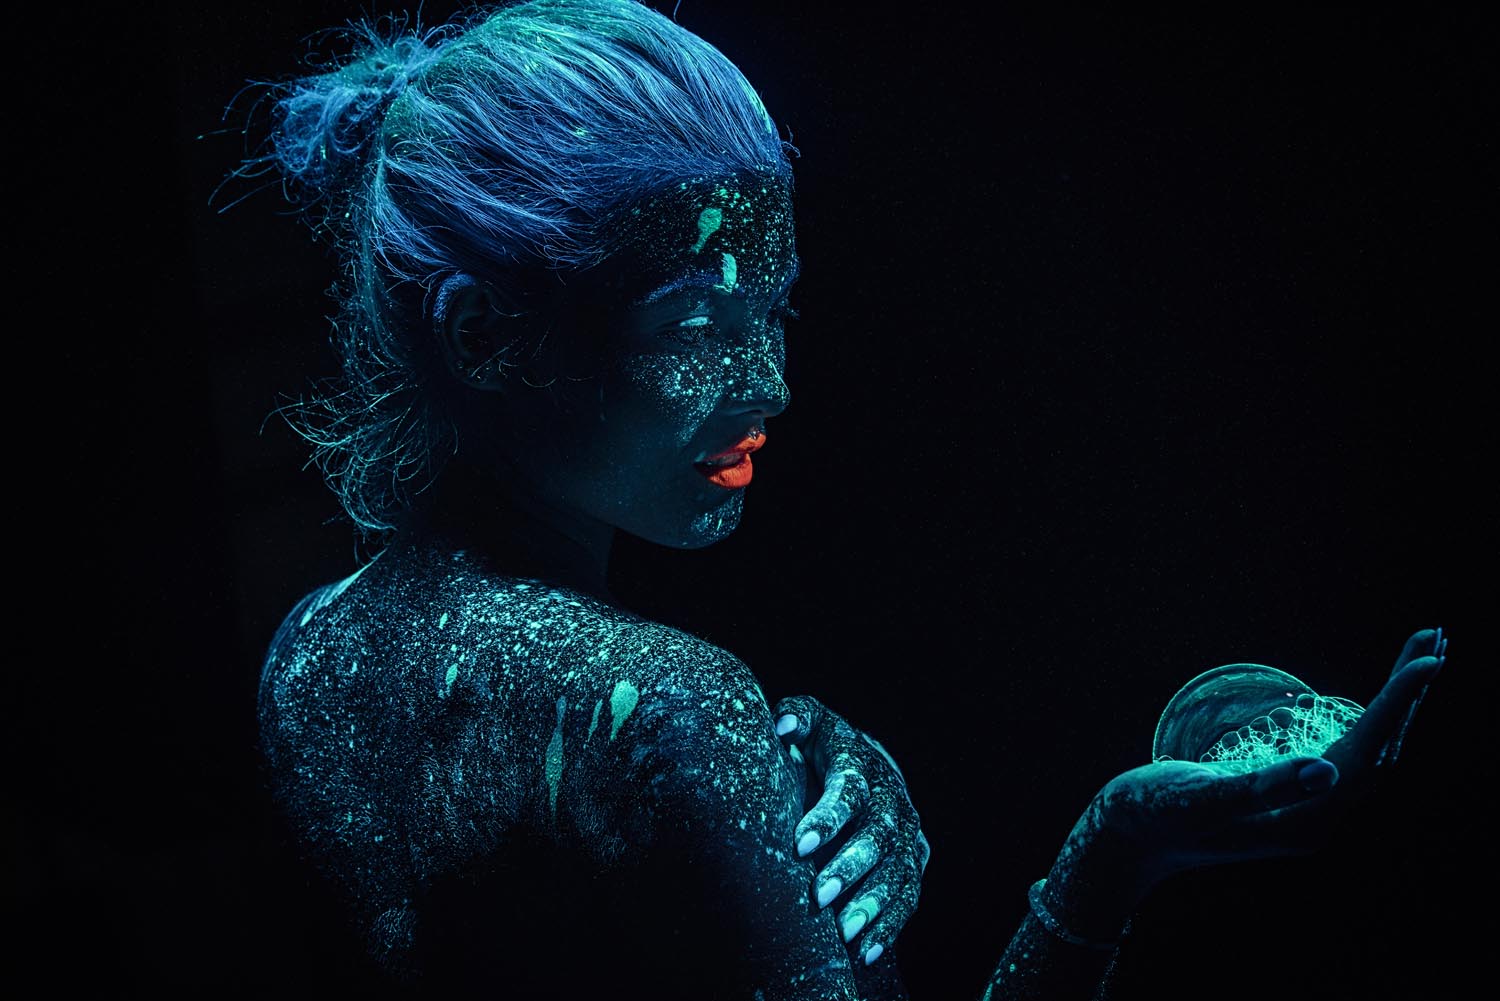
How UV photography works
The effect is called fluorescence. Some materials absorb ultraviolet light, which our eyes cannot see, and then give it back as visible light, usually in bright colors. White fabrics, some paints, highlighter inks, tonic water and many modern detergents glow this way. When you turn off the room lights and shine a UV source at a fluorescent subject, the glow is the only thing your camera sees.
That makes the whole scene feel dark and electric. The background goes black, the glowing parts pop and the colors look unreal. It is a very simple trick that looks like a big production.
Tip 1: Get a real UV light source
Everything starts with the light. You have three main options, and each one fits a different style.
- A UV flashlight. The easiest and cheapest option. Great for light painting, small subjects and close-ups. Look for a 365nm model, which produces a stronger glow with less visible purple light than cheaper 395nm lights.
- A UV lamp or LED bar. Gives wide, even coverage, which is useful for portraits and larger scenes.
- A UV flash head. Some flashes accept a special UV head or a UV-pass filter. This lets you freeze motion, such as a powder burst or a jump, while still getting the glow.
As in the video, you can attach a specialized UV head to a normal flash, or just use a simple UV lamp or flashlight. Start with the flashlight. It is cheap, easy to move and perfect for learning how fluorescence behaves.
Tip 2: Pick the right props
The props do the glowing, so choose carefully. Here are the materials the video shows, and a few more that work well.
- UV makeup and face paint. Great for portraits. Make sure it is skin-safe and made for cosmetic use.
- UV wool and yarn. Bright, soft textures that catch light beautifully.
- UV liquid for bubbles. Mix it into bubble solution and the bubbles glow as they float.
- Fluorescein. A chemical that glows strongly under UV. Use it with care and follow safety guidance.
- UV holi powder. Throw it in the air for glowing clouds of color.
- Everyday finds. White t-shirts, highlighters, tonic water, some sneakers and posters often glow too. Test things with your flashlight before you plan a shoot.
Do a quick prop test at home. Turn the lights off, shine the UV light on everything you own and note what glows. You will be surprised.
Tip 3: Control the room
UV photography needs darkness. Any stray light from a window, a hallway or a screen washes out the glow. Close the curtains, turn off the lamps and cover small light leaks with tape or cloth. Wear dark clothes so you do not glow by accident, and use black backdrops or a dark room so the subject stands out.
If you are shooting outside, wait until after dark. A backyard, a garage, a basement or a studio all work. Keep your camera screen dimmed so it does not spill light onto the scene.
Tip 4: Dial in the camera settings
UV glow is dim compared to normal light, so you need settings that gather more light.
- Mode: Manual.
- Aperture: f/2.8 to f/5.6 for a good mix of light and depth.
- Shutter speed: 1/30 to a few seconds on a tripod for still subjects, faster if people are moving.
- ISO: 400 to 1600 to start. Raise it only as needed.
- White balance: Try Daylight or a custom setting. Shoot RAW so you can fix color later.
- Focus: Autofocus struggles in the dark. Use a small flashlight to help, or switch to manual focus and use live view.
Use a tripod for slow shutters and a remote or timer to avoid shake. If you use flash, a UV-only flash lets you freeze motion at 1/200 second or faster while keeping the glow.
Tip 5: Try light painting and motion
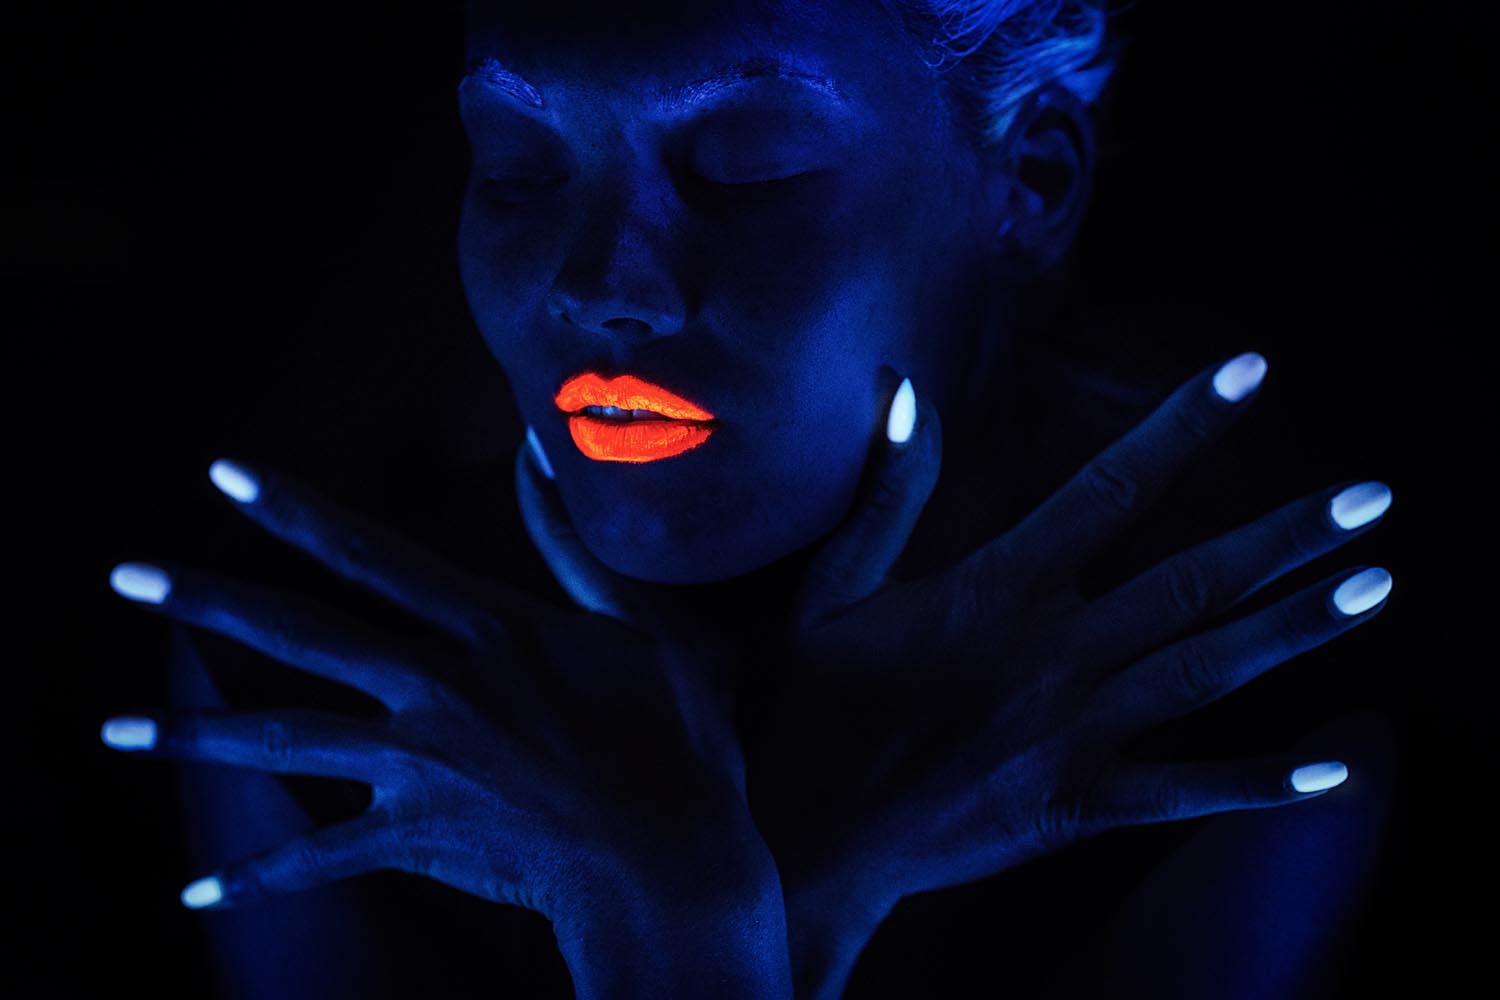
A UV flashlight is also a paintbrush. Set a long exposure of 5 to 20 seconds, then sweep the light over a subject or draw shapes in the air with a glowing object. Fluorescent props respond when the beam touches them, so you can build the image over time.
For motion, throw UV powder or splash water with a fluorescent additive, and fire a UV flash at the peak. Freeze the burst and the particles hang in the air like fireworks. Practice with a helper, and keep the camera on a tripod while you tweak timing.
Three easy UV shoot setups
The neon portrait. Hang a black sheet behind your model and have them wear a white shirt. Add stripes of UV face paint across the cheeks and arms. Place a UV lamp or two to the sides, about three to six feet away, and turn off the room lights. Shoot at f/2.8, ISO 800, 1/60 second on a tripod, and ask your model to hold still for each frame. Try a few poses, from a straight look at the camera to a turn with the head over the shoulder, and keep a friend nearby to hold a small flashlight for focusing.
The glowing bubble. Mix a little UV liquid into bubble solution, blow bubbles in a dark room and aim a UV flashlight at them. Use a faster shutter, around 1/125 second, and a higher ISO so the bubbles do not blur. Autofocus will hunt, so pre-focus on a spot where the bubbles will pass and wait for them to float into it.
The powder burst. Load a handful of UV powder in your palm and blow or toss it toward the camera, to the side of the frame, with a UV flash or a bright UV lamp lighting it. Use the fastest shutter your light allows. Shoot a burst of frames, since the shape of the cloud changes every instant. Wear a mask and protect your camera with a clear filter, because fine powder sticks to everything.
Still life and product ideas
UV also works for small subjects. Lay out a few highlighters, a white feather, some flowers with fluorescent tips, or a glass of tonic water with a splash of color. Place them on black fabric and light them from the side with a UV flashlight. Use a macro lens or a close focusing distance to catch the fine detail. Try a long exposure and wave the flashlight across the scene to make the glow feel layered and rich.
Combine UV with regular light
You are not limited to a pure black room. A soft touch of normal light can add shape. Use one small continuous light or a flash at very low power, pointed away from the subject so it just fills the shadows. Another trick is to add a colored gel to a small lamp for a hint of contrast. The glow still leads, and the second light gives your picture structure and a more finished look.
Tip 6: Edit for impact, but keep it clean
UV files often need a little cleanup. Open them in your editor and make a few moves.
- Deepen the blacks. Pull the Blacks and Shadows down so the background stays truly dark.
- Adjust white balance. UV light can cast purple on everything. Shift Temperature and Tint until the colors look right.
- Boost color carefully. Raise Vibrance, then selectively raise Saturation on the glowing parts with a mask.
- Reduce noise. High ISO files need noise reduction. Keep it gentle.
- Crop for drama. Tight crops make the glow feel bigger.
Safety first
UV light needs respect. Common blacklights and UV flashlights emit UV-A, which is considered much lower risk than shorter-wavelength UV, but you should still be careful. Do not stare into a UV source or shine it at anyone’s eyes. Avoid long exposure to skin. Keep powders and chemicals away from eyes and mouths, and never use fluorescein or any chemical without reading the safety information. Use only skin-safe products on people, ventilate the room when using powder, and clean up well afterward. If you are working with kids or models, explain what you are doing and keep it comfortable.
Planning a UV shoot
A good UV shoot is a small production. Choose a theme before you start. Neon portrait, floating bubbles, powder explosion or a glowing still life each need different props. Gather your gear, test the props, set up your dark space and shoot a few test frames. Ask your model to wear white or light clothes that glow, and add UV makeup or paint for extra effect. Leave time for cleanup, since powders and liquids get everywhere.
Work in short bursts, check the screen often and change one setting at a time. If a frame looks dull, raise the UV intensity by moving the light closer, not by cranking ISO. If it looks too purple, move the light farther away or adjust white balance in editing.
Common UV photography mistakes
Too much ambient light. Even a small glow from a phone or hallway weakens the effect.
Weak UV source. A cheap, low-power light gives a faint glow. Pick a stronger 365nm option if you can.
Missed focus. The camera cannot see in the dark. Use manual focus and a helper light.
Skipping safety. Protect everyone’s eyes and skin, and be careful with chemicals.
Over-editing. Neon looks fake fast. Keep your edits clean and let the glow speak.
Take your low-light skills further
UV work is low-light photography at its most playful, and the same skills carry over to night scenes, light painting and astro shots. Take the Night photography course in the Shut Your Aperture Academy to master shooting in the dark. It is taught by Edin Chavez, and you get lifetime access, so you can come back before every shoot. Add the Mastering ISO course to get cleaner files at high ISO, or browse the whole Academy. For more creative ideas, read our 7 funky photography tips.
Frequently asked questions
What is UV photography?
UV photography here means shooting fluorescent subjects under a UV or blacklight source in a dark room, so they glow in bright colors against a black background.
What camera settings work best for UV photography?
Manual mode, f/2.8 to f/5.6, ISO 400 to 1600, and a tripod with a shutter speed from 1/30 second to a few seconds. Shoot RAW.
What UV light should I buy?
A 365nm UV flashlight is the best starting point. For wider coverage, try a UV LED bar, and for freezing motion, a UV flash head or filter.
Is UV photography safe?
Common blacklights emit UV-A, which is lower risk, but never look directly into the light or aim it at eyes, limit skin exposure, and only use skin-safe products on people.
What glows under a blacklight?
White fabric, UV makeup, UV wool, highlighter ink, tonic water, some detergents and fluorescent powders and liquids all glow.
Can I do UV photography with a phone?
Yes, in a dark room with a strong UV light, night mode and a steady surface. A dedicated camera gives you more control over exposure and noise.
Gear box: UV photography starting points
These are research starting points, not rankings. Check current specs, reviews and safety information before you buy.
- A 365nm UV flashlight: Browse UV flashlights on Amazon.
- A UV LED bar or blacklight: See blacklight bars on Amazon.
- A sturdy tripod: See tripods at B&H.
- A fast prime lens: Browse 50mm f/1.8 lenses at B&H.
Affiliate disclosure: some links above are affiliate links. If you buy through them, Shut Your Aperture may earn a small commission at no extra cost to you.


