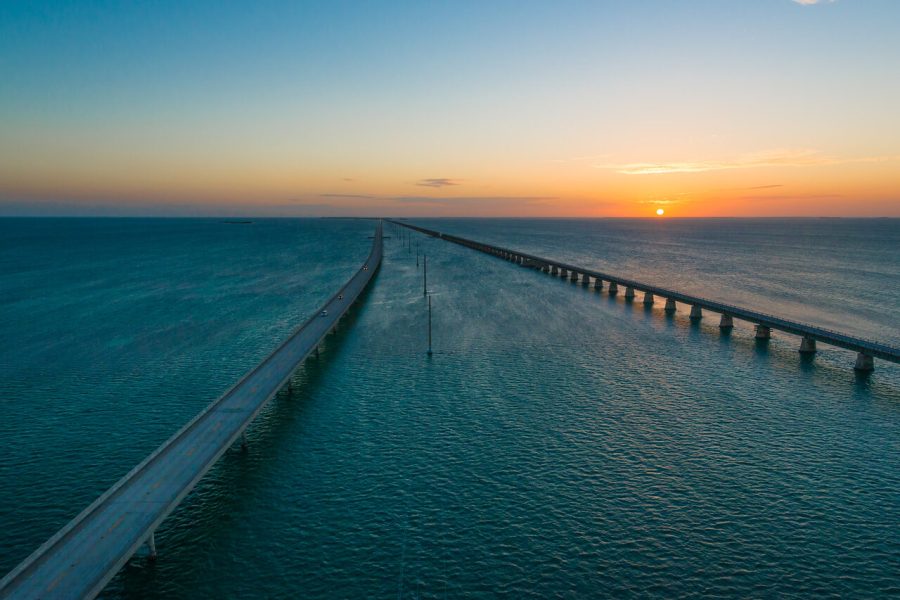
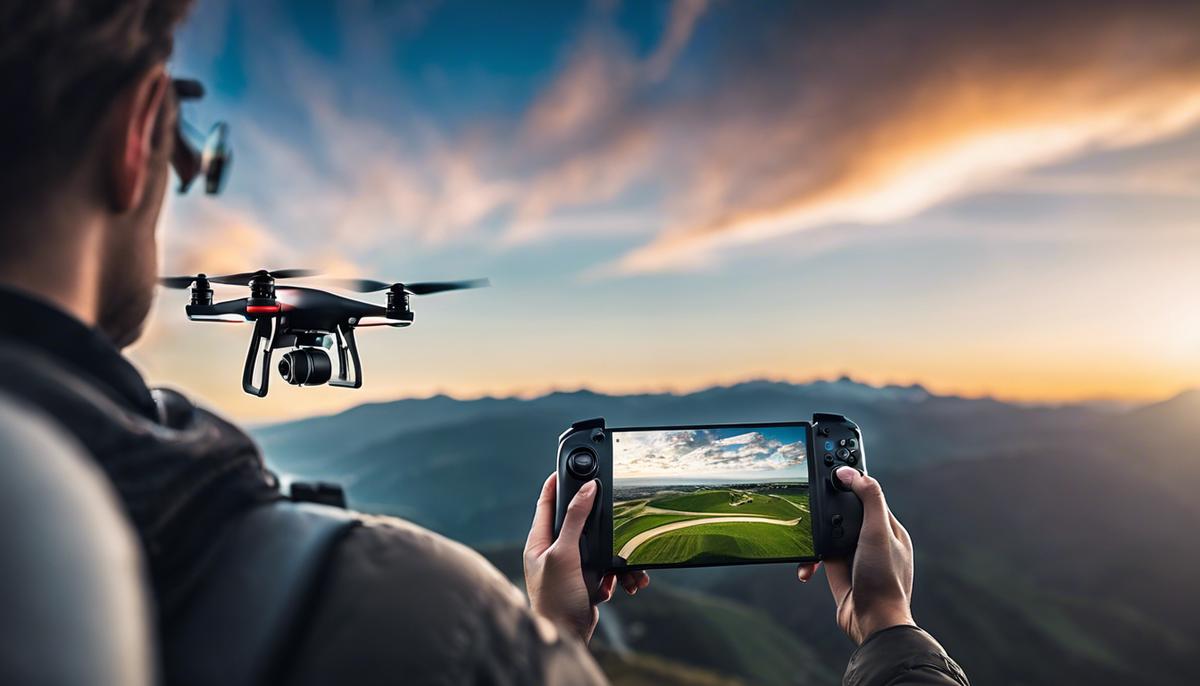
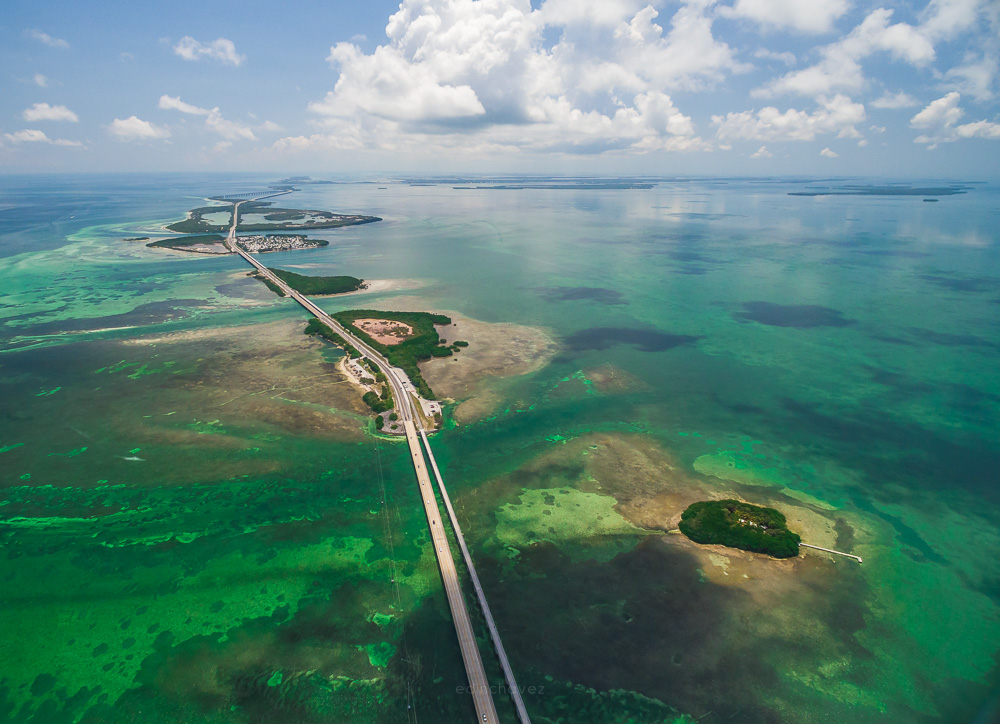
From above, an ordinary place can turn into a photograph about shape. Beach chairs become rows, a road becomes a curve, and the relationship between land and water becomes easier to see. The new angle is exciting, but altitude alone does not make the picture work.
Aerial photography for beginners starts with two jobs: operate safely and compose deliberately. Learn the aircraft and the rules before worrying about a dramatic frame. Then use the height and camera angle to find a clear subject rather than collecting a wide view of everything below.
This guide focuses on drone still photography. It keeps the useful ideas from the original article, including symmetry, patterns, contrast, and panoramas, while adding a practical flight-and-photo workflow. The photographs show possible subjects and visual relationships, not a claim that each scene would be legal or safe to repeat today.
Updated October 2026.
Start with permission and a safe place to fly
A drone is an aircraft, not simply a camera on a long tripod. Check the aviation rules for the country where you will fly, the current airspace status, and the rules for the place where you plan to take off or land. Access to a beach or park does not automatically give you permission to operate a drone there.
In the United States, the FAA separates purely recreational flying from other operations. A flight for a client, business, or another non-recreational purpose may fall under Part 107. Do not assume that being unpaid makes a flight recreational. Use the FAA’s current guidance to determine the right route before flying.
For recreational flights, the FAA requires TRUST and proof of completion, applicable registration, compliance with recognized community-based safety guidelines, and appropriate airspace authorization. Recreational pilots must maintain visual line of sight or use a co-located observer in direct communication, give way to other aircraft, and follow the relevant altitude limits.
Registration and Remote ID requirements depend on the operation and aircraft. Lightweight does not mean unrestricted. Check the current FAA pages rather than relying on a product advertisement or a rule you remember from a previous year.
Do not fly over people, vehicles, or crowds unless the applicable rules and aircraft requirements allow the operation and you can conduct it safely. A historical photograph is not evidence that the same flight is permitted now. Never use an example image as your authorization.
Learn the drone before chasing a photograph
Read the manual for your specific aircraft. Find the return-to-home behavior, battery warnings, connection-loss response, wind limits, obstacle-system limits, and camera controls. Similar-looking drones can behave differently. A feature name is not proof that the aircraft will avoid every hazard.
Practice takeoff, hovering, simple movements, and landing in a suitable open area before attempting a complicated photo session. Keep the first flights short and predictable. You should be comfortable bringing the aircraft back without watching the camera preview continuously.
Check propellers, battery condition, controller charge, storage space, and any manufacturer-required updates or checks before leaving. A damaged propeller or missing card can end the session before the light becomes interesting. Use a simple checklist rather than trying to remember everything in the field.
Plan a return margin appropriate for wind, distance, temperature, and your aircraft. Do not make a universal battery percentage your only safety plan. Returning into a headwind can require more energy than the outbound leg. Land before the situation becomes a test of how little charge remains.
Choose a subject before you launch
Look at the location from the ground and decide what you hope the aerial view will reveal. It might be a repeating pattern, a shoreline shape, a small structure in a larger landscape, or a contrast between two surfaces. Having a subject reduces aimless flight time.
Maps can help you understand layout, but they do not prove current conditions or permission. A clear area on a map may contain people, new construction, wildlife, or a temporary restriction when you arrive. Verify the place in person and check current official information.
Choose a safe takeoff and landing area with room to work. Think about where you will stand, whether you can keep the aircraft in sight, and what happens if the intended landing area becomes occupied. A good photo plan includes a practical way to stop.
If conditions are wrong, keep the drone down. You can still make ground-level photographs or return another day. A photograph that requires you to ignore weather, wildlife, or airspace restrictions is not a beginner challenge worth accepting.
 Save
Use height to simplify the frame
Higher is not always better. A low aerial angle may give the subject more presence and retain useful depth. A higher angle may reveal a clean pattern or the relationship between several areas. Stay within the applicable limits and choose the lowest useful perspective for the picture.
As height changes, watch what becomes small or disappears. A person that anchors the scene at one height may become an indistinct dot at another. A road may turn into a stronger line while its surrounding detail becomes less distracting. Compare the actual preview, not your expectation.
Do not let composition pull the aircraft beyond a safe position. Move only while maintaining awareness of the aircraft, surroundings, and other airspace users. If the required angle cannot be reached safely and legally, find a different composition.
Look down for patterns and geometry
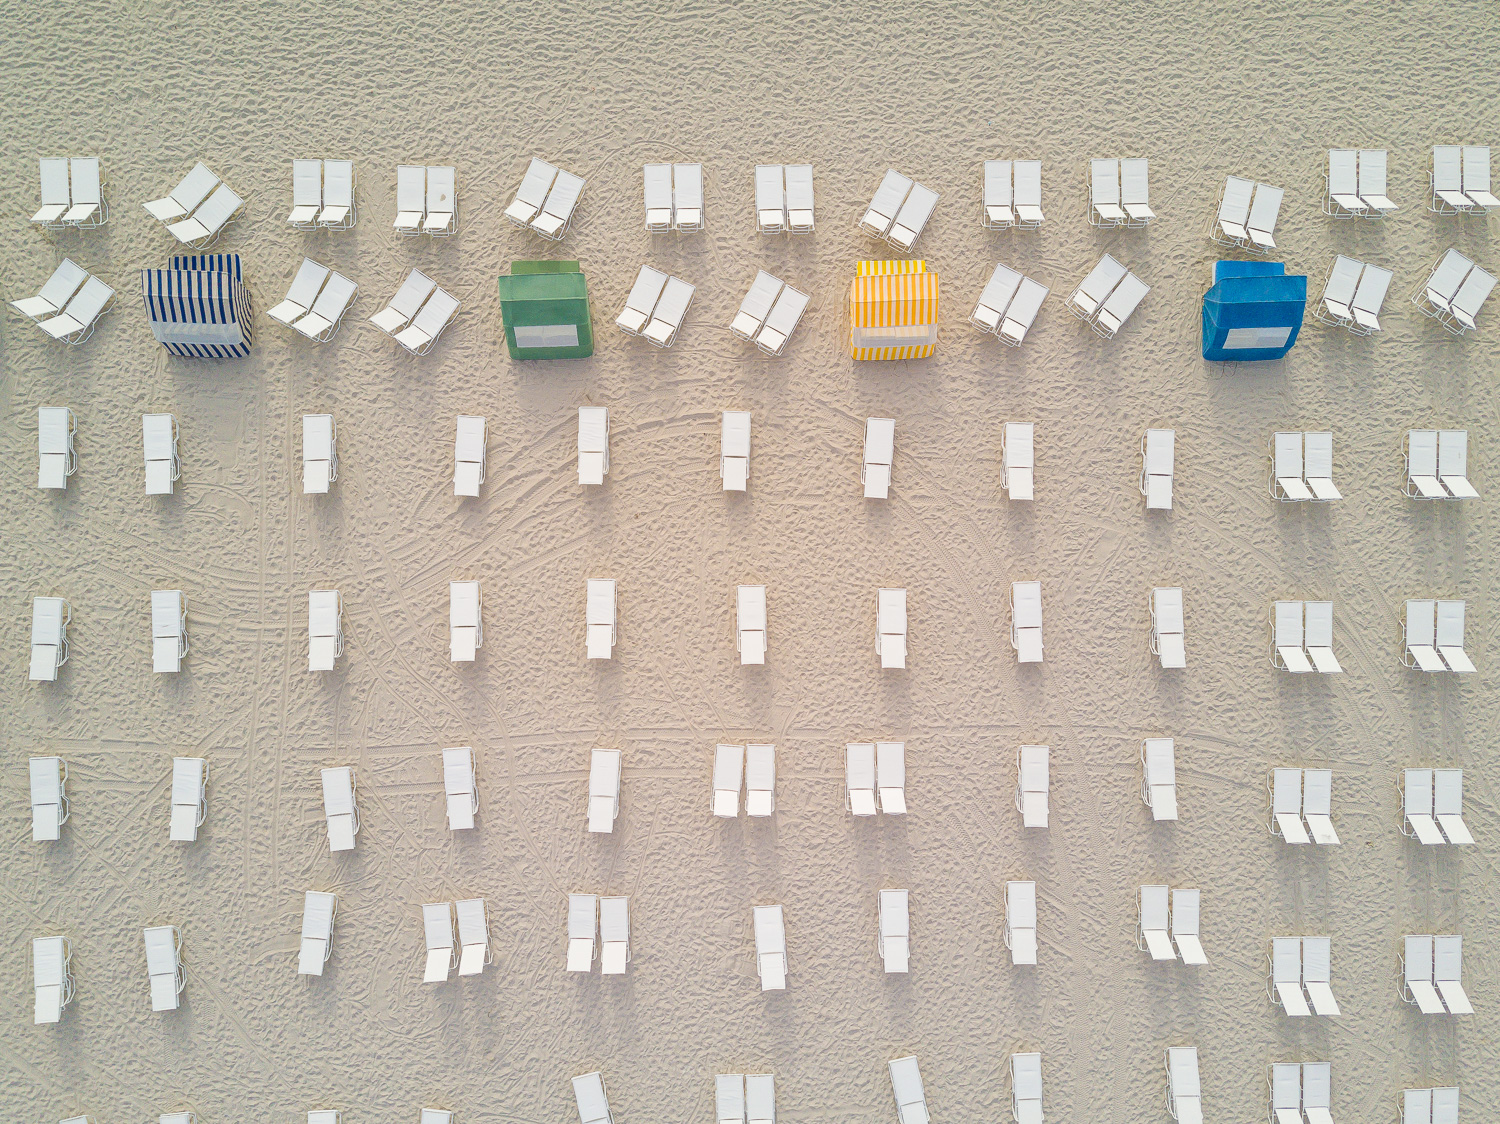
A top-down camera angle can reduce a scene to shapes, lines, colors, and textures. Rows of chairs, roof patterns, agricultural fields, and shoreline details can become the main subject instead of background information.
Align the frame deliberately. If the photograph is about repeated rows, an accidental slight rotation may make the pattern feel untidy. If a diagonal adds energy, make that choice clear. Neither straight alignment nor a diagonal is automatically correct.
Watch the edges. A pattern can be weakened by a half-visible object that has no useful role. Move the aircraft within safe limits or adjust the camera angle to make the framing cleaner. Cropping later can refine the result, but it cannot change every relationship captured from the wrong position.
Our composition guide explains points, lines, shapes, balance, and clean edges. The same ideas apply in the air even when the subjects look unfamiliar from above.
Use contrast to make a subject readable
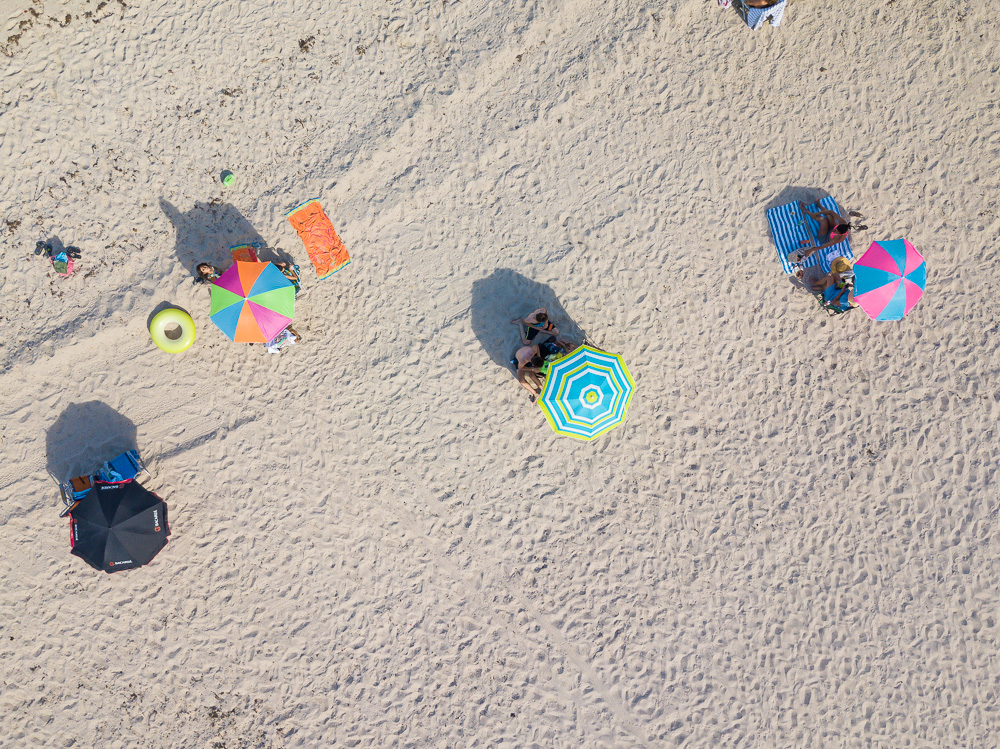
Contrast can come from brightness, color, texture, or scale. A small dark object on a pale surface may be easier to recognize than a larger object surrounded by busy detail. The aerial angle gives you a chance to see those relationships differently.
Keep the contrast connected to a subject. A colorful patch at the edge can become an accidental distraction. Decide whether it belongs in the frame, whether it should become the subject, or whether you can leave it out.
Shadows can add shape and reveal height when the camera looks downward. They can also hide important details. Watch the direction and length of the shadows rather than assuming that the same location will work equally well at every time of day.
 Save
Find symmetry, then test an alternative
A repeated arrangement or a central feature can work well with symmetry. Try aligning the camera so the relationship is clear. Check whether a supposedly symmetrical scene actually contains a distraction on one side.
Then try a different arrangement if the safe flight position allows it. An off-center subject can leave useful context or give a line room to travel. The rule of thirds is one starting point, not an obligation.
Balance does not require identical halves. A small bright feature can balance or compete with a large darker area. Review the whole frame rather than concentrating only on the intended subject. A drone photograph still needs a clear visual relationship.
Set exposure for the photograph and the conditions
For still photographs, shutter speed needs to account for aircraft movement, wind, camera stabilization, and the subject itself. Do not import a video shutter-speed recipe and assume it is best for a sharp still. Make a frame and inspect it.
If your drone offers manual exposure, learn what you can actually adjust. Some cameras have a fixed aperture, so you cannot use the same settings workflow as a camera with an adjustable lens opening. Check the model’s controls and limits.
Keep ISO low when the light and required shutter permit, but do not sacrifice sharpness merely to preserve the lowest number. Exposure is a compromise. Our exposure guide explains what shutter, aperture, and ISO each change.
Use raw capture if the camera supports it and you want more editing flexibility. It does not recover every clipped highlight or blurred detail. Check the histogram and highlight warnings where available, especially over bright sand, water, or roofs.
Neutral-density filters are not a mandatory first purchase for drone stills. They reduce incoming light and may force a slower shutter, which can be the wrong direction when sharpness is the goal. Buy them for a specific use and confirm fit with the exact camera.
Panoramas need a steady, suitable scene
A panorama can show a wide relationship without reducing every subject to a tiny part of one very wide frame. Use the aircraft’s supported panorama feature or a careful manual sequence only after understanding the procedure and flight behavior.
Moving water, trees, people, and changing light can make stitching more difficult. A panorama is not automatically better than one well-composed frame. Make the single frame first so you have a usable picture even if the stitching result fails.
Check the merged file for broken edges, repeated subjects, odd horizons, and uneven brightness. Export success is not visual success. Inspect the actual image before sharing or printing it.
People are subjects, not obstacles to your flight plan
Do not ask friends to lie under a drone just because an old aerial portrait looks interesting. People, overhead operations, separation, and permissions require their own safety and legal checks. Use a ground camera when the desired arrangement cannot be flown responsibly.
Respect privacy. A high view can include gardens, windows, or people who did not expect to become part of your photograph. Being able to see a place from above does not settle every question about photographing or publishing it.
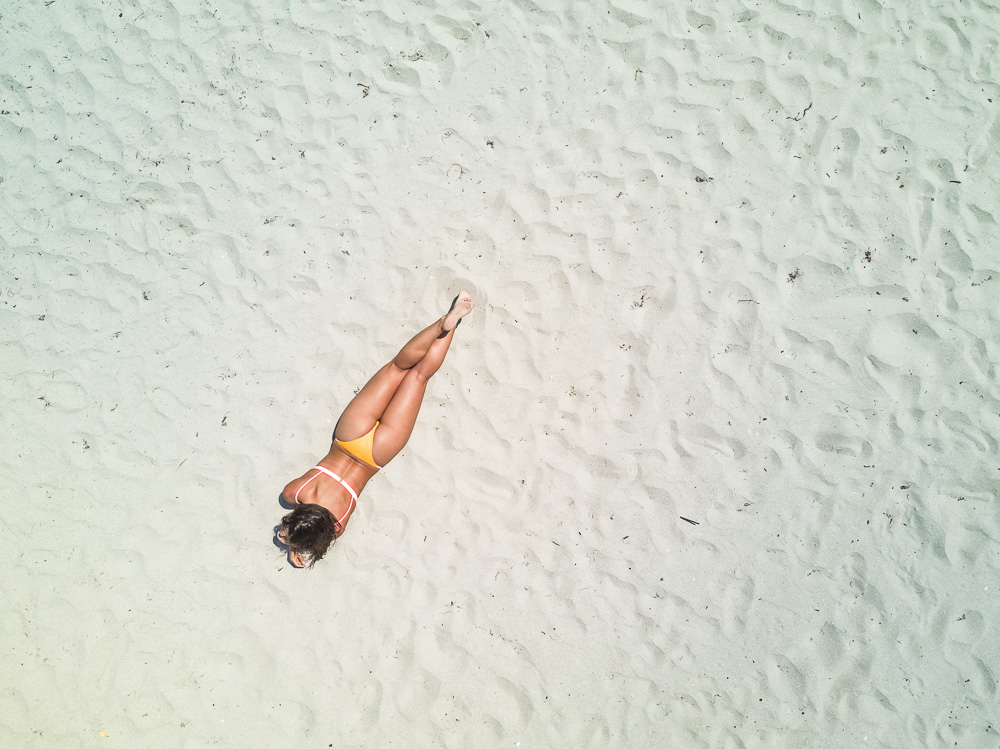
The archival overhead portrait below illustrates scale and negative space only. It is not a recommended flight procedure, a promise of permission, or an instruction to repeat an overhead operation.
 Save
Review the files and improve one choice next time
After landing, review the photographs at a useful size. Check sharpness, horizon, edge distractions, and whether the main subject is easy to understand. Do not judge everything from the small live preview.
Choose one improvement for the next outing: a cleaner edge, a lower useful height, a better direction of light, or less empty space. This makes practice specific instead of turning each flight into a search for random dramatic scenery.
For more exercises, read our drone photography tips and explore the Shut Your Aperture Academy. Strong aerial photography combines responsible operation with the same patient observation that makes a good photograph on the ground.
Aerial photography questions
Is flying higher always better for aerial photos?
No. Choose a safe, legal height that makes the subject clear. Lower views can preserve detail and depth, while higher views can reveal patterns.
Does a lightweight drone remove all flight restrictions?
No. Airspace, operating rules, purpose, privacy, and takeoff or landing restrictions still matter. Check current official rules for your location and aircraft.
Should I use neutral-density filters for every drone photograph?
No. They reduce incoming light and can force a slower shutter. Use them for a specific goal and confirm compatibility with your exact drone camera.
Can I repeat a flight shown in an old photograph?
Not without current checks. An archival image does not establish present permission, safety, or compliance with rules for people and airspace.
What should a beginner practice first?
Safe basic flight and landing, followed by simple compositions in a suitable area. Learn the aircraft and current rules before pursuing complicated photographs.
Current U.S. rule references: FAA Getting Started and FAA recreational flyer requirements. Composition reference: DJI aerial composition tips. Check official local guidance before every flight.
Learn faster with a plan. The ShutYourAperture Academy has 22 photography courses, from the fundamentals of aperture, shutter and ISO to genre courses like landscape, portrait and street.
Useful gear for aerial still photography
Check exact aircraft compatibility before ordering. Gear does not replace training, permission, or a safe flight plan.
Landing pad: Choose a suitable size and secure it as the manufacturer recommends. Use only where takeoff and landing are allowed.
Compare on Amazon | Compare at B&H
Compatible spare propellers: Match the exact aircraft and propeller version. Follow the maker’s inspection and replacement instructions.
Compare on Amazon | Compare at B&H
Approved memory card: Use the capacity and speed supported by your camera, not simply the largest card available.
Compare on Amazon | Compare at B&H
Affiliate disclosure: we may earn a commission from qualifying purchases through these links, at no extra cost to you. These are comparison searches, not guarantees that every item fits your drone.