Black and white photography strips a scene down to its core: light, shadow, shape, and emotion. Without color competing for attention, the viewer connects with the subject itself. That is why monochrome has outlived every technical shift in the medium, from glass plates to digital sensors, and why learning it still makes you a better photographer in color too. This guide covers the techniques that matter, the post-processing workflow that gives you full control, the genres where black and white shines, and the mistakes that hold most photographers back.
 Save
SaveWhy Black and White Photography Endures
Black and white photography is a captivating art form that eliminates color to simplify images and distill scenes down to their essence. The process forces photographers to focus on the fundamental elements of light, shadow, and composition, producing images with strong emotional resonance. An example that illustrates this concept is the iconic black and white landscape work of Ansel Adams. His photographs, celebrated for their grandeur and timelessness, used monochrome tones to capture the very spirit of natural landscapes. The absence of color strips away distractions and lets viewers engage with the raw beauty of the subject.
The rich history of black and white photography, tracing back to the early 1800s, underscores its enduring appeal. For the first century of the medium, monochrome was not a stylistic choice but the only option, and generations of masters learned to speak through tone alone. That legacy is a deep well of inspiration. By studying the origins of the genre and the iconic works that shaped it, you gain a deeper appreciation for the art form and a visual vocabulary to draw from in your own work.
Learning to See in Monochrome
The biggest shift in black and white photography happens before you press the shutter. Color and tone are not the same thing: a red apple and a green leaf can render as the identical shade of gray. Learning to see in monochrome means evaluating a scene by its luminance instead of its hue.
Start by looking for contrast. Scenes with strong directional light, deep shadow, and bright highlight give black and white images their structure. Flat, overcast light that feels easy for color work often produces muddy monochrome, while the harsh midday sun most color photographers avoid can be perfect for graphic black and white frames.
Then look for texture and shape. Weathered wood, wrinkled skin, rippled sand, wet pavement, and architectural lines all gain presence when color stops competing with them. Finally, watch for separation: a subject that stands out from its background because it is brighter or darker, not because it is a different color. If a scene only works because of a color relationship, such as a red umbrella against green trees, it will usually fall flat in monochrome.
Mastering the Core Techniques
Mastering black and white photography demands more than applying a filter. It requires control of several techniques that work together to create compelling monochrome images.
Lighting
Lighting is the backbone of black and white work. Side lighting rakes across a subject and reveals texture, which is why it suits portraits, architecture, and landscapes alike. Backlighting lets you build silhouettes and rim light that read as pure shape. Hard light creates graphic, high-contrast frames, while soft window light produces gentle tonal gradations. Whatever source you use, place it deliberately: in monochrome, the light is the subject as much as the thing it touches.
Contrast
Strategic use of contrast highlights specific elements within the frame and adds layers of visual interest and drama. High contrast suits bold, graphic compositions with deep blacks and bright whites. Low contrast produces quiet, atmospheric images built from middle grays. Neither is superior; the key is choosing a contrast level that matches the mood you want, then exposing to protect it.
 Save
SaveComposition
Composition is the arrangement of elements within the frame into a harmonious whole. In black and white photography it carries even more weight, because there is no color to rescue a weak arrangement. Consider the placement of the subject, the use of leading lines, and the overall balance and symmetry of the frame. Negative space becomes a powerful tool: an expanse of smooth gray sky or water can isolate a subject and give the image room to breathe.
Filters, in camera and in software
Traditional color filters change how hues translate to gray. A red filter darkens blue skies dramatically and lightens skin tones; an orange filter gives a milder version of the same effect; a green filter lightens foliage. If you shoot digital, you can apply the same logic in post-processing with channel mixing, but understanding the filter tradition teaches you to predict how a scene will convert before you take the shot.
High key and low key
High-key images live in the bright end of the tonal range: white backgrounds, soft shadows, an airy feel that suits fashion, newborns, and minimalist work. Low-key images live in the shadows: dark backgrounds, pockets of light, and a moody, intimate feel that suits dramatic portraits and still life. Deciding which register you are working in before you shoot keeps your exposures and your editing consistent.
Shoot in Color, Convert in Post
One of the advantages of digital capture is the flexibility to shoot in color and convert to black and white during post-processing. A color RAW file records full channel information, which means you control exactly how each hue maps to gray after the fact. Convert that same file with different channel settings and you can darken a sky, lighten skin, or separate two subjects that shared a tone.
Shoot RAW rather than JPEG so the converter has the most data to work with, and set your camera to its monochrome preview mode if it helps you visualize. The preview on the back of the camera shows a black and white rendering while the RAW file keeps every color channel intact. It is the best of both worlds: you compose in monochrome and keep full control for the edit.
Post-Processing for Black and White Photography
The process of creating black and white photographs extends well beyond capturing the image. Post-processing refines the monochromatic quality of the file and is where a good frame becomes a finished photograph. Using software such as Lightroom, Luminar and Photoshop, you can manipulate contrast, tones, and textures to bring out the exact qualities you saw when you pressed the shutter.
A reliable workflow looks like this:
- Convert deliberately. Start from a channel mixer or black and white panel rather than a one-click desaturation. Adjust the reds, yellows, greens, and blues individually until the tonal relationships match what you saw in the scene.
- Set the black and white points. Use the curves or levels tool to anchor true black and true white. A full tonal range gives monochrome images their punch; a histogram that never touches the edges usually produces a flat, gray result.
- Dodge and burn. This darkroom-era technique adjusts the exposure of specific areas, highlighting some elements while downplaying others. Brighten the parts of the frame you want the eye to visit first, darken the edges and distractions, and the image gains depth and direction.
- Add structure with restraint. Clarity and texture controls can make stone, skin, and fabric feel tactile, but they turn harsh quickly. Zoom to 100 percent and back off until the detail feels natural.
- Finish with subtle toning if it serves the image. A gentle warm or cool split tone can add character without turning the photograph into a gimmick.
Mastering these techniques lets you imbue your black and white images with a distinct sense of depth, resulting in photographs that captivate and command attention.
The Elements That Make Black and White Photographs Stand Out
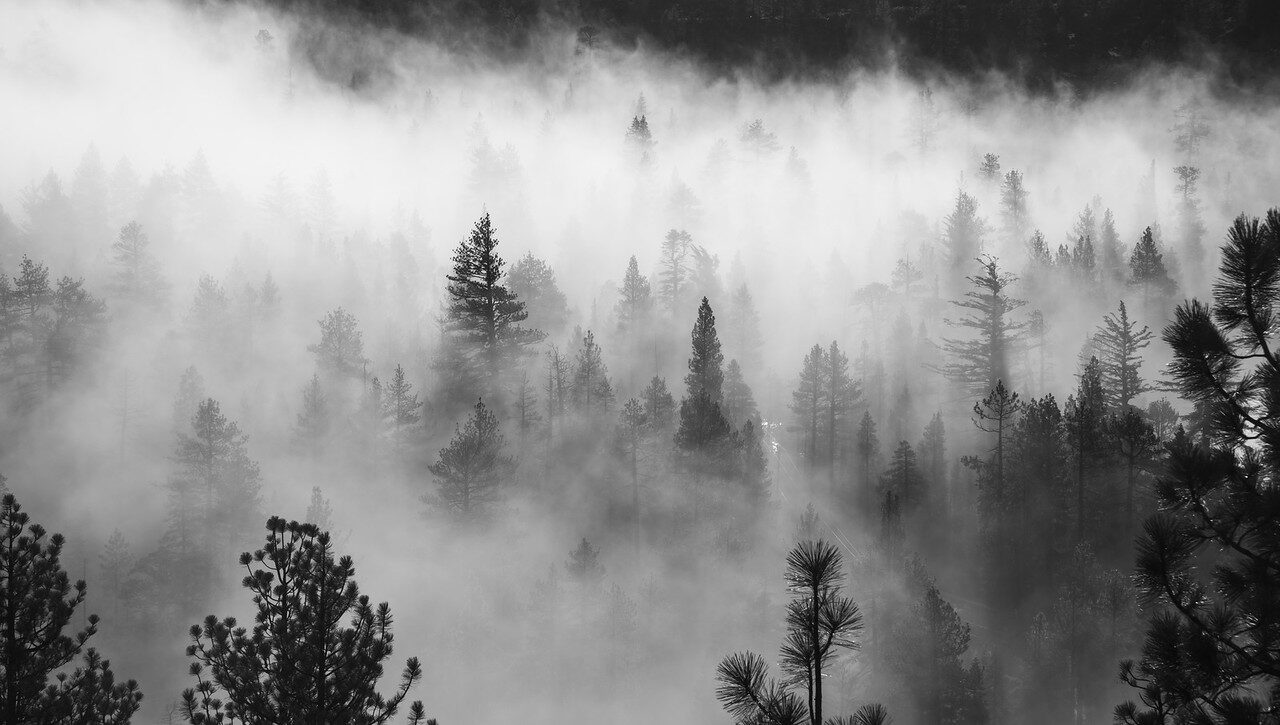
Black and white photography is built from a handful of key elements working together: shadow, contrast, tones, shapes, texture, composition, and emotion. Shadow adds depth and mystery. Contrast directs the eye to focal points and creates a dynamic visual experience. Tones, the many shades of gray between black and white, allow subtle manipulation of mood. Shapes and textures gain a tactile quality once color stops competing with them. Composition ties everything into a coherent frame. And emotion is the payoff: without color to lean on, every technical choice serves the feeling of the image.
 Save
SaveExploring the Genres of Black and White Photography
Black and white photography is a versatile art form that transcends genres.
In portrait photography, monochrome conveys timelessness and emotion, focusing on the subject’s expressions and personality without the distraction of color. The play of light and shadow emphasizes the contours of a face, highlighting unique features and conveying an emotional state in an intimate way.
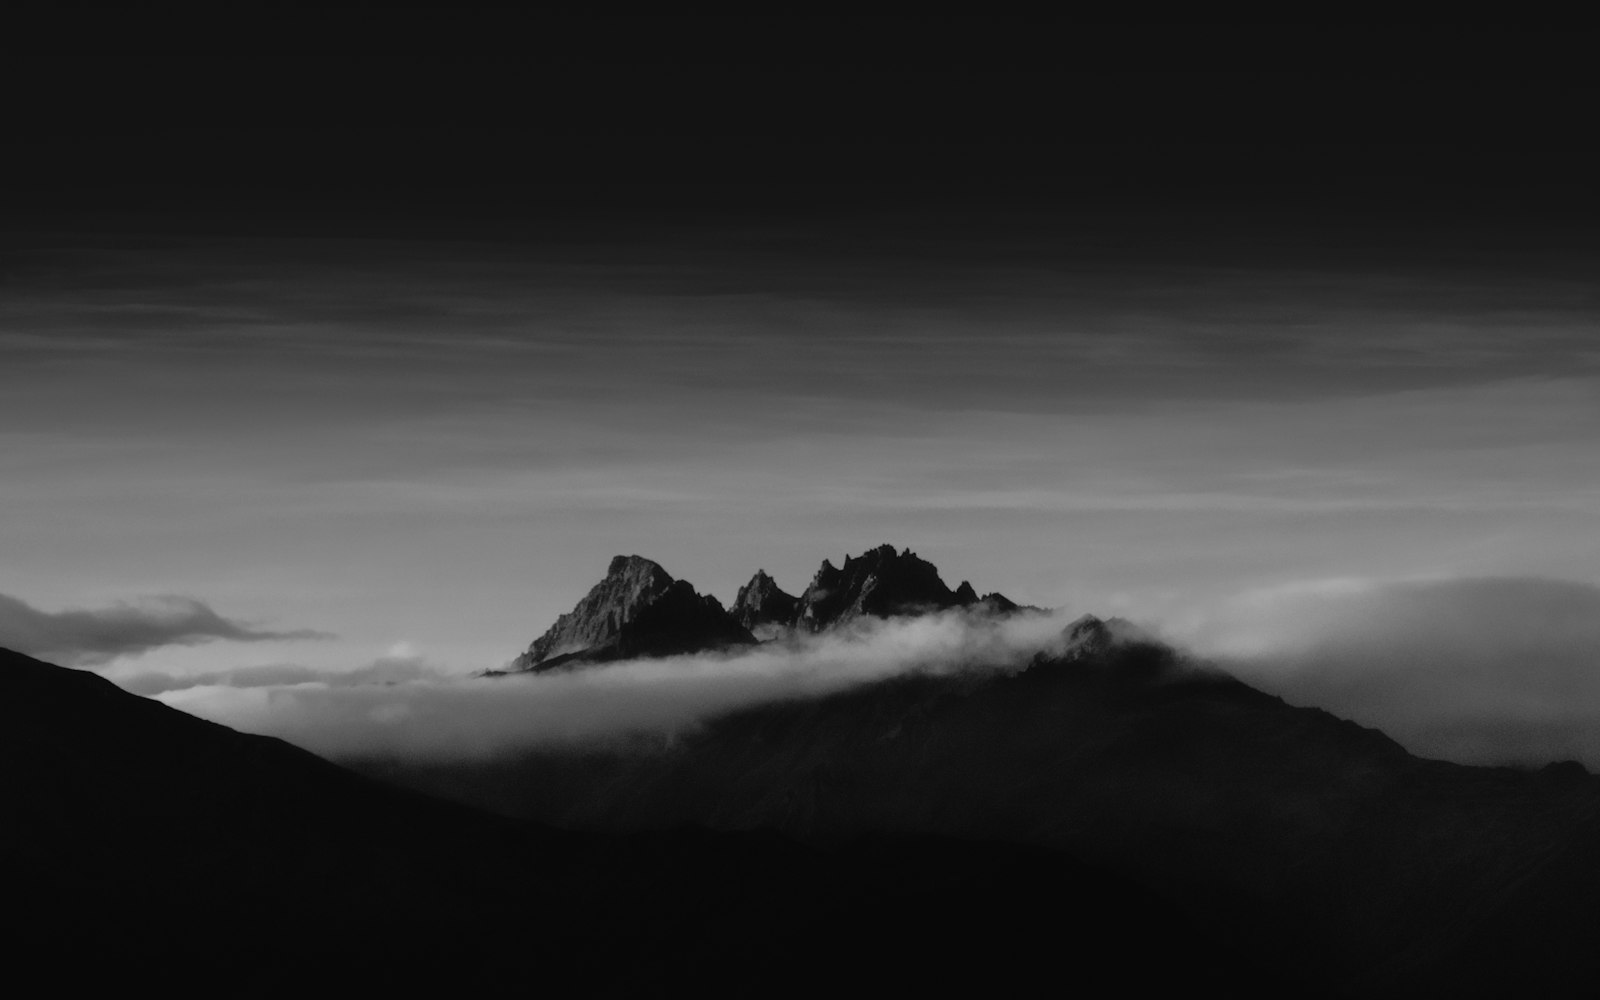
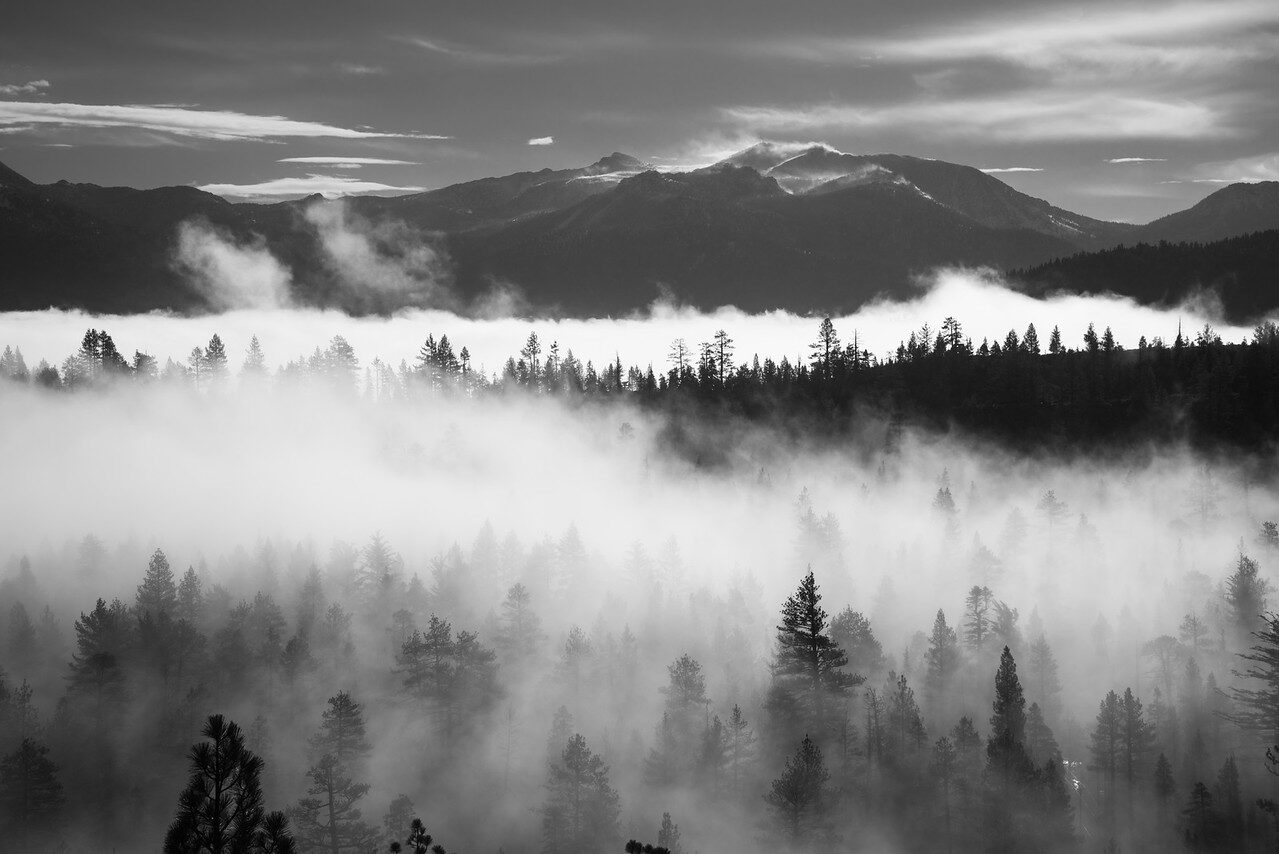
In landscape photography, black and white enhances textures, shapes, and contrast, creating dramatic scenes through the interplay of light and shadow. Stormy skies, long exposures of water, and rugged terrain all gain weight in monochrome.
In street photography, black and white is the classic language of the genre. It unifies chaotic scenes, emphasizes gesture and geometry, and gives candid moments a timeless documentary quality. If you are drawn to monochrome prints as finished art, you can see where the discipline leads in my fine art collection, where black and white is a core part of the work.
 Save
SaveCommon Mistakes to Avoid
Most weak black and white images fail for a handful of predictable reasons:
- Converting a bad color photo to save it. Monochrome reveals composition problems instead of hiding them. If the frame does not work, conversion will not fix it.
- Desaturating instead of converting. Dragging the saturation slider to zero throws away your control over how colors map to gray. Always convert with channel adjustments.
- Crushing the tones. Heavy contrast that clips shadows and blows highlights deletes the detail that gives monochrome its richness. Keep texture in both ends of the histogram.
- Ignoring the light. Shooting flat light and hoping the edit adds drama rarely works. Black and white photography is made in the field first.
- Over-processing. Excessive clarity, grain, and vignetting are the monochrome equivalent of a loud filter. Restraint reads as confidence.
Recommended Reading
If you want a structured path through the fundamentals, Digital Photography Complete Course by DK remains a solid pick. It walks through exposure, lighting, film, filters, and composition over twenty weeks of lessons, with review and practice sections that translate well to monochrome work. Pair it with regular shooting and the techniques above, and you will build real monochrome instincts.
Unveiling the Benefits of Black and White Photography
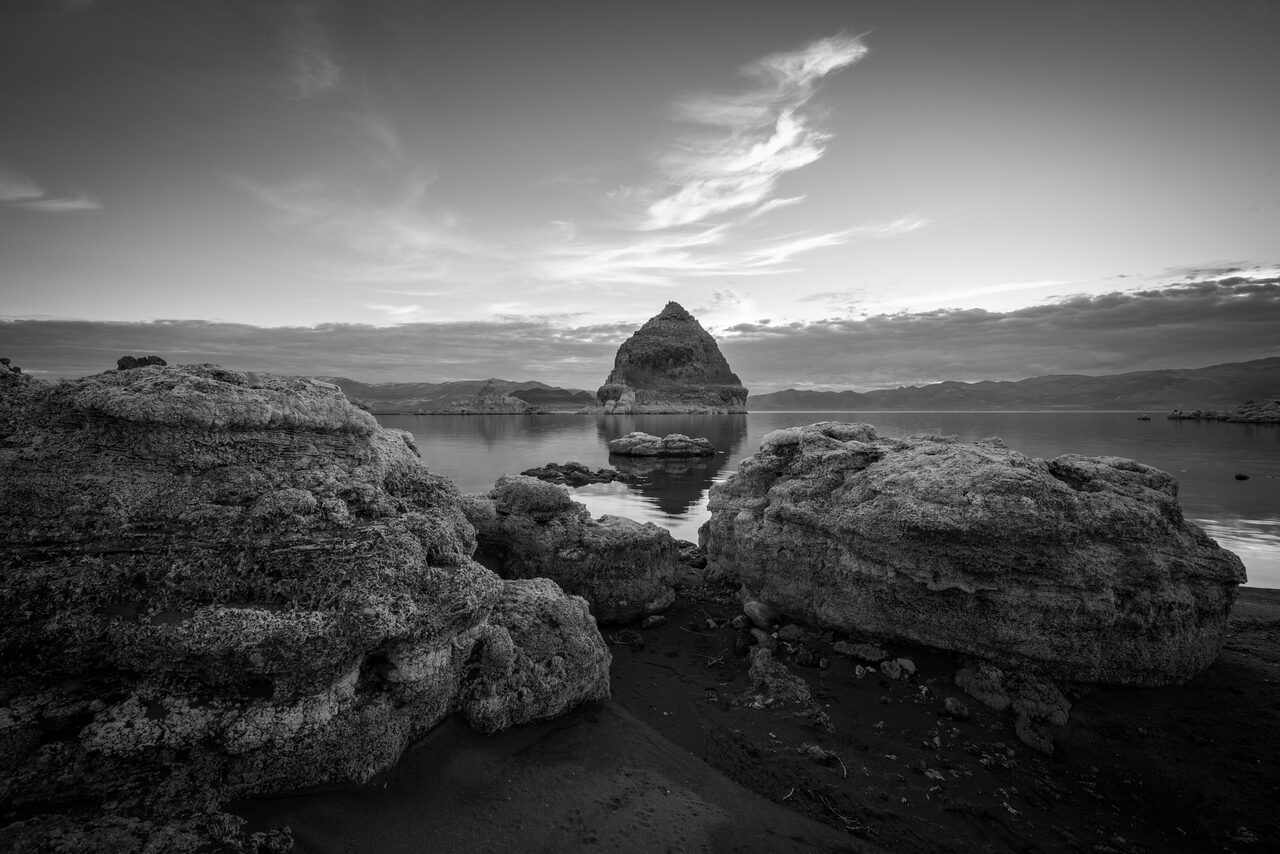
The benefits of black and white photography are both varied and profound. One of the key advantages is the ability to convey mood and emotion in a striking, evocative manner. By stripping away the distraction of color, black and white images capture the raw essence of a moment, allowing viewers to connect with the emotions and atmosphere in the photograph. A monochrome image of a solitary figure standing in the rain can evoke solitude and contemplation in a way the color version rarely matches.
 Save
SaveWorking in monochrome also makes you technically stronger. It trains you to read light, to compose with intention, and to process with purpose, skills that carry straight back into your color work.
Black and White Photography Q&A
Is black and white photography easier than color?
No. It removes one variable but adds pressure to all the others. Composition, light, and tonal control have to carry the entire image, so weaknesses that color can mask become obvious. Many photographers find it harder, and more rewarding, for exactly that reason.
Should I shoot in black and white or convert later?
Shoot in color RAW and convert in post. You keep full control over how each hue maps to gray. If your camera offers a monochrome preview mode, use it to compose while the RAW file preserves all the color information for the edit.
What subjects work best in black and white?
Anything with strong light, texture, shape, or emotion: portraits with character, architecture with bold geometry, landscapes with dramatic skies, street scenes with gesture and contrast. Subjects that rely on color relationships for their impact are usually weaker in monochrome.
Do I need special software for black and white photography?
Any editor with a black and white conversion panel and curves will do the job. Lightroom, Luminar, and Photoshop all offer channel-based conversion, dodging and burning, and tonal controls. The tool matters less than learning to use its monochrome controls deliberately.
What camera settings work best for black and white photography?
Expose for the highlights to protect detail, shoot RAW, and keep ISO as low as the light allows for clean tones. Beyond that, settings follow the subject: a fast shutter for street work, a small aperture for textured landscapes, a wide aperture for isolating portraits.
Why does black and white photography look more artistic?
Removing color is one step of abstraction away from reality. That distance lets viewers read an image as an interpretation rather than a record, which is why monochrome feels timeless and why it has remained the language of fine art photography for over a century.
Want to go further? The ShutYourAperture Academy’s Edit Like You Mean It: The Complete Lightroom Editing Course (10 modules, 42+ lessons) is built to help you learn to edit with a clear workflow, from catalog organization to color.
Final Thoughts
Black and white photography rewards patience and intention. Learn to see light instead of color, master the techniques of contrast and composition, convert with control, and edit with restraint. Do that consistently and your monochrome work will carry the same timeless allure that has defined the genre since its beginnings.
Keep color originals and monochrome exports separately
A black Samsung T7 Shield portable SSD, 1TB model MU-PE1T0S/AM, is one storage option for color originals and monochrome exports. Check the computer connection and capacity before buying. Open the copied files and maintain another checked copy separately. A drive does not convert photographs to black and white or replace a complete backup plan. Compare the current retailer specifications; no hands-on test, price or stock promise is being made here.
Compare Samsung T7 Shield Portable SSD Black 1TB MU-PE1T0S/AM on Amazon | Check Samsung T7 Shield Portable SSD Black 1TB MU-PE1T0S/AM at B&H
Affiliate disclosure: We may earn a commission from qualifying purchases through these gear links at no extra cost to you. As an Amazon Associate, Shut Your Aperture earns from qualifying purchases.