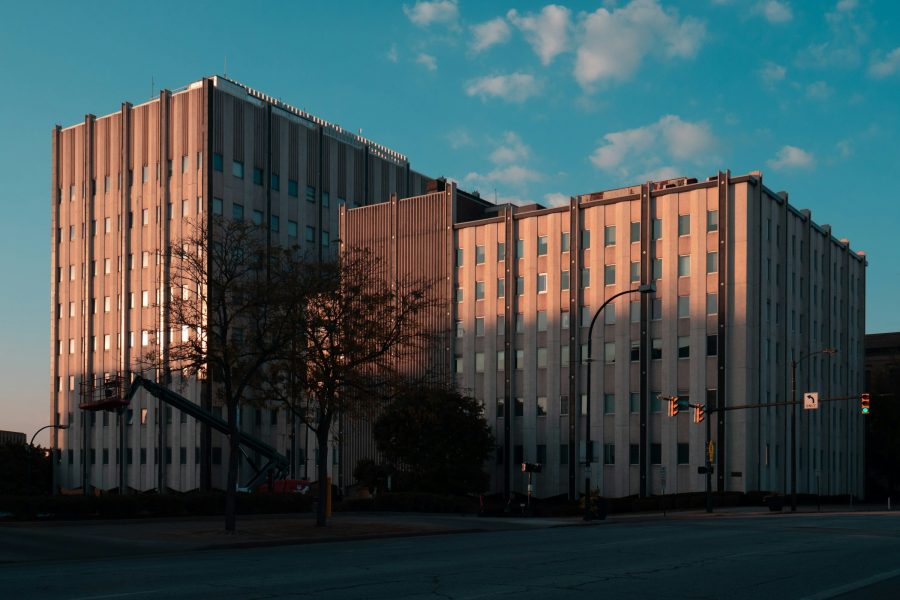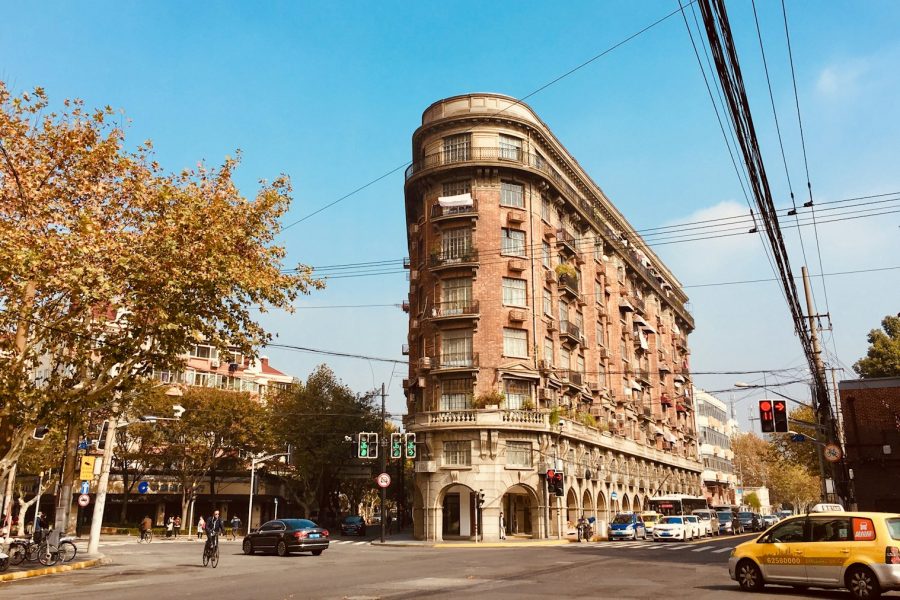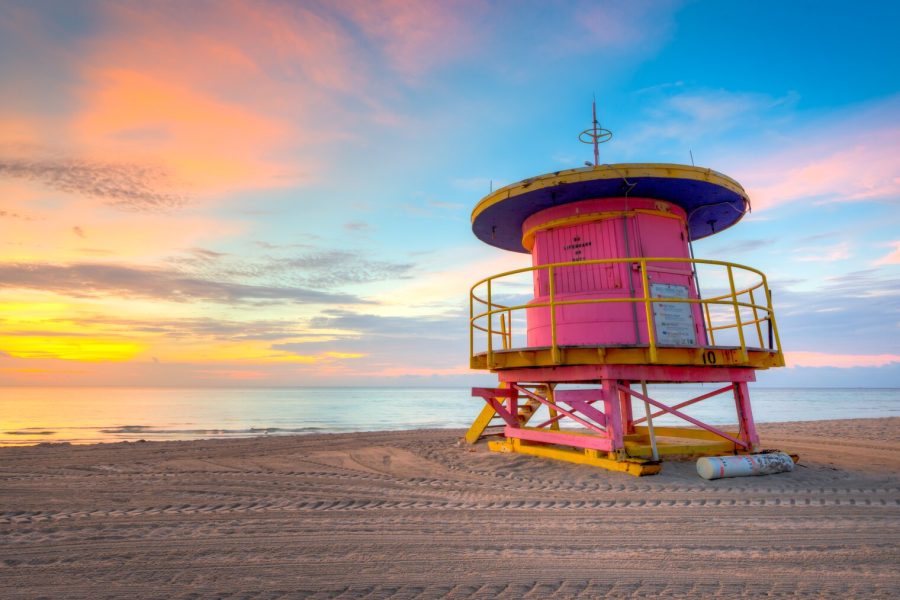
Featured photograph: Photo by Jan van der Wolf via Pexels (source; Pexels license). (Stock photo, illustrative.)
Original date January 14, 2024. Updated November 2026.
Urban architecture gives a photographer lines, surfaces and relationships to work with. The job is to decide which of those matters in a particular picture, then make the frame readable. This guide covers observation, viewpoint, geometry, light and delivery without treating one lens or one style as a requirement.
Read the building before filling the frame
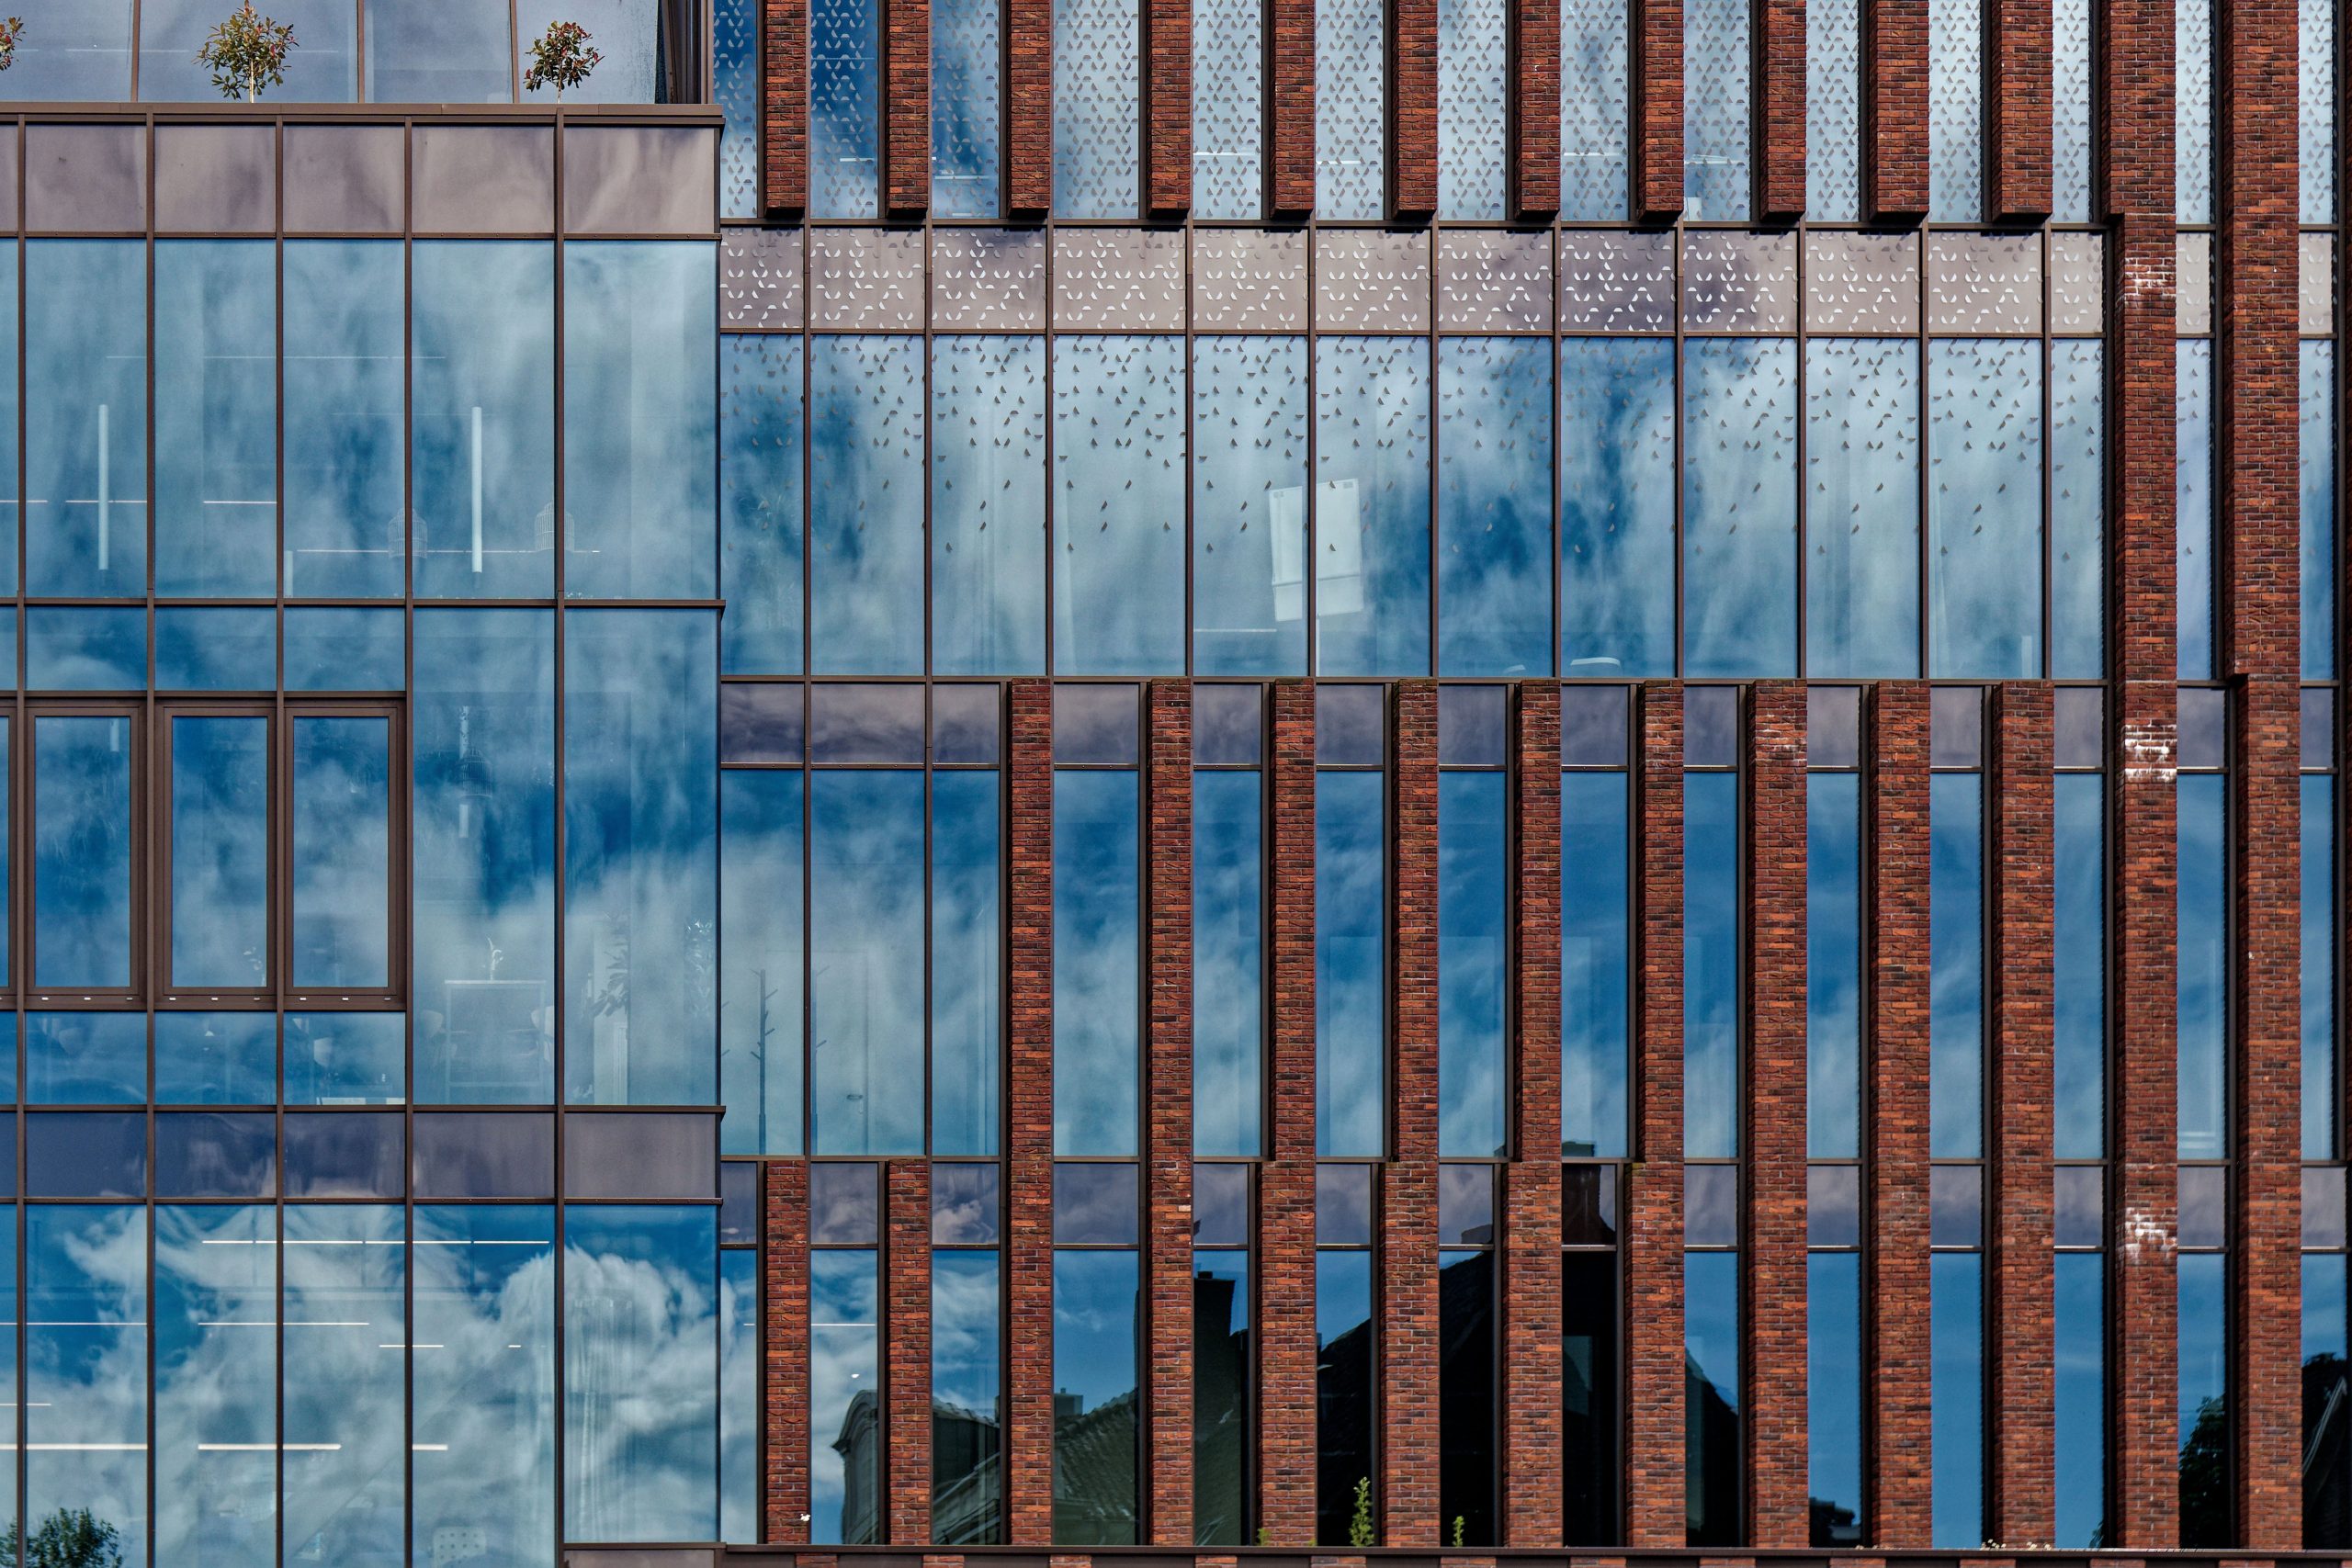
Urban architecture photography begins with observation, not a particular lens. A building may be interesting because of a repeated window pattern, a change in materials, a narrow gap beside its neighbor or the way its entrance meets the pavement. Choose one of those relationships as the subject. If you try to show every feature at once, the picture may explain less than a more selective view.
Walk along the public side of the building and compare how its shapes overlap. Notice what happens when a near corner moves against a distant wall. Look for poles, parked vehicles and signs that compete with the subject, but do not assume they should all disappear. Some belong to the story of how the building is used. Decide whether you are making an architectural record, a personal study or a commercial assignment.
If there is a client, ask what the photographs need to communicate. An architect may need a faithful view of a facade junction, while a publication may want a frame with room for a headline. Write those requirements down. Ask about permissions, the intended audience and any features that must remain visible. A beautiful close-up can be the wrong deliverable when the brief calls for an establishing view.
Keep descriptions separate from explanations you have not verified. You can describe pale stone, repeated windows or a projecting roof without claiming an architectural style, construction date or environmental rating. If the history matters, check the building owner, architect or another appropriate source. A facade photograph alone cannot establish that a building is sustainable, publicly accessible or designed by a particular person.
Find a viewpoint you can use safely
 Save
Start from positions where you are allowed to stand. A pavement, viewing area or public plaza may offer several useful angles, but access can change and a location may have its own restrictions. Look for signs and follow staff directions. Do not step into traffic, block a doorway or enter a private courtyard because the photograph would look cleaner from there.
Compare a view straight toward the facade with a view along it. The first can emphasize a grid or symmetry. The second can show depth, setbacks and the relationship with the street. Neither is the correct choice for every building. Take a reference frame from each position, then ask which one makes the intended feature easiest to understand.
Tall buildings in narrow streets may not fit into one level frame. You can make a detail instead, find another permitted ground-level position or choose a deliberate upward view. Do not turn a lack of space into a reason to seek an unconfirmed rooftop. A high viewpoint is useful only when access, footing and the rules for cameras are settled.
Watch your surroundings while working. A tripod takes up more space than a handheld camera, and pedestrians may not see its legs. Choose a position that leaves a clear route, and move when necessary. If traffic is part of the picture, photograph it from a safe position rather than backing into the road. A different composition is preferable to a hazardous one.
Use geometry with a purpose
 Save
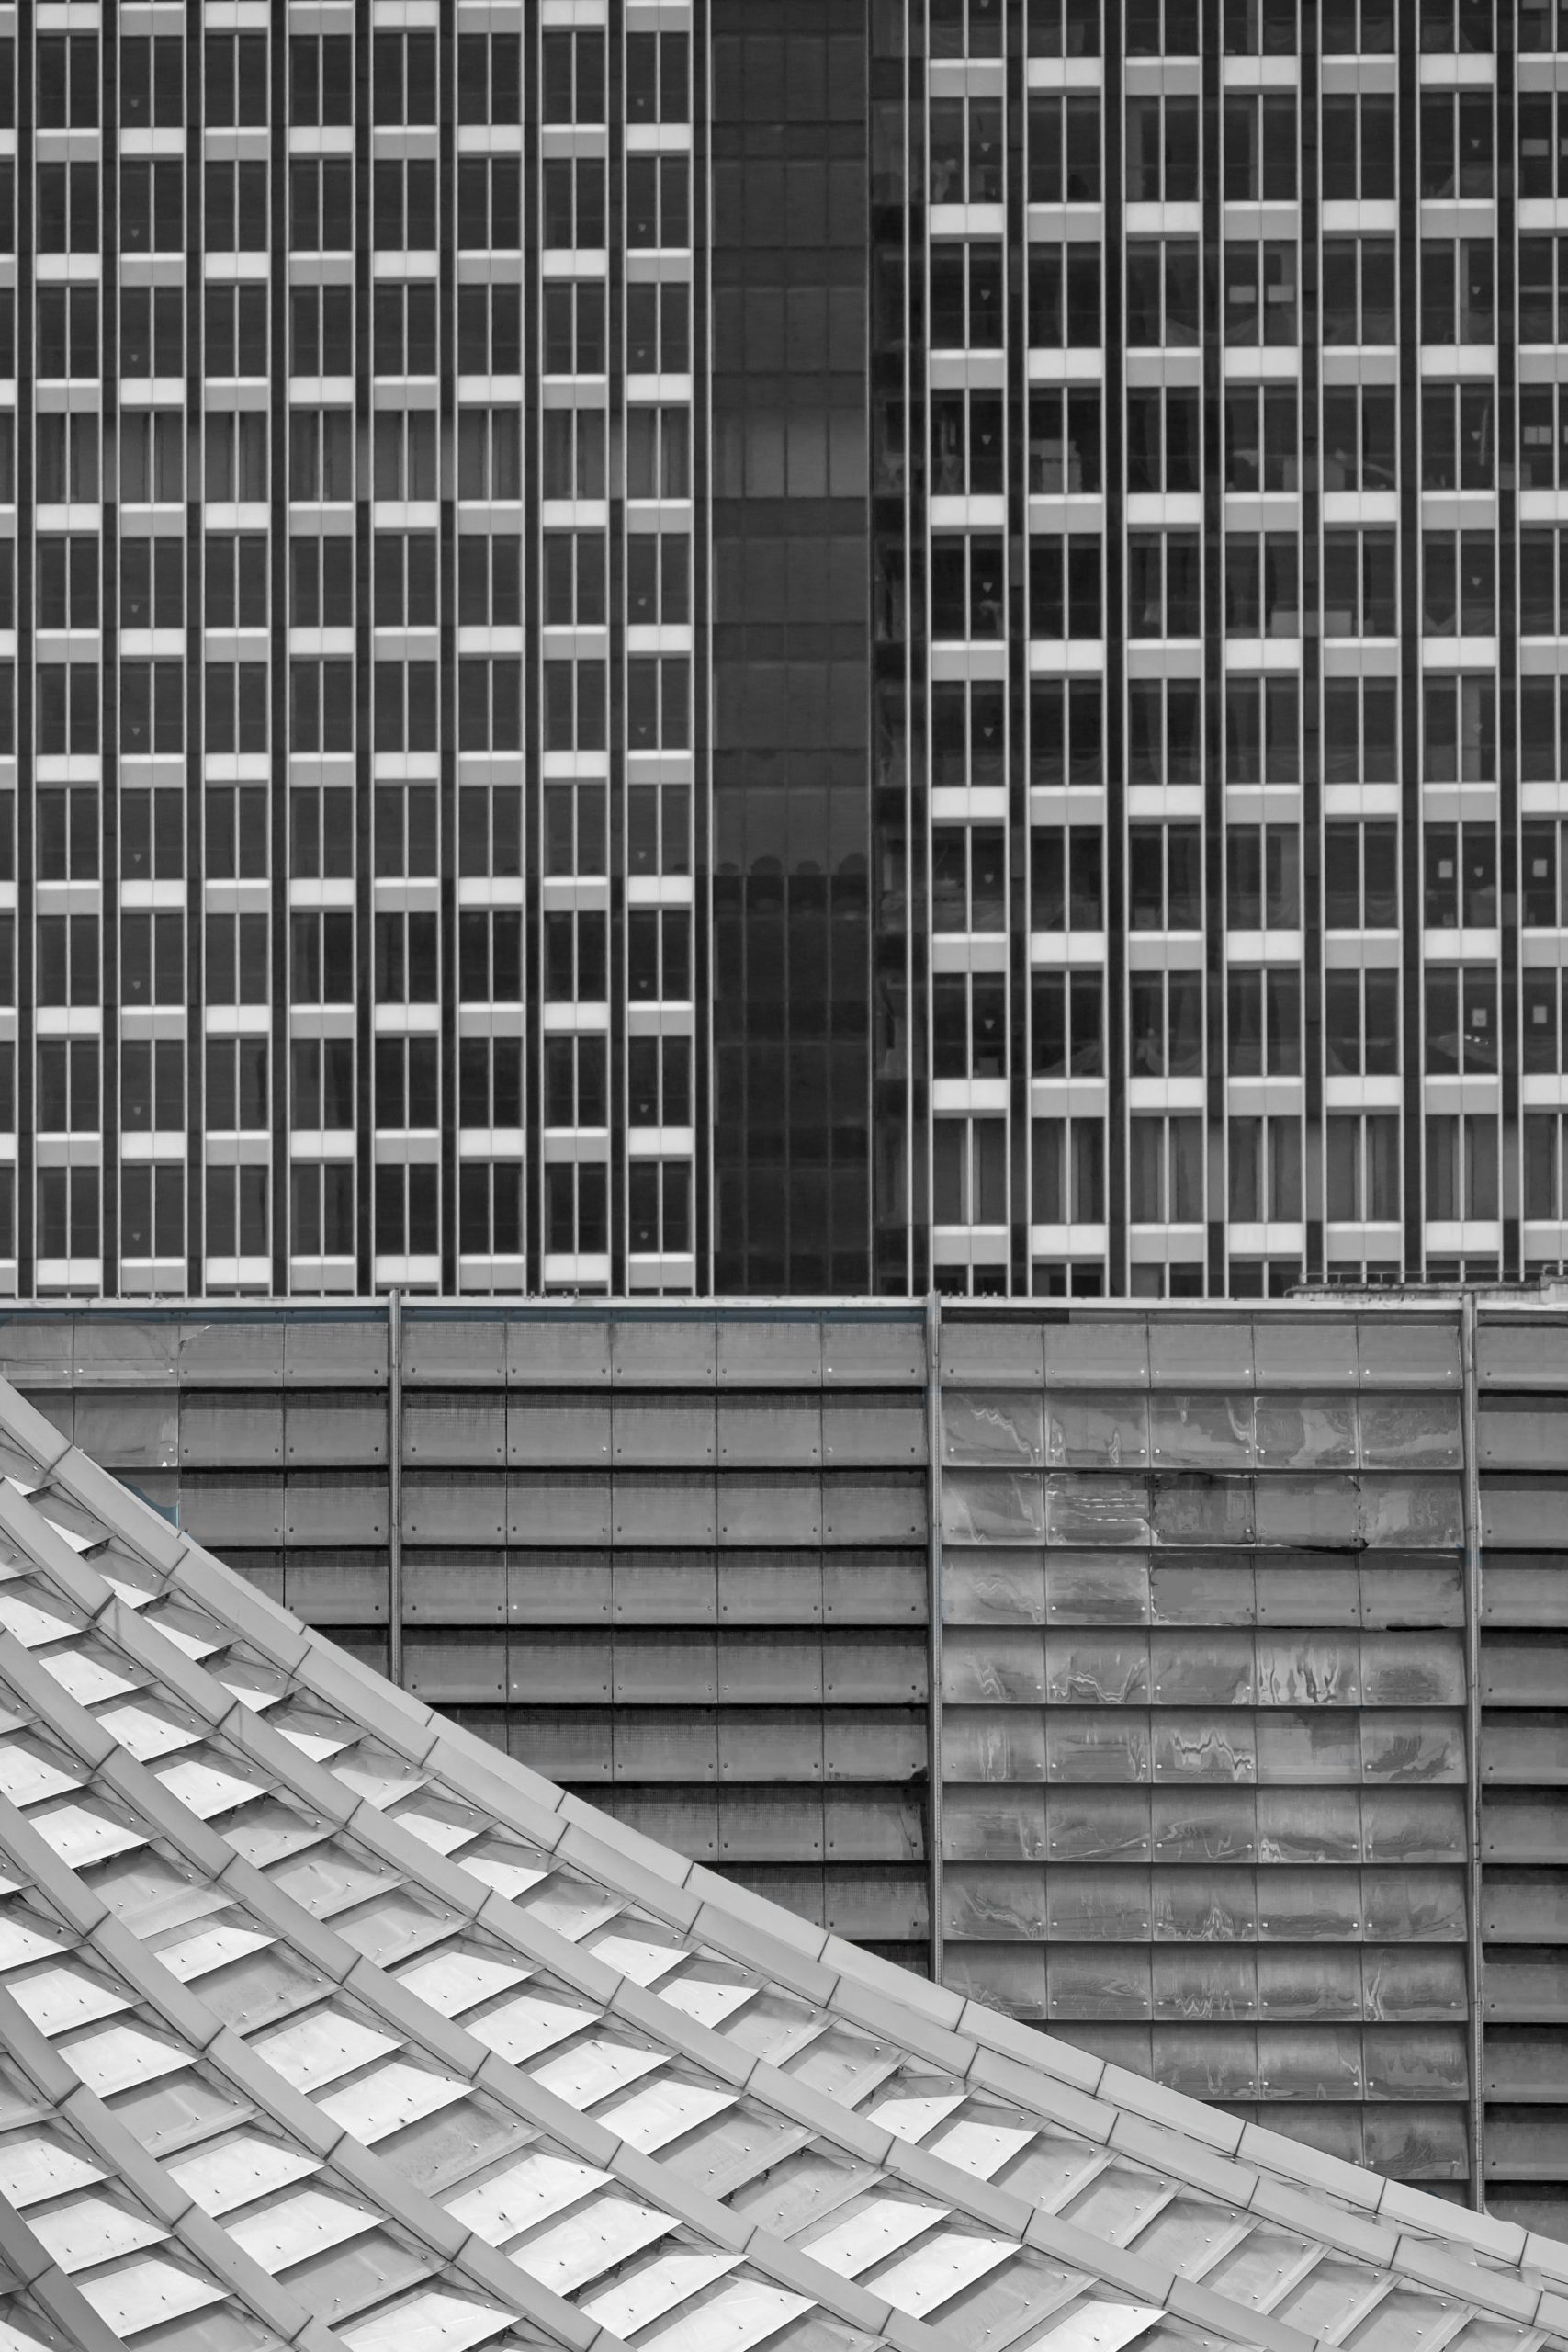
Check the camera level when upright lines are meant to remain upright. Tilting upward makes parallel vertical features converge in the image. That can communicate height, or it can interfere with a straightforward architectural record. Choose the treatment deliberately. Do not rely on a generic rule that every building photograph must look the same.
If you plan to correct perspective later, leave space around important edges. Software correction may crop the image and stretch areas near the borders. Inspect the corrected result rather than assuming a straight vertical line means the whole picture is accurate. A large correction can change proportions or remove the context that made the original frame useful.
Leading lines are only useful when you notice where they lead. A pavement edge might guide attention toward the entrance, while a strong diagonal roof could send it outside the frame. Follow those lines with your eye before making another exposure. Check small intersections as well: a pole touching the edge of a window can create an awkward shape that a modest camera move would separate.
Try a centered arrangement when the building offers a clear symmetry. Then try an off-center version that includes a useful neighboring shape or area of sky. Compare both at a small size. The rule of thirds is one possible guide, not proof that an off-center frame is more interesting. A quieter arrangement may describe the architecture more clearly than a busy one.
Let light reveal the surfaces
 Save
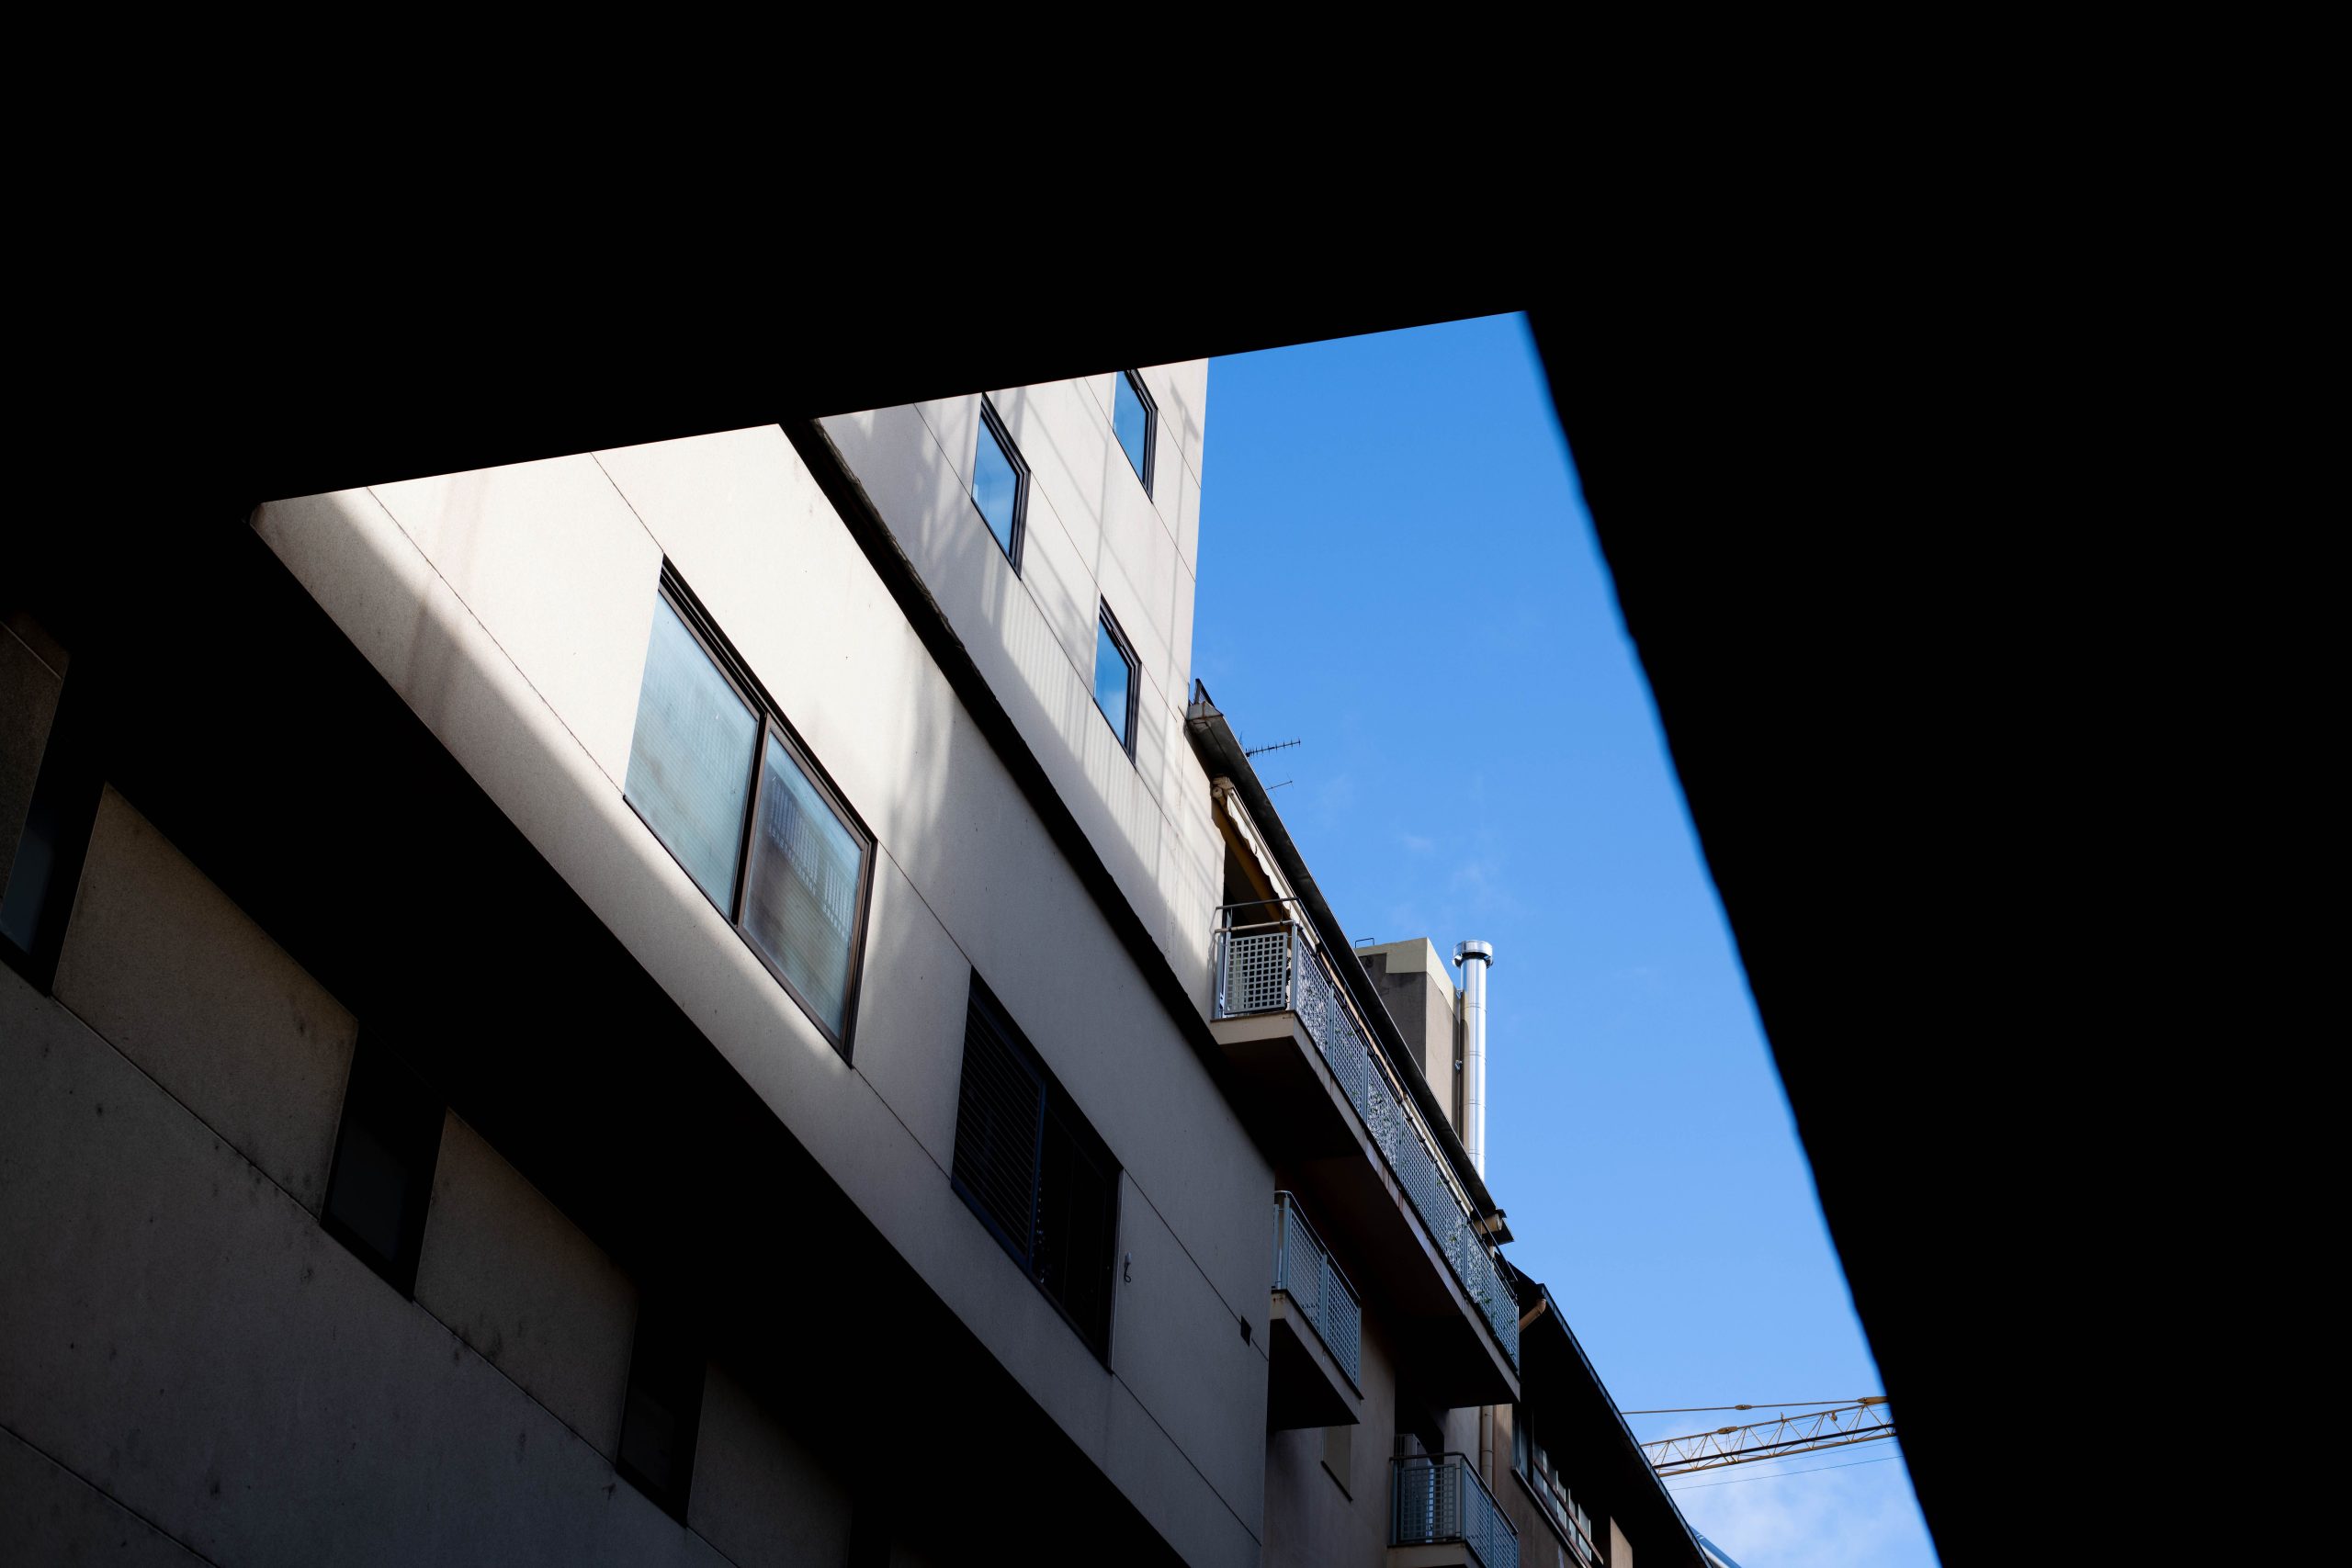
Look at where the light falls on the part of the building you want to show. Side light may describe relief in stone or projecting panels. Softer light can make a detailed facade easier to read without deep shadows. Reflections in glass may change as you move, even when the light itself stays steady. Inspect the actual view rather than judging the whole day as good or bad for architecture.
Building orientation, nearby structures, season and weather affect a view. Early morning does not guarantee an empty street or light on the facade you need. If the assignment depends on a certain appearance, scout or use a planning aid and then verify conditions on location. Keep an alternative view in mind in case the preferred position is obstructed.
After sunset, compare the brightness of the building and sky instead of working from a fixed number of minutes. Some lights may be off, and a facade may not be illuminated at all. A longer exposure can record light trails or moving clouds, but movement should support the picture rather than replace its subject. Make a test frame and decide whether the effect adds useful information.
Check reflective surfaces for bright distractions and for yourself or the equipment. A polarizer may change some reflections depending on angle and surface; it will not solve every reflective facade. Compare the effect across the frame. Wide views can show an uneven sky, so inspect the corners as well as the main subject before keeping the filter in place.
Make a clean technical capture
 Save
Pick exposure settings for the view and the movement in it. An aperture around f/8 can be a starting test for a building study, but sharpness also depends on the lens, focus distance and intended output. Inspect detail near the edge and in the main subject. Adjust when the file shows a problem instead of following a fixed aperture range without checking.
Use support when it helps with the required shutter speed and is permitted. Tighten the head, check the framing and avoid touching the camera during an exposure when practical. A timer or remote release can help with that. The tripod does not freeze vehicles, pedestrians or foliage. Decide whether those elements should remain sharp, blur or be absent from the frame.
A histogram and highlight warnings can help you review bright surfaces, but they need interpretation. A small reflected sun may be different from a large area of facade whose detail matters. Decide which tones need to survive. If the scene exceeds what one exposure can show and movement allows, make a bracketed sequence and check that it actually covers the needed range.
Keep the frame stable through an exposure sequence. Keep aperture, ISO, focus and white balance consistent and vary shutter speed to change exposure. Review the darkest and lightest useful frames, not only the middle one. When merging, inspect people, trees, flags, window edges and fine patterns for movement artifacts. More frames do not guarantee a better result. A simpler single exposure can be the better choice when a blend creates visible problems.
Build variety without losing the subject
For a short set, combine a view that explains the building with a closer relationship and a detail. The wider frame might show its position on the street. A second could connect two materials, and a third could isolate a pattern. Choose each frame because it adds information. Several nearly identical wide views may make the set longer without making it clearer.
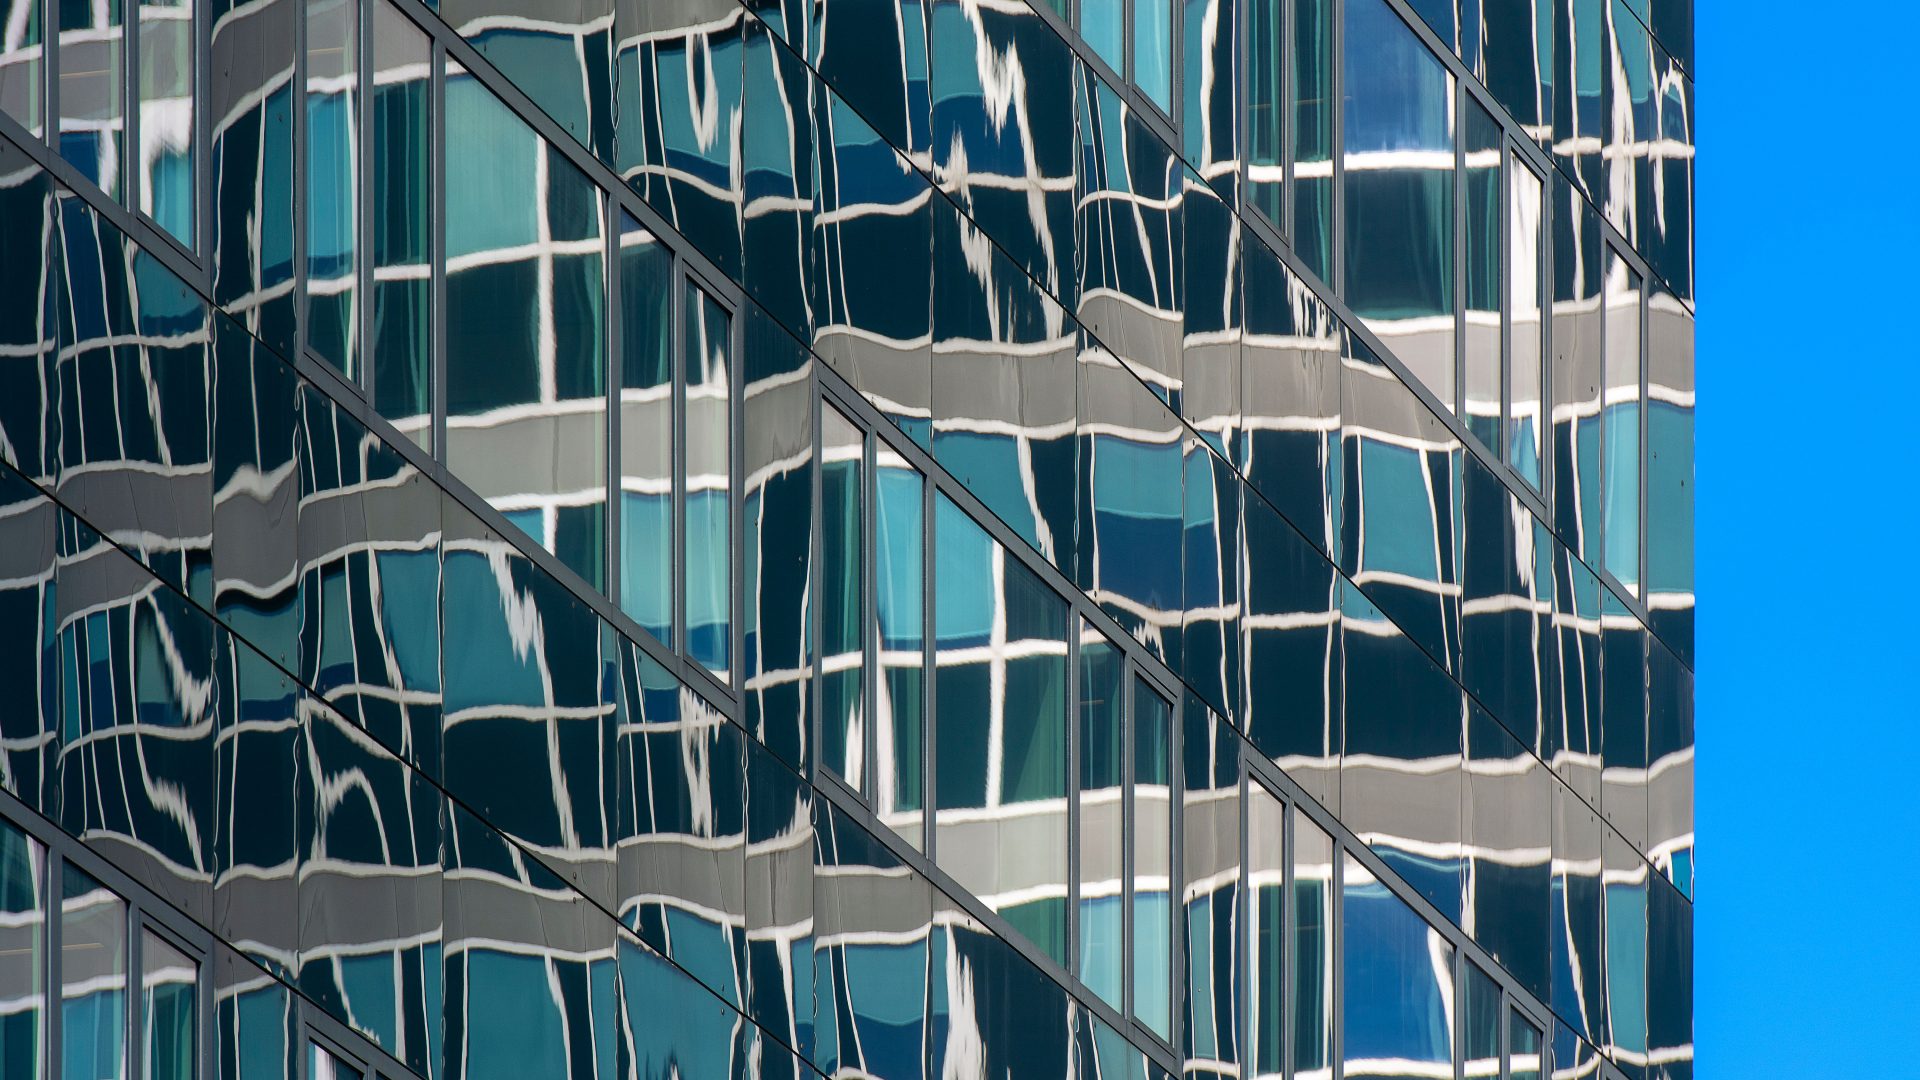
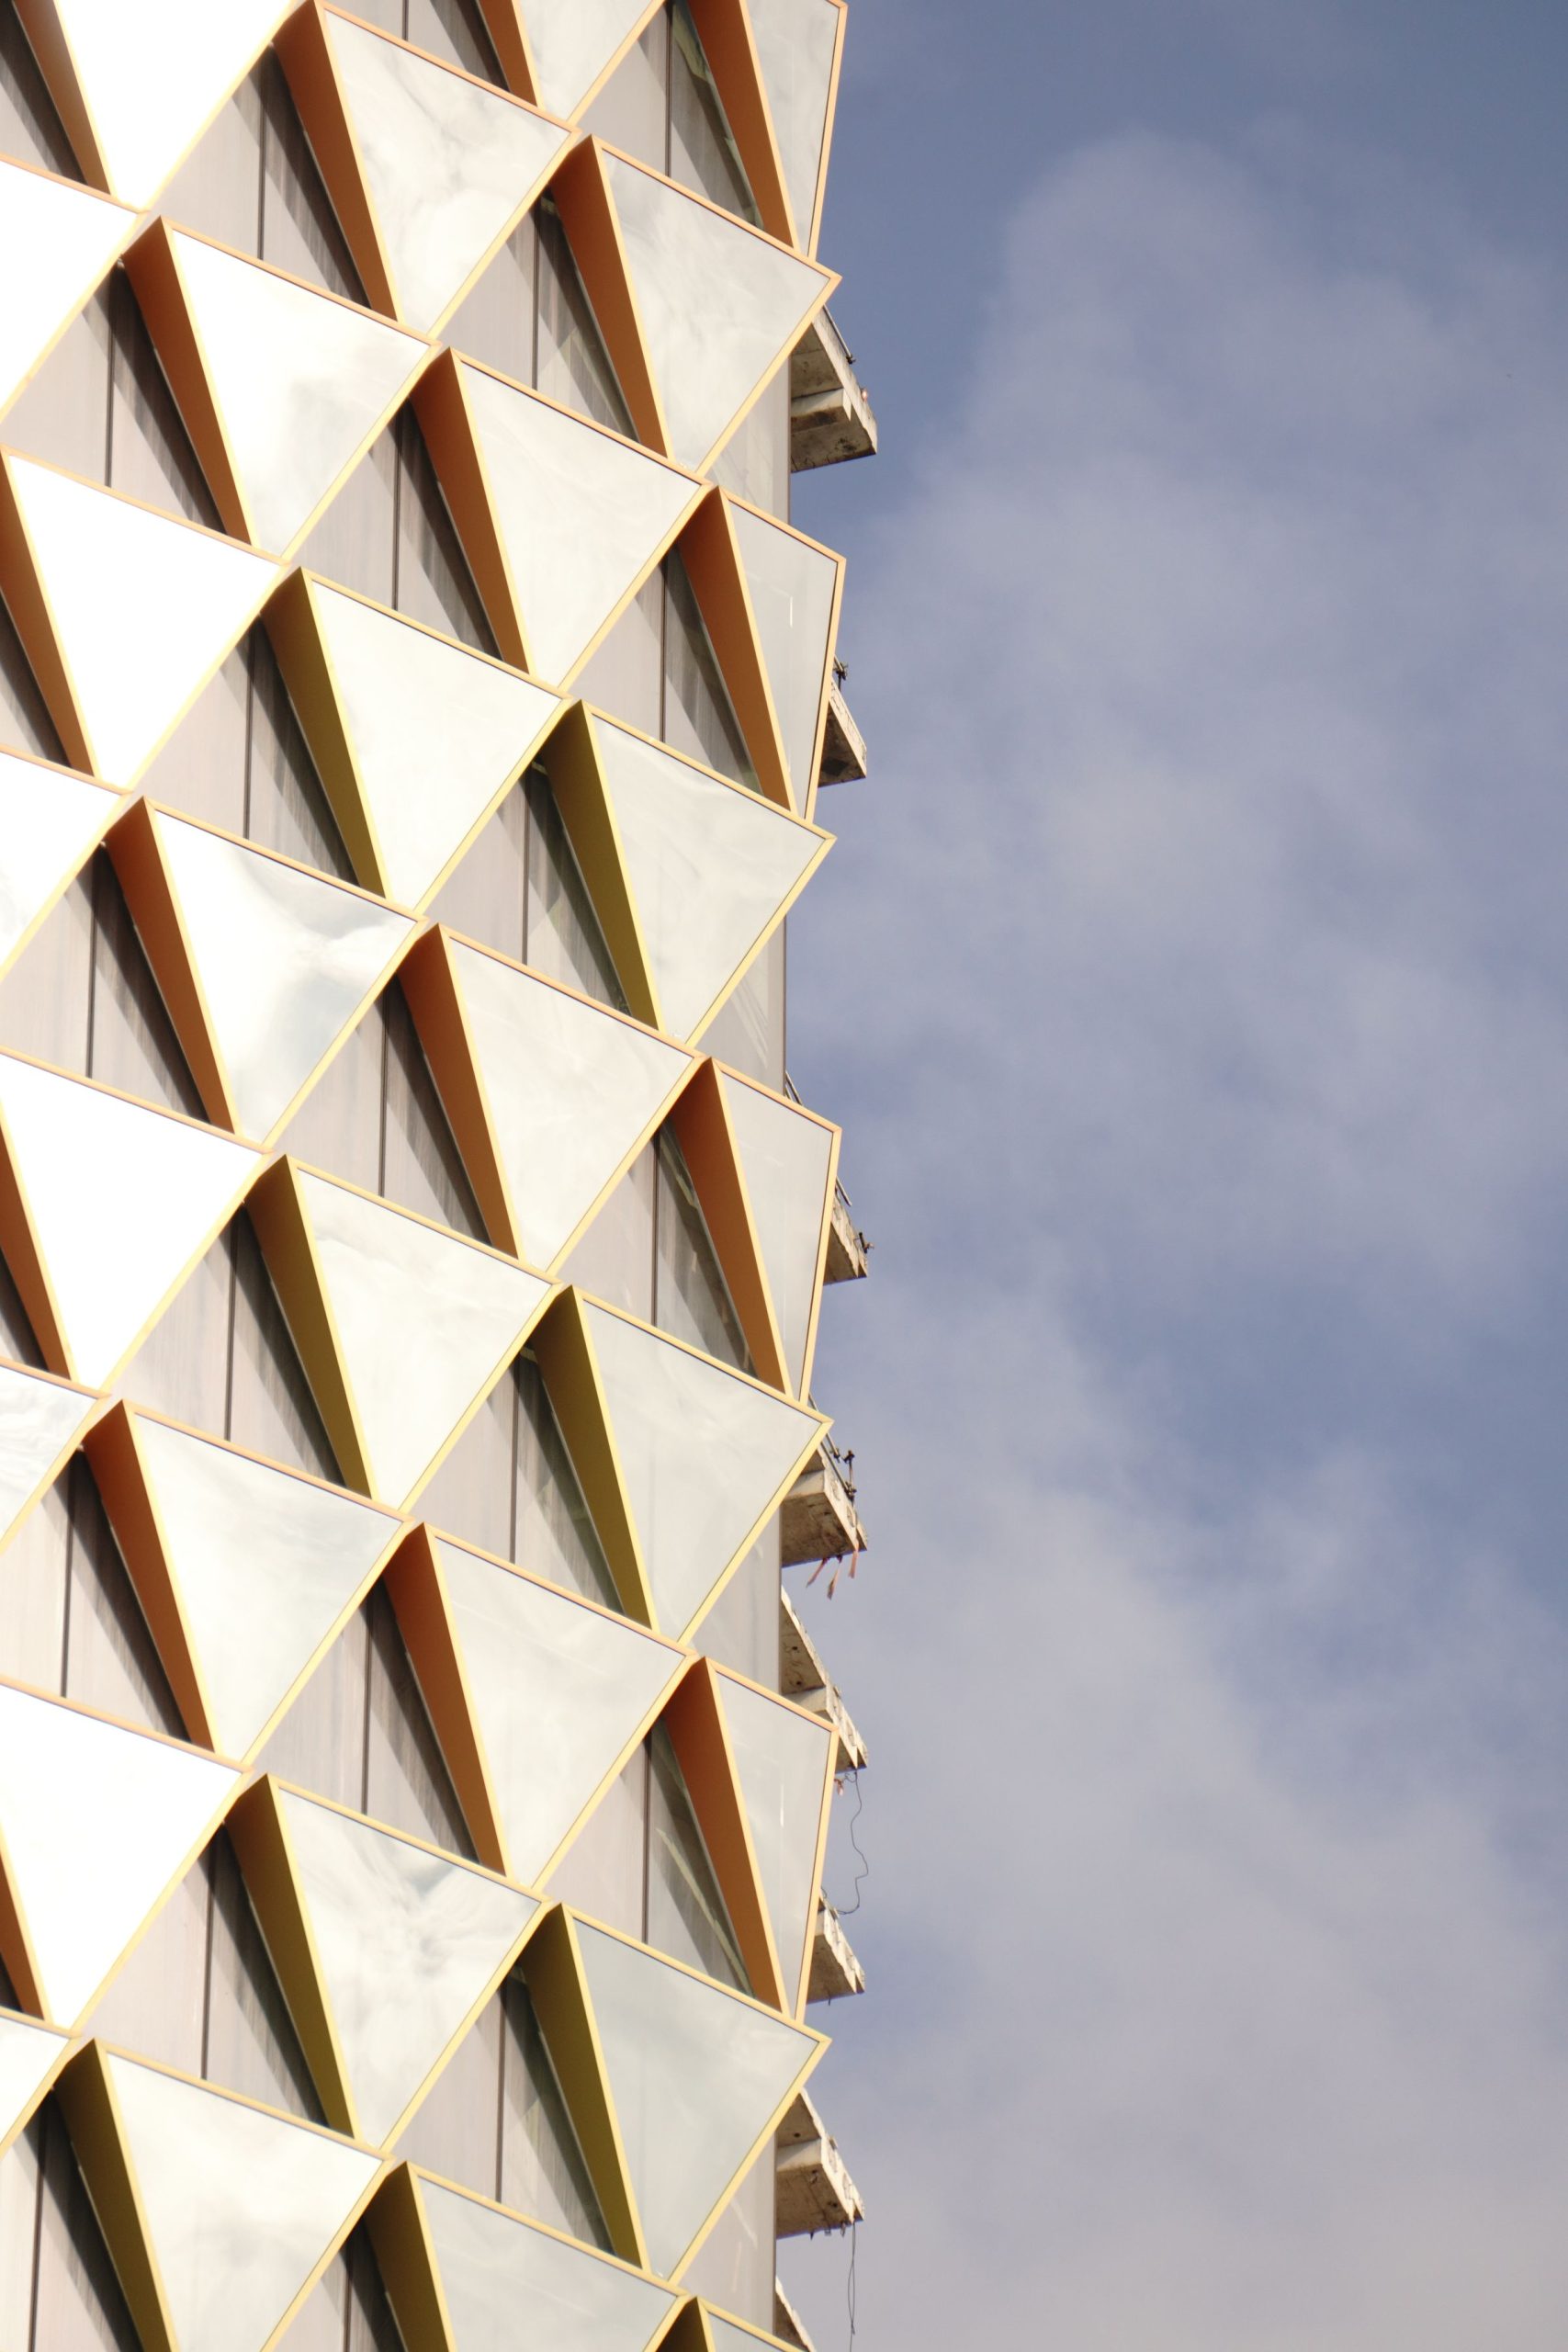
Abstract photographs can be useful when repeated panels, shadows or reflections become the subject. Crop deliberately and inspect the edges. If the image will accompany a factual account of a building, keep enough other views to establish what it shows. An abstract detail should not be asked to prove something about an entire structure that is outside the frame.
People can show use and scale, but they are not compulsory. For an arranged photograph, settle participation and permitted use in advance. When someone would be an identifiable main subject, ask clearly and respect refusal. Do not describe a small figure as a resident, worker or visitor unless you know that information. Architecture and light remain valid subjects when including people would be intrusive.
Try a monochrome version when color competes with shape or tone, then compare it with the color file. Black and white is not automatically more timeless or more truthful. Check whether adjacent materials remain distinguishable. A conversion that merges important surfaces into the same gray can remove exactly the information the photograph needed to show.
Edit and review before delivery
Keep the original and make edits on a separate version. Select the strongest frames, apply the appropriate lens profile before perspective correction, then review geometry, exposure and color. Check the full frame after each large perspective change. Look for stretched edges, repeated retouching patterns, halos and inconsistent window brightness. Compare related photographs together so one frame does not look accidentally warmer or more contrasty than the rest.
Separate tonal editing from content changes. Removing a temporary distraction is different from altering permanent architecture, and the brief should settle what is acceptable. Keep a note of meaningful changes and an unaltered reference. Do not invent a clean facade or erase a feature simply because it makes a more attractive image. The recipient may need an accurate record.
Use our architectural photo editing guide for a longer review process. Confirm delivery dimensions, file type and color requirements before export. Open the exported files and check them at useful viewing sizes. Make sure an automatic crop has not cut off a roof edge or changed the intended composition.
End with captions that distinguish what is visible from what is documented. Keep the photographer, source and rights information with any stock reference. The photographs on this page are credited stock illustrations of architecture, not claims about equipment, capture settings or a particular assignment. For your own work, record the location and view while the information is still easy to check.
What lens should I use for city architecture?
Choose the field of view needed for the actual subject. A wide zoom can help in limited space, while a standard or longer lens can isolate details. Check camera compatibility and edge distortion rather than treating one focal length as essential.
How do I keep a building from leaning?
Start with a level camera when upright lines should remain upright. If you tilt, decide whether convergence suits the picture. Leave room for any later correction and inspect the resulting crop and proportions.
What time should I photograph a facade?
It depends on orientation, nearby buildings, weather and the intended result. Scout the actual view. Morning does not guarantee empty streets, and evening does not guarantee that building lights will be on.
Should I use a tripod?
Use one where allowed and useful for your shutter speed or exposure sequence, without blocking access. It reduces camera movement but does not freeze people, vehicles or foliage.
Can I change a building in the edit?
Set the boundary with the client or intended use. Tonal corrections differ from removing permanent features. Keep the original and disclose meaningful content changes when the picture is presented as a record.
Equipment to compare for architecture
A camera support that levels accurately can help when your composition depends on a carefully aligned facade. Compare tripod leveling bases at B&H. Check the mounting threads, load rating, working height and compatibility with your tripod and head. These are equipment options, not a claim about the gear used for the stock photographs.
Retailer listings can change. This is an affiliate link: if you buy through it, we may earn a commission at no extra cost to you.