
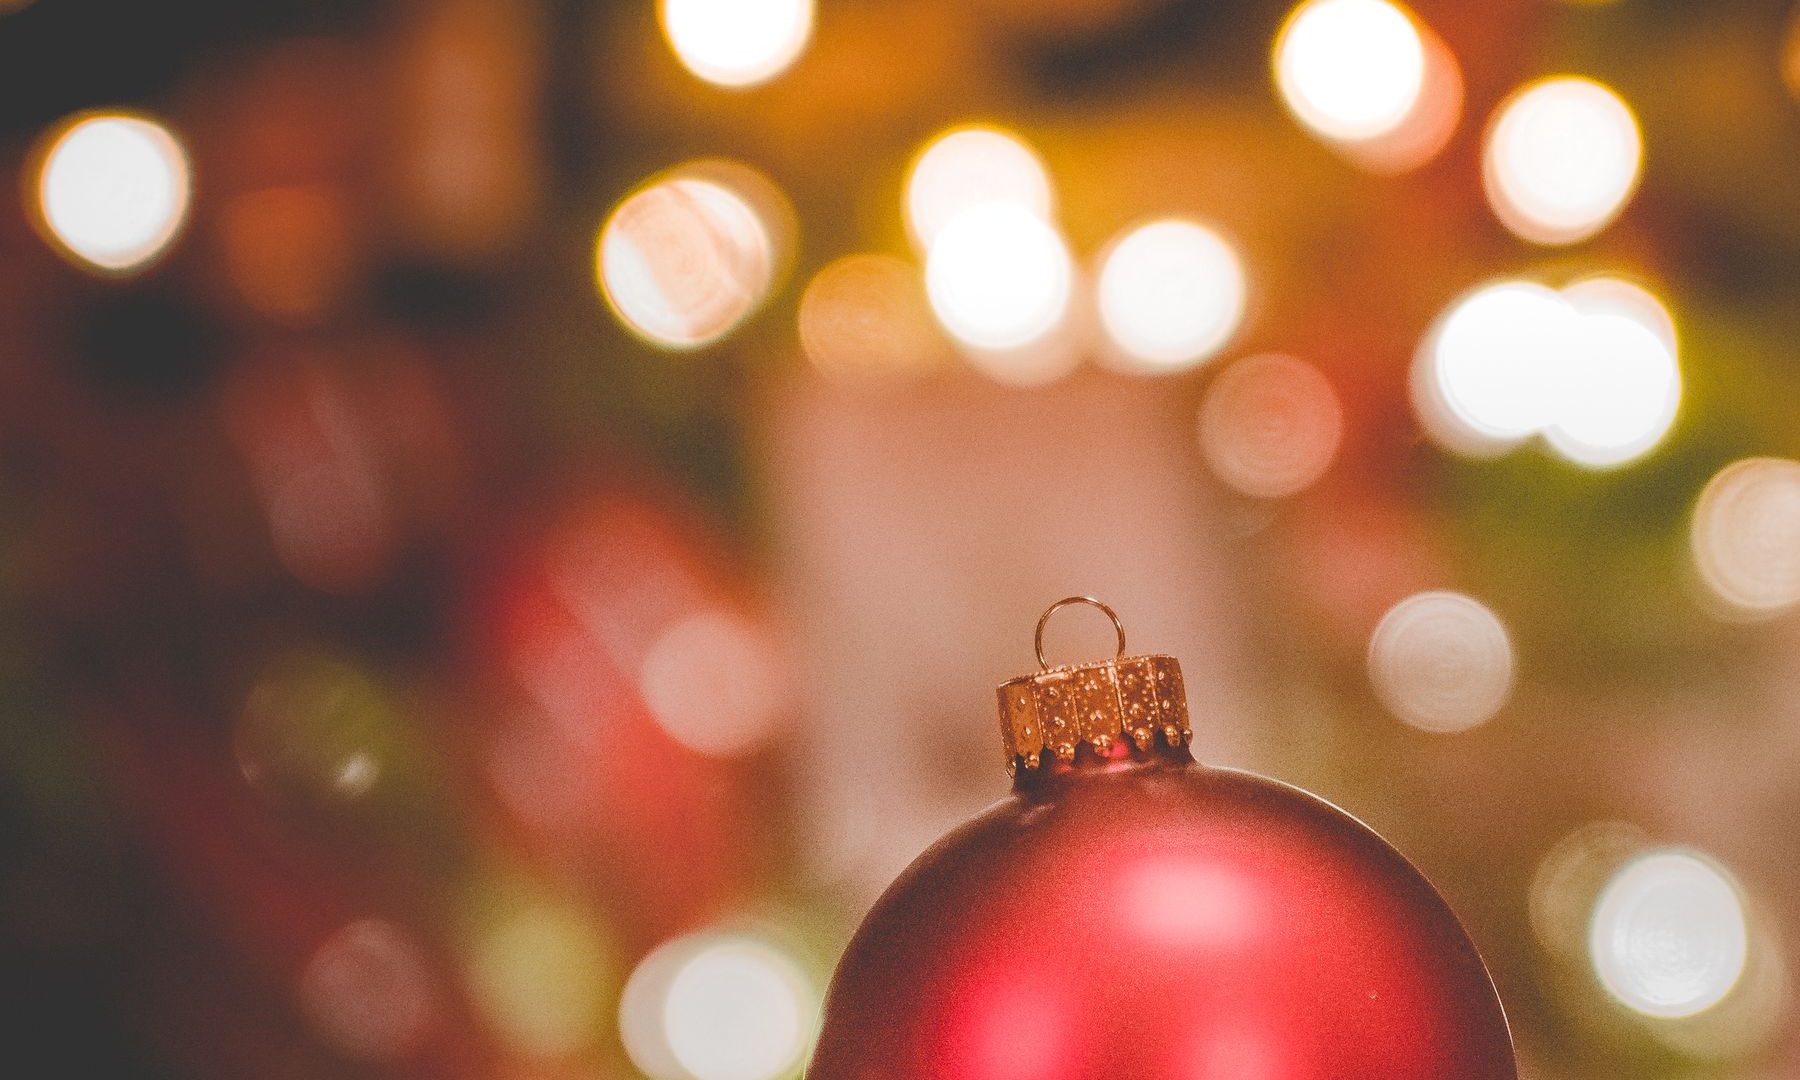
A Christmas tree can look beautiful to your eyes and ugly in a photograph. The bulbs turn white, the faces disappear and the room becomes a pile of competing colors. Buying a faster lens does not automatically fix that. You need to decide what the picture is about before you decide how bright it should be.
These Christmas photography tips cover the two jobs that usually collide during the holidays: photographing the lights and photographing the people around them. They need different exposure choices. Start with the subject, test one frame and change the thing that is actually wrong. You can make strong photographs with a camera or phone when you work with the light instead of asking every setting to solve everything.
Updated October 2026.
1. Separate the lights photograph from the people photograph
A glowing display is a light source. A person standing beside it is a subject that needs light. Those are different problems. If you expose only for a dark face, the tiny bulbs may lose their color. If you expose only for the bulbs, the face may become a silhouette. Neither result is automatically a mistake, but it should be your choice.
Make an establishing photograph of the decorated room or outdoor display first. Let the lamps and bulbs carry the mood. Then look for a portrait position where a window, room lamp or appropriate flash can light the person separately. Do not spend the whole gathering trying to force one frame to do both jobs perfectly.
Before touching the camera, remove a few distractions from the frame. Step away from an open doorway, turn slightly to hide a television or wait until a bright phone screen drops out of view. A small change in position can do more than a complicated edit. Look at the edges, particularly the bright objects touching someone’s head.
2. Use dusk for outdoor Christmas lights
When outdoor decorations are the subject, try the period when the lights are on but the sky still has color. The remaining daylight can reveal buildings, trees and paths without flattening the glow. Make a frame early, then repeat it as the sky darkens. Compare the balance rather than deciding that the darkest photograph must be the most dramatic.
You do not need a specific minute that works everywhere. Weather, latitude, the direction you face and the brightness of the display all change the useful window. Arrive while you can still find a safe position. Choose your composition before the light gets good, then watch the sky and the display together.
A tripod can help with a still scene when the exposure becomes longer. It cannot make passing visitors stand still. Decide whether moving people should be sharp, blurred or absent, then choose a shutter speed that supports that choice. Never block a path to get a cleaner view. Check tripod rules at organized displays and use a handheld approach where support is not allowed.
For a deeper explanation of movement, read our shutter speed tips. The right exposure is the one that gives you the intended subject, not the one copied from a different photograph.
3. Keep the bulbs colorful instead of making everything bright
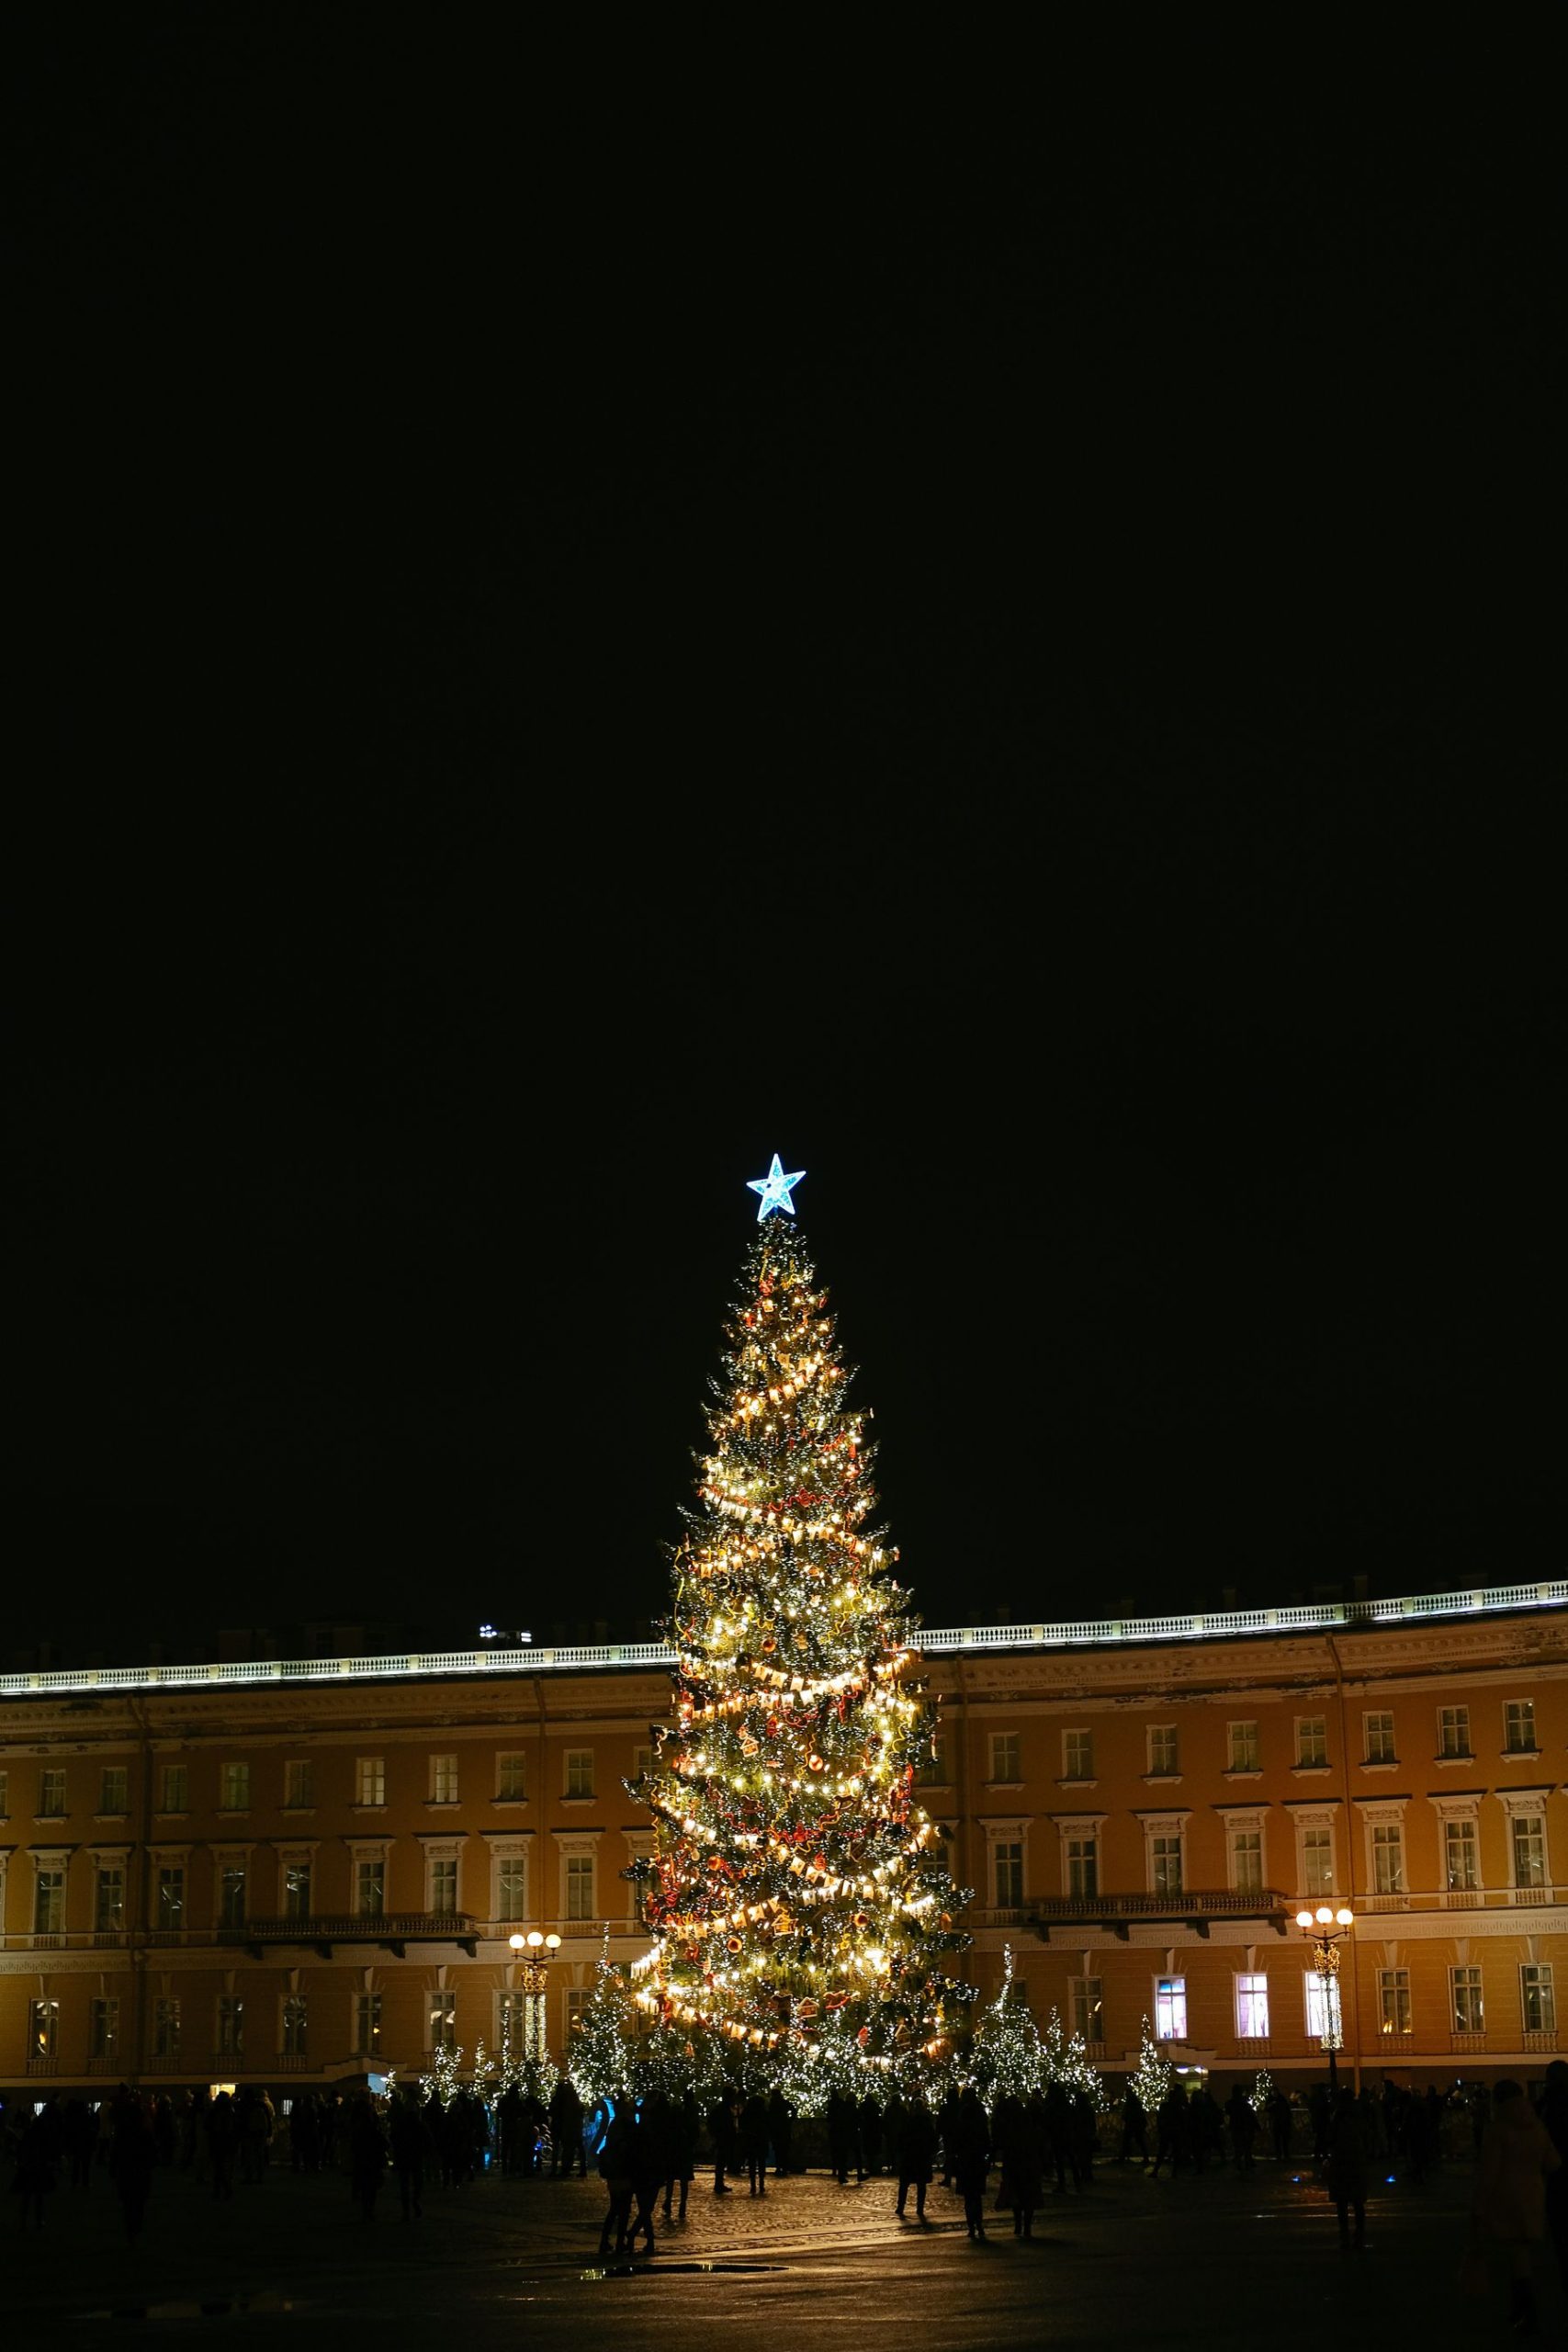
Tiny light sources can clip while the rest of the scene still looks dark. Review a test photograph and zoom in on the brightest parts. If colored lamps have become broad white patches, reduce exposure and shoot again. A small bright center is different from a whole decoration losing its shape and color.
In aperture priority, exposure compensation lets you adjust the camera’s metered result. In manual exposure, change the appropriate exposure control while watching the subject. On many phones you can adjust brightness after choosing a focus point, but the controls differ. Learn your own app before the event rather than searching its menus while people wait.
Check the histogram or highlight warning if your camera provides them, but do not use one graph as a substitute for looking at the picture. A night scene can contain plenty of dark pixels by design. Brightening every shadow may destroy the feeling you came to photograph. Protect the important lights and keep enough surrounding detail to explain the scene.
Try a second exposure when the contrast is too large. This gives you a useful alternative; it is not a promise that every bright bulb and dark corner can be recovered later. RAW files can offer more editing flexibility when your camera supports them, but lost highlight detail is not guaranteed to return. Get as close as you can at capture.
4. Put the person in good light before making the background blurry
For a portrait, look at the face first. Ask your subject to turn toward a useful window or a soft room light. Move them away from a harsh overhead pool that leaves the eyes dark. Take a test frame and check skin, eyes and shadows before inviting everybody into the spot.
The Christmas tree can sit behind the person rather than directly beside their face. Increase the distance between subject and background where the room permits. A relatively wide aperture can soften the lights, but subject distance, background distance and focal length also affect the result. You do not need to claim that every attractive portrait was made at f/1.4.
Focus on the eye you need sharp. With a group, place faces at reasonably similar distances from the camera and choose enough depth of field for the actual arrangement. A very shallow focus effect loses its appeal when only one family member is sharp. See our aperture guide before treating the widest setting as the default.
Keep the portrait short. Explain where to stand, make a few frames, check them and let people return to the gathering. A comfortable expression is worth more than another ten minutes of adjusting lights while everyone becomes tired.
5. Make bokeh on purpose, not by missing focus
There are two different Christmas bokeh photographs: a sharp subject with soft lights behind it, and a fully defocused abstract made from the lights themselves. Choose which one you want. A portrait with accidentally soft eyes is not improved because its background circles look beautiful.
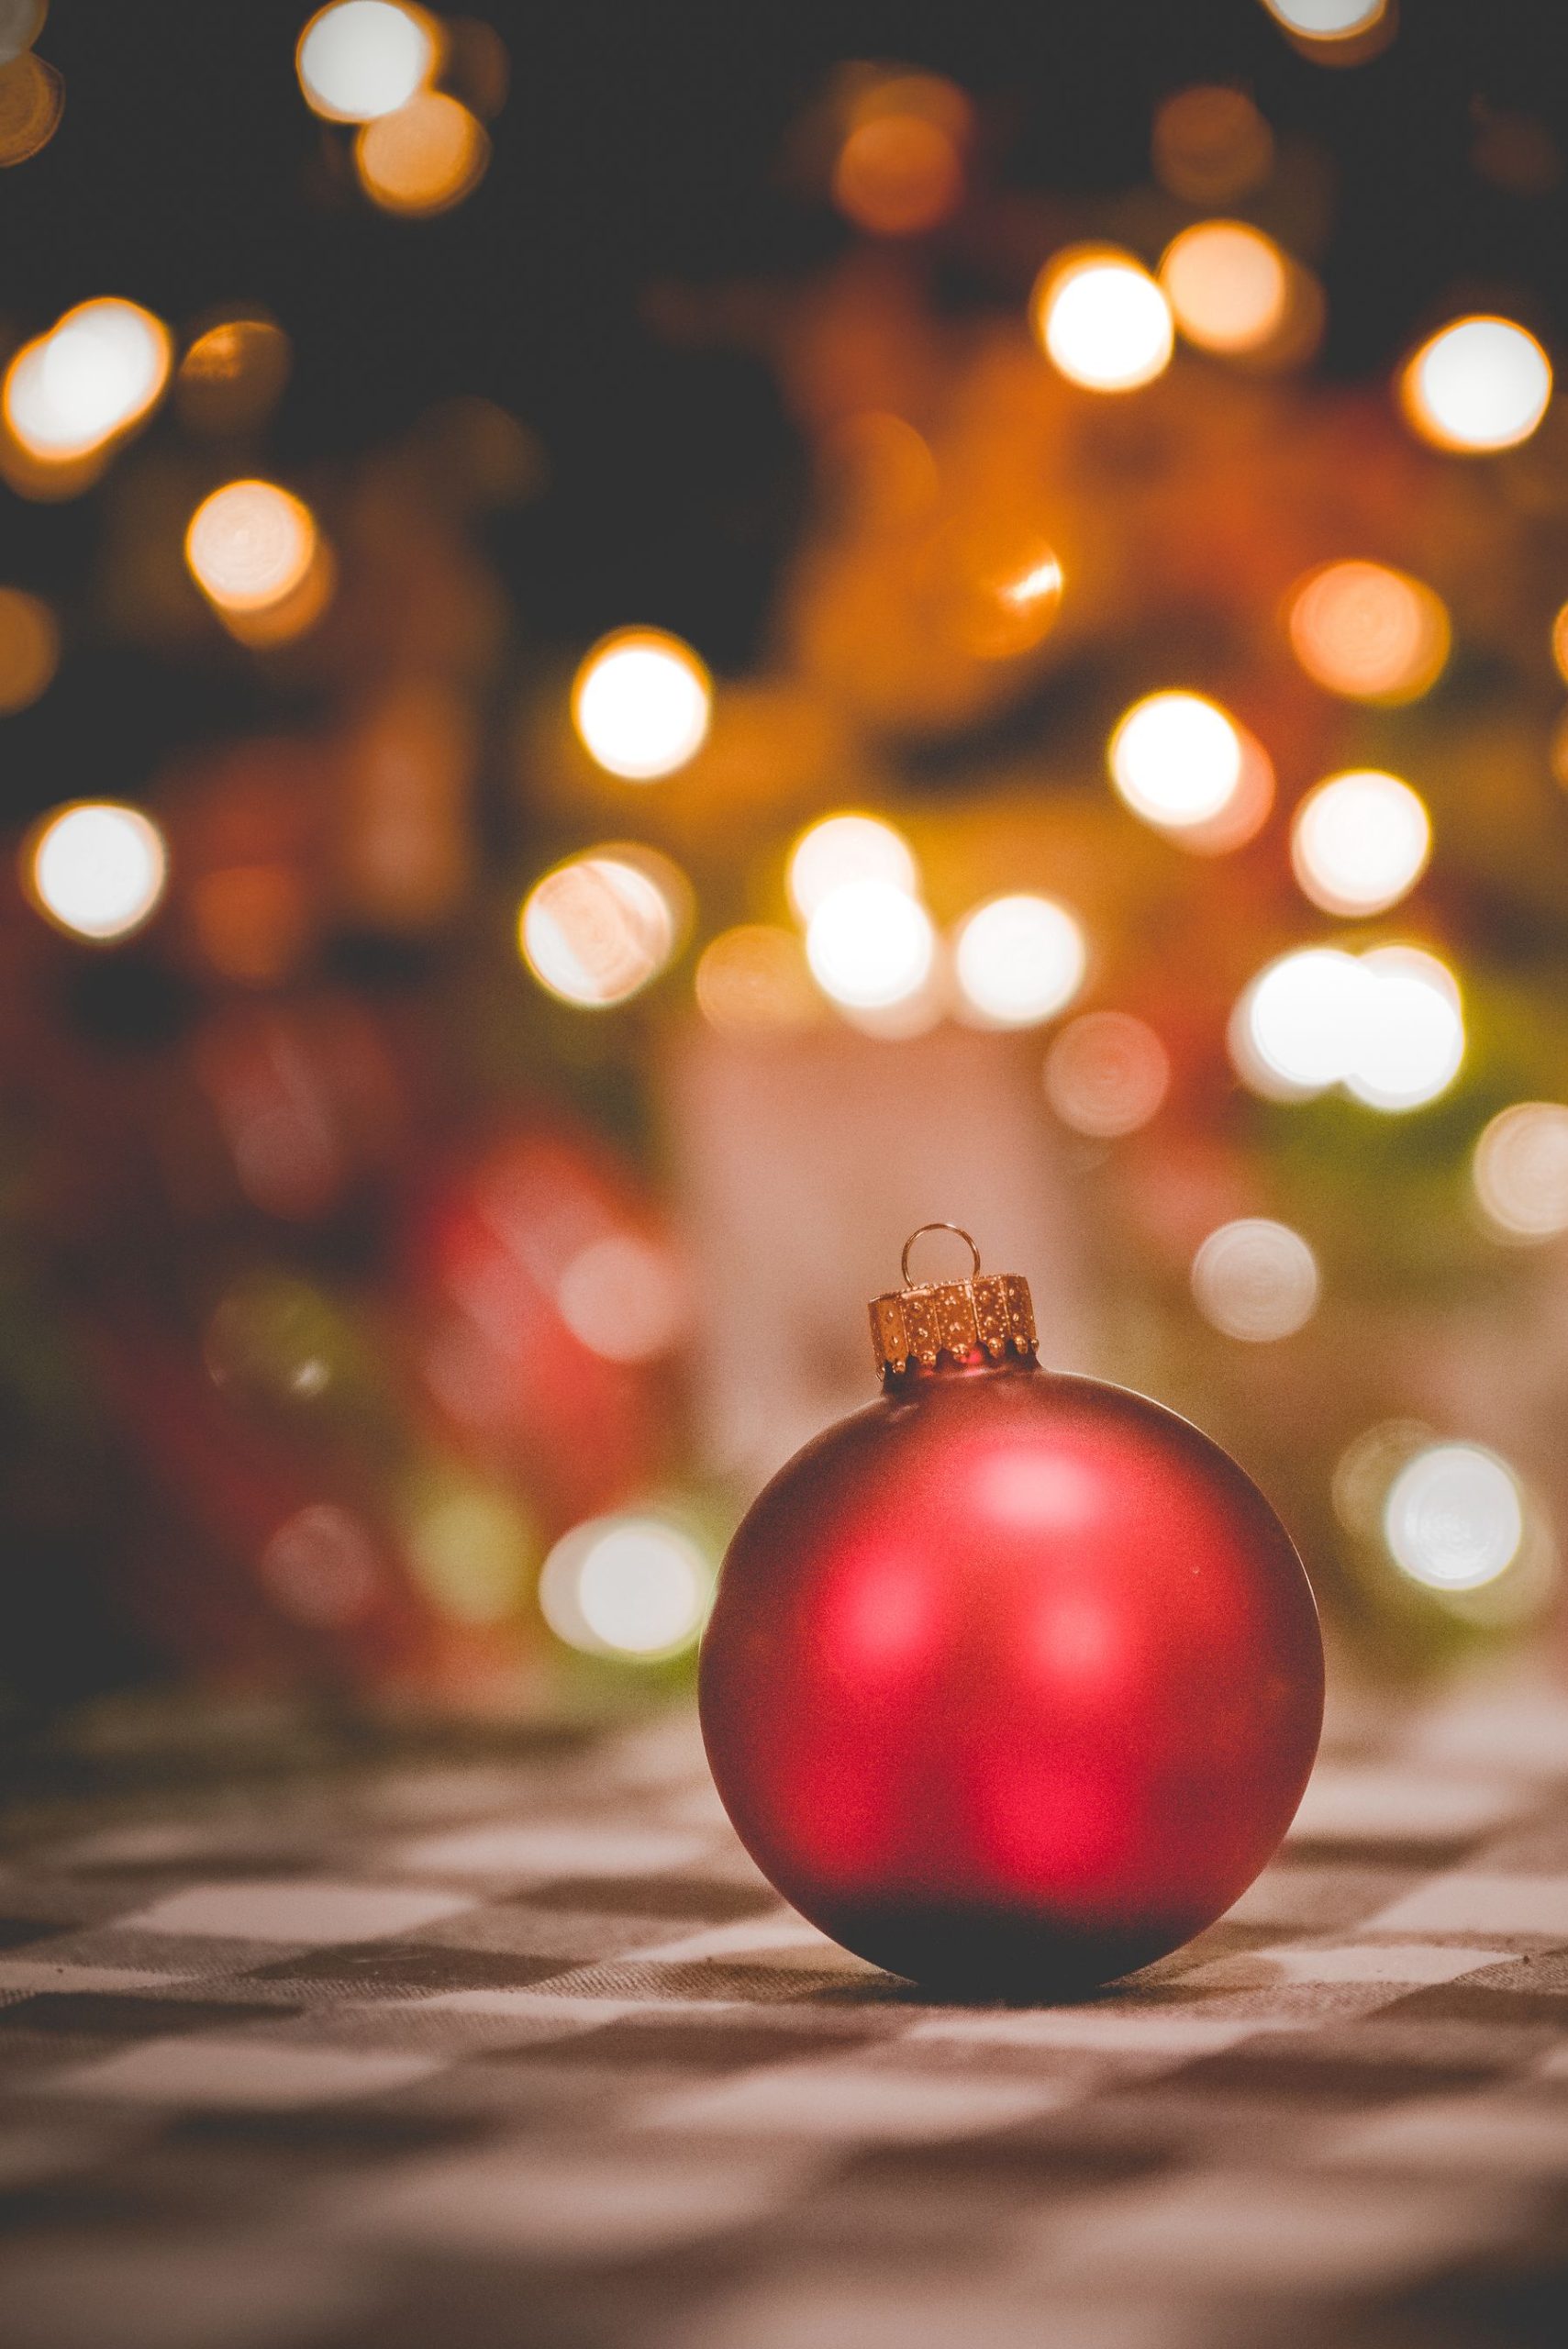
For a subject-and-background picture, keep the subject sharp and work with separation. An ornament is a useful practice subject because it stays still. Put it where its shape catches light, focus on the ornament and compare the background as you change position. Avoid touching delicate decorations without permission.
For a light-only abstract, manual focus can deliberately turn pinpoints into soft circles. Change the focus slowly and watch the pattern. Compose the circles as shapes, checking the empty space and the edges. An evenly scattered field can feel very different from a cluster that leads toward one corner.
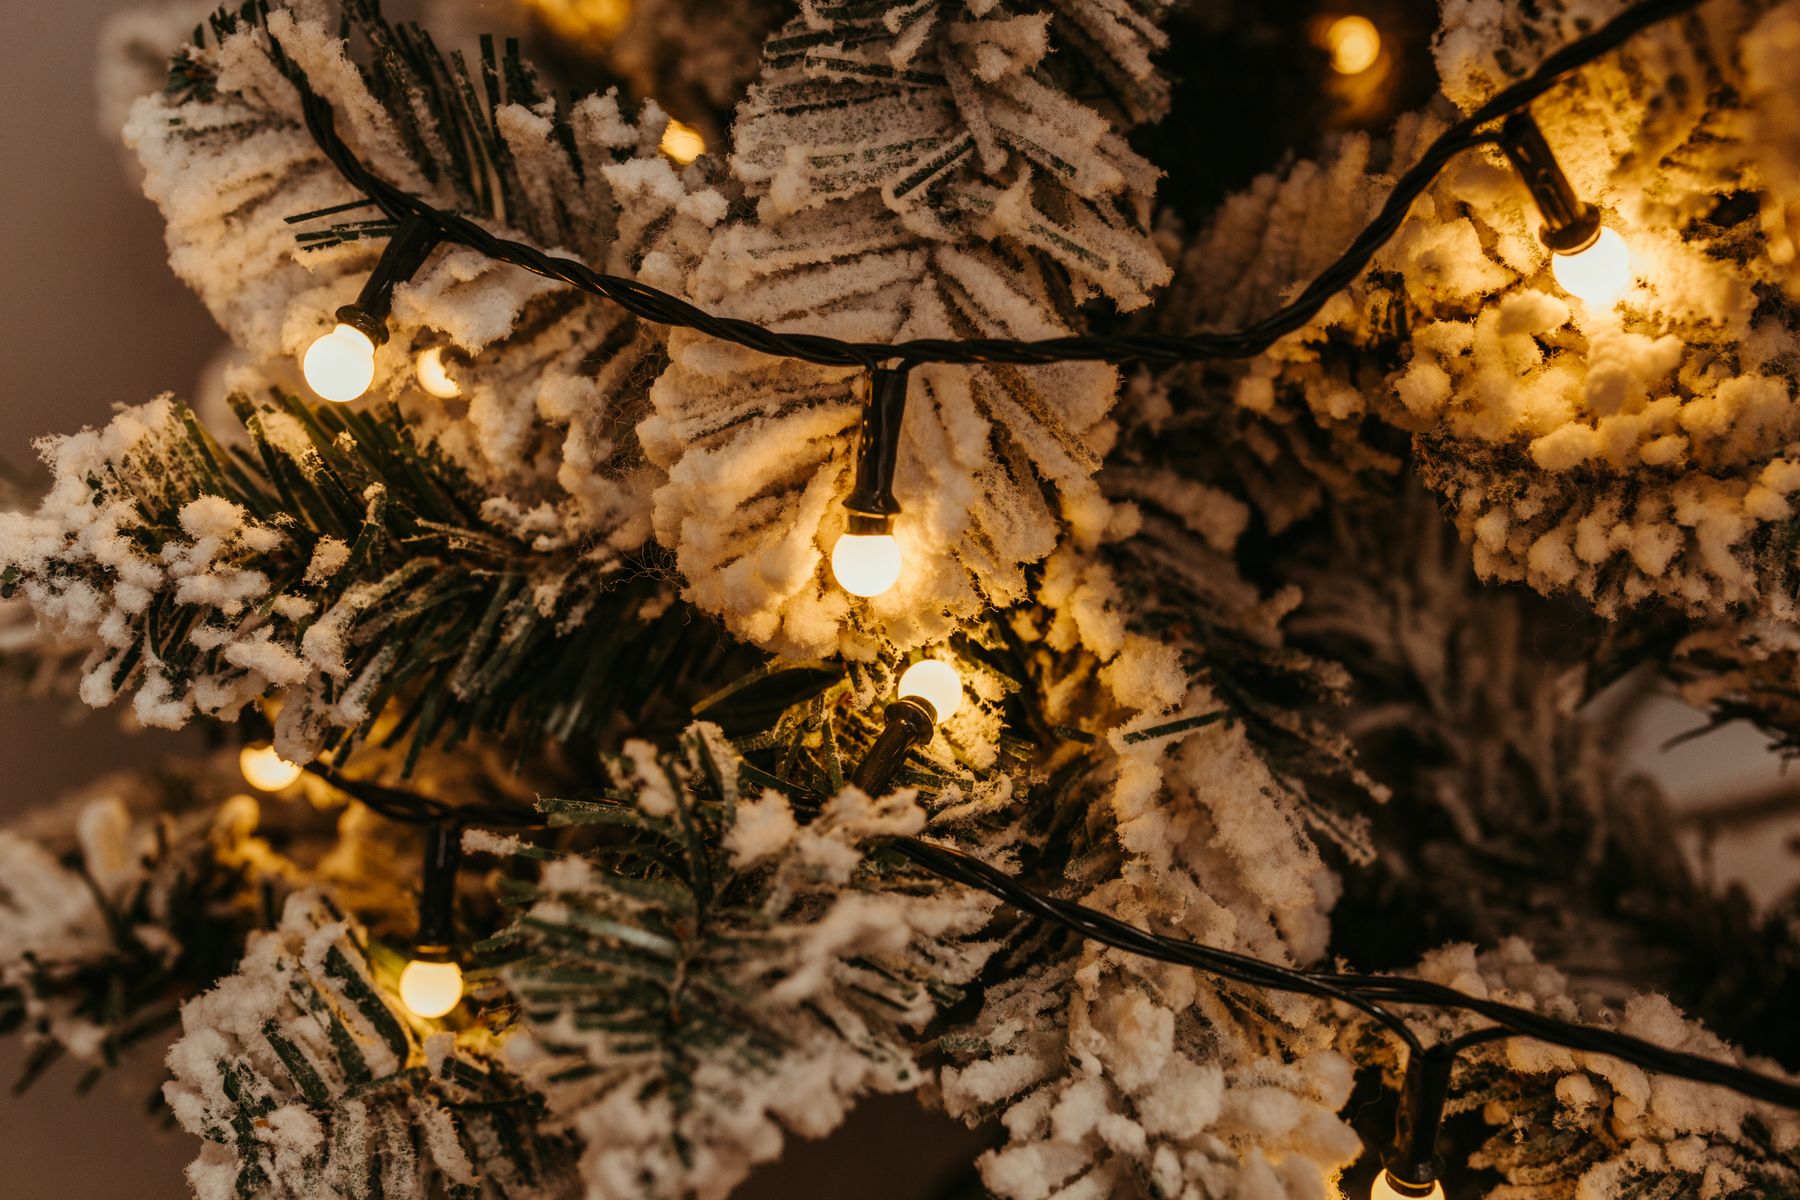
Do not call a stock photograph a camera-settings test. The images in this guide illustrate composition, light and subject choices; they are not matched before-and-after comparisons or proof of a particular lens. Your own two-frame test, made from the same position, will tell you much more about your equipment.
6. Give moving people a shutter speed that keeps up
People opening presents, talking with their hands or running across a room need a different shutter choice from an empty tree. Review an actual moving subject at a useful size. If the eyes or hands smear, shorten the exposure and adjust the other exposure controls as needed. A sharp wall behind a blurred child tells you the subject moved; it does not prove the lens is defective.
Raising ISO can be the sensible trade when motion matters. Noise is a problem you can evaluate later. A missed expression or a face blurred beyond recognition may be harder to save. Do not insist on the lowest ISO just because a checklist told you it is best.
Camera shake and subject movement are separate. Image stabilization or a steady grip can reduce the first, but neither freezes a waving hand. A tripod may help with a posed portrait or still decoration. It is not a cure for every indoor photograph.
Use continuous autofocus if your camera handles a moving subject well, and test its eye or face detection in the real light. Do not assume the feature is working because it is switched on. Check a short sequence, then shoot in small bursts around real moments rather than holding the shutter through the whole evening.
7. Decide what flash should do
For a display made from bulbs, start without flash. Direct light can overpower the colors and change the mood. For people, flash may be useful when available light is poor, but its job is to light the subject while leaving the setting believable.
If your flash and room allow bounce, test a suitable ceiling or wall. A colored surface can tint the reflected light; a very high or dark surface may not give the result you expect. Check a face after the test, not just the room. If bounce is unsuitable, choose another light source or a simpler portrait position instead of pretending the room can support a setup it cannot.
Avoid surprising guests with repeated bright flashes at close range. Ask before a staged portrait and keep the setup out of walkways. Never place a light or stand where someone carrying food, a child or an animal can pull it over. Good technique includes making the gathering comfortable.
8. Use details to tell the story
Make a wide frame of the room, a medium frame of people doing something and a close detail that explains the occasion. The wrapped parcel, a hand finishing a decoration or a familiar ornament can connect the sequence. You do not need fifty versions of the same tree.
Look for gestures rather than demanding a smile in every frame. Wait for people to turn toward each other. Give children room to play, and respect anyone who does not want to be photographed. An honest quiet moment can be stronger than a forced group performance.
Pets do not need costumes or wrapped light strands to become part of the story. Photograph them safely in their normal space, with decorations and electrical cords out of reach. Do not recreate a prop arrangement just because an older photograph used it. If the animal is uncomfortable, stop.
9. Keep color warm without making skin orange
Holiday rooms often mix warm bulbs, cooler window light and colored decorative LEDs. A single white-balance setting cannot make every source neutral at once. Choose the important subject and judge its color first. For a portrait, that usually means the face.
Make a reference frame in the light you will use. Compare it after a change in position or lighting. If the camera shifts color between otherwise similar frames, a consistent white-balance choice can help; the exact setting depends on your equipment and the sources in the room.
Warmth is part of the holiday feeling, but too much orange can bury natural skin tones and separate faces from the background. In editing, adjust in small steps. Look at something you recognize, then check the whole frame again. Do not remove every warm note merely to make a white wall perfectly neutral.
10. Pack light, protect the files and finish the photographs
Charge the battery, check available storage and clean the lens before people arrive. Bring a spare battery or storage option if your equipment supports one and the gathering matters enough to need it. Keep the kit small enough that you can move comfortably and participate.
Outdoors, protect equipment according to its manufacturer’s weather guidance. Rain, snow and condensation are different problems. Do not assume a camera is waterproof because someone calls it weather sealed. Keep your hands warm enough to work safely and choose a position away from slippery traffic or crowded steps.
Afterward, back up the files before clearing the card. Pick the strongest expressions, then remove obvious duplicates. Straighten distracting lines, crop carefully and make modest exposure and color corrections. Check faces at normal viewing size as well as close up; excessive sharpening can make a good portrait look brittle.
Ask before publishing or widely sharing another person’s image, particularly a child’s. A private family album and a public post have different audiences. Respect those expectations even when everyone enjoyed the gathering. Deliver a small, coherent set instead of making the family sort through every test frame.
Christmas photography FAQ
What settings should I use for Christmas lights?
There is no universal combination. Start with the composition and whether anything needs to stay sharp while moving. Check the brightest bulbs, adjust exposure to preserve useful color and use support when a still scene requires a longer exposure.
Why do the lights turn white in my photographs?
The bright bulbs may be clipping even when the room looks dark. Make a darker test exposure and compare the bulbs at a useful size. You may need to accept darker surroundings rather than brighten everything equally.
How do I get blurry Christmas lights behind a person?
Keep the person sharp, move them away from the lights and use an aperture that gives the intended background softness without sacrificing needed face detail. Distance and focal length matter as well as aperture.
Should I use flash for Christmas photography?
Start without flash for a display made from lights. For people, test an appropriate flash or another light source when their faces need help. Check the subject and background together rather than assuming flash always improves the scene.
Can I photograph Christmas with a phone?
Yes. Clean the lens, choose useful light, stabilize the phone and check focus and exposure. A night mode may suit still decorations but can struggle with movement. Learn the controls your own phone actually provides.
Are the pictures here exact camera-setting examples?
No. They illustrate real holiday subjects and visual choices. They are not controlled comparisons, recreated shooting setups or claims about the settings used to make them.
Gear for Christmas photography
Choose gear for the problem you have: stable support for a still display, a compatible fast lens for dim portraits or an appropriate flash for faces. Check the mount, autofocus support, flash system and room before buying. A new accessory cannot replace a good subject position.
Compare on Amazon | Compare on B&H
These are comparison searches, not product reviews or promises of compatibility, price or availability. Build your understanding of light and composition with the Shut Your Aperture Academy.
Affiliate disclosure: As an Amazon Associate I earn from qualifying purchases. Purchases through Amazon and B&H links may earn a commission at no extra cost to you.

