Adobe Photoshop and digital art platforms offer a vast range of tools and techniques to artists wanting to bring their visions to life. Among these, layers in Photoshop, the versatility of brushes, and the art of color blending stand out as pivotal elements. Each aspect, whether it’s managing layers, selecting the right brush for creating stars, or blending colors for atmospheric effects, contributes significantly to the creation of complex and captivating imagery. This article aims to shed light on these crucial tools and methods, providing a clear path for artists to enhance their digital art skills.
Understanding Layers in Photoshop
Creating Complex Images with Layers in Photoshop
Introduction
Adobe Photoshop harnesses the power of layers to craft intricate and detailed images. Layers serve as the foundation of your project, allowing modifications, adjustments, and additions without altering the original image. This guide describes how layers function in Photoshop to build complex images, providing you with a pathway to unlock your creative potential.
Understanding Layers
Think of layers as transparent sheets stacked on top of one another, where each sheet represents a different element of your image. These could be text, shapes, or various parts of an image that you wish to manipulate individually. Photoshop’s workspace enables you to view and adjust these layers independently, fostering a non-destructive editing process.
- Creating and Managing Layers
- To start, open Photoshop and import the image you wish to edit.
- Click on the Layers Panel. If it’s not visible, find it by navigating to Window > Layers.
- Click the “New Layer” icon at the bottom of the panel for a fresh layer.
- Drag layers up or down in the panel to change their order. The arrangement influences how layers interact with each other.
- Layer Types and Uses
- Background Layer: The base of your image. It’s locked by default, meaning you can’t rearrange this layer.
- Text Layer: For adding text. Double-click the layer to edit the text.
- Adjustment Layer: Modifies colors and contrast without changing the original layer.
- Shape Layer: Contains vector shapes like circles or squares that you can scale without losing quality.
- Blending and Adjusting Layers
- Adjust the opacity to control how transparent a layer is.
- Use blending modes for creative effects. These modes determine how a layer blends with the ones below it. Find these options at the top of the Layers Panel.
- Masks hide parts of a layer without deleting them, allowing for precise edits and effects.
- Grouping Layers
- For better organization, especially with complex images, group related layers. Select multiple layers (using Shift-click), right-click, and choose “Group from Layers.”
- This method simplifies the workspace, making it easier to apply changes to multiple layers simultaneously.
- Linking and Merging Layers
- To move or transform multiple layers as one, link them by selecting the layers, right-clicking, and choosing “Link Layers.”
- Merging combines selected layers into one. Right-click selected layers and pick “Merge Layers.” Use this feature sparingly, as it’s a permanent action that can’t be undone.
Conclusion
Layers in Photoshop form the crux of complex image manipulation, providing an expansive canvas for creativity. They enable you to rearrange, adjust, and fine-tune components of your project independently, preserving the integrity of the original image. By mastering layers, you embolden yourself to explore new depths of digital artistry, transforming simple photos into captivating visual narratives. Remember, the beauty of Photoshop is in its flexibility—don’t be afraid to experiment and test the limits of what layers can do for your imagery.
 Save
SaveUtilizing Brushes for Star Creation
Utilizing Brushes for Star-Studded Sky Creation
In the realm of digital art, creating a galaxy sky brimming with stars is not just about the vastness of space but about the intricate details that make it mesmerizing. A critical tool in this creative expedition is the use of brushes. Brushes, in digital art software, serve as the hands of the artist, allowing for a diverse range of effects that can transform a plain background into a vivid cosmic tableau.
The Role of Brushes in Crafting Stars
1. Selection of the Right Brush:
The journey begins with selecting the appropriate brush type. For stars, one would typically use a round, hard-edged brush. This choice is pivotal because the sharpness of the brush’s edges dictates the clarity and intensity of the stars. Each brush stroke can represent a distant star, and by adjusting the size, artists can vary the stars’ perceived distance and brightness.
2. Dynamics of Brush Settings:
Manipulating brush settings is akin to controlling the universe’s elements. Adjusting the brush’s opacity and flow allows for the creation of stars that range from faint, barely-there dots to bright, glaring suns. This variation adds depth and realism to the galaxy sky, providing a layered effect that mimics the night sky’s complexity.
3. Scatter and Size Jitter:
Most digital painting platforms offer advanced brush settings, including scattering and size jitter. By enabling scattering, an artist can create a random distribution of stars with a single stroke, effectively simulating the natural irregularity of a star-filled sky. Size jitter adds to this effect by varying the size of each star automatically, which enriches the texture of the cosmic scene.
4. Color Dynamics:
Stars are not merely white; they shimmer in a spectrum of colors. Utilizing the color dynamics setting allows for the automatic variation of star colors within a predefined range. This feature can create a more dynamic and realistic galaxy sky, showcasing stars from warm yellows and cool blues to vibrant reds.
5. Layering Techniques with Brushes:
In continuation of the previously discussed layering techniques, employing multiple layers for different groups of stars is essential. This approach offers control over various elements of the night sky. For instance, creating separate layers for distant, faint stars and another for bright, nearby stars allows for independent adjustment and refinement without impacting other elements of the composition.
Conclusion
In the digital artist’s toolkit, brushes are indispensable for adding stars to a galaxy sky. They bring flexibility, depth, and realism to the artwork, transforming a flat canvas into a captivating celestial panorama. Through careful selection and manipulation of brush types and settings, artists can recreate the awe-inspiring beauty of the night sky, making the viewers feel like they are staring into the very heart of the galaxy. This nuanced use of brushes underscores their critical role in digital art creation, particularly when crafting scenes as intricate and spellbinding as a star-studded galaxy sky.
 Save
SavePhoto by bartek_16 on Unsplash
Implementing Color Blending for Atmospheric Effects
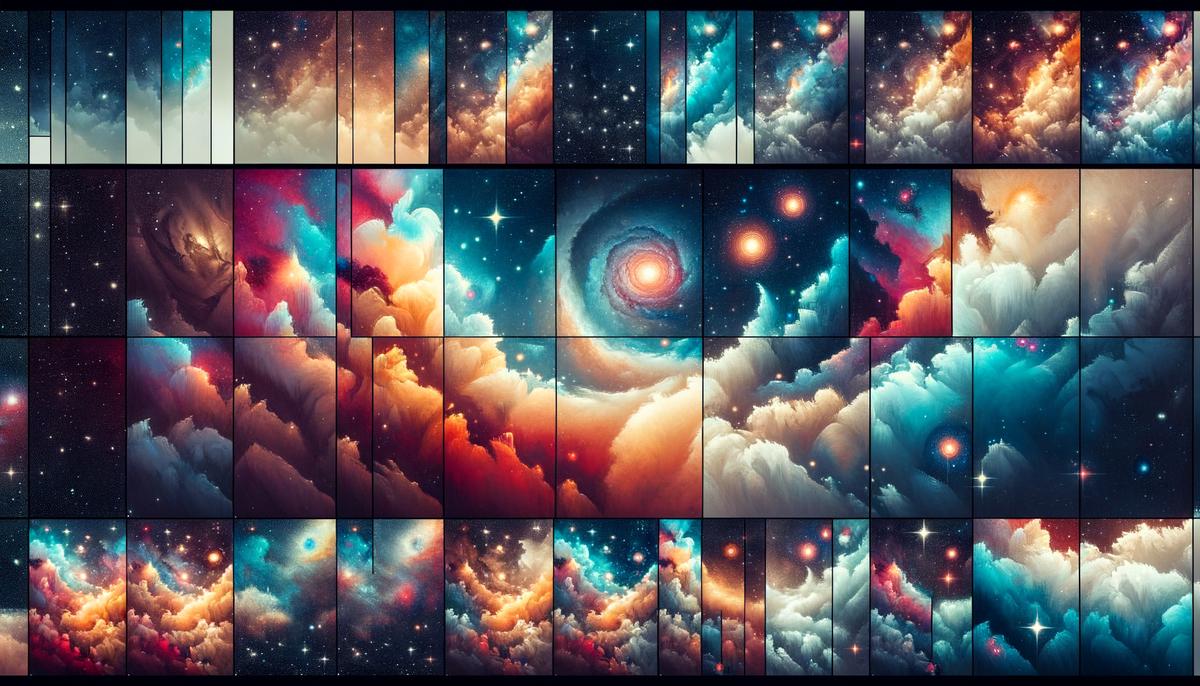
Moving forward from the foundational elements of crafting a galaxy sky, such as layer management and brush selection, we delve into the pivotal technique that brings your cosmic scene to life: color blending. This process is not just about merging hues; it’s an art that adds depth, dynamism, and realism to your digital universe. In this exploration, we aim to unveil the secrets to mastering color blending, transforming your galaxy skies from mere illustrations to breathtaking vistas that spark imagination.
Embracing the Gradient Tool for Atmospheric Depth
One cannot overlook the power of the gradient tool when painting galaxy skies. This tool becomes your best ally for simulating the subtle transitions between the deep blacks of space to the vibrant nebulas and star clusters. Start by selecting two or more colors that you envision in your sky. Remember, galaxies aren’t just black; they are canvases of deep purples, blues, pinks, and greens. Apply a radial gradient from the center of your canvas, mimicking the light emanating from a galaxy’s core. This initial step lays down the atmospheric perspective, offering a base upon which the finer details will rest.
The Magic of Soft Light and Overlay Modes
After setting your scene with gradients, deepen the immersion by utilizing blending modes such as Soft Light and Overlay. These modes are essential for enriching your colors without overpowering the delicate balance you’ve established. By applying a Soft Light blending mode, you introduce warmth or coolness to regions of your galaxy, subtly shifting the mood. Overlay, on the other hand, can intensify the colors, making the hues pop and giving stars and nebulas a radiant glow. Experiment by applying these modes to various layers, observing how they interact and complement each other.
Detailing with Color Dodge and Burn
For artists aiming to imbue their skies with realism, mastering the Color Dodge and Burn techniques is crucial. These methods are your tools for sculpting light and shadow, adding volume and dimension to celestial bodies. Use the Dodge tool to brighten areas that represent gas clouds or the edges of galaxies, illustrating the way light scatters and creates halos around these formations. Conversely, employ the Burn tool to deepen shadows in between stars or within nebulas, enhancing the contrast and depth of your scene.
Harmonizing Colors for Unity
A galaxy is a symphony of colors, but for it to truly resonate, harmony is key. This is where the art of color mixing plays a pivotal role. Choose a dominant color palette for your galaxy but introduce variations. Paint smaller clusters of stars or nebulous wisps with complementary or analogous colors to add visual interest. However, ensure these hues blend smoothly into the overall color scheme, avoiding jarring transitions. Employ soft brushes with low opacity to blend the edges of these colorful features, allowing them to merge seamlessly with their surroundings. This technique not only unifies your composition but also mirrors the infinite complexity of the cosmos.
Conclusion
Color blending is an art form that elevates your galaxy skies from simple digital paintings to mesmerizing portals to the universe. Through the thoughtful application of gradient transitions, strategic use of blending modes, and skilled manipulation of light and shadow, you can achieve a level of depth and realism that captivates viewers. Remember, the cosmos is a vast, vibrant tapestry. Your canvas is the gateway to this universe, and with each brushstroke, you invite others to gaze into the boundless beauty of the night sky. Let your creativity flow, blend colors with purpose, and watch as your galaxy sky transforms into a masterpiece of digital art.
 Save
SaveMastering the elements of layers, brush techniques, and color blending in Photoshop and similar digital art software is crucial for artists aiming to elevate their work. These tools and techniques not only add depth and realism to artworks but also open up infinite possibilities for creative expression. By focusing on the foundational aspects discussed, artists can transform their canvases into stunning visual narratives that captivate and inspire. Let these tools be your guide in exploring the boundless potential of digital art, where every creation is a step towards mastering your craft.


