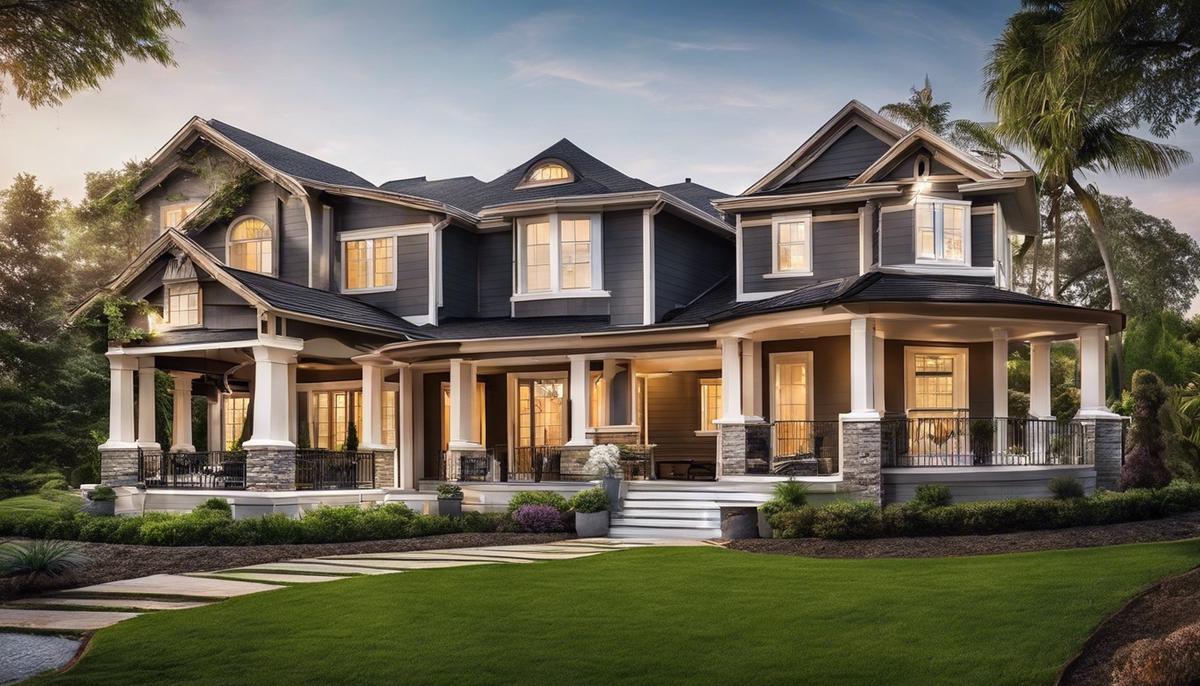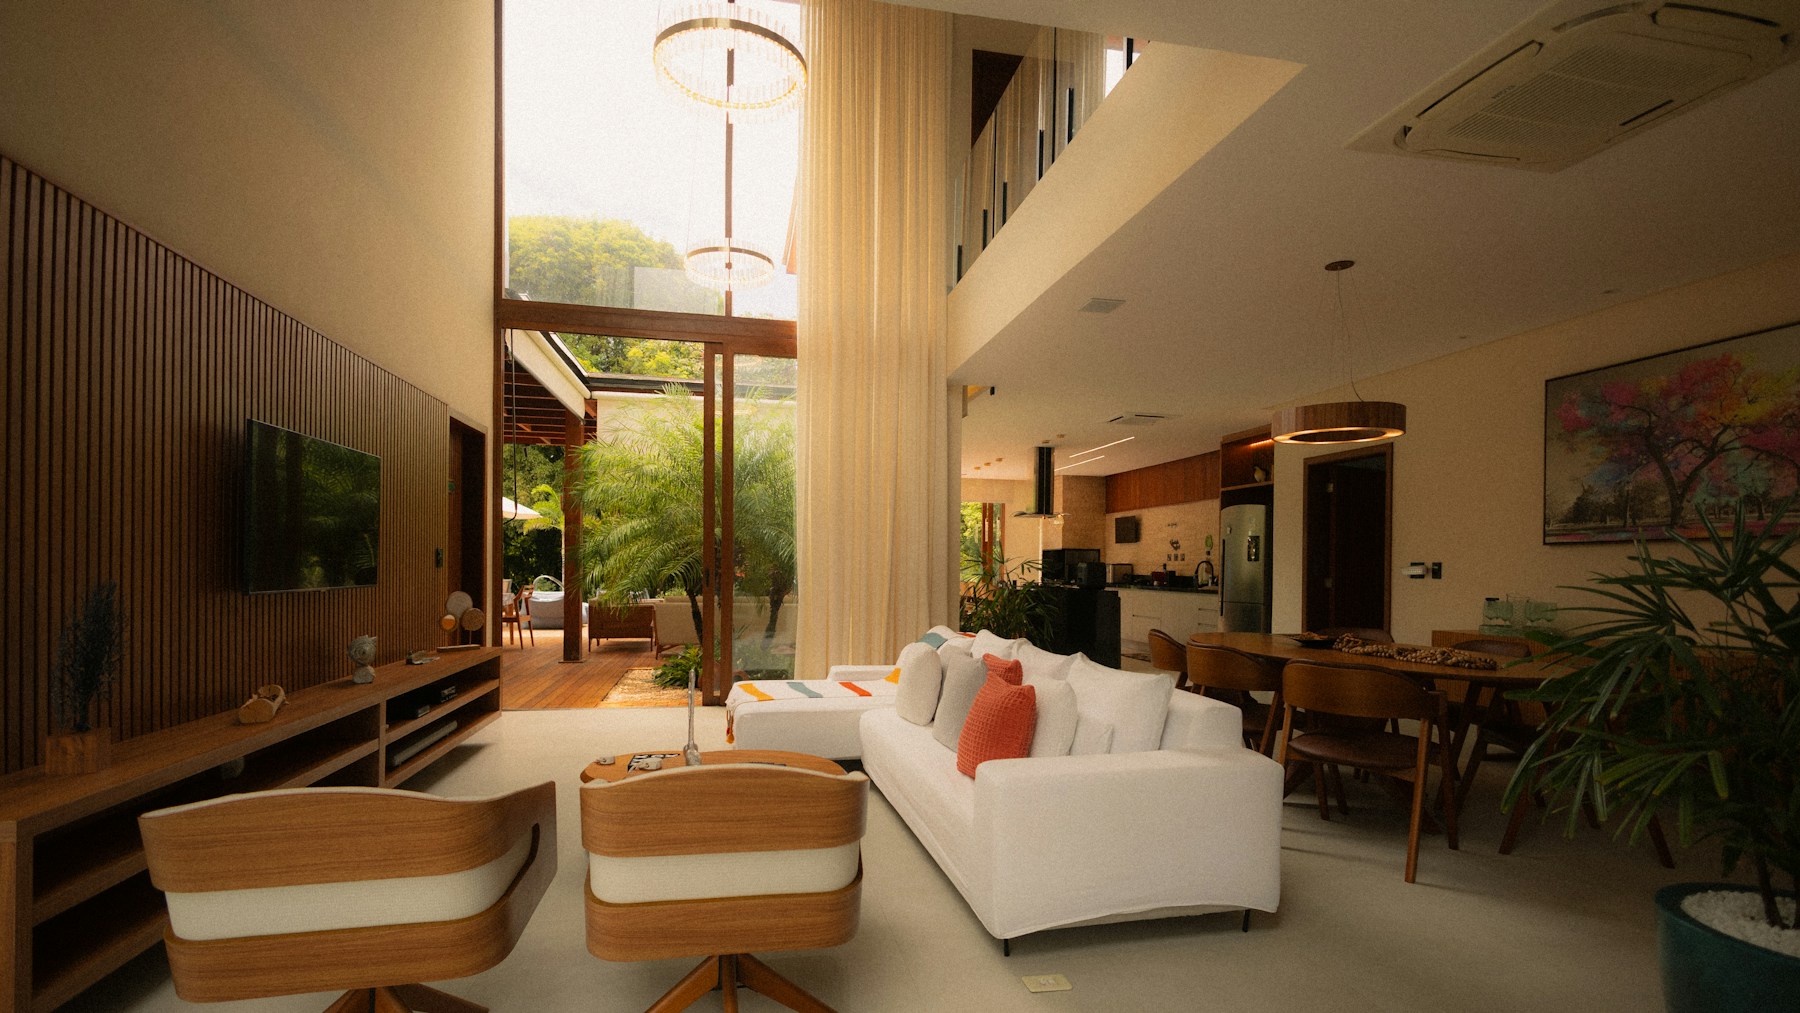
Real estate editing is production work: the agent needs a full gallery back fast, every image consistent, and every room looking like the best version of itself without crossing into misrepresentation. This guide is the complete single-frame editing workflow, from import to delivery. If you bracket and merge exposures, our HDR real estate guide covers when and how to merge; this article picks up where the merge, or the single exposure, lands in Lightroom.
Step 1: Fix the Geometry First
Before any tone or color work, correct the verticals. Walls and doorframes must be perfectly upright; buyers notice leaning rooms even when they cannot name what is wrong. Use the Transform panel’s Guided tool: draw two lines along door frames or wall edges and let Lightroom do the math. Watch the corners afterward, since aggressive correction crops the frame. Enable lens profile corrections at the same time to remove distortion and vignetting from your wide-angle lens.
Step 2: White Balance for Mixed Light
Real estate interiors mix daylight from windows with tungsten or LED interior bulbs, and no single white balance setting fixes both. Set a global balance that keeps walls neutral, then use local adjustment brushes with a temperature shift on the problem areas: the orange pool of light under a lamp, the blue spill near a window. If a fixture’s cast fights you, that is a shooting-side fix next time: turn the offender off.
Step 3: Exposure and the Windows
Expose the room so it reads bright and open: lift shadows, keep highlights controlled. Windows are the judgment call. If the view matters, pull highlights hard and mask the window area to recover it; if the view is a parking lot, let it blow out slightly and move on. Agents care about light and space more than they care about what is outside.
Step 4: Color and Cleanup
Pull orange and yellow saturation down slightly in HSL; interior lighting pushes everything warm, and neutral rooms photograph as more expensive. Remove the small stuff with the healing tool: outlet scuffs, cords, the photographer’s reflection in appliances and shower glass. Ceilings often pick up a color cast from the walls; a low-flow desaturation brush on the ceiling fixes it in seconds.
Step 5: Consistency and Export
Sync your base corrections across the gallery by room type, then spot-check every frame. MLS systems have their own size and format requirements, so export at the platform’s spec: typically sRGB JPEG, long edge around 2048 pixels, quality high. Deliver fast; in real estate, next-morning delivery wins the next listing.
The Real Estate Preset System is 88 presets built for exactly this workflow: interiors, exteriors, mixed-light rooms, and twilight shots. It compresses steps 2 through 4 into a starting point you adjust per room.