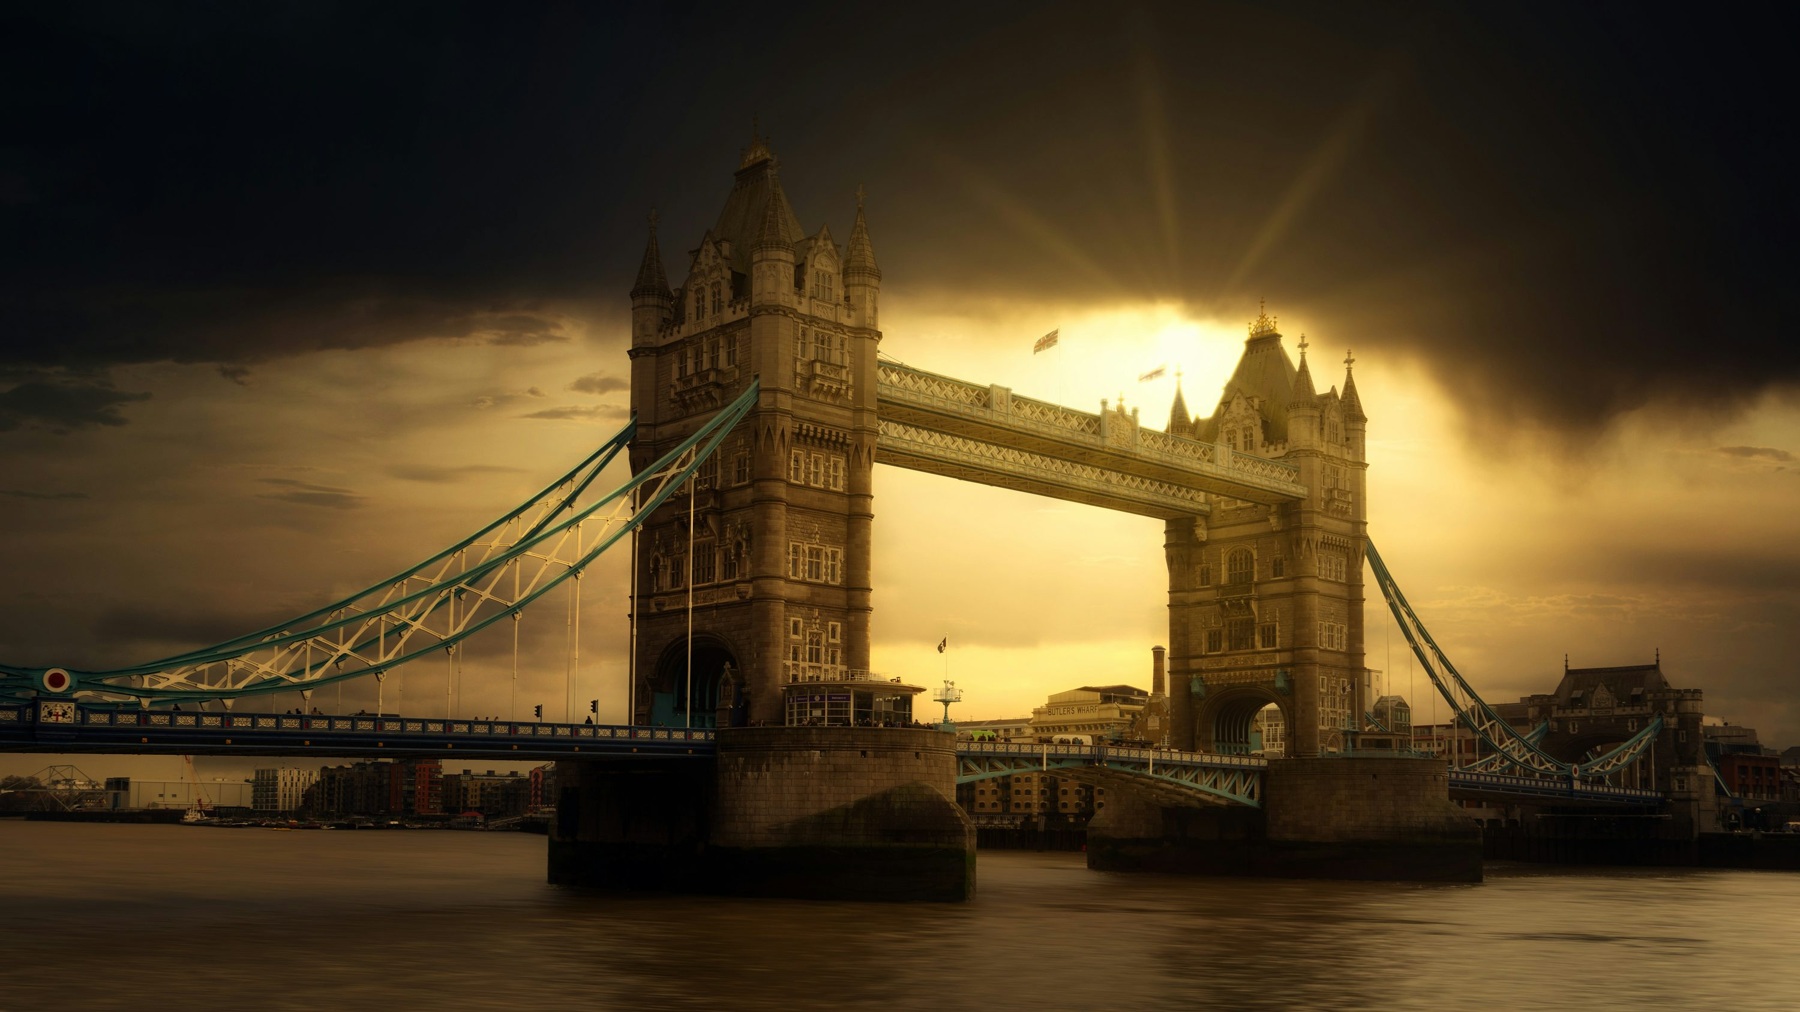
Hero photograph: Tower Bridge, London. The towers and span carry the composition. Photograph by Johannes Plenio. Source: Unsplash. Free to use under the Unsplash License. Separate illustrative photograph; capture settings are not documented here.
Updated November 2026
A huge building can look surprisingly ordinary in a photograph. You stood there looking up, but the picture feels flat. That usually means the frame has recorded the object without showing what made it interesting: its scale, shape, light, or relationship to the place around it.
Large structures offer several ways to work. A bridge gives you lines and rhythm. A monument can become a silhouette. A tower can dominate a skyline or turn into a pattern of windows when you move closer. The subject stays in place, but your picture changes with the position you choose.
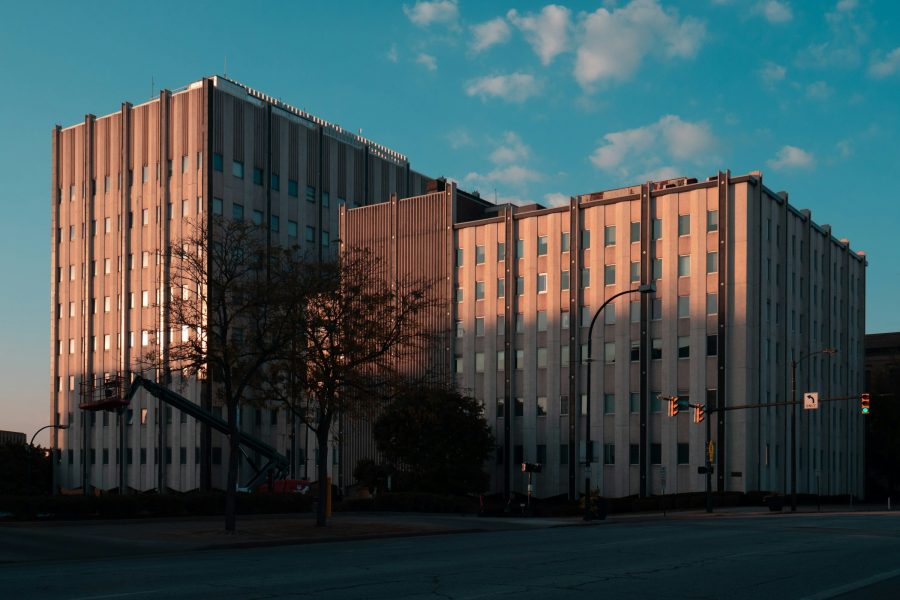
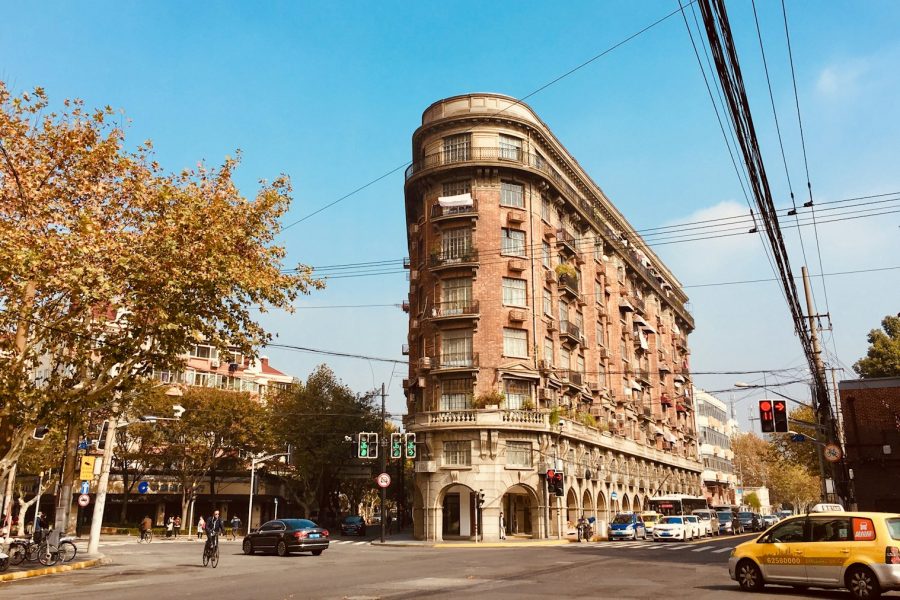
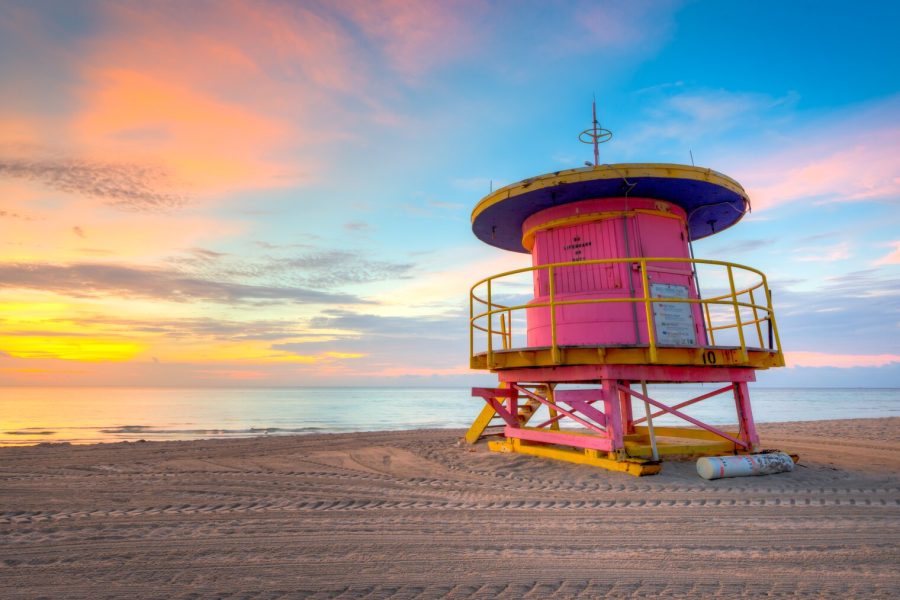
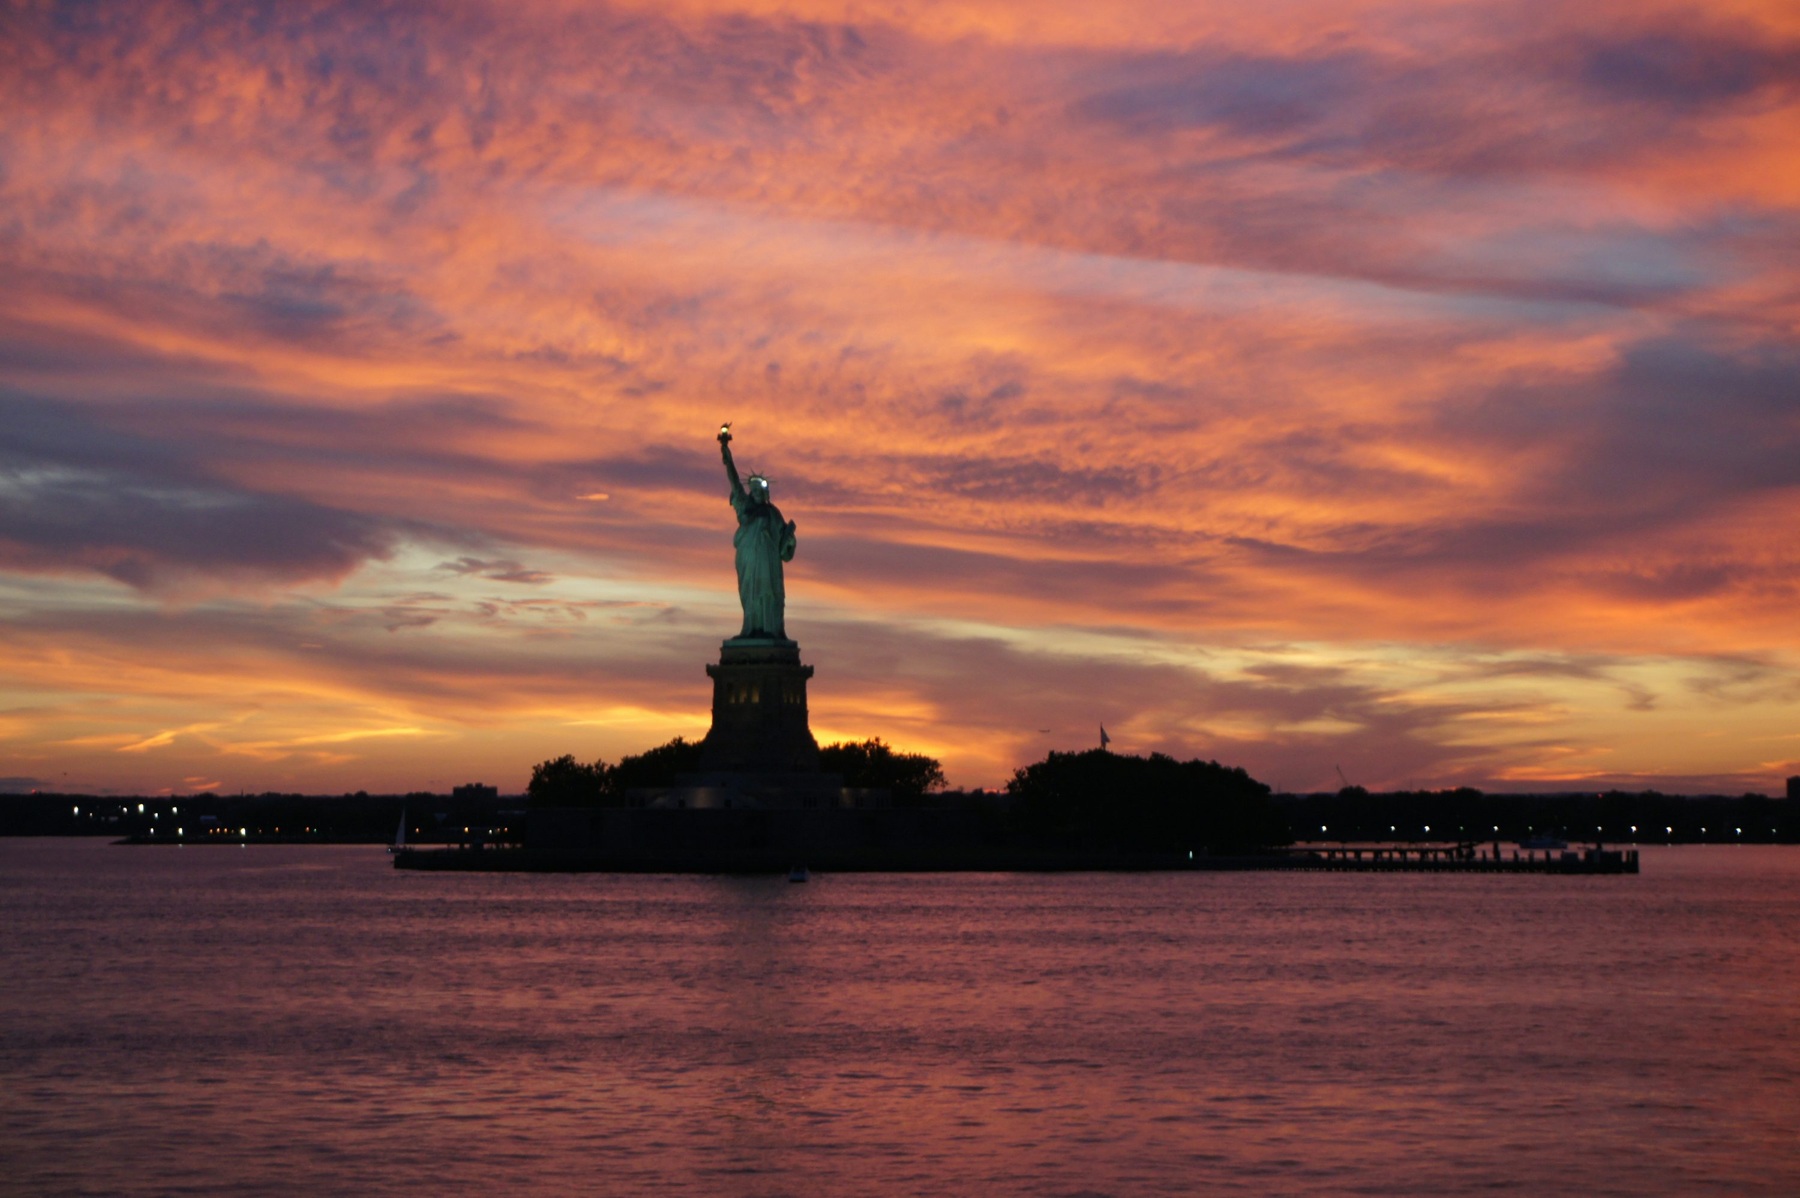
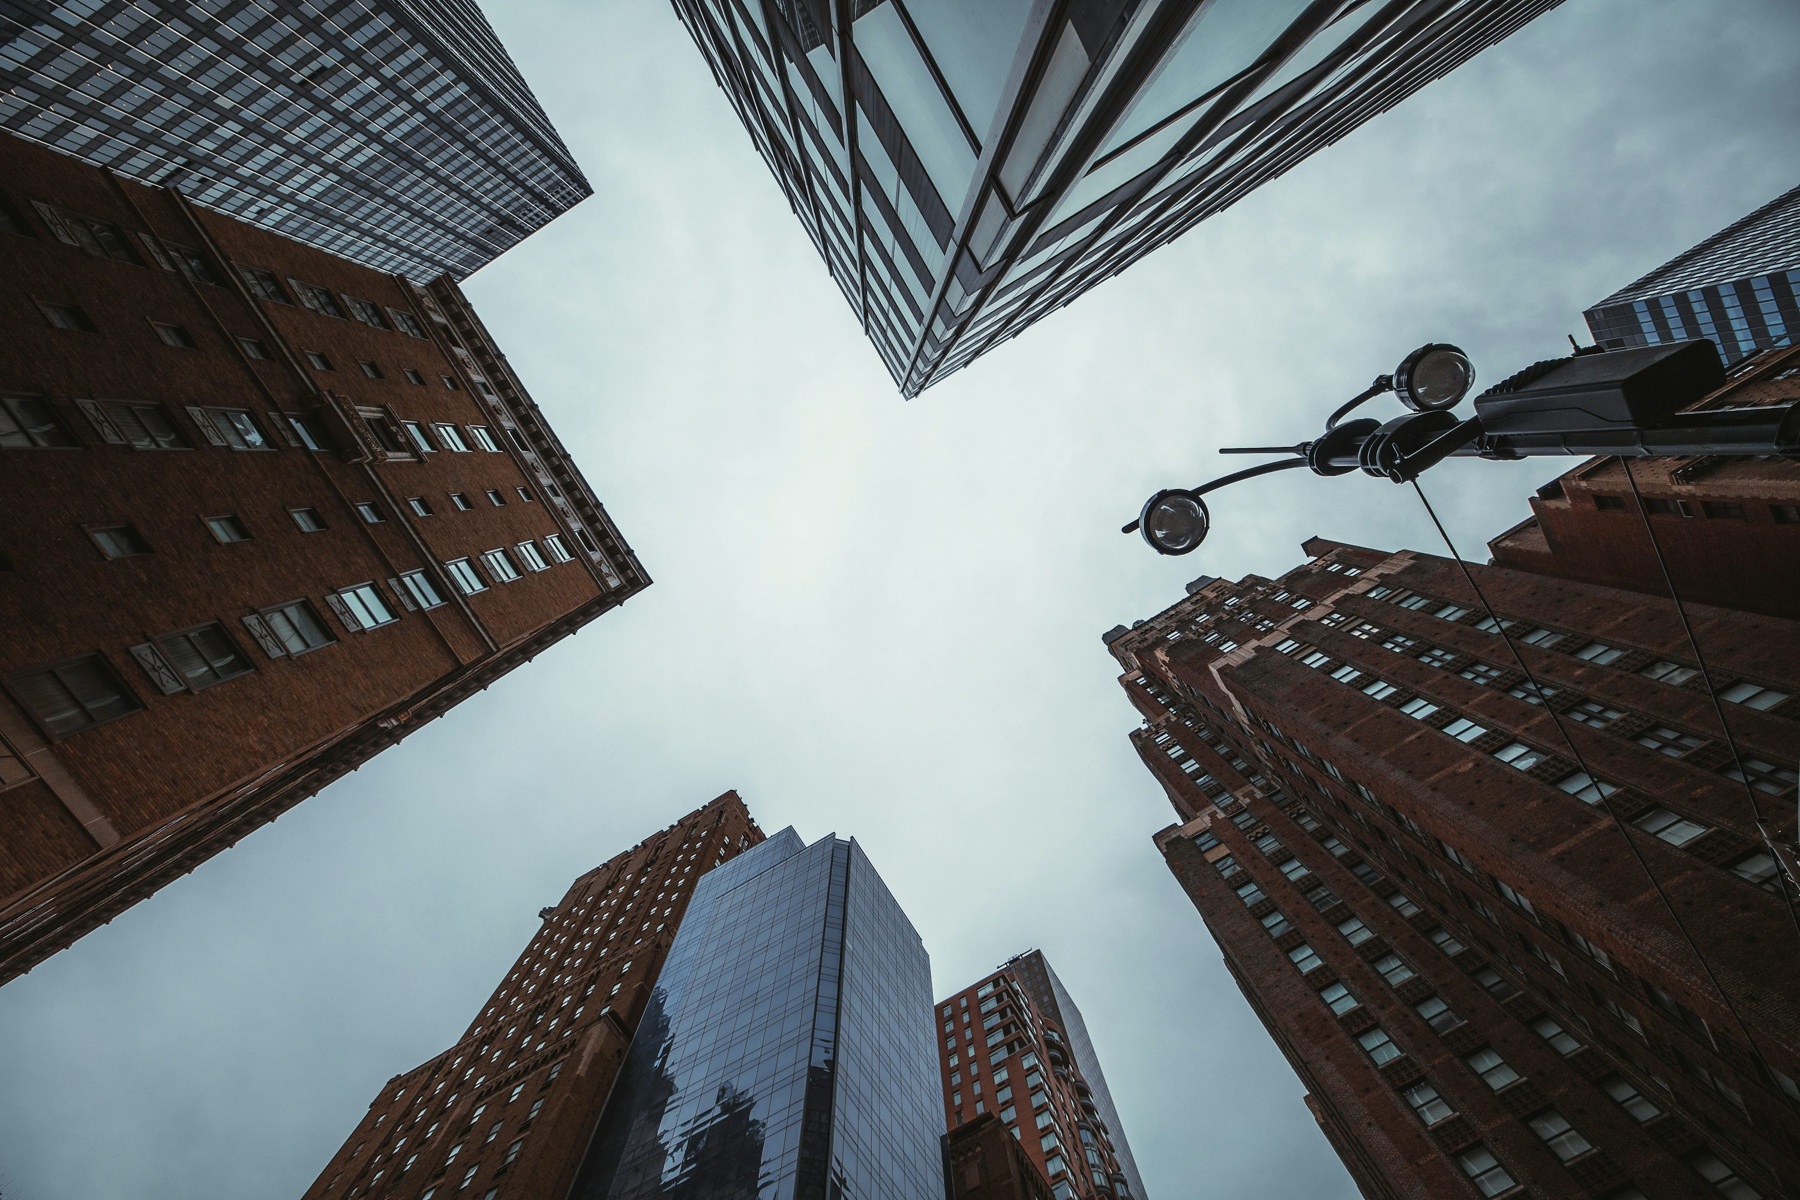
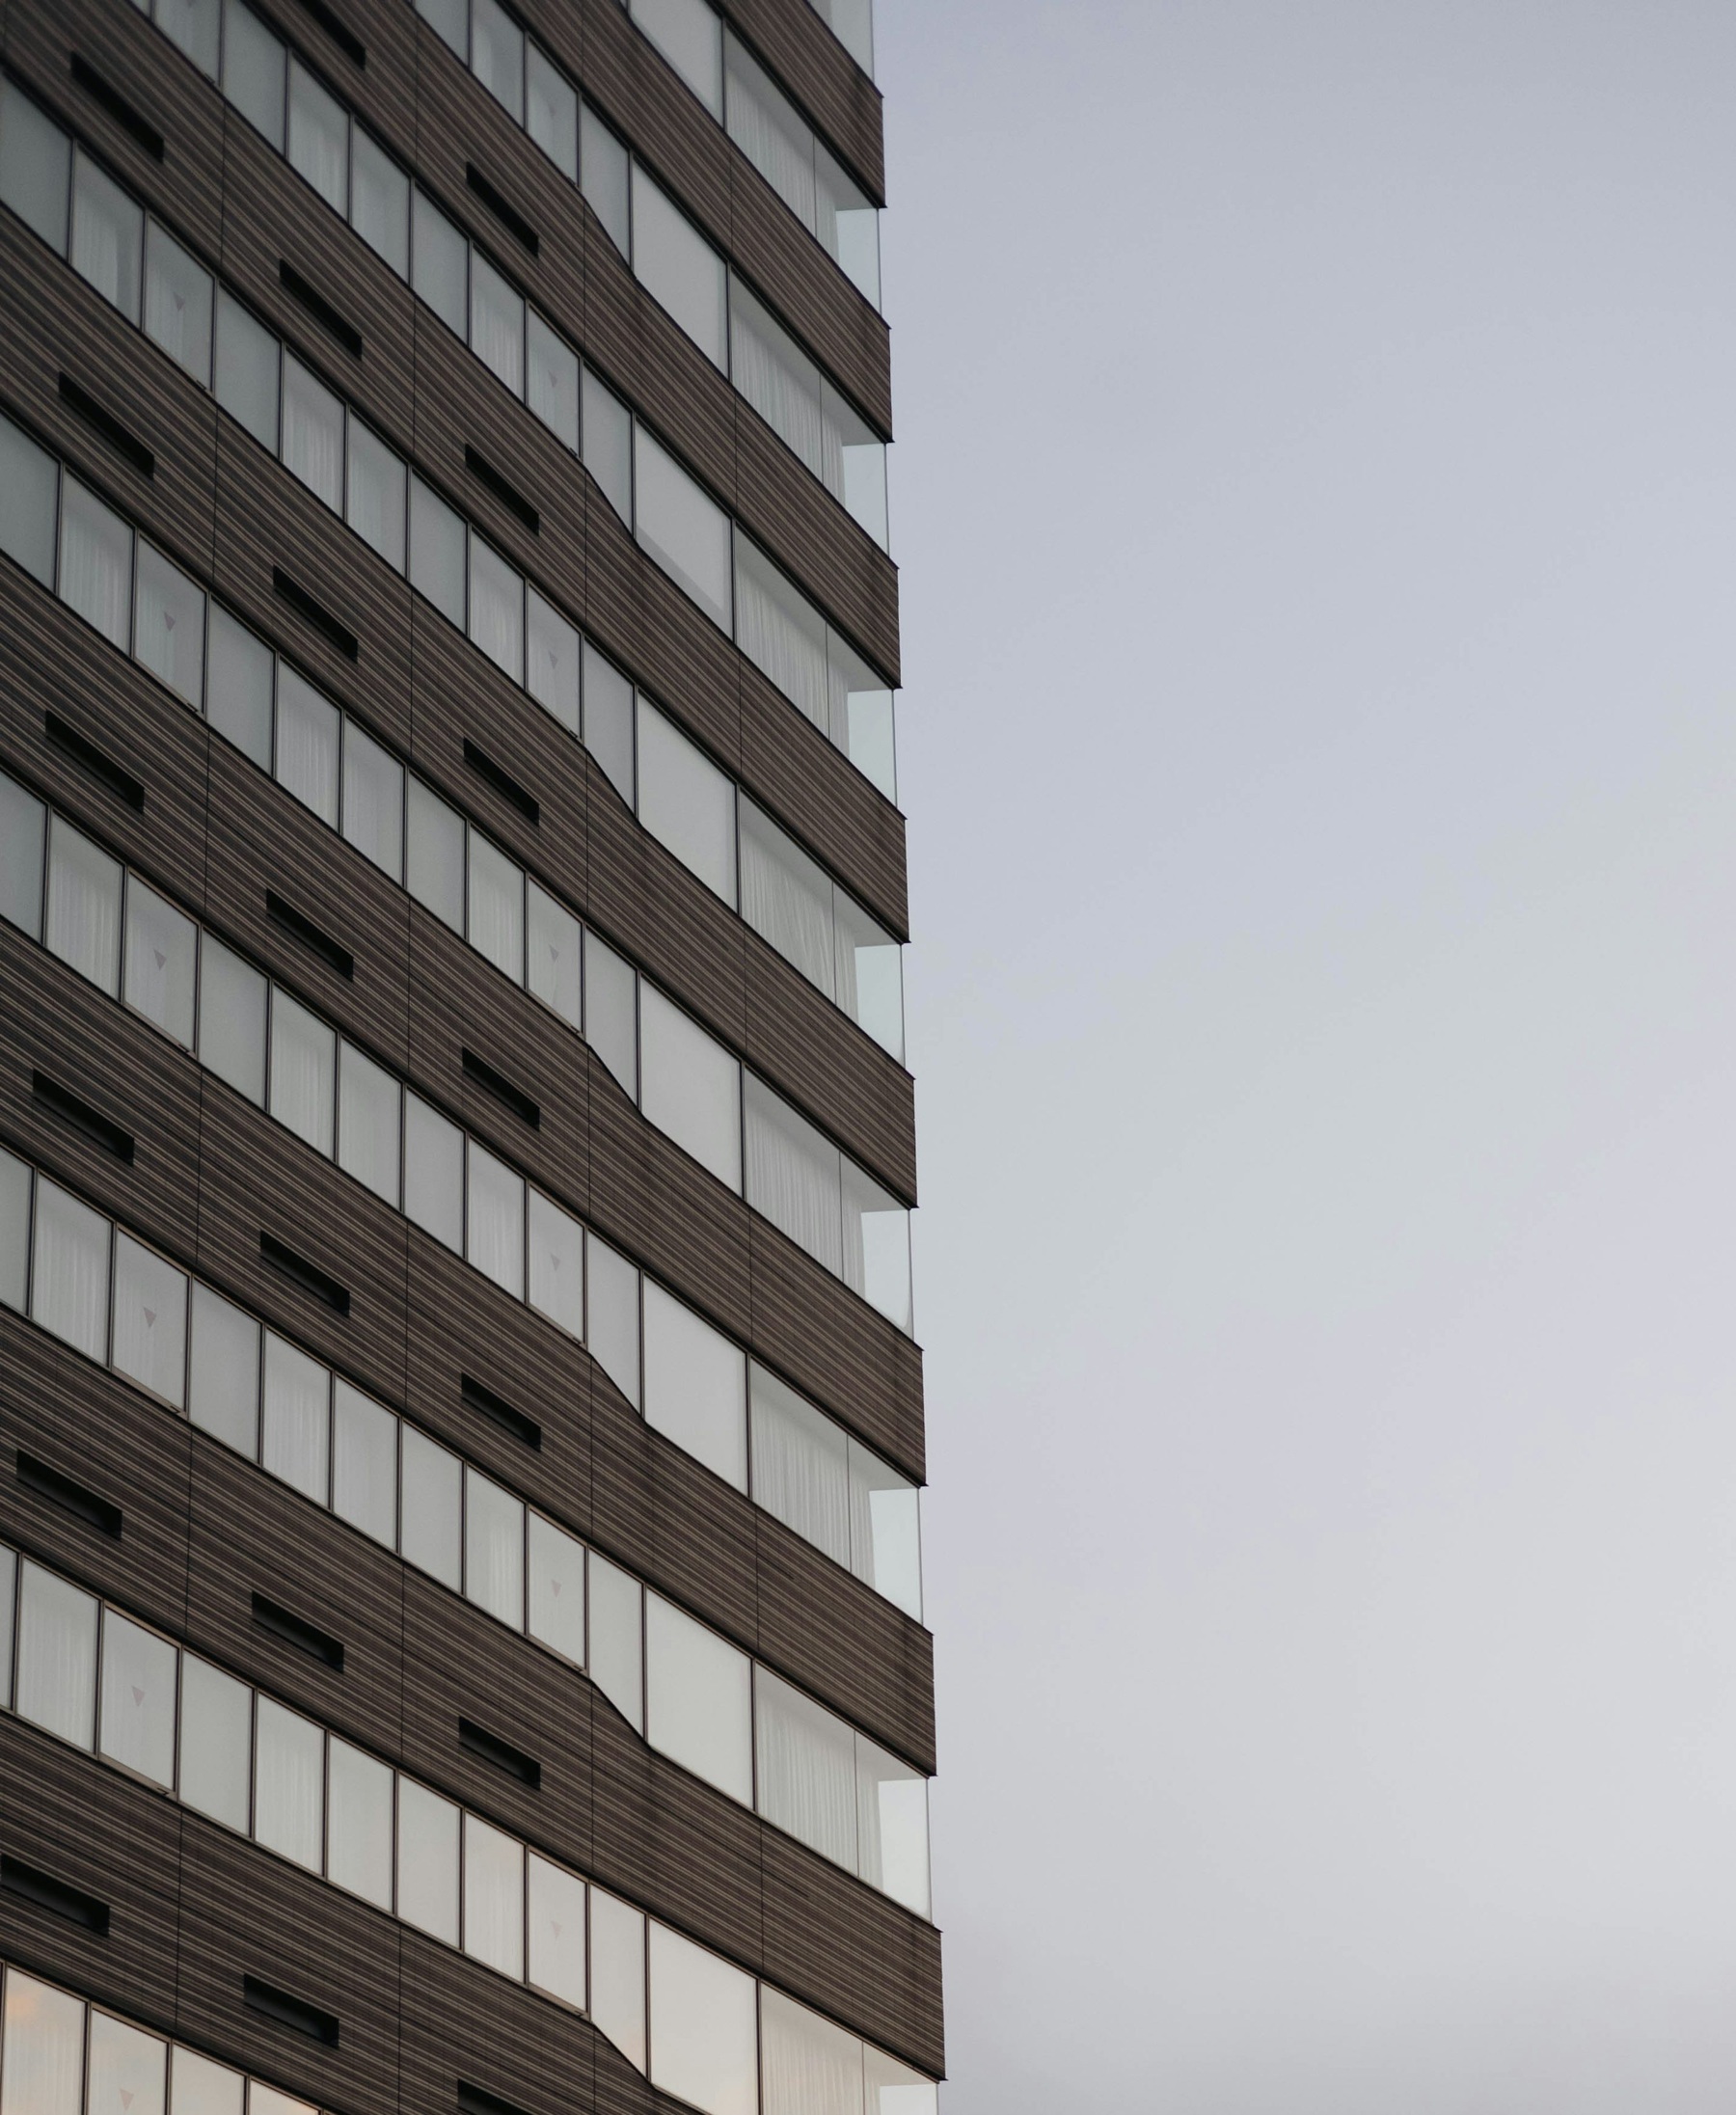
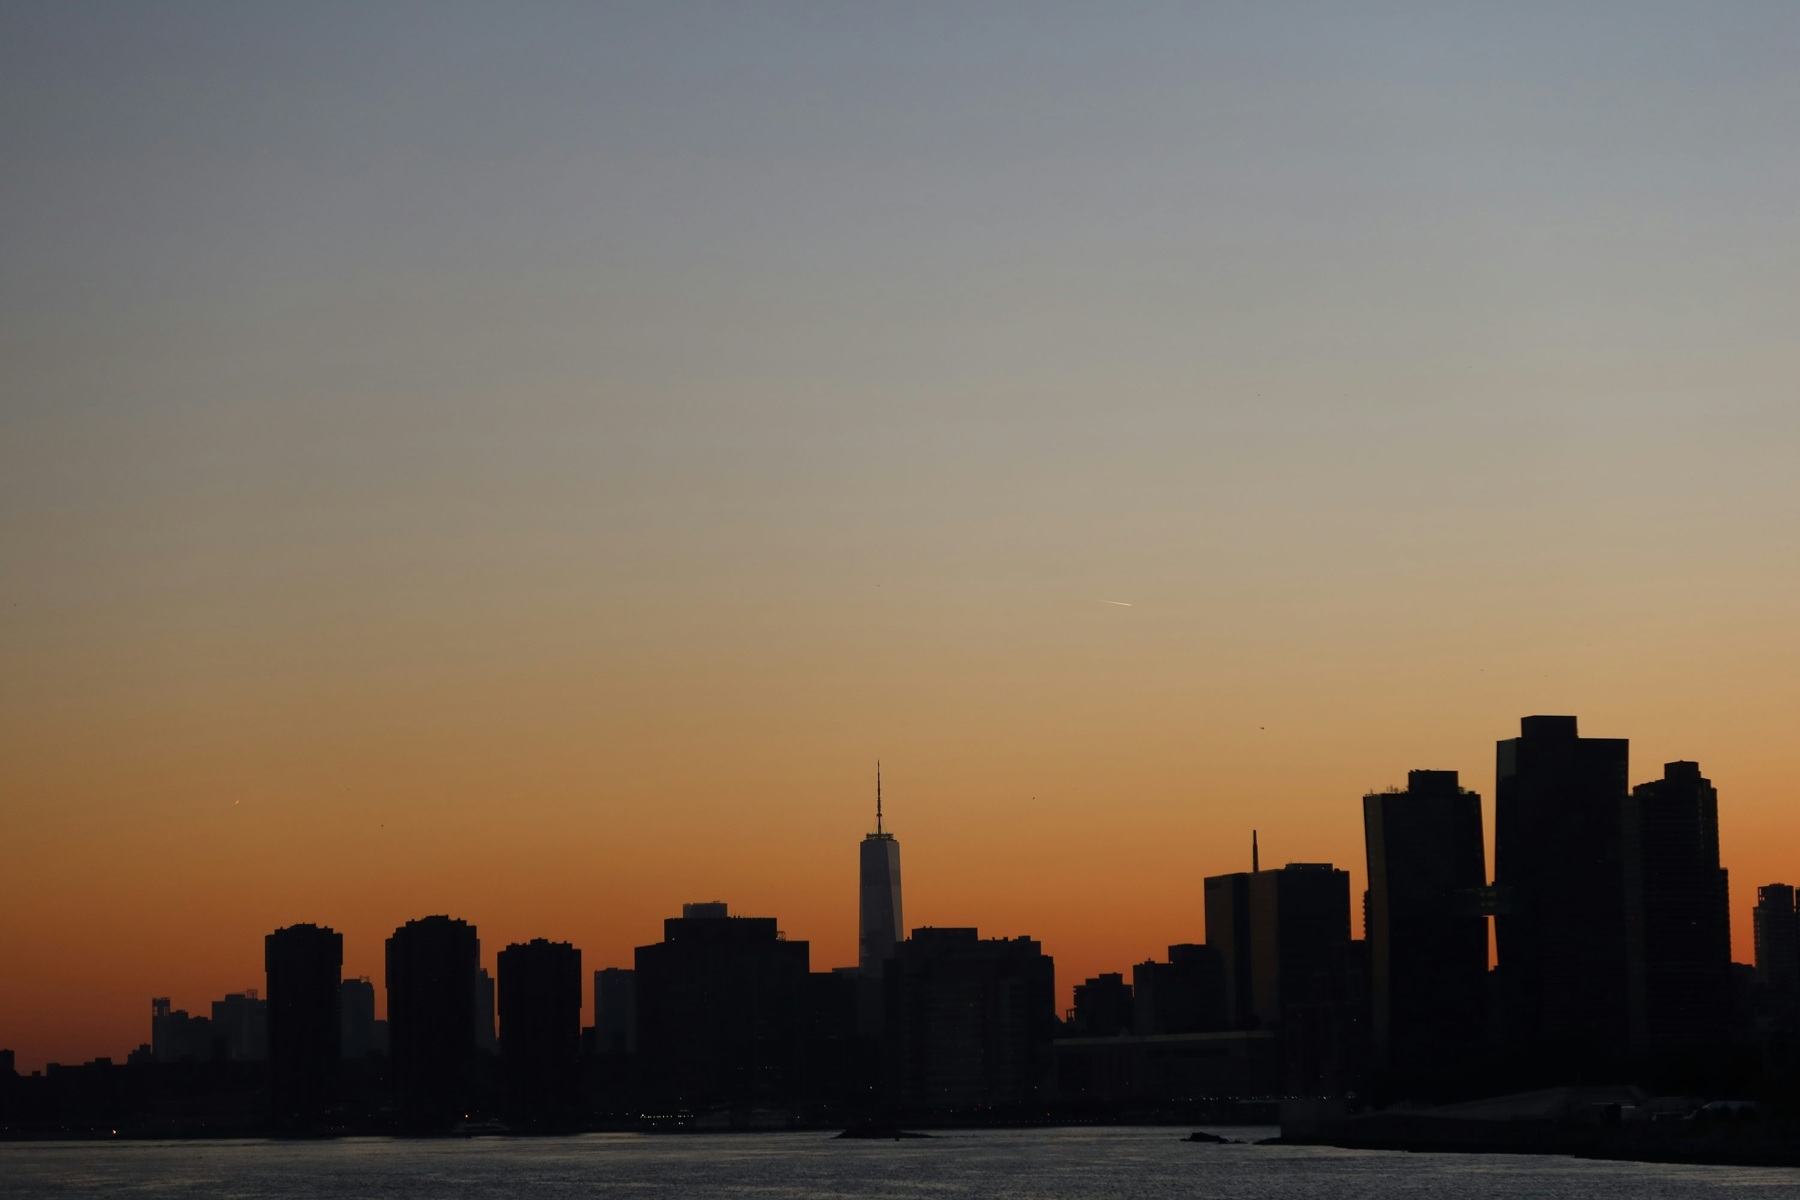
The credited photographs here illustrate those choices: Tower Bridge, the Statue of Liberty, a New York skyline, an upward city view and a repeating facade. They are separate illustrative photographs, not controlled comparisons. No unverified settings, equipment or capture positions are assigned to them.
1. Decide what the structure means in the photograph
Before choosing a lens, choose the job of the picture. Are you showing the whole structure, its place in a city, a small detail, or the feeling of looking up at it? Those are different photographs. Trying to do all of them at once can leave the frame without a clear subject.
For a whole-building view, you need room around the edges and a position that explains the shape. For a detail, the important thing may be texture or a repeated pattern. For a city view, the structure may need neighboring buildings, roads, or water to make sense. Start with one intention, then make another frame for a different intention.
A centered photograph is not automatically weak. Symmetry can be exactly what a structure needs. An off-center composition is not automatically more creative either. Judge the relationships inside the frame rather than applying a rule without looking at the subject.
2. Show scale with a useful reference
Scale is difficult because a photograph is smaller than the thing it describes. Give viewers a reference they can understand. A doorway, a boat, neighboring buildings, or a familiar tree can help. The reference needs to belong to the scene rather than feel like an object added only to explain a measurement.
A person can provide scale, but do not make someone an identifiable prop without thought. Ask for a portrait or use a frame where the person is not identifiable when that meets your purpose. Do not direct anyone into an unsafe position beside traffic, water, or a barrier. A small human figure is not worth creating a risk.
Watch where the scale reference sits. If it overlaps the structure in a confusing way, it may hide the shape you wanted to show. Moving a few steps can create separation. If the reference becomes the brightest or busiest part of the frame, decide whether it should really be there.
3. Distance changes the relationship between shapes
Your camera position controls perspective, as explained in Cambridge in Colour’s lens guide. Moving closer changes the relationship between near and far parts of the scene. Moving farther away can make it easier to include the structure without a steep upward angle. Changing focal length from the same position changes framing, but it is not the same as moving the camera.
Try a safe wider view before a close view. Look at how the foreground grows or shrinks relative to the subject as you move. A nearby railing can dominate a photograph even if it seemed minor while you were standing there. Use it deliberately or leave it out.
Do not step into a road, enter a restricted area, climb a barrier, or lean from a ledge for a cleaner angle. A different permitted position is part of the photographic problem. If you cannot make the view work safely, make a detail photograph or choose another subject.
4. Use silhouette when shape is the story
In the Statue of Liberty photograph, the dark outline is enough to identify the subject. The warm sky and water provide the setting. You do not need to see every surface detail for the picture to work. That is a useful alternative to trying to brighten every shadow.
A silhouette needs a readable outline. Look for a background that separates the subject from other dark shapes. A mast, crane, or neighboring building can merge with the structure and make its form harder to recognize. Some overlap may be part of the place, but check whether it helps or distracts.
Protect the important bright parts of the sky when setting exposure. If the sky is clipped to featureless white, editing the dark subject will not restore its color. Review the actual frame and use the histogram or highlight warning when available. There is no universal sunset exposure to copy.
 Save
5. Decide whether converging verticals belong
When you tilt the camera upward, vertical lines can appear to lean toward one another. That may create a dramatic sense of height. It may also make a building look unstable when you intended a more neutral architectural view. The important thing is to choose rather than discover it only after the shoot.
Keep the camera level when you want parallel verticals in an ordinary front-on view. You may need to move farther back or include more foreground to fit the top. The shift movement of a perspective-control lens can provide another option, but it is not required for every building photograph. Understand the position first.
Do not confuse converging lines with every kind of lens distortion. Curved lines near the edge and the perspective created by an upward camera angle have different causes and may need different corrections. Look at the actual geometry instead of applying a correction because the subject is architecture.
 Save
6. Leave room for perspective correction
Editing tools can adjust a leaning building, but the correction may change the crop and stretch parts of the photograph. Leave some space around the subject if you expect to correct it later. A roof touching the edge can be cut off after a transform.
Adobe’s Upright guide for Lightroom Classic explains automatic and guided perspective correction. Corrections can leave blank areas at the boundaries; cropping changes what remains in the frame. Use the tool with a clear goal, then inspect the crop and proportions rather than assuming that automatic correction is the final answer.
After the correction, inspect the edges and proportions. A building can have straight verticals and still look stretched or unnatural. Compare the result with the original and decide whether a modest correction communicates better than forcing every line into a rigid grid.
7. Follow lines through the frame
A bridge gives you strong lines before you do anything. Railings, cables, the deck, and repeated supports can move the eye through the scene. Decide which line leads and where it takes the viewer. Several equally strong directions can make a photograph feel scattered.
The Tower Bridge hero photograph uses the towers and the bridge extending across the water. The bright sky separates parts of the outline while the darker water provides space below. Notice how the span connects the towers, then ask whether your own frame needs more surrounding context or a tighter emphasis on the structure.
Check the ends of important lines. A line that leaves the frame at an awkward point can draw attention out of the picture. A slight change in framing may make the path more deliberate. You do not need to make every line perfectly symmetrical, but you should know why it is there.
8. Let light reveal depth
A flat wall and a wall with side light can read very differently. Light across a surface can show texture and separate planes. A softly lit scene may make colors and subtle details easier to see. Neither is always better. Choose the light that supports the subject you want to photograph.
Watch the brightest surfaces. Pale stone, glass, and metal can reflect more light than the surrounding scene. A frame that looks acceptable on a small screen may hide clipped detail in those areas. Make a test, inspect it, and adjust before taking several versions of the same problem.
Do not assume that a structure gives you unlimited time. Weather, access, pedestrians, light, and your own safety still change. A building may stand still, but the conditions around it do not. Keep awareness of the place while working on the composition.
9. Make a detail photograph as well as the wide view
Large structures contain small subjects: a carved doorway, a stair railing, a pattern of windows, or a joint between materials. A detail can explain the design more clearly than a wide frame. It can also make a series feel more personal and less like a checklist of famous locations.
Choose a detail with a clear visual reason. Repetition, texture, color, or contrast can give it structure. Avoid filling the frame with something merely because it is close. Ask what makes that piece worth isolating and whether the photograph communicates it.
Use permitted access. Do not touch a fragile surface, move an object, enter a closed interior, or climb onto a structure to reach a detail. A longer view from allowed ground can be useful. Some details are simply not available to photograph from the place you may stand.
 Save
10. Include context without losing the main subject
The New York skyline photograph gives you another scale of architectural picture. The buildings form a group of dark shapes beneath a warm sky, with water in front of them. One tower can be recognizable without being the only subject. Context is part of the photograph rather than an empty margin around a landmark.
Look for layers that remain readable. A foreground object can add depth, but too many overlapping layers can hide the structure. Check whether the near, middle, and far parts have useful separation. The arrangement matters more than counting how many layers you included.
A skyline does not need every building. Choose a crop that gives the group a shape and leaves a deliberate amount of sky and water. If a bright tower near an edge pulls all the attention, compare a tighter frame or a different balance before deciding which picture to keep.
 Save
11. Review sharpness and the whole frame
A static subject still needs a stable exposure. Camera movement, missed focus, and an unsuitable shutter duration can make architecture soft. If you use a tripod, check the plate and head, keep the legs out of routes, and follow the camera and lens instructions for stabilization behavior.
Review the important detail at a useful magnification, then look at the whole photograph again. Magnification helps you judge sharpness. The whole frame helps you judge composition. A technically sharp crop is not enough if the complete picture has a weak balance or distracting edges.
Choose aperture for the needed depth of field, not the belief that the smallest opening is always best. Very small apertures can reduce fine detail through diffraction. Focus placement, distance, and the scene all matter. Make a deliberate test rather than relying on one setting for every structure.
When the light changes, choose what must remain sharp. A longer exposure can soften moving water or turn traffic into streaks while the building stays still, provided the camera is steady. A shorter exposure is the better choice when a passing boat or a moving person matters to the picture. The structure alone does not determine the shutter speed.
Keep a simple note of the choices that worked: the position, the direction you faced, the light and the framing. Record your own actual settings rather than guessing them from a finished image. On a return visit, those notes give you something useful to test. The aim is not to reproduce another photographer’s exposure, but to understand why your own frame succeeded or failed.
12. Edit with the structure in mind
Start with exposure, color, and geometry. Keep the materials believable. Excessive contrast or saturation can turn stone and metal into something that looks more like an illustration than a photograph. That may be a creative choice, but do not present it as an untouched record.
If you remove major objects or combine views, be honest about the result when the picture is used as documentary evidence. A travel image and a commercial architectural record may have different expectations. Know the purpose before deciding how far to change the scene.
Finish by comparing the wide frame, detail, and context picture. They should say different things. You do not need to keep every version just because the subject is impressive. The best small set gives the viewer a clear sense of shape, scale, and place.
A simple architectural photo walk
Choose one structure with several permitted viewpoints. Begin with a frame that explains the whole subject, then make a closer photograph of one design feature. Finish with a wider view showing how the structure relates to its surroundings. These are different questions, not a requirement to collect three versions of the same composition.
For each viewpoint, check the edges before refining exposure. Look for a cropped roofline, an awkward overlap, a bright patch that competes with the subject or a foreground object that hides the base. Make one deliberate change and compare the result. If the change adds little, return to the stronger arrangement instead of continuing to move without a reason.
At home, compare the photographs at the same display size. Then inspect promising files larger for focus, motion and surface detail. Keep the images that explain different aspects of the structure. A small selection with a clear wide view, a meaningful detail and readable context is more useful than a long series of near-duplicates. Note which question remains unanswered so your next visit has a purpose.
Learn faster with a plan. The ShutYourAperture Academy has 22 photography courses, from the fundamentals of aperture, shutter and ISO to genre courses like landscape, portrait and street.
Gear for an architectural photo walk
Start with your current camera and a safe viewpoint. These are comparison searches, not promises of stock, price, or compatibility. Check the exact product before buying.
Camera bags and straps: check fit and load capacity. For tripod use, confirm venue rules and keep pedestrian routes clear. Compare on Amazon | Compare on B&H
For more work on the photograph itself, visit Shut Your Aperture Academy.
Affiliate disclosure: As an Amazon Associate I earn from qualifying purchases. Purchases through Amazon and B&H links may earn a commission at no extra cost to you.
Large-structure photography FAQ
What lens is best for photographing large structures?
Start with the viewpoint and framing you need. A wide-angle lens can include a large subject from nearby, while a longer lens can isolate a detail or frame a structure from farther away. Camera position controls perspective; changing focal length from one fixed position changes framing rather than recreating a different viewpoint.
How do I stop tall buildings from leaning inward?
Keep the camera level when you want parallel verticals. Move back if safe and permitted, allow room for later correction, or use the shift movement of a perspective-control lens. Tilting the camera upward creates converging verticals, which may also be a deliberate creative choice.
Do I need a tilt-shift lens for architectural photography?
No. Many architectural photographs work with an ordinary lens and a considered viewpoint. Shift helps frame a tall subject while the camera remains level. Tilt changes the plane of focus, which is a different function. Decide whether those movements solve a problem you actually have before choosing specialist equipment.
What aperture should I use for buildings?
Choose an aperture for the depth of field your composition needs and check the result. The smallest opening is not automatically the sharpest choice because diffraction can reduce fine detail. Focus placement, distance, shutter duration and camera stability also matter.
How can I show the scale of a large structure?
Include a readable reference such as a doorway, neighboring buildings, a boat or a familiar tree. Keep the reference separate enough to explain the subject rather than obscure it. Do not direct people into unsafe positions for scale.
Can perspective correction fix every architectural photograph?
No. A transform can change the crop, stretch parts of the image and leave blank edges. Leave space around the subject when you expect to correct it, then inspect both the proportions and the new boundaries. A better capture position may be the stronger solution.
What should I photograph besides the whole building?
Make a meaningful detail and a wider context view. Repeated windows, a material joint or a doorway can explain the design, while surrounding buildings or water explain the setting. Keep photographs that add different information rather than several near-identical frames.
Affiliate disclosure: As an Amazon Associate I earn from qualifying purchases. Purchases through Amazon and B&H links may earn a commission at no extra cost to you.