
Original date January 20, 2016. Updated October 2026.
Water, wind, ice and light all do something a still subject cannot: they move, glow, splash and change shape. That makes them good material for photographs, and also a good way to get frustrated, because the exposure problems are different for each one. The original post was about a video that also covers fire, powder and sparks. Those three carry real safety risks, so this guide covers the safer ideas in practical detail and only points to the riskier ones.
The original post shared a video by COOPH photographer Leo Rosas, made while trying the Leica X-U, a camera described by PetaPixel as rugged and waterproof. The video is still the best place to see the ideas in action:
Watch the COOPH video with Leo Rosas on YouTube.
PetaPixel’s write-up lists eight ideas from the video: powder, ice on a mirror, fire on a mirror, a puddle of water, wind and motion, bubbles, sparks, and a visit to a swimming pool. I use the safer ideas on that list as the outline below and add settings guidance from other published sources. Check the video itself for its exact settings and instructions.
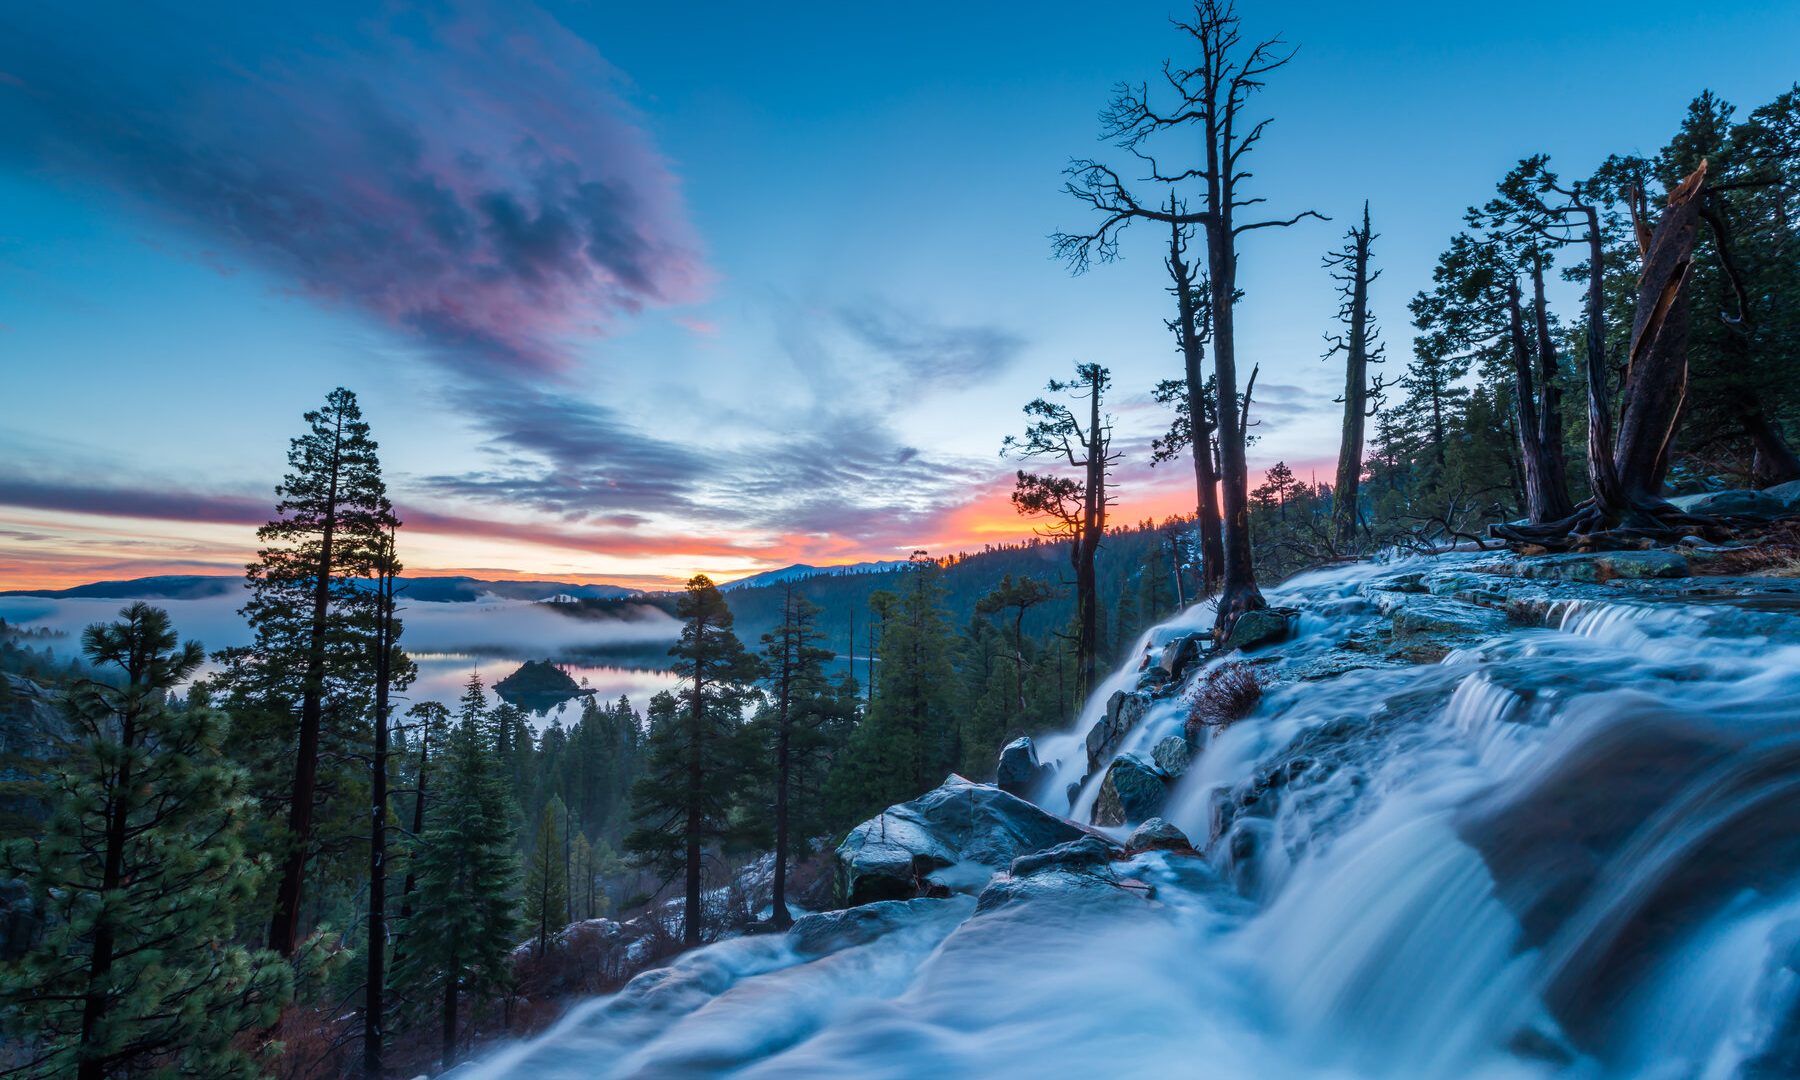
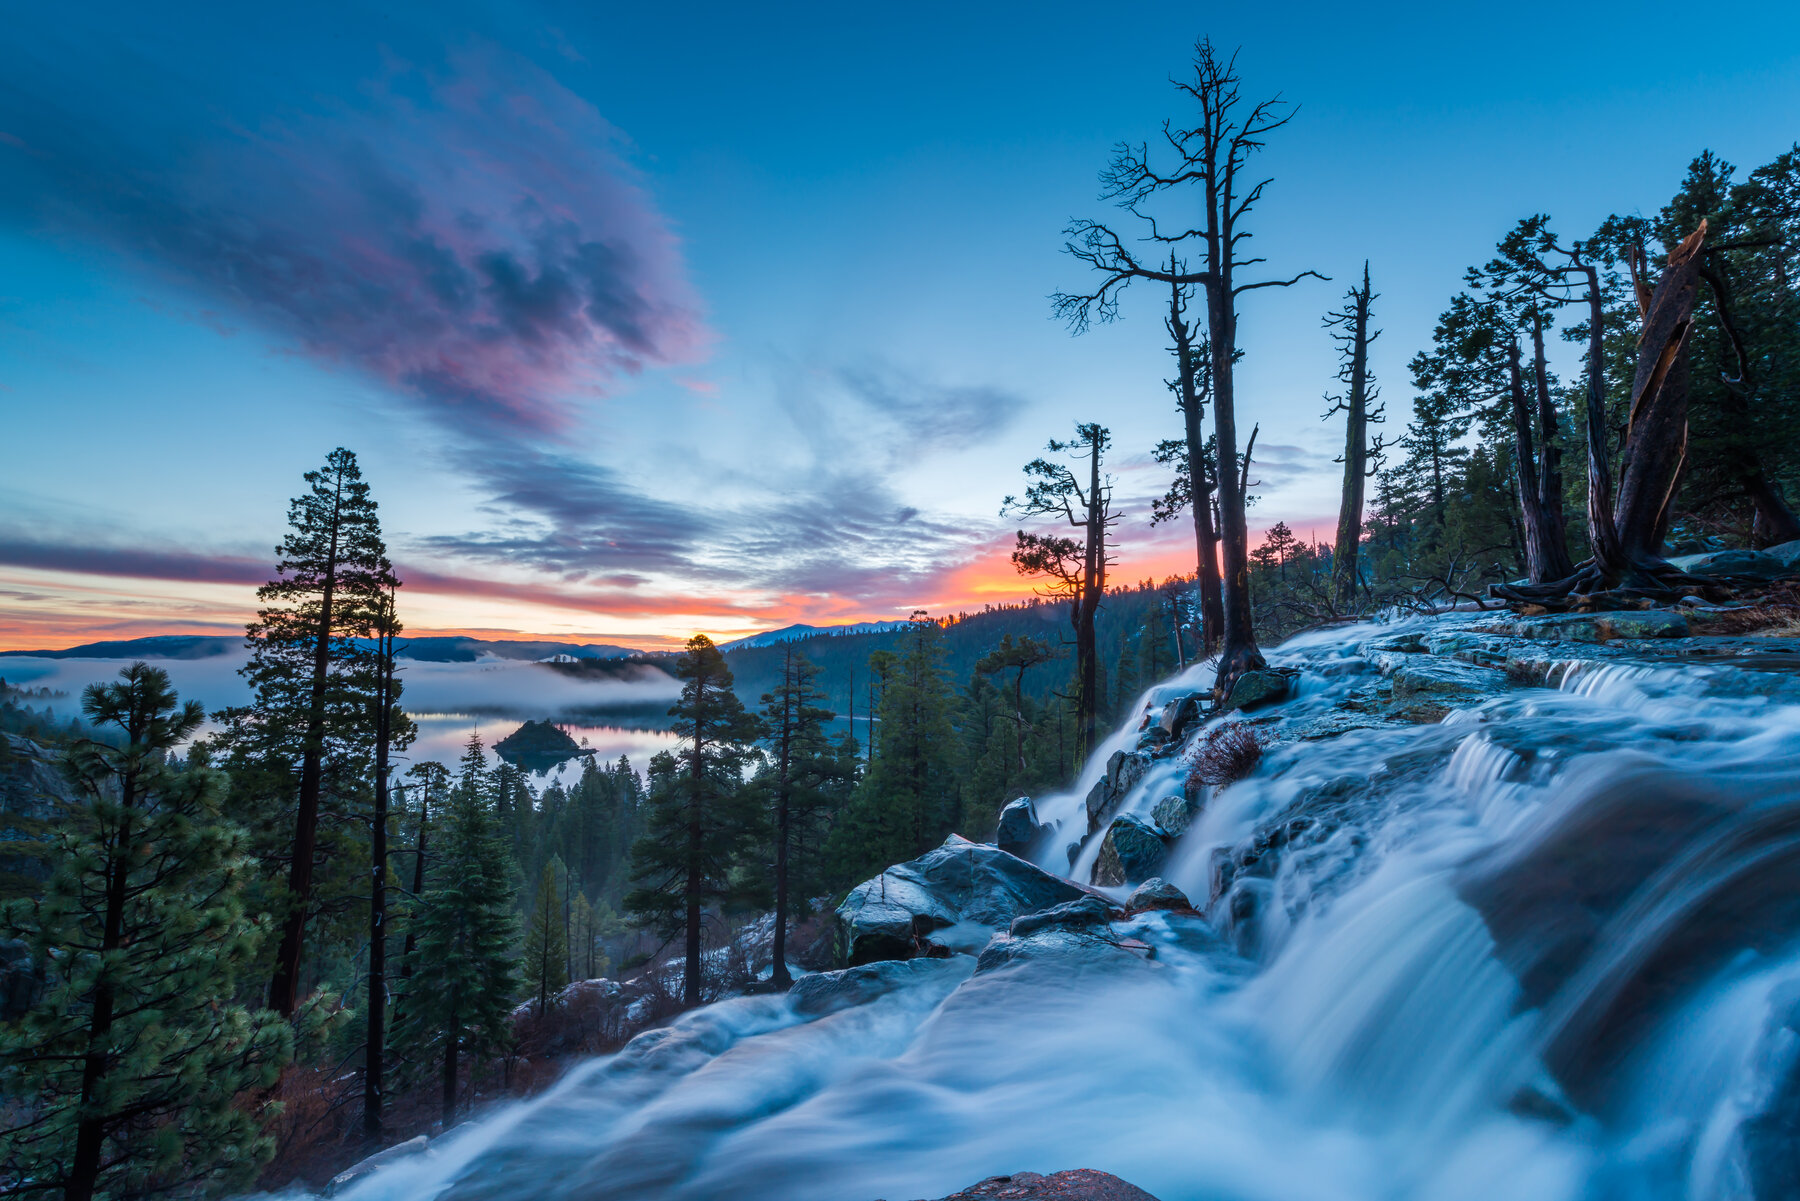
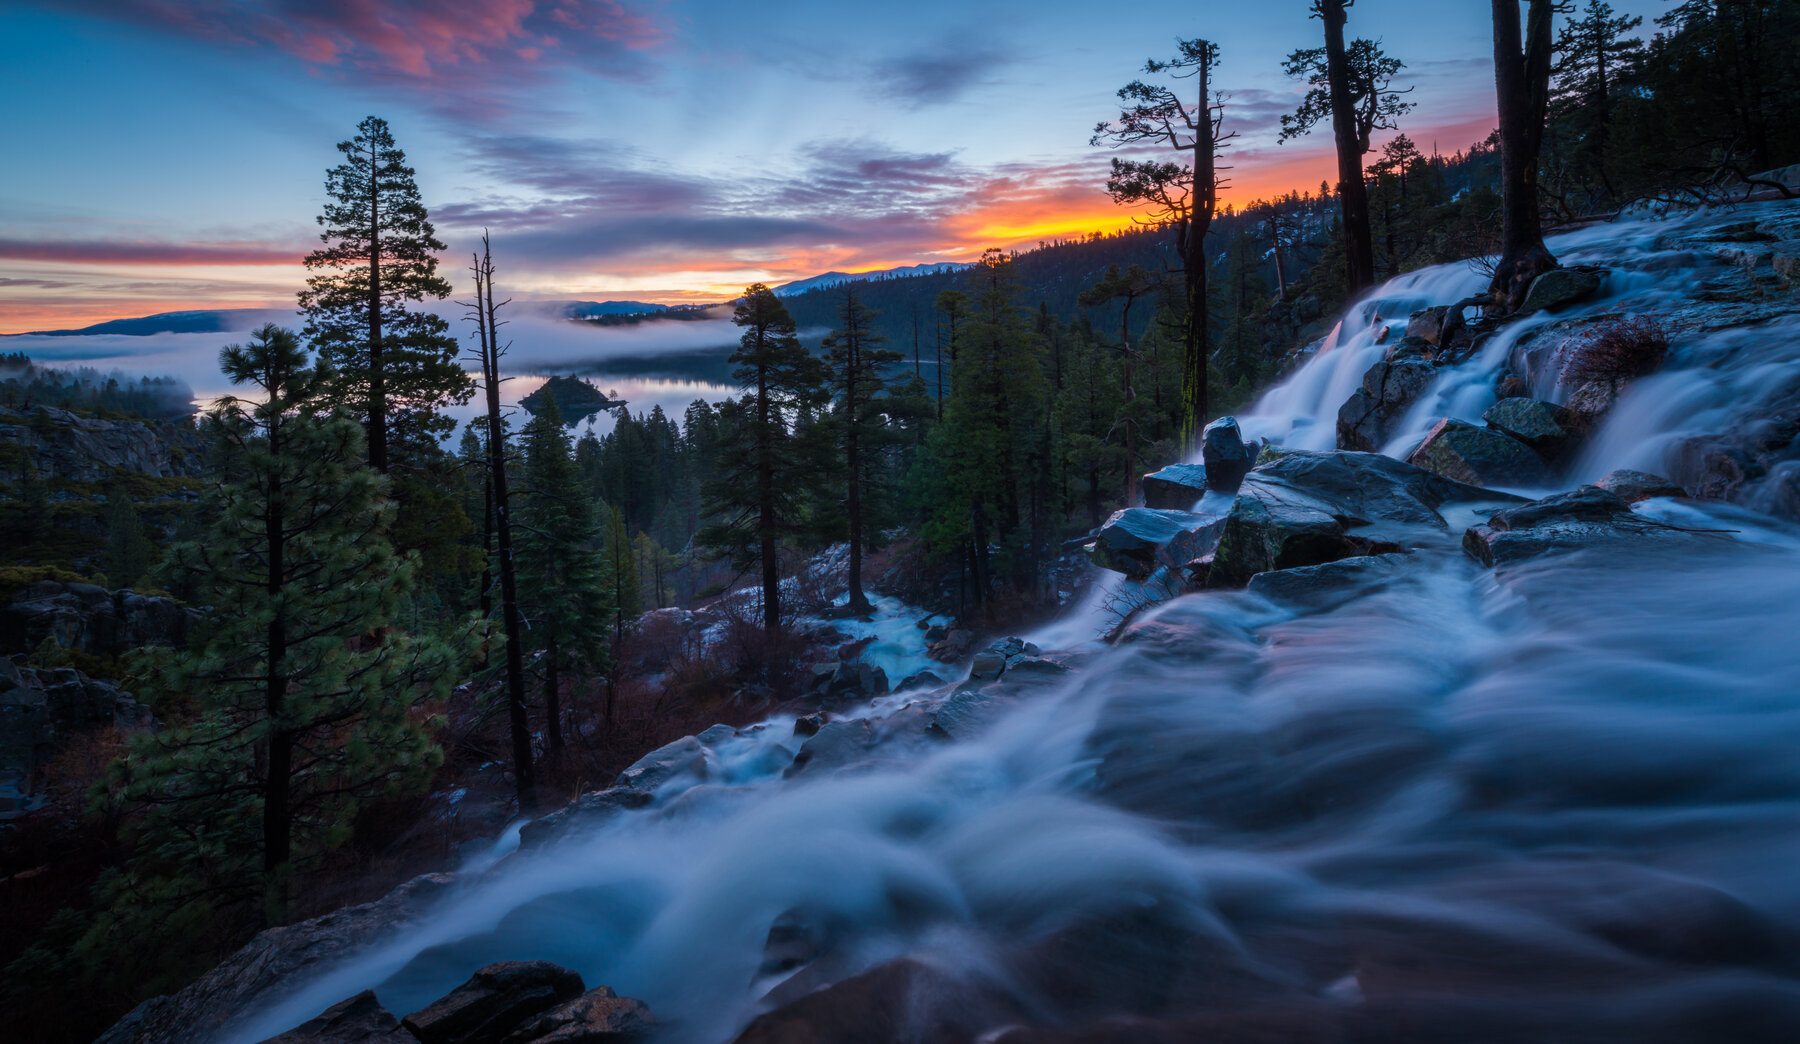
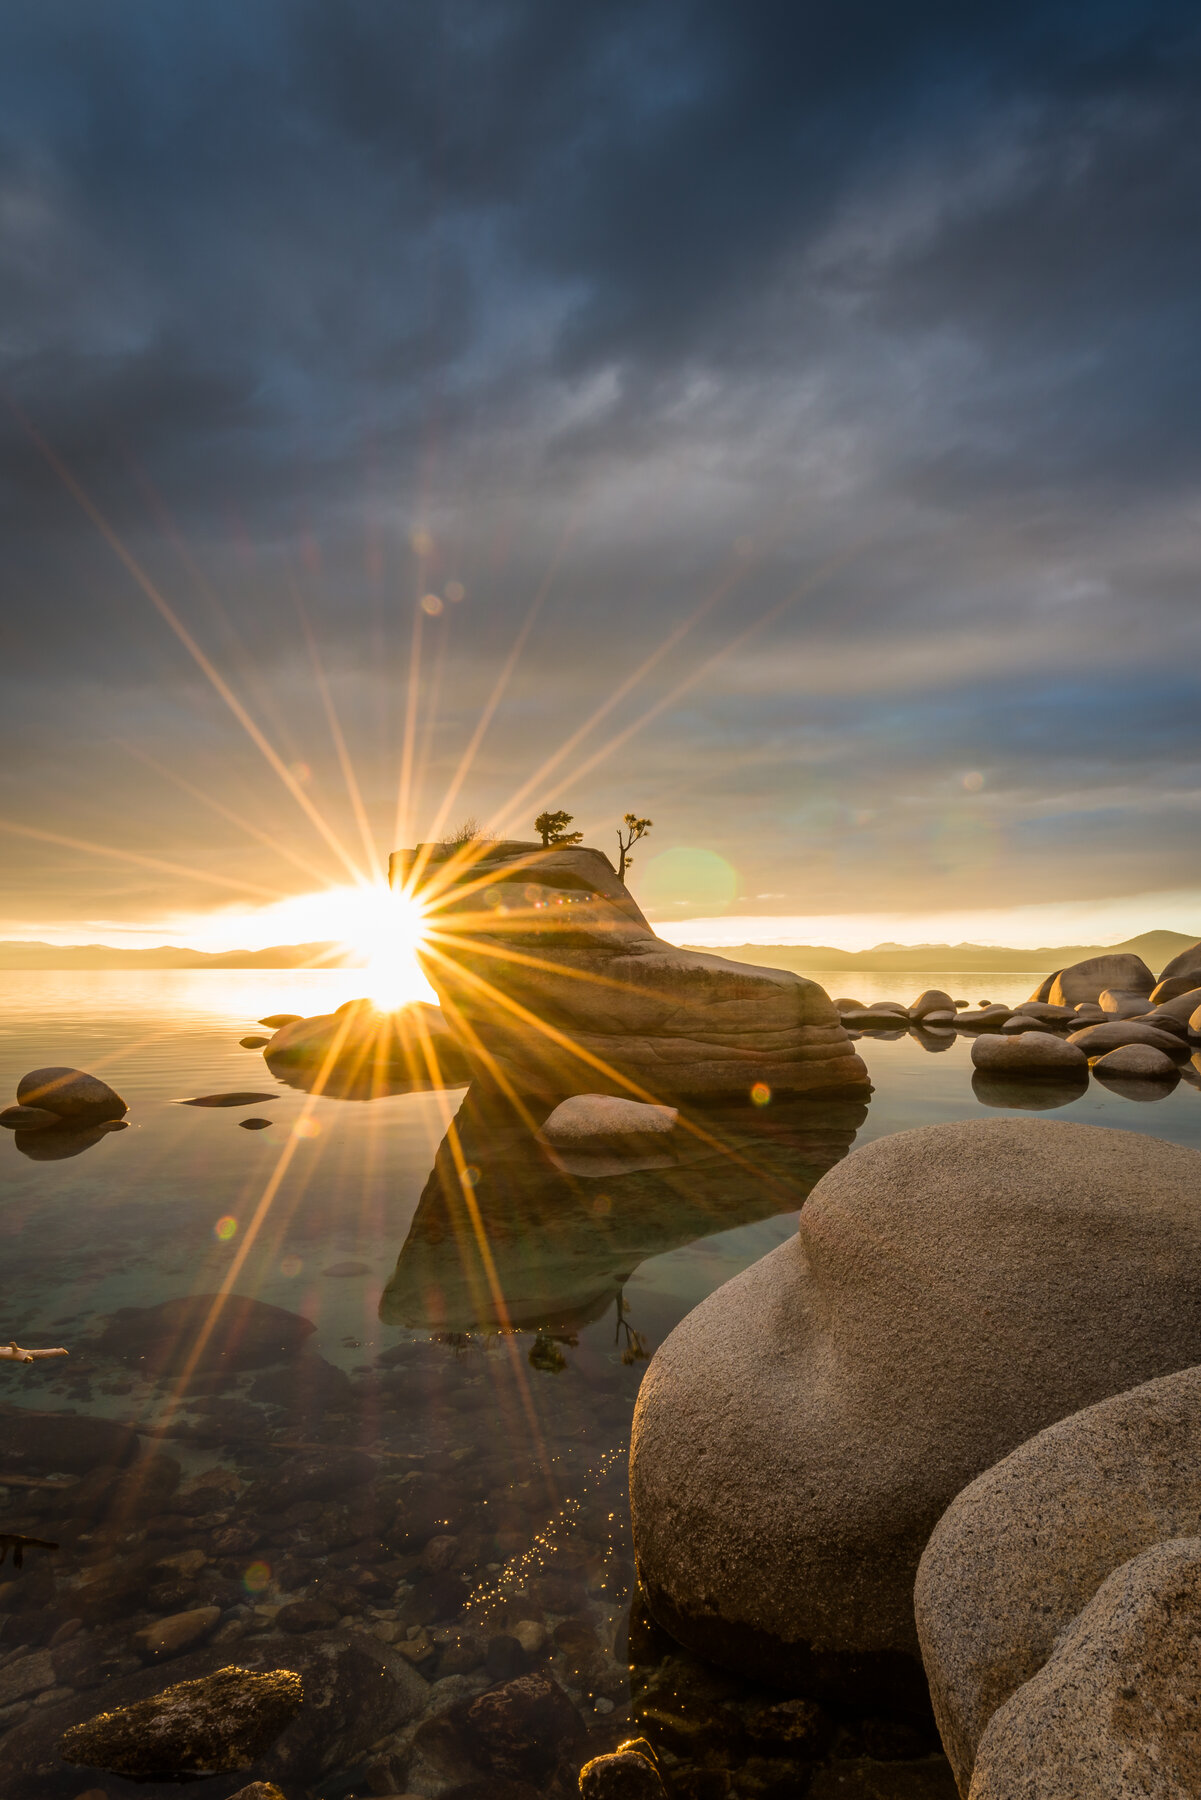
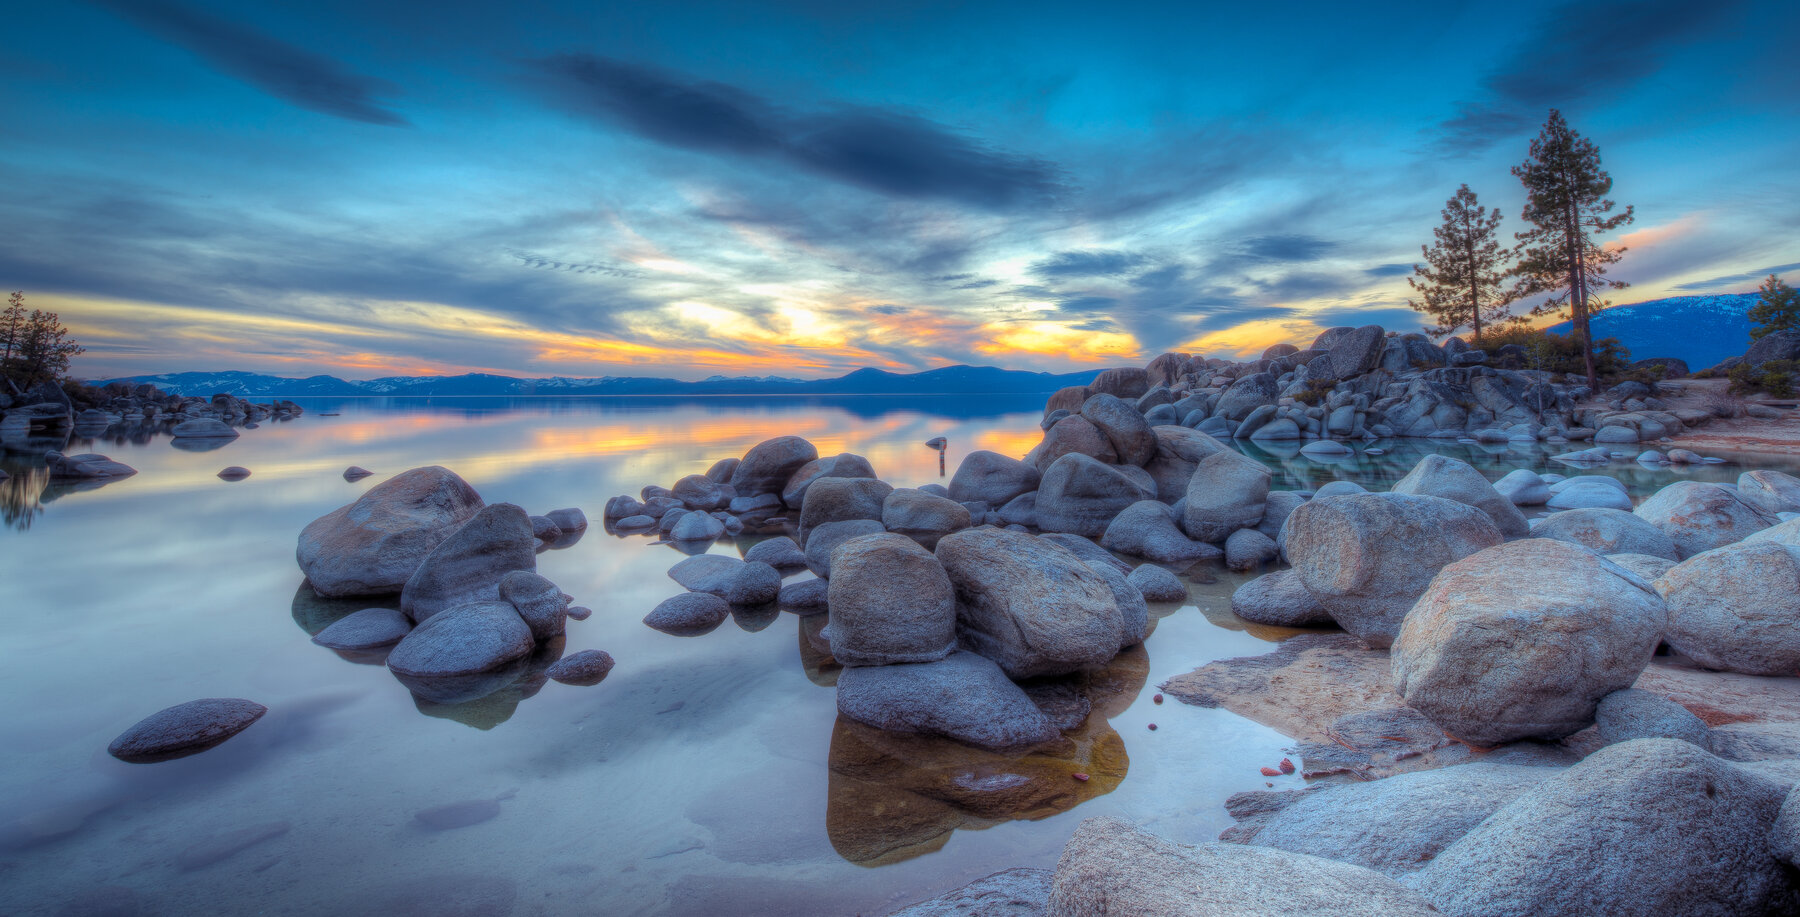
A note on the pictures. The photos in this article are my own frames from Lake Tahoe, taken between 2013 and 2015. They show water, sky and backlight. They do not show fire, sparks, ice or powder, and I do not claim they demonstrate those techniques. Each caption lists the EXIF details the file carries.
 Save
Start with the exposure, not the element
Every one of these subjects comes down to the same decision: do you want to freeze the motion or let it blur? A short shutter speed freezes a splash, a spark or a puff of powder into a sharp shape. A long shutter speed turns water into a smooth sheet and a moving light into a streak. Neither is better. They look different, and the right one depends on what you want the viewer to notice.
Three settings do most of the work. Shutter speed controls how motion looks. Aperture controls how much of the scene is sharp and how much light gets in. ISO is an image-brightness setting, not a change to the physical sensitivity of the sensor, and a lower ISO usually gives cleaner files. When you change one, check what it does to the other two. If you want a longer shutter speed in daylight, you will often need a smaller aperture, a lower ISO or a neutral density filter to keep the image from overexposing.
If you shoot something moving at night or in low light, use a tripod and a remote release or the camera’s timer. A sharp tripod-mounted frame with moving elements is a different picture from a shaky one with the same blur.
Safety comes first
Fire, sparks, steel wool and powder are the ideas in the video that can hurt people and damage property. I do not give a do-it-yourself setup for them here. Adorama’s steel wool guide, for example, says the rules vary by location and some areas restrict it or require permits, that people should not shoot alone, that clothing should be non-flammable and that extinguishers, water and first aid should be ready. Steel wool throws hot sparks that can start fires, so dry grass, brush, dry or windy conditions and places with public access rules are not suitable locations. If you want to explore fire or sparks, look for a controlled setup run by people trained for it, such as a professional workshop or a location with permission and fire safety staff.
Powder needs the same caution. NIOSH lists irritation of the eyes, skin, throat and respiratory system as symptoms of exposure to nuisance dusts, and OSHA says combustible material in fine, airborne form can burn rapidly or become explosive, so I would not encourage anyone to throw it indoors or near ignition sources. Leave powder shots to professionals with proper safety planning.
The same sensible approach applies to any element. Water near electronics needs a camera that is made for it. Ice means slipping hazards. Use the least risky version of an idea, and skip the idea if you cannot make it safe. No photograph is worth an injury or a fire.
Water: puddles, streams and calm surfaces
Water is the most forgiving element to start with, and it gives you both looks. A fast shutter speed shows droplets and splashes as individual shapes. A slow one makes flowing water look smooth. The puddle idea in the COOPH video is a reminder that you do not need a waterfall. A small amount of water on the ground can hold a reflection and a ripple.
For flowing water, put the camera on a tripod, use a low ISO and a small aperture, and try shutter speeds from about a quarter of a second to a few seconds. Different speeds give different amounts of silkiness, so take several frames and compare them. If the scene is too bright for a long exposure, an ND filter lets you slow the shutter without changing the aperture. The frames in this article used several seconds or fractions of a second, as the captions show, and the very small apertures they list (f/22) can reduce sharpness through diffraction, so I would not treat f/22 as a default.
 Save
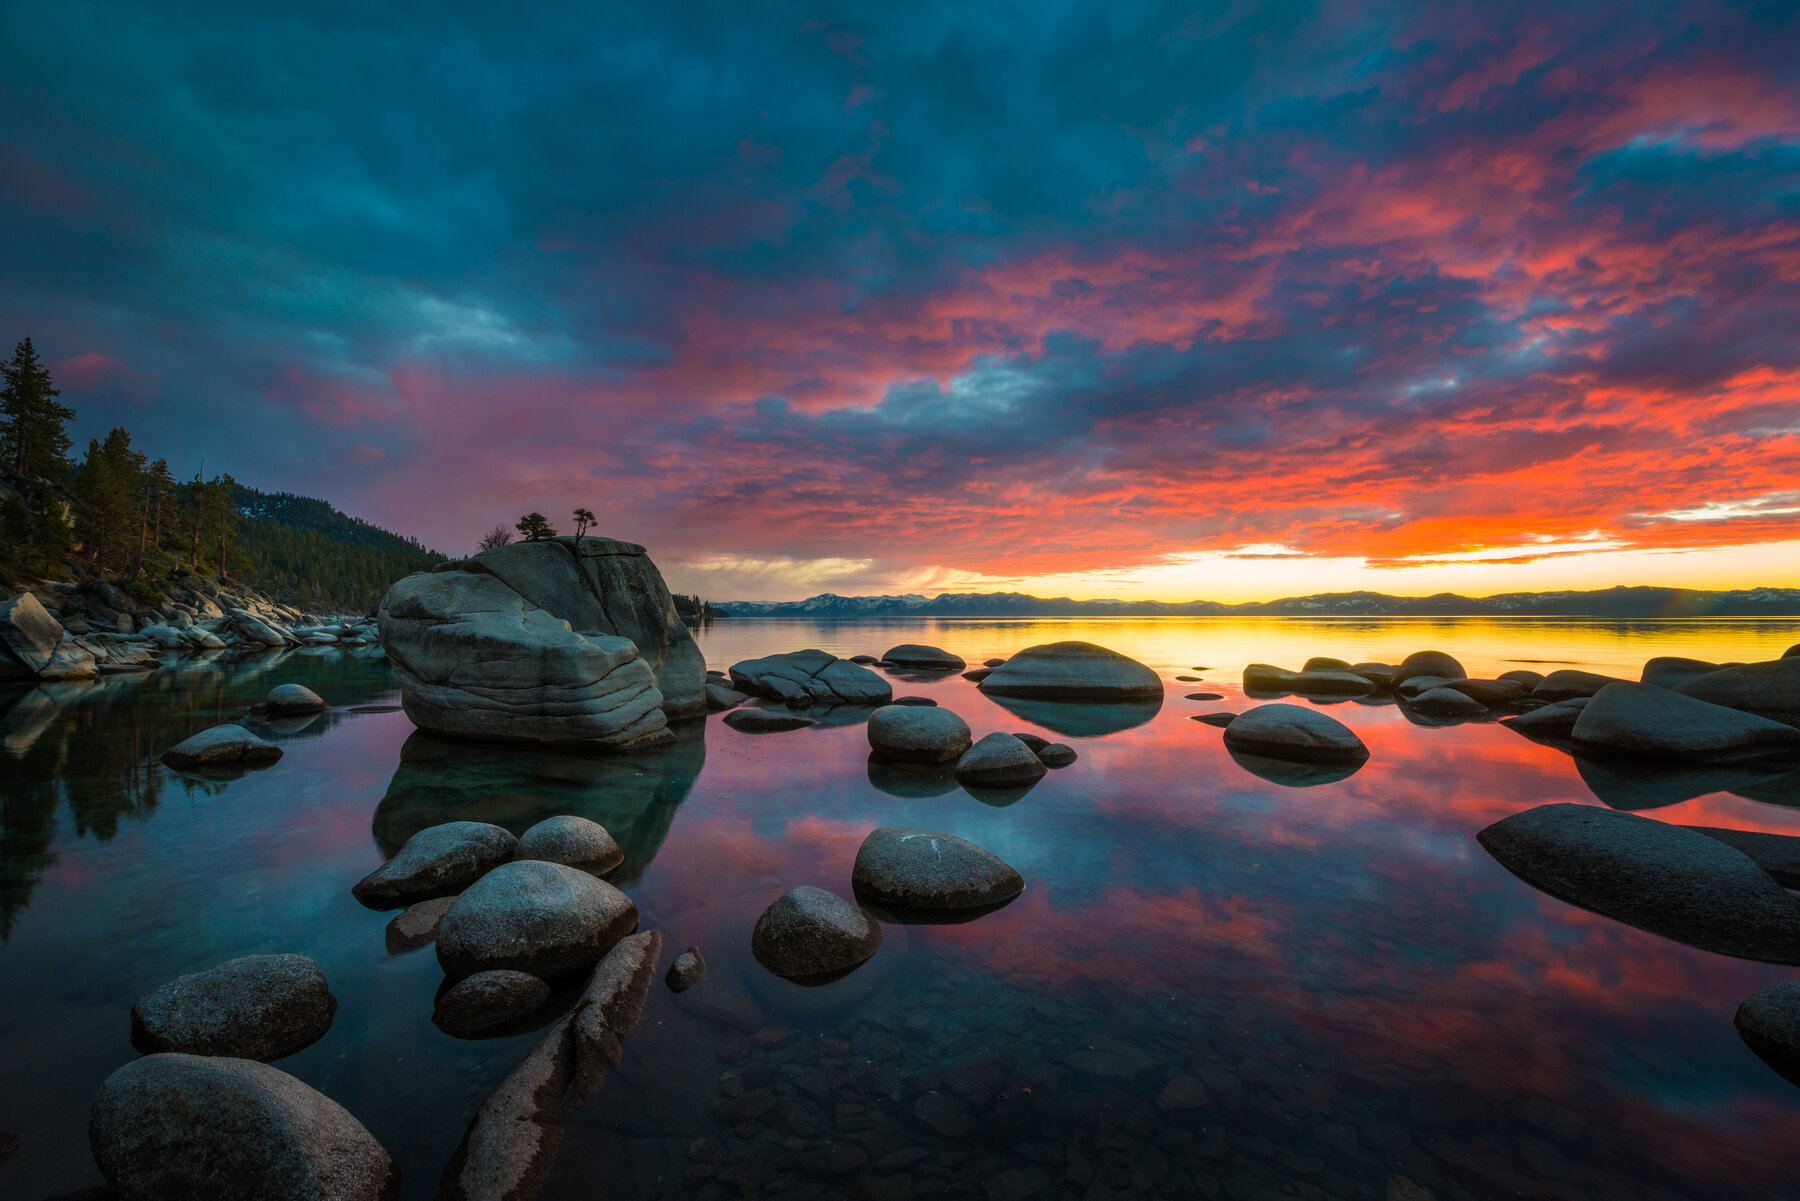
For calm water, look for a spot where the surface is still, such as a sheltered cove at dawn or dusk. A still surface can hold a mirror image of the sky. A longer shutter speed smooths small ripples further. If you need more detail on the technique, see my guide to photographing moving water.
Wind and motion
Wind is hard to photograph because you only see its effects. The COOPH list includes a wind and motion idea. The general approach is to show something that the wind moves, such as fabric, hair, grass, leaves, smoke or clouds, and to choose a shutter speed that suits the effect you want. A fast shutter speed freezes a gust at one instant. A slow one blurs the moving parts while the rest of the scene stays sharp, as long as the camera is steady.
Clouds are the easiest example. A long exposure on a tripod stretches clouds into streaks, while the ground stays still. Use a low ISO, a small aperture and, if needed, an ND filter, and look at the preview to check that nothing important has gone too bright.
 Save
Fire, sparks and powder: leave them to controlled setups
The COOPH video includes fire on a mirror, sparks and powder. I do not give settings or step-by-step instructions for them, because the risks depend heavily on the place, the materials and the people involved. If you work with a professional team in a controlled environment, the team will set the safety rules and the exposure will usually be worked out on site. The camera side is often a normal long-exposure or fast-shutter problem, and the water and backlight examples above apply to it. In any bright-spark scene, check the histogram, since bright points can clip easily.
Ice
Ice is slow and quiet, which makes it a good subject when you want to take your time. Park Cameras’ guide to ice and winter close-ups suggests soft, directional light from early morning or late afternoon, since low angles can bring out texture, and backlight can give frost and ice a glowing, transparent look. It recommends a low ISO such as 100 to 400, an aperture between f/5.6 and f/11, manual focus for precise close-ups, and a tripod, ideally with a remote release.
Ice and snow can fool the camera’s meter. Park Cameras suggests using exposure compensation and checking the histogram regularly so white detail does not clip or shadows fall apart. The right direction and amount depend on the scene and how the camera meters it, so use the histogram and the preview rather than a fixed setting. The same advice applies whenever the frame is mostly white or pale.
 Save
Backlight is also useful outside ice work. In the frame above, the low sun sits behind a rock and forms a star because the aperture was small. A very small aperture tends to produce a star shape from a bright point, but it can also reduce overall sharpness, so test it on your lens.
Bubbles, pools and other small ideas
Bubbles are on the COOPH list. They catch light and reflect color, and backlight from a window or the sky tends to show them best. Try a fast shutter speed to freeze them. Keep soap and water away from the camera and lenses, and wipe off anything that lands on the gear.
A swimming pool, also on the list, is another place for water and light. If you plan to put a camera near water, make sure it is designed for it, use a case made for your camera, and read the manufacturer’s instructions first. A rugged, waterproof camera was the whole premise of the video, and a camera that is not made for water should stay dry.
Reflections and mirrors
Two of the COOPH ideas put fire or ice on a mirror. A mirror, or any smooth surface, doubles the subject and adds a second layer to the picture. You do not need a mirror to try the idea. Still water does the same job outdoors, as the frame below shows. Keep the camera low and close to the surface so the reflection fills more of the frame, and check that the horizon and the reflection line up.
 Save
Editing elements photos
Motion photos often need small adjustments rather than big ones. Start by setting the exposure so the highlights are not clipped, since bright sky, sun stars and ice are easy to lose. Then check white balance, because warm light and cool backgrounds can look wrong together. If water looks muddy or dull, a small increase in contrast or clarity can help. Be careful with noise reduction on long exposures, since heavy smoothing can remove detail from rocks and ice.
For a step-by-step workflow, see how to edit a beautiful sunset photograph in Lightroom and how to edit a long exposure shot with a 10 stop ND filter. Both cover the editing side of the techniques above.
A simple plan for your first shoot
- Pick one element, such as moving water, and one safe way to shoot it.
- Set the camera on a tripod and use manual focus where the light is low.
- Start with a low ISO and a middle aperture, and change the shutter speed to get the motion look you want.
- Take a few frames at different shutter speeds and compare them on the screen and the histogram.
- Change one setting at a time and note what changed.
- Stop if the conditions become unsafe, and finish by cleaning up.
Gear that can help
You do not need a lot of equipment for these ideas, but a steady tripod matters for nearly all of them. Check that any item suits your camera and your load before you buy.
- Travel tripod: Manfrotto Befree Advanced Travel Aluminum Tripod (B&H). B&H lists a 19.8 lb load capacity and a 15.7 inch folded length.
- Another travel tripod option: Peak Design Aluminum Travel Tripod (B&H). B&H lists a 20 lb load capacity and a 15.5 inch folded length.
Disclosure: these are affiliate links to B&H. If you buy through them I may earn a commission, at no extra cost to you.
Sources
- PetaPixel: 8 Ideas for Shooting the Elements with a Rugged Waterproof Camera (list of the eight COOPH ideas, January 20, 2016).
- COOPH video with Leo Rosas (original source of the ideas).
- Adorama: Steel Wool Photography, How to Create Steel Wool Photos (Safely) (safety points: legality, not shooting alone, non-flammable clothing, extinguishers).
- OSHA: Combustible Dust, An Explosion Hazard (fine airborne dust and fire or explosion risk).
- CDC NIOSH Pocket Guide: Particulates not otherwise regulated (inhalation, skin and eye exposure symptoms).
- Park Cameras: Photographing ice and Winter Close-ups (light, ISO and aperture ranges, exposure compensation and histogram for ice).
Frequently asked questions
What are the elements in element photography?
The original COOPH video named fire, wind, powder, ice and sparks. PetaPixel’s list of its eight ideas adds water, bubbles and a swimming pool. This guide covers the safer ones, which are water, wind, ice, light and reflections.
What shutter speed should I use for moving water?
It depends on the look you want. A fast shutter speed freezes splashes. A slower one, from a fraction of a second to a few seconds, makes flowing water look smooth. Take several frames and compare them.
Can I try fire, sparks or powder photography myself?
I do not give a do-it-yourself setup for these. They involve fire and burn risks, hot sparks, and in the case of powder, inhalation and dust hazards. Look for a controlled, professionally run setup with permission for the location.
How do I photograph ice without blowing out the highlights?
Park Cameras says ice and snow can mislead the meter. Use exposure compensation as the scene needs and check the histogram, since the right direction depends on the scene.
Do I need a waterproof camera?
Not for most of these ideas. The COOPH video used the Leica X-U, which PetaPixel describes as rugged and waterproof, because some ideas put the camera near water. If your camera is not made for water, keep it dry.
Are the photos in this article of fire, sparks or ice?
No. They are my own Lake Tahoe frames of water, sky and backlight, and they illustrate the quieter side of the subject. The captions list the EXIF data.

