
Updated October 2026
Newborn photography is not a contest to see how many poses you can fit into an afternoon. It is a chance to make honest photographs of a new person and the people caring for them. Good light, a clean frame, and a calm pace do more for those pictures than a mountain of props.
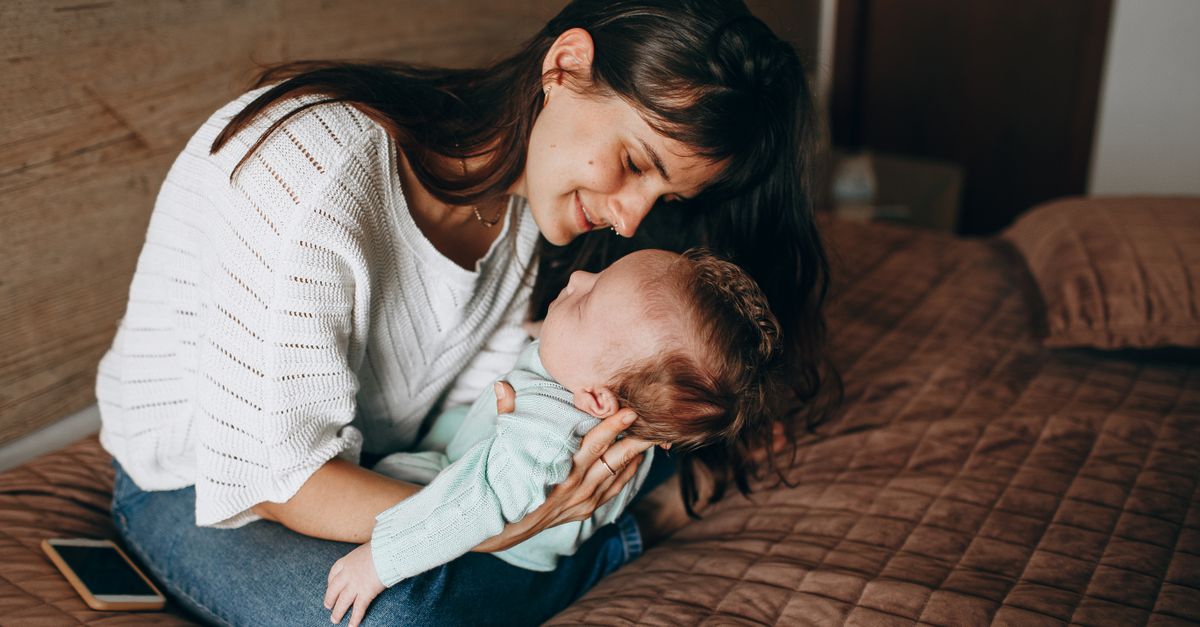
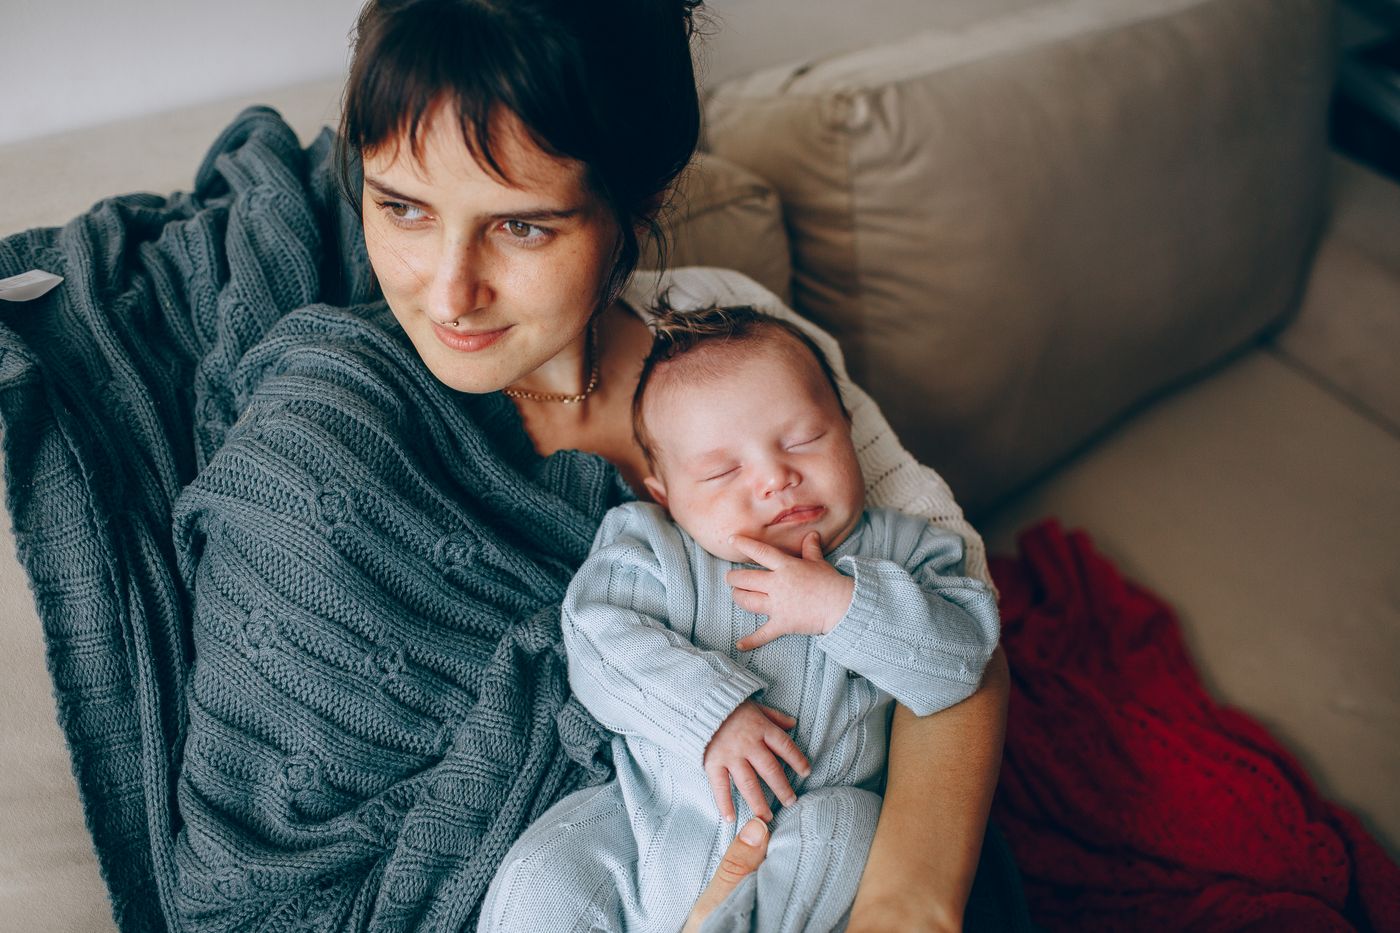
Start with the simplest version: an awake, seated parent holding the baby, with the parent responsible for support and comfort. Move your camera and change your composition rather than rearranging the baby. If you want to offer specialist posed newborn sessions, get dedicated handling and safety training before taking that work. Reading a photography article is not that training.
This guide is for natural, parent-held portraits and small family details. It does not teach advanced posing, wrapping, or medical care. Follow the family’s clinician’s advice for their baby, and stop when care needs attention. The photograph can wait.
1. Put safety ahead of the shot list
There is no picture worth forcing. Do not put a newborn on an elevated prop, balance them in a basket, suspend them, or ask them to support their own head for a photograph. Do not move their neck or limbs into a shape copied from social media. A finished image can hide supporting hands, an assistant, or a composite, and it cannot show you the photographer’s training.
A published scoping review of newborn photography poses raises concerns about passive end-range positioning and favors natural positions rather than forced ones. Treat that as a reason to stay inside your ability, not as a checklist for attempting difficult poses with a few extra precautions.
The Accredited Professional Newborn Photographers International describes safety education as the foundation of its professional pathway. It also distinguishes its safety awareness course from certification. Ask a specialist about their actual training, insurance, handling practices, and plans for supporting the baby. A social-media badge alone does not answer those questions.
For a beginner, choose a seated, awake adult holding the baby and keeping the head supported. The adult stays in control. Keep bags, camera straps, stands, and cables out of their way. Avoid shooting directly above the baby with equipment that could fall. If you feel unsure about a setup, choose a different picture instead of improvising a solution.
2. Plan around the family, not a rigid age deadline
You may hear that newborn photographs must happen within the first two weeks. Some specialist studios prefer an early window for a particular style, but that is not a deadline for meaningful family photographs. Recovery, appointments, feeding, travel, and the baby’s individual needs matter more than copying someone else’s schedule.
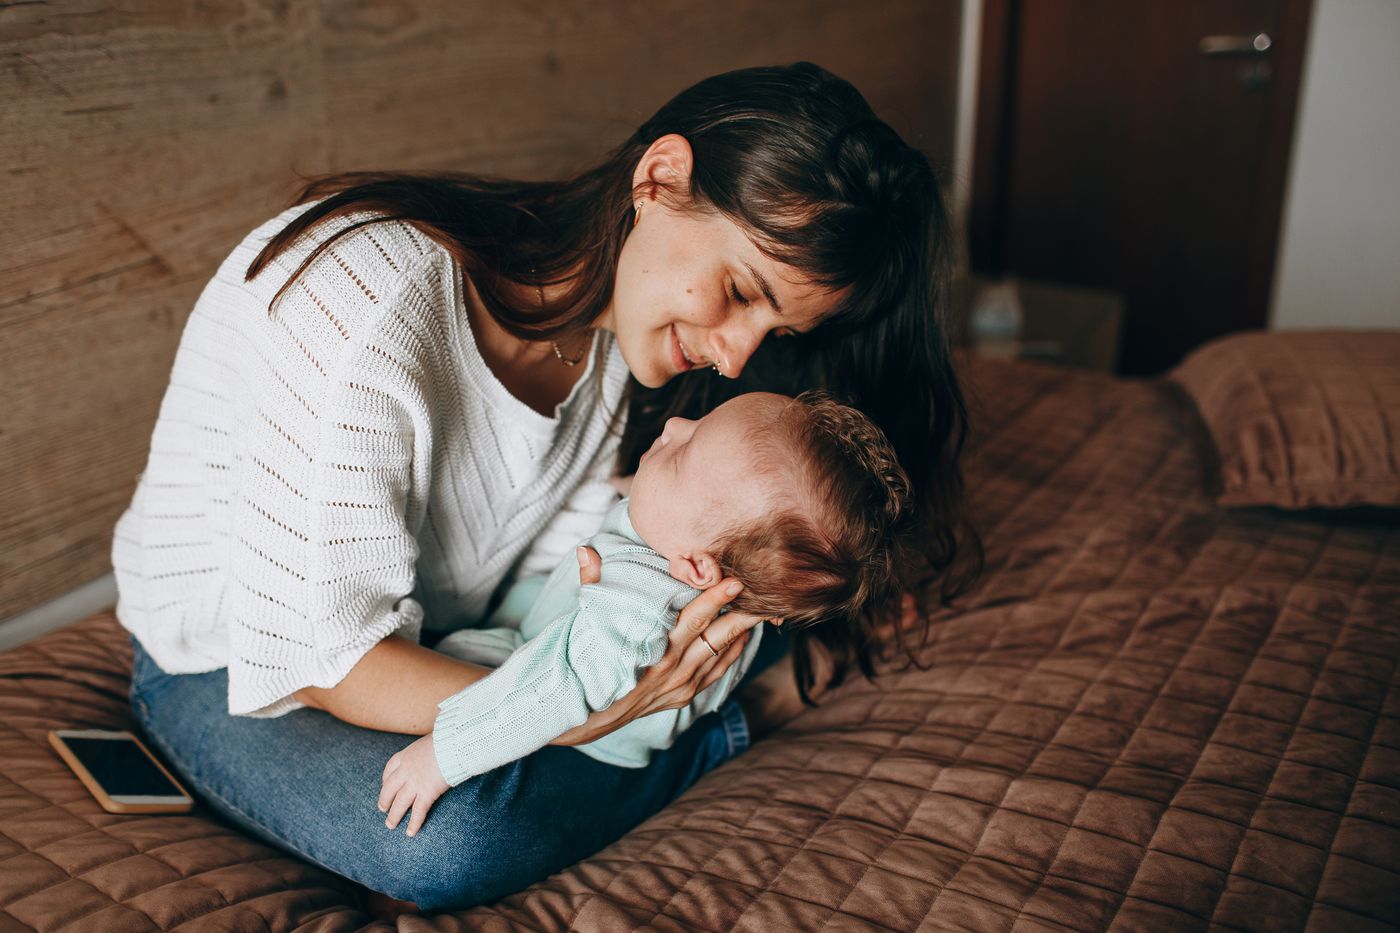
Ask what the parents want to remember. It might be a tiny hand around a finger, an older sibling looking at the baby, or the way a parent holds them near a window. Those are useful answers because they shape a short, realistic shot list. Ask about accessibility and comfort too. A recently recovering parent should not have to stand, sit on the floor, or move furniture for your preferred angle.
Do not ask parents to keep the baby awake, delay a feed, or change care routines to create a sleepy model. Leave feeding and settling decisions to the caregivers. Tell them that breaks and a shorter session are fine. An awake baby is still a subject, not a failed plan.
For commissioned work, agree on price, session limits, delivery, cancellation, and image-use permissions in writing. Keep public sharing separate from the service itself. A family can want photographs without wanting their child’s face in your portfolio. Make that distinction easy to understand before the camera comes out.
3. Set up the room before bringing in the baby
Choose one uncluttered corner with gentle light and a comfortable seat. Clear the background, test the camera, and decide where you will stand while the baby is elsewhere with a caregiver. That reduces the amount of moving around during the actual photographs. You do not need to turn the home into a studio.
Wash your hands and keep equipment and surfaces clean. Reschedule rather than bringing an illness into the session. Keep pets away from the working space unless the family has a separate, well-managed plan that does not compromise the baby’s care. Leave strong scents, loose decorations, and distracting objects out of the setup.
Avoid room-temperature formulas borrowed from posed studio tutorials. Do not point a heater at the baby or make the room hot to encourage sleep. Let the parents manage clothing and comfort, and follow appropriate care guidance. Your job is to make a photograph in a comfortable situation, not change the baby’s environment to achieve a pose.
The American Academy of Pediatrics’ safe-sleep guidance is important here: babies should sleep on their backs on a firm, flat sleep surface, with soft objects and loose bedding kept out of the sleep area. An adult bed, sofa, or decorative setup is not an infant sleep space. Parent-held photographs require an awake caregiver; stop if that adult becomes drowsy and return to the baby’s appropriate sleep arrangement.
4. Find soft light without moving the baby into it
A large window can be enough. Look at the light on an adult’s face first. If it creates a bright patch and a hard shadow, choose a different position or diffuse the window with a suitable curtain. Keep fabric and cords away from the baby. Never drape a makeshift diffuser over them.
Place the seated parent so that the light comes from the side or a little in front. You want shape in the face, not a dark eye socket or a stripe of sun. Then work from the open side of the room. A small change in where you stand can improve the picture without asking the parent to adjust the baby.
Turn off distracting room lights if the family is comfortable doing so and the room remains safe to move through. Mixing warm lamps with cooler daylight can produce uneven skin color. If lights need to stay on, accept that and work with the available light. Comfort comes before a perfectly uniform white balance.
For this beginner workflow, window light keeps equipment simple. This is not a blanket medical claim about flash. If you use studio lighting professionally, understand the equipment and obtain newborn-specific safety training. Do not invent a rule that every flash is dangerous or that every lighting setup is harmless.
5. Choose settings that protect a fleeting expression
Start with settings you understand. On a camera with manual exposure or aperture priority, a moderate aperture such as f/4 is a useful test point for one parent-held portrait. It is not a universal answer. If two faces are at different distances, stop down further or adjust your camera position so they fall closer to the same plane.
A shutter speed around 1/250 second can be a practical starting point for handheld portraits of small movements. Review a test frame at full size. If fingers, eyelids, or the supporting adult are moving, you may need a faster shutter. Raise ISO when needed rather than accepting blur solely to keep the number low. Some noise is easier to live with than an out-of-focus eye.
Focus on the baby’s visible eye when that is the main subject, or on the nearer face in a shared portrait when your depth of field includes both. Eye-detection autofocus can help, but check what it selected. It may choose the adult when you intended the baby. A small focus area gives you more control when automation keeps choosing the wrong subject.
Take short sequences, then lower the camera. Do not machine-gun every moment and make the room feel frantic. Check highlights on skin and light clothes so they are not washed out. Shoot RAW if your camera offers it and your editing workflow supports it. On a phone, avoid extreme digital zoom and check that portrait mode has not cut away fingers or hair.
6. Build variety by changing your view
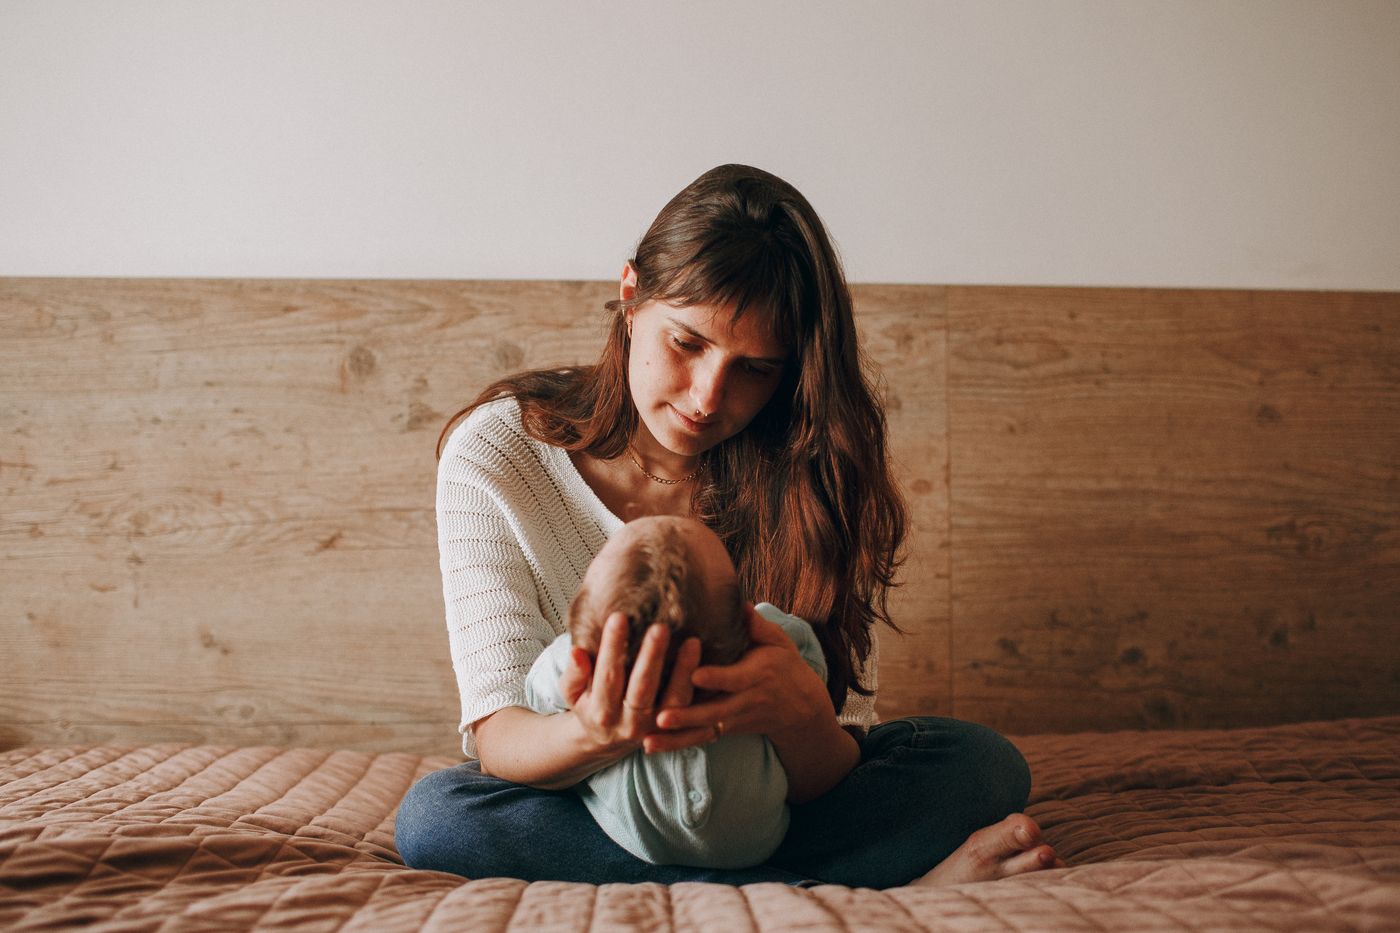
Begin with a wider frame showing the seated parent and the room’s cleanest background. Then move closer for the two faces. Finally, make a detail of the baby’s hand resting against the adult’s hand or clothing. Three camera positions can create a small story without three different baby setups.
Look at the edges. A laundry basket, bright screen, or awkward doorway can compete with the subject. Move a safe distance to one side, simplify the crop, or remove a background object before the session. Do not crop so tightly that the supporting hands disappear merely to imitate a floating-baby look.
Keep the camera close to the level of the faces when practical. A very wide lens used inches away can exaggerate the nearer nose or hand. Step back and use a normal perspective instead. If the space is small, a wider environmental frame may be better than pushing the camera into the baby’s personal space.
Let gestures happen. An adult looking down, a baby opening a hand, or an older sibling watching from beside the parent can be enough. Do not require a smile or eye contact. Ask the adult for a small change only if it is comfortable and does not interfere with support. Often the most useful instruction is to pause and let them be together.
7. Keep breaks and siblings simple
Pause for feeding, changing, settling, or the parent’s rest without treating the interruption as a problem. Put the camera down. Do not photograph private care moments unless the family specifically wants that and has agreed. A short session with a few good pictures is better than continuing after everyone is tired.
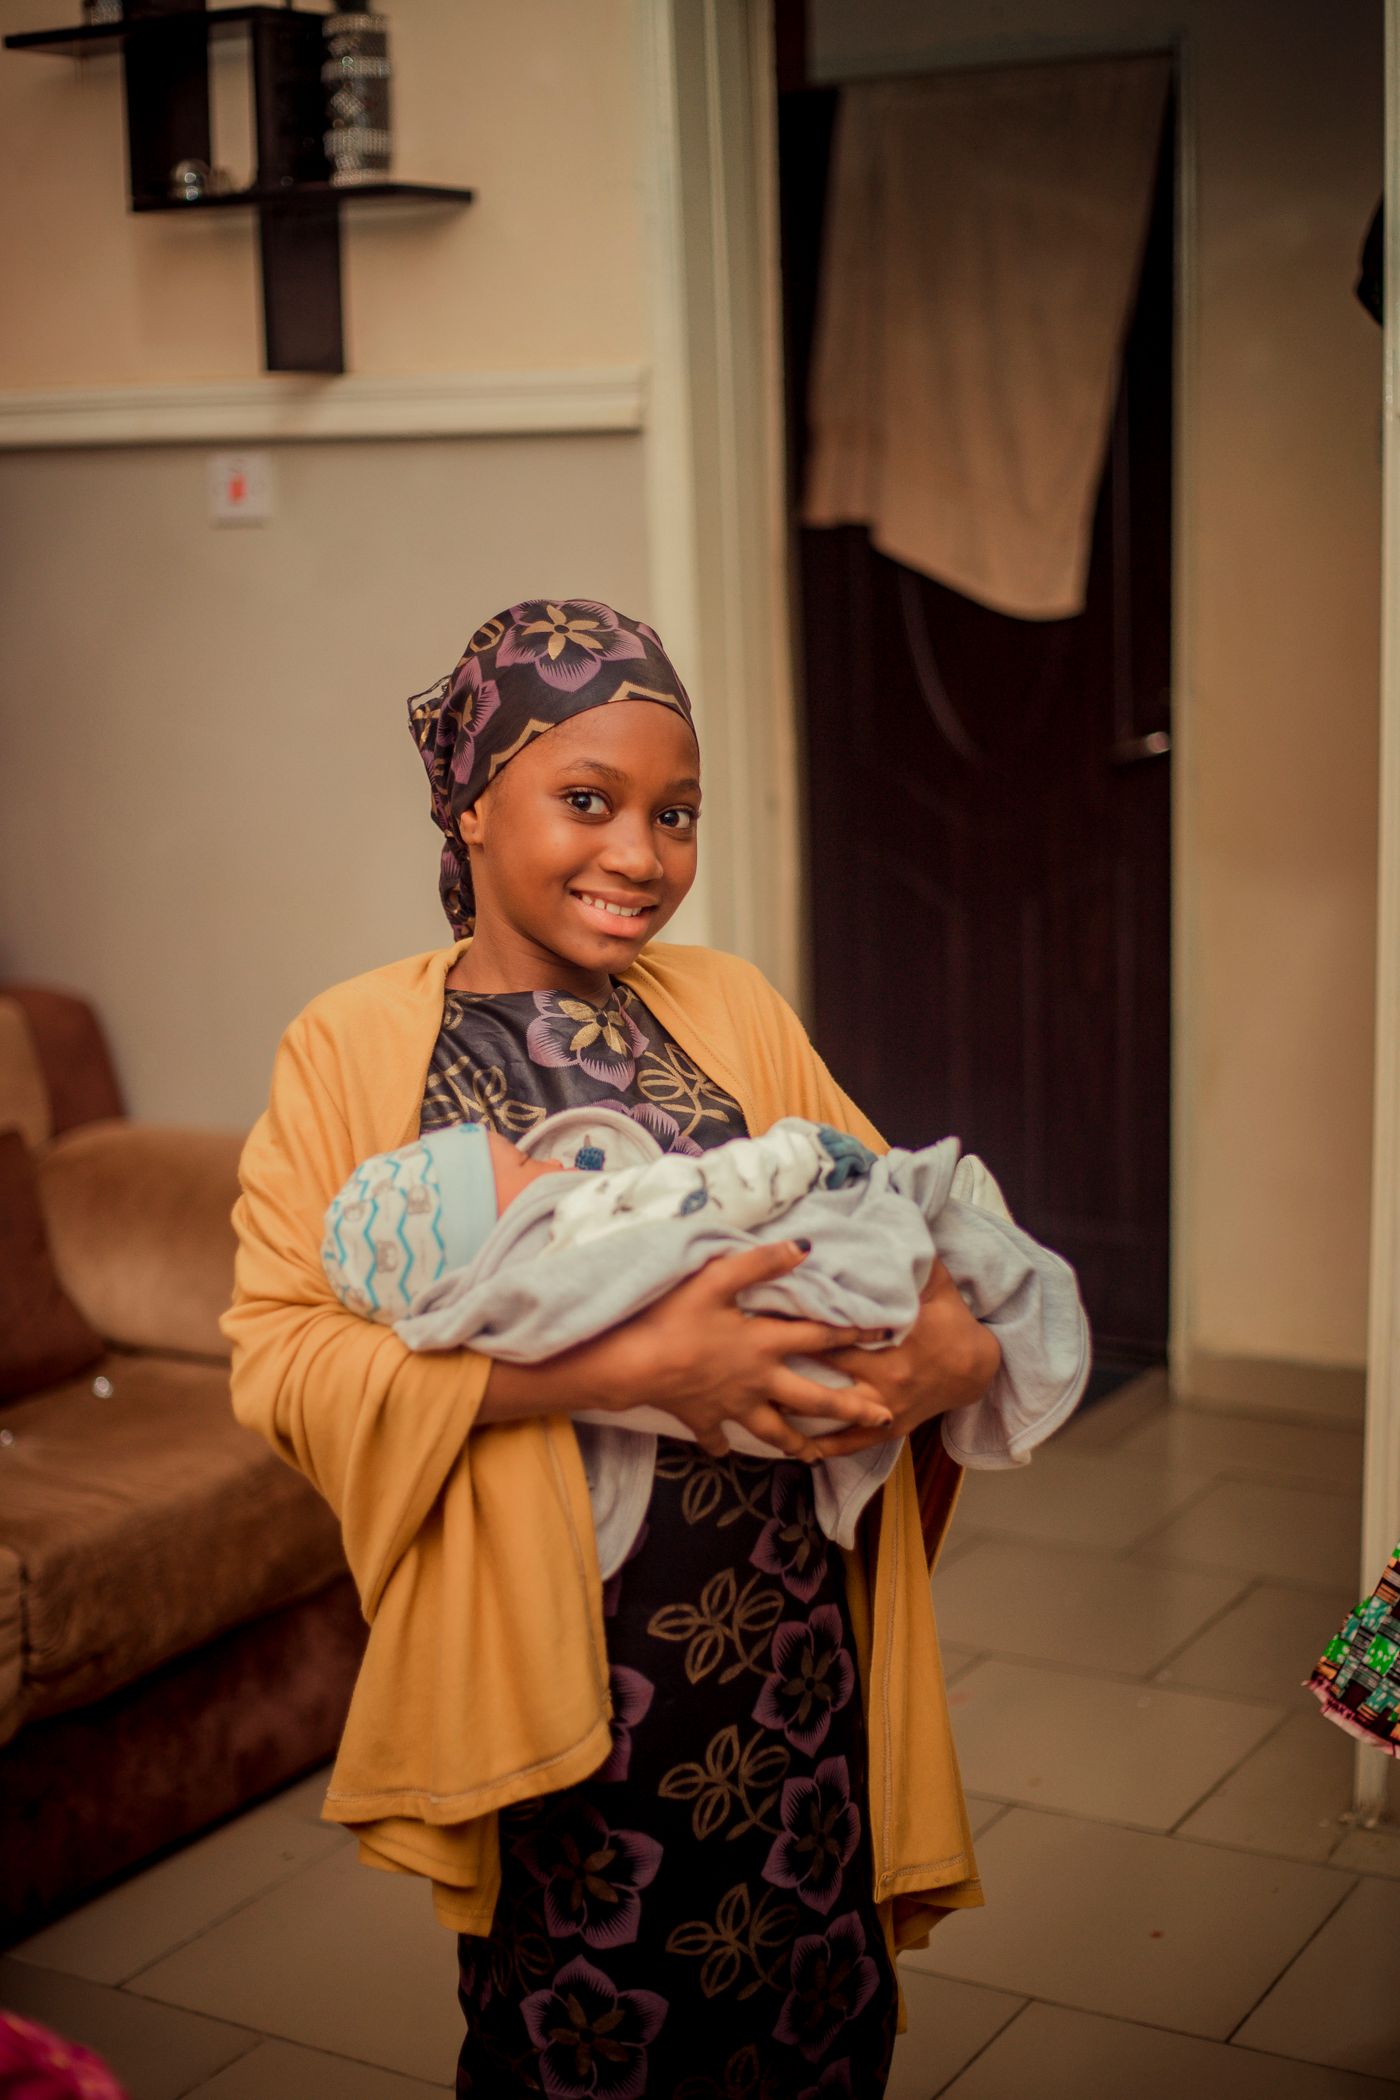
For a sibling frame, keep the baby with the seated adult. The sibling can sit or stand nearby and look toward them, with another adult attending to the child when needed. Do not place the baby in a young child’s unsupported lap because it looks sweet. Connection does not require handing responsibility to someone who cannot safely carry it.
Stop if the caregivers are concerned or the baby needs attention. Do not diagnose a baby through your viewfinder or reassure a worried parent to keep the session going. Care decisions belong to the parents and their healthcare professionals. If a setup needs repeated fixing, abandon the setup.
8. Edit the pictures without rewriting the person
Select a small set with clear focus, useful expressions, and different views. You do not need twenty nearly identical frames to show that you worked hard. Include an environmental portrait, a closer relationship frame, and a detail if those pictures are strong. Leave out frames that look uncomfortable or unflattering.
Set white balance first, then adjust exposure and contrast gently. Keep skin from turning orange, gray, or overly pink through aggressive color grading. A black-and-white version can help a mixed-light image, but it should still have readable faces and a believable range of tones.
Avoid heavy skin smoothing or changing the baby’s features. Discuss any requested retouching with the parents instead of assuming every mark should vanish. Remove a background distraction when appropriate, but do not create a misleading unsupported pose. Deliver the story you photographed, not a different baby assembled in software.
Back up the files, explain download and print options, and honor the family’s privacy agreement. Do not include the child’s full name, birth details, address, or health information in public captions without explicit permission. For camera fundamentals, use the Shut Your Aperture Academy. For broader framing practice, read how to take a better portrait.
Newborn photography questions
Do newborn photos have to happen before two weeks?
No. Some posed studios prefer an early window, but natural family portraits can be made later. Choose a time that fits recovery, care, and the family’s needs rather than forcing a deadline.
What is the simplest beginner setup?
An awake seated parent holding and supporting the baby near gentle window light. Keep the background simple and change your camera position rather than posing the baby.
Can I copy a complicated newborn pose from a photograph?
No. A finished image does not show handling, support, training, or composite work. Avoid forced positions and elevated props. Get dedicated newborn safety training before offering specialist posed work.
Which camera settings should I use?
Try a moderate aperture and a shutter fast enough for small movements, then inspect a test frame. Around f/4 and 1/250 second can be starting points, not guarantees. Raise ISO or adjust depth of field when the picture needs it.
Do I need a special lens for newborn photography?
No. Start with a lens that gives you a comfortable working distance and clear focus. A standard zoom or normal prime can work. Safety, light, and timing matter more than buying another lens.
Portrait gear to research
Nikon NIKKOR Z 40mm f/2
A compact normal prime for Nikon Z cameras, worth considering if that is already your system. It is not an F-mount DSLR lens. On DX cameras the framing is tighter than on FX. Check your room and working distance before buying. You do not need to use f/2 simply because the lens offers it; a smaller aperture can keep two faces in focus.
Affiliate disclosure: Purchases through these links may earn Shut Your Aperture a commission at no extra cost to you. Check current price, availability, and compatibility before ordering.
Make the family comfortable, keep the baby supported, and make the frame clear. That is a better starting point than chasing a picture that asks too much of a newborn.
Image sourcing: Licensed stock used for illustration. Photographs are not newborn handling instructions or infant sleep setups.

