ISO in Photography: Sensor Sensitivity, Noise, and Real Settings
Last updated June 1, 2026 by Edin Chavez — 15+ years shooting weddings, corporate events, and landscapes.
 Save
SaveWhat ISO actually does
ISO is how much your camera amplifies the signal coming off the sensor. Low ISO (100, 200) means very little amplification — cleanest image, most dynamic range, but you need lots of light. High ISO (3200, 6400, 12800) means heavy amplification — bright enough to shoot in a dark room, but noise creeps in and shadows get muddy.
Photographers used to call this “film speed” because in the film days, you literally bought rolls of different sensitivities. Today it’s a digital gain setting, but the trade-off is the same: more sensitivity costs you image quality.
The single thing to remember: shoot at the lowest ISO the scene allows. Raise ISO only when shutter speed has dropped too far and aperture is already wide open.
The ISO scale, plainly
Standard ISO values double at each full stop:
100 — 200 — 400 — 800 — 1600 — 3200 — 6400 — 12800 — 25600
Going from ISO 400 to ISO 800 doubles the sensitivity (one stop brighter). Going from ISO 1600 to ISO 800 halves it. Most cameras let you set 1/3 stop increments (ISO 500, 640, 1000) for fine exposure control.
Below ISO 100, some bodies offer “extended” values like ISO 50. Above the native maximum, “expanded” values like ISO 51200 are software-pushed and noisier than they look. Stay inside the native range whenever possible.
What ISO actually looks like in a real shoot
 Save
SaveTheory is useless without numbers. Here’s what I actually shoot at on a modern full-frame body in different scenarios:
- Outdoor portrait, midday sun: ISO 100. The sun does the work.
- Outdoor portrait, open shade: ISO 200-400 to keep shutter at 1/250 with an 85mm at f/2.
- Outdoor portrait, golden hour: ISO 400-800 as light drops. Push to 1600 in the last 15 minutes.
- Indoor portrait, window light, daytime: ISO 800-1600 if I want a fast shutter for hand-held.
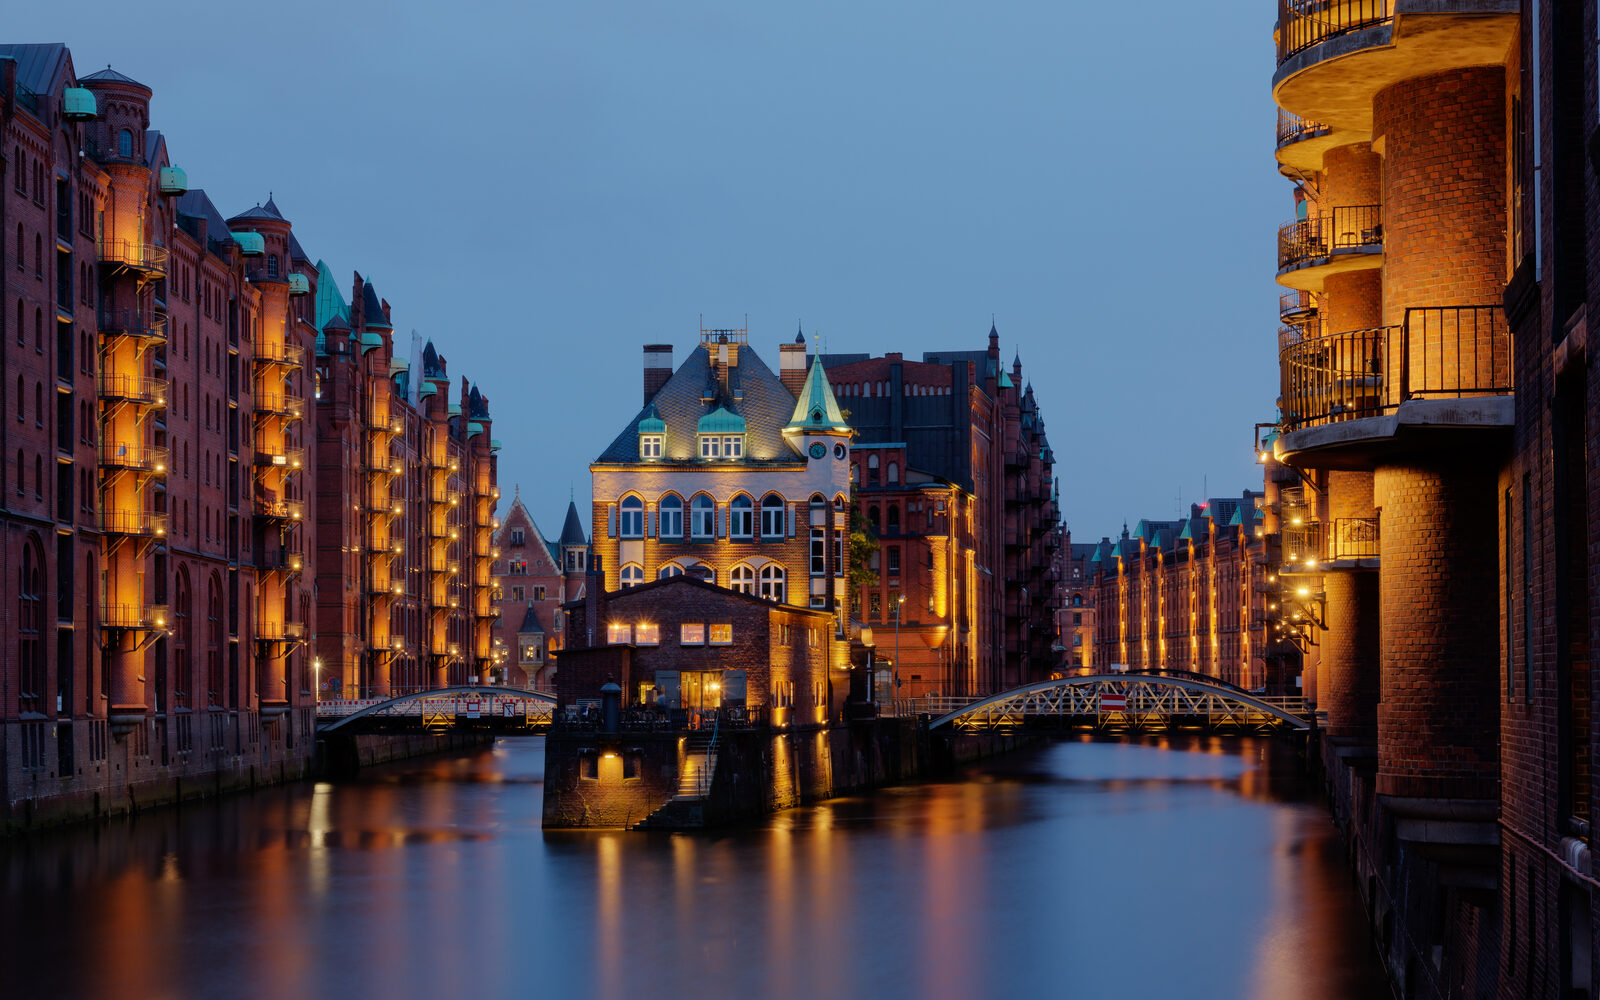
- Wedding ceremony, dim church: ISO 3200-6400 routinely. Some venues force me to 12800.
- Wedding reception, dance floor: ISO 3200 with on-camera flash, ISO 6400 without.
- Landscape, golden hour, tripod: ISO 100 always. Shutter speed can be anything when the tripod’s locked.
- Landscape, blue hour, tripod: ISO 100, long exposure handles the dim light.
- Astrophotography (Milky Way): ISO 3200-6400, 20-second exposure, f/2.8 wide lens.
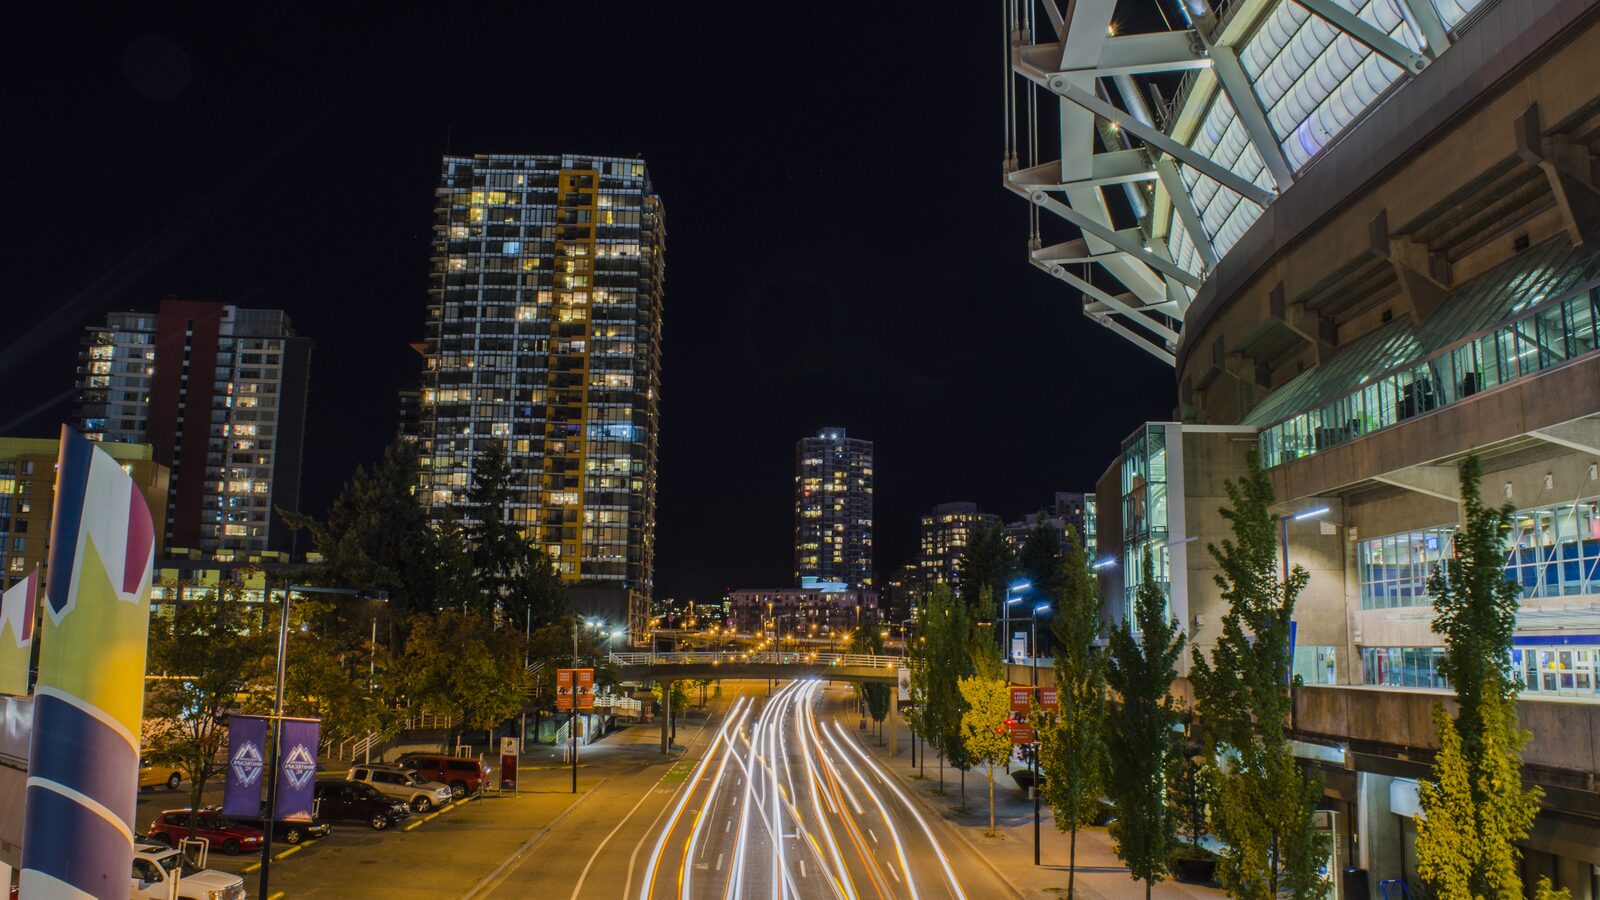
- Concert / live music, no flash: ISO 6400-12800 routinely. This is what fast cameras are built for.
- Sports, indoor: ISO 6400+. Outdoor day sports, ISO 400-800.
- Real estate, tripod, ambient light: ISO 100 with bracketed exposures.
How high can you push ISO before it ruins the shot?
This depends on the camera, but here’s the rough working ceiling for modern bodies:
| Sensor | Clean ceiling | Usable with NR |
|---|---|---|
| Full-frame, 2022+ bodies | ISO 6400 | ISO 12800-25600 |
| Full-frame, 2018-2021 | ISO 3200 | ISO 6400-12800 |
| APS-C, recent | ISO 3200 | ISO 6400 |
| Micro Four Thirds | ISO 1600 | ISO 3200-6400 |
| 1-inch sensor compacts | ISO 800 | ISO 1600 |
| Smartphone main cam | ISO 400 | ISO 800 (computational) |
“Clean ceiling” means you can deliver the file as-is to a client. “Usable with NR” means denoising software like DxO PureRAW or Adobe Denoise can recover detail and make it look great. The 2023 generation of AI denoise tools moved the ceiling up two full stops — what used to be a junk ISO 12800 file is now a clean ISO 6400 file after one click.
ISO and shutter speed — the practical trade-off
The whole reason ISO exists is to let you shoot fast enough to freeze motion or handhold without blur. The working rule: shutter speed should never drop below the reciprocal of your focal length when handholding (1/200 for a 200mm, 1/50 for a 50mm). For moving subjects, you need 1/500 or faster. Whatever shutter speed your scene requires, ISO is what gets you there when aperture is already maxed out.
Example: dim reception, 85mm f/1.8 lens. Aperture maxed at f/1.8. You need 1/200 to freeze a dancing couple. Meter reads ISO 6400 needed. Take it — a slightly noisy sharp shot beats a clean motion-blurred one every single time.
Auto-ISO — when to use it and when not to
Auto-ISO is the working photographer’s secret weapon for events. Set a minimum shutter speed (1/200 for general handheld, 1/500 for kids), set a maximum ISO ceiling (6400 or 12800 depending on the body), and shoot in aperture priority. The camera adjusts ISO automatically as light changes — perfect for moving from outdoor ceremony to dim reception without missing a beat.
When to turn auto-ISO off: tripod work, studio work, anything where exposure needs to be consistent across a sequence. Lock ISO manually so you don’t get a stray frame jumping two stops because your subject moved past a window.
ISO and dynamic range — the hidden cost
Every stop you push ISO above the camera’s base, you lose roughly one stop of dynamic range. ISO 100 on a modern full-frame gives you 14+ stops of dynamic range — bright sky and dark shadow both recoverable. ISO 6400 drops you to around 9 stops — shadows get crunchy fast, highlights clip earlier.
This is why landscape shooters religiously stay at ISO 100, even when it means a 30-second exposure: the recoverable detail is the whole game. For people work, dynamic range matters less because you’re exposing for skin tones anyway.
The “expose to the right” rule
When you have time to think about exposure, push it slightly brighter than the meter suggests — up to a stop, as long as highlights don’t clip. Brighter exposures collect more signal, which means less noise when you bring shadows back in post. A “perfectly exposed” ISO 3200 file looks noisier than a one-stop-over-exposed ISO 3200 file brought back down in Lightroom.
This is a tripod-only technique for landscape work and studio work. Don’t try it on a moving subject — you’ll blow highlights on every catch-light in someone’s eyes.
Common ISO mistakes
- Always shooting at the lowest ISO. Pushing ISO to 1600 to get a sharp handheld shot is always better than ISO 100 with motion blur. The shot has to be sharp first.
- Ignoring auto-ISO at events. If you’re manually changing ISO between every scene change at a wedding, you’re missing shots. Set a ceiling and let the camera handle it.
- Cranking ISO past the camera’s native max. “Expanded” ISO settings are software pushes. You get a brighter preview but lose dynamic range and gain artifacts. Stay native and denoise in post.
- Not denoising raw files from 2018+ bodies. Adobe Denoise and DxO PureRAW genuinely recover detail. If you’re not running them on your high-ISO files, you’re delivering work two generations older than your camera can produce.
- Forgetting that aperture and shutter exist. If you’re at ISO 6400 with an f/4 lens, switching to f/1.8 drops ISO to 1600 — same exposure, less noise. Always check the cheaper trade.
Cameras with the best ISO performance in 2026
If low-light performance is your top priority, sensor size matters most. A modern full-frame body two stops cleaner at high ISO than a Micro Four Thirds, all else equal.
- Sony A7S III / A7S IV — purpose-built for low light. Useable to ISO 51200 on raw.
- Sony A7 IV / A7C II — best all-rounder for stills shooters who also work in low light.
- Canon EOS R6 Mark II — exceptional low-light AF, clean to ISO 12800.
- Nikon Z6 III / Z8 — the Z8 sensor is one of the cleanest high-ISO sensors ever shipped.
- Fujifilm X-T5 / X-H2S — APS-C but the X-H2S in particular is a workhorse to ISO 6400.
Browse current low-light bodies at B&H Mirrorless. The fuller breakdown is in our camera buyer guide.
Denoising — the modern workflow
If you shoot raw and your camera is from 2018 or later, you have access to AI denoising that wasn’t possible five years ago. The two tools worth using:
- Adobe Lightroom Denoise — built in, free with Creative Cloud, one-click. Genuinely recovers detail.
- DxO PureRAW 4 — the gold standard, especially for ISO 6400+ files. Standalone, expensive, but the output is in another league.
For Lightroom users, this is the single biggest workflow change in years. ISO 12800 files from a 2024 body, denoised, look as clean as ISO 1600 files from a 2015 body.
ISO and the exposure triangle
ISO is the third leg of the triangle alongside aperture and shutter speed. Each is measured in stops, and each one stop change exactly doubles or halves exposure. If you bump ISO from 800 to 1600, the image gets one stop brighter — you can compensate by closing aperture one stop, doubling shutter speed, or accepting the brighter exposure.
In aperture priority mode, the camera adjusts shutter speed automatically. Add auto-ISO with a minimum shutter speed, and the camera handles two of the three variables — you just pick aperture and shoot. This is the workflow 90% of working event photographers use.
 Save
SaveFrequently asked questions
What is the best ISO for outdoor photography?
ISO 100 for midday sun, 200-400 for open shade or overcast, 400-800 for golden hour, and up to ISO 1600 in the last 15 minutes before sunset. The goal is always the lowest ISO that gives you a fast enough shutter speed to handhold sharply.
How high can I push ISO without ruining the photo?
On a modern full-frame body (2022+), ISO 6400 is genuinely clean and ISO 12800-25600 is usable with AI denoising in Lightroom or DxO PureRAW. Older full-frame bodies and APS-C should stay at or below ISO 3200 for clean delivery. Micro Four Thirds bodies are best kept at ISO 1600 or below.
Should I use auto-ISO?
Yes for events, weddings, travel, and any handheld work where light changes constantly. Set a minimum shutter speed (1/200 typical) and a maximum ISO ceiling (6400 or 12800 depending on the body) and let the camera handle the rest. Turn auto-ISO off for tripod work, studio work, and any sequence that needs consistent exposure.
What is ISO noise and how do I fix it?
ISO noise is the grain that appears in shadows when the sensor amplifies a weak signal. Fix it by shooting raw and running the file through Adobe Lightroom Denoise (free with Creative Cloud) or DxO PureRAW. Both use AI to recover detail and remove noise without smearing edges. This single workflow change is the biggest low-light upgrade available to photographers today.
Does higher ISO ruin dynamic range?
Yes. Every stop above the camera’s base ISO costs you roughly one stop of dynamic range. ISO 100 on a modern full-frame gives 14+ stops; ISO 6400 drops to around 9 stops. For landscape work where shadow recovery matters, always stay at base ISO. For people work where you’re exposing for skin tones, the dynamic range loss matters less.
ISO sub-topics — go deeper
ISO for portraits
Available-light strategies, when to push ISO versus add a reflector, ISO ceilings for clean skin tones.
ISO for low light
Concerts, indoor events, dim receptions — exact ISO ceilings by camera body and when denoising rescues the shot.
ISO for landscape
Why landscape shooters live at ISO 100, when to break that rule, and the dynamic range math behind it.
Auto-ISO settings
How to configure auto-ISO on Sony, Canon, Nikon, and Fuji for event work — minimums, maximums, and the right shutter floor.
ISO noise reduction
The denoising workflow — Lightroom Denoise vs DxO PureRAW vs Topaz, with sample comparisons.
Next steps
The fastest way to understand your specific camera’s ISO behavior is to shoot a test sequence. Same scene, same aperture, ISO 100 through 25600 in full stops. View the raws at 100% in Lightroom. You’ll find the exact point where your sensor’s noise becomes objectionable. That’s your personal ceiling — usually one or two stops higher than the marketing claims.
For a structured path through aperture, shutter, and ISO together, Shut Your Aperture School covers the exposure triangle with video lessons and shooting exercises. 1,200+ students, 4.9/5 stars, 30-day guarantee. For faster editing once shots are right, our Lightroom preset packs are built around specific shooting scenarios.
Step 2: Clean Up High-ISO Files
You've learned ISO. Now reduce grain and refine those high-ISO shots with our Lightroom presets built for low-light files.