Updated October 2026
Landscape photography rewards attention, not a bag full of equipment. You can stand in an epic place and still make an ordinary photograph if the frame is cluttered, the focus is wrong, or you leave before the light changes. Slow down enough to see what you are actually photographing.
These landscape photography dos and don’ts are a field workflow, not a list of magic settings. They cover planning, composition, exposure, movement, and review. Use them at a local shoreline or on a bigger trip. The same questions apply: what matters in this scene, what is the light doing, and which camera choices support it?
One correction comes first. The original article recommended f/11 or above to get everything sharp. A smaller aperture can increase depth of field, but it does not guarantee perfect focus everywhere. Very small apertures can soften fine detail through diffraction. Choose aperture and focus together, then inspect the photograph.
Do research access before researching the famous angle
A photograph online can show an interesting composition without showing how to reach it safely or whether access is permitted. Check the place’s current official information for closures, hours, permits, parking, and restrictions. An old travel post is a starting point, not permission to enter a location today.
Build time for the route as well as the shoot. A viewpoint close to a road may still require an uneven path. A shoreline that looks calm in a photograph can change with weather and water conditions. Bring the clothing, light, water, and navigation tools appropriate to the outing. Keep the photographic plan inside your actual abilities.
Scout while you can see the ground. Identify a safe return route before darkness and choose a place to work that does not block other visitors. Tell someone your plan when the outing calls for it. Do not depend on a phone having a signal or enough battery at the moment you need help.
Respect barriers, marked routes, wildlife, and fragile terrain. Move yourself to improve the composition without damaging the place. You do not need to climb on a delicate feature or move a protected object to get a cleaner frame. If the safe angle does not work, make a different photograph.
Don’t mistake a famous location for a finished composition
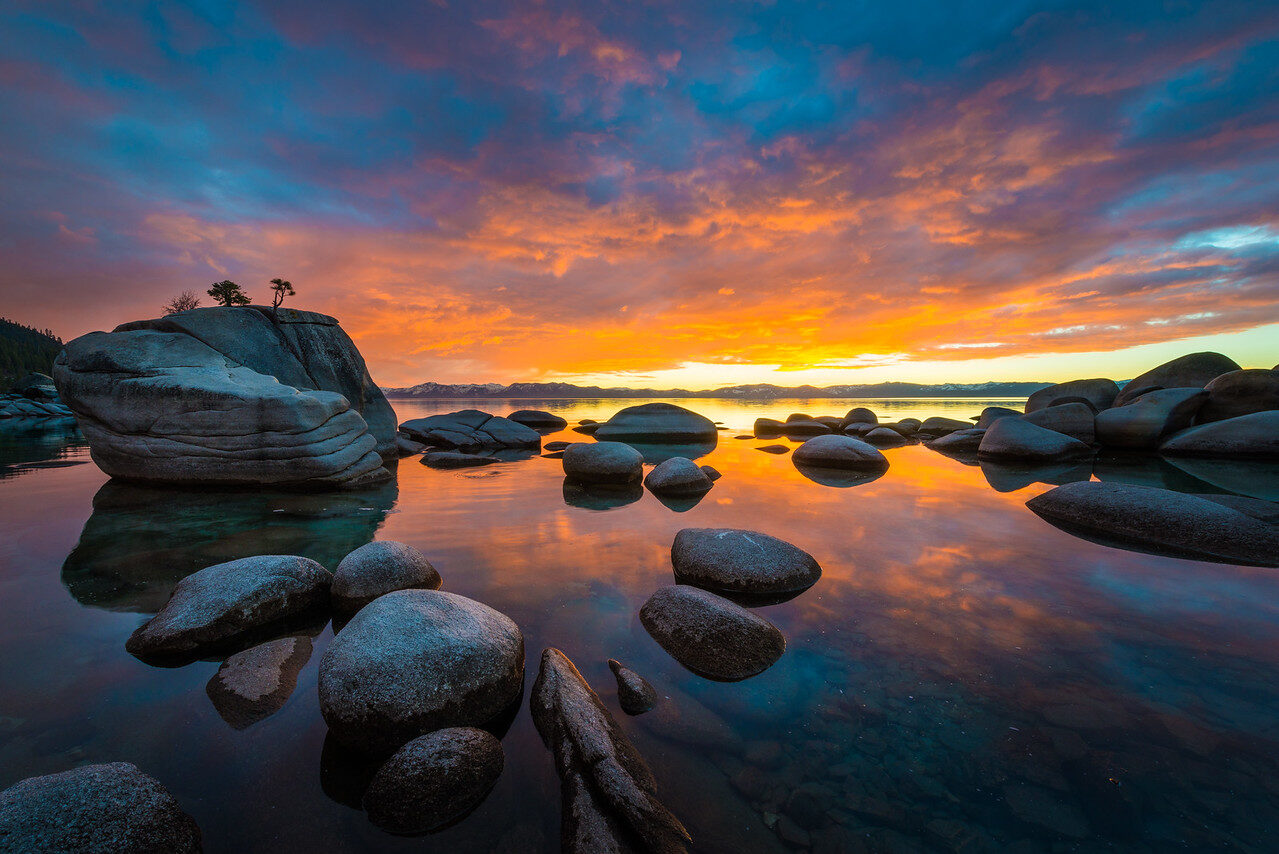
The place is your material, not your picture. Decide what the frame is about: a rock and its reflection, layers of ridges, water movement, or the relationship between a shoreline and the sky. If you cannot name the subject, take a moment before choosing a lens.
Start with a rough frame and inspect the edges. Look for bright scraps, cut-off objects, and lines that pull attention away from the subject. Move a small distance left or right and compare. A tiny shift can separate overlapping rocks or hide a distracting sign more effectively than a large editing adjustment later.
The rule of thirds can help organize a frame, but it is not a requirement. A centered reflection can work. A subject near an edge can work. Balance comes from the relationships between shapes, brightness, color, and space. A grid cannot tell you whether the scene feels clear.
Make one wide view and one tighter view. The wider version may explain the location; the tighter version may isolate the strongest relationship. Landscape photography is not limited to wide-angle lenses. Use the focal length that includes what matters and excludes what does not.
 Save
Do watch the direction and quality of light
Sunrise and sunset can offer low-angle light and changing color, but they do not automatically improve every scene. A subject may be in shadow while the sky is bright. Midday may reveal patterns in water or work for a graphic composition. Overcast light can help with close details. Choose the light for the subject.
Arrive with enough time to understand the scene before the moment you hope to photograph. Check what the light hits first and what falls into shadow. Make a test frame instead of waiting for a dramatic sky with no composition ready. A workable frame gives you something to respond from as conditions change.
Look behind and beside you as well as toward the expected view. Light can make another part of the scene stronger than the planned direction. Watch reflections, lit edges, cloud gaps, and the relationships between warm and cool areas. Do not spend the entire outing staring only at the sun’s position.
Stay after the strongest color only when conditions and your return plan allow it. The scene can become quieter and simpler as brightness falls. It can also become unsafe to navigate. A photograph is not a reason to ignore the deadline you set for a safe return.
Don’t force every scene into the same aperture
Depth of field depends on more than the aperture number. Focal length, focus distance, camera format, and how close the foreground sits all affect the result. A distant landscape with no near foreground and a wide scene with a rock inches away present different focus problems.
Choose a moderate aperture as a starting point and place focus deliberately. Inspect both the near and far areas that need to be sharp. If one is not acceptable, consider changing the focus point, aperture, or composition. Do not keep stopping down without checking whether detail is actually improving.
Very small apertures can make fine detail softer through diffraction. That is a trade-off, not a rule that one f-number is always bad. You may accept some softening to gain useful depth of field. Compare the results at the size you will use, not only at extreme screen magnification.
Focus stacking is another option for a still scene, but it adds work and can fail with moving leaves, water, or changing light. Make overlapping focus frames and check the blend carefully if you use it. It is not a substitute for getting a sensible composition and understanding the focus problem first.
Do check shutter speed for the entire scene
A tripod can steady the camera while leaves, grass, clouds, and water continue to move. Decide what should look still and what may show movement. If wind is moving the subject you want sharp, a faster shutter can matter more than keeping ISO at its lowest value.
Use a supported camera when the exposure is too long to hold reliably. Check the tripod’s footing, locks, and attachment. Keep it out of traffic and away from unstable edges. A tripod leaning on loose material can move during the exposure even if the camera feels secure when you let go.
A timer or suitable remote release can reduce shake from pressing the shutter. Follow your camera and lens guidance on stabilization when using support; equipment behavior differs. Do not assume every system needs the same setting because an older tutorial used it.
After making a frame, inspect it. Check a detailed area for camera shake and a moving area for the effect you wanted. A sharp preview at small size can hide blur. Take another frame after a useful adjustment rather than promising yourself you will repair it later.
 Save
Don’t make long exposure your answer to everything
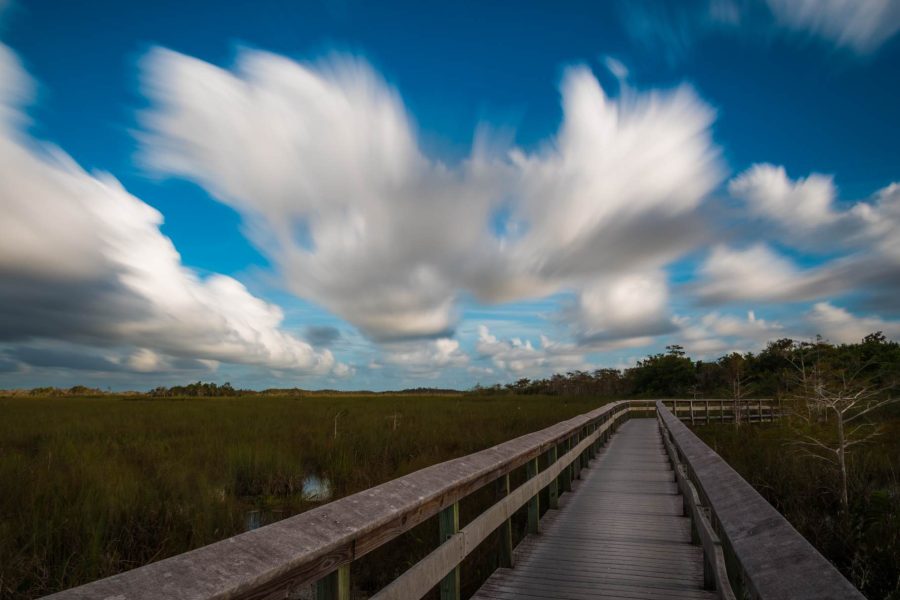
A slow shutter records change over time. It can smooth water, blur waves, or stretch moving clouds, depending on the scene and exposure length. That effect is a choice. It can simplify a picture, but it can also erase texture or make a lively scene feel flat.
Make a normal exposure first, then compare a slower one. Look at what the movement contributes rather than simply admiring the blur. A breaking wave may be stronger with visible shape; a busy water surface may benefit from simplification. There is no requirement to include movement in every landscape.
A neutral-density filter reduces incoming light so you can use a slower shutter in brighter conditions. Choose the strength for the effect you need and confirm its size and attachment fit your lens. Check for unwanted color casts, reflections, or dark corners. Do not buy a filter before deciding why you need it.
Long exposure does not make an unsafe shoreline safe. Watch waves and keep your exit clear. Do not turn your back on changing water conditions while checking the screen. If you cannot remain aware of the environment while operating the setup, move somewhere safer or change the plan.
Do protect important highlights and inspect the histogram
A bright sky and dark foreground may exceed what a single exposure can record the way you want. Metering gives you a starting exposure, not a promise. Check the important bright areas and use the histogram and highlight warnings to understand what the camera captured.
If necessary, reduce exposure to protect details that matter, while recognizing that deep shadows may become harder to work with. Do not assume every shadow can be recovered cleanly. The right compromise depends on the scene and your camera. Make a test and review, not just a theoretical adjustment.
Bracketed exposures can give you more choices in a high-contrast static scene. Keep framing consistent and inspect any later blend for halos and mismatched movement. Water, leaves, and clouds can change between frames. A blended file needs review just as much as a single exposure.
Use a consistent white-balance starting point when comparing a sequence. RAW gives room to adjust later, but it does not excuse careless exposure or focus. Keep the color believable unless you are intentionally making a stylized image. A dramatic sunset does not need every slider pushed to its limit.
 Save
Don’t rush past the useful small changes
Once a composition looks promising, make a deliberate second pass. Check the horizon, foreground overlap, camera height, and corners. Try a slightly lower view only if the footing is safe. A low angle can strengthen a foreground but may also hide the middle of the scene.
Give a good frame time when the light is changing. Compare a few moments from the same position before running to another viewpoint. You may learn more about the scene by watching one composition develop than by collecting many incomplete setups.
At the same time, do not confuse patience with stubbornness. If the planned view is blocked or the light is not helping it, look for a smaller subject or another safe angle. Waiting is useful when something can improve. It is not a requirement to repeat a frame that never had a clear idea.
Keep enough flexibility to respond without leaving the site in a mess. Pack spare items rather than scattering them around the tripod. Check the ground before leaving. Your photographs should not come with litter, damaged plants, or a blocked path.
Do review the outing before planning the next one
Select for more than colorful light. Check focus, motion, exposure, and composition first. Then choose the frames with the strongest relationships between subject, space, and light. A quieter photograph can be more useful than a dramatic sky with an unclear foreground.
Write down one thing that worked and one thing to change. Be specific: “The foreground rock covered the distant subject” gives you a framing problem to fix. “The photo was not epic” gives you nothing. Save a useful comparison so you can see the difference on the next outing.
Edit with the structure of the photograph in mind. Straighten when needed, refine the crop, and adjust brightness and color without creating obvious halos or crushed detail. If the photograph relies on impossible color or aggressive sharpening to feel interesting, revisit the original composition.
Back up the files before clearing the card. Keep originals along with finished exports. For more camera practice, use the Shut Your Aperture Academy. To understand deliberate shooting on a smaller budget, read how to grow as a photographer on a budget. Better work comes from seeing the next decision clearly.
 Save
Landscape photography questions and answers
What aperture should I use for landscapes?
Choose aperture with focus distance and the scene’s depth in mind. A moderate aperture is a useful starting point, not a rule. Inspect near and far detail; very small apertures can soften fine detail through diffraction.
Do I need a tripod for every landscape?
No. A tripod helps with slower exposures and careful repeated framing. In brighter light you may work handheld with an appropriate shutter speed. Wind and subject movement still need attention with either approach.
Is sunset always the best time for landscape photography?
No. Choose light that supports your subject. Sunrise, sunset, overcast conditions, and midday can all work for different scenes. Current access and safety conditions also shape the plan.
Should every landscape include motion blur?
No. Decide whether movement should stay visible, freeze, or blur. Compare a normal exposure with a slower one and keep the version that supports the picture.
How can I improve landscape composition?
Name the subject, inspect the edges, and compare nearby safe positions. Try a wide frame and a tighter one. Use composition rules as prompts rather than requirements.
Landscape gear worth researching
Manfrotto Befree Advanced aluminum tripod
A travel-support option to research when slow exposures or repeated framing are part of your work. Confirm the exact kit, head, plate fit, and capacity against your camera and heaviest lens. A travel tripod is not a guarantee of stability in strong wind, and you should not place it in moving water or unsafe terrain simply to get the angle.
Use a safe support you already own first. Compare portability with working height and stability before buying. No live price or stock promise is made here.
Affiliate disclosure: these links may earn Shut Your Aperture a commission if you buy, at no extra cost to you.
Technical reading: Nikon School’s landscape guide. Treat example settings as starting points to test, not a substitute for checking your scene.