Updated October 2026.
Long exposure fog photography is one of the easiest ways to turn an ordinary mountain evening into something that looks like a painting. Martin Kapostas packed up his gear after sunset on top of the Low Tatras in Slovakia, turned around for one last look, and got the shot of the night. This post tells his story, breaks down exactly what he did, and gives you a set of tips you can use the next time clouds start rolling over the ridge.
 Save
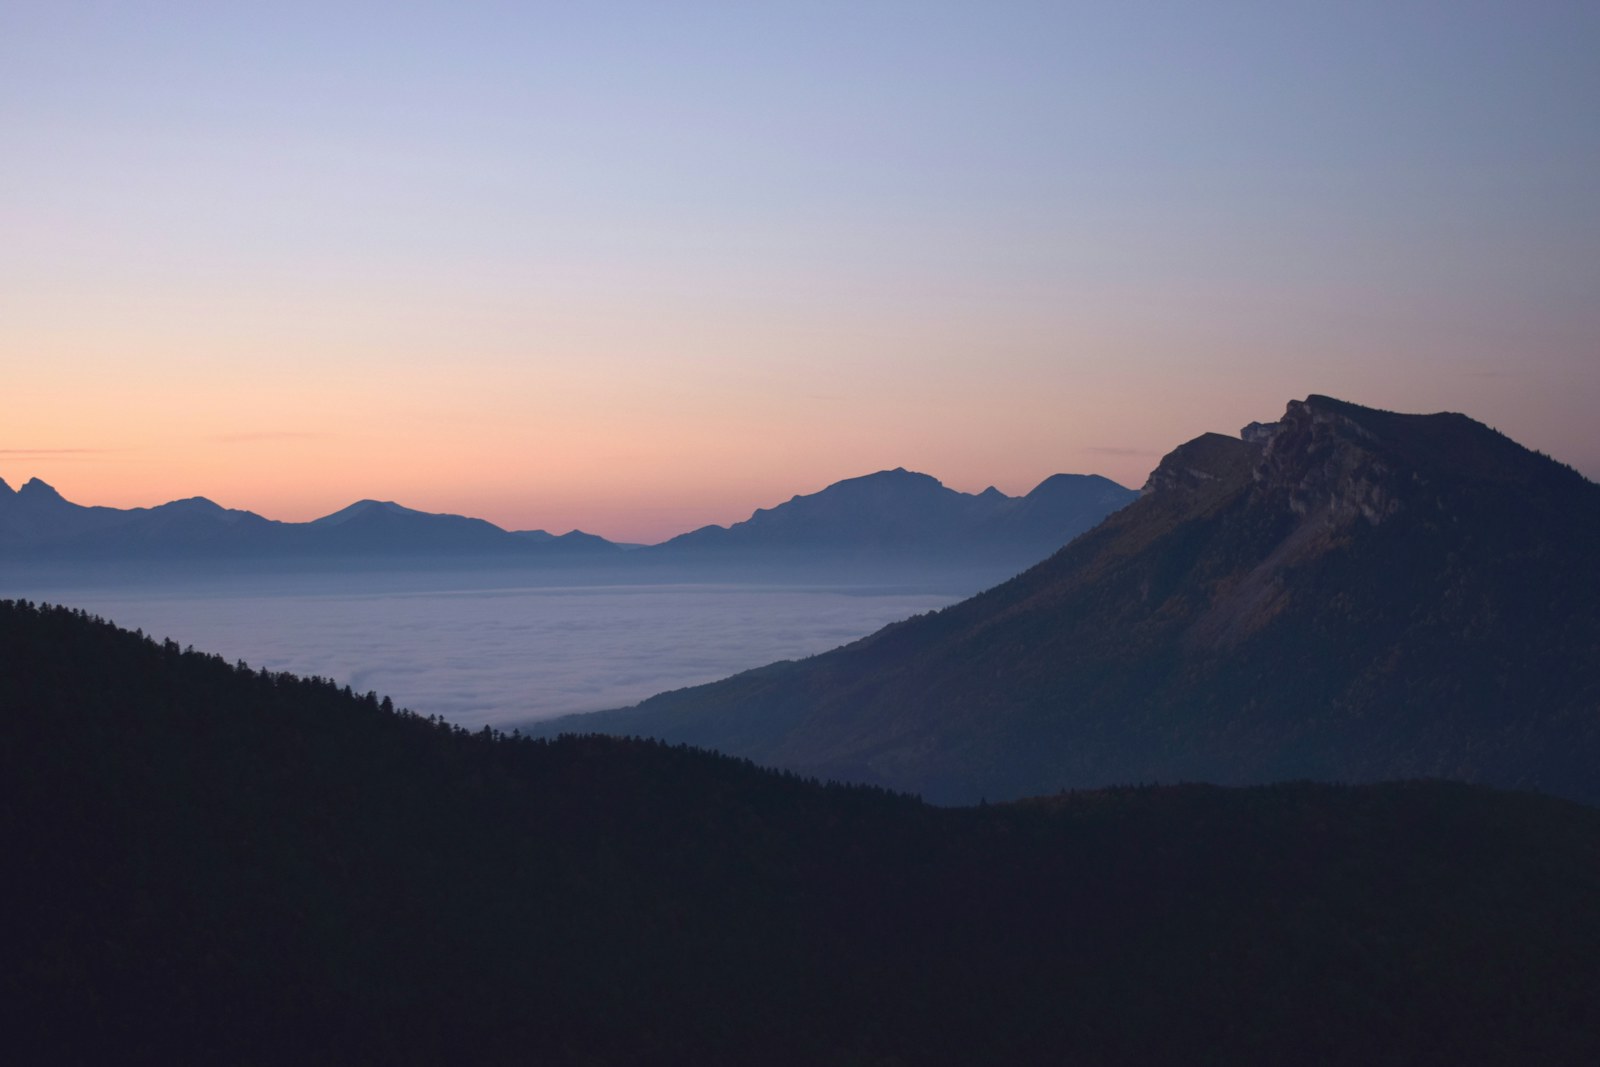
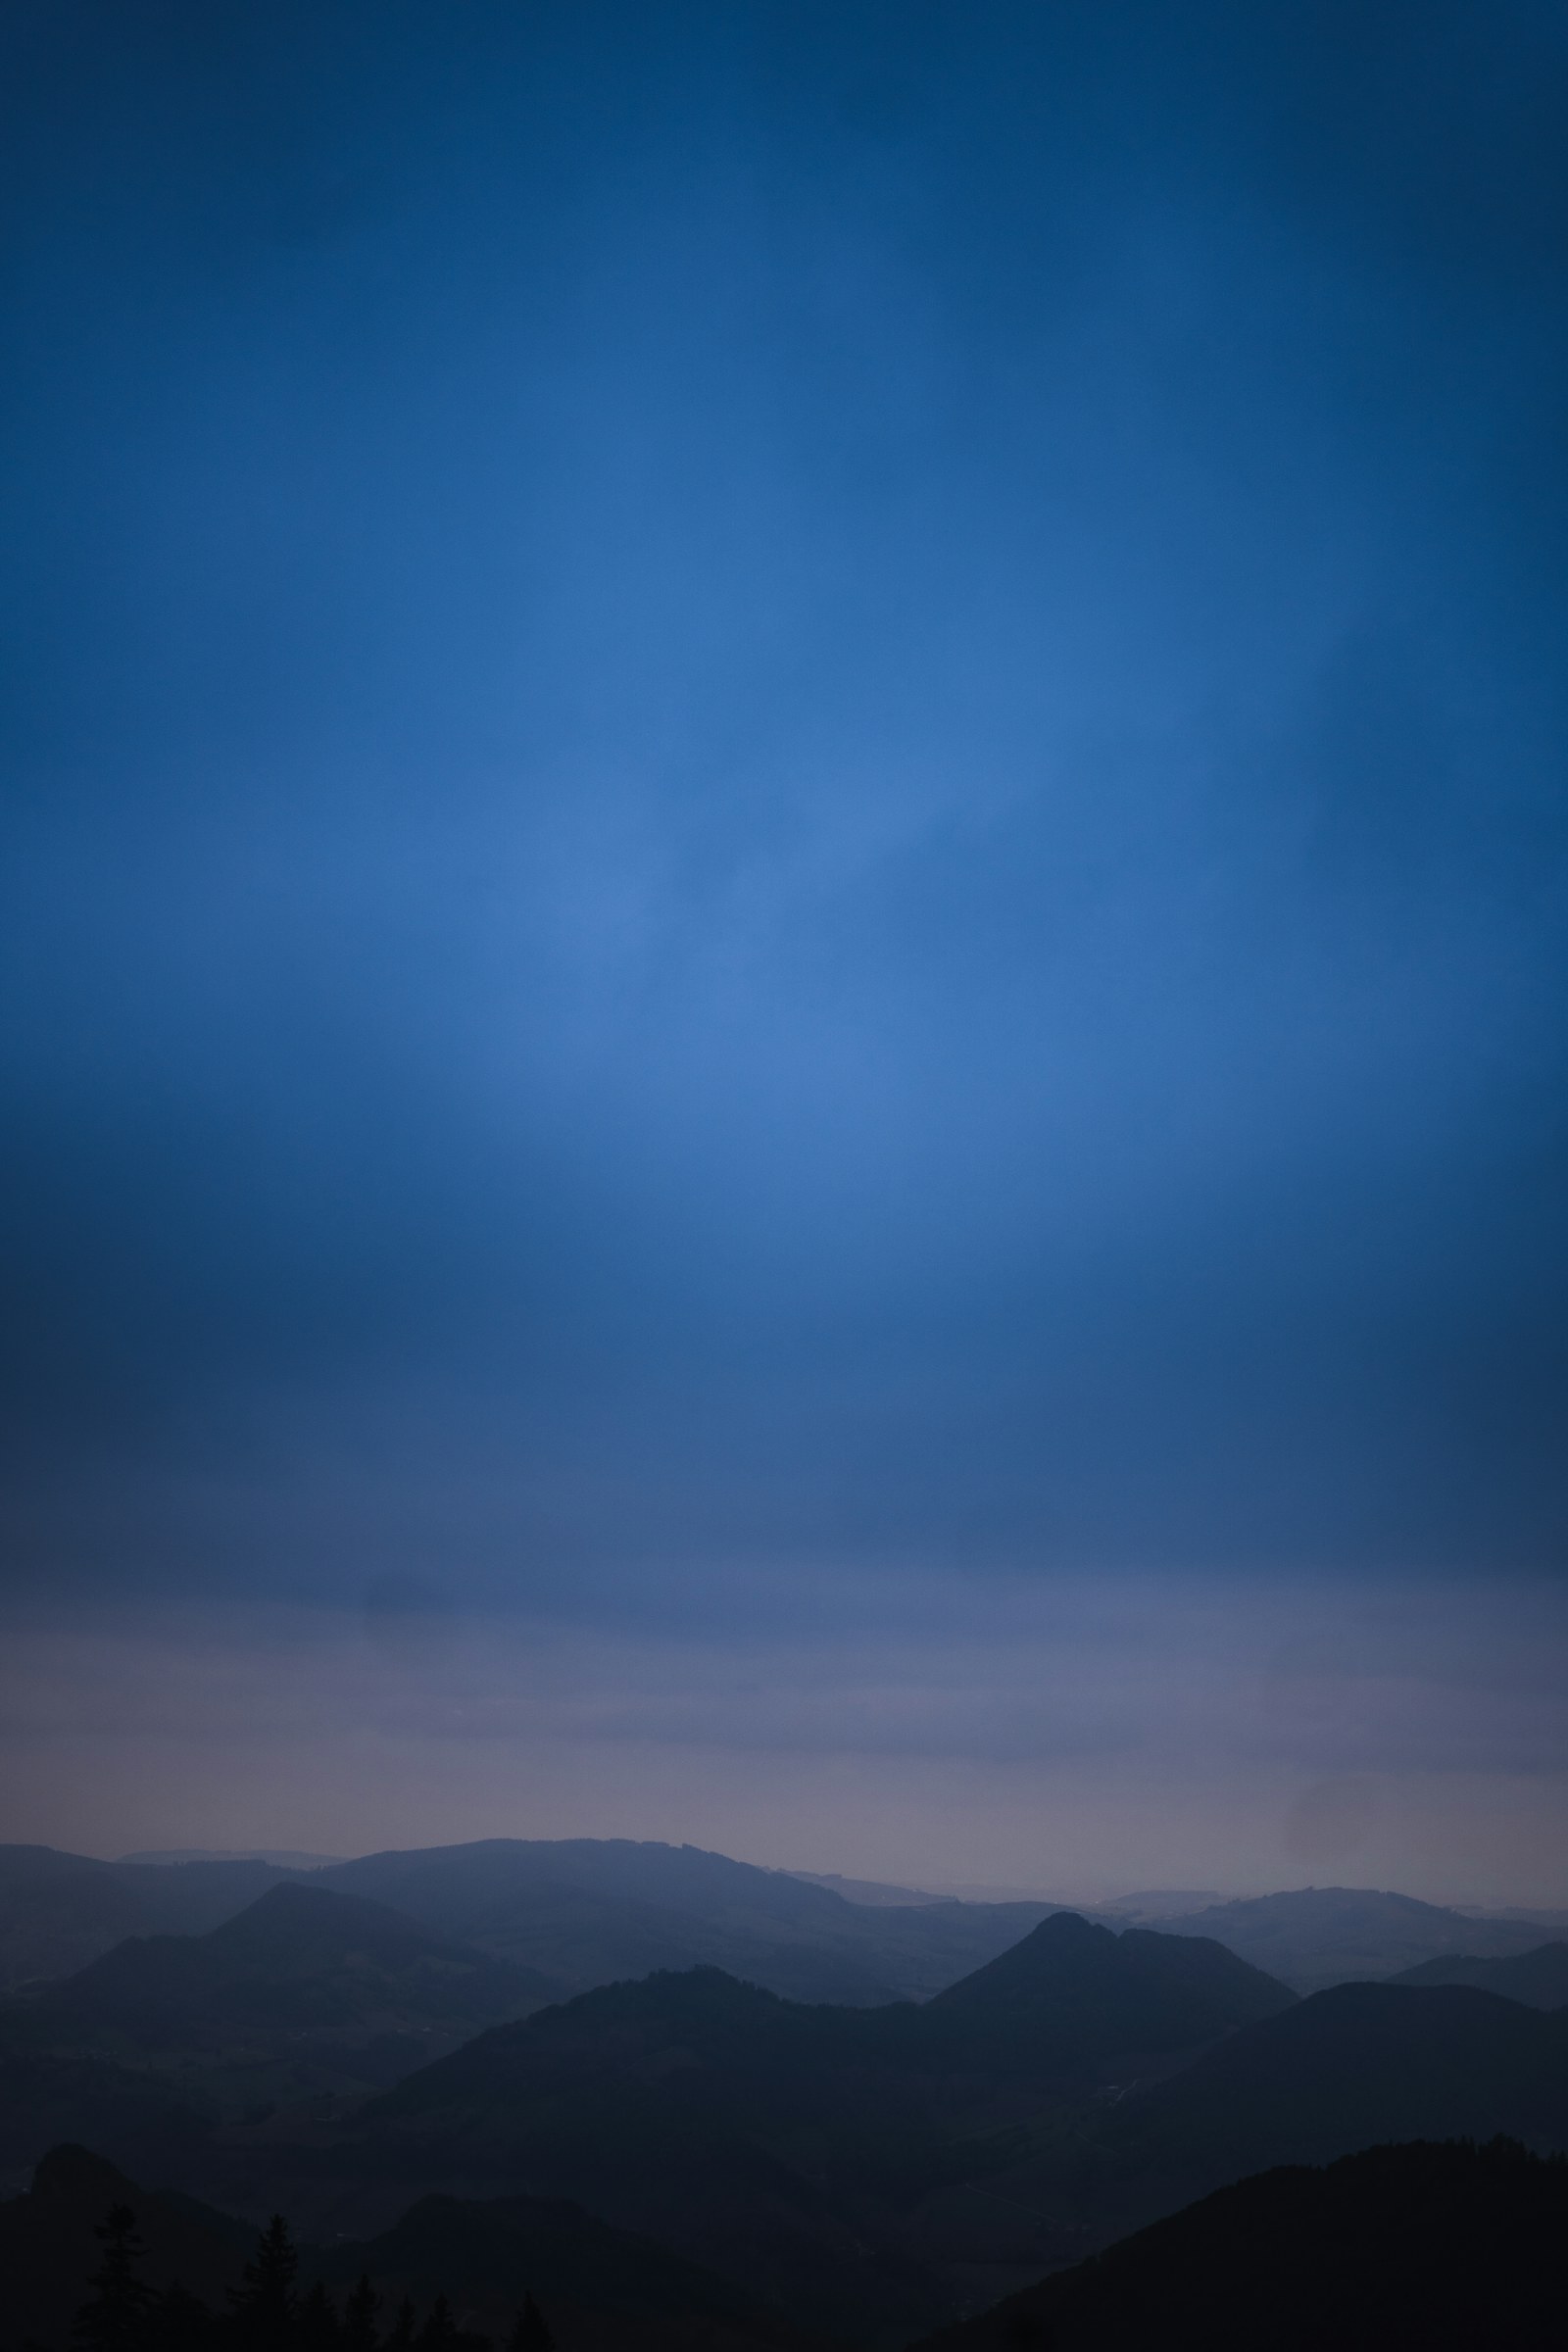
SaveThis photo was taken on top of Low Tatras just after the sunset.
I was taking pictures of the sunset but the clouds/fog came in so I packed my stuff. After few steps I turned around and then it began. The sky cleared and the clouds started to roll over the mountains.
It was a beautiful moment. I used Canon 6D with my trusty 70-200/4 on tripod. I set the smallest aperture 32 to obtain some blur in the moving clouds. So the exposure was at 30 seconds with ISO 100.
Then I realized that rolling clouds around me fogged my front lens. First I was worried but next day at home checking it on-screen I saw it worked as diffusion filter which gave dreamy look to the final photo.
– Martin Kapostas
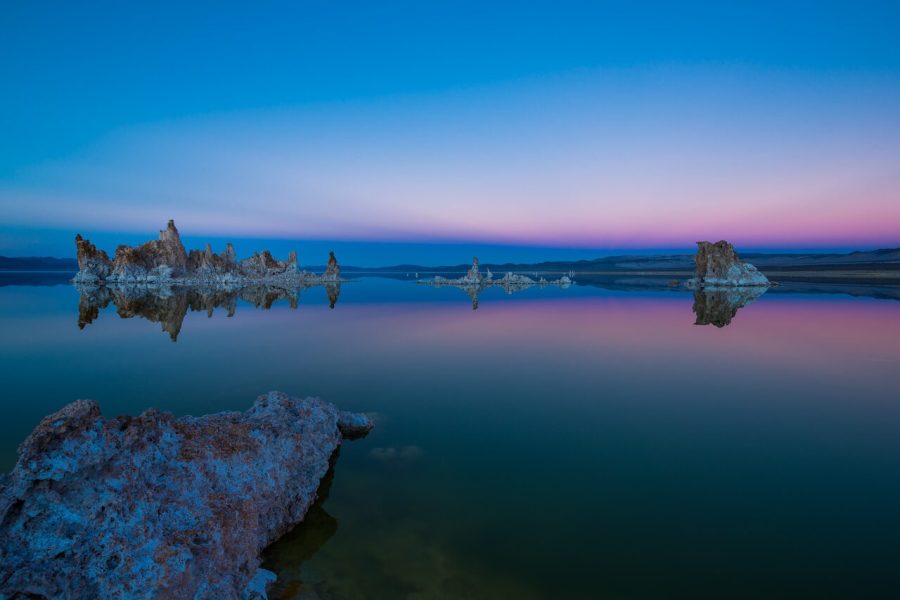
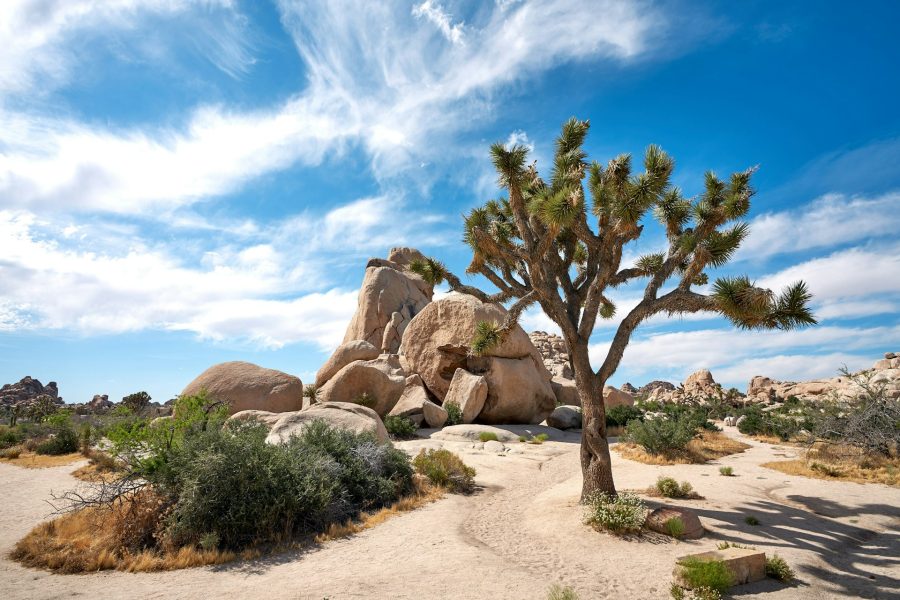
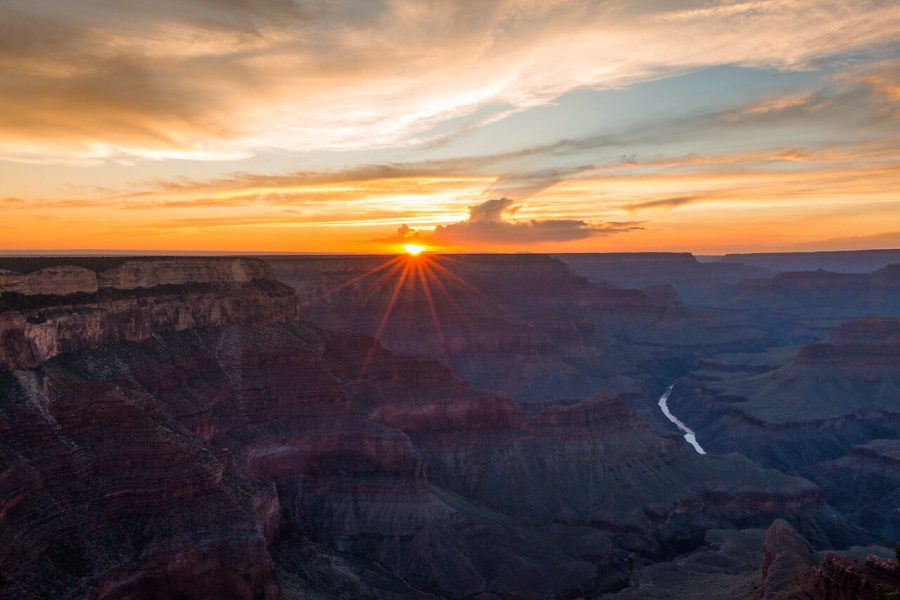
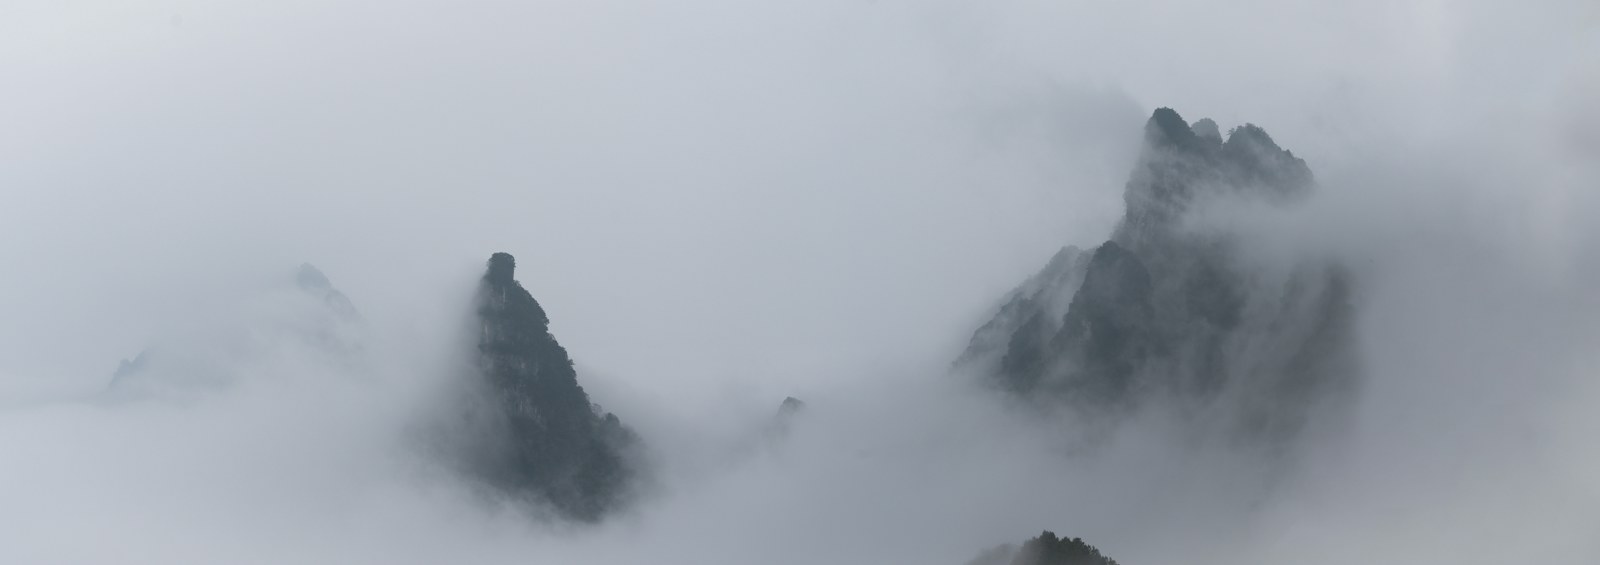
The photo and the story above are Martin’s. I did not take this picture and I have not shot in the Low Tatras, so everything below is general technique, tied to what he describes. The extra photos further down are royalty-free images from Unsplash, included to illustrate the kind of light and mist we are talking about.
The settings behind the shot
- Camera: Canon 6D, a full frame DSLR.
- Lens: a 70-200mm f/4, a telephoto zoom.
- Support: a tripod.
- Aperture: f/32, the smallest on that lens.
- Shutter speed: 30 seconds.
- ISO: 100, the base setting.
Why this combination works: at ISO 100 and f/32, very little light reaches the sensor. In the fading light after sunset that gives you a 30 second shutter speed without any filter. During those 30 seconds the clouds keep moving, so each part of the mist is recorded as a streak instead of a puff. Meanwhile the mountains stand still and stay sharp. The contrast between solid rock and flowing cloud is the whole picture.
About the Low Tatras
The Low Tatras (Nízke Tatry in Slovak) are a mountain range in central Slovakia, protected as Low Tatras National Park. Their highest peak is Ďumbier, a little over 2,000 meters tall. The range is a long chain of rounded ridges rather than the sharp granite of the High Tatras, which suits this kind of photography well. Broad ridgelines give you layers, and layers are what make fog photos work. Sources: Low Tatras National Park and Ďumbier.
 Save
SaveHow to photograph moving fog and clouds
1. Find the moment, then be ready
Martin got his shot because he turned around. That is advice worth repeating. The best light often happens after you have decided the show is over. Stay put for another ten or fifteen minutes after sunset, and glance behind you. Fog and cloud can change a scene completely within minutes.
2. Use a tripod and lock everything down
A 30 second exposure means any wobble ruins the frame. Use a sturdy tripod, set the timer to two seconds or use a remote, and if your camera has mirror lock-up or electronic first curtain, turn it on. Hang your bag from the center column in wind. A telephoto lens such as a 70-200 makes any shake more obvious.
3. Shoot in manual mode and focus carefully
Set your exposure manually so it does not change from one frame to the next. Focus on the ridge, using live view and zoom, and then switch the lens to manual focus so it does not hunt in low light.
4. Choose your shutter speed for the effect you want
Cloud speed varies. For slow, drifting fog, a few seconds gives soft texture. For streaks that flow across the frame, try 15 to 60 seconds. Take a test frame, check the screen and adjust. If the mist looks too smooth, shorten the exposure. If you want more silk, lengthen it.
5. Get a long exposure without clipping the sky
In bright light you need a neutral density filter to slow the shutter. At dusk, like Martin, a low ISO and a small aperture may be enough. Another option is to stack a dim exposure with a lighter one in editing. Watch the histogram so the pink or orange glow in the sky does not clip.
 Save
Save6. Mind the aperture trade-off
f/32 is the smallest aperture on this lens and Martin chose it on purpose to get a long shutter time. There is a cost. At very small apertures, light bends around the edges of the aperture blades, an effect called diffraction, which softens fine detail across the frame. For a misty scene with big smooth shapes, that cost is small. For a scene with tiny details, f/11 to f/16 with an ND filter is usually the better choice. Test your own lens.
7. Compose with layers and leading lines
Look for ridges that overlap, with each layer lighter than the one in front. Let the fog flow along a diagonal, like a stream through the picture. Leave the sky quiet and let the clouds be the star. In the image at the top, one pale ribbon of mist crosses the dark ridge and leads the eye to the glow on the horizon.
Fog on your lens: a problem or an accident?
The most interesting part of Martin’s story is the surprise. Cloud drifted over him and fogged the front of his lens. He was worried at the time. At home he saw that the moisture on the glass had acted like a diffusion filter, softening the highlights and giving the picture a dreamy glow. It is a happy accident, and one worth understanding.
Real diffusion filters, such as black mist or soft glow types, do something similar on purpose. They spread bright areas a little and lower contrast. If you like this look, you can try it with a filter instead of waiting for the clouds to do it for you. The advantage of a filter is control: you choose the strength and you can take it off.
If you do end up in cloud, remember that moisture can also ruin shots. Water droplets create uneven blur and spots, and a wet lens can fog internally. Carry a microfiber cloth in a zip bag, keep a lens hood on, and let your gear dry before you pack it into a sealed bag. Check each frame on the screen so you know whether the fog is an effect or a flaw.
Mountain safety after sunset
Dusk shoots on a summit are great, and they come with a walk back in the dark. Take a headlamp, spare layers and a charged phone. Check the weather forecast and the time of sunset before you go. Tell someone your route. Fog can make it harder to see the trail, so know your way down before the light fades, and turn around if conditions change. No photo is worth getting lost.
 Save
SaveEditing a long exposure fog photo
- Start with a clean base. Correct the white balance and lens profile. Fix any dust spots, which show up more at f/32.
- Protect the highlights. Pull the highlights down gently so the sky keeps its color.
- Lift the shadows a little. The mountains should stay dark but not blocked.
- Add soft contrast to the mist. A small clarity or texture boost on the clouds helps the streaks stand out. Do not overdo it.
- Warm and cool the tones. Pink and orange in the sky against cool blue in the valleys is a natural pairing.
- Crop to taste. A wide panorama crop can suit these scenes. Martin’s frame is cropped wide, which gives the ridges room to breathe.
When does fog and low cloud happen?
You cannot schedule fog, but you can improve your odds. Cloud forms where moist air cools to its dew point, and in the mountains that often happens when air is pushed up a slope or cools quickly after sunset. Evenings after a humid day, the hours after rain and the moments when a front is passing are all good bets. Cloud that sits below the summit gives you an inversion look, with ridges poking out of a flat sea. Cloud that moves up the slope gives you the rolling look in Martin’s photo.
Use a weather app that shows cloud base height, humidity and wind. If the cloud base is just below your viewpoint, you may get a good show. If it is far above you, you may get a clear view and a nice sky instead. Be flexible. Some of the best shots come on days that looked wrong on the forecast.
Practice at home before you go
You do not need a mountain to learn this. Any place with moving clouds will do. Set up on a tripod at a window or in the yard, point at a sky with drifting clouds and run through the settings: base ISO, f/11, a few seconds, then ten, then thirty. Look at how the clouds change. Try with and without an ND filter. When you know how your camera behaves, you will not waste the short window when the light is perfect on top of a ridge.
A last piece of advice: keep shooting while the scene changes. Martin made one frame he loved, but fog is never the same twice. Take a series, vary the shutter speed and check the screen. The one you pick at home may not be the one you expected.
Quick checklist for your next misty evening
- Tripod, remote or timer, spare battery.
- Headlamp, warm layers and a map or offline route.
- Microfiber cloth and lens hood.
- ND filters if the light is still bright, a diffusion filter if you want a dreamy look.
- A plan for ten extra minutes after sunset.
Need a refresher? Here are our lessons on aperture and ISO.
Learn the fundamentals first
Long exposures reward good basics: exposure, focus and composition. If you want to build those before you climb a mountain at dusk, our school at learn.shutyouraperture.com walks through them step by step.
Frequently asked questions
What shutter speed should I use for moving clouds?
It depends on how fast the clouds move. A few seconds gives soft texture. For flowing streaks, try 15 to 60 seconds. Martin Kapostas used 30 seconds at ISO 100 and f/32 for this shot.
Do I need an ND filter for long exposure fog photography?
Not always. In dim light after sunset, a low ISO and small aperture can be enough for a long shutter. In brighter light you will need a neutral density filter.
Is f/32 a good aperture for landscapes?
It is useful when you need a very slow shutter, but very small apertures soften fine detail through diffraction. For sharper results, use around f/8 to f/16 with an ND filter when you can.
Can fog on the lens make a good photo?
Sometimes. In this photo, fog on the front element worked like a diffusion filter and gave a dreamy glow. It can also cause spots and uneven blur, so check each frame.
Who took the main photo in this post?
The main photo and the story are by Martin Kapostas. The other three images are royalty-free photos from Unsplash.
Gear box: long exposure starting points
These are research starting points, not rankings. Check current models, reviews and prices before you buy.
- A sturdy tripod: See tripods at B&H or on Amazon.
- Neutral density filters: Browse at B&H or on Amazon.
- A diffusion or black mist filter: See them at B&H.
- A remote shutter release: See remotes on Amazon.
- A headlamp: See headlamps on Amazon.
Affiliate disclosure: some links above are affiliate links. If you buy through them, Shut Your Aperture may earn a small commission at no extra cost to you.