Original date June 9, 2024. Updated November 2026.
Some links below are affiliate links. If you buy through them, Shut Your Aperture may earn a commission at no extra cost to you.
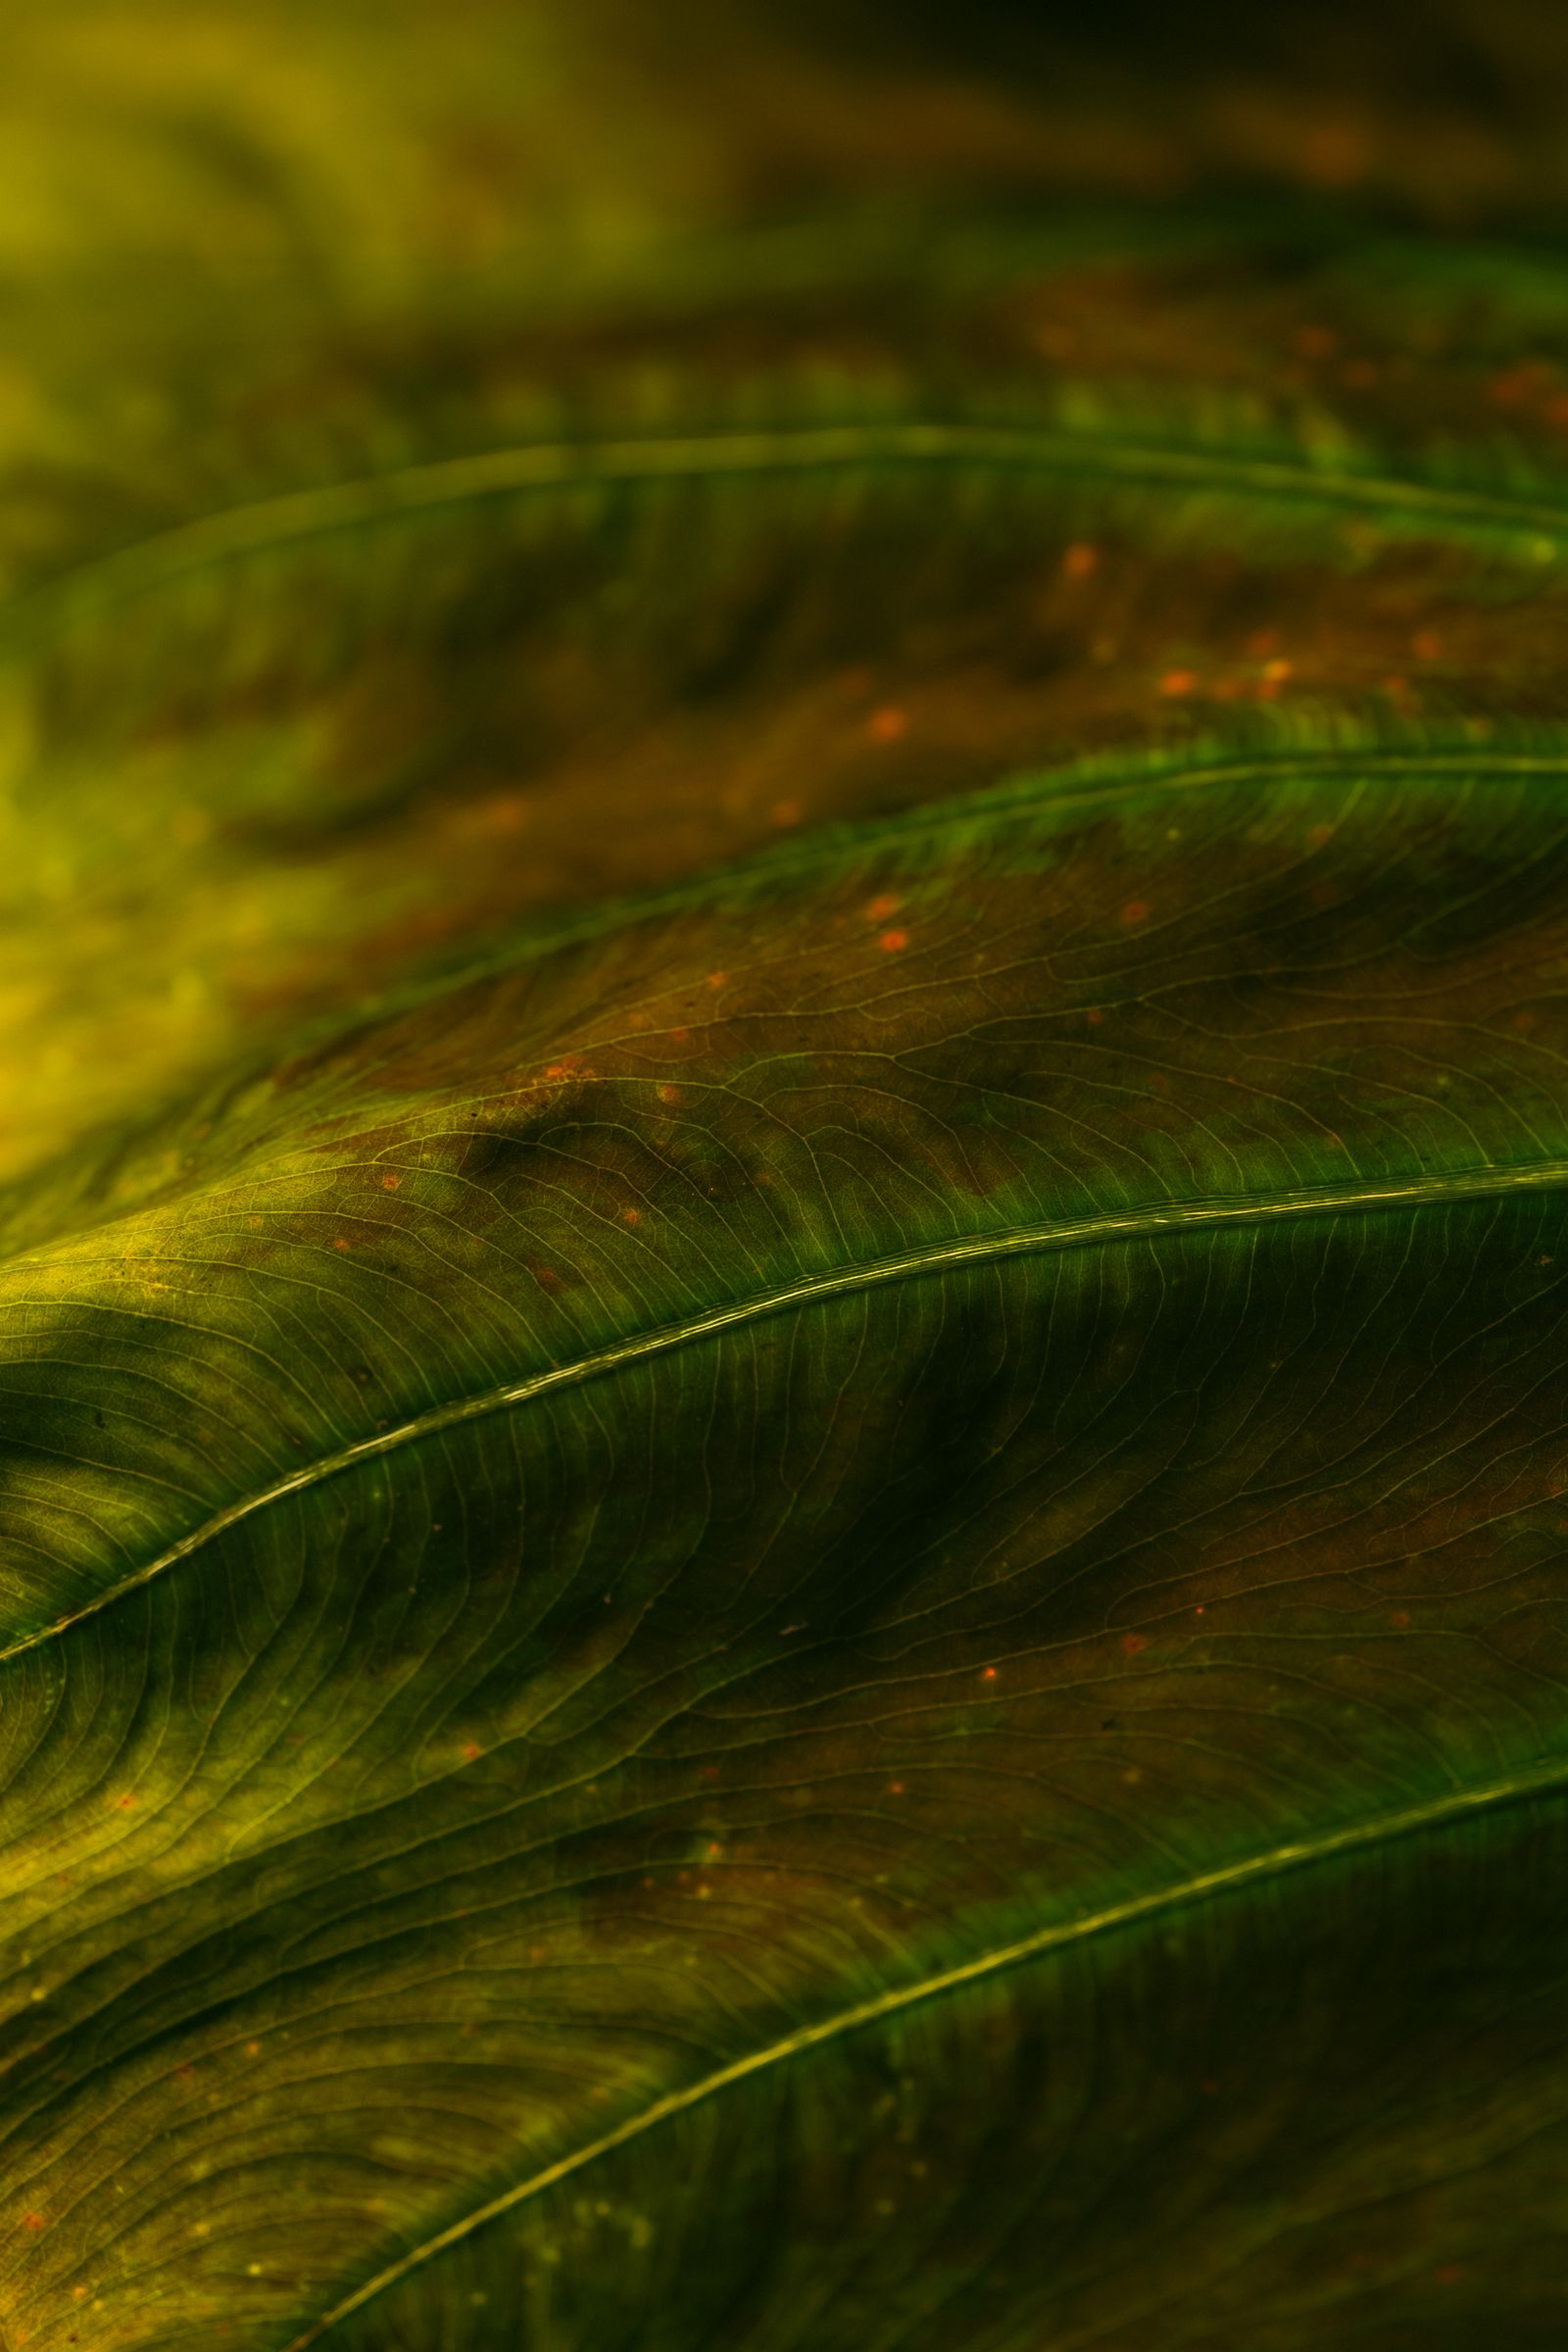
Fine art macro photography begins with a decision about the picture, not a demand to show every part of a small subject. A petal can become a curve, a leaf can become a pattern and a feather can become a study of tone. Sharpness still matters, but it needs to serve the image you mean to make.
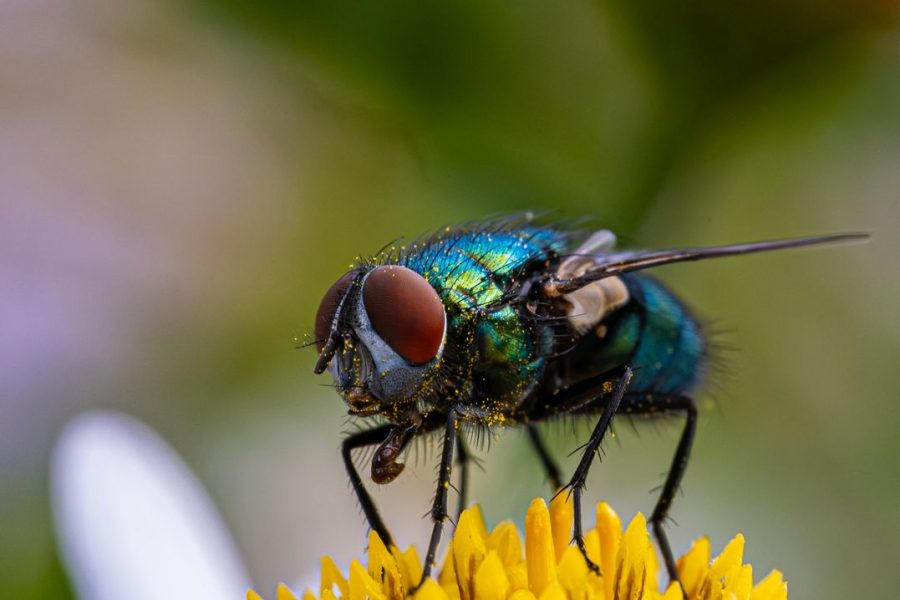
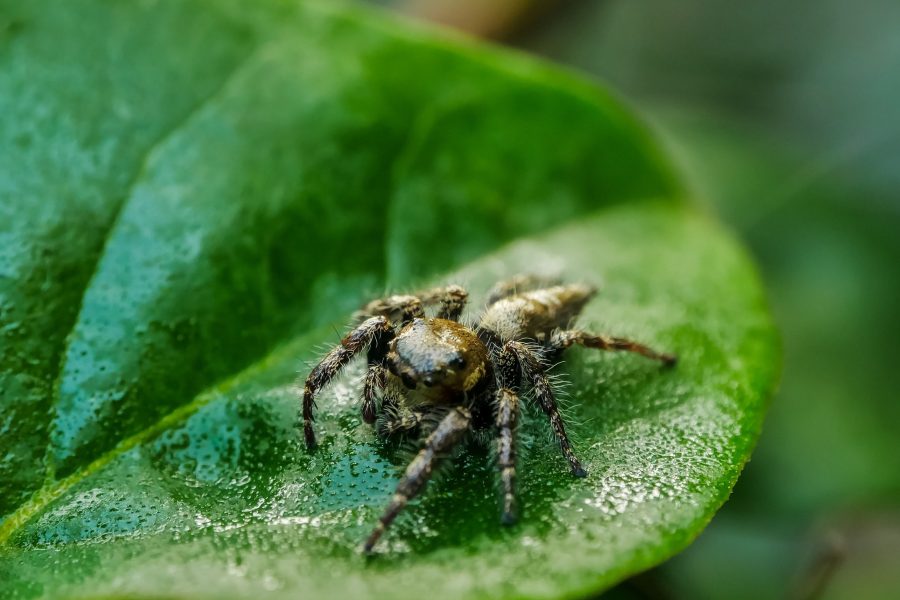
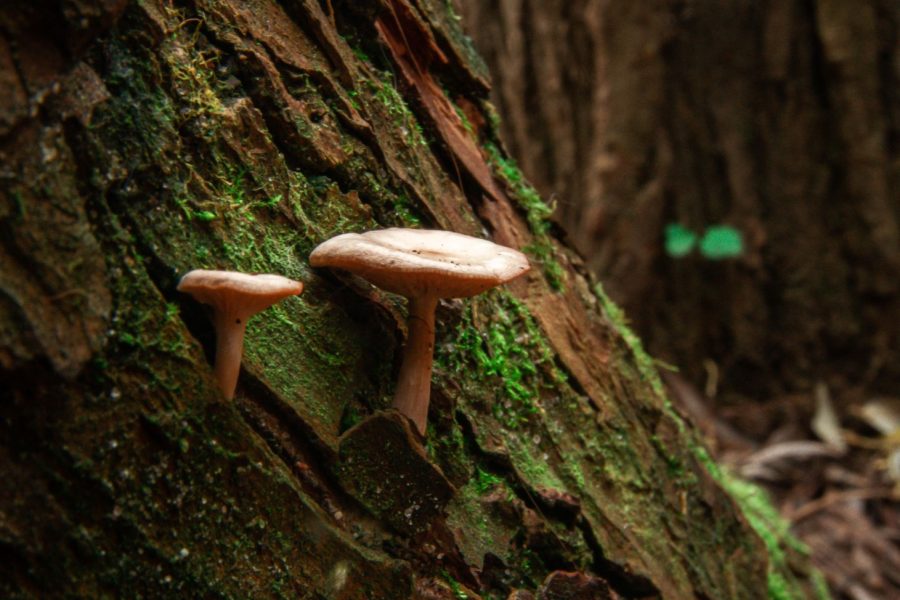
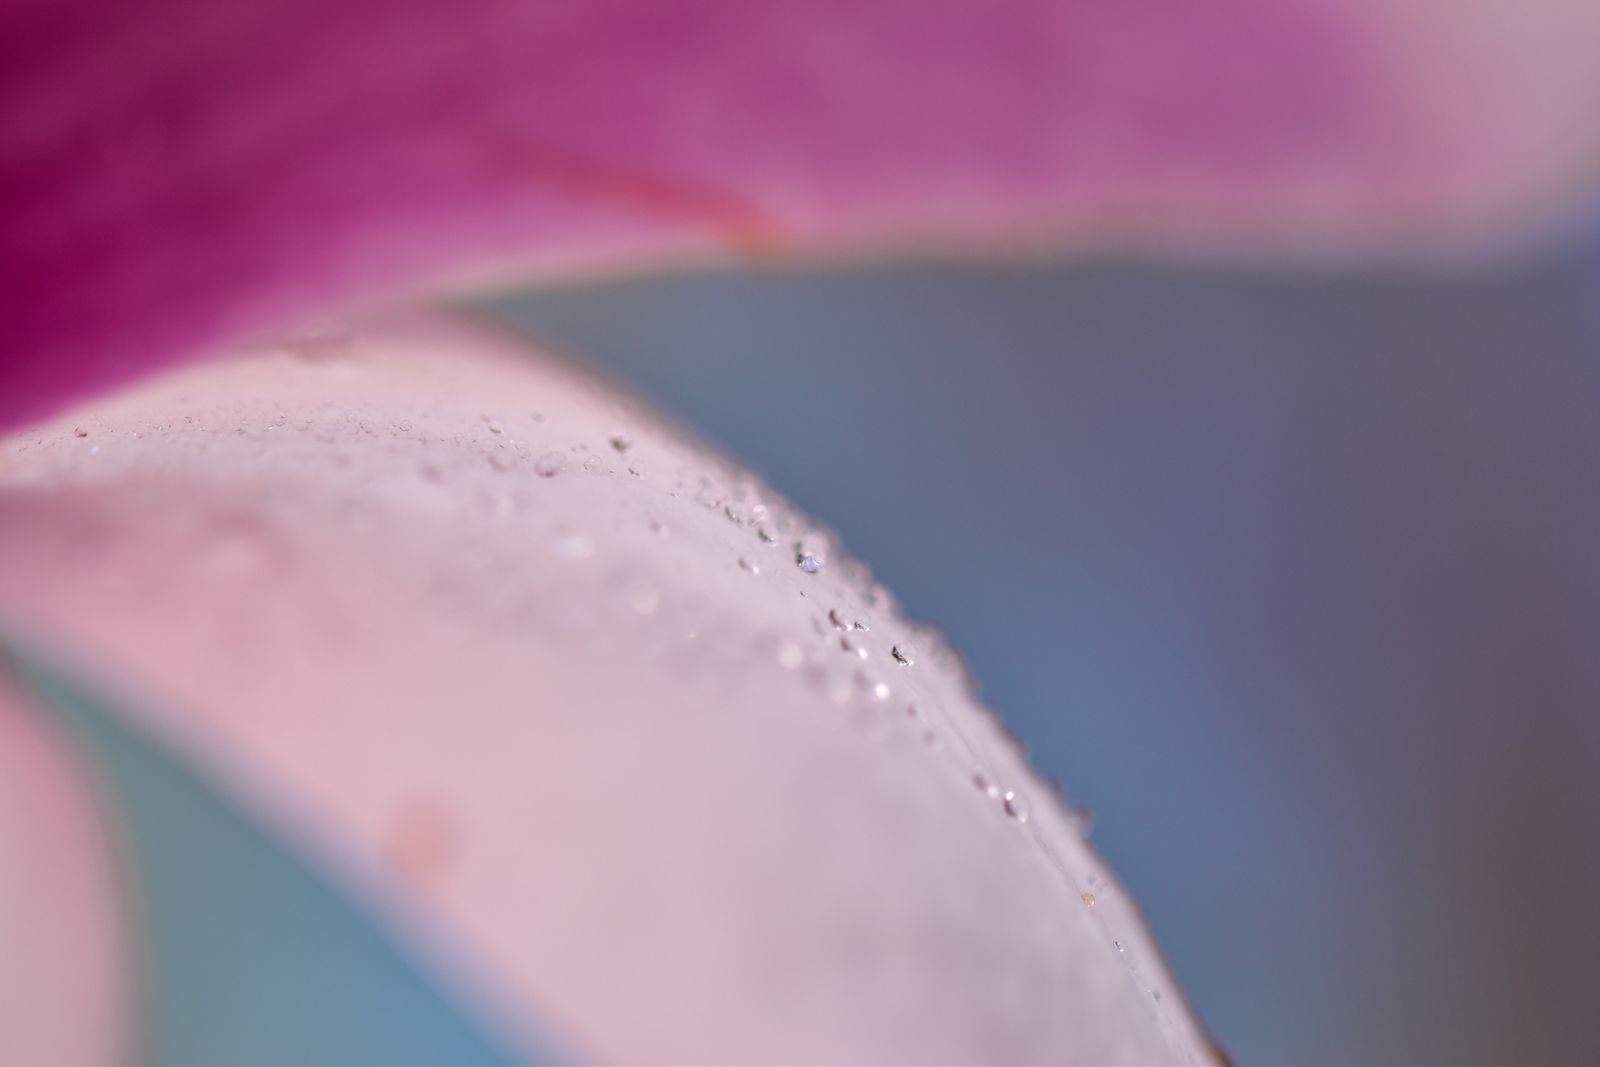
Use this workflow to move from an interesting close-up to a deliberate finished image: choose a visual idea, simplify the frame, place the focus, shape the light and edit a consistent set. The stock photographs illustrate those choices. They are not tests of the recommended equipment, proof of a particular magnification or records of the suggested settings.
Featured photograph: Photo by Diana ✨ via Pexels (Pexels license). Source: https://www.pexels.com/photo/9830540/. (Stock photo, illustrative.)
Choose an idea before choosing a setting
Start with something specific enough to guide the photograph. A soft curve against a quiet background is useful. So is a branching pattern that fills the frame or the contrast between a sharp edge and a blurred surface. A general wish to make something beautiful is harder to act on because almost any change can seem like progress.
The subject does not have to become unrecognizable. Fine art is not a technical category that requires abstraction, a certain lens or a particular amount of blur. You can make a descriptive image with a clear personal intention. The important question is whether framing, focus, light and editing support that intention rather than compete with it.
Make a reference frame before working closer. It helps you understand the subject and gives you a comparison when a tight crop becomes confusing. Then identify what is attracting you: the line, color, texture, repeated shape or relationship between two parts. Give that element room to work instead of adding every interesting detail you can find.
For field technique around living subjects and changing weather, see our guide to macro photography in natural landscapes. This article concentrates on the image-making choices and the finished sequence rather than a checklist of places to find subjects.
Use close-up and macro honestly
A tight photograph is not proof that it was made at life size. At 1:1 reproduction, an object is recorded at its actual size on the sensor. A crop can make it large on screen without changing the reproduction ratio at capture. You do not need to reach 1:1 for a strong close-up, but avoid claiming a magnification you have not established.
Begin with the closest useful focus your existing lens allows. Check its minimum focusing distance and do not confuse that specification, usually measured from the sensor plane, with the clear space between the front of the lens and the subject. If you move too close, the lens cannot focus no matter how carefully you turn the ring.
A dedicated macro lens can give you more close-focusing options. It cannot choose the image for you. Before buying, find out whether your regular limitation is magnification, working distance, support, light or simply a distracting background. Solving the wrong problem can leave you with a more detailed version of the same weak composition.
Build the frame around one clear relationship
At close range, a small change in camera position can move a bright background patch, separate two lines or replace a busy area with a quiet one. Make that move before cropping aggressively. A crop can remove the edge of a distraction, but it cannot change a line that already crosses the subject or reveal an angle you did not photograph.
Check the edges slowly. A cut-off petal may look intentional; a tiny bright fragment in the corner may look accidental. Decide whether the frame needs a complete shape or only part of one. Keep enough information for the viewer to follow the image without needing a caption to explain what every blurred area represents.
Negative space is useful when it gives a curve or small detail a place to sit. It does not have to be empty or evenly blurred. A quiet color field can contain subtle variation without stealing attention. Conversely, a frame filled with pattern can be effective if the repeated lines carry the picture. There is no requirement to leave one-third blank.
 Save
Place focus where the picture needs an anchor
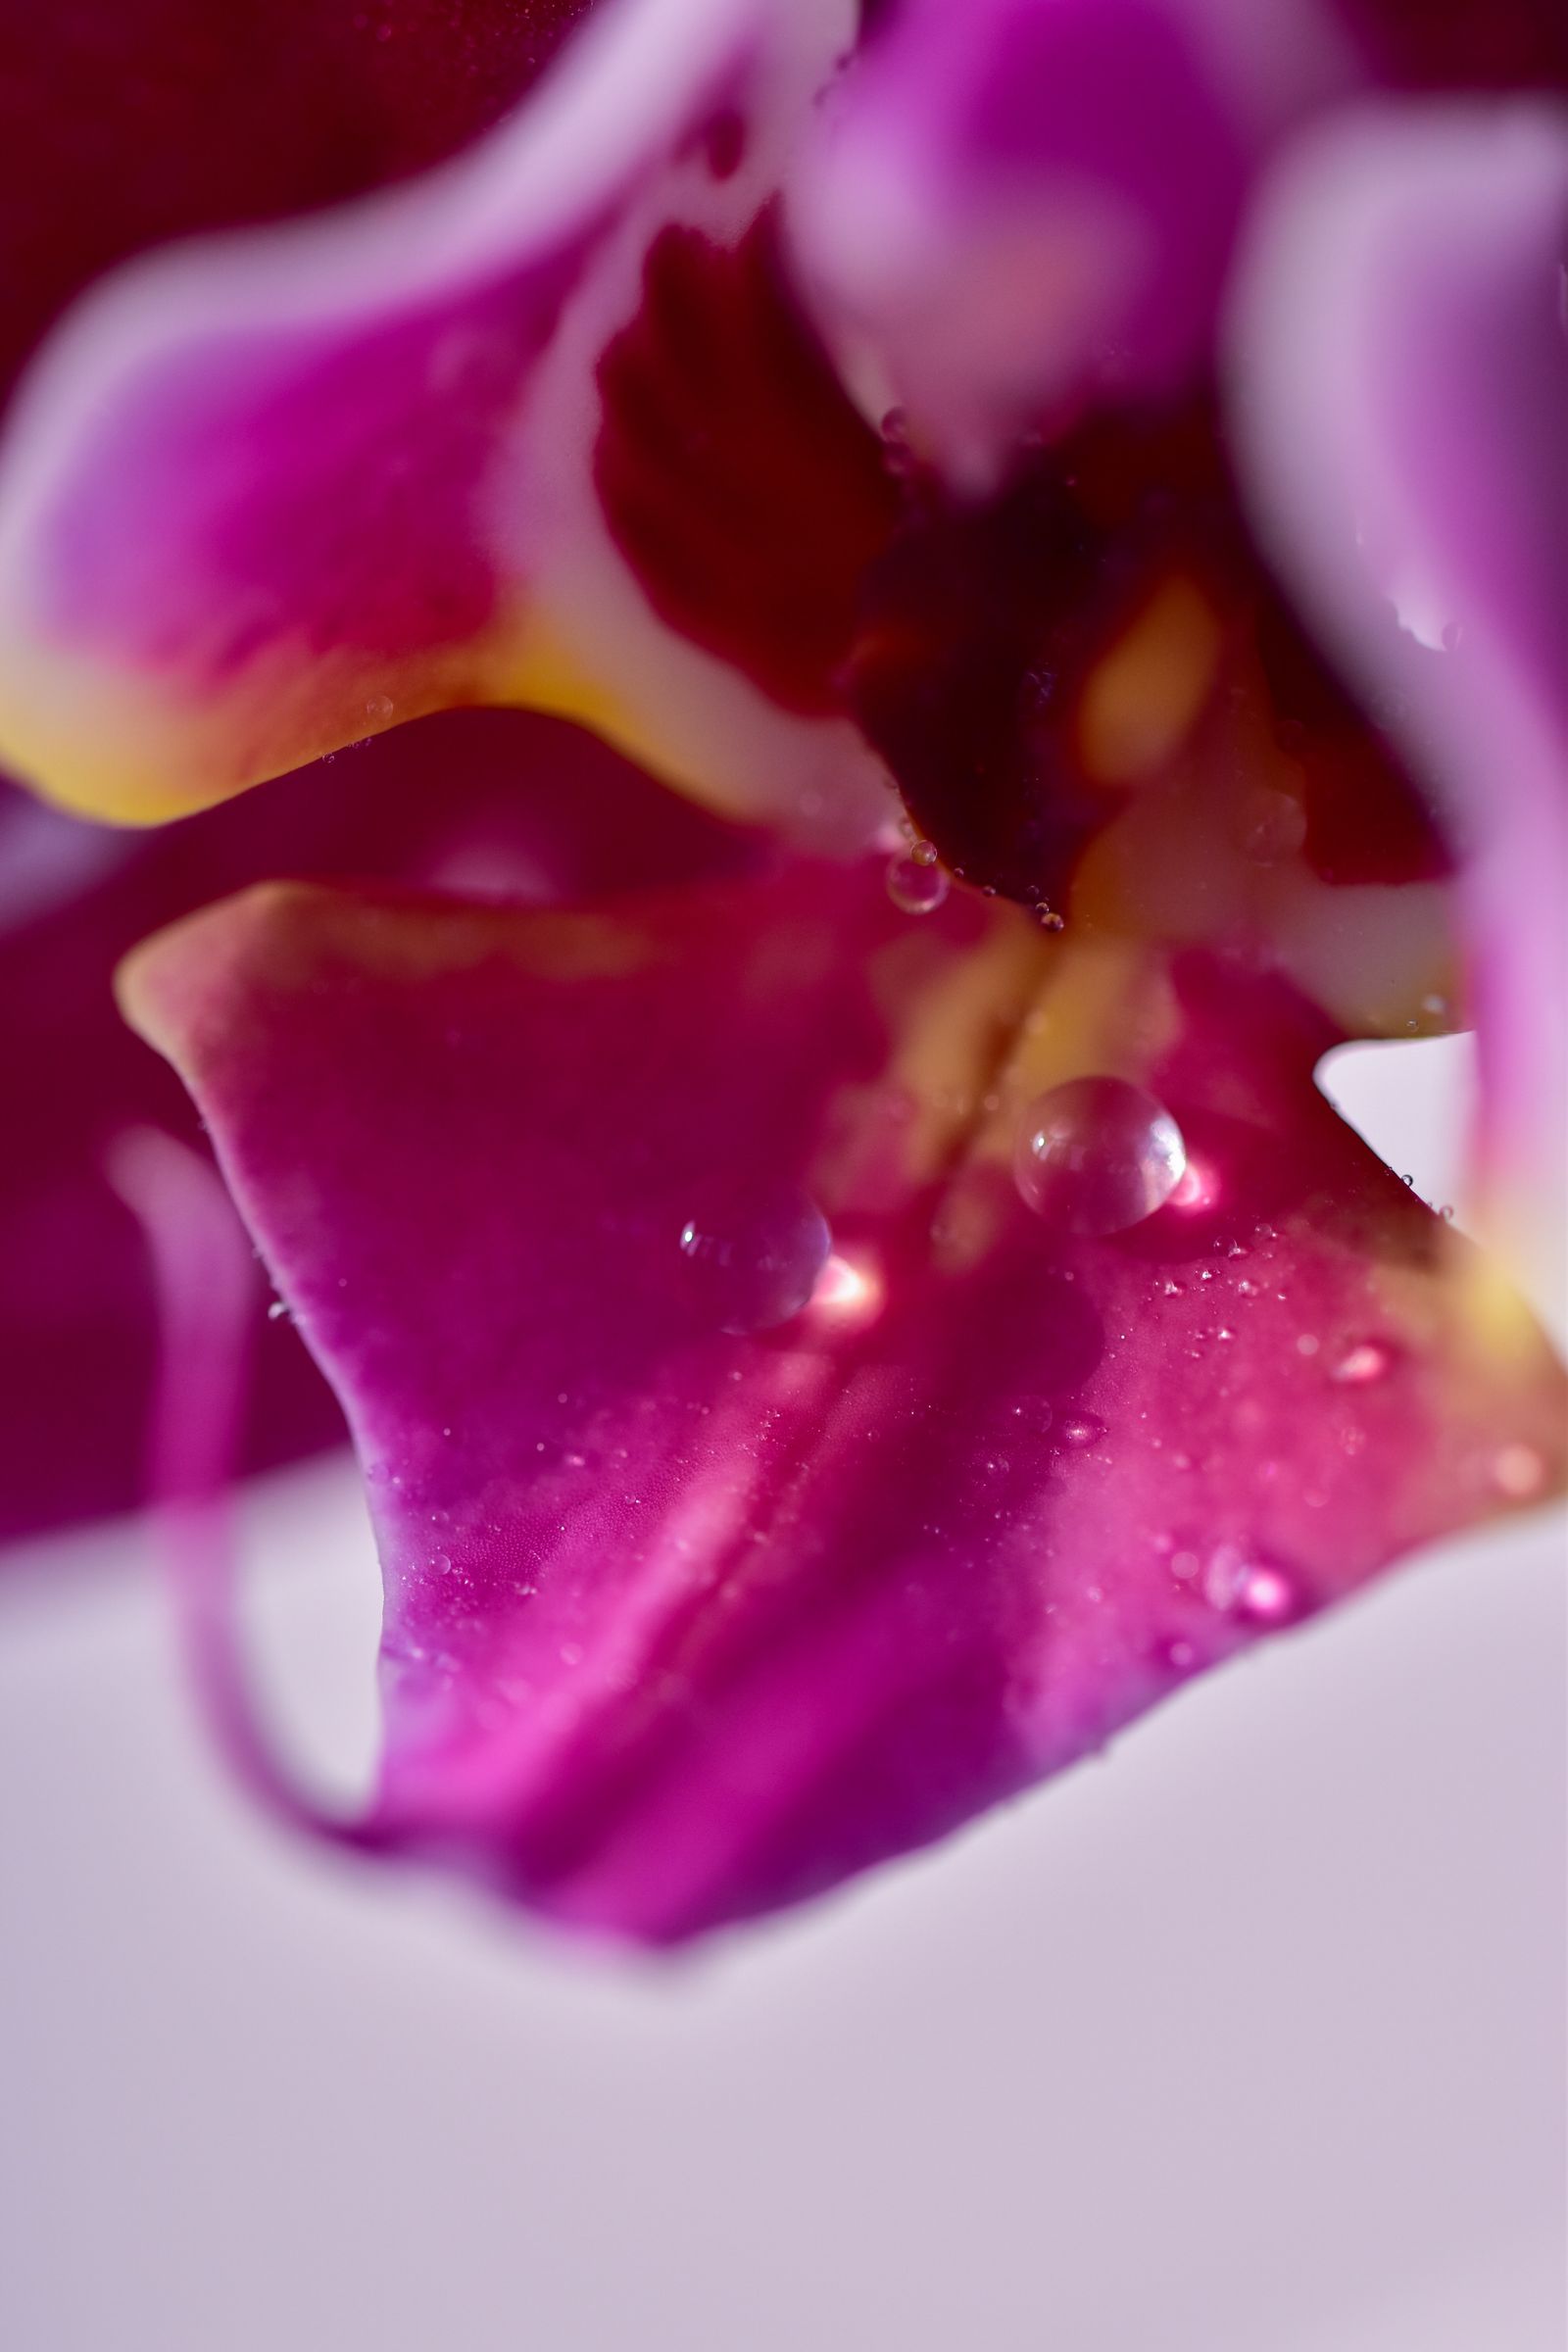
Choose the important edge or detail before opening the aperture as far as possible. A droplet, petal rim or crossing of veins can give the eye a clear anchor. If that anchor is soft by accident, the rest of the blur rarely rescues it. Use a magnified view or a carefully placed autofocus point, then inspect the result.
Depth of field becomes very limited at high magnification. A middle aperture may still leave much of the subject soft. That is a design choice to evaluate, not automatic evidence that something went wrong. Compare a wider aperture with a smaller one while keeping the intended focus point. Ask which image makes the visual idea clearer, not which has the most blur.
Camera angle matters too. A relatively flat subject aligned more closely with the sensor plane can keep more of that surface within the zone of acceptable sharpness. An oblique view lets focus fall away across it. Neither is the correct angle for every leaf or flower. Use the relationship deliberately and check the parts that matter.
For a static subject, a tripod and magnified manual focus can make small comparisons easier. Handheld, your movement forward or back can shift the focus away from the chosen detail. A faster shutter may reduce camera shake but does not put a misplaced focus plane back where you intended. Review both motion blur and focus placement instead of treating them as the same problem.
 Save
Choose light for the surface, not just brightness
Side light can reveal ridges, fibers and small changes in relief. Softer light from a larger apparent source can make transitions gentler. Backlight may describe a translucent edge or make internal structure more visible. Move the light or your position and compare. The same object can support several different images without adding any props.
A window and a piece of white card are useful starting tools for a still subject you are allowed to arrange. The card can return some light into the darker side. Keep it secure and away from delicate plants. A diffuser can soften harsh light, but it must not touch, overheat or disturb the subject. Outdoors, changing position or waiting may be the better choice.
Watch highlights on wet or glossy surfaces. A small bright reflection can be part of the picture, while a large clipped patch may hide the detail you wanted. Check the histogram and a magnified test. Changing the light angle can be more useful than making the entire photograph darker. No exposure adjustment can recover detail that every original frame failed to record.
Flash is an option, not a failure to use natural light. A controlled, diffused flash setup can be useful at close range, but the result depends on direction, apparent source size and the balance with ambient light. Do not assume that every flash freezes all movement or that every window produces soft light. Inspect the actual image and follow the equipment guidance.
Treat the background as part of the subject
A background is not finished merely because it is blurred. A bright disc, strong color or dark line can still dominate a small subject. Scan the whole frame before making another exposure. A slight move may shift that distraction outside the crop while leaving the subject almost unchanged.
The distance between subject and background matters as well as aperture and magnification. When you can arrange a still-life subject, try more separation before opening the lens farther. In the field, change your position rather than pulling or breaking vegetation. Keep the habitat intact, and accept that some subjects do not offer a clean angle.
For an owned still-life setup, a plain card can provide a controlled backdrop. Keep the result believable for the purpose of the image and avoid presenting a staged scene as an untouched field encounter. A dark background can simplify texture; a pale one can make the image feel lighter. Choose it to support the subject rather than make every photograph match the same formula.
Decide whether a focus stack helps
Focus stacking combines frames focused at different distances to extend the sharp area in the final image. It is useful when one exposure cannot hold the detail your idea needs. It is not an obligation for every macro photograph, and it does not automatically make an image more artistic. A soft single frame may express the relationship better.
For a first test, use a stationary owned subject, stable support and consistent light. Keep exposure and white balance consistent through the sequence. Move focus in small steps with overlap, covering the nearest and farthest detail you need. The number of frames depends on magnification, aperture and subject depth; a universal frame count would be misleading.
Movement and changing light can create problems between frames. Wind, a shifting support or a changing reflection can leave mismatched edges. Inspect the merged image for halos, doubled lines and gaps in sharpness, especially around fine fibers and overlapping shapes. Keep the source frames so you can correct a merge or choose a single exposure instead.
Stopping down farther is another option, but it has tradeoffs. More depth of field can come with softer fine detail from diffraction and a longer shutter time. Compare actual results at the intended output size. Do not dismiss a useful photograph solely because it was made at a small aperture, or assume the smallest aperture must be the sharpest choice.
Use monochrome for tone and structure
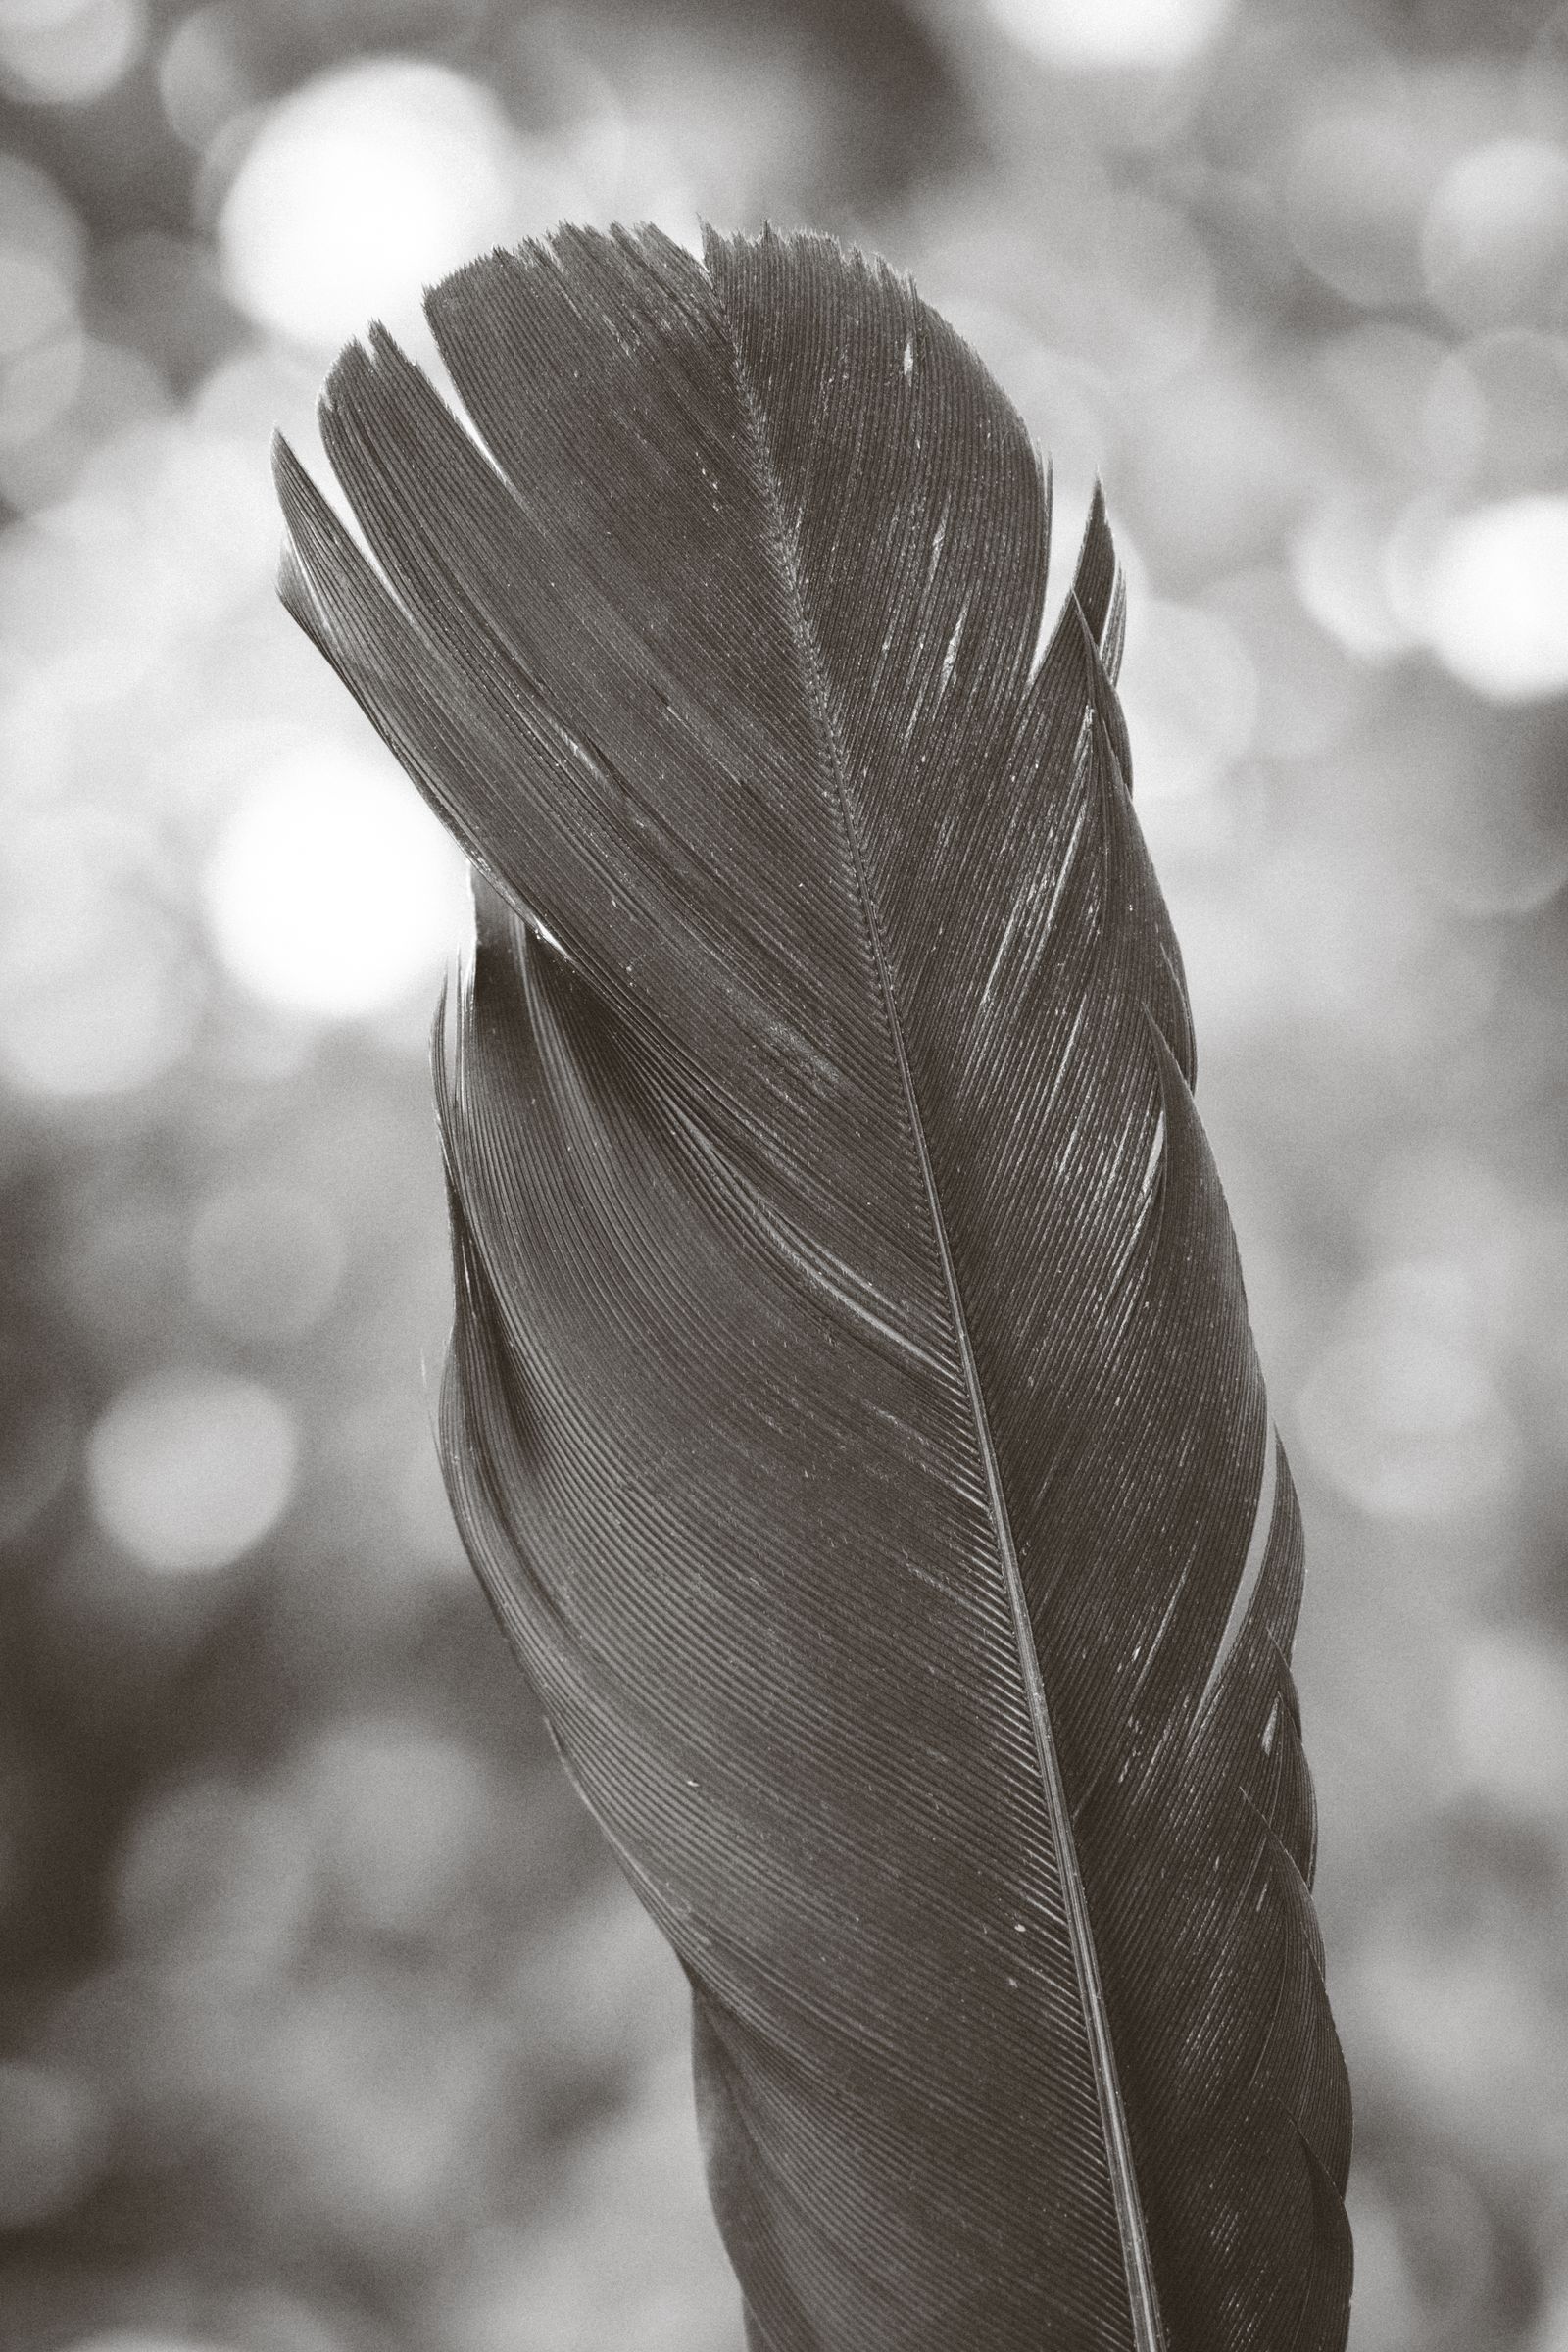
Before removing color, ask what remains. A feather may have a clear central line and repeated barbs. Frost may separate through bright edges against a dark background. If the picture depends mainly on a red-green color difference, a simple conversion may make those areas merge. Compare the tonal relationships rather than assuming monochrome makes every close-up more serious.
Start with a restrained conversion, then adjust the brightness of relevant colors if your software supports it. Watch the edges and texture as you work. Excessive local contrast can make a soft surface brittle, while aggressive noise reduction can erase the detail you chose the subject for. View both close up and at the final display size.
 Save
Edit color without losing the subject
Choose the frame for focus, shape and the relationship of elements before polishing color. A preset cannot move the sharp edge or remove an awkward overlap without further changes. Compare near duplicates first and keep the one that communicates the idea most clearly.
Adjust exposure and white balance with a purpose. A cool background beside a warmer petal may be part of the image, not a color cast to eliminate. If the work is meant to describe material color, use an appropriate reference and consistent lighting. If it is an interpretation, keep the change deliberate and do not describe the result as an exact record of natural color.
Use saturation and local contrast carefully. Watch pinks and reds for lost variation, and inspect pale surfaces for clipped highlights. Retain the gradients that give a petal or droplet its shape. An image can be colorful without pushing every channel to its strongest possible version.
Keep the original files and separate major alterations from basic adjustments. Removing sensor dust is different from inventing a missing petal or rebuilding the structure of a leaf. For a fine art piece, make the treatment clear when it affects what the viewer might reasonably understand about the subject or how the photograph was made.
 Save
Respect the small subject
Work with objects you own or natural subjects you can photograph without damage. Do not break stems, remove habitat or collect a feather simply to build a composition. Local rules may restrict collecting natural materials. A legal, accessible subject at home is enough for practicing line, color and focus.
Leave insects and other living subjects free to move. Do not chill, pin, restrain or spray them for a photograph. Avoid adding droplets or substances to plants or animals in the field. A beautiful close-up does not need a harmful setup, and an uncooperative subject is a reason to change the plan rather than force the picture.
Frost and dew are temporary, so work with the conditions rather than touching the subject repeatedly. Watch footing, protect equipment from moisture and stop if the location becomes unsafe. An abstract crop does not excuse ignoring where you are standing or what is beneath the tripod.
Build a small series rather than a pile of variants
Choose a connecting idea such as curves, repeated branching or one restrained color relationship. Make several frames that approach it differently: a wider relationship, a closer detail and a variation in light or focus. Do not assume they need the same crop or aperture to belong together.
Edit the sequence at thumbnail size before examining technical detail. Remove images that repeat the same job. Then check the survivors closely for focus, motion and editing artifacts. A series is stronger when each frame adds something, even if one omitted photograph is attractive by itself.
Finish with an output test. Review the image at its intended size and make a small proof print when a print is the goal. Fine texture, shadow separation and subtle color can read differently from a bright screen. Adjust the output version without destroying the master file, and keep a note of the changes that worked.
Equipment examples, not a shopping requirement
Start with your existing camera and a lens that focuses close enough for the image you want. Stable support, useful light and a clear focus decision are better first purchases of attention than a specialist lens bought without knowing the limitation.
For a compatible Canon RF camera, the Canon RF 100mm f/2.8 L Macro IS USM at B&H is a dedicated macro-lens example with up to 1.4x magnification. This is the RF version, not an EF lens for Canon DSLRs. Check camera compatibility, working distance and handling before buying.
The Manfrotto Befree Advanced aluminum travel tripod with 494 ball head at B&H is a support example. Check whether its working height and head suit the positions you need. A tripod does not hold a wind-blown subject still or guarantee an error-free focus stack.
These are researched examples, not equipment tested for this article or claimed as the gear used for the stock photographs. No price or availability is promised. Use your camera and lens manuals for stabilization, focus-bracketing support and model-specific controls.
Fine art macro photography questions
What makes a macro photograph fine art?
There is no required lens or blur level. Start with a clear visual idea, then make framing, focus, light and editing support it. A recognizable subject can work as well as an abstract one. The label does not replace a deliberate finished image.
Do I need a dedicated macro lens?
Not for every close-up. Test the closest useful focus of your current lens first. A dedicated macro lens may help when magnification or working distance limits your idea, but it cannot choose the composition or fix an unhelpful background.
Should everything be sharp in fine art macro photography?
No. Selective focus can give a curve, edge or droplet a clear role in the image. Use more depth of field or a focus stack when the idea needs more detail. Inspect the intended anchor rather than treating all blur as a mistake.
When should I use focus stacking?
Use it when the detail you need extends beyond the sharp area one exposure can provide and the subject and light are stable enough. Capture overlapping focus steps, keep settings consistent and inspect the merge for artifacts. Keep a usable single frame too.
How can I get a cleaner macro background?
Check its color, brightness and lines even when it is blurred. Move the camera slightly, change the angle or increase subject-to-background separation in an owned setup. In the field, do not damage vegetation or disturb living subjects to clear the frame.
Is black and white better for macro fine art?
Only when tone, line and texture carry the image better without color. Compare the conversion with the color version and watch areas that merge into the same tone. Monochrome is an option, not proof that the photograph is more artistic.
Sources and further reading
Technical and creative references: Canon on macro focus, light and composition; Nikon’s interview with abstract macro photographer Jasmin Javon; Canon on focus stacking; Erez Marom’s focus-stacking explanation at DPReview; Gerlach Nature Photography on stacking tradeoffs. The examples above illustrate visual choices, not the source photographers’ capture settings.