From the Shut Your Aperture archive (2014): the creator’s production remarks and gear list are historical. The Vimeo page identifies the video and creator, but its embed returned an access response in our check; playback availability is not confirmed.
Made to be Seen
Watch Made to be Seen on Vimeo, credited there to Joel Schat. The five-minute nature reel was presented by the filmmaker as a compilation of landscapes and outdoor journeys.
Schat’s original 2014 remarks mention Canon cameras, lenses, filters and motion-control equipment used in making the film. Those notes describe that production, not current availability, specifications or licensing.
Updated Nov 2026. The film above is a 2014 reel and the original post was short. This update adds a plain guide to the kind of landscape timelapse it shows, with advice drawn from public write-ups about the film and about timelapse technique. The photographs on this page are illustrative stills and are not frames from the film.
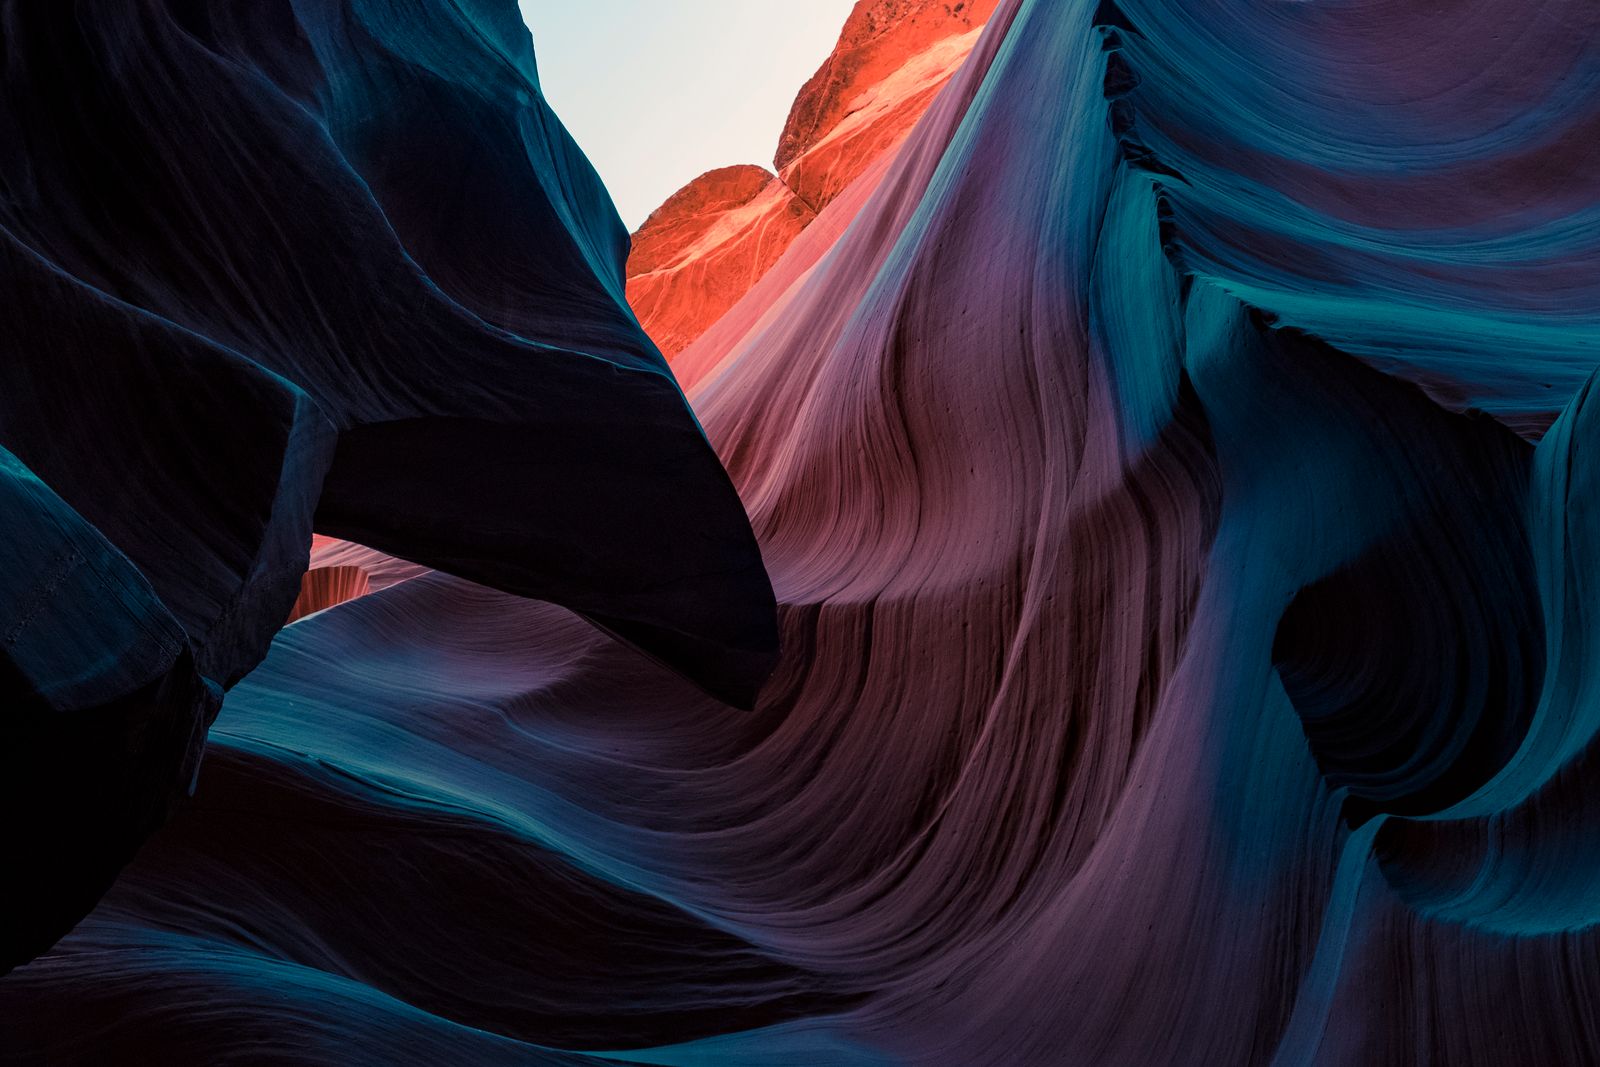
Header photo: Hugo Guillemard via Pexels. Illustrative still of sandstone canyon walls, not a frame from the film.
What Made to be Seen is
Made to be Seen is a nature showreel by the photographer Joel Schat. According to Getaway Magazine, it took two years of early mornings, long camera setups and late nights, and it was shot mostly in American national parks. The same piece notes that the footage was shot as raw 4K stills, which is how most serious timelapse work is made: you shoot photographs, and software turns them into video. Gizmodo described it as a 4K video built from Schat’s demo reel and said the footage shows everything from sunsets and sunrises to rainbows and hot air balloons.
Picture Correct added some geography. It says the two years of travel took Schat from Jasper National Park in Alberta down to the Mexican border and the desert country of Arizona and New Mexico, and back up again, capturing mountain tops, canyons and beaches. The same article quotes Schat saying his passion was to show off Creation as best he knew how.
This page is not a review and it is not a claim that you can match a two year project with a weekend and a tripod. What the film does offer is a clear picture of what landscape timelapse is good at. Light moves, clouds move, stars move, and the ground stays put. Most of the craft is picking where to stand, when to be there and how long to leave the camera running. The sections below go through those choices one at a time.
What a timelapse really is
A timelapse is a series of still photographs taken at regular intervals from a fixed position, then played back at normal video speed. Because a lot of real time passes between photos, slow changes look quick when you play the sequence back. A cloud bank takes an hour to cross a ridge and it takes three seconds on screen. The camera does not move, and everything that changes is in the scene.
That simple idea has a few consequences. First, you are shooting far more photos than a normal outing. Second, every photo has to match the others in exposure, focus and framing, or the finished clip will flicker and wobble. Third, you are committing time. A good clip may take an hour or more of standing near the camera, and the best light often lasts only a few minutes inside that hour.
It also helps to separate timelapse from its cousin, the hyperlapse, where the camera moves between frames. Made to be Seen, as far as the public descriptions go, is a landscape reel built on stationary and motion-controlled sequences. The motion-controlled moves matter, and we come back to them later, but the core of the work is still a camera that sits and waits.
 Save
Choosing where to point the camera
The best landscape timelapse subjects share one trait: they have something that will change in a visible way while the shot runs. Moving clouds against a mountain, the last colour leaving the sky over a canyon, water sliding across rocks, and a field of stars rotating over a ridge all qualify. A single ridge under a flat blue sky does not, however handsome it looks in a still photograph.
Schat gave advice on this in the Fototripper interview published in July 2014. When asked how new shooters can get noticed, he said it is not new or cool enough just to film your local forest. His suggestion was to pick a subject or place, such as a city or a stretch of coast, and make a film specific to that one thing. The reasoning is practical. People connected to a place tend to share a film about it. For a photographer planning a first project, the idea doubles as a way to focus: choose one canyon, one beach or one mountain and go back to it in different light.
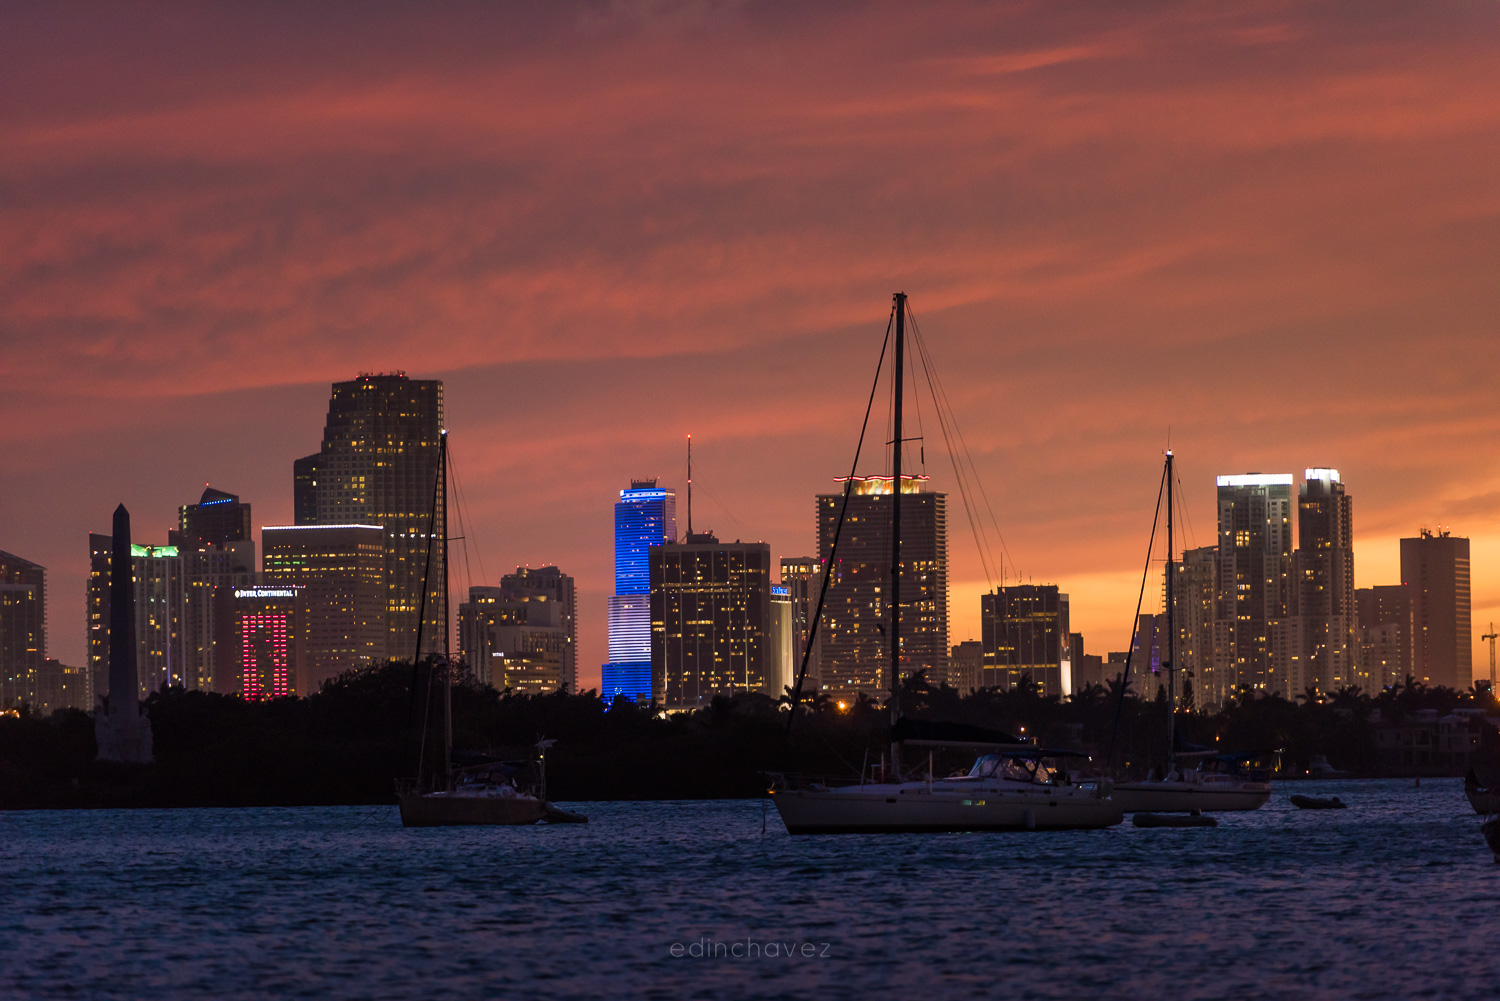
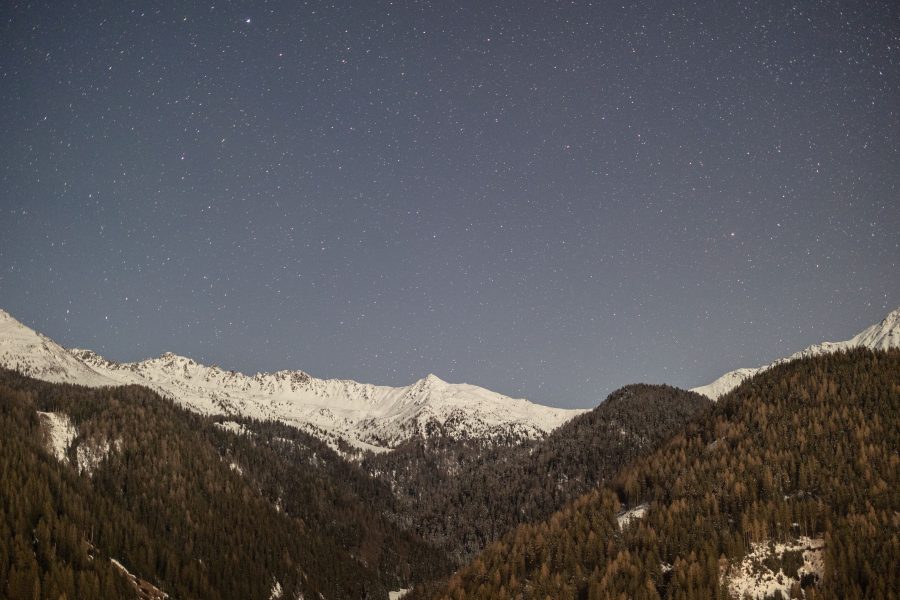
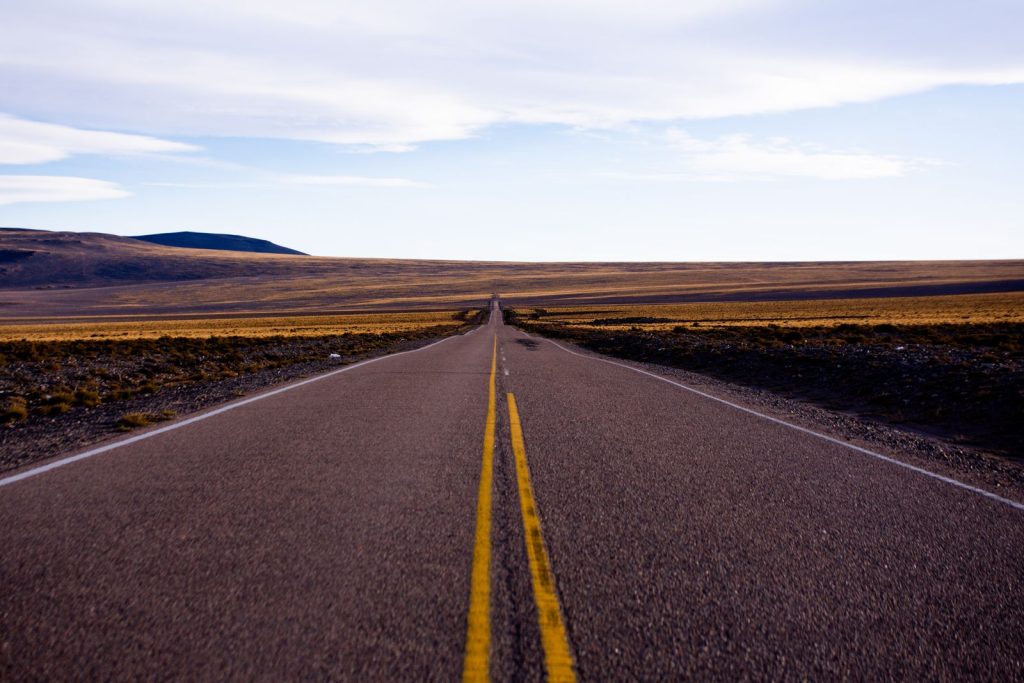
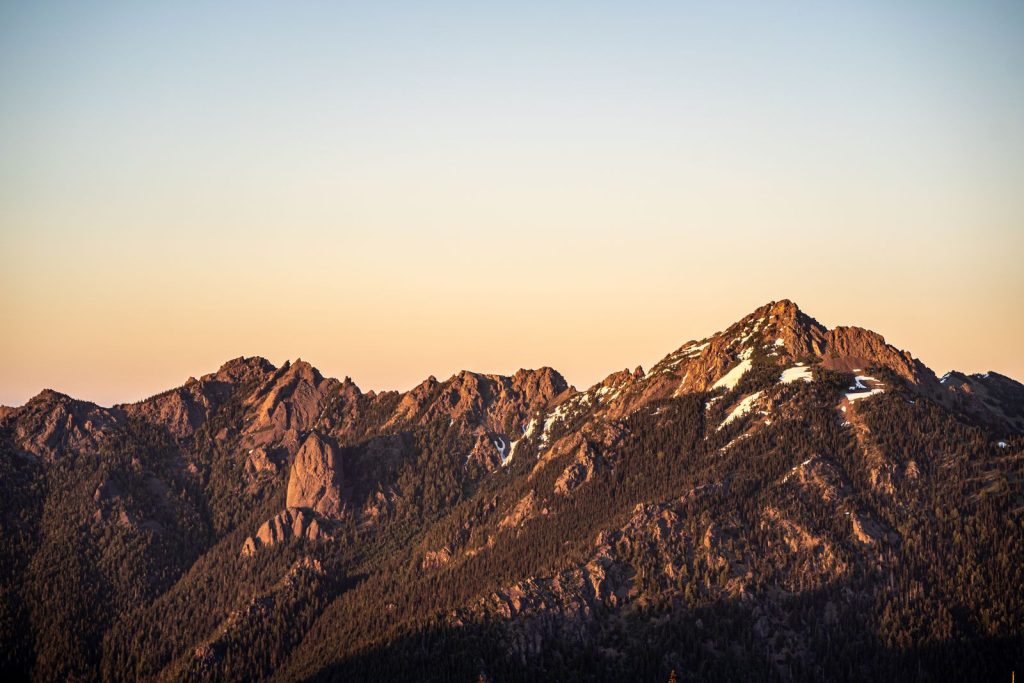
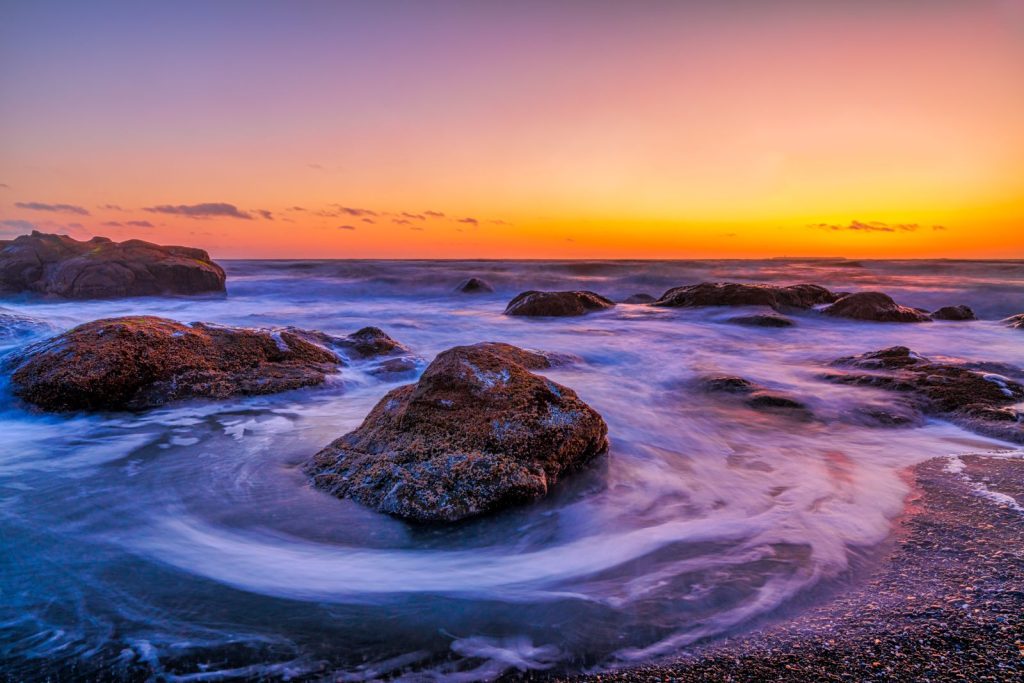
Foreground matters as much as in any other landscape picture. Rock formations, a road, a line of fence posts or a patch of water give the viewer something to anchor on while the sky moves. The photographs on this page show the idea: a desert road that vanishes toward a low horizon, sandstone that curves into the frame, rocks sitting in moving surf, and a mountain ridge at the edge of the day.
Light, weather and time of day
Light is the real subject. Sunrise and sunset do the most work in landscape timelapse because the colour changes quickly and the contrast between sky and ground gives the scene depth. The reel itself is full of these moments, with Digital Production noting sunrises, sunsets, moonrises, hot-air balloons and rainbows among the subjects.
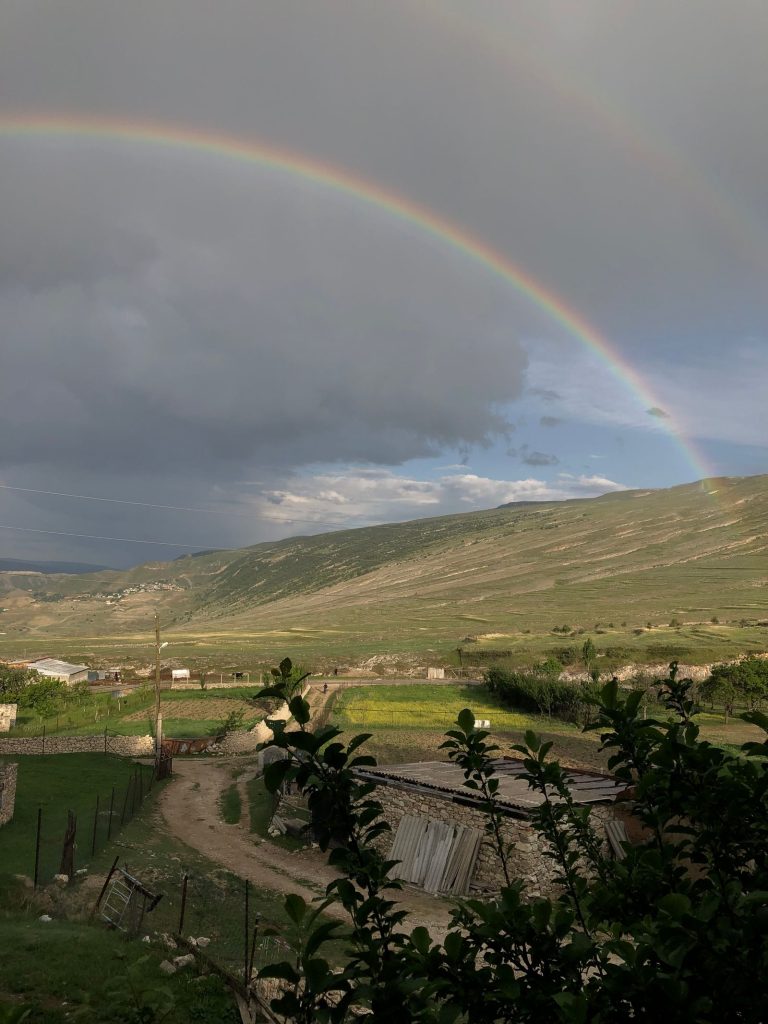
Weather works the same way. Rainbows, passing storms and clearing skies are the sort of events that make a clip worth watching, and they are also the hardest to plan. The usual approach is to be in a good place and wait, then shoot when the sky offers something. Schat’s interview describes a long run of this kind of patience, including a night in Yellowstone National Park spent setting up gear for a Milky Way shot. It also includes a warning about wildlife, which is a good reminder that remote locations carry real risk after dark.
Midday is usually the weakest time. Hard overhead light flattens landscapes and gives harsh shadows, so many shooters rest and scout then. A scouting visit in the afternoon, to find the position and check the composition, saves a lot of fumbling in the dark before dawn.
 Save
Setting exposure so the clip does not flicker
The exposure settings for a timelapse are similar to those for stills, with a few extra points. Tomer Azabi favours manual exposure with a constant ISO, aperture and shutter speed for the whole sequence. That gives smooth light transitions and consistent depth of field. He also describes semi-automatic modes such as aperture priority, where the camera adjusts shutter speed as the light changes. The catch is that the finished video may show unnatural light flickering, because the exposure steps between frames are not perfectly smooth.
Manual exposure has its own problem when the light changes a lot, as it does at sunrise and sunset. A scene that starts dark and ends bright will not fit inside one set of settings. Experienced shooters handle this in different ways, and the beginner’s choice is simple: start with scenes where the light is steady, learn how your camera behaves, and move on to the changing-light sequences later.
Focus is the other setting to lock down. Azabi advises focusing before you start, then switching the lens to manual focus so the camera cannot refocus mid-sequence. He also suggests turning off image stabilization. A frame that hunts for focus partway through will ruin everything after it, and there is no fix in editing.
Shoot raw if you can. Getaway’s note that the reel used raw 4K stills points to the reason. Raw files hold far more information in the highlights and shadows, which gives you room to balance exposure across a sequence in software. Schat describes his own basic workflow in the interview: he puts all the photos from one clip into a folder, opens a middle frame that looks like the first and last in exposure, does a basic colour correction, then applies it as an image sequence and does a final grade before export. The point for a beginner is that the correction happens once and applies to every frame.
Choosing an interval
The interval is the time between one photo and the next. It sets how fast the scene seems to move. Hyperlapse Photography explains it with a pizza delivery joke, but the advice is serious. A short interval gives more detail and can feel painfully slow. A long interval makes things move faster and can leave the viewer unsure what they saw.
The same article suggests starting points for clouds. Big cumulus clouds move slowly and need a longer interval. Thin, high cirrus clouds move quicker, and the author suggests 3 to 5 seconds. Storm clouds change fast, and the suggestion is 1 to 3 seconds. Azabi gives a close match for fast clouds between mountains: 2 or 3 seconds. Treat all of these as starting points, since the right number depends on the scene and the wind.
The article also explains how interval and shutter speed relate. The interval is the time between the start of each photo, and the shutter speed is how long each exposure lasts. If the interval is two seconds and the exposure is one second, the camera fires every two seconds. A rule of thumb from the article is to set the shutter speed to about half the interval, which gives natural motion blur on moving subjects. If bright light makes that hard, a neutral density filter can lengthen the exposure. Schat’s gear lists mention Lee filters, which is the usual kind of tool for the job.
Counting frames before you leave
The maths is short, and worth doing at home. Azabi gives the example that 240 frames at 24 frames per second makes a 10 second video. If you shoot one frame every 2 seconds, you get 30 frames a minute, so those 240 frames take about eight minutes. With a 10 second interval, the same 240 frames take 40 minutes. A usable clip is usually at least a few seconds long so you can cut it in with others, which means even a short edit needs hundreds of photos.
Make that calculation for every sequence you plan. It tells you how long you must stand there, how much battery and card space you need, and whether the light will still be good at the end. A project like Made to be Seen, which Getaway says took two years, stacks up thousands of these sequences. A beginner can start with one good clip and learn from it.
Shooting the night sky
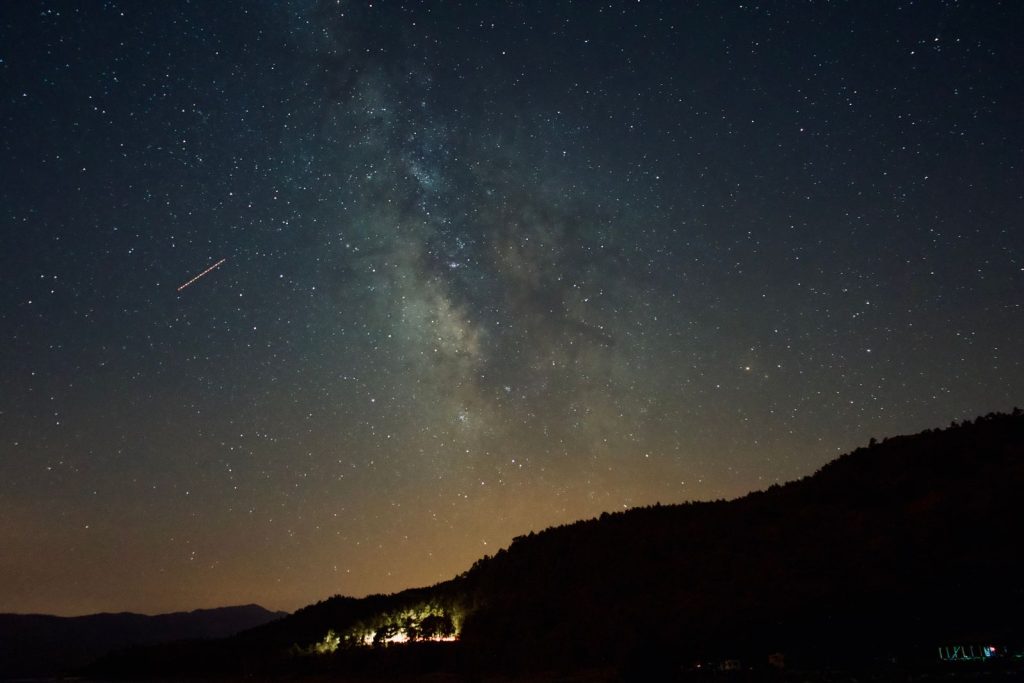
Schat’s reel includes night work, and his interview describes a Yellowstone night spent setting up gear for an overnight Milky Way shot. Night timelapse has its own rules. Azabi notes that for astrophotography, such as the Milky Way or northern lights, there is usually no need to set an interval between frames, because each frame is a long exposure of about 20 to 40 seconds and that already creates the right motion speed. He adds that you may need several hours to shoot a decent sequence, since every frame takes at least 15 seconds or more.
The National Park Service guide to night sky photography at Acadia covers the basics of a single night photograph and applies well to timelapse. It recommends manual mode, a sturdy tripod, and the widest aperture your lens offers, anywhere from f/1.4 to f/3.5. It suggests starting ISO at 400 and raising it as needed, and choosing a shutter speed between 10 and 20 seconds. It recommends a two to five second self-timer, a shutter remote or a smartphone to avoid shaking the camera. For focus, it says to focus manually using a distant bright light such as a star, streetlight or house. It also says to point south to capture the Milky Way, and to use an app or website to find dark areas.
The Park Service also mentions star trails. There is a limit to how long the shutter can stay open before stars begin to streak, and that is one reason shutter speeds for night work stay in the 10 to 30 second range. For timelapse, the stars still move across the frame from one photo to the next, and that movement is the effect you want.
Plan for the dark. Bring a headlamp, tell someone where you are, and know the area by daylight first. Schat’s interview recounts hearing wolves take down an elk while he set up in Yellowstone and later coming within a few meters of a sleeping bison on the walk out. You do not need an adventure like that to learn the lesson. Remote places at night call for care.
 Save
Adding motion with a slider
Many sequences in professional landscape timelapse have the camera moving a tiny amount between frames. Digital Production says Schat used a motion-control system from Dynamic Perception, and Picture Correct lists a Dynamic Perception Stage 1 Carbon, a Stage 0 and an Emotimo TB3 among his motion tools. In the Fototripper interview he describes using the Stage 1 for linear moves.
The effect is parallax. As the camera slides, close objects shift against distant ones, and a flat scene gains depth. Because the move is slow and takes place across hundreds of frames, the result looks smooth and deliberate. It is also harder to get right. The track must be level, the steps must match your interval, and any wobble in the support will show on screen. Many shooters learn the fixed-camera version first and add motion once the basics feel easy.
 Save
Gear, in plain terms
It is easy to read gear lists and think you need all of it. Public descriptions of Schat’s kit are a useful look at what a professional carried, with Picture Correct naming two Canon bodies, three Canon zooms, a Rokinon 14mm lens for stars and Lee filters. Digital Production confirms the same set and adds a Manfrotto tripod. Those notes describe a 2014 production, not a shopping list, and nothing on this page claims the equipment is still the best choice.
For a first timelapse you need a camera that can shoot in manual mode, a stable support, a way to trigger photos at intervals, and enough storage. Many cameras have an interval shooting mode built in, and Azabi notes that new cameras may have internal interval programs you can use in place of a separate remote, provided you know how to operate it. Wide lenses suit landscape and night sky work because they take in more of the scene and let you use shorter exposures.
Whatever you use, test it at home. Check how long the battery lasts under constant shooting, find out whether the camera stops after a set number of frames, and practise switching to manual focus without moving the lens. Azabi mentions that some Nikon cameras disable continuous shooting after 100 consecutive frames, which is the sort of limit worth finding on the kitchen table rather than on a mountain.
Gear note: public descriptions of the film list a Rokinon 14mm lens for star shots. If you want a wide lens for night sky work on a Canon EF camera, one option is the Rokinon 14mm f/2.8 IF ED UMC lens for Canon EF with AE chip at B&H. B&H lists it with a 115 degree view on full frame and an AE chip for focus confirm and auto metering, and it showed as in stock at $399.00 on November 8, 2026. We have not used it. Check the focus method and compatibility with your own camera, and note that price and availability can change.
Finishing the clip
After shooting, the frames go into software that builds them into a video. Azabi lists Lightroom with a timelapse plugin, Panolapse, Adobe Premiere, DaVinci Resolve and PowerDirector, and notes that some are free and some are not. Schat describes his own route in the interview: Adobe Bridge and Camera Raw for the first correction, After Effects for the image sequence and final grade, and Premiere Pro for assembling clips to music.
Pick the frame rate early, since it decides how many photos each second needs. Check the full sequence at speed before you trust it, because a dust spot on the sensor that is invisible in one photo becomes a distracting dot in motion. Then think about the music and the order of clips. Schat says in the interview that, in an ideal world, he would shoot to fit his music, but good music is hard to find, so he often chooses it afterwards.
 Save
A beginner’s plan
If this page has you wanting to try the technique, a modest plan works. Pick one place you can reach easily and visit it in daylight first. Choose a subject with a visible change coming, such as a sunset over a ridge or moving clouds. Set the camera to manual exposure and manual focus, set an interval that suits the speed of the clouds, calculate how many frames you need, and shoot more than you think you will use.
Back home, build the clip, look at what went wrong and go again. The first attempt rarely looks good, and the second usually looks better. Schat, who says he began after buying a camera for a trip and ordering an intervalometer that arrived the day before he left, describes falling in love with timelapse on that first journey. Starting small is how most people begin.
The film is a pleasant five minutes and it makes a good model. Pick a place, wait for the light, lock your settings, and let the sky do the moving. If you do that well, a few hundred photographs can turn into something that people will want to watch.
Frequently asked questions
What is Made to be Seen?
It is a nature showreel by the photographer Joel Schat. Getaway Magazine says it took two years and was shot mostly in American national parks, and Gizmodo describes it as a 4K video.
Was it shot as video or as photos?
Getaway Magazine says it was shot as raw 4K stills. That means the clips were built from sequences of photographs, which is how most timelapse is made.
How many photos do I need for a timelapse clip?
Multiply the frame rate by the clip length. Tomer Azabi gives the example of 240 frames at 24 frames per second for a 10 second video.
What interval should I use for clouds?
It depends on the clouds. Hyperlapse Photography suggests 3 to 5 seconds for fast, thin cirrus and 1 to 3 seconds for storm clouds, with a longer interval for slow cumulus. Treat these as starting points.
What settings does the National Park Service suggest for night sky photos?
Its Acadia guide suggests manual mode, the widest aperture your lens offers, ISO starting at 400, a shutter speed of 10 to 20 seconds, a 2 to 5 second timer or remote, and manual focus on a distant bright light.
Do I need a slider?
No. Many strong clips use a fixed camera. A slider adds parallax and depth, but it is harder to set up and is best added after you are comfortable with the basics.
Is the gear on this page required?
No. A camera that shoots in manual mode and a steady support are enough to start. The gear note is one optional example, and we have not used it.