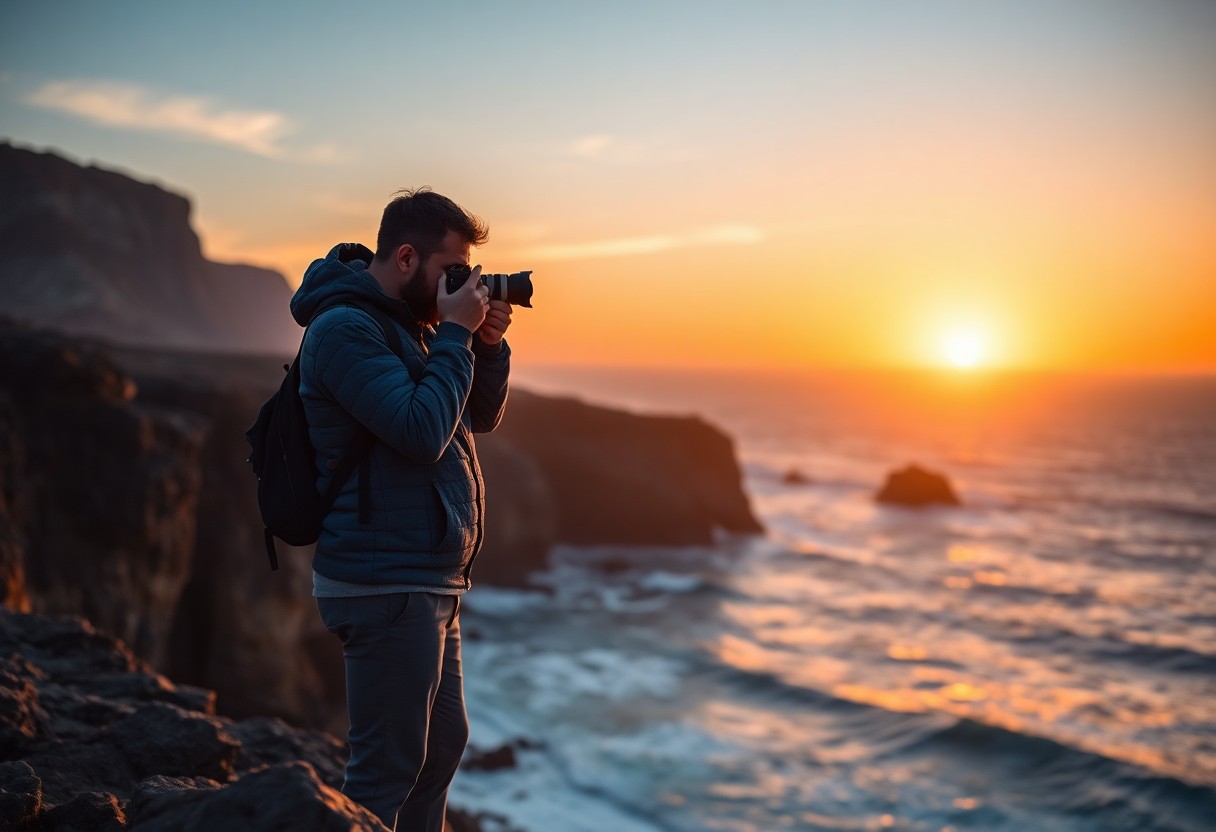
Embarking on the journey of landscape photography can transform the way we perceive the world, capturing the vastness of nature’s art through the lens of a camera. Whether you’re standing before the sprawling grandeur of mountain ranges or the intimate patterns of plants and streams, mastering the camera settings is crucial to doing justice to these scenes. The dance of light and shadow, color and contrast, all hinge upon understanding the Exposure Triangle—a foundational concept that intertwines ISO, aperture, and shutter speed. As we unravel the complexities of these settings, we ensure our photographs breathe the life and depth that our eyes witness. Therefore, let’s delve into the nuances of landscape photography and elevate our skills in preserving the pristine beauty of the outdoors.
Understanding the Exposure Triangle
Title: Mastering the Exposure Triangle for Breathtaking Landscape Shots
When delving into the world of landscape photography, understanding the Exposure Triangle is like discovering a secret vista: it can radically transform the scenery of your shots. The Exposure Triangle—a harmonious interplay between Aperture, Shutter Speed, and ISO—is the cornerstone for achieving the perfect balance in your photos. Let’s uncover how these elements work in tandem to elevate the art of capturing landscapes.
Aperture: The Window of Light
Aperture, measured in f-stops, acts as the eye of your camera, regulating the amount of light that enters. Think of it as the pupil of an eye, widening or narrowing to adjust to light. In landscape photography, a wider aperture (a lower f-stop number) absorbs more light, which can be useful in dim conditions. However, most seasoned landscape shutterbugs aspire for a deep field of focus, where both the foreground and distant horizon remain sharp.
Setting a smaller aperture (higher f-stop number) is the key. It leads to a greater depth of field, ensuring every leaf and mountain peak is crisply defined. Yet, remember that a smaller aperture allows less light to hit the sensor, calling for adjustments to the other corners of the Exposure Triangle to compensate.
Shutter Speed: The Timekeeper
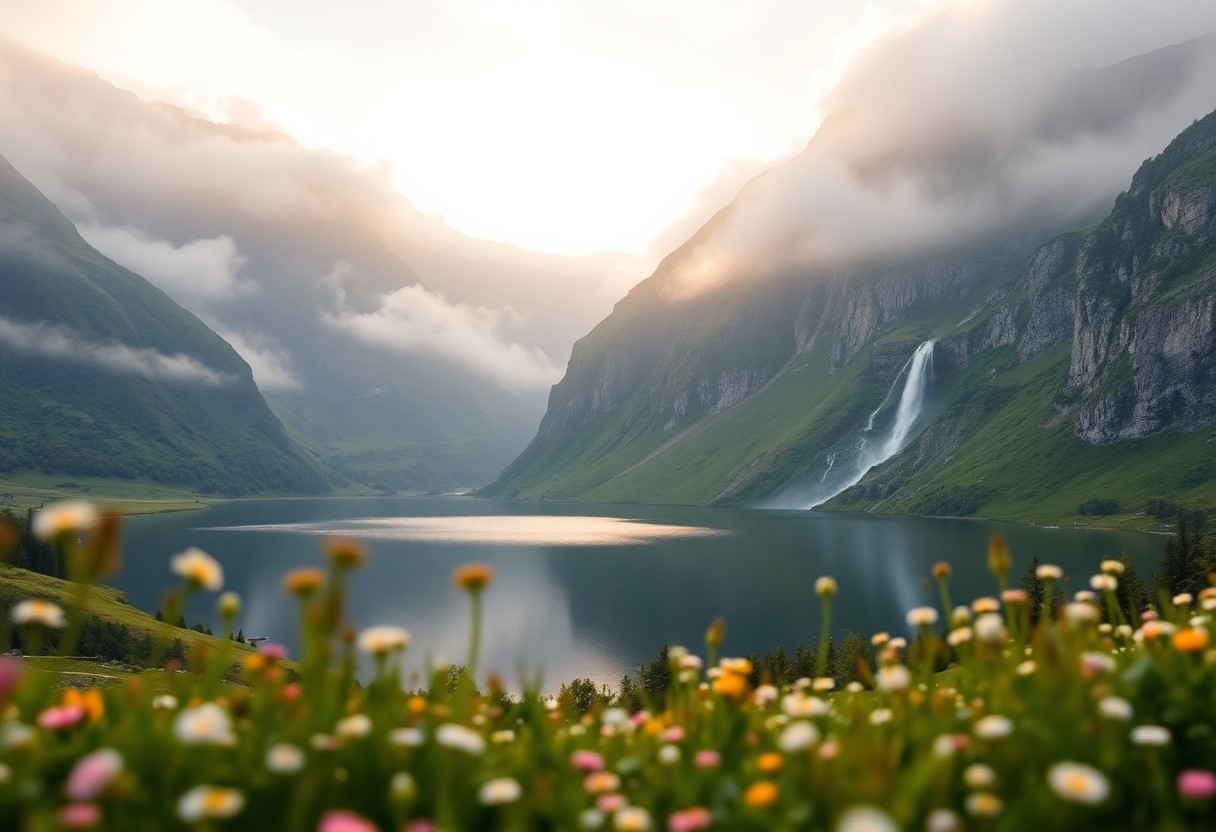
Shutter Speed dictates how long the camera’s shutter stays open to expose the sensor to light. It’s measured in fractions of a second or several seconds long. In landscape photography, longer exposures can render motion beautifully, such as the silky blur of a cascading waterfall or the soft sweep of clouds across the sky. However, capturing the static majesty of a landscape generally requires a faster speed to freeze the scene in sharp detail.
Be cautious; longer exposures require a steady hand or ideally, a tripod to prevent camera shake. Achieving equilibrium with Aperture and ISO is essential, especially in changing lighting conditions, to maintain the clarity and impact of your landscape images.
ISO: The Amplifier
ISO measures the sensitivity of your camera’s sensor to light. A low ISO (100 or 200) is standard for outdoor photography, leveraging plenty of natural light without introducing noise—those pesky digital grains that can muddle an otherwise clear photo.
Despite that, landscapes sometimes demand flexibility. Low light situations—such as at dawn or dusk—may require nudging the ISO higher to balance the exposure without compromising on a narrower aperture or faster shutter speed. It’s a delicate dance; go too high, and you risk the clarity of your scenic shot with noise. The aim is to find the sweet spot where light, motion, and sharpness meet harmoniously.
Conclusion: The Perfect Balance
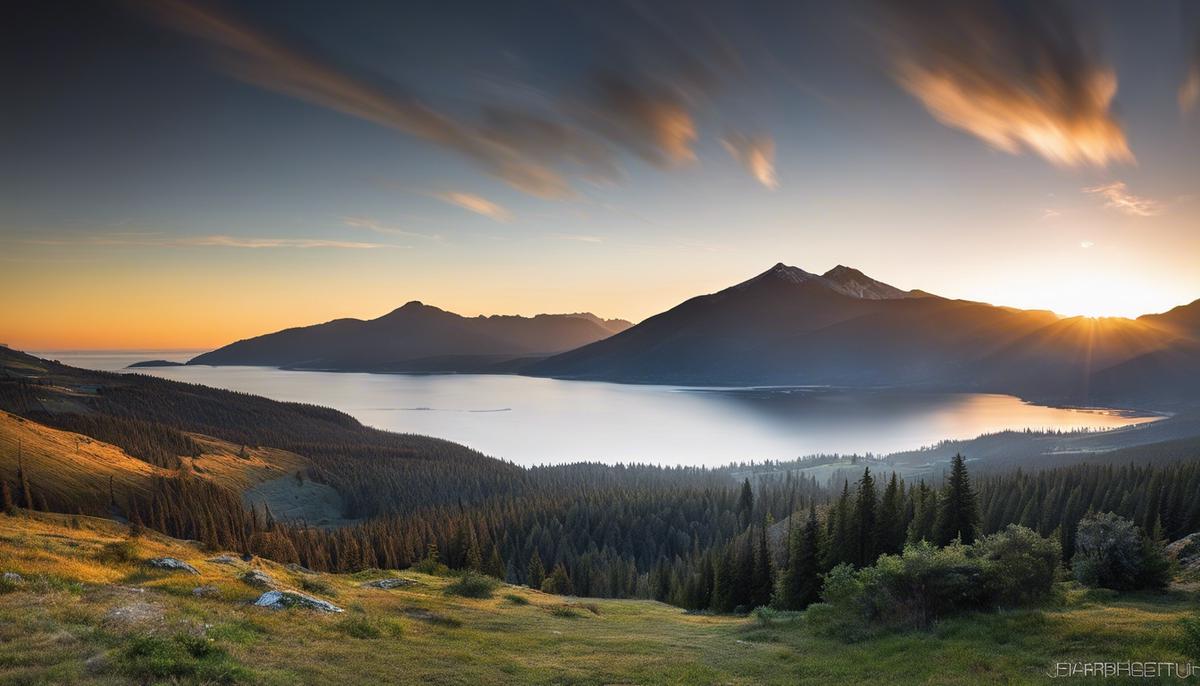
The craft of landscape photography flourishes on the bedrock of the Exposure Triangle. It’s the key to capturing scenes with stunning clarity and depth. Whether it’s the vivid hues of a sunset or the intricate patterns of nature, mastering the interplay between Aperture, Shutter Speed, and ISO ushers in a world of creative possibilities. By understanding how these elements affect each other and the final image, enthusiasts can wield their cameras not just as tools, but as paintbrushes, composing masterpieces one frame at a time. And with each click, the magic of the landscape is not just seen—it’s truly felt.
 Save
SaveChoosing the Right Aperture
Unlocking the Landscape Secrets: The Aperture Setting for Maximum Detail
When venturing into the great outdoors with a camera in hand, the quest for capturing the raw beauty of sprawling vistas is an exhilarating pursuit. The sharpness and clarity of landscape photography hinge on a crucial element – the aperture setting. Here, you’ll unearth the secrets to maximizing detail in every square inch of your frame.
Aperture, often referred to as the f-stop, controls the size of the lens opening, affecting the amount of light that reaches the camera sensor. But its role transcends mere illumination. It’s a powerful tool for dictating the depth of field – the range in which everything appears sharp and in focus. For capturing landscapes with breathtaking detail from foreground to horizon, you’ll want a deep depth of field.
The sweet spot for landscape detail lies typically between f/8 and f/16. Here’s why: lenses usually have a “sweet spot,” an aperture setting at which they perform best in terms of sharpness and minimizing optical issues like chromatic aberration and distortion. While it varies slightly from lens to lens, hitting the f/8 to f/16 range is often the winning ticket for a crisp, expansive depth of field.
Why not go beyond f/16? While it’s tempting to narrow the aperture further, be cautious – diffraction can occur. This optical effect happens when the light begins to disperse or ‘bend’ as it passes through a very small aperture, causing a reduction in image sharpness. Thus, it’s about finding the ideal middle ground.
Another tip is to focus one-third into the scene when snapping that landscape shot, which typically ensures maximum sharpness throughout. This technique, combined with the right aperture setting, sets up for a superior image.
Seize the power of your camera’s aperture to unveil the intricate tapestry of landscapes with unrivaled detail. Mastering this will elevate the imagery to new heights, making viewers feel as though they could step right into the scene. No summary can encompass the profound sensation of nailing the perfect landscape shot, so grab that camera and let the aperture be your guide to visual storytelling bound only by the horizon itself.
 Save
SaveUsing Filters for Landscapes
Stepping up from the essentials of aperture, shutter speed, and ISO, let’s dive into the significance of filters in elevating landscape photography to a professional standard. Filters are not mere accessories; they are powerful tools that can transform the mundane into the magnificent.
The Polarizing Filter: Your Color and Contrast Ace
It’s hard to talk about landscape photography without mentioning the polarizing filter. This is the juggernaut in the filter world for anyone looking to add vibrancy and contrast to their images. By minimizing glare and reflections, a polarizing filter can make skies bluer, clouds pop, and vegetation rich with color. What’s more, it can help to manage the exposure difference between the sky and the land, which is often a tricky aspect in landscape photo shoots.
Neutral Density (ND) Filters: The Flow Maestros
For those awe-inspiring images of silky waterfalls and ethereal seas, a Neutral Density filter is essential. By reducing the amount of light entering the lens, ND filters allow for slower shutter speeds without overexposure, even in broad daylight. This opens up a world of creative possibilities, from capturing smooth water motion to creating a sense of movement in clouds. ND filters come in a variety of strengths, providing flexibility depending on the shooting environment and the visual effect desired.
Graduated ND Filters: Balancing the Dynamic
Dealing with a high dynamic range is often inevitable in landscape photography. A bright sky and a darker foreground can result in either an overexposed sky or an underexposed land. Enter the Graduated Neutral Density (Grad ND) filter. This filter goes from dark to clear in a gradual transition, allowing one to darken the bright parts of the scene, typically the sky, while leaving the rest unaffected. It’s like having a dimmer switch that targets specific areas of the exposure, ensuring a balanced result.
UV Filters: The Invisible Shields
Although UV filters have little impact on the digital sensor’s image quality, they serve a vital role as a protector of the precious glass on the lens. It’s a clear filter that doesn’t change the look of the images but keeps dust, water, and fingerprints at bay. Think of UV filters as an insurance policy for lenses; it’s easier to replace a filter than a lens. Plus, they can potentially improve image clarity in high UV environments such as mountains or sea.
While filters undoubtedly open up new horizons in landscape photography, remember that they are mere tools to realize a vision. It is the photographer’s understanding of light and composition that truly creates a professional-looking landscape photo. Filters, when used judiciously, are the icing on the cake that can elevate the image from good to breathtaking. Now armed with this knowledge, embark on your landscape photography pursuits with a new perspective, and watch as your images transform with the power of these essential filters.
 Save
SaveGripping the camera and surveying the landscape before us, we are armed with the knowledge to transform a moment into an eternal masterpiece. Through the understanding of aperture settings, the strategic use of filters, and the skilled manipulation of the Exposure Triangle, our landscape photography can now transcend the basic snapshot, inviting viewers into a realm where every detail earns its place in a body of work. As we venture forth, let the settings become second nature, and may our images continue to reflect the awe that compels us to photograph the Earth’s magnificent canvas.
Luminar Neo’s Sky AI, atmosphere AI and SuperSharp are designed for landscape work — replace flat skies, add depth, and recover detail in seconds. Tagged as affiliate per FTC.