
Updated October 2026
Few things in photography feel as good as watching the sky turn green and moving through it in real time. They also fail more often than any other shoot: you can drive for hours and see nothing. This guide covers how to forecast the northern lights, where and when to go, and the camera settings that give you a sharp, clean frame once the show starts. It is written for beginners, and you do not need a fancy camera.
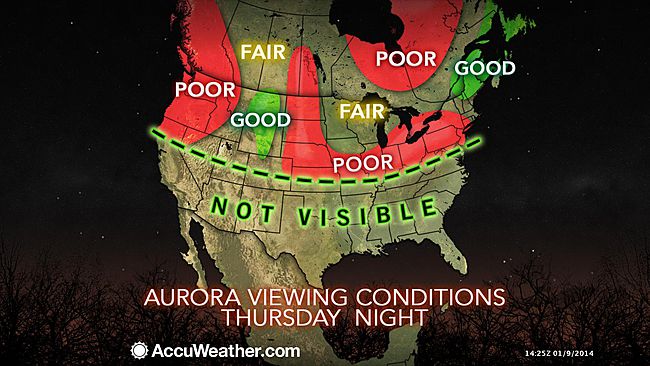
Archive note: this page started life on January 9-10, 2014, as a forecast of northern lights visible from parts of the northern United States. That forecast is not for tonight. A solar eruption arrived later and more weakly than expected, and the widespread storm never materialized, according to Spaceweather.com’s January 10, 2014 archive. The two images below are kept as history: a NASA-credited aurora seen from orbit and an AccuWeather visibility map from that 2014 forecast. Exact image licenses are unverified.
What causes the northern lights
The sun constantly throws charged particles into space. When a burst of them hits Earth’s magnetic field, some of them funnel toward the poles and collide with gases in the upper atmosphere. Oxygen glows green and, at greater heights, red. Nitrogen can add blue and purple edges. The result is the aurora borealis in the north and the aurora australis in the south.
Two ingredients decide whether you get a show. First, the sun has to send something your way, which is called geomagnetic activity. Second, your sky has to be dark and clear. A strong storm under a thick cloud deck gives you nothing, and a weak storm under a perfect sky can still give you a faint, photogenic arc on the horizon.
How to read an aurora forecast
You do not need to be a scientist, but you do need to know three numbers and one habit.
- The Kp index. A scale from 0 to 9 that measures global geomagnetic activity. The higher the number, the farther south (or north, in the southern hemisphere) the aurora can be seen. A low Kp is enough in places like northern Scandinavia, Iceland, Alaska and northern Canada. You need a high Kp to have a real chance from the mid-latitudes.
- Solar wind speed. Faster wind tends to mean a more active sky.
- Bz. This describes the direction of the magnetic field carried by the solar wind. When Bz points south (a negative number), the aurora tends to get stronger. A long stretch of negative Bz is the thing experienced aurora watchers look for.
The habit: check more than one source, and check again close to the time you plan to go out. Forecasts for the next few days are rough, and a storm that is predicted for two days away can fail or arrive early. The NOAA Space Weather Prediction Center publishes aurora outlooks and real-time solar wind data, and many free aurora apps pull from the same feeds. Treat any forecast as a probability, not a promise, and always check the cloud forecast for your own location as well.
Where to go
The aurora is centered on a ring around each magnetic pole called the auroral oval. The closer you are to that ring, the more often you will see lights. Well-known areas for aurora travel include northern Norway, Sweden and Finland, Iceland, northern Canada, Alaska, and in the southern hemisphere, Tasmania and the southern tip of New Zealand. Do your own research on current travel conditions, because roads, weather and access change.
If you cannot travel that far, you can still try from home. A strong geomagnetic storm can push the lights into the northern United States, the United Kingdom and central Europe. When that happens, the aurora is usually low on the northern horizon, so you need a clear view north with no hills, buildings or city glow in the way.
When to go
Season. You need darkness, so the aurora is best in the long nights of autumn, winter and early spring, depending on how far north you are. In the far north, midsummer is too bright to see anything. Many aurora watchers like the weeks around the spring and autumn equinoxes, when geomagnetic activity tends to run a little higher.
Time of night. The sky is usually active in the hours around local midnight, roughly 10 PM to 2 AM, but the aurora can show up earlier or later. Be ready to stay out.
Moon. A bright moon washes out faint aurora and the stars. A new moon gives you the darkest sky, but a bright aurora can still look great with a moon up. Check the moon phase when you plan your trip.
 Save
Gear you need
- A camera with manual mode. Mirrorless, DSLR, or even a recent phone with a night mode.
- A wide, fast lens. Something around 14 to 24mm at f/1.4 to f/2.8 is ideal. A wider view fits more sky, and a wider aperture lets in more light.
- A sturdy tripod. Exposures run for several seconds, so the camera must not move at all.
- Extra batteries. Cold drains them quickly. Keep spares in an inside pocket.
- A remote or the 2-second timer. This avoids shake when you press the shutter.
- A headlamp with a red mode. Red light does not ruin your night vision.
- Warm clothes. You will stand still for a long time. Layers, insulated boots, a hat and good gloves matter more than any lens.
Camera settings that work
Start here, then adjust for the brightness of the sky.
- Mode: Manual.
- Focus: Switch to manual focus. Use live view, zoom in on a bright star or a distant light, and turn the focus ring until it is a tiny point. Then leave it alone. Autofocus will hunt in the dark.
- Aperture: As wide as your lens allows, such as f/2.8 or lower.
- Shutter speed: 5 to 15 seconds is a good range. A bright, moving aurora needs a shorter exposure, around 2 to 6 seconds, so you keep the shapes and rays. A faint, slow aurora can handle 10 to 20 seconds. Stay short enough that stars do not stretch into trails.
- ISO: Start at 1600, go to 3200 if you need more light. Newer cameras handle higher ISO better.
- White balance: Around 3500 to 4500 K gives a natural look. If you shoot RAW, you can change it later.
- File format: RAW. It gives you far more room to fix color and noise. Our post on why you should shoot RAW explains why.
- Noise reduction: Turn off long-exposure noise reduction if you want to shoot quickly, and clean up in editing.
A good starting point, then: f/2.8, 8 seconds, ISO 1600. Take a test shot, check the screen, and change one thing at a time. If the image is too dark, raise ISO or lengthen the shutter. If the aurora looks blown out and soft, shorten the shutter. Check the histogram, not just the screen, because your eyes will adapt to the dark and the screen will look brighter than it is.
If you want to understand the trade-offs between these settings in more depth, the shutter speed course in the Academy covers them step by step.
The star trail rule
The Earth rotates, so a long exposure turns stars into short lines. A simple guide is the 500 rule: divide 500 by your lens focal length (on a full-frame camera) to get the longest exposure, in seconds, before trailing begins. At 20mm, that is about 25 seconds. On a crop sensor, multiply the focal length by the crop factor first. Aurora moves too, so you will often use shorter exposures anyway. Treat the rule as a ceiling, not a target.
Composition
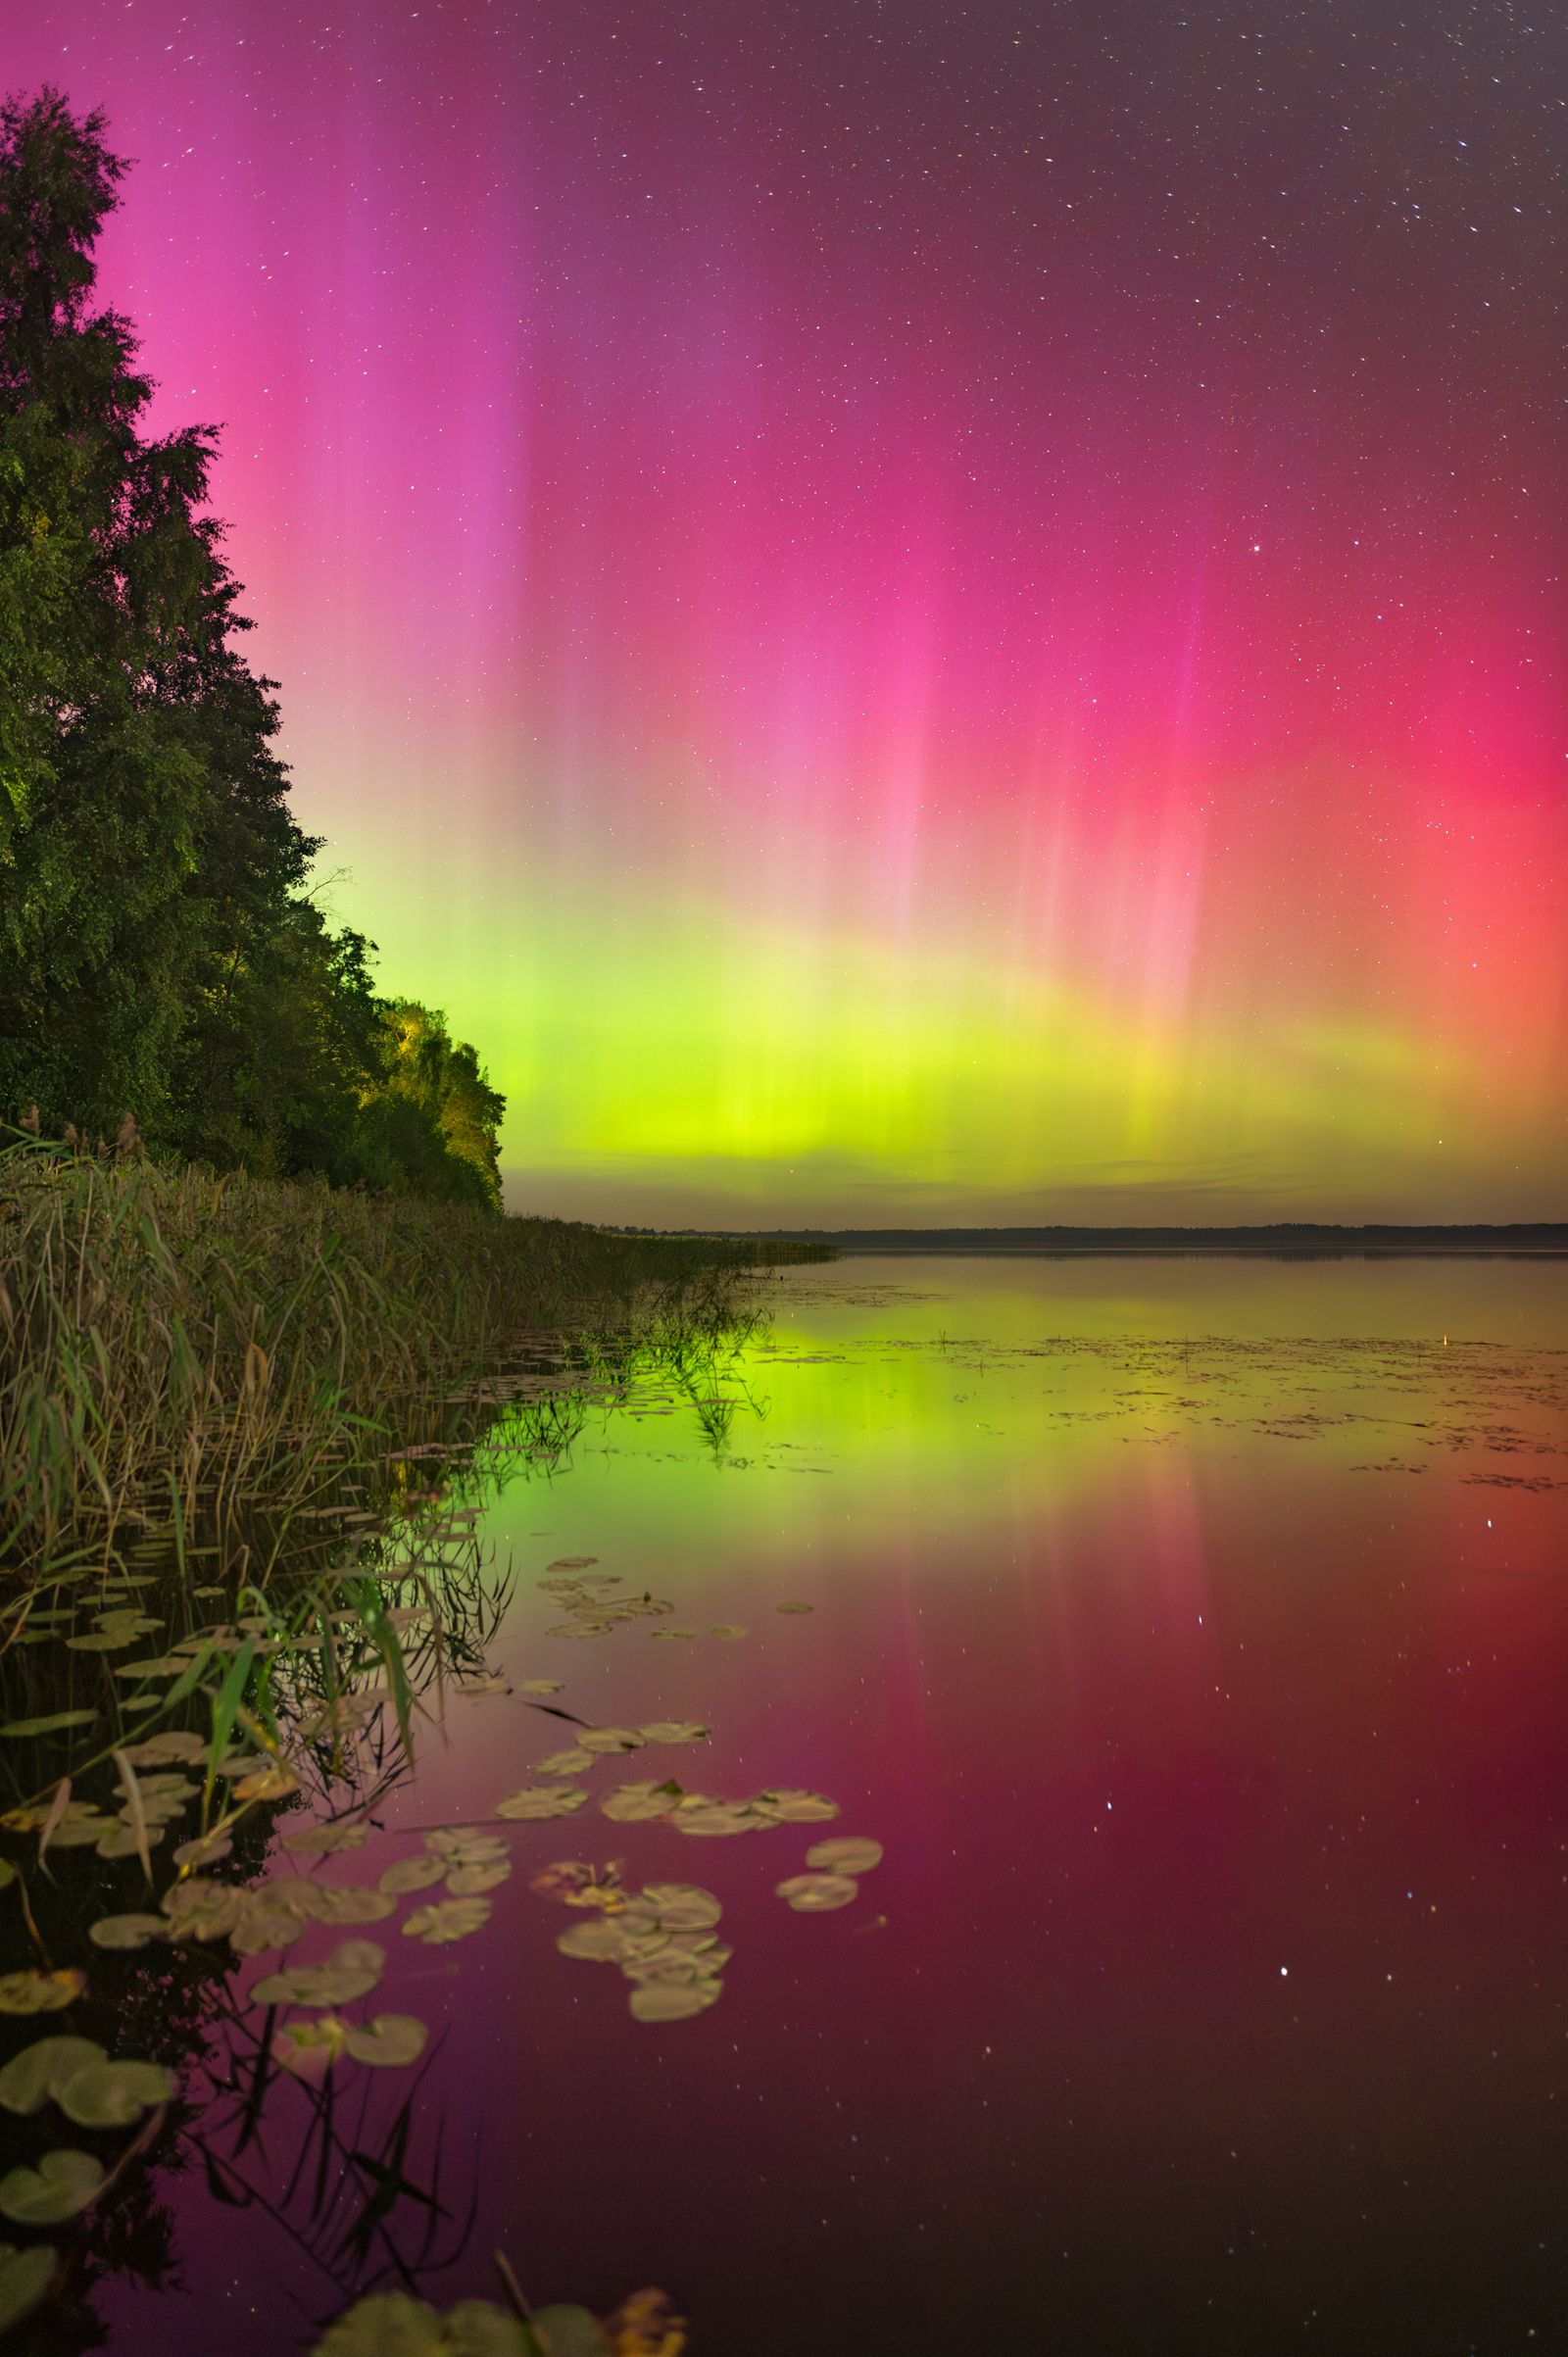
An aurora on its own is a pretty glow. An aurora with something in the foreground is a photograph.
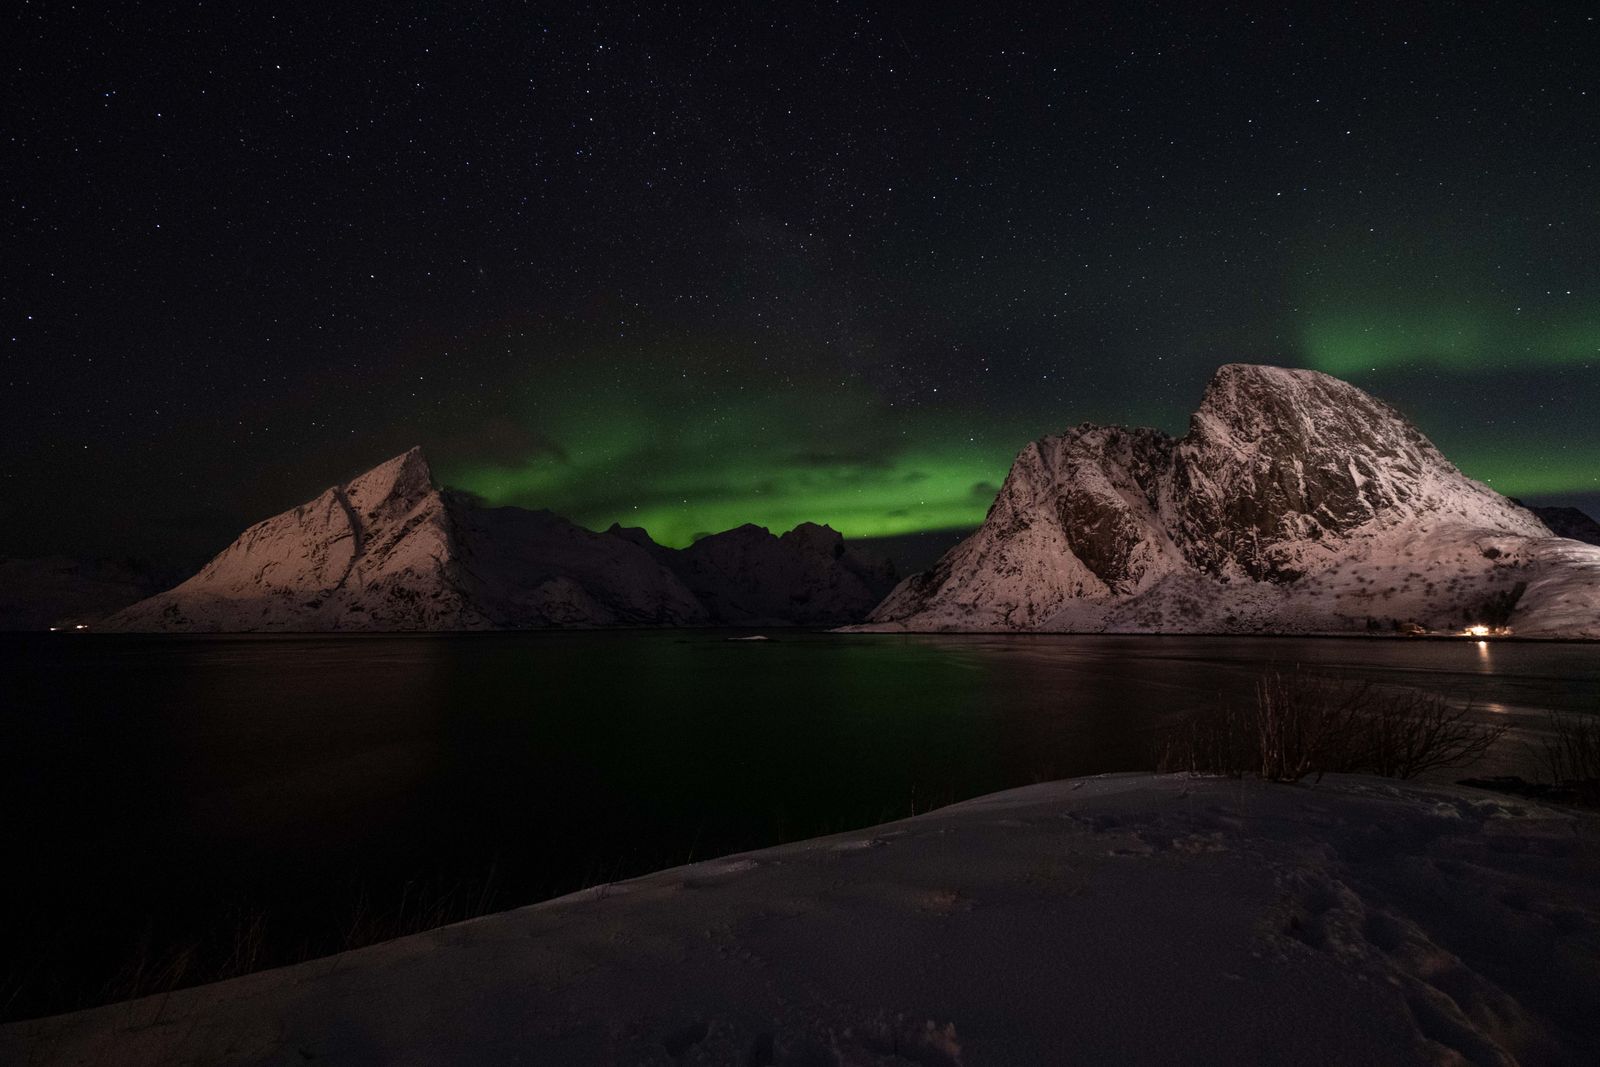
- Use a foreground anchor. A lone tree, a cabin, a frozen lake, a rock, a road or a mountain ridge. This gives scale and tells a story.
- Look for reflections. A still lake or a puddle can double the lights.
- Keep the horizon level. Use the grid in your viewfinder.
- Scout in daylight. If you can, visit your spot during the day so you know where north is and what is around you.
- Add a person. A friend with a headlamp can stand still for a few seconds to give the frame a sense of scale. Ask them to turn the lamp off or point it down so it does not blow out the sky.
- Do not forget the sky. Frame so the aurora fills the upper part of the picture, and leave room for the stars.
Shooting the aurora with a phone
Many recent phones can capture the aurora in night mode, and some capture it better than your eyes can see it. Put the phone on a small tripod or lean it on something solid, turn on night mode, set the exposure to the longest it allows, and tap to focus on a distant light or star. Use the timer to avoid shaking the phone. Phone sensors are small, so the result will be softer than a camera, but it is a good way to start.
Editing your aurora photos
A few small edits go a long way, and they are easier in RAW.
- White balance: Adjust until the sky looks natural and the snow looks neutral.
- Exposure and contrast: Lift the shadows a bit, and pull back the highlights if the aurora is blown out.
- Noise reduction: High ISO means noise. Apply noise reduction to the sky, and use less on the foreground to keep details.
- Color: Raise vibrance gently. Pushing saturation too far makes the green look fake.
- Dehaze and clarity: Use sparingly. They can add harsh edges around the aurora.
If you are new to editing, the Lightroom editing course walks you through these steps in a clear order, from import to export.
Common mistakes
- Trusting a single forecast. Check several, and check the cloud cover.
- Soft focus. The most common problem. Zoom in live view and check a star before you start, and check again after you touch the lens.
- Underexposing. The aurora looks dim on the back of the camera, so people give up. Check the histogram instead.
- Overexposing. A bright aurora needs a shorter shutter speed. If the rays look like a smear, go shorter.
- Cold batteries. They die fast. Keep spares warm.
- Fogged lens. Moving from a warm car to the cold can fog the glass. Let the lens adjust slowly, and use a lens heater strap on long nights.
- Leaving too early. The aurora often comes in waves, with lulls between them. Be patient.
Stay safe
Aurora hunting means being outside at night in cold, remote places. Tell someone your plan, carry a charged phone, dress for temperatures colder than the forecast, and be careful on icy roads and near frozen water. Do not trespass, and leave a place the way you found it.
Grow your skills with the Academy
Aurora shooting is really night photography, and the same skills apply to stars, cities after dark and long exposures. The Night Photography course in the Shut Your Aperture Academy, taught by Edin Chavez, takes you through exposure, focus and composition in the dark, with lifetime access. If you want to go further on exposure itself, Astrophotography covers the night sky in more detail. Browse everything at the Academy home.
 Save
For more night ideas, read our 7 funky photography tips and our UV photography tips, or learn how to make a time-lapse of the night sky.
Frequently asked questions
What camera settings should I use for the northern lights?
Start with manual mode, manual focus, the widest aperture your lens has (f/2.8 or lower), 5 to 15 seconds, and ISO 1600 to 3200. Shoot RAW and adjust from there.
What Kp index do I need to see the aurora?
It depends on where you are. Near the auroral oval, such as northern Scandinavia, Iceland, Alaska or northern Canada, a low Kp can be enough. From mid-latitudes you generally need a high Kp, and a clear northern horizon.
When is the best time of year to see the northern lights?
You need dark skies, so autumn, winter and early spring are best in the northern hemisphere. Activity often runs a little higher around the equinoxes.
Can I photograph the aurora with my phone?
Yes. Use night mode, a tripod or a steady surface, the timer, and tap to focus on a distant light. Results are softer than a camera but can still be good.
Why are my aurora photos blurry?
Usually soft focus, camera shake or a shutter speed that is too long for a moving aurora. Use manual focus on a star, a tripod and a timer, and shorten the exposure.
Is the aurora visible all night?
No. It comes in waves and varies a lot. The hours around local midnight are often the most active, but stay flexible.
Gear box: northern lights starting points
These are research starting points, not rankings. Check current specs, reviews and prices before you buy.
- A wide, fast lens: Browse wide-angle lenses at B&H or on Amazon.
- A sturdy tripod: See tripods at B&H.
- A remote shutter release: Browse remotes at B&H.
- A red-light headlamp: See headlamps on Amazon.
- Spare batteries and hand warmers: See options on Amazon.
Affiliate disclosure: some links above are affiliate links. If you buy through them, Shut Your Aperture may earn a small commission at no extra cost to you.