
Updated October 2026.
Some landscape photographers chase big names and far-off places. Luis Vilanova does something harder and more rewarding: he goes back to the same corner of the world, northwest Spain, and keeps finding new light. This week’s photographer shows what Galicia landscape photography can look like when you pay attention to mist, water and weather. Below you will find his words, his photographs, and a set of practical tips from the techniques you can see in his frames.
Hi, I´m Luis Vilanova. I am a landscape photographer based in Galicia, northwest of Spain. I make my living selling fine art prints and stock photography of the varied landscapes of Galicia.
This country has the fortune of having nearly a thousand kilometers of coastline, and numerous mountain ranges inside. My passion is to try to capture the subtle alchemy that occurs when light plays with water, be it in the form of rain, mist, snow, waterfall, ocean waves… this combination at the right time creates magic for a instant, and is that moment of beauty that I want to bring into people’s homes. I think the most important part of our work as nature photographers, is growing in people’s minds a sense of love and respect for the environment.
– Luis Vilanova, as told to Shut Your Aperture
All photographs in this post are by Luis Vilanova and credited to him. See more of his work on his website. I have not photographed in Galicia myself, so the advice here is general technique that matches what his images show, plus facts from official sources.
 Save
SaveA quick fact check on Galicia
Luis says Galicia has nearly a thousand kilometers of coastline. The regional government of Galicia gives a larger number: 1,659 kilometers of coastal perimeter, or 2,555 kilometers when you count the shores of its many islands and the inner edges of its rias. Either way, it is the longest coastline of any region in Spain, which explains why so much of his work has water in it. Source: Xunta de Galicia, Galicia litoral.
You will also notice the Galician word bretema in some photo titles. It means mist or fog, and it fits. Look through the series and you will find mist in almost every frame.
 Save
SaveWhat Luis’s approach teaches us
He describes his passion as the subtle alchemy of light playing with water in its many forms. That sentence is a good shot list. Rain, mist, snow, waterfalls and waves all change how light moves through a scene. A landscape without any of them can still be beautiful, but with them the light gets scattered, softened, reflected and colored. Let me turn that into specific tips.
1. Learn to love mist
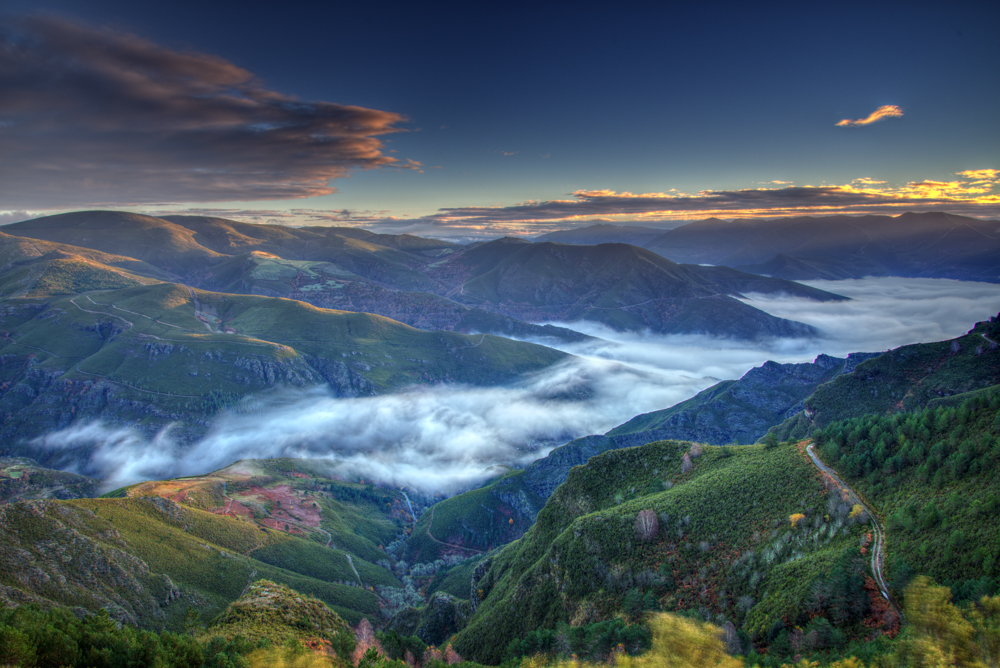
Mist is the landscape photographer’s best friend. It separates layers, hides clutter, softens harsh light and adds depth. In the valley photo above, bands of fog cut the hills into planes, and each plane is lighter than the one in front. To find mist, look for cold, still mornings after a humid day, or the hours after rain. Valleys and river basins hold it best. Climb above it if you can, then shoot down into it or across it.
2. Expose for the glow, not the fog
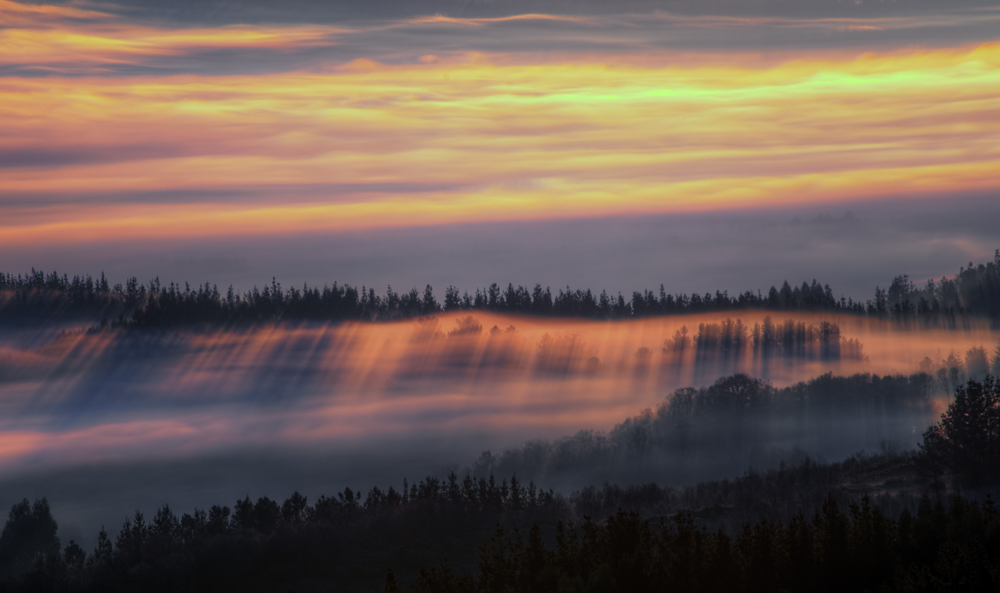
Fog fools your meter. A bright, foggy scene tends to be underexposed by auto modes, because the meter wants to turn white into gray. Add a little exposure compensation, usually plus one third to plus one stop, and check your histogram so you do not clip the highlights. When the light behind the fog is golden, as in the first frame, protect those highlights first and lift the shadows later.
 Save
Save3. Waterfalls: slow the shutter, protect the whites
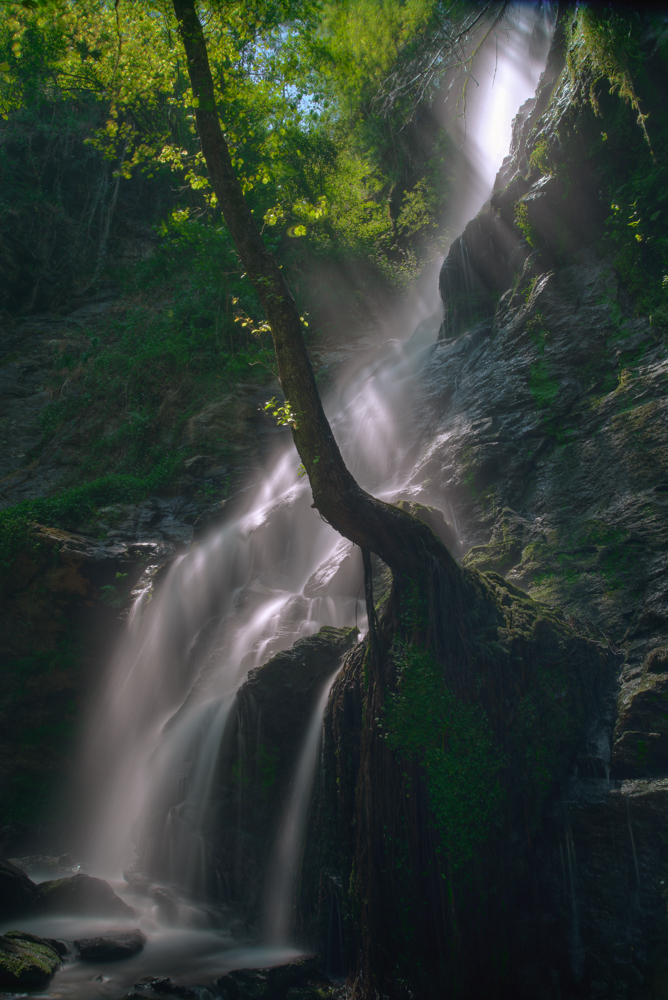
The waterfall above is a good example of a long exposure that keeps texture. The trick is a shutter speed long enough to smooth the water, often between half a second and a few seconds, but not so long that all detail turns into a white blur. Overcast light and shade help, because bright sun burns out the water. A polarizing filter cuts glare from wet leaves and rocks and also gives you a stop or two of slower shutter. Always use a tripod.
4. Use trees and rocks as anchors
Every strong landscape needs a point of interest. Luis often uses a single tree, a rock or the curve of a river to give the eye a place to rest. A lone tree in a snow field can make a simple exercise: one subject, lots of negative space and a soft sky. Resist the urge to add more.
5. Embrace snow and low contrast
Snow is hard on exposure and easy to ruin. Meters turn it gray, so brighten it with exposure compensation. Watch for blue casts in the shadows and adjust white balance. A pale, cloudy sky can give a snow photograph a quiet, minimal mood. Look for fences, bare trees or small dark shapes to give the scene scale.
6. Hunt for reflections
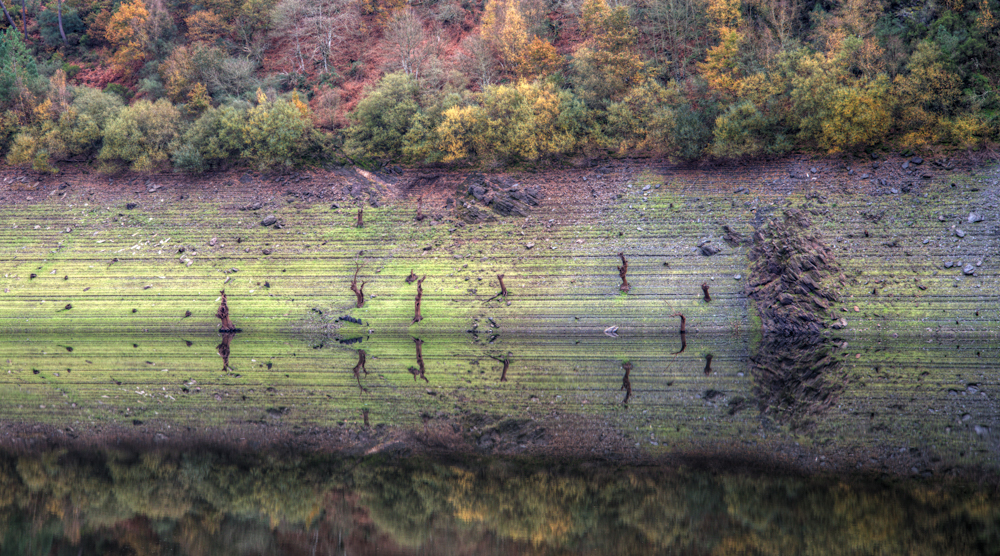
Still water doubles the scene. The autumn shoreline below uses reflection to turn color into pattern. Shoot low, get close to the water and keep your horizon level. A polarizer lets you decide how much of the reflection you keep and how much of the surface you see through.
 Save
Save7. Plan around the sky
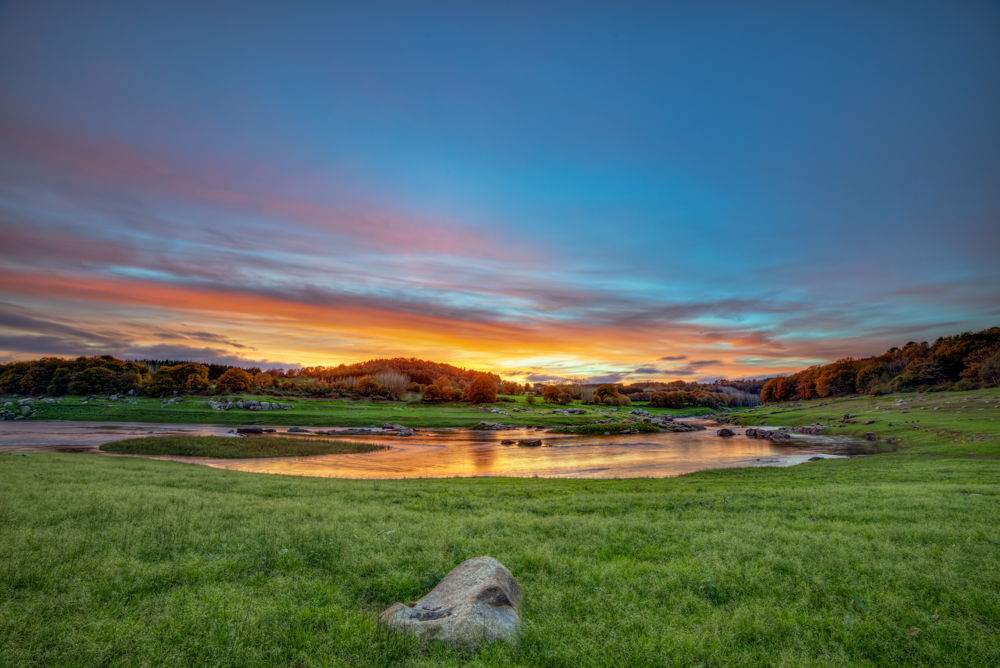
The meadow and the sea of fog under a sunset sky both depend on the same thing: color at the edges of the day. The strongest colors tend to show in the ten to twenty minutes before sunrise and after sunset. Arrive early, stay late and keep shooting as the colors shift. If the sky is flat, turn around and look for light on the land instead.
 Save
Save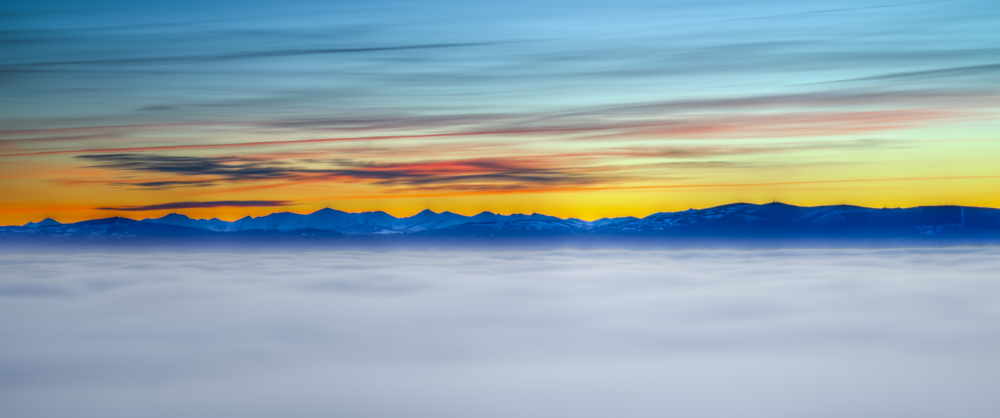 Save
Save8. Use a sea of clouds for scale
When clouds fill a valley below you, distant mountains look like islands. Keep the horizon low or high depending on what is more interesting, the cloud or the sky. Telephoto lenses compress the layers and make distant ridges look bigger.
9. Wait for the light break
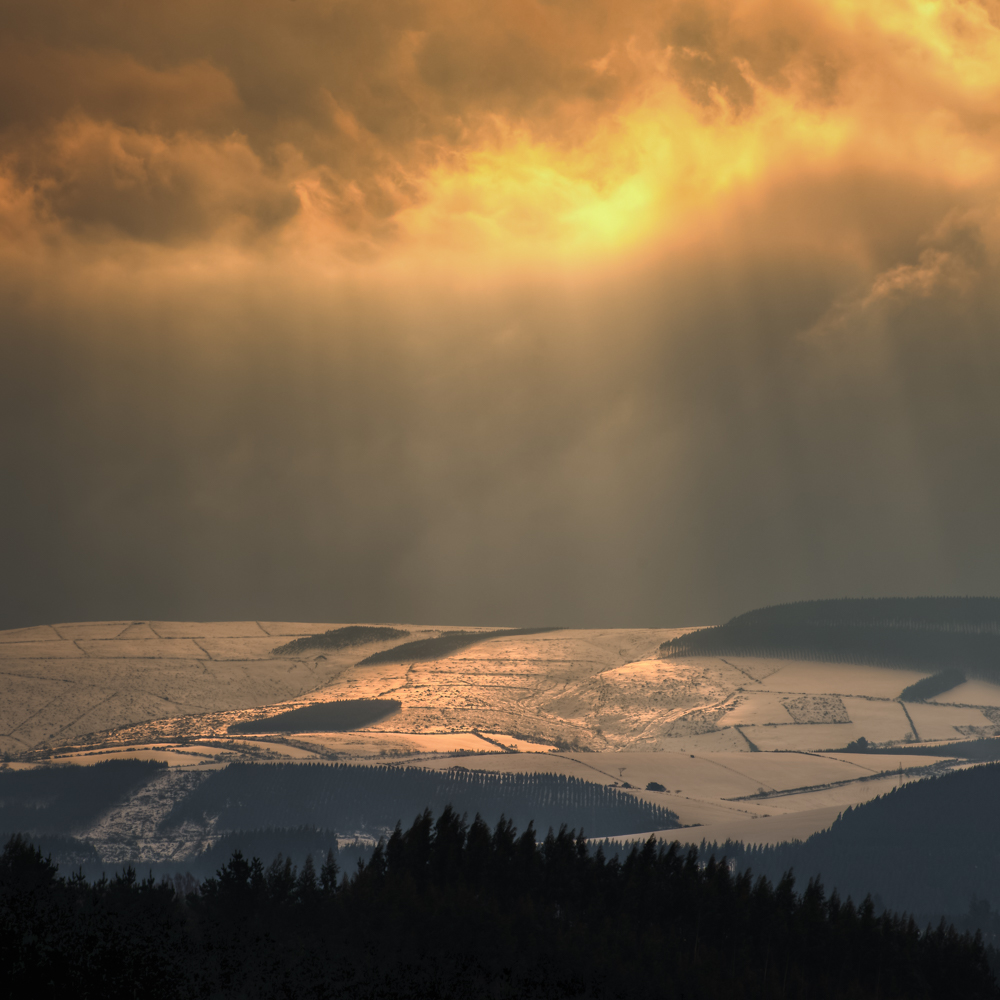
The frame below is all about a sunbeam breaking through heavy clouds over a misty ridge. These moments last seconds. Set up in advance with a composition you like, pre-set your exposure, and be ready. A beam of light gives a landscape the drama that a flat sky cannot.
 Save
Save Save
Save10. Long exposures at rivers and rapids
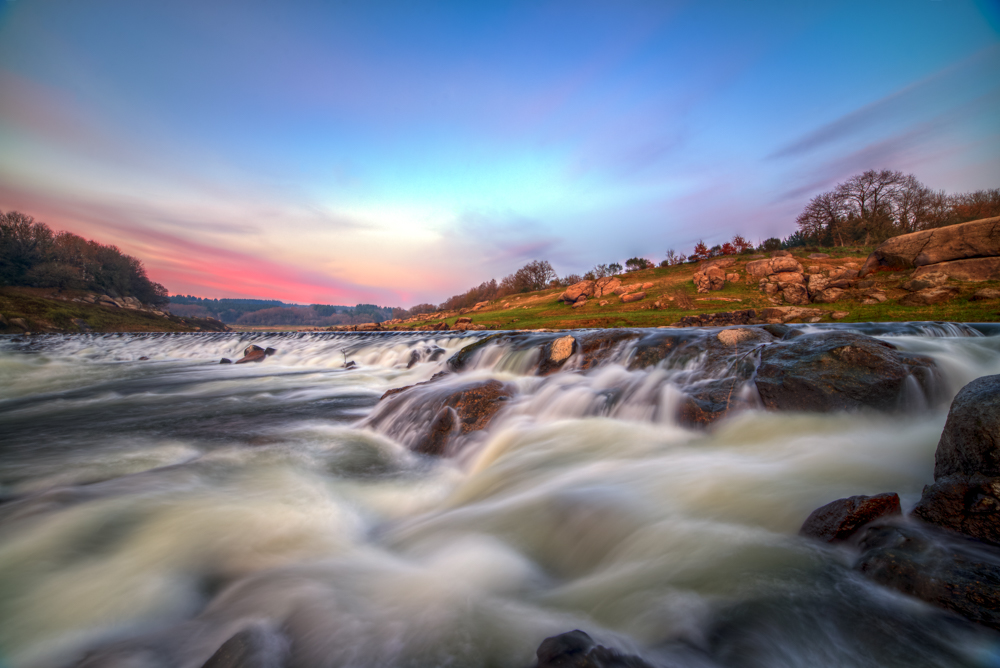
The rapids below show how a long exposure turns moving water into silk against hard rock. Use a neutral density filter in bright light, lock your tripod down and compose with a strong foreground. Take several frames at different shutter speeds, because the water’s look changes a lot between a quarter second and two seconds.
 Save
SaveShooting sea arches and coastal rocks: a note on As Catedrais
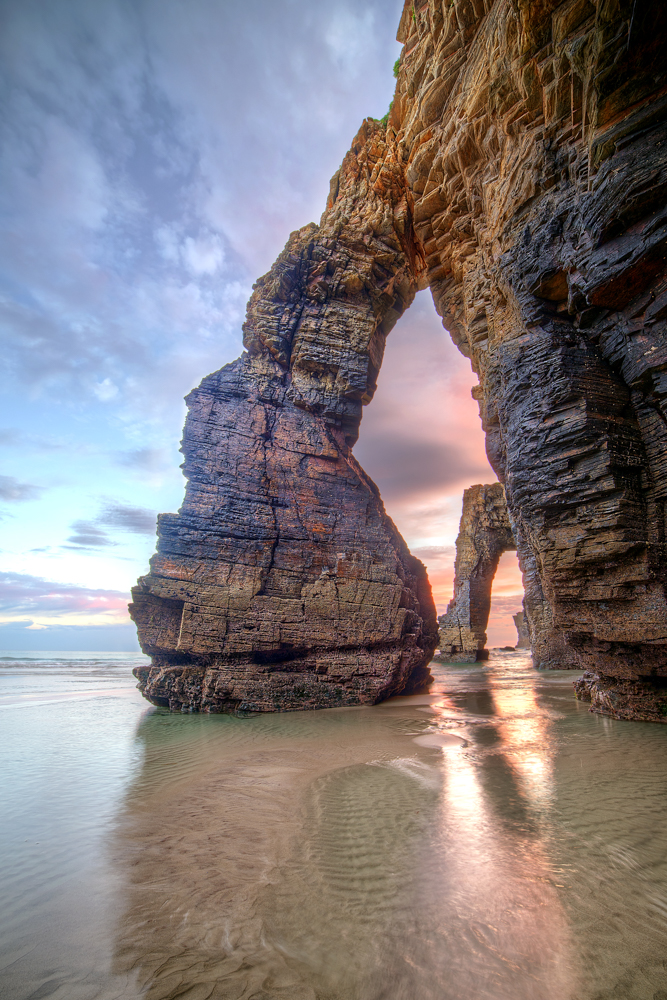
The last image in the series is As Catedrais, the beach known in Galician as Praia das Catedrais, with its tall rock arches carved by the sea. It is a protected natural monument. Tides matter a lot here. The best time to visit is around low tide, when the sand is exposed and the arches can be seen from below. Check the tide tables and give yourself a wide margin to walk out and back before the water returns.
There is another thing to know. According to the Xunta de Galicia, visits to the beach need a free authorization during Easter week and from July 1 to September 30, and outside of those periods access is free of reservation. Rules can change, and the site sometimes restricts access on certain days, so always check the official booking page before you go.
 Save
SaveA simple checklist for misty, watery landscapes
- Check the forecast for humidity, wind and cloud cover the night before.
- Arrive early with a headlamp and know your way back.
- Bring a tripod, a polarizer, ND filters and a microfiber cloth for lens spray and condensation.
- Dress for wet and cold, and protect your camera with a rain cover.
- Bracket exposures when the dynamic range is large.
- Respect closures, stay on trails and leave the place as you found it.
Shooting for prints
Luis makes his living selling fine art prints and stock photography, which changes how you shoot. A print on a wall lives or dies on tonal quality, clean edges and fine detail. If you want to sell or display large prints, shoot at base ISO, use a tripod, keep your lens at its sharpest aperture, usually around f/8 to f/11, and shoot in raw so you have the most tonal range to work with. Bracket scenes with strong contrast, such as a bright sunrise over a dark valley, and blend them carefully so the result looks natural.
Think about the room, too. Quiet scenes such as the lone tree or the sea of fog suit calm spaces. Dramatic skies and waterfalls give a room energy. A set of three to five images with a shared palette, like the warm gold and cool blue mist frames above, looks far better together than a random group. That is also the lesson of a good portfolio. Build sets, not piles.
Respect for the environment
Luis ends his statement with a point that is worth remembering. He says the most important part of our work as nature photographers is growing a sense of love and respect for the environment in people’s minds. That is a good rule of thumb for every outing. Do not trample vegetation to get a shot, keep away from nesting wildlife, pack out your trash and follow the rules of protected areas. The best landscape photos make other people want to protect the place.
Learn the fundamentals first
Everything in this post rests on exposure, focus and composition. If you want to build those before heading out at dawn, our school at learn.shutyouraperture.com walks through them step by step.
Frequently asked questions
Who is Luis Vilanova?
Luis Vilanova is a landscape photographer based in Galicia, northwest Spain. In his own words, he makes his living selling fine art prints and stock photography of Galician landscapes.
What does bretema mean?
Bretema is the Galician word for mist or fog. Several of Luis Vilanova’s photo titles use it.
How do I photograph mist without it looking flat?
Look for layers, use backlight and add a little exposure compensation so the fog stays bright. Keep some darker shapes in the frame for contrast.
Do I need a permit to visit As Catedrais beach?
According to the Xunta de Galicia, a free authorization is needed during Easter week and from July 1 to September 30. Check the official booking page before you go, since rules and closures can change.
Who took the photos in this post?
All of the photos are by Luis Vilanova and are credited to him with a link to his website. Shut Your Aperture did not shoot them.
Gear box: misty landscape starting points
These are research starting points, not rankings. Check current models, reviews and prices before you buy.
- A sturdy tripod: See tripods at B&H or on Amazon.
- A circular polarizer: See polarizers at B&H or on Amazon.
- Neutral density filters: Browse at B&H.
- A rain cover for your camera: See rain covers on Amazon.
- A headlamp: See headlamps on Amazon.
Affiliate disclosure: some links above are affiliate links. If you buy through them, Shut Your Aperture may earn a small commission at no extra cost to you.


