Updated October 2026
Street photography starts with paying attention. A camera records what is in front of it, but you decide where to stand, what to include, and when the relationships inside the frame become interesting. You do not need a dramatic confrontation or an expensive camera to make a photograph worth keeping.
This article originally introduced Alex Coghe’s The Street Photography Guide. That reference remains below, with current source links instead of an unchecked old download promise. The practical guide here turns the original ideas about observation, technique, and equipment into a walk you can actually do.
Keep one thing clear: a photograph is not proof of what someone feels. You can show a gesture, a setting, or an interaction without inventing a private story about the people pictured. Make a strong frame and be honest about what it contains. That is more useful than labeling a stranger sad, angry, or desperate because of one expression.
What street photography asks you to notice
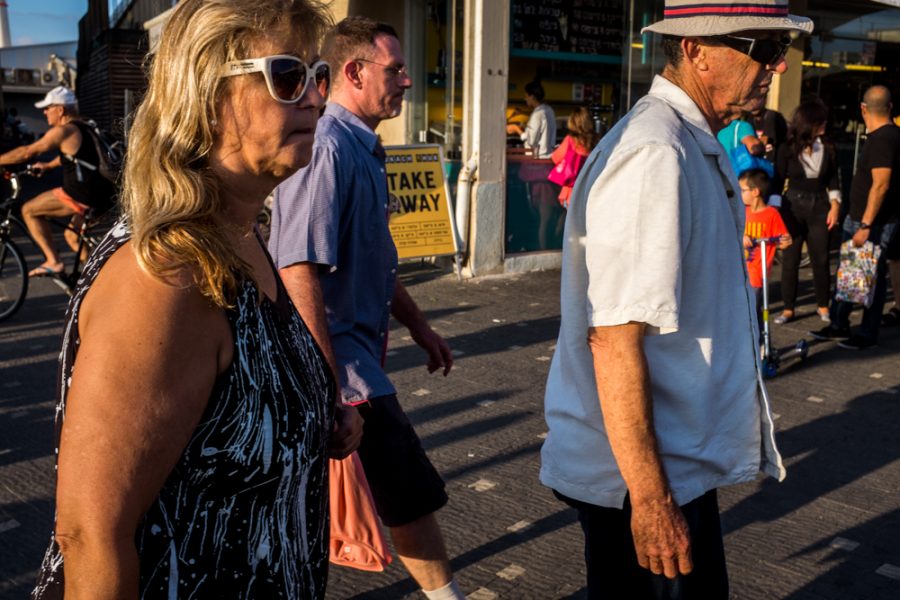
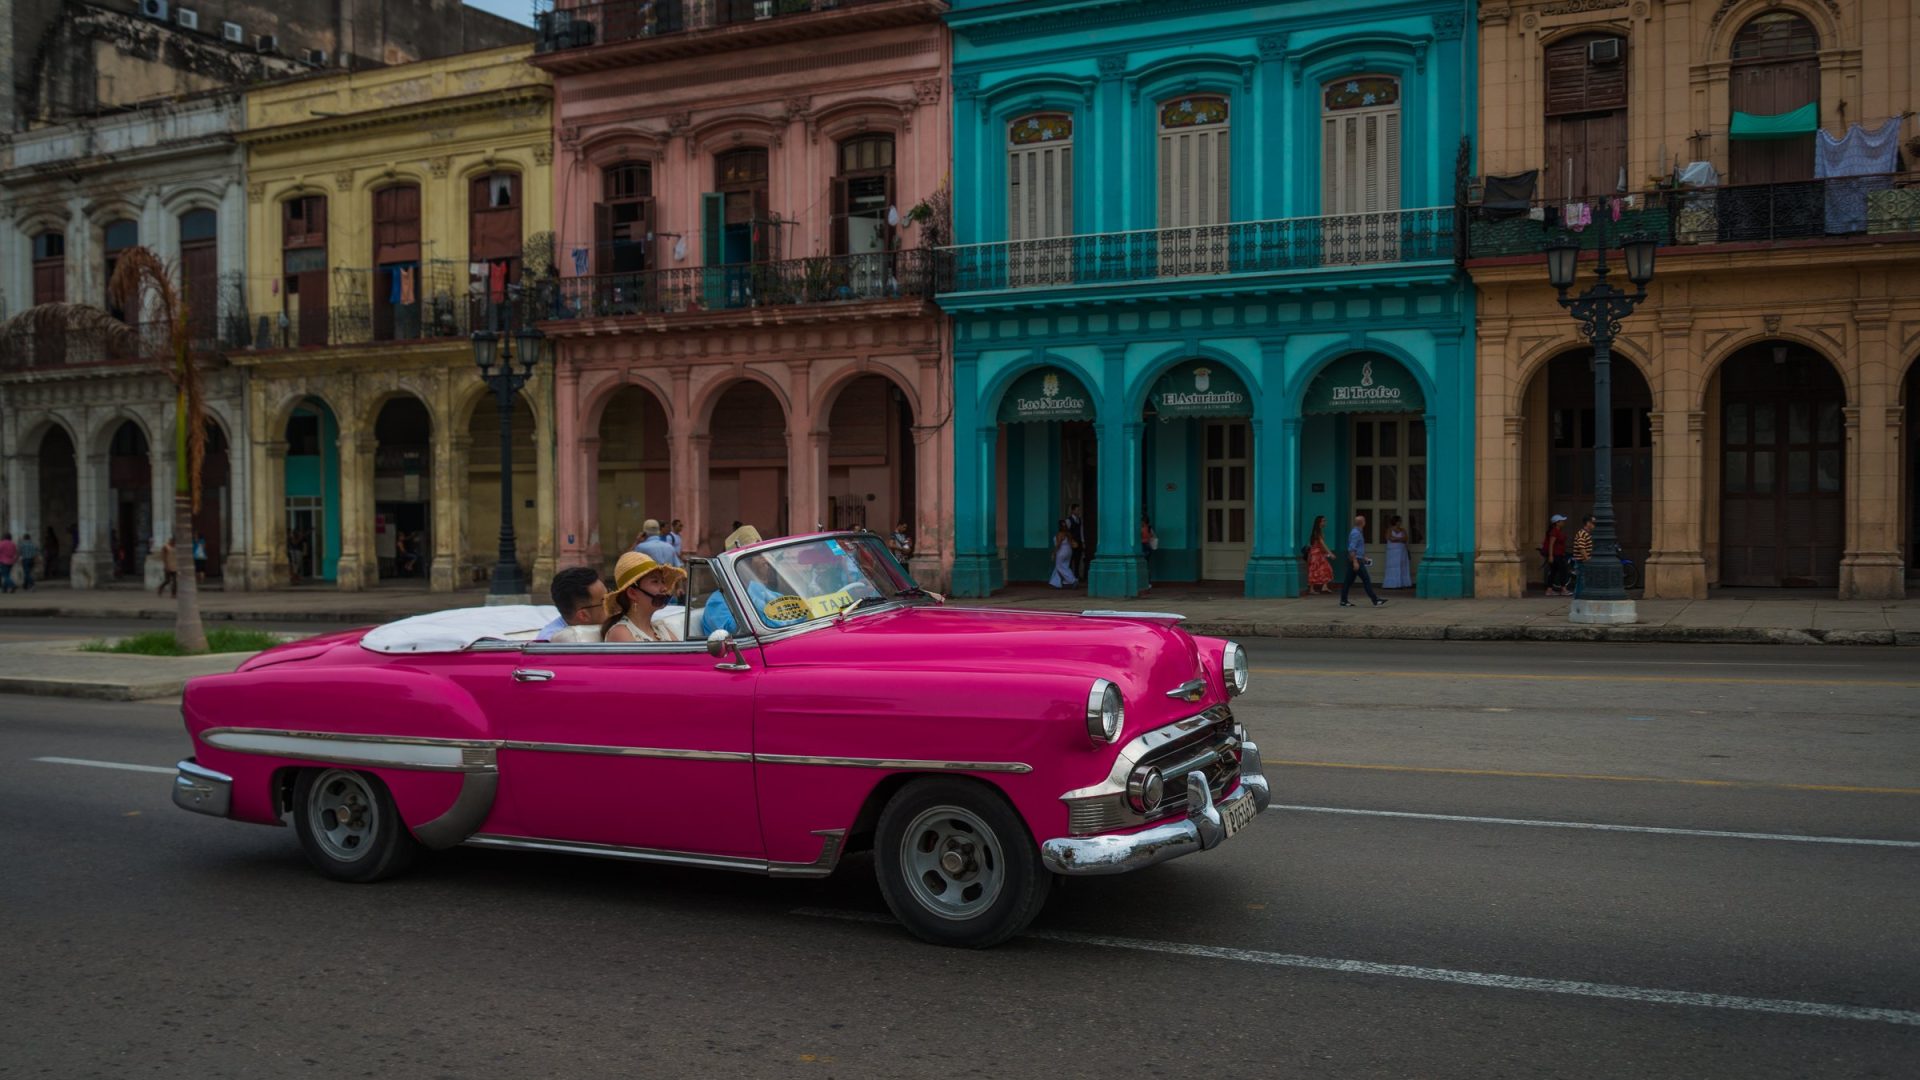
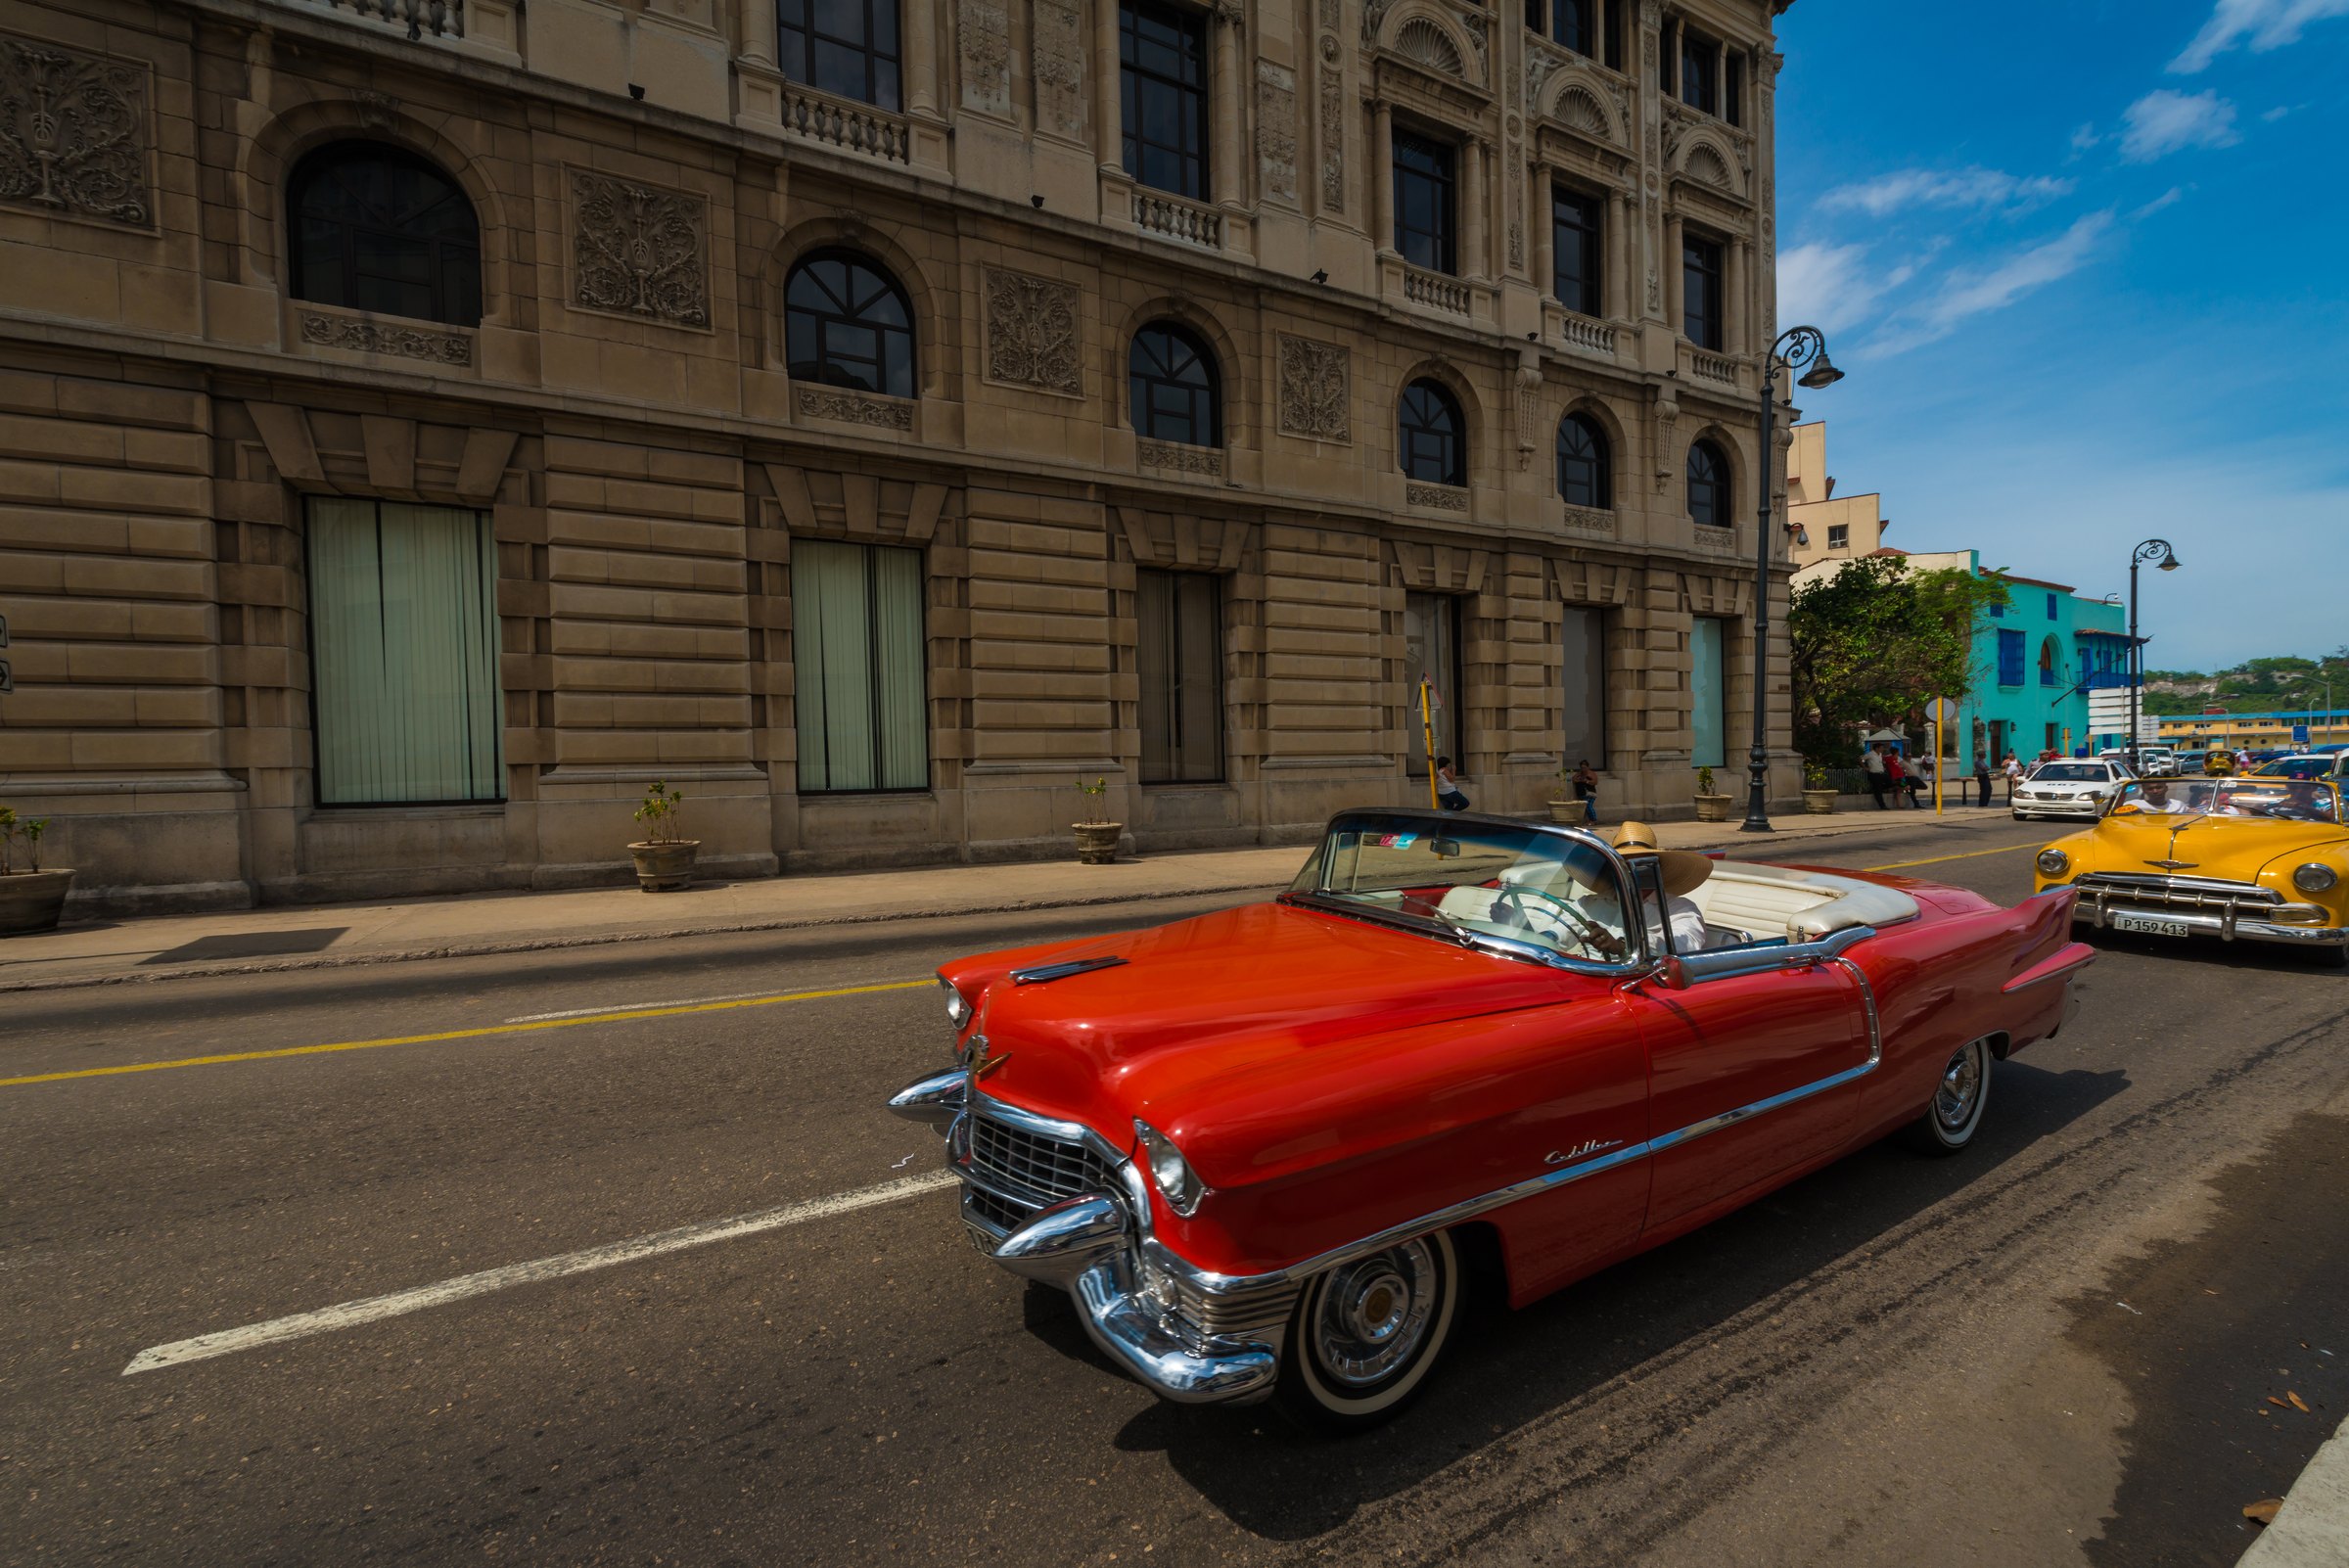
Look for relationships rather than isolated objects. A person crossing a patch of light, a cyclist passing a doorway, or a car moving against a strong color can give a photograph structure. The interesting part may be how two things line up for a moment, not the subject alone.
Street photography can include public life with or without a close-up face. You might photograph human movement at a distance, reflections, traces of activity, or the way people use a space. Decide what the photograph is about instead of treating every picture made outside as automatically successful street photography.
You are choosing a small view of a much larger situation. The edges remove context, and timing changes how an action looks. That makes careful selection important. Avoid a crop or caption that falsely changes the meaning of an ordinary interaction.
For a first walk, choose one visual question. Look for repeating colors, gestures at corners, or people moving through light and shadow. A small question gives your attention somewhere to land. You can change it later, but walking without any direction often leads to a folder of unrelated snapshots.
Start with a place you can walk safely
Pick a manageable route and learn where you can stop without blocking anyone. Watch crossings, bicycles, driveways, and uneven pavement. Do not walk backward into traffic while looking through the camera. A strong photograph is not worth creating a hazard for yourself or someone else.
Publicly accessible does not mean unrestricted. Rules can differ by country, location, property, and intended use. Check current local requirements when they matter, especially for private property, organized work, sensitive places, or commercial use. This guide does not offer a universal legal promise about photographing strangers.
Keep equipment simple enough to carry comfortably and keep track of it. Use a secure strap or another suitable carrying method. Have a return plan and enough battery for the walk. A low-key setup can help you concentrate, but small equipment does not give permission to ignore someone’s boundaries.
Choose a practice route where leaving or changing direction is easy. If a situation becomes uncomfortable, step away rather than trying to prove a point. You are there to make photographs, not win an argument about the camera.
 Save
Learn the camera before the moment happens
Use a camera you understand. Know how to change shutter speed, aperture, ISO, focus mode, and exposure compensation without searching through every menu. Your phone can be useful too, provided you know how it focuses and handles motion. Equipment familiarity matters more than having the newest model.
Choose shutter speed with the movement in mind. A walking person, a cyclist, and a car do not present the same problem. Make a test and inspect the result. If you want a moving subject sharp, use a sufficiently fast shutter and accept a higher ISO when necessary.
Aperture controls depth of field along with distance and focal length. A very wide aperture can isolate a subject, but it can also make timing and focus less forgiving. A more moderate aperture may keep more of an unfolding scene useful. Choose based on what needs to be readable.
Set focus for the way you are working. If tracking a moving person, learn your camera’s continuous-focus behavior. If waiting for someone to enter a specific area, consider focusing on that area and testing the result. Do not assume a focus mode name guarantees sharpness.
Keep exposure review short and purposeful. Inspect a test frame when the light changes substantially. Watch for bright signs, reflective surfaces, or a subject stepping from shade into sun. Automatic metering is helpful, but you still need to judge whether the important parts of the scene were recorded as intended.
Understand zone focus before relying on it
Zone focusing means setting a focus distance and working within a range where sharpness is acceptable for the picture. It can reduce the need to refocus at the exact moment, but it is not a magic way to make every distance sharp. Aperture, focal length, focus distance, and final viewing size matter.
Practice in a quiet setting first. Pick a distance, make photographs of objects nearer and farther away, and inspect them. Learn the usable range for your setup. If your lens has a distance scale, treat it as a tool to test rather than a guarantee.
Use enough shutter speed for movement even when focus is preset. A subject can be inside the sharp zone and still blur while walking. Focus and movement are separate checks. More depth of field cannot fix every motion problem.
If autofocus is more dependable for your camera and the way you shoot, use it. The point is a reliable method, not loyalty to a technique because a well-known photographer used it. Choose a method you can explain and review.
Build the frame before pressing the shutter
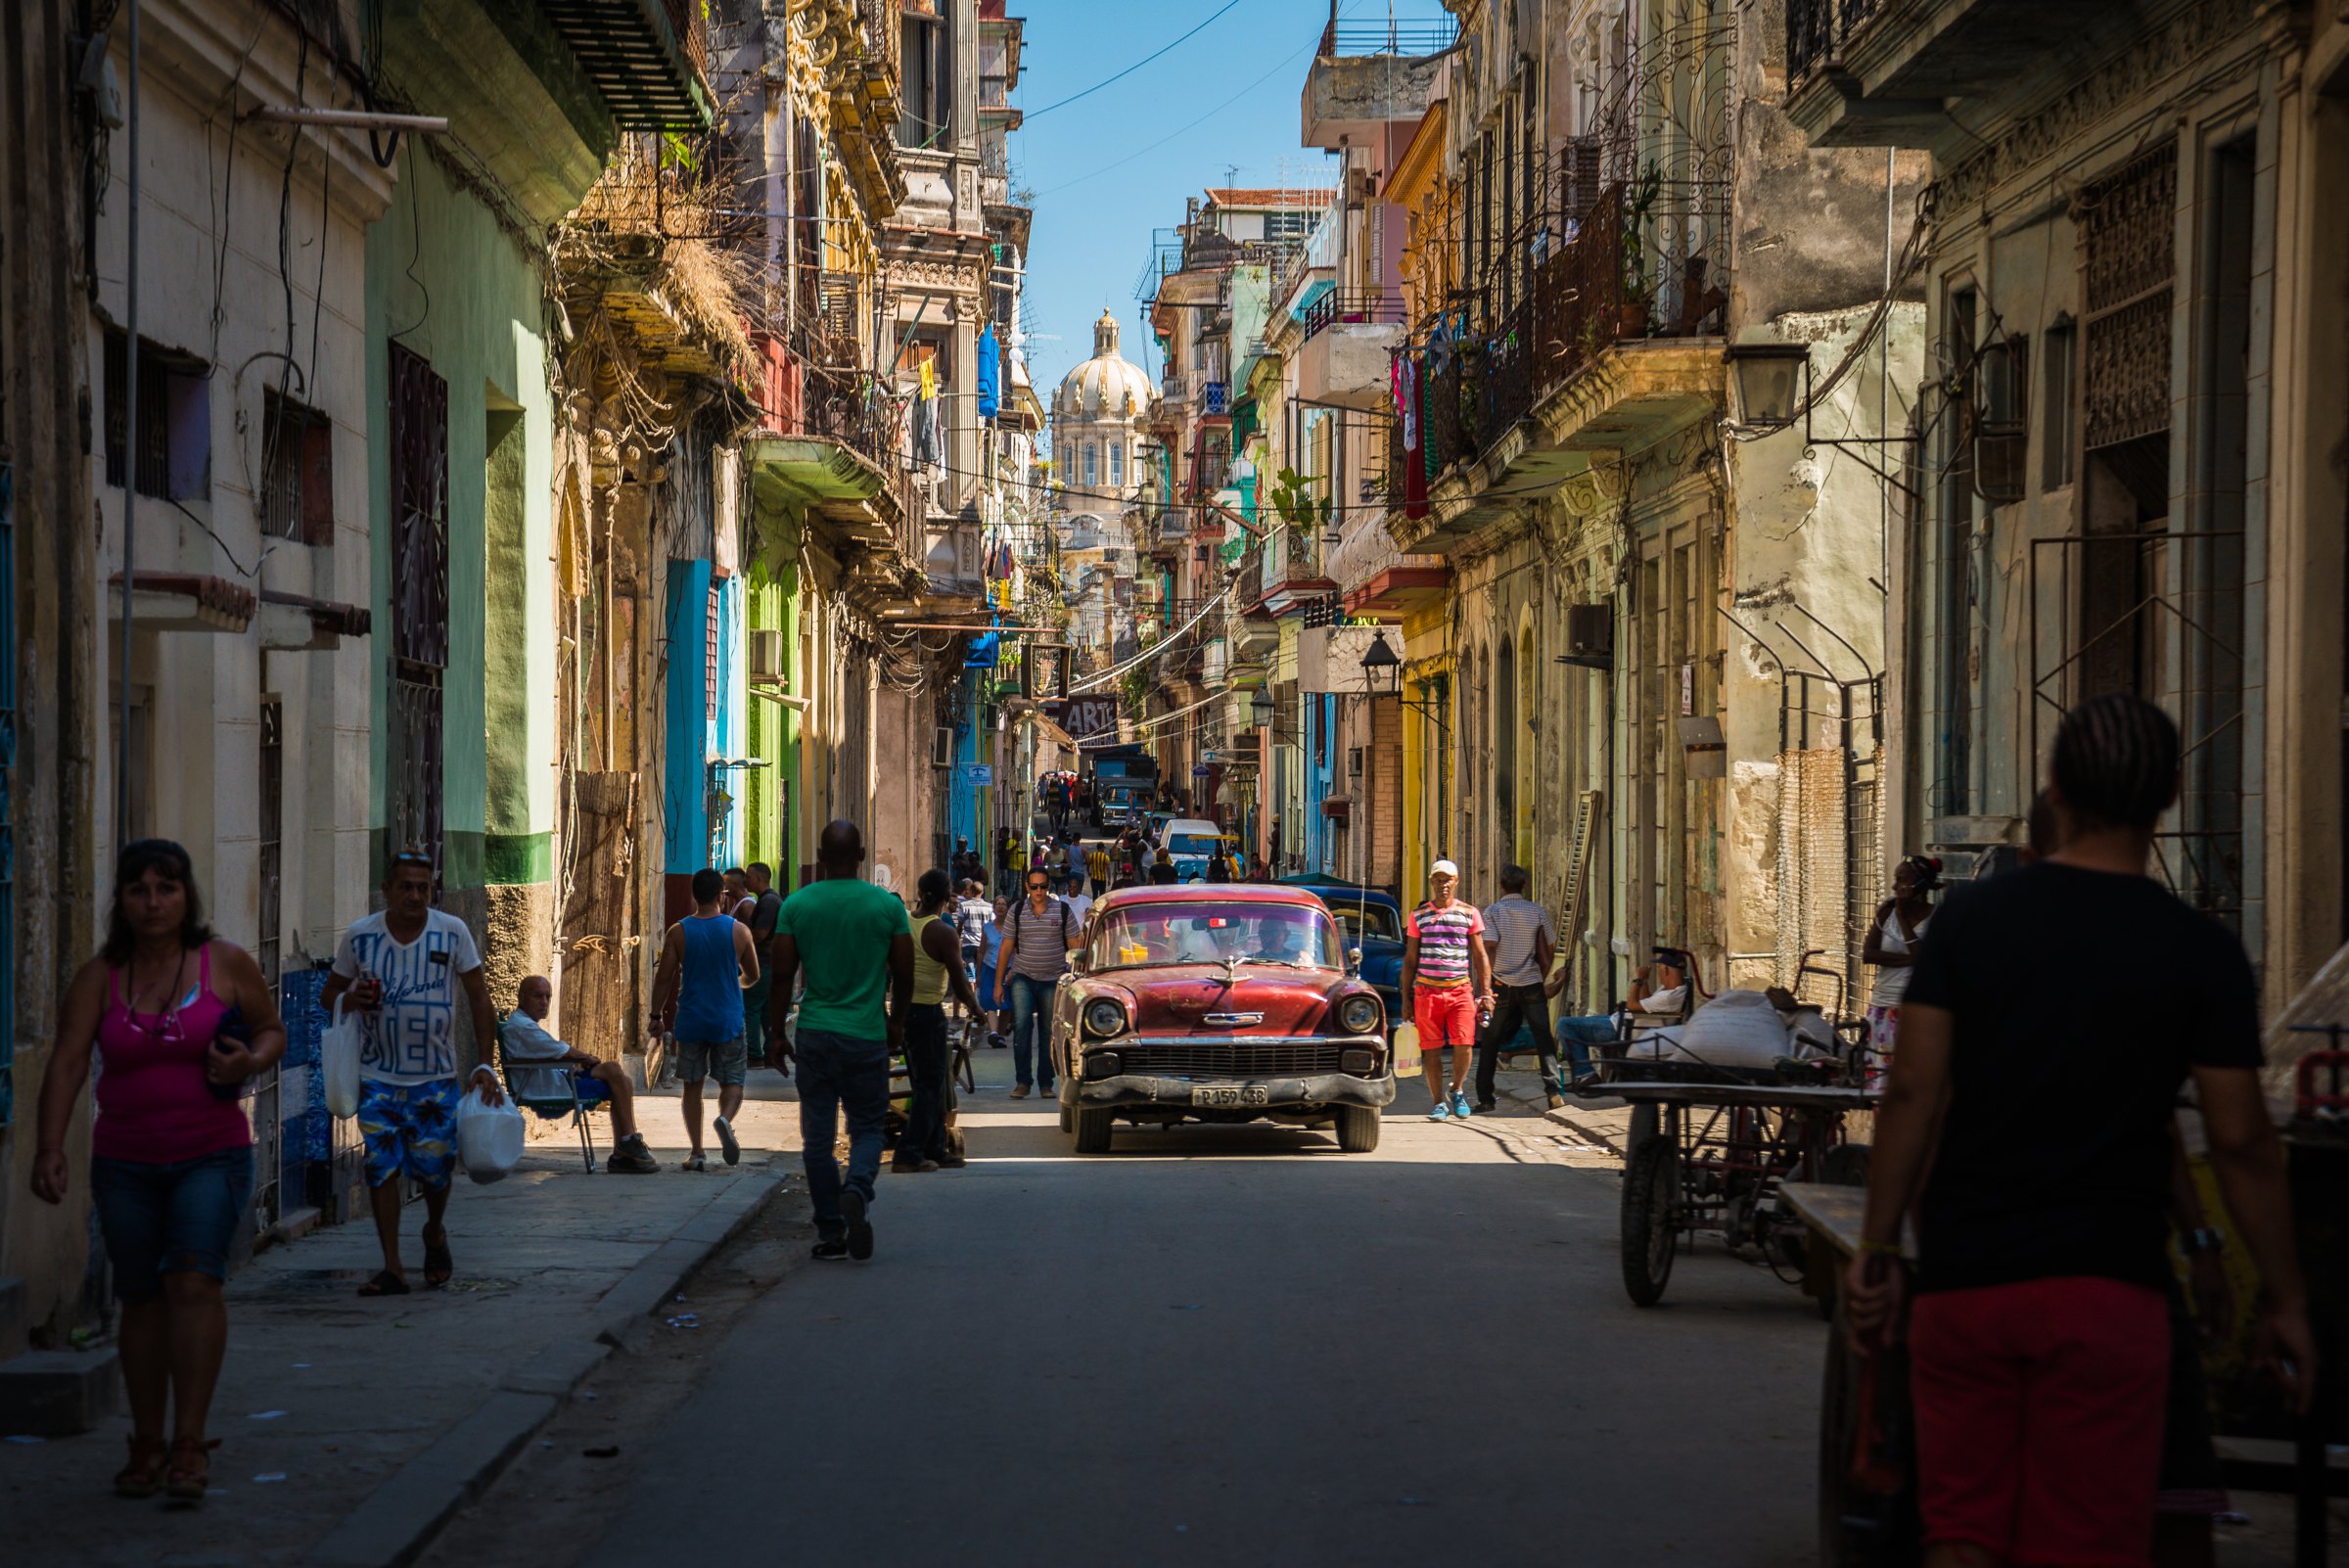
Find a background that contributes to the picture. A clean wall, a doorway, a strong reflection, or layers of buildings can give you a starting structure. Then watch how people or objects enter that structure. This lets you think about timing without rebuilding the composition from scratch each second.
Check the corners. A bright bag, cut-off face, or parked vehicle can pull attention away from the relationship you wanted. Move to another safe position or frame more tightly. Do not assume a crop will solve every overlap later.
Pay attention to separation. If two figures overlap in a confusing way, another moment may make the scene easier to read. If a subject disappears into a similar-toned background, a small change of position or light may help. The camera records those overlaps literally, even when your eyes mentally separate them.
Try both a wider context frame and a more focused one. The wide version can explain the place; the tighter one can emphasize the gesture or color. Keep the version that has a clearer idea, not automatically the one that gets closest to a stranger.
 Save
Wait for a useful relationship, not a forced event
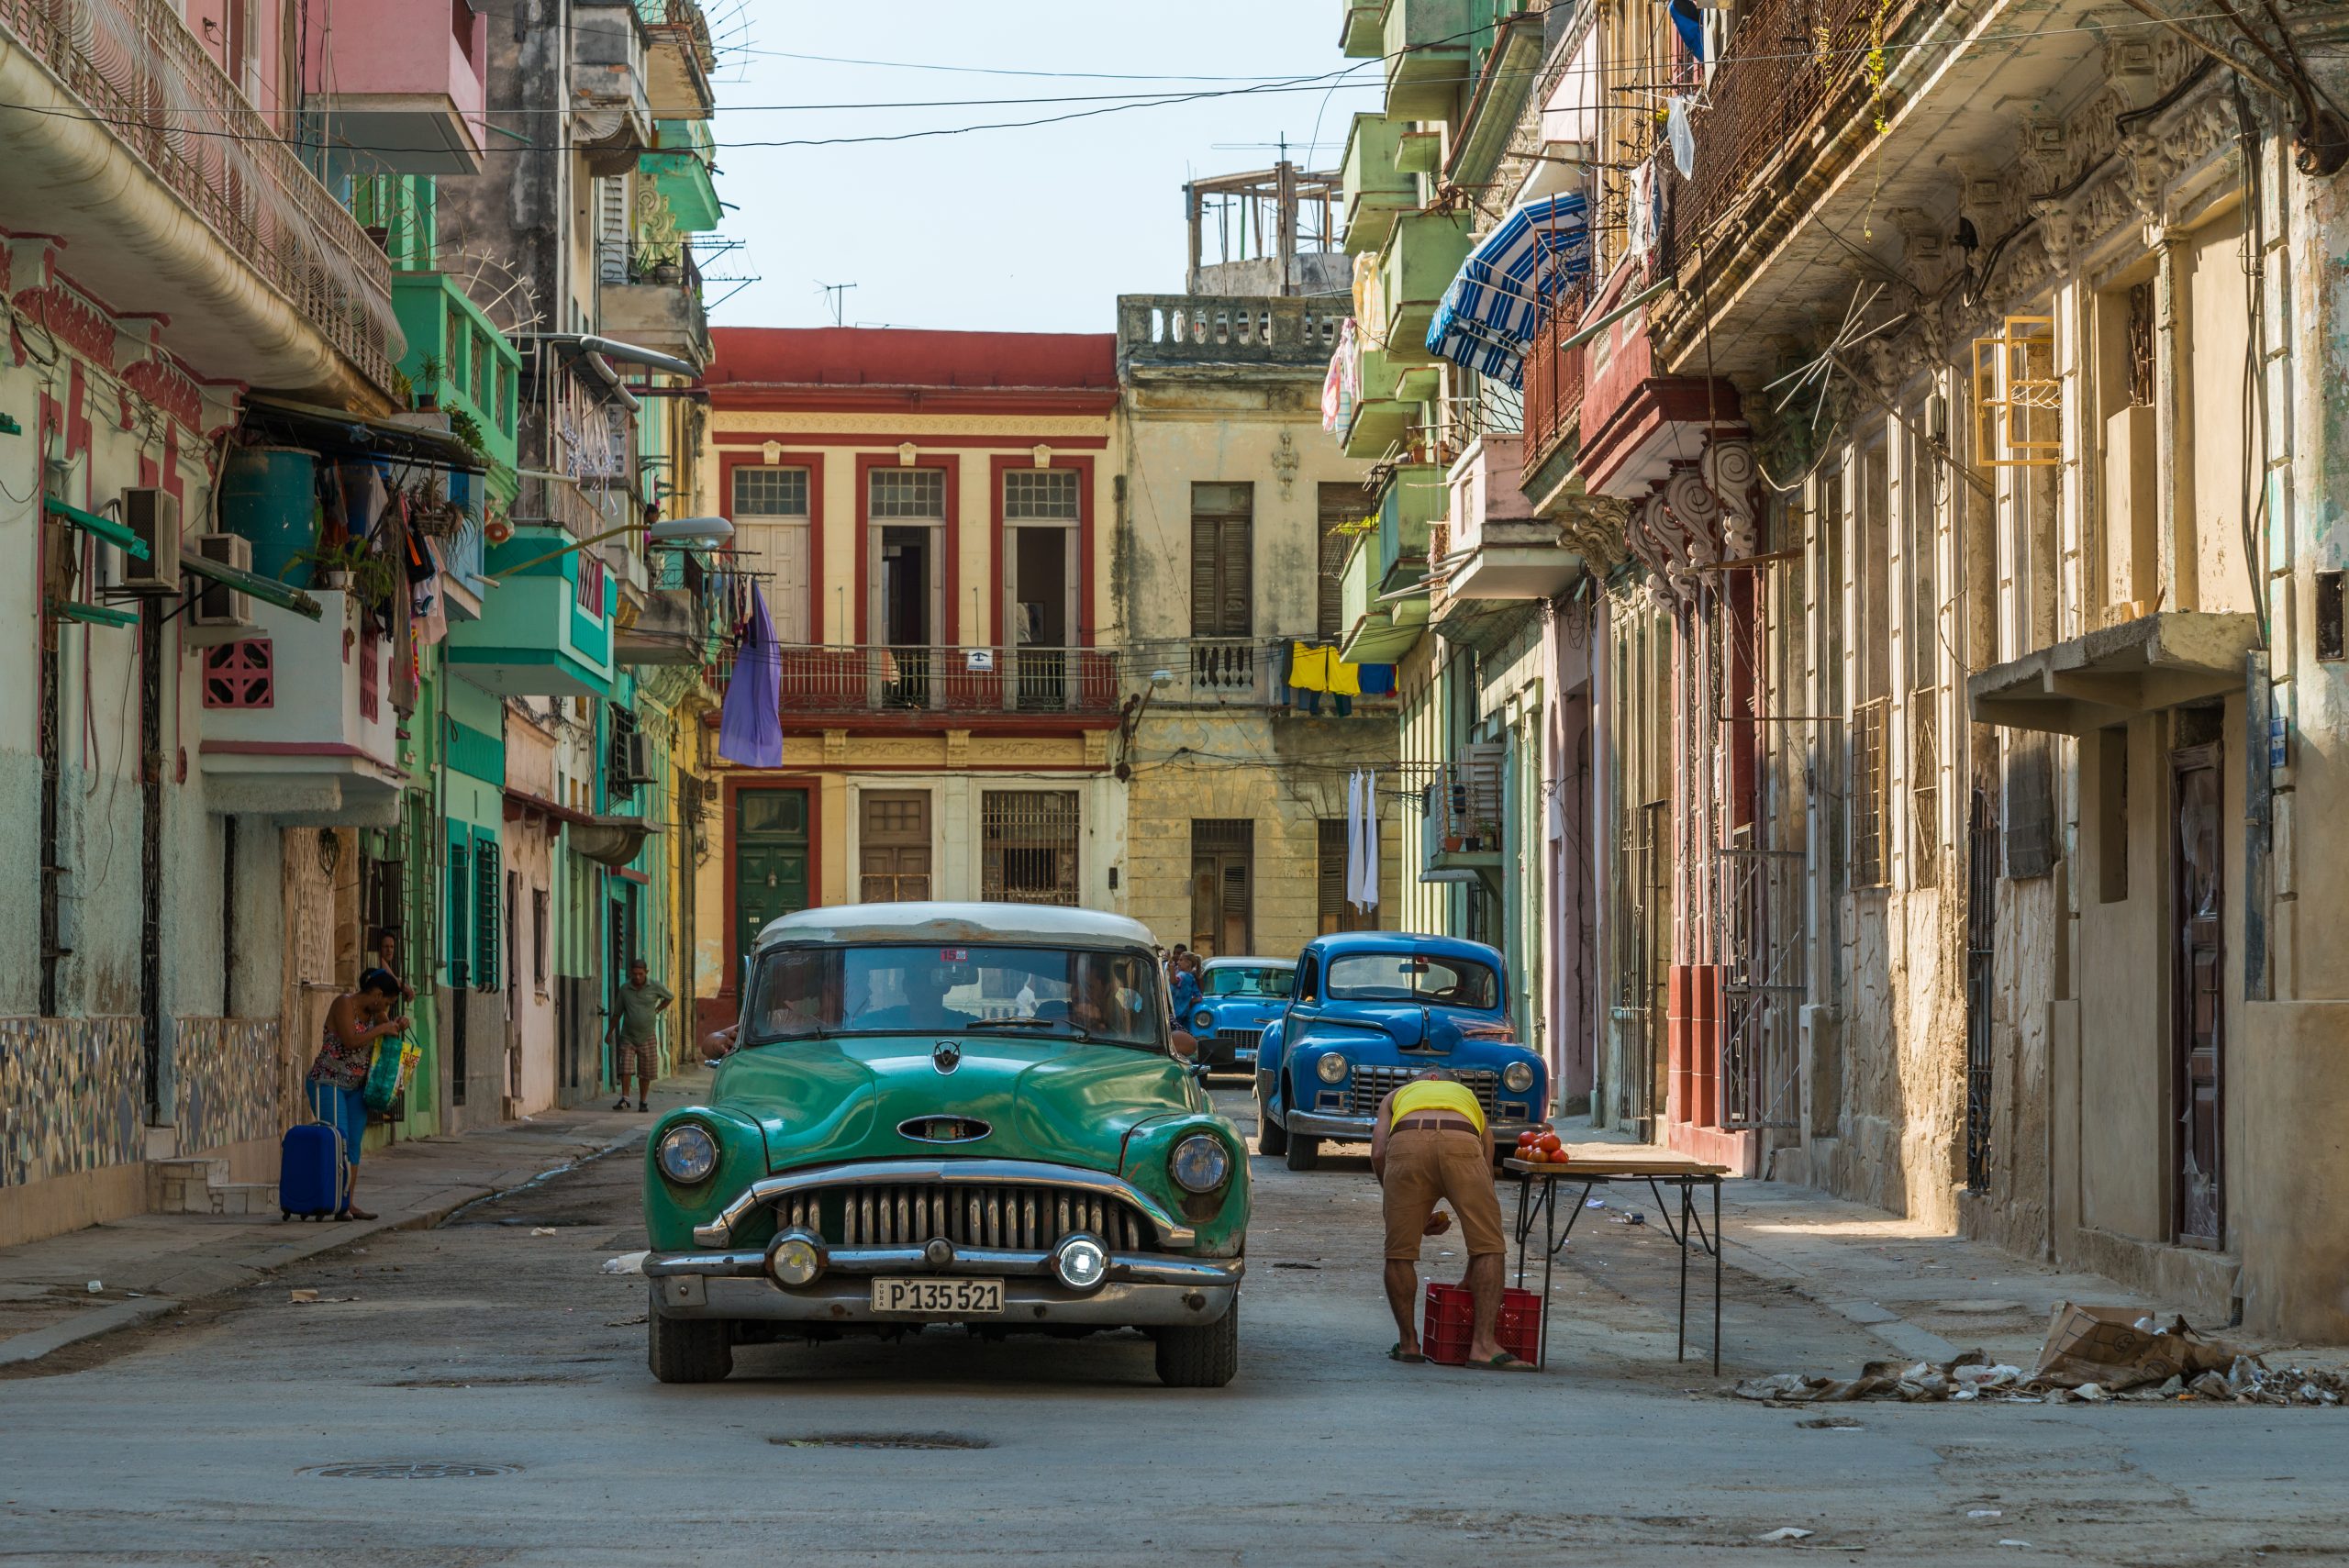
Once you have a workable background, stay long enough to see what happens naturally. Look at the direction people travel, how the light falls, and which moment separates the shapes. Make a small sequence when the scene changes, then review later instead of looking down after every frame.
Waiting does not mean you own the spot. Leave room for pedestrians and other visitors. If someone needs the space, move. Do not obstruct a doorway or keep photographing someone after they have clearly objected just because your composition was ready.
You can also work while walking, but stop safely when you need to use the camera. Scan ahead rather than rushing toward every possible subject. The best moment may be nearby and quiet. Attention is not the same as chasing.
A normal walk can give you gestures, color, repetition, and changes in light. Do not manufacture a confrontation or ask people to repeat an action while presenting the result as an unprompted event. If you direct the picture, be honest about that when the distinction matters.
 Save
Work respectfully with people
Approach a street portrait as a conversation when that is the picture you want. Ask clearly, explain the intended use, and accept a no. A willing subject can still prefer not to have the photograph posted publicly. Discuss sharing rather than treating agreement to one picture as unlimited permission.
For unposed street scenes, consider dignity and context as well as the local rules. People in distress or vulnerable situations deserve more thought than “the light looked good.” A technically permitted picture can still be a poor ethical choice.
Do not bait a reaction, crowd a face, or use flash without considering its effect on people and the setting. Avoid disruptive lighting around drivers or anyone doing a task that requires attention. If a method makes the situation unsafe or intrusive, choose another method.
Captions should describe what you know. A person waiting beside a shop is not automatically unemployed, lonely, or angry. If the story depends on an identity or event, verify it. You can leave a visual relationship open to interpretation without presenting invented details as fact.
Review the photographs as a set
Start by removing obvious technical misses, then look for frames with clear relationships. A perfectly sharp picture may still have no idea. A slightly imperfect frame may contain an interesting moment, but that does not excuse every avoidable mistake. Judge the picture and the intended use together.
Compare near-duplicates. Look at the spacing between people, the angle of a gesture, and the edges. Select one that works better rather than keeping all of them because the subject was interesting. A tighter selection lets the stronger photographs carry the set.
Edit exposure, color, and crop with care. Avoid aggressive processing that makes ordinary details look theatrical without a reason. If the photograph is presented as documentary, do not remove or add scene elements in a way that misleads the viewer. State substantial manipulation when it matters.
Write one note after each walk: what you noticed, what you missed, and what to try next time. That creates a practice path. For fundamentals, use the Shut Your Aperture Academy. For assignments that sharpen observation, read eight tips to find inspiration.
 Save
Reviewing as a set also means deleting with confidence. Keep the frames where the relationship between subject, light and background actually worked, and let the near-misses go; a tight edit teaches your eye faster than an archive of maybes. After each walk, note one thing you will look for next time – a background, a quality of light, a kind of gesture – and let that single note steer your next session rather than a long list of resolutions. Over a season, those small notes compound into a way of seeing that no settings list can hand you.
Respect also shows in small habits on the street: make eye contact and nod when someone notices the camera, lower it when someone clearly does not want to be photographed, and be ready to explain what you are doing in one friendly sentence. Most encounters end with a shrug or a smile when you handle them openly, and the few that do not are still cheaper than the reputation of the photographer who argued. The photographers who last in this genre are the ones strangers remember as polite.
Alex Coghe’s guide: what to check before downloading
The original article recommended The Street Photography Guide by Alex Coghe. In his October 2018 announcement, Coghe described a guide organized around history, aesthetics and motivations, and technique. That historical announcement is evidence of what he offered then, not a guarantee that an old download route still works.
The current PhotoWhoa listing names Coghe as the author and describes topics including zone focus, composition, equipment, getting closer, and reviewing results. Check the current listing and its terms before entering information or downloading. Offers and delivery methods can change. This updated article does not claim that a download was tested or that every historical quote was checked against the full book.
Read a guide as a source of questions to test on your own walk. Do not treat a strong opinion about equipment or style as a universal instruction. Keep the parts that help you see, practice, and work responsibly. The next outing is where the reading becomes useful.
Street photography questions and answers
What camera is best for starting street photography?
Start with a camera or phone you know well enough to control focus and exposure. A comfortable setup you carry regularly is more useful than unfamiliar equipment. Upgrade only for a specific limitation.
Do street photographs need people in close-up?
No. Public life, movement, reflections, and the structure of a place can all provide subjects. Choose framing that supports the idea rather than treating closeness as the goal.
What is zone focusing?
It is presetting a focus distance and working within an acceptably sharp range. Test that range for your focal length, aperture, distance, and output size. It does not eliminate motion blur.
Can I photograph anyone in a public place?
Rules vary by location, property, and intended use. Check current requirements when needed and consider dignity and safety even where photography is permitted. This guide does not provide universal legal advice.
Is Alex Coghe’s guide still available?
A current PhotoWhoa listing describes the guide and links to its offer. Check that page’s current terms and delivery details. Historical announcements alone do not verify a working download.
What camera settings should I start with for street photography?
Keep the setup simple enough to work without looking at the camera. Many street photographers use aperture priority around f/8 with auto ISO and a minimum shutter speed near 1/250s, adjusting for light and movement. Whatever you choose, set it before you walk and change it only when the light changes.
Is this street photography guide still current?
This guide was first published in 2019 and refreshed in October 2026. The core practice – seeing, timing, zone focus, and working respectfully – does not age, but camera models, local rules, and third-party offers mentioned here can change. Confirm current details with the linked sources before relying on them.
Street photography gear to research
Nikon NIKKOR Z 40mm f/2
A compact fixed-focal-length option for Nikon Z cameras when you want a small walkaround setup. It is not an F-mount DSLR lens. Its view is tighter on a DX camera than on an FX camera, so confirm the framing fits how you work. A new lens will not supply timing, permissions, or a clear composition.
Practice with your current lens first. Confirm camera compatibility and the exact model before buying. No current price or stock claim is made here.
Affiliate disclosure: these links may earn Shut Your Aperture a commission if you buy, at no extra cost to you.
Technical reading: Nikon’s composition triangle connects camera control, design, and visual intention.