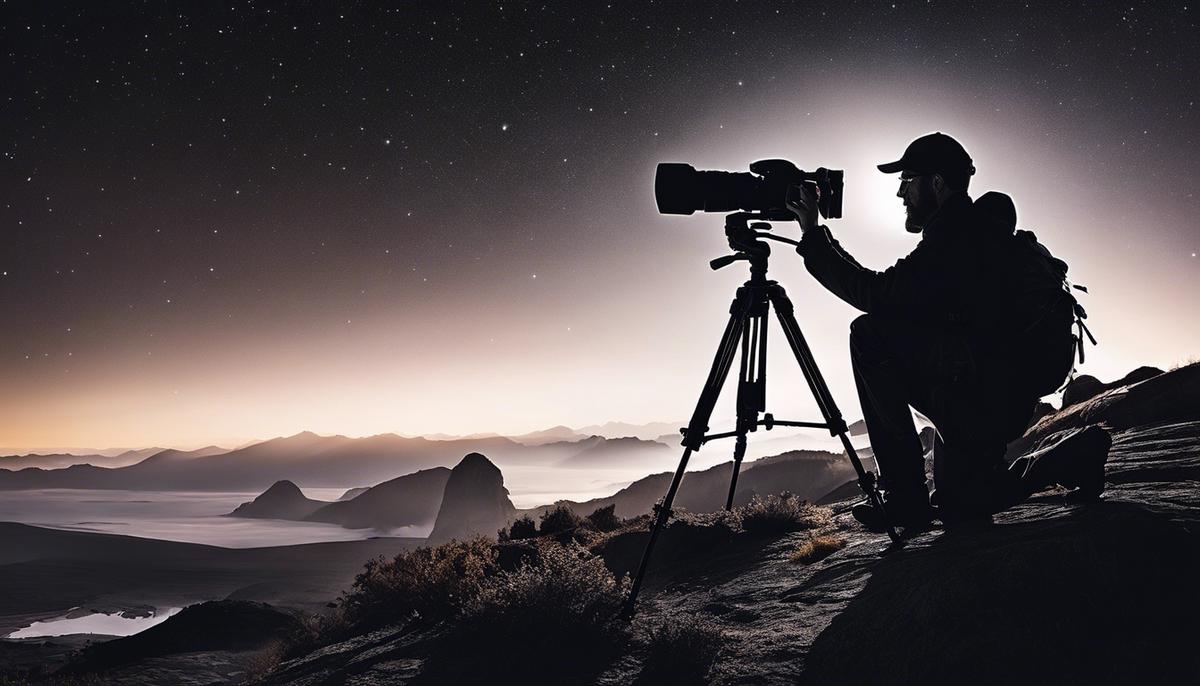
When the sun dips below the horizon, a new realm of photographic opportunity emerges, where the night sky becomes a canvas for the luminous art of landscape photography. Venturing into the night demands not really just a passion for capturing the beauty of the dark; it requires a meticulous choice of equipment and a mastery of camera settings to tackle the unique challenges of low-light environments. In this exploration, we’ll dive into selecting the right gear armed with knowledge about sensor sensitivity and lens capabilities. We’ll also sharpen our skills in fine-tuning camera settings to unveil the nocturnal wonders of nature. As we embark on this journey together, prepare to embrace the darkness and transform it into breathtaking imagery that tells a tale of the night.
Choosing the Right Gear
Gear Up for the Stars: Essential Equipment for Night Landscape Photography
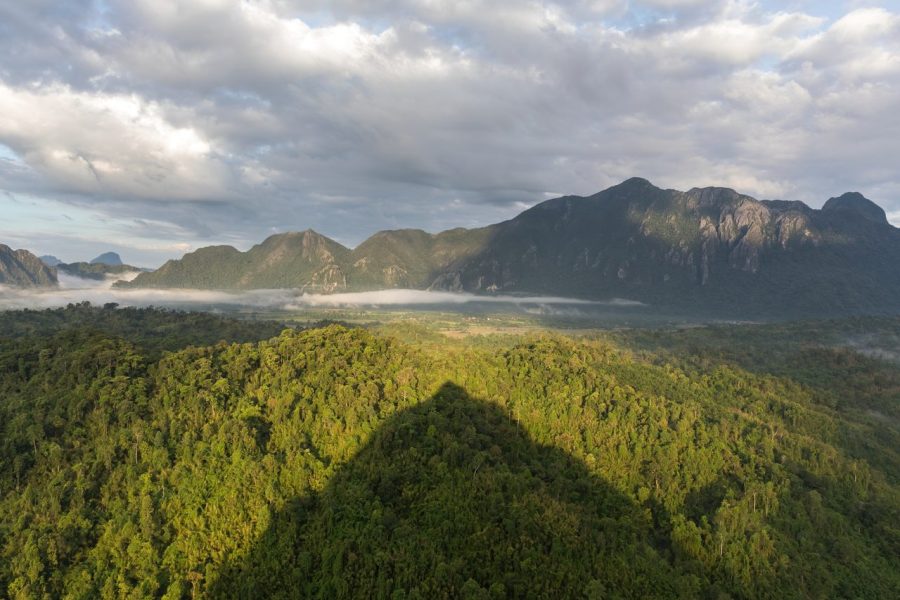
When the sun goes down and the stars take the stage, night landscape photography offers a powerful way to capture the awe-inspiring beauty of the night sky meshed with earthly scenes. Whether you are a stargazer with a camera or an avid photographer ready to explore the nocturnal palette, knowing the right equipment will turn the vast, dark sky into your personal canvas. So, let’s dive in and explore what’s essential to snap those breathtaking nightscapes!
A Trusty Tripod: Your Steady Companion
First and foremost, a sturdy tripod is your best friend when it comes to night photography. At night, you’ll be dealing with longer exposures to capture all that limited light, which makes it super tricky to hold your camera steady by hand. Shaky hands mean blurry photos, and when you’re going for the stars, you’ll want those shots to be crystal clear. So, invest in a tripod that’s solid enough to withstand a breeze and support the weight of your camera without wobbling.
Camera: Your Night Vision Tool
Your choice of camera can make or break your nocturnal photo adventure. You’ll need a camera that performs well in low-light conditions and allows manual control over settings like ISO, aperture, and shutter speed. DSLR or mirrorless cameras with a full-frame sensor are perfect for the job because they have larger pixels to capture more light and usually have better control over image noise at higher ISO settings.
Fast Lenses: The Light Collectors
The lens you use is as crucial as the camera. For night landscapes, a fast lens is the goal – meaning it has a wide maximum aperture (f/2.8 or wider is the sweet spot). A wider aperture lets more light reach the sensor, which is perfect for capturing stars or the soft glow of the Milky Way. Wide-angle lenses are also a staple because they allow you to include more of that stunning landscape in your shots.
Remote Shutter Release: Avoid the Shake
A remote shutter release is a nifty little addition that lets you take photos without actually touching the camera. Why does this matter? When you’re working with long exposures, even the slightest touch can introduce unwanted shake. The remote shutter release keeps everything super steady, so your night landscapes are as sharp as the night is dark.
Extra Batteries: Keep the Power Flowing
Lower temperatures at night, especially if you’re shooting in the great outdoors, can drain your camera batteries faster than you’d think. It’s always smart to pack extra fully charged batteries to make sure your camera stays powered up all through your night shoot.
Memory Cards: Store the Night Away
You’re going to be shooting a lot of long exposures and probably in RAW format to get the best image quality. Those files are massive, so having enough high-capacity memory cards is a must. There’s nothing worse than having to delete beautiful shots on the fly to make room for new ones.
Headlamp or Flashlight: See and Be Safe
Safety never takes a holiday, even when you’re out chasing moonlit landscapes. A headlamp with a ‘red light’ mode will help you navigate the terrain and work your camera without ruining your night vision. Plus, you’ll be more visible to others, which is key if you’re in a popular photography spot or sharing the space with wildlife.
Wrapping up, collecting the right gear sets you on the path to capturing those magical night landscapes with ease. Remember, this isn’t about having the most expensive setup; it’s about having the right tools that work together to paint with light under the night sky. So gear up, head out, and let the stars guide your next photographic journey!
 Save
SaveMastering Camera Settings
Mastering the Art of Nighttime Landscapes: How Camera Settings Make All the Difference
When the sun goes down and the world’s bathed in a cloak of night, a whole new realm of photography awakens. Taking night landscape photos can seem tricky at first, but with the right settings dialed in on your camera, you’ll be able to capture the beauty of the night sky, the moon, stars, and the landscape below them like a pro.
Understanding Exposure: The Holy Trinity of Night Photography
First up, let’s talk about exposure. This is all about the balance of ISO, aperture, and shutter speed – the crucial trio.
- ISO is like your camera’s sensitivity to light. In the dark, you may be tempted to crank it up high to see more detail. But watch out! High ISO can also mean more noise, those pesky little specks that can ruin a night shot. So start lower, maybe around 800-1600, and only go higher if you have to.
- Aperture plays a big role too. It’s the eye of the camera – how big it opens to let light in. At night, you want that eye wide open. We’re talking f/2.8, f/4, or as low as your lens allows. The lower the number, the more light comes in.
- Shutter Speed is about time. At night, we let the shutter stay open longer to capture more light. For landscapes under the stars, a good starting point might be 20-30 seconds. If you’re after those cool light trails or silky water, you might even go for minutes! But beware, too long and those stars may start to blur into trails unless you’re also using a star tracker.
White Balance: Nailing the Night Colors
Ever notice how night shots sometimes end up with weird colors? That’s where white balance comes in. Auto White Balance can get confused in the dark, giving you blues or oranges you didn’t want. Instead, try setting your white balance to ‘Tungsten’ or ‘Incandescent’. This can help balance out those artificial light sources and give you a crisper night sky.
Manual Focus: Your Best Friend at Night
Autofocus is nearly blind when it’s dark. So switch to manual focus to get those sharp images. Use your camera’s live view to zoom in on a bright star or distant light and tweak that focus ring slowly until you find that sweet spot.
RAW Power: The Secret Ingredient
Shooting in RAW mode lets you tweak all sorts of things on the computer without destroying the quality of your photo. You might not see the magic in the camera’s LCD screen, but when you get home and start editing, RAW gives you the ability to correct exposure, adjust white balance, and pull out details you didn’t know were there.
Patience and Practice: The Ultimate Gear
Here’s a secret – no gear can beat patience and practice. Every night is different, and so is every landscape. Test out settings, push buttons, and spin dials. Learn from the shots that don’t work, and feel proud of the ones that do. With time and patience, the dance between your camera settings and the night will feel like second nature.
Remember, night photography can be unpredictable – but that’s part of the fun! The more photos snapped, the more the understanding of how all these settings play together to create stunning night landscapes. Keep experimenting and watch your nighttime photography skills reach for the stars!
 Save
SaveComposition and Planning
Capturing the Night Sky: Planning Your Perfect Shot
Alright, star chasers and night owls, let’s dive into the nitty-gritty of planning and composing stellar night landscapes that will take your breath away. Once you’ve got your gear sorted out, it’s all about scouting the right location, perfecting your composition, and understanding the natural elements that will make your photos pop!
Scouting Locations: It’s an Adventure!
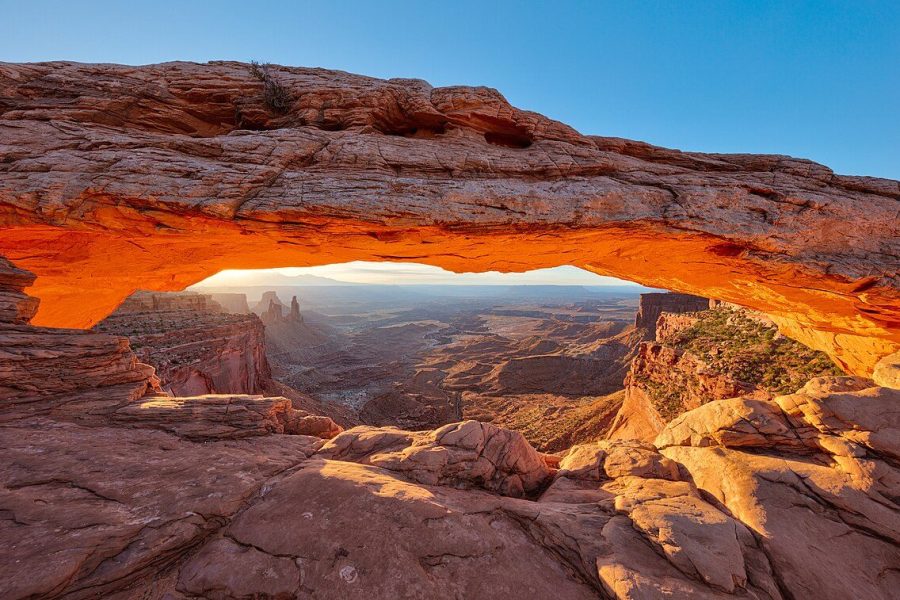
To nail that perfect night landscape, the first mission is to discover some epic scenery. Do some daytime recon to check out potential spots. Water can be magical under the moonlight, reflecting starlight and creating a double whammy of beauty. Silhouettes of trees, mountains, or buildings against the night sky can be really dramatic, too. And don’t forget to keep an eye on the sky’s events – meteor showers, auroras, or even a simple crescent moon can bring an extra spark to your photo.
Creating the Perfect Composition: It’s an Art!
Ever heard of the rule of thirds? Imagine splitting your image into nine equal parts with two equally spaced horizontal lines and two equally spaced vertical lines. Now, place the interesting parts of your composition where those lines meet to create a balanced, eye-catching photo. Balance is key in night photography – you want to guide the viewer’s eye through the picture without overwhelming them with too many bright stars or a too dark landscape.
Understanding Mother Nature: It’s a Science!
Keep track of the weather and moon phases. Clear skies are great for stars, but a few clouds can add texture and depth. A new moon means darker skies for those sparkly stars to go full throttle, while a full moon can light up the landscape like a giant spotlight. Work with what nature gives you – there is no such thing as bad weather, just different kinds of good weather for photography.
Embracing the Night: It’s a Feeling!
Now, let’s talk about mood. Night landscapes have a feel to them that’s like no other time of day. Play with colors in the sky after sunset during the ‘blue hour’ or capture the warm glow of a distant city. Experiment with long exposures to paint with light or catch the perfect star trail. Capture the mystery and tranquility that night brings.
Remember, there’s always more to explore and capture under the cover of night. So, gather your gear, plan your shot, and wait for the magic. Every click is a chance to freeze a moment that’s out of this world. Keep snapping away – who knows what you’ll catch when the sun goes down and the stars come out to play!
 Save
SavePost-processing Techniques
Post-processing Tricks to Elevate Your Night Photography
Now that you’ve got the hang of shooting stunning nightscapes, it’s time to dive into the transformative world of post-processing. Here, crafting a masterpiece truly begins. With the right techniques, those already brilliant night images can gain an extra touch of magic, detail, and drama. Below are some post-processing tricks that’ll turn good night photos into great ones.
- Balancing Exposure Levels: Sometimes, even with the best intentions, night shots can come out with dark shadows or overexposed lights. Use the ‘Levels’ or ‘Curves’ tool in your favorite editing software to fine-tune the brightness and contrast. Judicious adjustments will make the image pop while keeping its nocturnal ambiance.
- Enhancing Colors: Night photography often captures colors differently than what you see with the naked eye. With post-processing, those colors can come back to life. Play with the Hue, Saturation, and Luminance sliders to enrich the sky’s blues or the city’s multiple hues, but keep it realistic to maintain the night’s authenticity.
- Noise Reduction: High ISO settings are a necessary evil in low-light conditions, leading to pesky digital noise in your images. Noise reduction tools can smooth out the grain without sacrificing detail. The key is to not overdo it; retain some texture to preserve the quality and feel of the night.
- Sharpening Details: To draw attention to the stars or the intricate patterns of light in your scene, subtly sharpening your image can help. Masking the effect to apply it only to certain parts, like edges, can enhance details without making the whole image look harsh.
- Dodging and Burning: This age-old technique, adapted for digital, involves selectively lightening (dodging) or darkening (burning) parts of an image. Highlight a moonlit path or deepen the silhouette of a skyline to guide the viewer’s eye and create depth.
- Creating Starbursts: At night, small points of light often make for compelling elements. By slightly increasing the aperture when shooting or using a post-processing filter, you can turn those lights into attractive starbursts. Just a hint though – don’t let them steal the show from the overall landscape.
- Straightening and Cropping: Sometimes all a night image needs are a simple straighten or an intelligent crop. Removing distracting elements from the edges or re-framing to focus on the most exciting aspects of the picture can dramatically improve its impact.
- Adding a Vignette: A subtle vignette can focus attention on the center and add an air of mystery to night photos. This darkening around the edges works wonders in delivering a timeless, classic look to your nocturnal captures.
While these tips can significantly enhance your night images, remember that editing is as much an art as photography itself. Each image tells a different story at night, and post-processing is a powerful tool to refine that narrative. Envelop your viewers in the night’s embrace and show them its beauty through your carefully crafted work. Happy editing!
 Save
SaveThrough the lens of a camera, the night landscape unveils its majestic splendor, offering a symphony of light and shadow that whispers the secrets of the dark. The path to capturing its essence is both intricate and rewarding, paved with a combination of technical prowess and artistic intuition. Our journey has equipped you with the tools to traverse this path—a steady tripod in hand, eyes keen for composition, and the touch of post-processing magic to amplify the nocturnal beauty. As we part, remember that every night holds the promise of a new masterpiece, waiting patiently for you to cast the shutter’s spell and bring its silent story to light.
Luminar Neo’s Sky AI, atmosphere AI and SuperSharp are designed for landscape work — replace flat skies, add depth, and recover detail in seconds. Tagged as affiliate per FTC.