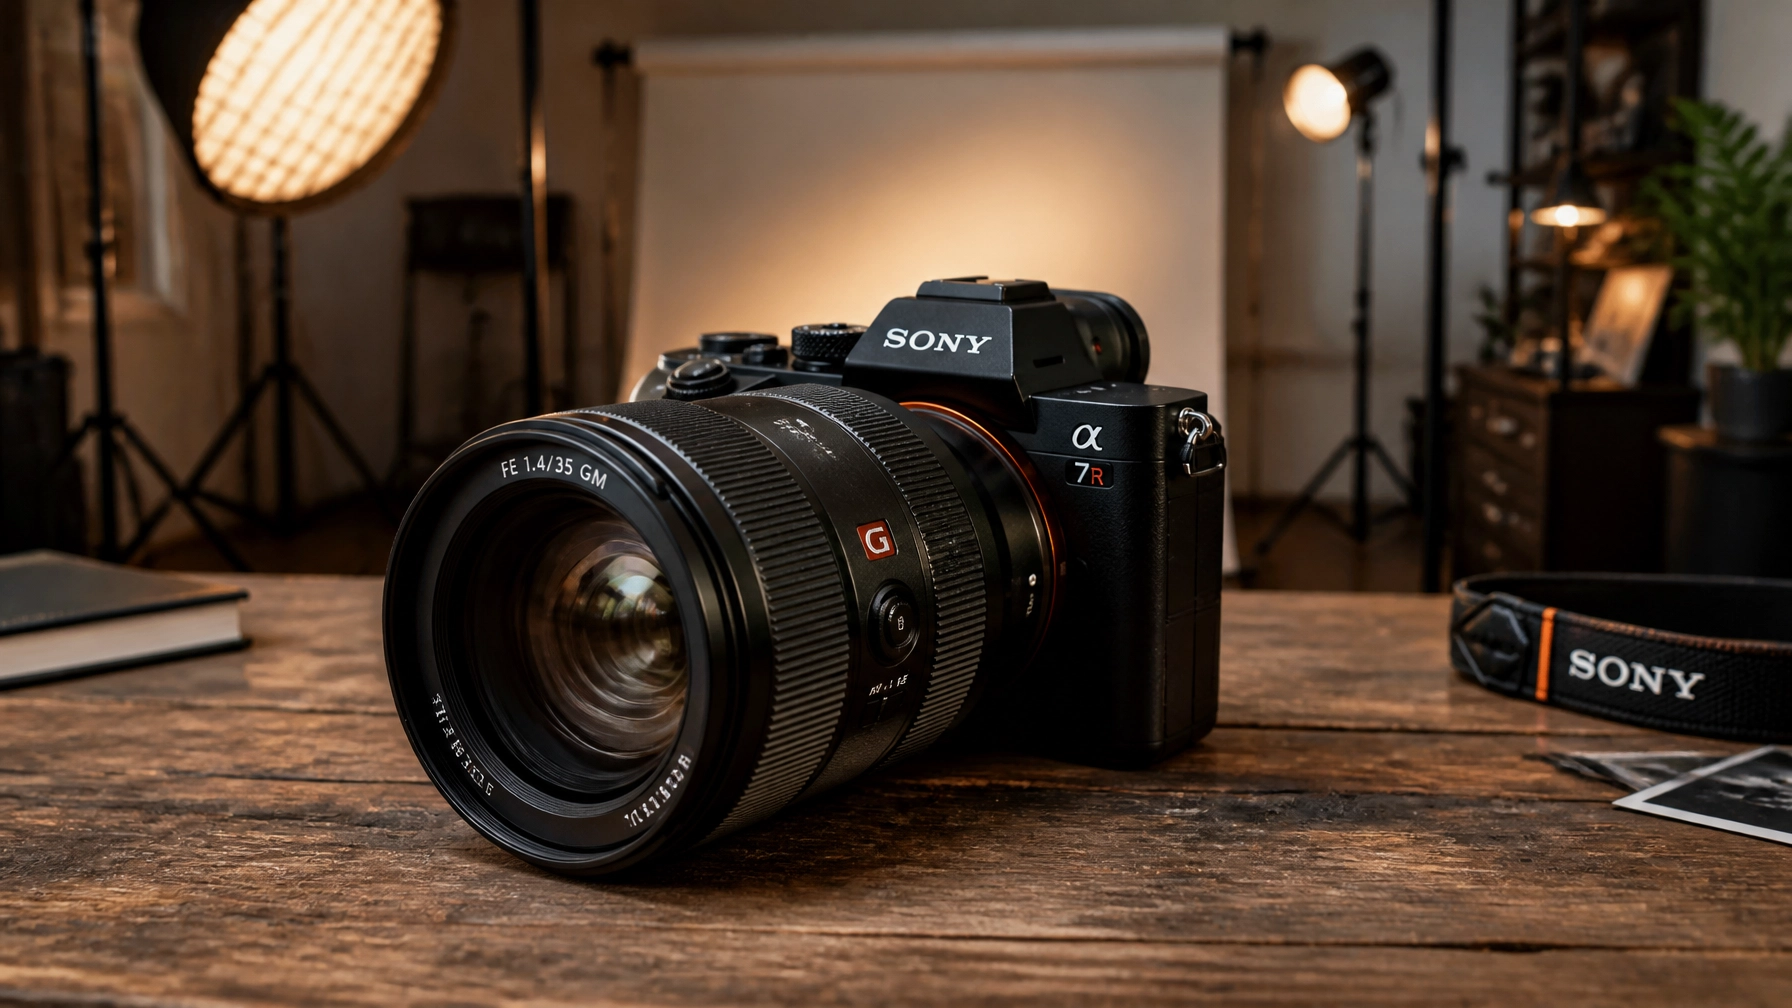
Let’s be honest for a second. We’ve all been there. You just unboxed a shiny new camera that cost more than your first car. You’re excited. You’re ready to capture the next National Geographic cover. You point it at something pretty, click the shutter, and… it looks like a blurry potato. Or maybe it’s so dark it looks like a photo of a black hole. Or, even worse, it’s so bright it looks like you’re photographing the inside of a nuclear reactor.
Welcome to the club.
Photography is one of those deceptive hobbies. It looks easy because everyone has a smartphone in their pocket, but the moment you pick up a "real" camera, you realize there’s a massive gap between hitting a button and making art. That’s why you’re here. You’re looking for photography tutorials that actually make sense, and you want to know how to use manual mode camera settings without feeling like you’re trying to land a space shuttle.
At Shut Your Aperture, we don’t just show you pretty pictures. We teach you how to make them. We’re building the number one photography school online, and this guide is your roadmap to mastering the craft. Put down the "Auto" mode, grab a coffee, and let’s get to work.
The Foundation: The Exposure Triangle
If photography were a religion, the Exposure Triangle would be the holy trinity. You cannot skip this. You cannot "feel" your way around it until you understand the math behind it. Every single photo you take is the result of three specific settings working in harmony: Aperture, Shutter Speed, and ISO.
1. Aperture (The "Eye" of the Lens)
Aperture is the opening in your lens. Think of it like the pupil of your eye. When it’s dark, your pupil gets big to let in more light. When it’s bright, it shrinks.
In photography, aperture is measured in f-stops (like f/1.8, f/4, or f/11). Here’s the weird part: a lower number means a larger opening. I know, it’s counterintuitive, but just roll with it.
- Low f-stop (e.g., f/1.8): Wide open. Lots of light. This gives you that "blurry background" (bokeh) that everyone loves for portraits.
- High f-stop (e.g., f/11): Small opening. Less light. This keeps everything from the foreground to the background in sharp focus, perfect for landscapes.
If you want to learn more about picking the right lens for these apertures, check out the deep dives over at PhotoGuides.org.
2. Shutter Speed (The "Blink")
Shutter speed is how long your camera’s sensor is exposed to light. It’s the "click-clack" sound you hear.
- Fast Shutter (e.g., 1/1000s): Freezes time. If you’re shooting sports or a hummingbird, you need a fast shutter.
- Slow Shutter (e.g., 1/10s or longer): Blurs motion. This is how people get those silky smooth waterfall photos or light trails from cars at night.
But be careful, if your shutter is too slow and you’re holding the camera with your hands, your natural shakiness will make the whole photo blurry. A good rule of thumb is to keep your shutter speed faster than your focal length (e.g., if you're using a 50mm lens, don't go slower than 1/50s).
3. ISO (The "Sensitivity")
ISO is your sensor's sensitivity to light.
- Low ISO (e.g., 100): Best for bright daylight. It produces the cleanest, crispest images.
- High ISO (e.g., 3200 or 6400): Used for low-light situations. It makes the sensor more sensitive, but the trade-off is "noise" or grain. It looks like digital sand all over your photo.
The goal is always to keep your ISO as low as possible while still getting a bright enough image.

How to Use Manual Mode Camera: A Step-by-Step Guide
Now that you know the ingredients, let’s talk about the recipe. Moving that dial to the "M" is the scariest thing a beginner can do, but it’s the only way to get consistent results. When you’re in Auto mode, the camera is guessing. And cameras are pretty dumb, they don't know if you’re shooting a wedding or a moody alleyway.
Here is the exact workflow we teach at our daily school for how to use manual mode camera:
Step 1: Set Your Aperture First
What do you want the photo to look like? Do you want a blurry background for a portrait? Go low (f/1.8). Do you want a sharp landscape? Go high (f/8 or f/11). This is your creative choice.
Step 2: Set Your Shutter Speed
Is your subject moving? If you're shooting a person standing still, 1/125s is usually safe. If it’s a kid running, you’ll need 1/500s or faster. If you're on a tripod shooting a sunset, you can go as slow as you want.
Step 3: Check the Light Meter
Look through your viewfinder. You’ll see a little bar with a "0" in the middle, "-" on the left, and "+" on the right. This is your light meter. If the little tick mark is on the "-" side, your photo is too dark. If it’s on the "+", it’s too bright.
Step 4: Adjust ISO to Balance
If your photo is too dark and you can't open your aperture any wider or slow down your shutter speed any further, start bumping up your ISO. Stop when the meter hits "0."
This process might take you 30 seconds at first, but with practice, you’ll do it in two seconds without even thinking. For more hands-on practice, check out our structured courses at learn.shutyouraperture.com.

Beyond the Settings: Composition and Vision
You can have the most expensive camera and the perfect exposure, but if your composition sucks, the photo sucks. Composition is how you arrange elements within the frame to tell a story.
The Rule of Thirds
Imagine a tic-tac-toe grid over your image. Most beginners put their subject right in the dead center. Don't do that. It’s boring. Try placing your subject on one of the intersecting lines. It creates more "breathing room" and makes the image feel more dynamic.
Leading Lines
Use the environment to point the viewer's eye where you want it to go. A road, a fence, or even a shadow can act as a "leading line" that pulls the viewer into the frame.
Perspective
Stop shooting everything from eye level. Everyone sees the world from five or six feet up. Get low on the ground. Climb a ladder. Changing your perspective is the quickest way to make a mundane subject look extraordinary. For more inspiration on artistic vision, I highly recommend browsing the galleries at www.edinfineart.com.
Mastering the Light
Photography literally means "writing with light." If you don't have good light, you don't have a good photo.
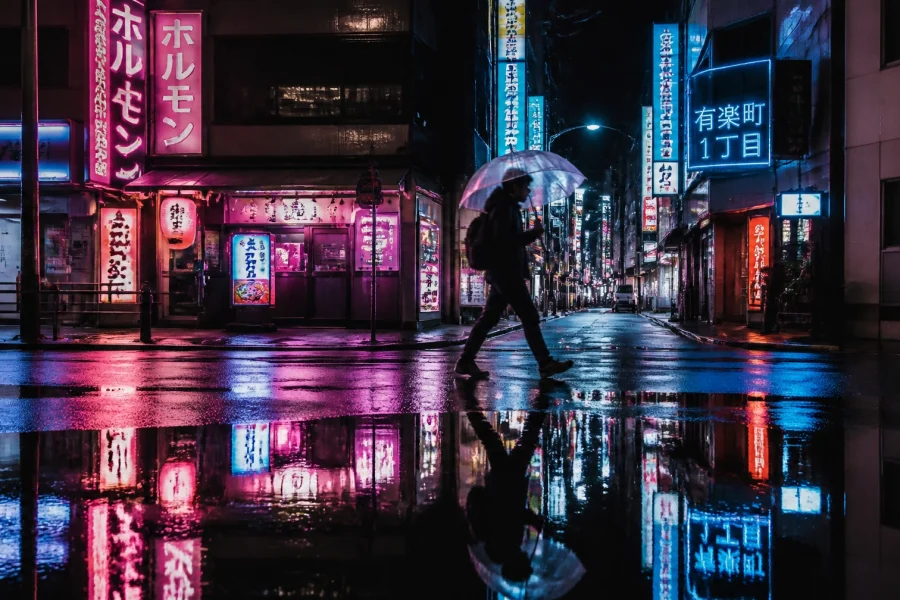
- Golden Hour: The hour after sunrise and the hour before sunset. The light is soft, warm, and makes everyone look like a supermodel.
- Blue Hour: The period just after sunset. The sky turns a deep, moody blue. It's fantastic for cityscapes and architecture.
- Harsh Midday Sun: Avoid it if you can. It creates "raccoon eyes" (deep shadows under the eyes) and blown-out highlights. If you have to shoot then, find some "open shade" under a tree or a building.
If you’re moving into studio work, you’ll need to learn about softboxes, umbrellas, and strobes. Lighting is a massive topic, and we cover it extensively in our photography tutorials. You can also find some great gear reviews and lighting tips on blog.edinchavez.com.

The Magic of Post-Processing
Here is a secret: almost every amazing photo you see on Instagram or in a magazine was edited. Shooting in RAW format (which you should always do!) produces a "flat" image that is meant to be processed.
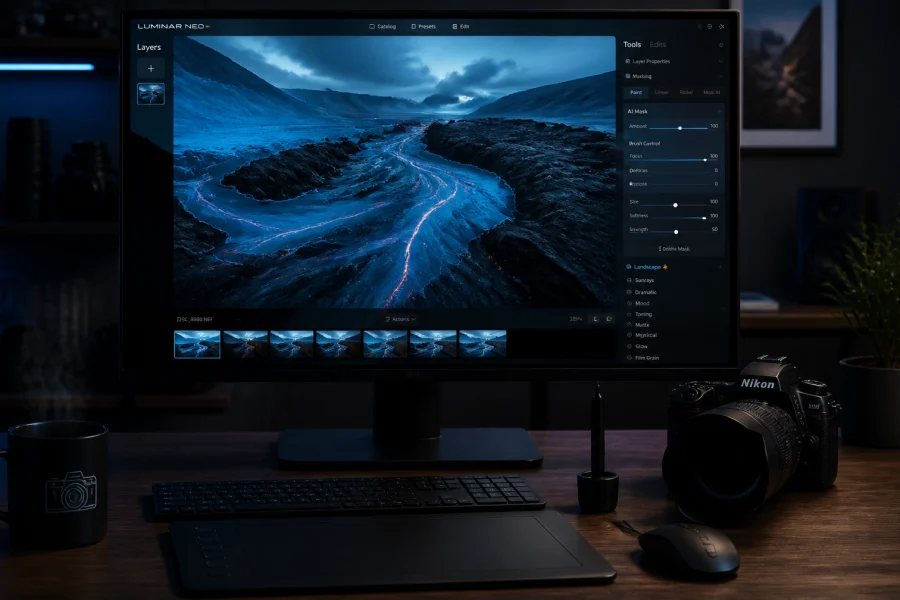
While there are many tools out there, Luminar has become a game-changer for photographers who want professional results without spending five hours in front of a computer. Using AI-powered tools, Luminar can enhance skies, retouch skin, and balance exposure in a way that feels natural.
Editing isn't about "cheating." It's about bringing the photo back to what your eyes actually saw. Cameras have a limited dynamic range compared to the human eye. Editing helps bridge that gap. Whether you are using Lightroom or Luminar, the goal is to enhance the story you're trying to tell.

Why Shut Your Aperture is Your New Home
We get it. The internet is flooded with information. You can find a million "how-to" videos, but most of them are either too technical or too shallow. At Shut Your Aperture, we believe in the "Daily School" philosophy. Photography isn't something you learn once; it's a muscle you build through daily practice and consistent feedback.
Our mission is to be the most comprehensive resource for aspiring photographers. We highlight the work of incredible artists, keep you updated on the latest gear news, and provide a community where you can actually grow.
If you’re serious about taking your skills to the next level, you need to visit learn.shutyouraperture.com. We have structured paths that take you from "I don't know what this button does" to "I just got paid for my first gig."
Putting It All Together: Your Homework
You didn't think you'd get away without an assignment, did you? Reading a guide is easy. Taking photos is hard. Here is your challenge for this week:
- Go Manual: Switch your camera to 'M' mode and don't change it for three days.
- The Aperture Test: Take the same photo of a flower or a coffee cup at f/1.8, f/8, and f/22. See the difference in the background.
- The Shutter Test: Go to a busy street. Try to freeze a car at 1/1000s, then try to blur it at 1/15s (use a tripod or a wall to steady yourself!).
- Edit One Photo: Take your favorite shot of the week and run it through Luminar. Focus on the "Accent AI" and "Sky Enhancer" tools to see how they can transform your image.
Photography is a journey, not a destination. You’re going to take a lot of bad photos. That’s okay. Even the pros have a "reject" folder that would make you feel much better about your own work. The difference between a hobbyist and a professional is simply that the professional has failed more times than the hobbyist has even tried.
Keep shooting, keep clicking, and most importantly, keep your aperture open (metaphorically, of course: sometimes you need to shut it to get that landscape sharp!).
If you found this guide helpful, don't forget to check out our other photography tutorials and join our community. We are constantly updating our site with new tips, gear reviews, and inspiration from the world's best photographers.
See you out there in the field.