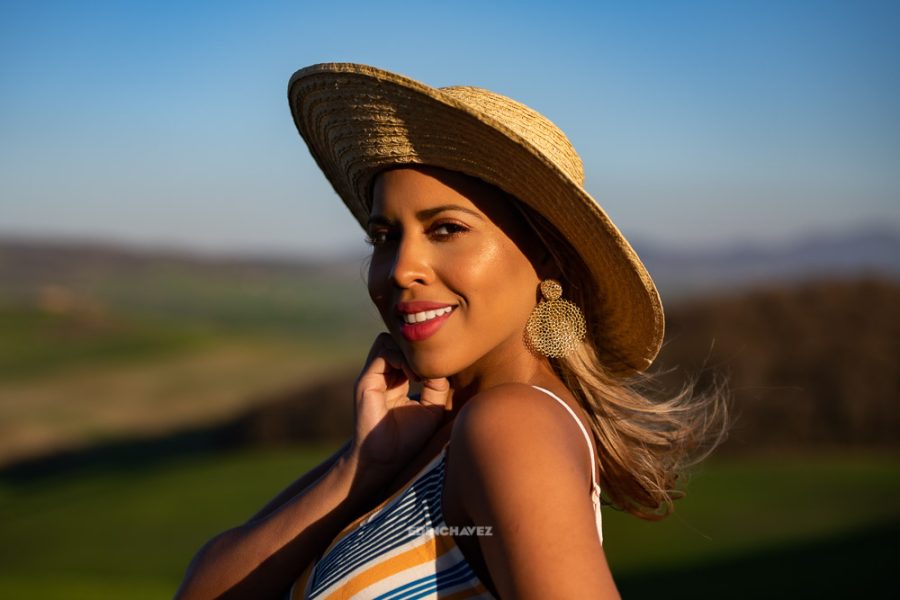
You can point a camera at a beautiful scene and come home with a photograph that is too dark, too bright, or sharp in all the wrong places. Exposure is where those decisions start to come together. It is not about making every picture equally bright. It is about giving the picture enough light while protecting the motion, focus, and detail you care about.
What is exposure in photography? In physical terms, it is the light collected during the photograph. Aperture and shutter time control how much light reaches the sensor. ISO affects how the camera renders that recorded signal. Photographers often group all three into the exposure triangle because changing any of them can change the result, but they do not do the same job.
Once that difference makes sense, camera settings become choices instead of a guessing game. You can decide what must stay sharp, what can blur, and which highlights are worth saving. Then you adjust the settings to support that decision.
Updated October 2026.
Exposure starts with the light in front of you
The camera cannot record light that never reaches it. A person standing in deep shade and a person standing in direct sun may need very different settings. The camera position can stay the same while a cloud, a doorway, or a turning face changes the light.
Before touching a dial, look at your subject. Is the important part lit well? Is the background much brighter? Can you move the subject closer to a window, change your angle, or wait for softer light? A better position may solve more than a complicated setting change.
Exposure also has a limit. A sensor cannot hold every bright and dark detail in every scene. If the contrast is too wide, one frame may not keep both a bright sky and a dark interior looking the way you saw them. Decide which detail matters, or change the light and technique. Do not assume that editing will restore every lost area.
Shutter speed: how long you collect light
Shutter speed is a time. A setting of 1/125 second keeps the exposure running longer than 1/1000 second. With the light, aperture, and ISO unchanged, that longer time collects more light and usually produces a brighter-looking image.
Time also affects motion. A fast shutter can make a moving subject look sharper, while a slow shutter can show a trail, streak, or soft flow. Camera movement during the exposure can blur the entire frame. These are separate questions: how the subject moves, and how steadily you hold the camera.
There is no single shutter speed that freezes every subject. A walking person, a fast bird, and a distant car have different demands. Direction of movement, distance, focal length, and your final viewing size all matter. Try a starting setting, inspect the photograph, and adjust rather than treating a number as a guarantee.
If you want to practice motion first, use shutter priority mode. You choose the time and the camera adjusts aperture within the lens’s limits. Watch those limits as the light changes.
 Save
SaveAperture: how large the opening is
Aperture is the opening in the lens. A smaller f-number means a wider opening. For example, f/2.8 is wider than f/8. At the same shutter speed and scene brightness, the wider opening lets in more light.
The confusing number order becomes easier with practice. Think of low numbers as wide openings and high numbers as narrow openings. You do not need to recite the mathematics to make useful photographs, but you do need to know which direction adds or removes light.
Aperture also affects depth of field: the range that looks acceptably sharp around your focus point. A wide opening often gives a shallower-looking focused area, but the effect also depends on focus distance, focal length, sensor format, and how the photograph is viewed. A small aperture does not put every distance into perfect focus.
Choose an aperture for the picture, not just for brightness. A portrait with a quiet background may benefit from a wider opening. A landscape with important near and far details may need more depth of field. Stop down only as far as helps; very small openings can soften fine detail through diffraction.
Our aperture priority guide explains how to hold that choice while the camera adjusts shutter speed. Always check that the resulting shutter is suitable for the subject and your camera support.
ISO: brightness without more incoming light
Raising ISO does not enlarge the lens opening or keep the shutter open longer. At the same aperture and shutter time, you have not collected more light simply by turning ISO up. You have changed how the camera handles the signal and the brightness of the rendered result.
Higher ISO can be the right compromise when the subject needs a fast shutter and the lens cannot open further. A slightly noisy but sharp expression may be more useful than a clean blur. On the other hand, if the subject is still and the camera is supported, a longer exposure at lower ISO may fit the picture better.
The tradeoffs depend on the camera. Noise, highlight headroom, and behavior at different ISO values are not identical across models. Base ISO is not universally 100, and special modes can have their own limits. Check the manual and learn what your files can handle.
Auto ISO can help hold your chosen motion or depth-of-field settings as light changes. Set sensible limits for your camera and subject, then watch the actual number. Auto does not mean unlimited. Once ISO reaches a limit, another setting may change or the image may become too dark.
What a stop means
A stop describes a doubling or halving. With aperture and light unchanged, moving from 1/250 second to 1/125 second doubles the exposure time and the light collected. Moving in the other direction halves it.
A one-stop aperture change also changes incoming light by a factor of two, allowing for the practical behavior of the lens. Common full-stop settings include f/2.8, f/4, f/5.6, and f/8. Many cameras let you move between them in smaller increments, often thirds of a stop.
Doubling ISO changes the brightness handling by roughly a stop in the usual camera setting relationship. Remember the distinction: doubling ISO is not the same physical action as doubling exposure time. The rendered brightness may be similar while the captured light and image quality differ.
As a simple settings exercise, suppose you hold ISO fixed and change from f/4 to f/5.6. That narrower opening reduces incoming light by about one stop. Doubling the shutter time can compensate for that light change if the scene stays steady. The overall brightness can remain similar, but depth of field and motion may change. That is why equivalent brightness does not mean equivalent pictures.
 Save
SaveThe meter gives you a starting point
Your camera’s meter estimates a useful exposure from what it sees. Different metering modes consider different parts of the scene. A meter reading is guidance, not a statement of what the photograph should feel like.
A bright snowfield and a dark room can confuse your intentions even when the camera is behaving normally. The meter may make the bright subject look too gray or the dark scene too bright. Use the preview and the important details to decide whether to correct it.
Exposure compensation tells an automatic exposure system that you want a brighter or darker result than its recommendation. Positive compensation usually asks for brighter; negative asks for darker. What changes depends on the mode, Auto ISO configuration, and camera. In full manual with fixed ISO, compensation may only alter the meter reference or have no direct effect on your settings.
Read the actual settings after using compensation. If a brighter frame requires a much slower shutter, you may introduce motion blur. If the lens is already wide open and ISO is fixed, the camera may have no remaining adjustment that can meet your request.
Read the histogram without chasing a perfect shape
A histogram shows how tonal values are distributed in the preview. Dark values sit toward the left and bright values toward the right. It helps reveal whether important tones may be crowding an edge, but there is no perfect mountain shape that every photograph needs.
A dark night scene can correctly have most of its values on the left. A bright scene can correctly lean right. The question is whether the subject looks the way you intend and whether important detail is being lost, not whether the graph looks balanced.
Highlight warnings and separate color-channel histograms can help flag trouble. A bright sky or saturated light may clip a channel before the overall display makes the problem obvious. The in-camera histogram usually describes a processed preview, not a direct map of every recoverable raw value, so learn its behavior with your camera.
Look at the screen, but do not trust screen brightness alone. A display viewed in direct sun or a dark room can mislead you. Use several clues together: the preview, histogram, highlight warnings, and a close check of the subject.
Choose the setting that matters first
For action, begin with the shutter speed required to keep the subject clear. Choose an aperture that suits the needed focus and use ISO to support those choices. If the light is insufficient, you may need a wider lens opening, more light, a different position, or a slower shutter with an accepted change in the picture.
For a static landscape, begin with focus and depth of field. A tripod can let you lengthen the exposure without camera shake, though it cannot stop leaves, waves, or people from moving. Use the shutter time creatively where movement belongs. Our moving-water guide builds on that idea.
For a portrait, consider both the face and the background. Set enough depth of field for the important features, then keep a suitable shutter for the person’s movement and your handling. Do not choose the widest aperture merely because the lens offers it. A slightly narrower opening may be the more forgiving choice.
Why raw helps, and what it cannot fix
A raw file often gives more editing room than a finished JPEG, particularly for white balance and tonal adjustments. That flexibility is useful when you need to refine a difficult scene. It is still better to capture an intentional exposure than to rely on rescuing every frame later.
Brightening a dark file can reveal noise. A fully clipped highlight may contain no usable detail to recover. A blurry face does not become sharp because the file is raw. Think of raw as useful working material, not permission to ignore the capture.
When important highlights and shadows exceed one frame’s range, changing the light or position can be simpler than pushing the file. Exposure bracketing is another option for suitable scenes, but moving subjects can complicate blending. Use the technique because the scene needs it, not because every landscape needs the same processing.
 Save
SavePractice one variable at a time
Find a steady subject in steady light and support the camera. Use manual settings with fixed ISO so the camera does not quietly compensate while you test. Keep aperture and ISO fixed, then make photographs at a faster and slower shutter. Compare brightness and any movement.
Next, hold shutter and ISO fixed while changing aperture. Compare both brightness and the sharp-looking area. Finally, keep shutter and aperture fixed while changing ISO. Compare rendered brightness and noise without assuming that a brighter result means more light was collected.
Return to a priority mode afterward and watch how another setting changes automatically. This connects the exercise to ordinary shooting. For more lessons you can put into practice immediately, explore the Shut Your Aperture Academy. The goal is to know which compromise you are making before the camera makes it for you.
Exposure questions
What controls the light reaching the sensor?
Scene brightness, aperture, and shutter time determine the light collected. ISO affects signal handling and rendered brightness rather than adding incoming light.
Is higher ISO always bad?
No. Higher ISO may support the shutter speed or depth of field you need. The noise and highlight tradeoffs depend on the camera and the amount of light collected.
What does one stop mean?
A stop is a doubling or halving. Doubling shutter time collects twice as much light with aperture and scene brightness unchanged.
Should the histogram always sit in the middle?
No. A dark scene may lean left and a bright scene may lean right. Judge important detail and intended brightness rather than chasing one graph shape.
Can raw recover every exposure mistake?
No. Raw can provide editing room, but fully clipped details and motion blur may not be recoverable. Intentional capture still matters.
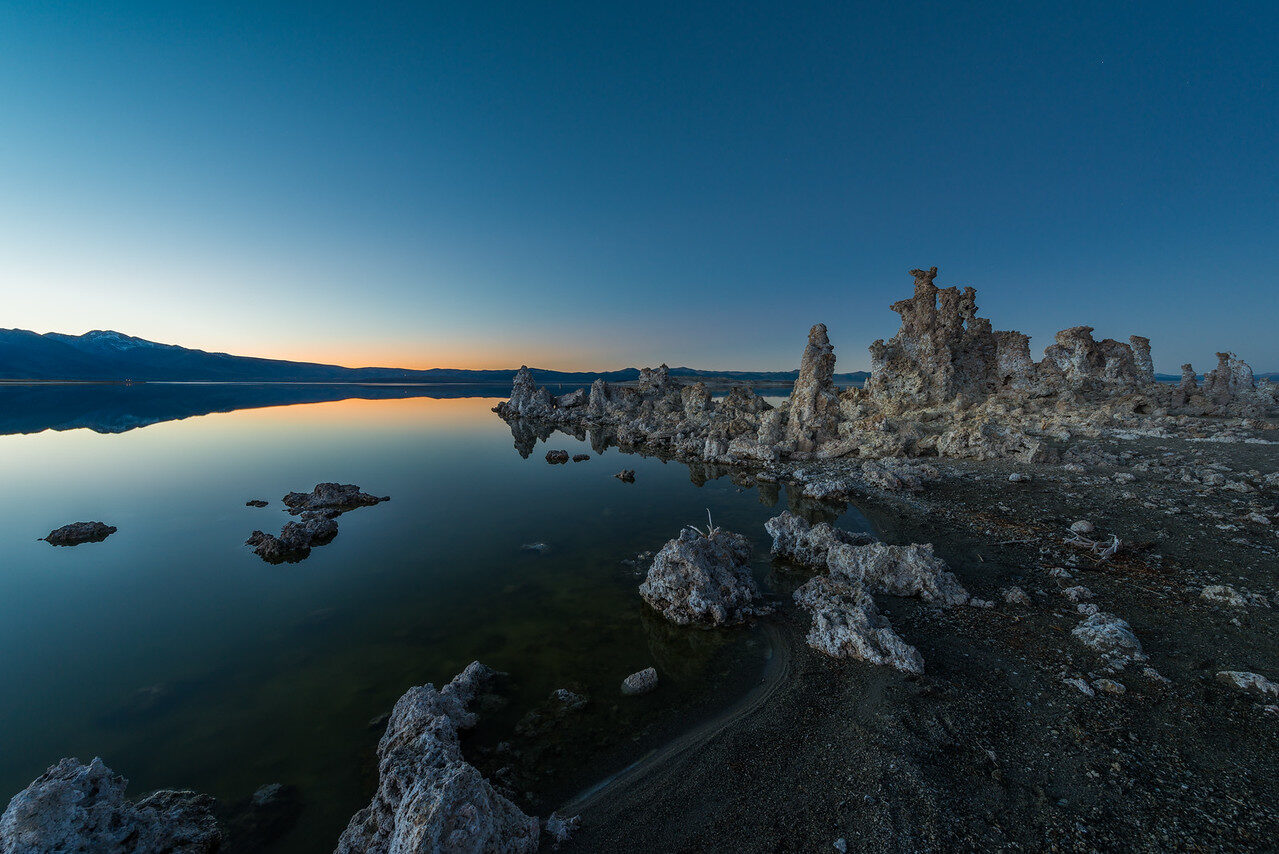
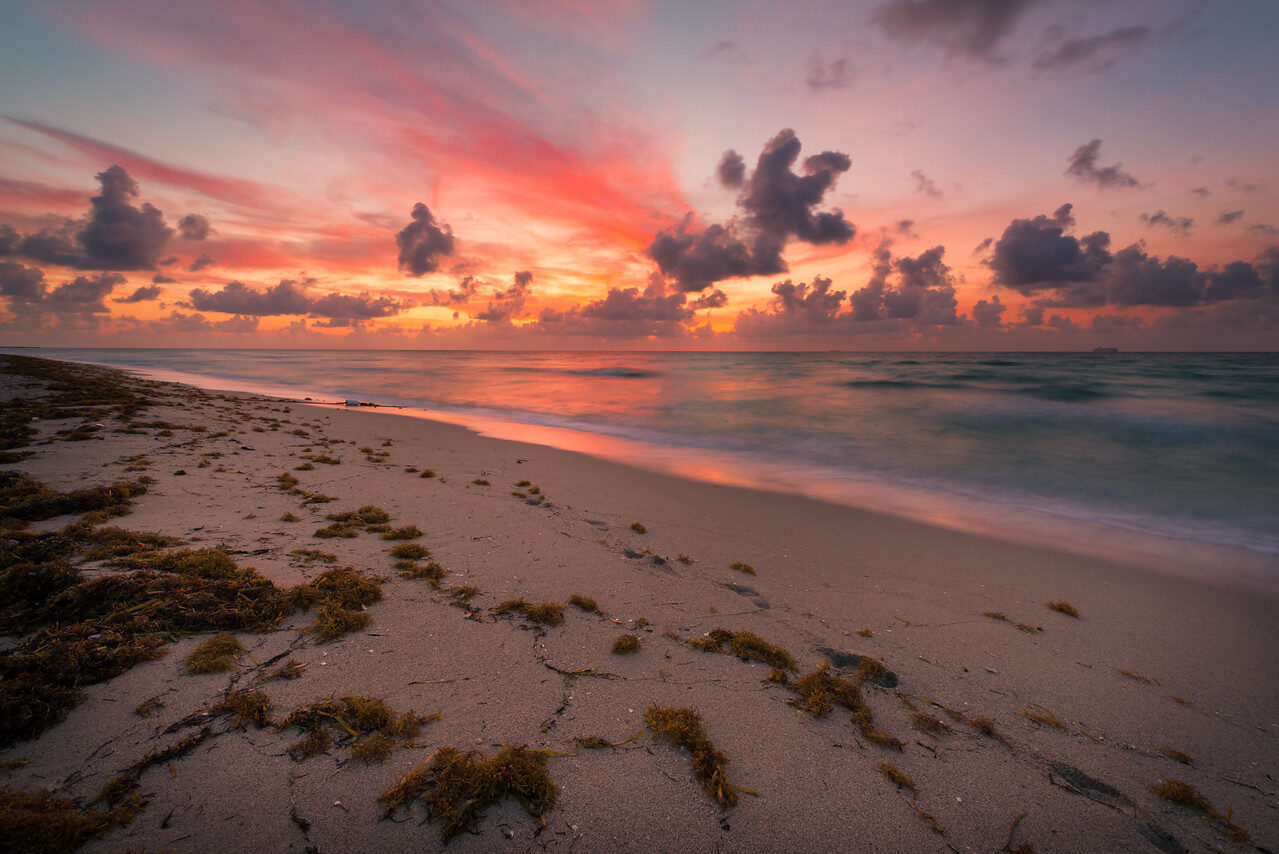
References: Nikon exposure basics and Auto ISO guidance. The photographs illustrate lighting and subjects, not a controlled exposure comparison or published camera settings.
Want to go further? The ShutYourAperture Academy’s Mastering ISO (6 modules, 24+ lessons) is built to help you go from clean to creative with sensitivity.
Useful gear for exposure practice
Practice with your current camera first. Buy what solves a real problem in your setup. Check lens filter diameter, camera-release compatibility, and tripod capacity before ordering. A tripod must include a suitable head and plate, or you need to add them separately.
Stable tripod and compatible head: useful for static landscapes when the selected shutter becomes long.
Compare on Amazon | Compare at B&H
Fixed neutral-density filter: choose the strength and diameter for your lens and exposure goal.
Compare on Amazon | Compare at B&H
Lens cloth and air blower: keep spray and dust from spoiling the frame.
Compare on Amazon | Compare at B&H
Affiliate disclosure: we may earn a commission from qualifying purchases through these links, at no extra cost to you. These are gear-search links, not claims that every listed item fits your camera.