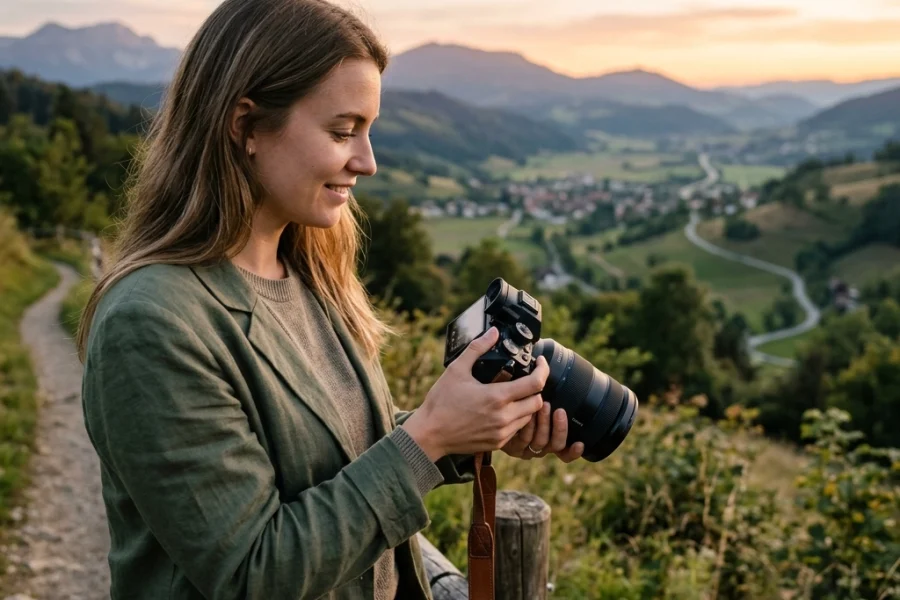
Let’s be real: that "A" on your camera dial is a security blanket. It’s comfortable, it’s safe, and it’s usually "fine." But "fine" doesn’t win awards, and it certainly doesn't capture the magic of a sunset exactly the way you see it. If you want to stop taking snapshots and start making art, you have to break up with Auto mode.
Welcome to the world of Manual Mode. It sounds scary, like trying to pilot a 747 with no training, but I promise it’s more like learning to drive a stick shift. Once you get the rhythm, you’ll never want to go back to an automatic transmission. This guide is your roadmap to total creative control. We’re going to break down the Exposure Triangle, demystify the settings, and get you shooting like a pro.
Why Even Bother with Manual Mode?
You might be thinking, "Edin, my camera cost three grand. It’s basically a supercomputer. Why shouldn't I let it do the work?"
The answer is simple: Your camera is smart, but it’s literally blind to intent. It sees light and dark, but it doesn't know you’re trying to capture the romantic mood of a candlelit dinner or the grit of a rainy street scene. It tries to average everything out to a boring middle-gray.
In Manual Mode, you are the boss. You decide if the background is blurry or sharp. You decide if the waterfall looks like frozen ice or silky ribbons. You decide if the image is moody and dark or bright and airy. If you’ve spent any time looking at photography tutorials, you know that control is the secret sauce.
The Exposure Triangle: The Holy Trinity of Photography
Everything in photography comes down to three things: Aperture, Shutter Speed, and ISO. Think of these as a three-way tug-of-war. If you pull on one, you have to adjust the others to keep the balance. This balance is what we call "Exposure."

1. Aperture: The "Eye" of Your Lens
Aperture is the opening in your lens that lets light in. It’s measured in f-stops (like f/2.8, f/8, or f/16). This is usually the first setting photographers choose because it has the biggest impact on the "look" of your photo.
- Small f-number (e.g., f/1.8): This means a wide opening. It lets in a ton of light and creates a shallow "depth of field." This is how you get those buttery, blurred-out backgrounds in portraits.
- Large f-number (e.g., f/11): This means a tiny opening. It lets in less light but keeps everything from the foreground to the background in focus. This is the go-to for landscape photography.
Think of aperture like your pupils. In a dark room, they dilate (wide aperture) to let in more light. In bright sun, they shrink (narrow aperture) to protect your eyes.
2. Shutter Speed: The Time Machine
Shutter speed is how long the "curtain" stays open to let light hit the sensor. It’s measured in fractions of a second.
- Fast Shutter Speed (e.g., 1/1000s): This freezes time. If you’re shooting sports or a bird in flight, you need a fast shutter.
- Slow Shutter Speed (e.g., 1/2s or longer): This blurs motion. This is how photographers get those creamy waterfall shots or light trails from cars at night.
Be careful, though: if your shutter is too slow and you’re holding the camera with your hands, your heartbeat and natural shaking will make the whole image blurry. A good rule of thumb is to check out PhotoGuides.org for tips on gear, but generally, anything slower than 1/60th of a second usually requires a tripod.
3. ISO: The Sensitivity Dial
ISO is your camera’s sensitivity to light. Back in the day, this was determined by the film you bought. Now, it’s just a digital setting.
- Low ISO (e.g., 100): This is the gold standard. It produces the cleanest, sharpest images with no "noise" (that grainy look). Use this when you have plenty of light.
- High ISO (e.g., 3200+): This makes the sensor more sensitive, allowing you to shoot in the dark. The trade-off? Your photo will start to look grainy and lose detail.
Modern cameras are getting better at high ISO, but you should always aim for the lowest number possible to maintain quality.

Finding the Balance: How They Work Together
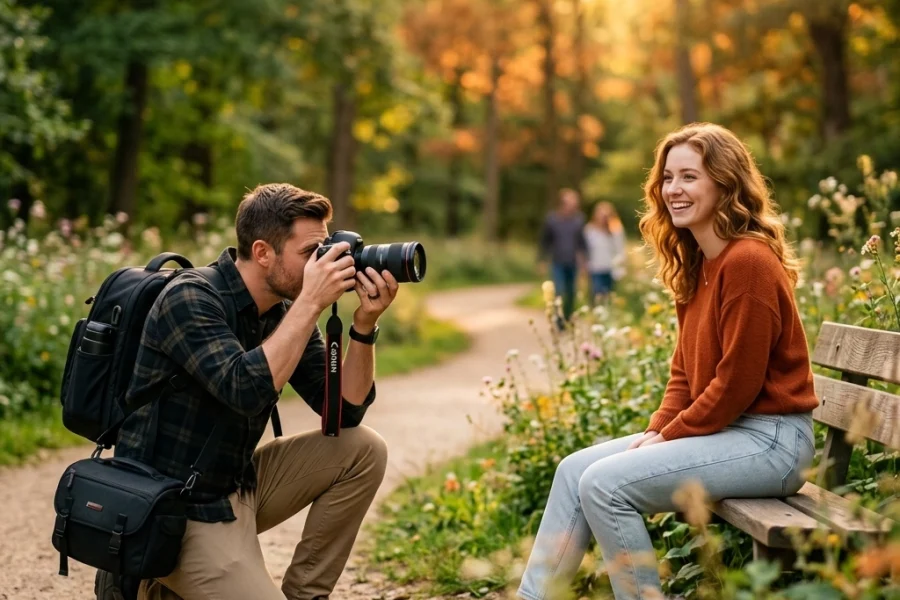
Let’s say you’re taking a portrait at sunset. You want a blurry background, so you set your Aperture to f/2.8. But because it’s getting dark, your photo is coming out way too dark.
You have two choices:
- Slow down your Shutter Speed (but don't go too slow, or the person will be blurry).
- Raise your ISO (but don't go too high, or the photo will be grainy).
Manual mode is just a constant dance between these three settings. If you’ve been checking out our how-to guides, you’ve seen this in action. It’s about compromise and priority.
Step-by-Step: Your Manual Mode Workflow
Don’t just start spinning dials randomly. Follow this workflow to get it right every time:
- Check your Meter: Look through your viewfinder. See that little bar with a "0" in the middle? That’s your Light Meter. If the marker is to the left (-), you’re underexposed (too dark). If it’s to the right (+), you’re overexposed (too bright). Aim for the middle as a starting point.
- Set your ISO: If it’s a sunny day, set it to 100 and forget it. If you’re indoors, maybe start at 800.
- Choose your Aperture: Do you want a blurry background (f/2.8) or a sharp landscape (f/11)? Set this based on your creative vision.
- Adjust Shutter Speed: Now, look at your light meter. Dial your shutter speed until that little marker hits the center.
- Take the shot and review: Don't just trust the meter. Look at the screen. Is it too dark? Slow down the shutter or raise the ISO. Is it too bright? Do the opposite.

Pro Tools for Manual Success
While getting it right in-camera is the goal, some tools make the process much more forgiving. Shooting in RAW format gives you the most data to work with. When you bring those RAW files into your computer, you can fine-tune your exposure.
I personally love using Luminar for post-processing. It has AI tools that can rescue shadows or highlights if you were a stop or two off in manual mode. It’s like having a safety net for your creativity.
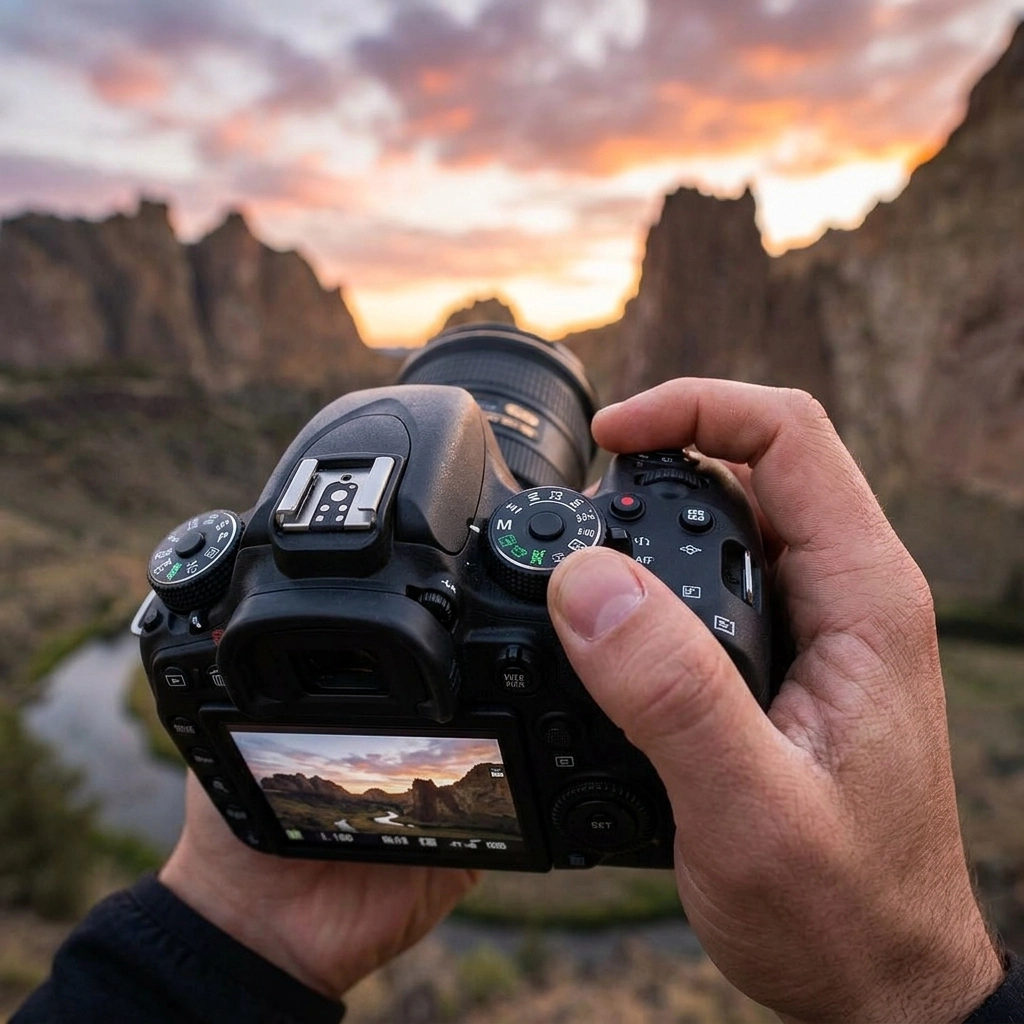
Also, don't forget to keep an eye on your Histogram. That little graph on the back of your camera is a much more accurate representation of light than the screen itself. If the graph is all the way to the left, you’re losing detail in the blacks. All the way to the right? You’re "blowing out" the whites.
Common Mistakes to Avoid
Even seasoned pros mess up. Here are a few things to watch out for as you learn:
- The "ISO 10,000" Accident: We’ve all been there. You were shooting in a dark basement, forgot to change your settings, and then went outside into the bright sun. Your next 50 photos are ruined. Always reset your settings before you put your camera in the bag.
- Shutter Shock: Thinking you can hand-hold a 1-second exposure. You can't. Not even with "stabilized" lenses. Get a tripod from our gear section if you want to go slow.
- Chasing the Meter: The meter isn't a god; it's a guide. If you’re shooting a person in the snow, the meter will think the snow is too bright and try to turn it gray. In that case, you actually want your meter to be a bit to the (+) side to keep the snow white.
Practice Makes… Better
You aren't going to master this in an afternoon. It takes muscle memory. I recommend going into your backyard or a local park and picking one subject, a flower, a bench, a friend. Take ten different photos of it using different combinations of settings.
See how the mood changes when you go from f/2.8 to f/16. See what happens to the water in a fountain when you change your shutter speed from 1/1000 to 1/15. This kind of experimentation is how you learn the "language" of your camera. For more inspiration, check out Edin Chavez's personal blog to see how these settings look in the real world.

Coordination with the Team
I was chatting with Sonny, our Social Media Manager, about this post. He’s going to be sharing some "Manual Mode Challenges" on our Instagram and TikTok over the next few weeks. If you’re struggling with a specific setting, keep an eye on our socials for quick video breakdowns that complement this guide. We’re all in this together!
Final Thoughts
Manual mode isn't about being a "purist." It's about being an artist. It’s about having the tools to translate the vision in your head into a digital file. It takes a bit more work, and yeah, you’ll probably mess up a few shots at first. But the first time you nail a difficult exposure manually, you’ll feel a level of satisfaction that "Auto" can never give you.
So, turn that dial. Get uncomfortable. And most importantly, keep shooting.
If you found this guide helpful, dive into our other resources at Shut Your Aperture. We’ve got everything from drone tips to documentary deep-dives to help you level up your game. See you out there!