Let’s be honest. That little "M" on your camera dial is intimidating. It sits there, wedged between "Auto" and "Program," looking like a secret club you aren't invited to join. For most beginners, switching to Manual mode feels like being handed the controls of a 747 while the pilot goes to take a nap. You’re pretty sure if you touch the wrong thing, everything will crash.
But here is the truth: Manual mode isn't for geniuses. It’s for people who want their photos to look like they actually imagined them, rather than how a computer chip guessed they should look. At Shut Your Aperture, we believe photography should be simple. Manual mode is just a balancing act of three ingredients. Once you understand the recipe, you can cook anything.
In this guide, we’re going to strip away the jargon and show you exactly how to master the three pillars of photography, Aperture, Shutter Speed, and ISO, so you can finally stop fighting your camera and start creating.
Why Even Bother with Manual Mode?
You might be thinking, "My camera is $2,000; surely it's smart enough to take a good photo on its own."
Sometimes it is. But "Auto" is essentially a "best guess" based on average lighting. The problem is that great photography is rarely average. Auto doesn’t know you want that beautiful, blurry background for a portrait. It doesn’t know you’re trying to blur the water in a waterfall to make it look like silk. It just sees light and tries to make the image "bright enough."
When you take control, you decide what’s important. You decide if the motion is frozen or blurred. You decide what's in focus and what’s a dreamy wash of color. If you’ve been following the latest photography news and camera releases, you know that even the most advanced AI in the newest Sony or Canon cameras still benefits from a human making the final creative call.
The Exposure Triangle: The Only Three Buttons That Matter
Every photo you take is just a recording of light. To get a "perfect" exposure, you need the right amount of light to hit your camera sensor. Think of it like a bucket (the sensor) catching water (light). Too much water and it overflows (the photo is too bright/white). Too little and it’s empty (the photo is too dark/black).
The three tools you use to fill that bucket are:
- Aperture
- Shutter Speed
- ISO
This is the "Exposure Triangle." If you change one, you usually have to change another to keep the balance.
1. Aperture: The Eye of the Lens
Aperture is the hole inside your lens. It works exactly like the pupil in your eye. In the dark, your pupil gets big to let more light in. In the sun, it gets tiny to keep light out.
In photography, we measure this in "f-stops" (like f/1.8, f/4, f/11). This is where things get a little weird: The smaller the number, the bigger the hole.
- f/1.8: Huge hole, tons of light, very "thin" focus (blurry backgrounds).
- f/16: Tiny hole, very little light, everything is in focus (deep depth of field).
If you want those creamy, blurred backgrounds you see in professional portraits or on Edin Chavez’s fine art site, you want a low f-number. If you want a landscape where the flower in front of you and the mountain in the distance are both sharp, you want a high f-number.

2. Shutter Speed: The Gatekeeper of Time
Shutter speed is how long the "curtain" stays open to let light hit the sensor. It’s measured in fractions of a second.
- 1/1000: Super fast. This freezes a hummingbird in mid-air or a race car at full speed.
- 1/50: Slower. This is about as slow as you can go while holding the camera with your hands before your "shaky hands" make the whole photo blurry.
- 5 seconds: Very slow. Anything moving will look like a ghost or a blur. You need a tripod for this.
Shutter speed isn't just about light; it’s about motion. Do you want to freeze the action or show the movement? For more in-depth technical breakdowns of shutter mechanics, you can always check out PhotoGuides.org.

3. ISO: The Sensor’s Sensitivity
ISO is how sensitive your camera’s sensor is to the light it receives. Back in the day, this was "film speed."
- ISO 100: Low sensitivity. Best for bright, sunny days. The image will be clean and crisp.
- ISO 3200+: High sensitivity. Best for dark rooms or night shots.
The catch? The higher the ISO, the more "noise" (graininess) you get in your photo. It’s like turning up the volume on a cheap radio; eventually, you start hearing static. Modern cameras are getting incredibly good at handling high ISO, but as a rule of thumb: Keep your ISO as low as you can.
Putting It All Together: The Step-by-Step Workflow
Okay, enough theory. How do you actually use this stuff when you’re standing in front of a beautiful sunset?
Step 1: Set Your ISO
Start with ISO 100 if it's day, or maybe 400-800 if it’s cloudy. Only go higher if you realize your other settings aren't letting in enough light.
Step 2: Choose Your Aperture
What’s the "vibe" of the shot? If it’s a portrait, go for a low number (like f/2.8). If it’s a city street and you want the buildings to be sharp, go for f/8 or f/11.
Step 3: Set Your Shutter Speed
Look through your viewfinder. You’ll see a little bar with a "0" in the middle. That’s your light meter.
- If the mark is moving to the + (right), your photo is going to be too bright. Make your shutter speed faster.
- If the mark is moving to the – (left), your photo is going to be too dark. Make your shutter speed slower.
Adjust the shutter speed until that little mark hits the middle. Now, take the shot.

Common Scenarios for Manual Mode
Sometimes it helps to have a "cheat sheet" in your head. Here are a few starting points for common situations.
The Professional Portrait
- Aperture: f/1.8 or f/2.8 (to blur the background).
- Shutter Speed: At least 1/200 (to make sure the person’s eyes are sharp even if they move slightly).
- ISO: Whatever makes the light meter hit zero (usually 100-400).
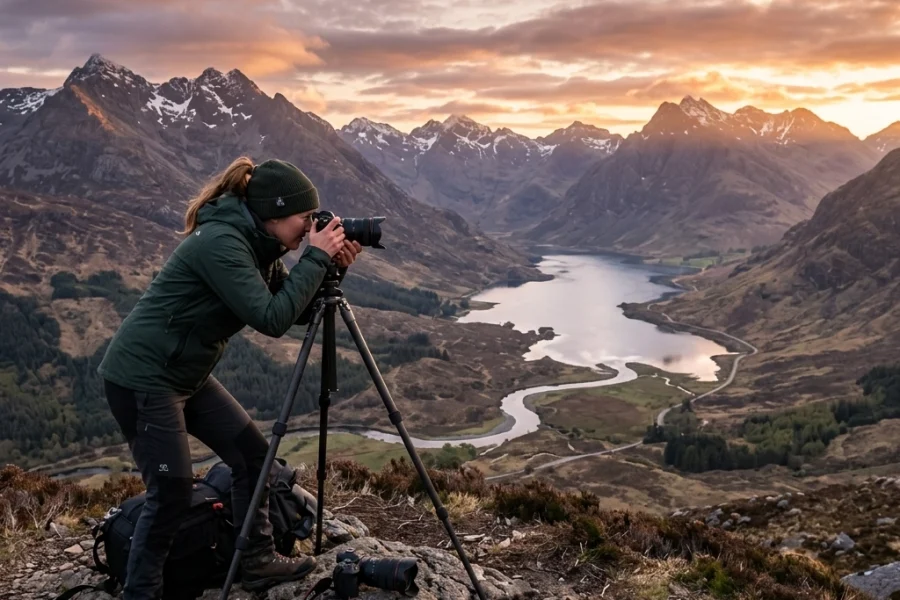
The Epic Landscape
- Aperture: f/11 (to keep everything sharp).
- Shutter Speed: Use a tripod and let it be whatever it needs to be (could be 1/10 or 2 seconds).
- ISO: 100 (for maximum quality).
The Indoor Party
- Aperture: Wide open (f/2.8 or lower).
- Shutter Speed: 1/125 (fast enough to stop people from being a blur when they laugh).
- ISO: High (1600 or 3200) because indoor lighting is usually terrible.
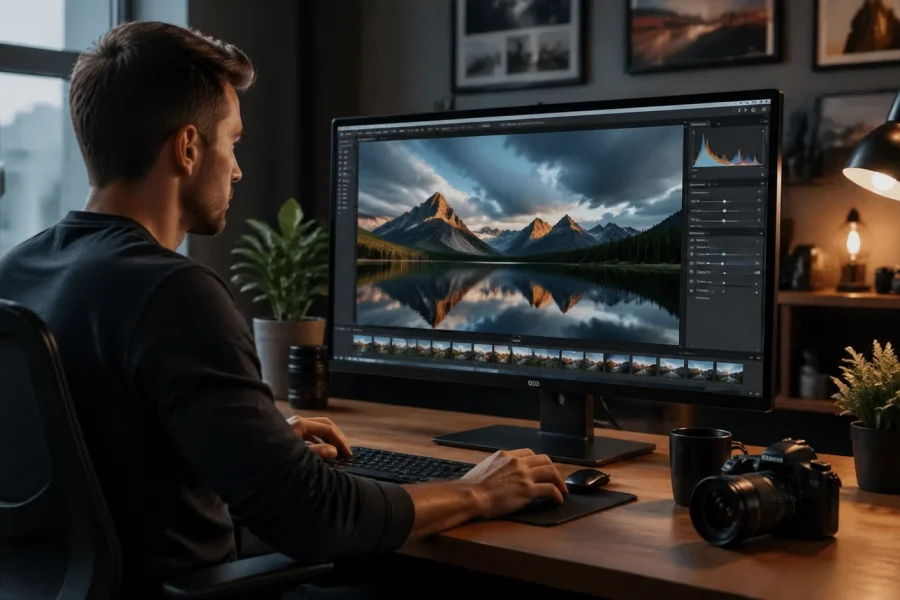
The Secret Weapon: Editing Your Manual Shots
Even the best pros don't get it 100% perfect in-camera. They get it close, and then they finish the job in post-processing. When you shoot in Manual, you should also be shooting in "RAW" format. This saves all the data the sensor captured, rather than letting the camera "cook" it into a JPEG.
To bring out the colors and fix any minor exposure mistakes, we highly recommend using Luminar. It uses AI to simplify the editing process, so you don't have to spend hours moving sliders. You can fix the shadows, pop the sky, and enhance the details in about three clicks. It’s the perfect companion to Manual mode because it rewards the control you took while shooting.

Troubleshooting: Why Does My Photo Look Weird?
Even after reading this, you’re going to mess up. That’s part of the fun. Here’s why your photos might look "off":
- Everything is blurry: Your shutter speed was likely too slow for you to hold the camera steady. Try to stay above 1/100, or use a tripod.
- The background is sharp but I wanted it blurry: Your aperture is too high (like f/16). Move it down to f/2.8.
- The photo is "crunchy" or grainy: Your ISO is too high. Open your aperture or slow down your shutter so you can bring that ISO back down to 100 or 200.
- The sky is pure white: You overexposed the image. Make your shutter speed faster or your aperture smaller (higher f-number).
Practice Makes… Less Terrible
Don't expect to be a master by tomorrow. The best way to learn is to pick one thing at a time. For more tips and daily inspiration, I often share my own trial-and-error stories over at blog.edinchavez.com.
Your Homework:
Set your camera to Manual today. Go into your backyard or a local park. Don’t move the dial back to Auto, no matter how frustrated you get. Take 50 photos. By the 50th shot, you’ll start to "feel" the light. You’ll know that when the sun goes behind a cloud, you need to click your shutter wheel a few times to the left.
That "click" is the sound of you taking control.
Manual mode isn't about being a "serious" photographer. It’s about removing the middleman between your eyes and the final image. It’s about freedom. So, get out there, shut your aperture (or open it!), and see what happens when you’re the one in charge.