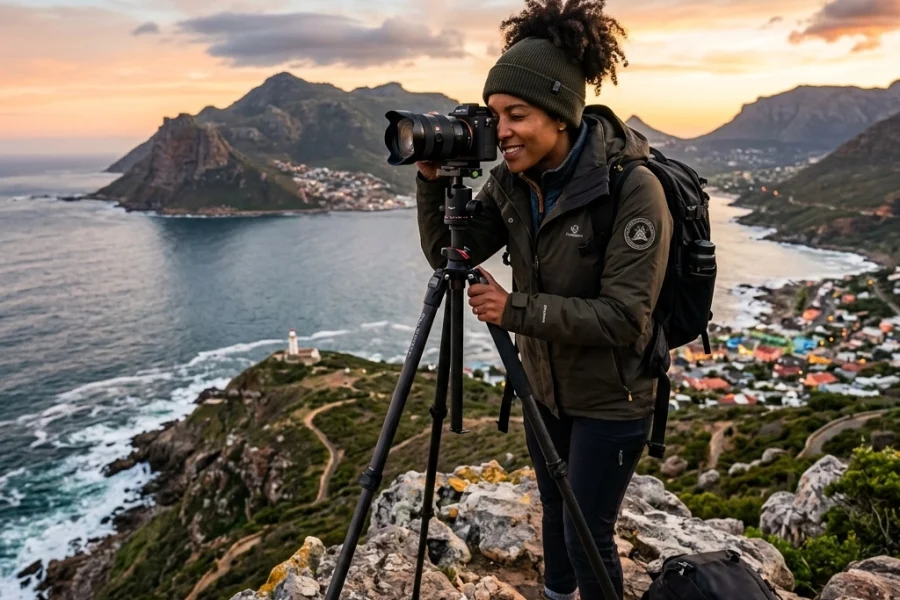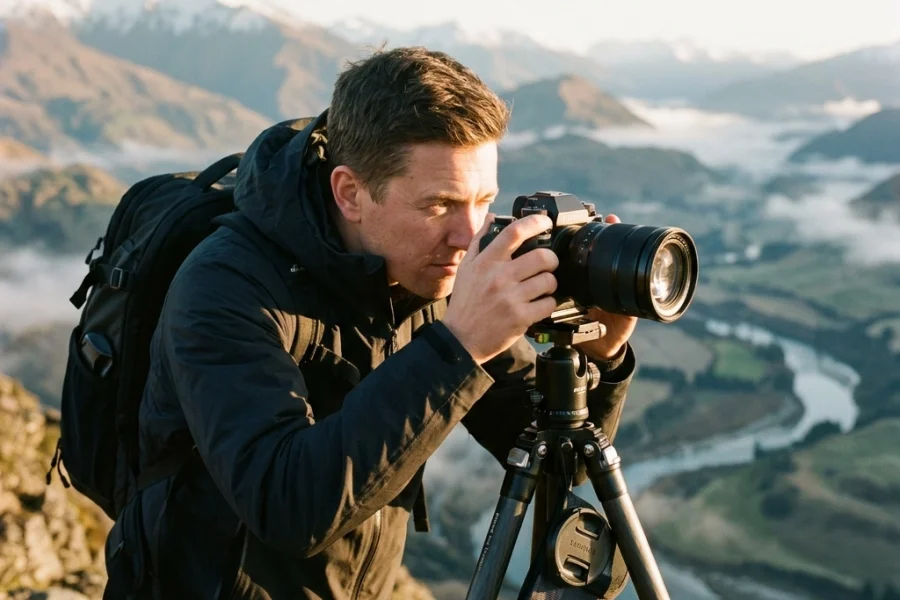
Let’s be honest for a second. We’ve all been there. You come home from an epic landscape shoot or a marathon wedding session with three thousand photos on your SD cards. You’re exhausted, but you’re excited. You plug those cards into your computer, and suddenly, that excitement turns into a massive wave of dread.
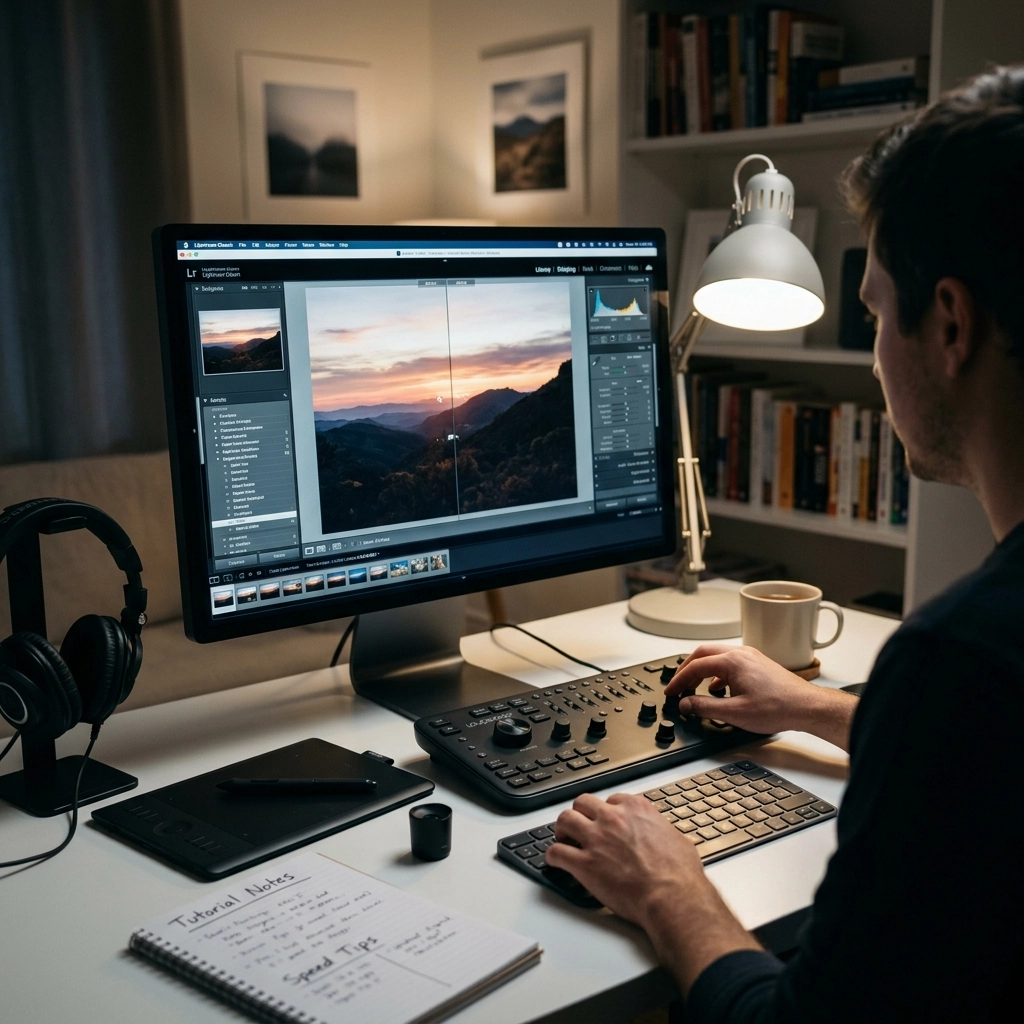
The "editing wall" is real. It’s the point where you realize that for every hour you spent behind the lens, you’re about to spend three hours behind a glowing monitor. If you feel like your editing is slow, inconsistent, or just plain frustrating, you aren't alone. But here’s the good news: getting better at photo editing isn't about working harder: it’s about working smarter and faster.
In 2026, we have tools and techniques that make the old ways of editing look like stone tools. Whether you’re a total beginner or you’ve been clicking around in Lightroom for years, there are specific strategies that will skyrocket your quality while cutting your desk time in half.
1. The Power of "Culling In" (The Ultimate Time Saver)
The fastest way to get better at photo editing is actually to edit fewer photos. It sounds like a joke, but it’s the absolute truth. Most photographers spend 80% of their time looking at bad photos.
Instead of going through your catalog and deleting the ones you don't like (culling out), try "culling in." This means you scan through your gallery and only flag the absolute winners. If it doesn’t make you go "Wow" in the first half-second, skip it. By the time you’re done, you might only have 50 photos to edit instead of 500.
If you’re still struggling with the basics of what makes a "good" photo worth keeping, check out our Photography 101 guide to sharpen your eye before you even sit down at the computer.

2. Establish a Rock-Solid Workflow
Consistency is the enemy of chaos. If you open a photo and start dragging random sliders just to see what happens, you’re wasting time. You need a repeatable, structured workflow. At Shut Your Aperture, we recommend a five-step foundation that works for almost every genre of photography:
- Crop and Clean Up: Fix your horizon lines and get rid of distracting sensor dust or trash on the ground.
- White Balance: Get your temperature and tint right first. If your white balance is off, your color grading will never look natural.
- Global Exposure and Contrast: Set your whites, blacks, highlights, and shadows. Don’t overdo the contrast slider; use the tone curve for more control.
- Color Saturation and Vibrance: Bring the life back into the shot.
- Sharpening and Noise Reduction: Final Polish.
By following the same steps every single time, you develop muscle memory. Eventually, you won’t even have to think about what comes next. For more technical deep dives on things like color theory, PhotoGuides.org is a fantastic external resource to keep in your bookmark bar.
3. Embracing AI (It’s 2026, Don't Fight It)
If you haven’t started using AI-powered tools yet, you’re basically trying to win a NASCAR race on a bicycle. The latest updates in software like Luminar have changed the game completely. We’re talking about sky replacements that take two seconds, skin retouching that looks natural instead of plastic, and AI-driven masking that identifies subjects instantly.
AI isn't "cheating"; it’s an assistant. Using Luminar allows you to handle the heavy lifting: like masking a complex treeline: so you can focus on the creative part: the mood and the story. If you want to stay ahead of the curve, you should definitely read about why AI photography news matters and how it’s changing the industry as we speak.

4. Master Your Keyboard Shortcuts
If you are still moving your mouse to the "Undo" button or clicking every single dropdown menu, you are losing hours of your life every month. Learning keyboard shortcuts is the single fastest way to speed up your actual physical interaction with the software.
Start small. Learn the 'B' for brush, 'Q' for spot removal, and the 'Command/Ctrl + C' and 'V' for copying and pasting settings. If you have a batch of photos shot in the same lighting, editing one and pasting those settings to the next fifty is a literal life-saver.
Pro tip: If you want to see how the pros set up their workstations for maximum efficiency, Edin often shares his personal setup over at blog.edinchavez.com.
5. Get It Right in the Camera
This is the tutorial nobody wants to hear, but it’s the one everyone needs. The fastest way to edit is to have a photo that doesn't need much editing. If you’re constantly fixing exposure mistakes or trying to save blurry shots, you're doing it wrong.
Mastering your manual mode is the foundation of a fast editing workflow. If your histogram is perfect in-camera, your editing becomes about style rather than repair. We see a lot of people making the same mistakes over and over: if you’re feeling stuck, check out our guide on 7 mistakes you’re making with manual mode to see if you can cut your editing time in half before you even press the shutter.

6. The Magic of Custom Presets
Don’t get us wrong, we love a good professional preset pack. But the real magic happens when you create your own. Your photography has a "voice," and that voice is usually found in how you handle colors and shadows.
When you find an edit you absolutely love, save it as a preset. This isn't just for speed; it’s for branding. When people see a photo on Instagram and know it’s yours before they see the username, you’ve won. That consistency starts with your preset library. For those looking to take their skills to a professional level, we dive deep into building a signature look over at Shut Your Aperture Academy.
7. Understanding Mirrorless Tech and Metadata
Modern mirrorless cameras are basically computers with lenses attached. The metadata they capture: from eye-tracking data to lens corrections: is designed to talk directly to your editing software.
In 2026, many cameras are incorporating "AI-powered mirrorless tech" that can pre-tag images or even apply basic profiles in-camera that transfer to your RAW files. This is a huge leap forward for wedding and sports photographers. You can learn more about AI-powered mirrorless tech and how to make sure your gear is actually helping you instead of holding you back.

8. Don't Over-Edit (The Beginner’s Trap)
One of the biggest mistakes we see in our tutorials is "over-processing." It’s easy to get excited with the clarity slider or turn the saturation up until the grass looks radioactive.
The best editors know when to stop. Often, the fastest way to get better is to do less. Learn to appreciate natural skin tones and realistic dynamic ranges. If you’re shooting portraits, for instance, you want the light to look intentional, not manufactured. Our guide to mastering natural light is a great place to start understanding how to work with what you have so you don’t have to "fake it" in Luminar later.
9. Organizing Your Catalog Like a Pro
Speed isn't just about how fast you move a slider; it's about how fast you can find a photo. If your desktop is covered in folders named "Shoot_Final_V2_USE_THIS_ONE," you're in trouble.
Use a star rating system or color labels. Be ruthless. If a photo isn't a 4 or 5-star shot, it shouldn't be in your main view. Keeping your catalog clean prevents the software from slowing down and keeps your brain focused. A cluttered workspace leads to a cluttered mind, and a cluttered mind is slow.

10. Stay Inspired and Keep Learning
The world of photography moves fast. New software updates, new sensors, and new AI tools come out every few months. The moment you think you know everything is the moment your work starts to look dated.
Make it a habit to watch one tutorial a week. Not just a "how-to" on a tool, but a "why-to" on a concept. Look at the work of masters: check out Edin Fine Art for inspiration on high-end landscape and architectural finishes. See how the light is handled. See how the colors balance.
Summary Checklist for Fast Editing:
- Cull In: Only look at the winners.
- Use Luminar: Let AI handle the tedious masking and sky work.
- Shortcuts: Keep your left hand on the keyboard and your right on the mouse.
- Batch Process: Copy and paste settings for similar lighting conditions.
- Get it right in-camera: Use manual mode correctly to avoid "fixing" photos later.
- Keep Learning: Stay tuned to the latest photography news to see what new tools are available.
Editing shouldn't be a chore. It’s the final act of your creative process: the part where you take a raw moment and turn it into a piece of art. By implementing these speed-focused strategies, you'll spend less time staring at a progress bar and more time out in the world with your camera in hand.
If you’re ready to really dive in and transform your photography from "okay" to "pro," head over to Shut Your Aperture Academy and check out our full range of courses. We’ve designed them to be simple, direct, and( most importantly( fast.))
Happy editing!