Night Photography
This is the complete guide to night photography on Shut Your Aperture. You’ll find everything from core theory to practical camera settings, covering 5 major sub-topics: Night Photography Basics, Astrophotography & Milky Way, Long Exposure Night Photography, Night Portrait Photography, Night Photography Locations & Planning. Whether you’re shooting portraits, landscapes, or working in low light, the articles below answer the specific questions that come up in real shooting situations.
Every guide is written by Edin Chavez — 15+ years as a working professional photographer — and covers real settings, not just theory. Use the sections below to navigate to whatever you need right now.
 Save
Save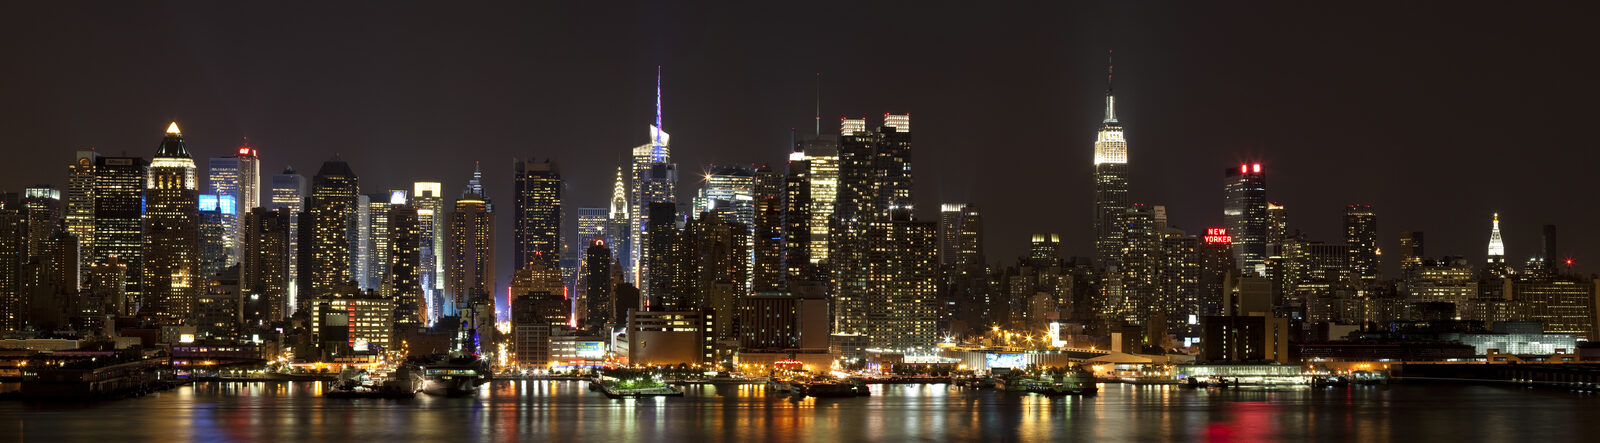 Save
SaveWhat You’ll Find in This Guide
The Night Photography cluster is organized into 5 sub-topics. Each sub-topic contains 20 in-depth articles that go from foundational concepts all the way to edge cases most photographers never think about until they’re in the field facing exactly that situation.
- Night Photography Basics
- Astrophotography & Milky Way
- Long Exposure Night Photography
- Night Portrait Photography
- Night Photography Locations & Planning
Night Photography Basics
This section covers everything you need to know about night photography basics. Whether you’re just starting out or refining a specific technique, these guides give you real settings, real scenarios, and clear explanations without the fluff.
Each article is built around a single question photographers actually search for — so you can find exactly what you need when you’re stuck in the field or at your editing desk.
- Night Photography Settings For Beginners Guide
- Best Camera Settings For Night Photography Iso Aperture Shutter
- How To Take Photos At Night For Beginners Tips
- Night Photography Without Tripod Handheld Settings
- Night Photography Exposure Settings Guide Complete
Astrophotography & Milky Way
This section covers everything you need to know about astrophotography & milky way. Whether you’re just starting out or refining a specific technique, these guides give you real settings, real scenarios, and clear explanations without the fluff.
Each article is built around a single question photographers actually search for — so you can find exactly what you need when you’re stuck in the field or at your editing desk.
- Astrophotography Beginners Guide Settings Tips
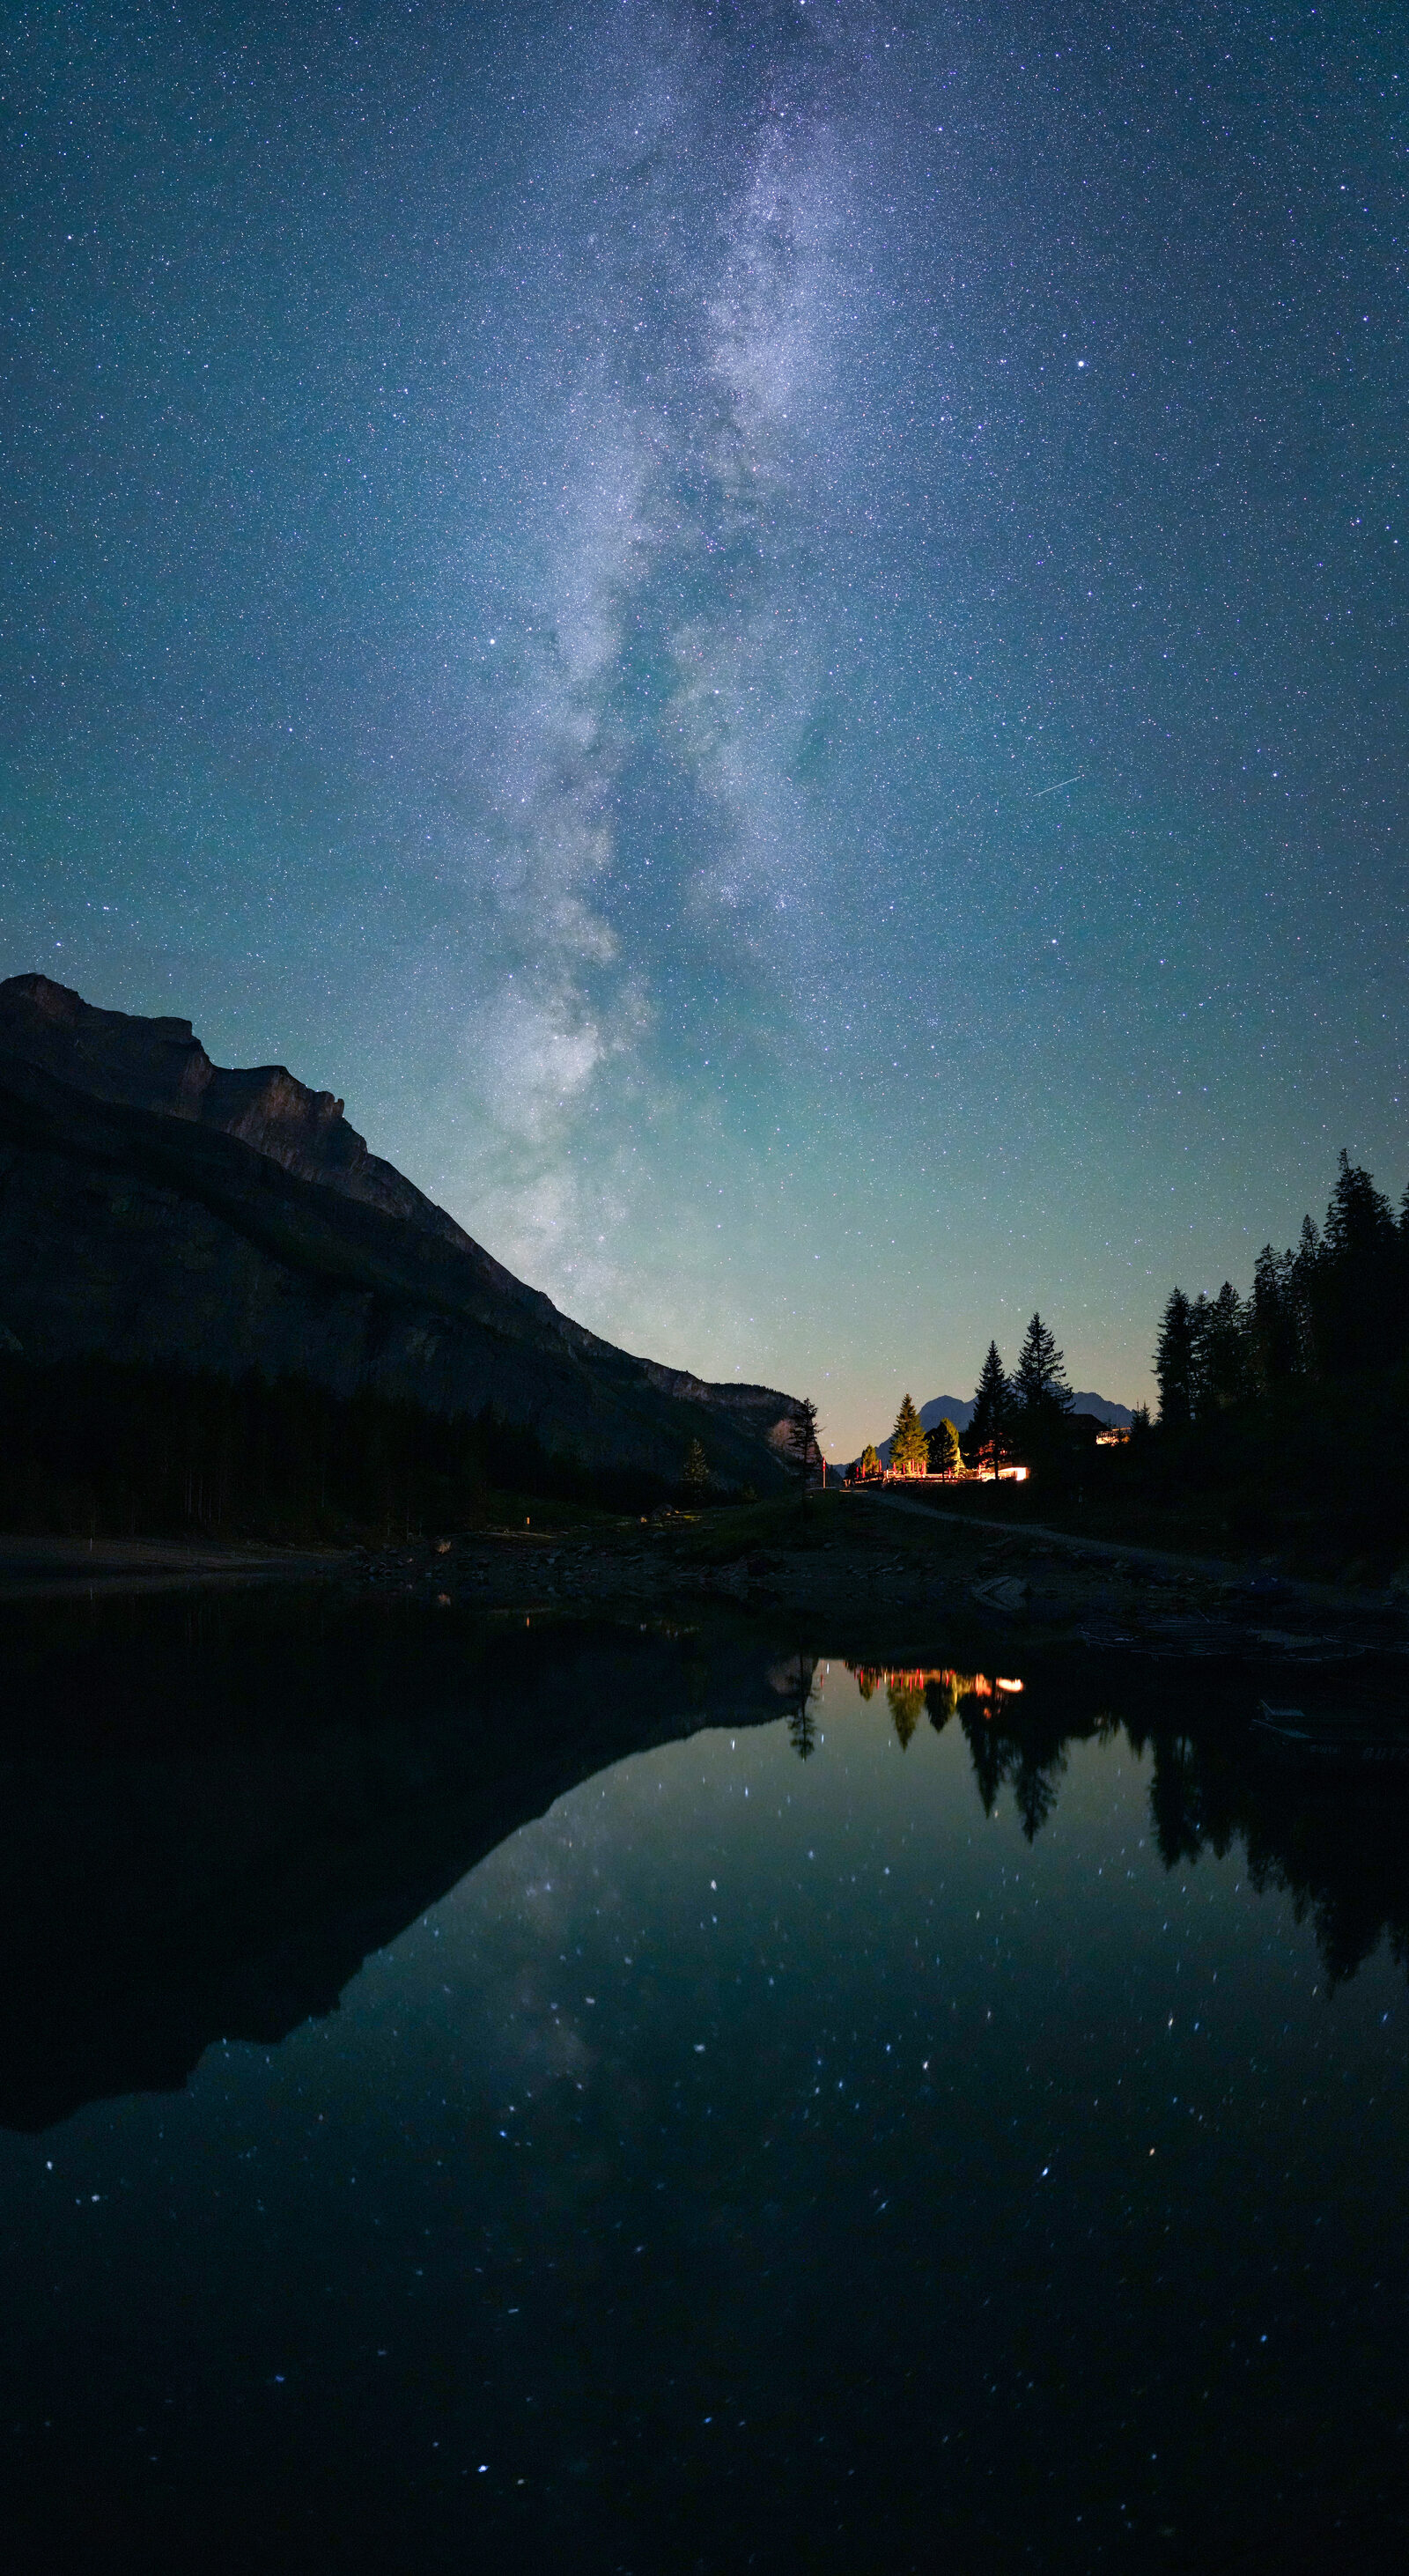
- How To Photograph Milky Way Settings Guide
- Best Camera For Astrophotography 2024 Review
- Best Lens For Milky Way Photography Wide Angle
- Milky Way Photography Iso Aperture Shutter Settings
Long Exposure Night Photography
 Save
SaveThis section covers everything you need to know about long exposure night photography. Whether you’re just starting out or refining a specific technique, these guides give you real settings, real scenarios, and clear explanations without the fluff.
Each article is built around a single question photographers actually search for — so you can find exactly what you need when you’re stuck in the field or at your editing desk.
- Long Exposure Night Photography Tips Settings Guide
- How To Photograph Light Trails At Night Tutorial
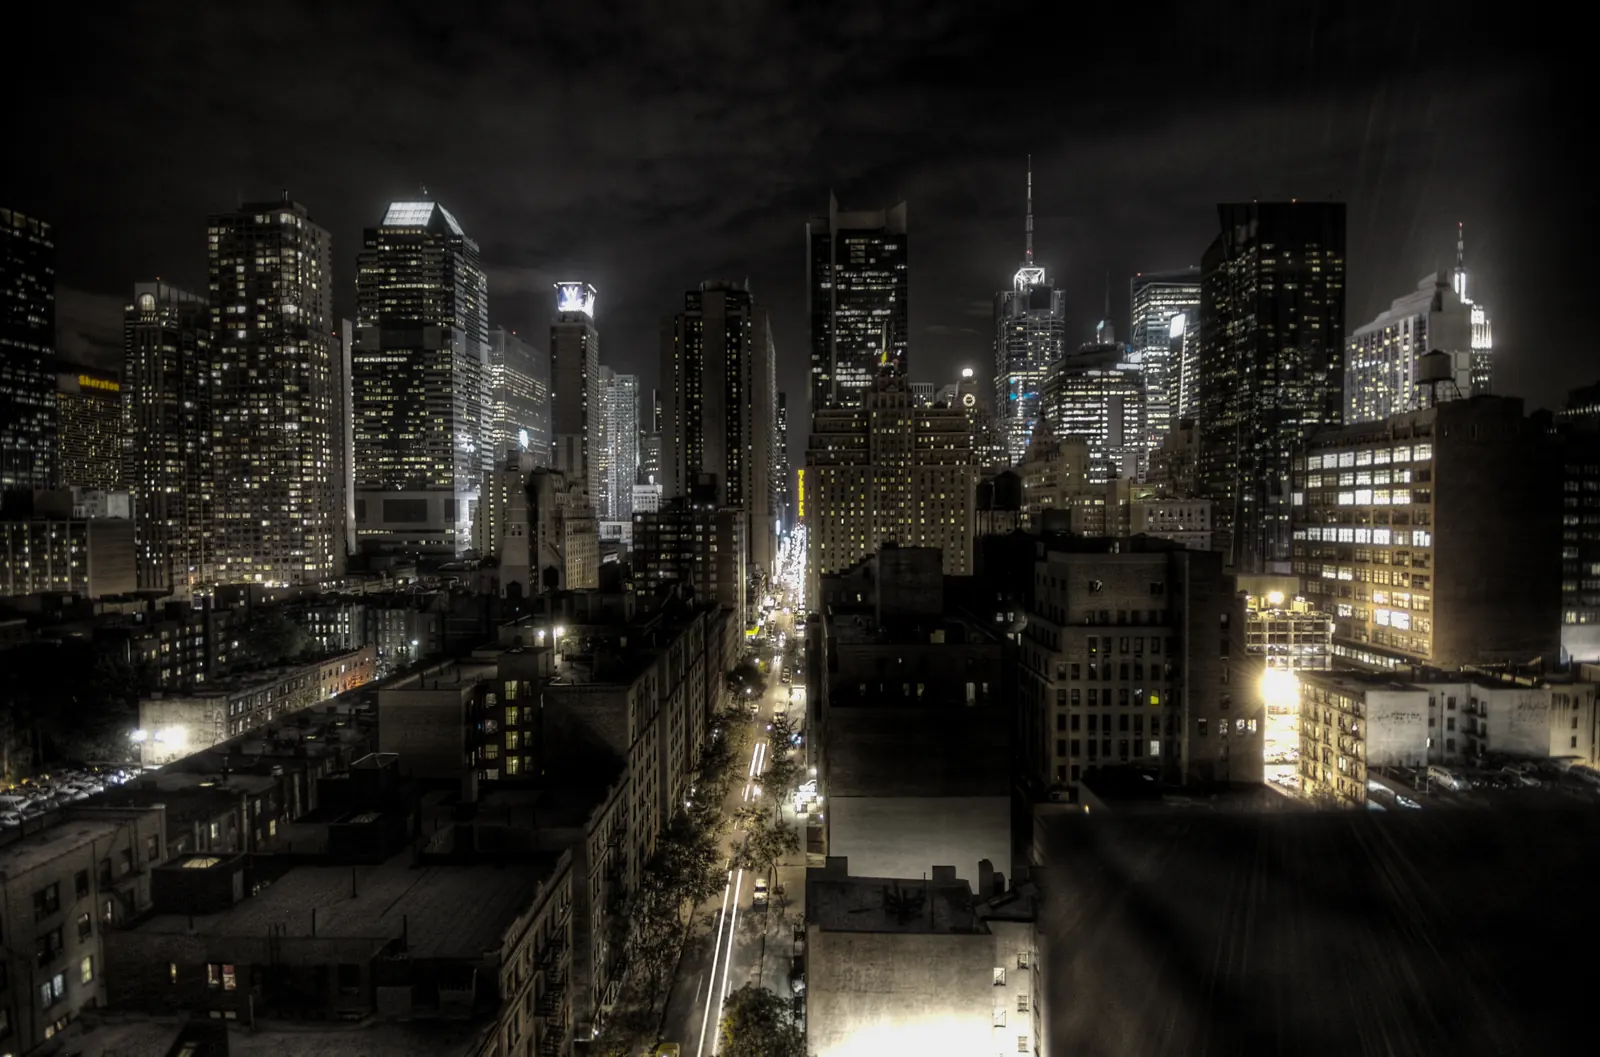
- Long Exposure City At Night Settings Guide
- How To Photograph Fireworks Long Exposure Tips
- Best Tripod For Long Exposure Night Photography
Night Portrait Photography
This section covers everything you need to know about night portrait photography. Whether you’re just starting out or refining a specific technique, these guides give you real settings, real scenarios, and clear explanations without the fluff.
Each article is built around a single question photographers actually search for — so you can find exactly what you need when you’re stuck in the field or at your editing desk.
- Night Portrait Photography Settings Tips Guide
- How To Photograph Portraits At Night Without Flash
- Best Settings For Night Portrait Photography
- How To Use Flash For Night Portraits Settings
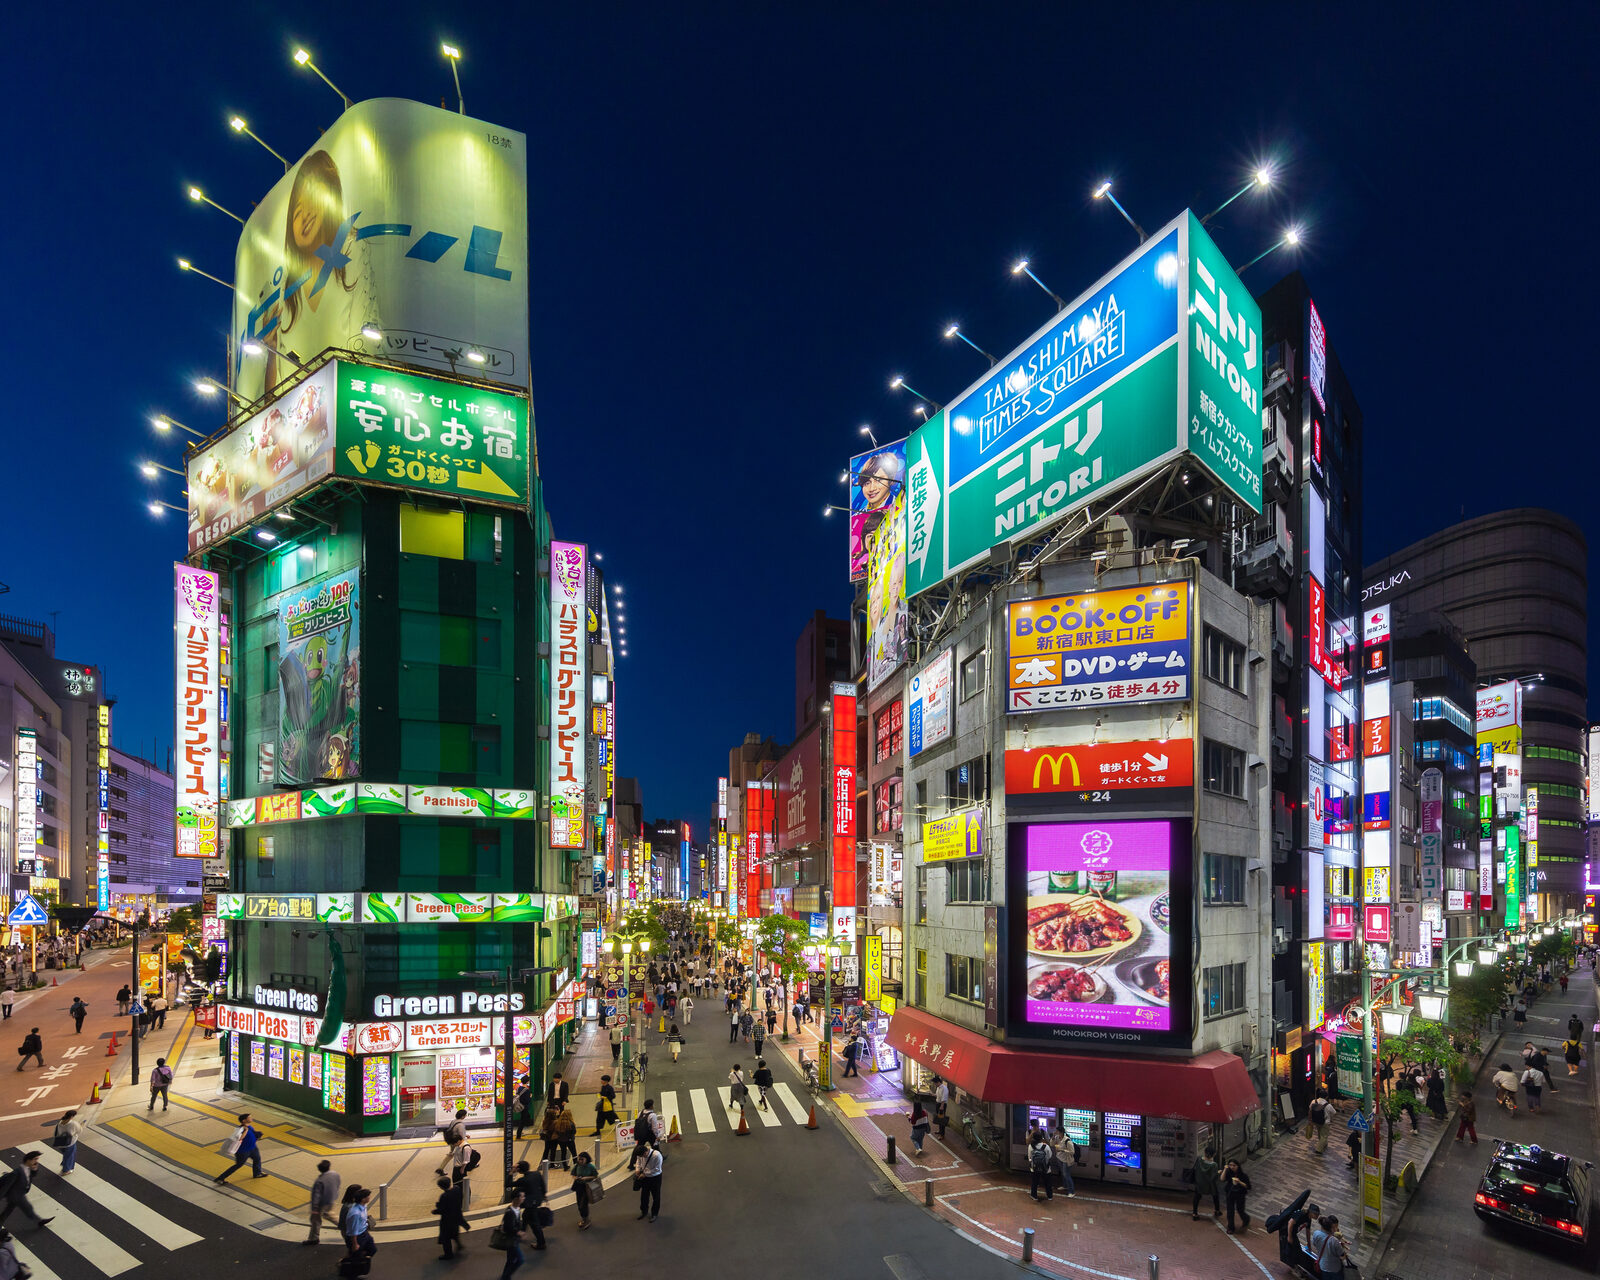
- Neon Sign Portrait Photography Tips Settings
Night Photography Locations & Planning
This section covers everything you need to know about night photography locations & planning. Whether you’re just starting out or refining a specific technique, these guides give you real settings, real scenarios, and clear explanations without the fluff.
Each article is built around a single question photographers actually search for — so you can find exactly what you need when you’re stuck in the field or at your editing desk.
- Best Locations For Night Photography Beginners Guide
- How To Find Night Photography Locations Near Me
- Best City Night Photography Locations Guide Usa
- How To Scout Night Photography Locations During Day
- Light Pollution Map For Night Photography Guide
Take Your Photography Further — Shut Your Aperture School
Master night and low-light photography with step-by-step guidance inside Shut Your Aperture School at https://learn.shutyouraperture.com/
 Save
SaveEdit Faster With Professional Lightroom Presets
Polish your night shots and reduce noise beautifully with our Lightroom presets at https://shutyouraperture.com/shop/
Browse Lightroom Presets →How to Use This Guide
If you’re brand new to night photography, start with the first sub-topic and work through the articles in order. If you have a specific question — like what settings to use for a particular scenario — use the sub-topic headings to jump directly to the right section. Each article stands alone, so you don’t need to read in sequence.
The articles are written for DSLR and mirrorless shooters of all levels. Some assume you know the basics of exposure; most are accessible to complete beginners. When a topic requires prior knowledge, the article will tell you up front.
 Save
SaveFrequently Asked Questions
What does the night photography basics section cover?
The Night Photography Basics section covers 20 detailed articles on night photography basics, from beginner fundamentals through to advanced technique. Each guide includes specific settings, real-world examples, and actionable steps.
What does the astrophotography & milky way section cover?
The Astrophotography & Milky Way section covers 20 detailed articles on astrophotography & milky way, from beginner fundamentals through to advanced technique. Each guide includes specific settings, real-world examples, and actionable steps.
What does the long exposure night photography section cover?
The Long Exposure Night Photography section covers 20 detailed articles on long exposure night photography, from beginner fundamentals through to advanced technique. Each guide includes specific settings, real-world examples, and actionable steps.
What does the night portrait photography section cover?
The Night Portrait Photography section covers 20 detailed articles on night portrait photography, from beginner fundamentals through to advanced technique. Each guide includes specific settings, real-world examples, and actionable steps.
How often is this guide updated?
This guide is updated regularly as new articles are published. Each sub-topic grows over time with new questions, gear reviews, and technique breakdowns based on what photographers are actually searching for.
Ready to Go Deeper?
Pick any sub-topic above to dive in. If you want structured learning with video, exercises, and community feedback, Shut Your Aperture School covers night photography in full — 1,200+ students, 4.9/5 stars, 30-day money-back guarantee.
For those who’d rather improve their editing speed, browse our Lightroom preset packs — each one is designed around a specific style or shooting scenario so you’re not guessing at sliders.
Step 2: Edit Your Night Files
Night photography demands editing finesse. Our Lightroom presets handle the noise, color casts, and shadow recovery night work requires.