We have put together 16 incredible street photography Lightroom Presets. This presets are made to make the viewer feel like he (she) were there. Carefully looking into every detail of the photo, this are calibrated to make your photos pop and give them that “street photography” feel. Check out some examples below.
This presets are included in our Ultimate Preset Collection. But if you are only interested in street photography this is a more affordable option.
Available for instant download
Works with Lightroom 4,5,6 and LRCC
Works with JPEG and RAW
Professional Results
One click and you are done
Click Here for installation instructions
PLEASE NOTE THIS IS AN INSTANT DOWNLOAD, PLEASE CHECK YOUR DOWNLOADS FOLDER. YOU WILL ALSO RECEIVE AN EMAIL WITH THE DOWNLOAD LINK (S)
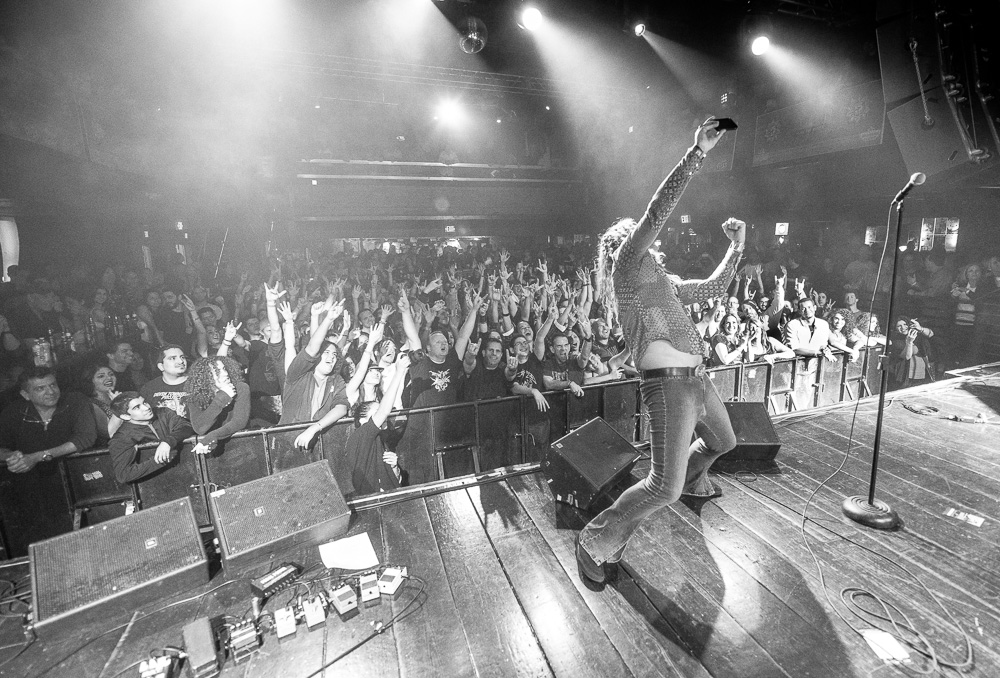
What is a good concert without a good photo? Our RockShow preset
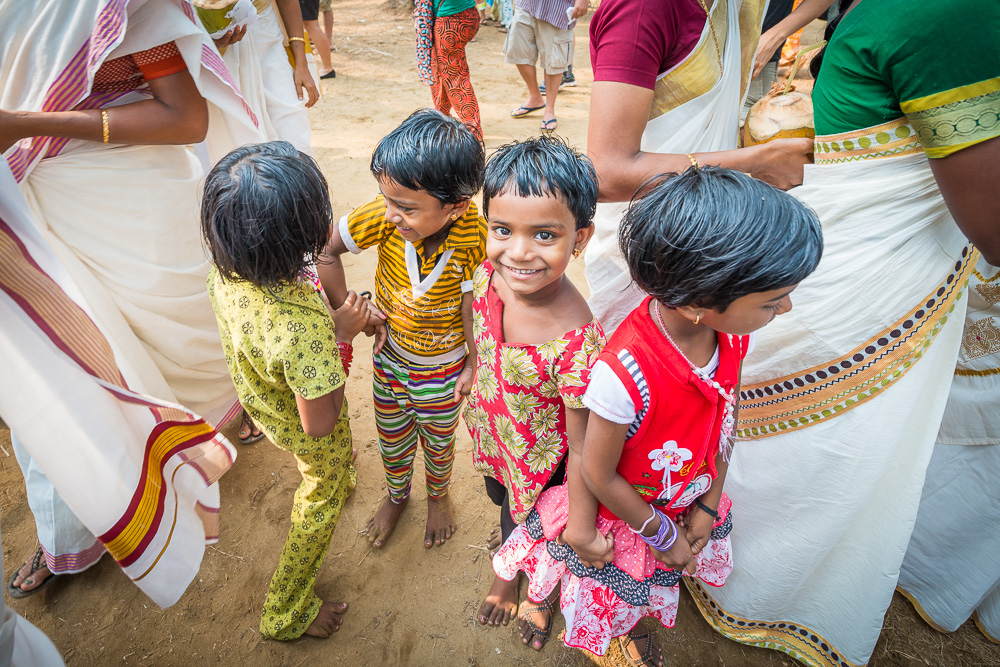
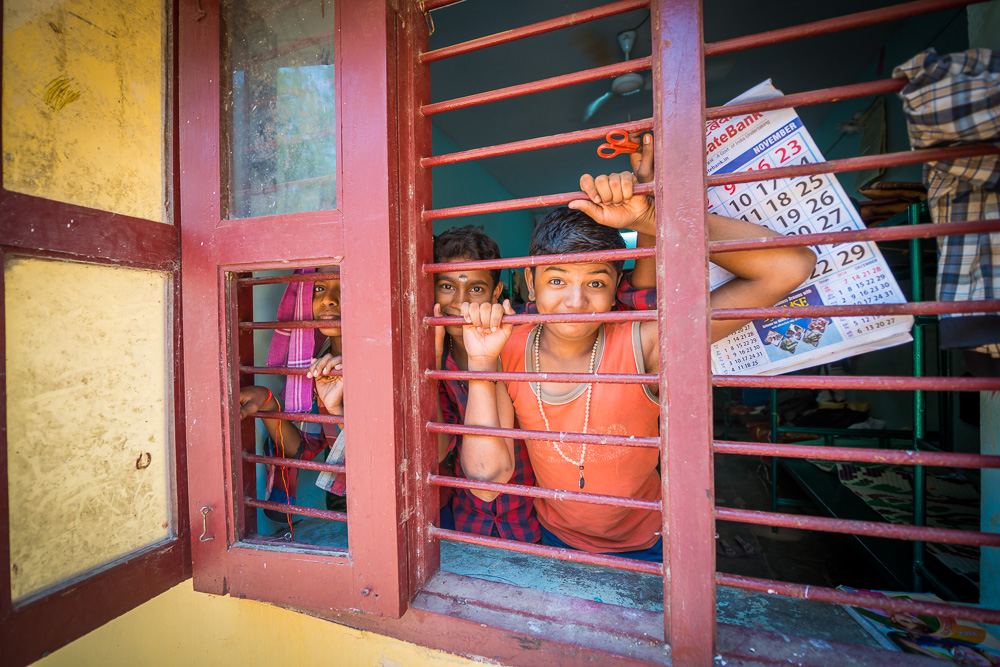
One of our favorites the India preset, designed to make the colors and people stand out without overwhelming the viewer.
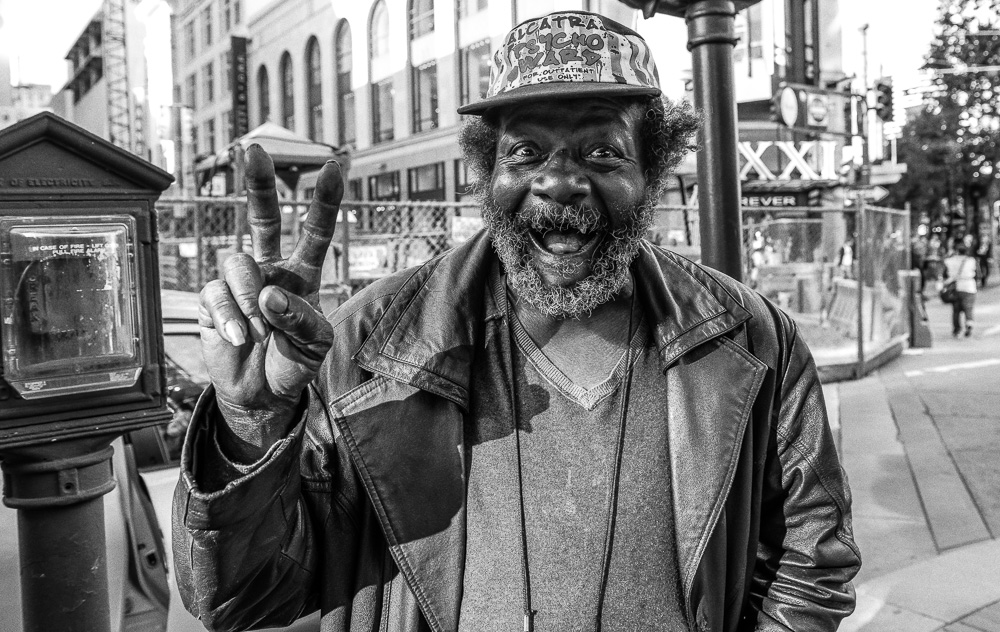
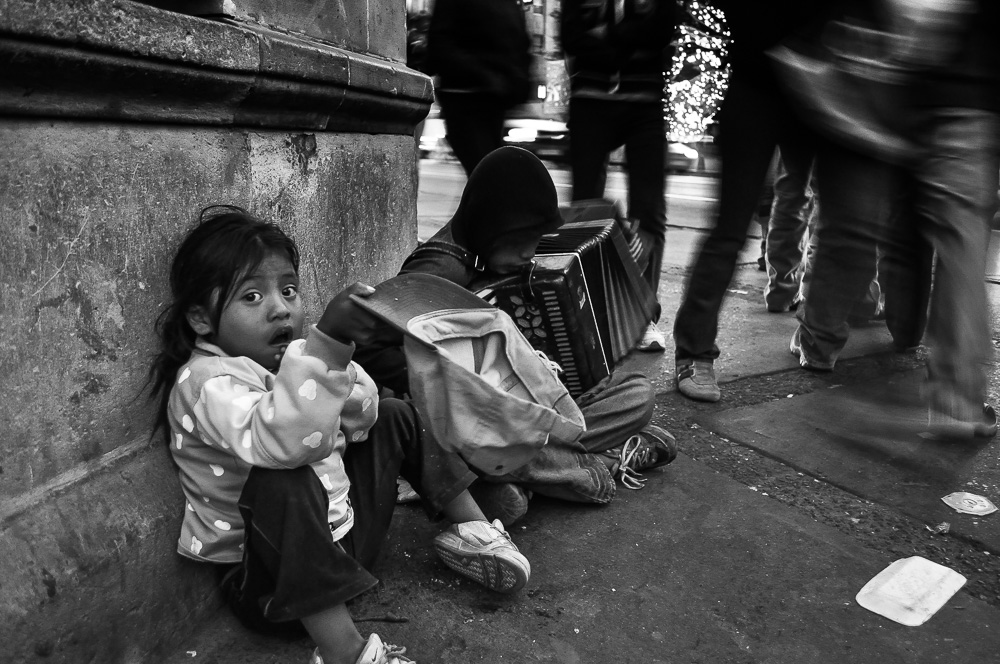
Here is everyones favorite B&W Rocks
These are only 5 of the 14 and we know you will love the rest.
Click Here for installation instructions
PLEASE NOTE THIS IS AN INSTANT DOWNLOAD, PLEASE CHECK YOUR DOWNLOADS FOLDER. YOU WILL ALSO RECIVE AN EMAIL WITH THE DOWNLOAD LINK (S)