Let’s be honest: taking a photo of a person should be the easiest thing in the world, right? You point the camera, they smile, and click. But if it were that easy, we wouldn’t have millions of photos where people look like they’re being held hostage or have a tree growing out of their heads.
Portrait photography is an art form that blends technical skill with human connection. Whether you’re just starting with photography for beginners or you’re a seasoned pro looking to sharpen your skills, mastering portrait photography techniques is a game-changer. It’s the difference between a "nice picture" and a portrait that stops someone mid-scroll.
In this guide, we’re going to dive deep into everything you need to know, from the gear that makes a difference to the psychological tricks that help your subjects relax.
Getting the Gear Right
You don’t need a $10,000 setup to take a great portrait, but the right tools certainly help. When we talk about portraiture, the lens is often more important than the camera body itself.
Best Mirrorless Cameras for Portraits
In 2026, mirrorless is the king of the hill. If you’re looking for the best mirrorless cameras for portraits, you want something with excellent Eye-AF (Auto Focus). Cameras from Sony, Canon, and Nikon now have "eye-tracking" that stays locked on your subject’s pupil even if they move. This is a total life-saver. You can find more in-depth reviews on the latest bodies over at camera gear reviews.
The Magic of Prime Lenses
While a kit lens can get the job done, a prime lens (a lens with a fixed focal length) is the gold standard for portraits.
- 50mm (The Nifty Fifty): Great for full-body and waist-up shots. It’s affordable and mimics the human eye.
- 85mm: The "Portrait Master." It provides beautiful compression and that creamy background blur (bokeh) that everyone loves.
- 135mm: For those tight headshots with ultimate background separation.
 )
)
Mastering Manual Mode
If you want to succeed, you need to know how to use manual mode camera settings. Letting the camera make the decisions usually leads to "flat" images.
Aperture: The Bokeh Maker
For portraits, you generally want a wide aperture (a low f-number like f/1.8 or f/2.8). This creates a shallow depth of field, keeping the subject sharp while the background melts away. If you're doing a group portrait, though, stop it down to f/4 or f/5.6 so everyone stays in focus.
Shutter Speed and ISO
Keep your shutter speed fast enough to avoid "camera shake", usually at least 1/200th of a second. For ISO, keep it as low as possible (ISO 100) to avoid grain. If you’re shooting in low light, don't be afraid to bump it up, but know your camera's limits. For more on the basics, check out these photography tutorials.
Lighting: The Make or Break Factor
You can have the best model in the world, but if the lighting is bad, the photo is toast. Lighting is the core of all portrait photography techniques.
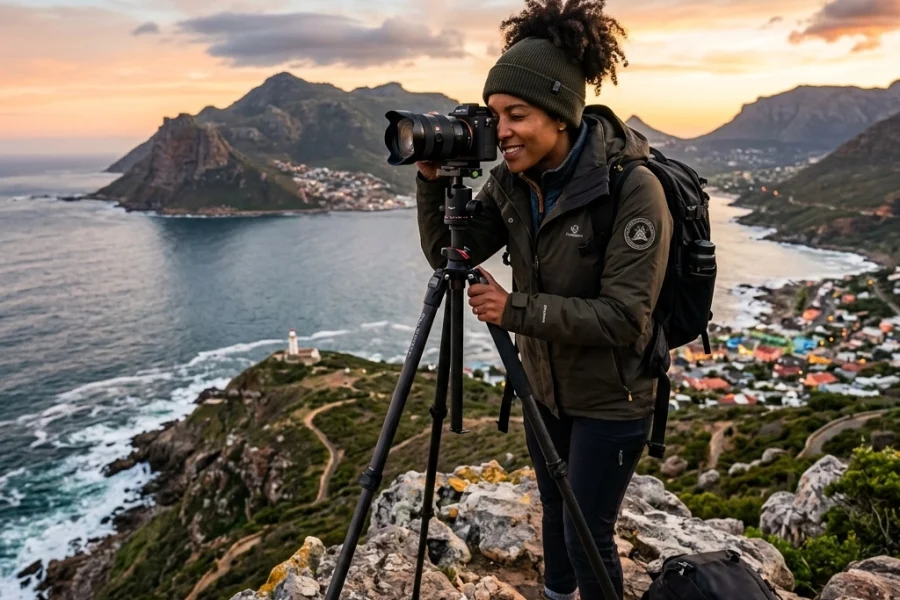
Natural Light and the Golden Hour
The hour just after sunrise or just before sunset is your best friend. The light is soft, warm, and directional. If you have to shoot in the middle of the day, find some "open shade", like under a tree or in the shadow of a building. This avoids those nasty "raccoon eyes" caused by harsh overhead sun.
Studio Lighting Basics
If you’re moving indoors, you’ll want a key light (your main source) and a fill light (to soften shadows). A simple softbox can do wonders. If you want to get fancy, adding a "rim light" behind the subject helps separate them from the background.

SEO Alt Text: Studio lighting setup with a large softbox and a reflector for professional portrait photography.
Composition Techniques That Work
Composition isn't just for landscape photography tips; it’s vital for portraits too.
- The Rule of Thirds: Don’t always put your subject right in the middle. Place their eyes on the upper third line to create a more balanced and engaging feel.
- Negative Space: Sometimes, leaving a lot of empty space on one side of the subject adds a sense of "breath" and minimalism to the shot.
- Leading Lines: Use fences, roads, or even shadows to lead the viewer’s eye directly to your subject.
- Eye Level: Generally, you want to shoot at the subject's eye level. Shooting from above makes them look smaller/vulnerable; shooting from below makes them look powerful/heroic.
For more inspiration on unique compositions, you can browse through some amazing work at Edin Fine Art.
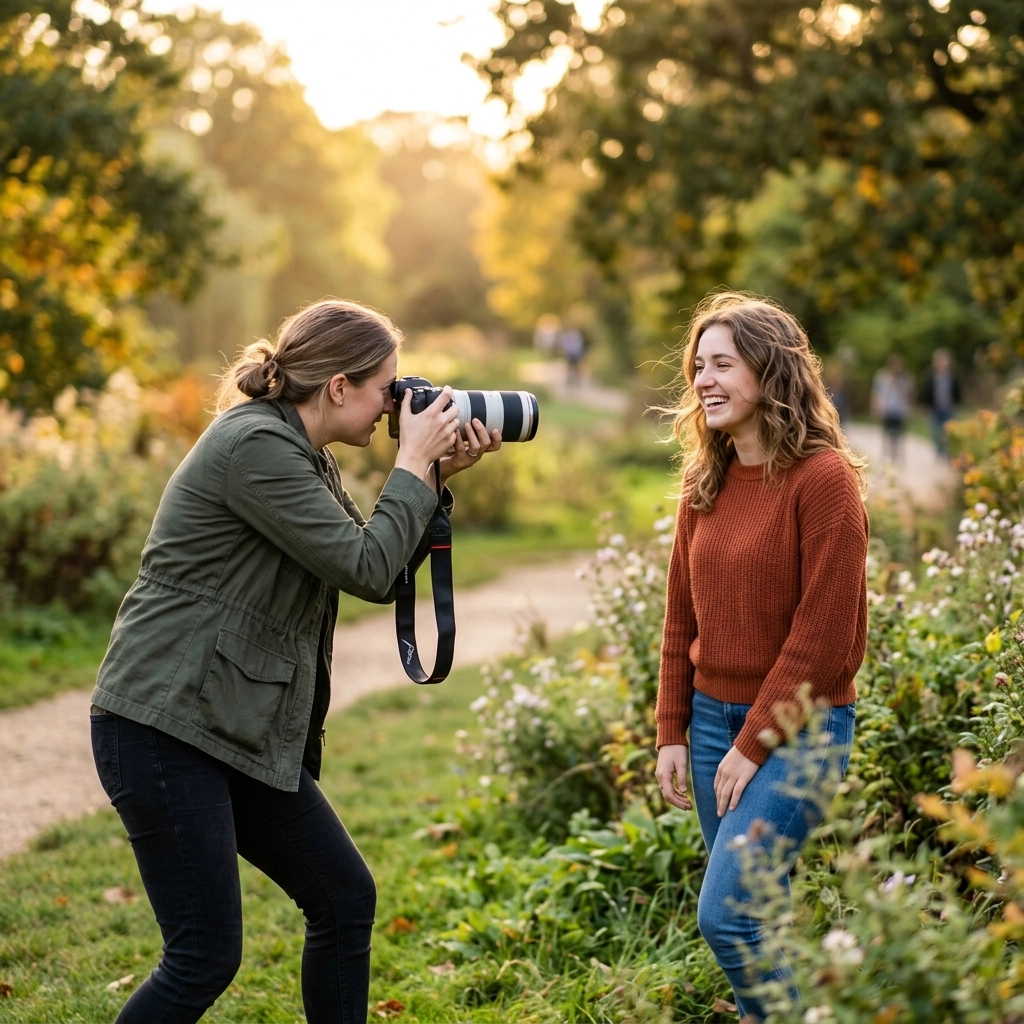
Posing and Subject Connection
This is where many photographers struggle. People aren't mannequins; they get nervous. Your job is to be the director.
Breaking the Ice
Talk to your subject. Don't just hide behind the lens. Tell a joke, talk about the weather, or ask about their day. When they forget the camera is there, you get the real expressions. This is a tip you’ll often see in street photography ideas too, it’s all about the "moment."
Posing Tips
- The "Chicken Wing": Ask them to put their hands on their hips but pull their elbows back slightly to create a gap between their arms and torso. This is instantly slimming.
- Chin Out and Down: It feels weird, but it defines the jawline and eliminates the "double chin" look that cameras often create.
- Weight on the Back Foot: This creates a more natural, relaxed posture.
 )
)
Focusing on the Eyes
In portraiture, if the eyes aren't sharp, the photo is a failure. Always, always focus on the eye closest to the camera. Most modern mirrorless cameras have "Face and Eye Detection." Use it. It’s one of the best photography tutorials you can give yourself, learning to trust your gear's autofocus while keeping an eye on the composition.
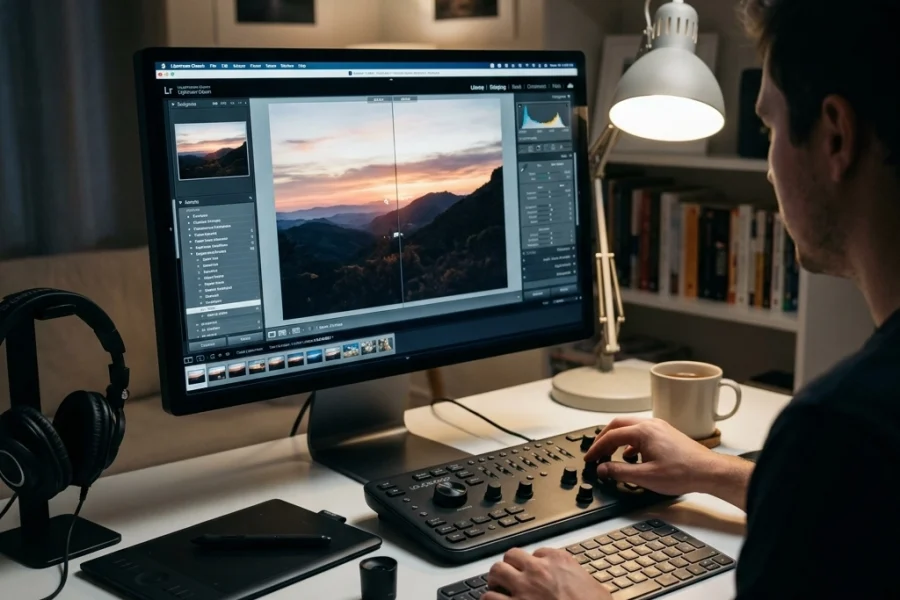
Post-Processing: Bringing It All Together
Taking the photo is only 70% of the work. The rest happens in the digital darkroom.
Photo Editing Tutorials
When you’re editing portraits, the goal is usually to enhance, not to fake. You want to clean up temporary blemishes, brighten the eyes slightly, and maybe do a bit of color grading.
One of the best tools for this is Luminar. It has AI-driven tools specifically for portraits, like "Skin AI" and "Face AI," which save you hours of manual masking. Instead of spending 30 minutes retouching skin, you can do it in 30 seconds.
If you're looking for more advanced tips on workflow, check out the resources at blog.edinchavez.com.
Common Mistakes to Avoid
Even the pros mess up sometimes. Here’s what to look out for:
- Distracting Backgrounds: A pole looking like it's coming out of someone's head is a classic rookie mistake. Check your edges before you click.
- Over-Editing: Don't make the skin look like plastic. People have pores; it’s okay to see them.
- Wrong Focal Length: Using a wide-angle lens for a close-up headshot will distort the face (making the nose look huge). Stick to 50mm or higher for tight shots.

SEO Alt Text: A side-by-side comparison of a portrait with a distracting background versus a clean, blurred background using a wide aperture.
Staying Updated with Photography News
The world of photography moves fast. Whether it's a new firmware update for your camera or a breakthrough in AI editing, staying informed is part of the job. Keep an eye on photography news to ensure you aren't left behind as tech evolves.
Final Thoughts on Succeeding in Portraiture
Portrait photography is a journey. Your first hundred portraits might be "meh," but each one teaches you something about light, people, and your own style. Don’t be afraid to experiment. Try some street photography ideas to get used to shooting people in unpredictable environments, or take a look at how to use manual mode camera guides to really master your craft.
Remember, the best portrait photography techniques are the ones that help you tell a story. Focus on the person in front of the lens, and the rest will fall into place.
If you found this guide helpful, head over to PhotoGuides.org for more deep dives into the world of photography. Keep shooting, keep learning, and most importantly, keep shutting your aperture (when the light calls for it!).