
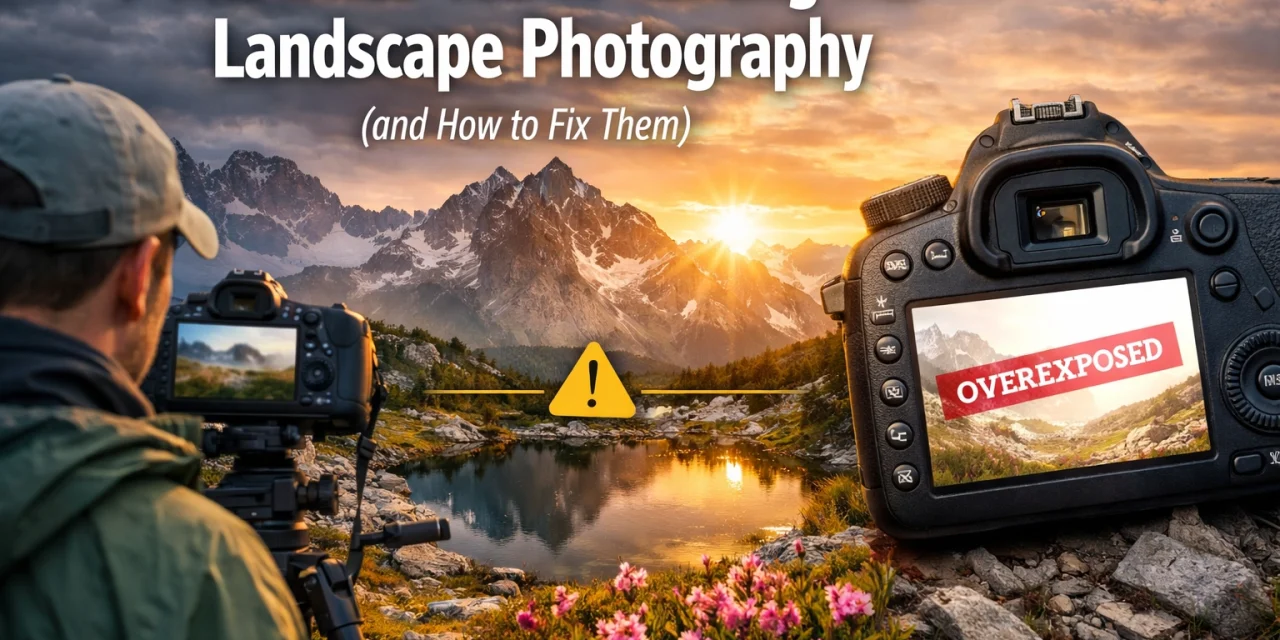
Landscape photography looks easy on Instagram. You see a glowing mountain, a mirror-like lake, and a perfectly placed lone tree. You think, "I just need to stand there and press the shutter."
Then you get there. You hike four miles at 4:00 AM, set up your tripod, wait for the light, and take the shot. When you get home and pull it up on your monitor, it looks… fine. Just fine. It lacks the punch, the depth, and that "wow" factor you were hunting for.
Don't worry; we’ve all been there. Even Edin Chavez started somewhere, probably trip-hazard-deep in a swamp or chasing a sunset that didn't happen. Most of the time, the difference between a "nice snapshot" and a gallery-worthy masterpiece isn't the camera you’re holding, it’s the way you’re using it.
If you want to stop taking "fine" photos and start capturing the soul of the wilderness, you need to stop making these seven common mistakes. Let’s break them down and, more importantly, let’s fix them.
1. The "Wide-Angle Trap"
We’ve all done it. You arrive at a breathtaking vista, the Grand Canyon, the Dolomites, or even just a local state park, and your first instinct is to reach for the widest lens in your bag. You want to "capture it all." You dial it to 16mm, cram everything into the frame, and click.
The result? Everything in your photo looks tiny. That massive mountain peak now looks like a molehill in the distance. The foreground is a vast, empty space of dirt or grass that leads the eye… nowhere.
The Fix: Be Selective and Get Close
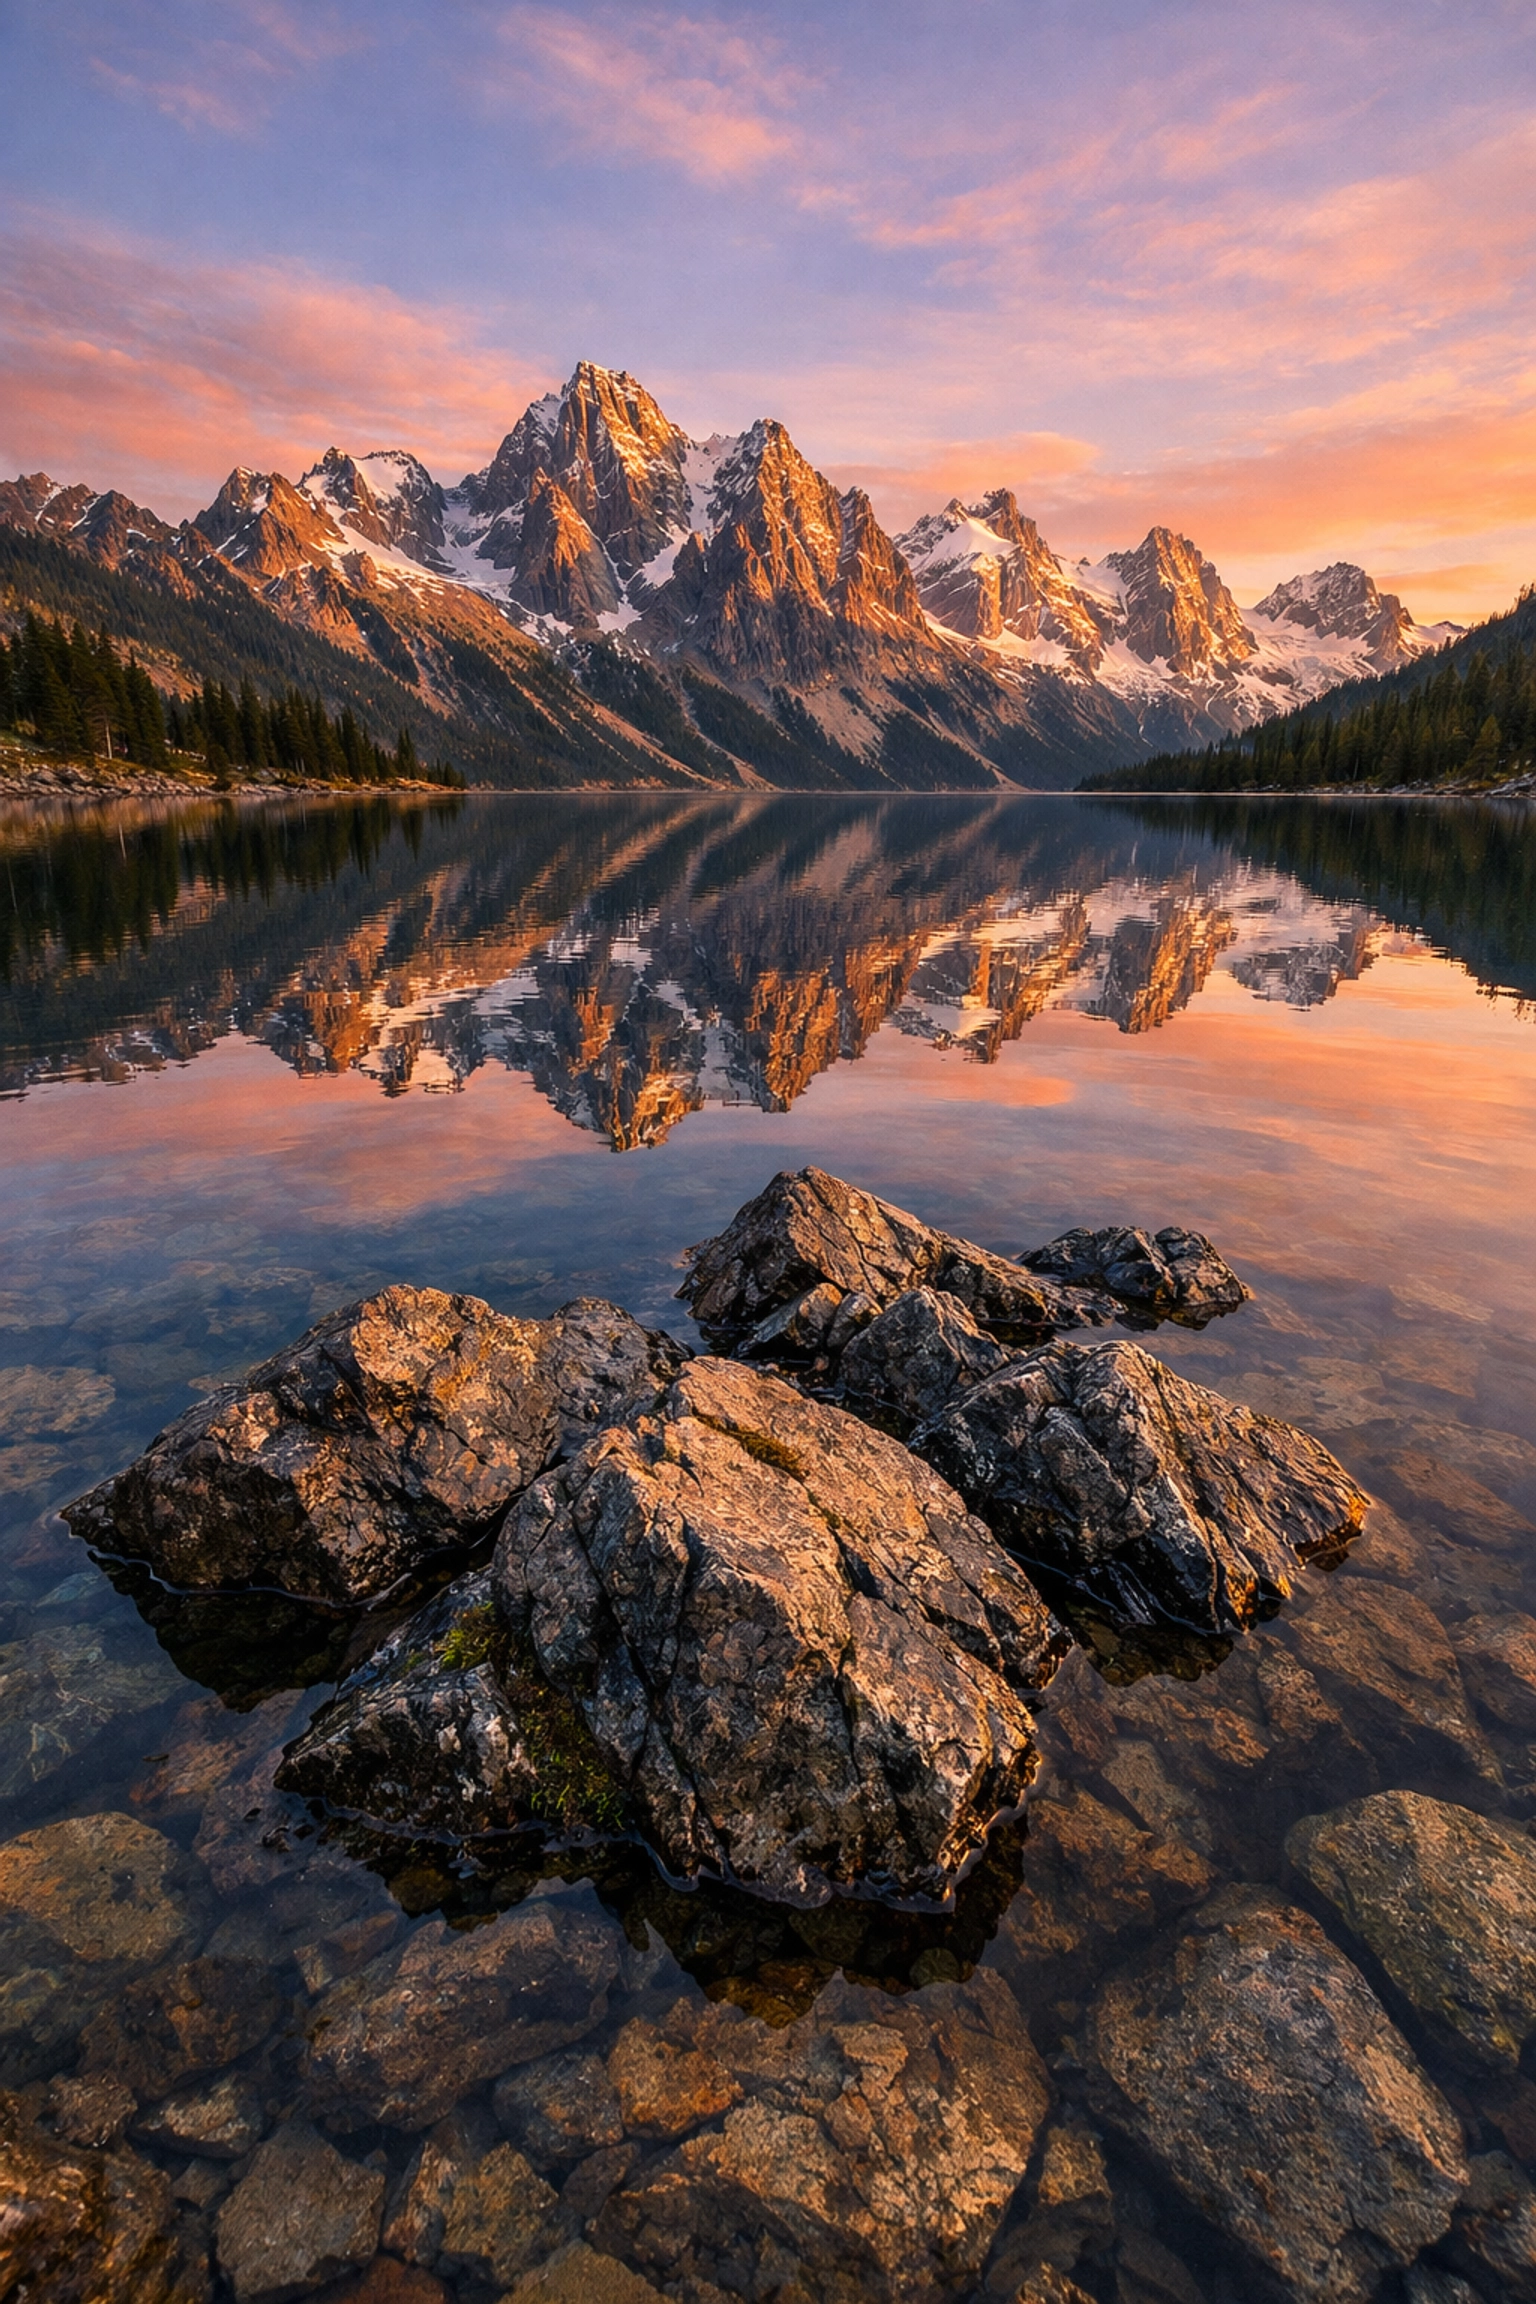
Wide-angle lenses are great for creating a sense of scale, but only if you have a strong foreground element to anchor the viewer. If you’re going wide, you need to get physically close to something interesting, a rock, a flower, a patch of ice. This creates a "near-far" relationship that leads the viewer’s eye through the scene.
Alternatively, don't be afraid to use a telephoto lens for landscapes. Some of the best shots at PhotoGuides.org are actually tight crops of mountain ridges or light hitting a specific group of trees. If the scene is too messy, zoom in. Narrowing your focal length forces you to be intentional about what you include. It’s better to have one powerful subject than twenty tiny, distracting ones.
2. Shooting at the "Wrong" Aperture (The f/8 Myth)
In the photography world, there’s an old saying: "f/8 and be there." While f/8 is often the "sweet spot" for lens sharpness, it isn't a universal law for landscapes. A common mistake is shooting at f/8 or f/5.6 when you have a beautiful flower just three feet from your lens and a mountain range ten miles away. At f/8, your flower might be sharp, but your mountains will be a soft, blurry mess.
Conversely, some photographers crank their aperture to f/22 to get "maximum sharpness," only to realize their entire image looks soft because of a physics phenomenon called diffraction.
The Fix: Understand Your Depth of Field
For most landscape scenes where you want everything sharp from the front to the back, f/11 to f/16 is your best friend. Don't be afraid to stop down. Yes, you might lose a tiny bit of pixel-level sharpness due to diffraction at f/18 or f/22, but that’s much better than having a foreground that looks like it was smeared with Vaseline.
If you’re struggling with getting everything in focus, it might be time to learn about focus stacking. This involves taking multiple shots at different focus points and merging them later. It’s a bit more work, but it’s how the pros get those impossibly sharp results you see at www.edinfineart.com.
3. Ignoring the Edges of Your Frame
You’re so focused on the beautiful sunset and the reflection in the water that you don't notice the stray pine branch sticking into the top left corner. Or the trash can sitting on the edge of the beach. Or, worst of all, the leg of your own tripod.
These "edge distractions" pull the viewer's eye away from your subject. Our eyes are naturally drawn to high-contrast elements near the edges of a photo. A bright white rock or a dark branch at the very edge acts like a "exit sign" for the viewer's gaze.
The Fix: The "Border Patrol" Scan
Before you press the shutter, make it a habit to do a "Border Patrol." Look at all four corners and all four edges of your viewfinder. If there’s something there that doesn't need to be, move your camera slightly or physically move the distraction.
Think of your frame like a painting. Everything inside it should be there for a reason. If it doesn't add to the story, it’s a distraction. For more tips on cleaning up your compositions, check out some of the deep dives over at www.proshoot.io.
4. The "Eye-Level" Perspective
Most people experience the world from about five to six feet off the ground. When you take all your photos from eye level, you’re showing the world exactly how everyone else sees it. It’s predictable. It’s… boring.
Standing straight up with your tripod at full height is the quickest way to get a "snapshot" look. It fails to immerse the viewer in the environment.
The Fix: Change Your Elevation
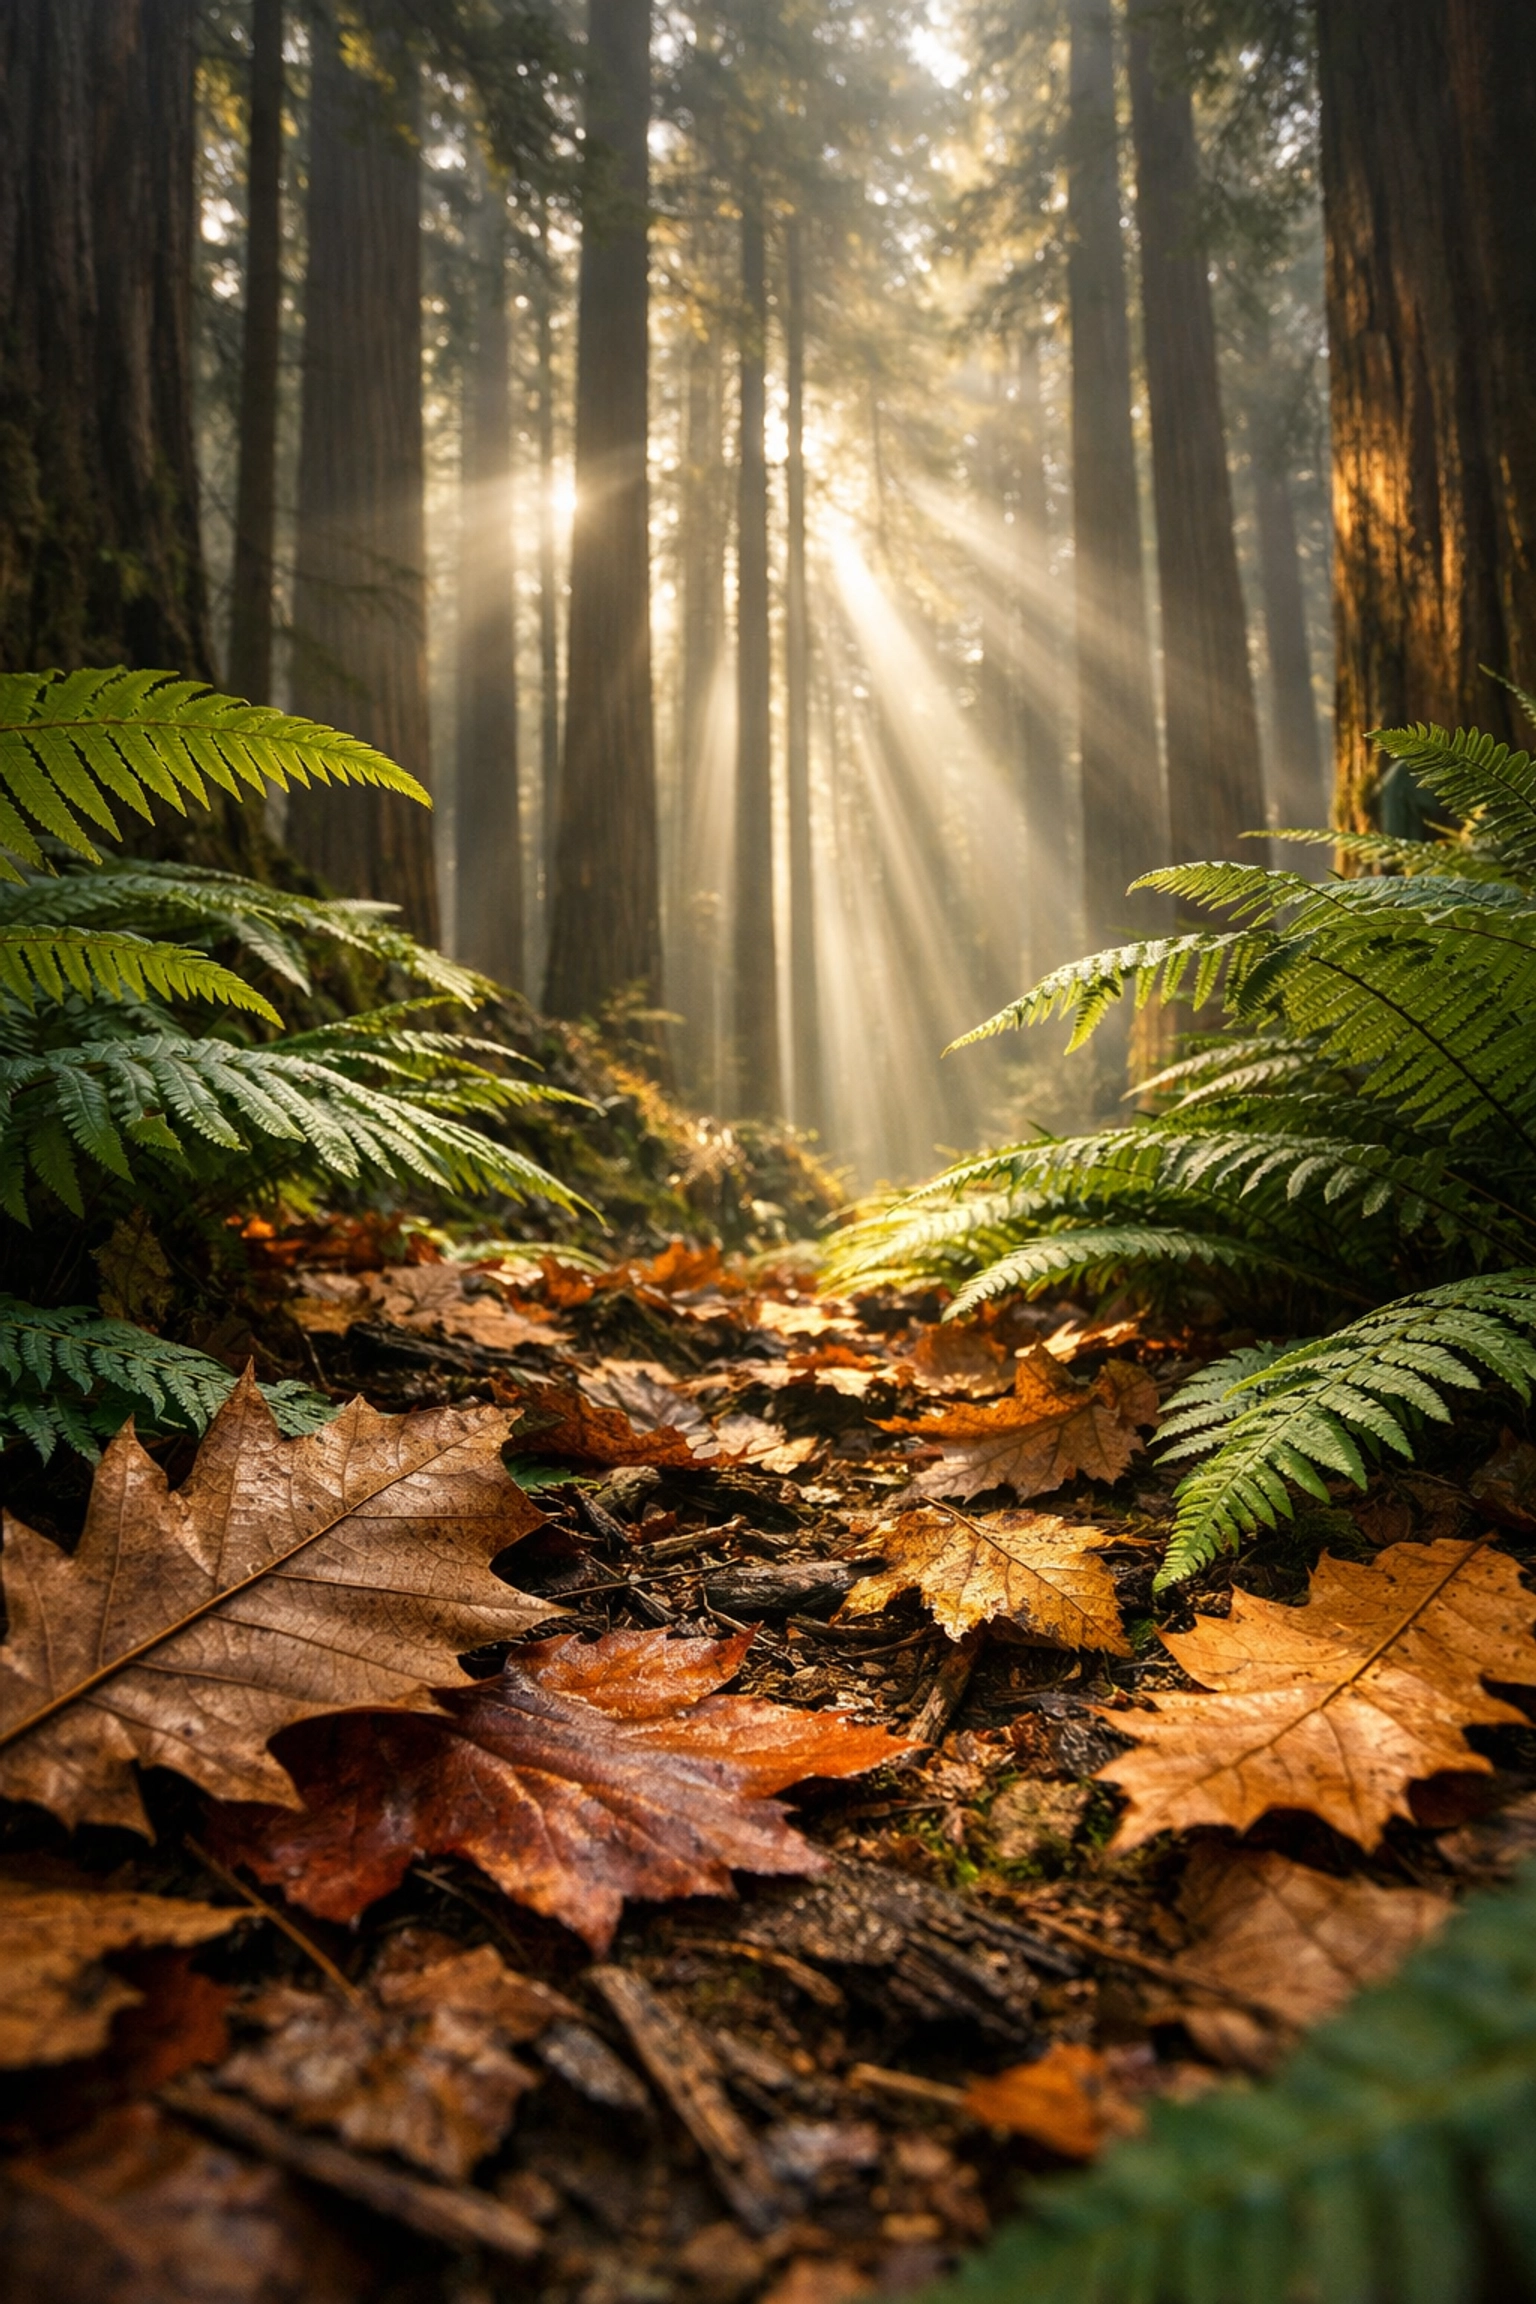
Get low. No, lower than that. Put your camera six inches off the ground. This makes the foreground elements loom large and creates a much more dramatic sense of depth. Alternatively, find a higher vantage point to look down on the scene.
By changing your physical perspective, you immediately make the image more interesting because you're showing the viewer a world they don't normally see. While the role of luminosity is huge in photography, composition and perspective are the bones that hold it all together.
5. Over-Processing and the "Nuclear" Look
We live in the age of sliders. It is incredibly tempting to take a flat RAW file, open up your editing software, and crank the saturation, clarity, and HDR sliders to 100. We call this "clown vomit" in the industry. You’ve seen the photos, grass that glows neon green, skies that look like a bruised plum, and halos around every mountain peak.
Over-processing is the fastest way to make a beautiful scene look cheap and fake. It screams "beginner."
The Fix: Subtlety is King
When you’re editing, try to enhance what was already there rather than inventing a new reality. Use software like Luminar to intelligently bring out details in the shadows and highlights, but do it with a light touch. Luminar has some amazing AI tools that can help with "Atmosphere" and "Golden Hour" looks, but the key is to use the opacity slider.
A good rule of thumb: once you think a photo looks perfect, turn all your adjustments down by 20%. Your eyes "adjust" to heavy editing as you work, making you think it looks normal when it actually looks insane to someone seeing it for the first time. If you want to see how to balance light naturally, look at the ethereal imagery techniques often used in high-end photography.
6. Mismanaging Blown Highlights
The sun is bright. Like, really bright. Digital sensors are great, but they still struggle to capture the full range of light from a dark forest floor to a glowing sunset sky in a single frame.
A common mistake is letting the highlights (the brightest parts of the image) "blow out" to pure white. Once a pixel is pure white, there is no data there. You can't "fix" it in post-processing. It’s just a dead spot in your image.
The Fix: Expose for the Highlights or Bracket
In landscape photography, it’s usually better to have an image that is slightly too dark than one that is too bright. You can usually recover shadows, but you can't recover blown highlights.
Use your histogram! If the graph is bunched up against the right side, you’re losing detail. The best way to handle high-contrast scenes is to "bracket" your shots. Take one photo exposed for the ground, one for the sky, and one in the middle. You can then blend these in Luminar or Photoshop to get a perfect exposure throughout. If you're looking for more technical breakdowns on exposure, blog.edinchavez.com is a goldmine.
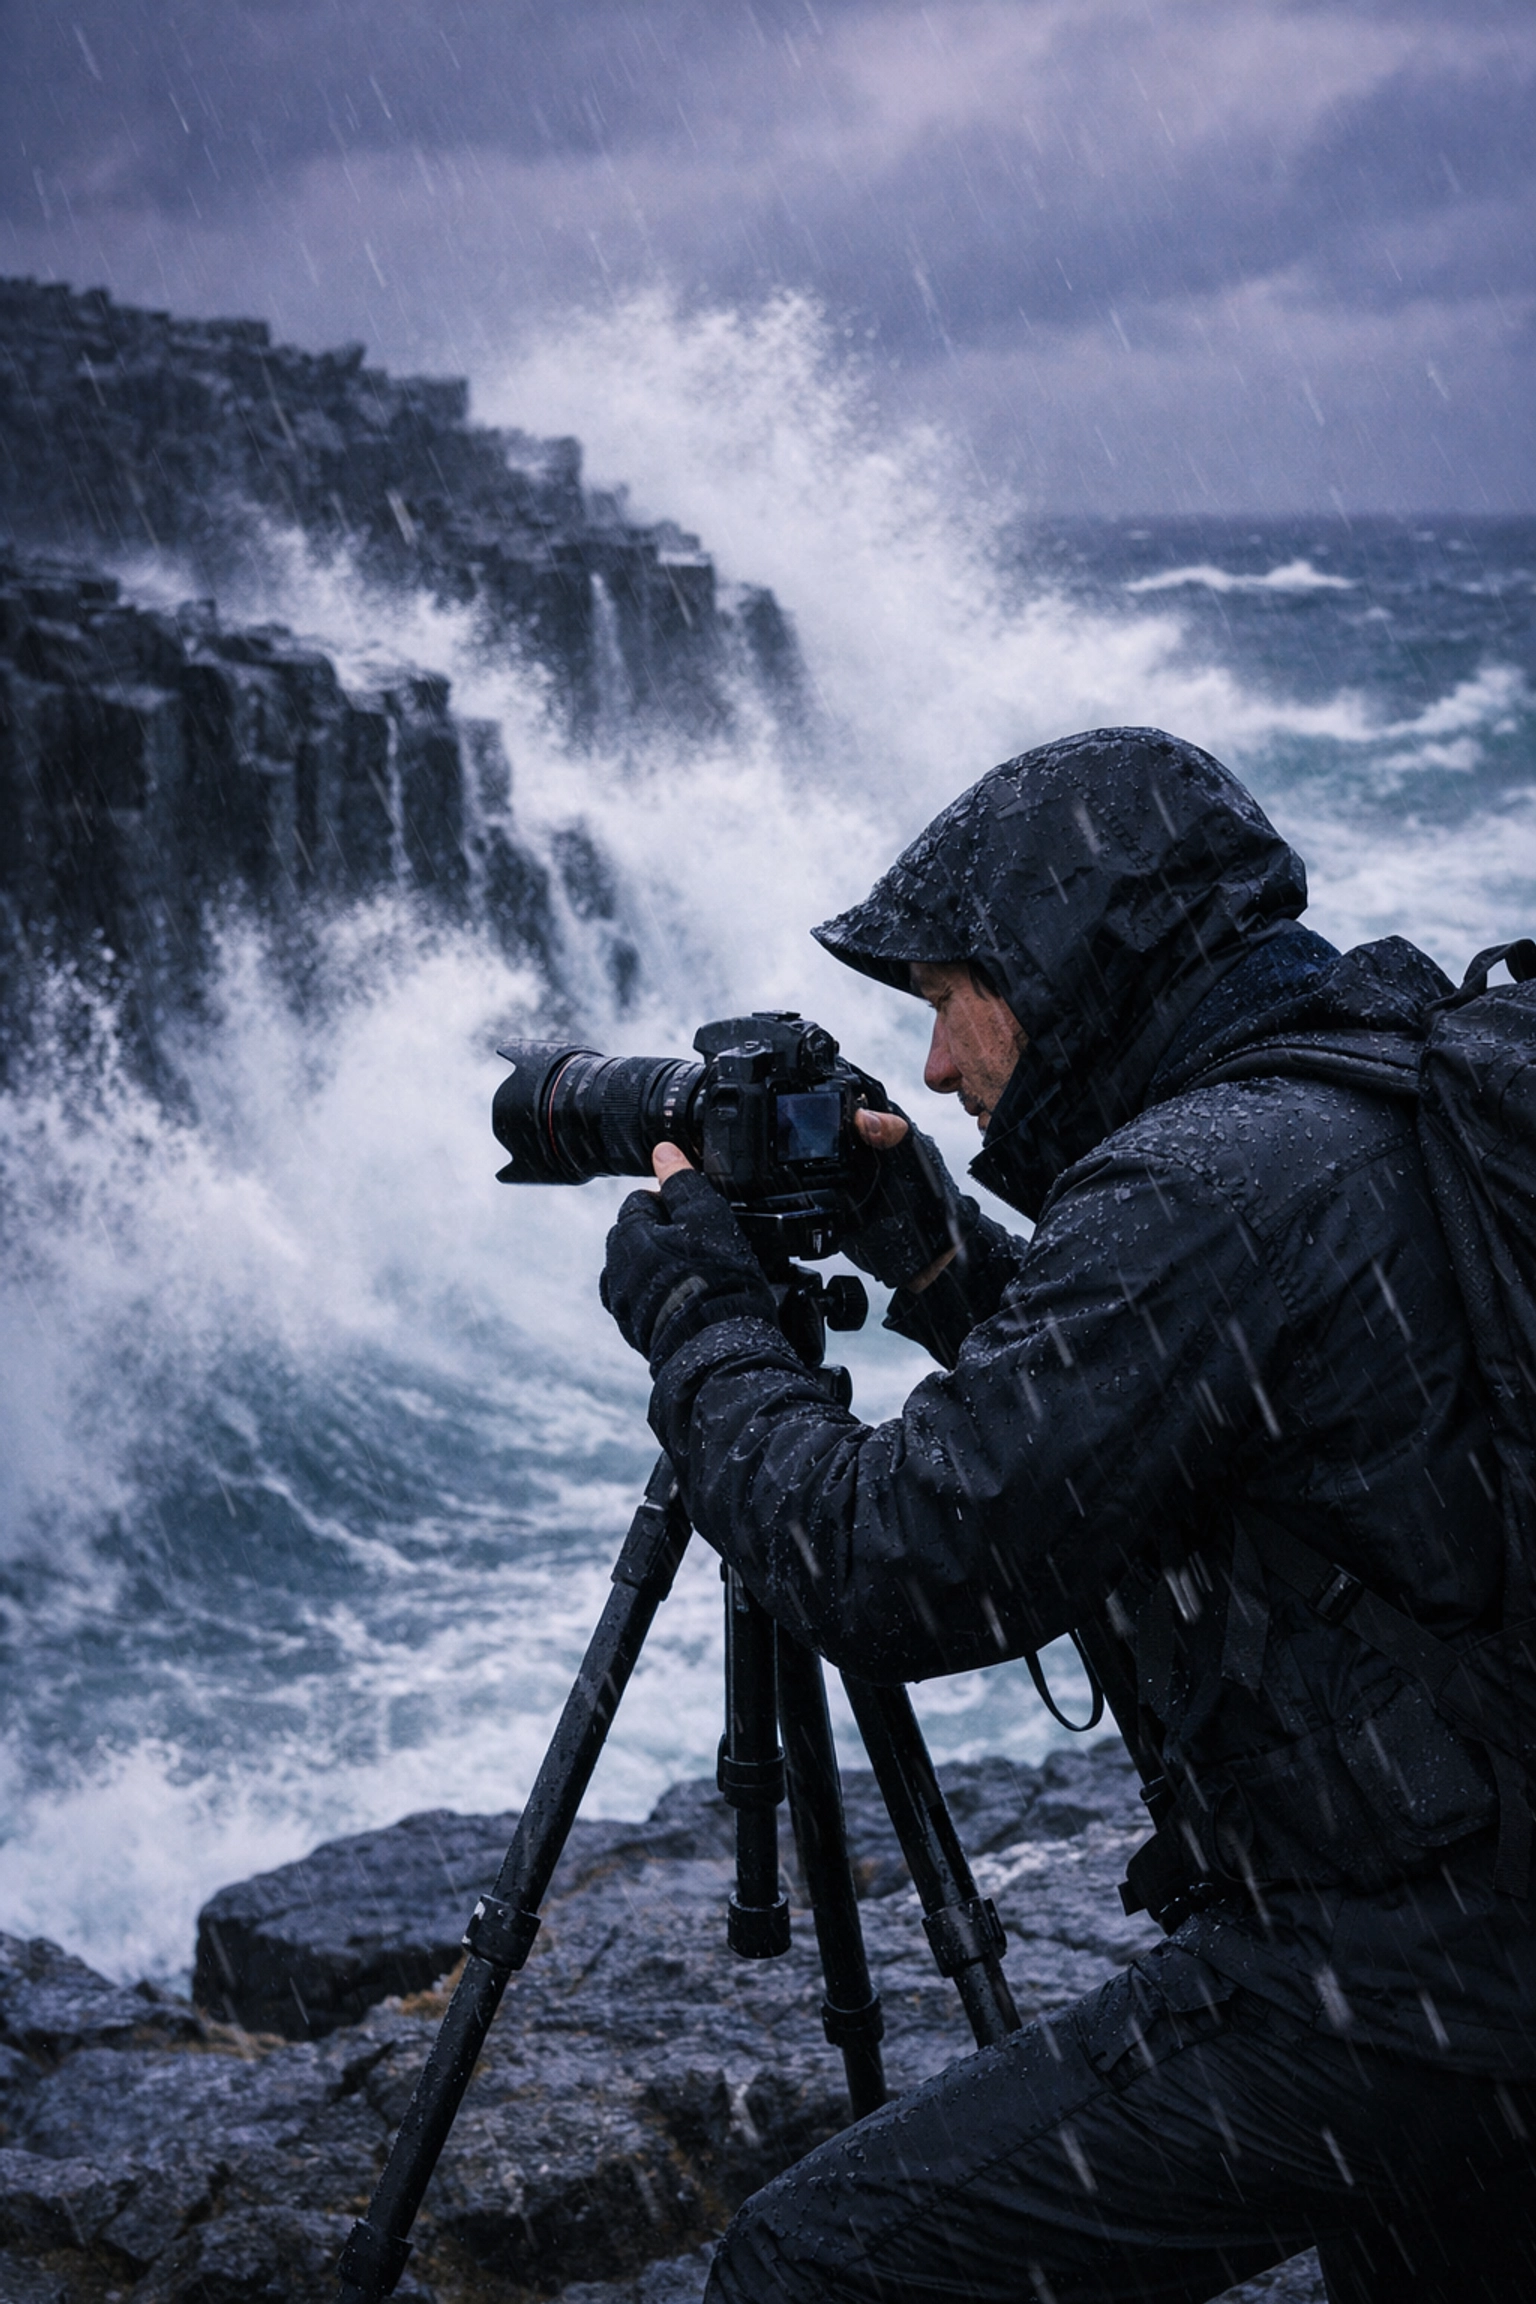
7. Being a "Fair Weather" Photographer
Most people go out to take photos when the weather is nice. Clear blue skies, sunny afternoons, and comfortable temperatures. While that's great for a picnic, it’s usually terrible for landscape photography.
Clear blue skies are often boring. They lack texture and drama. Mid-day sun creates harsh, ugly shadows and washes out colors. If you only shoot when it's "nice" out, your portfolio is going to be missing the most dramatic light.
The Fix: Embrace the Chaos
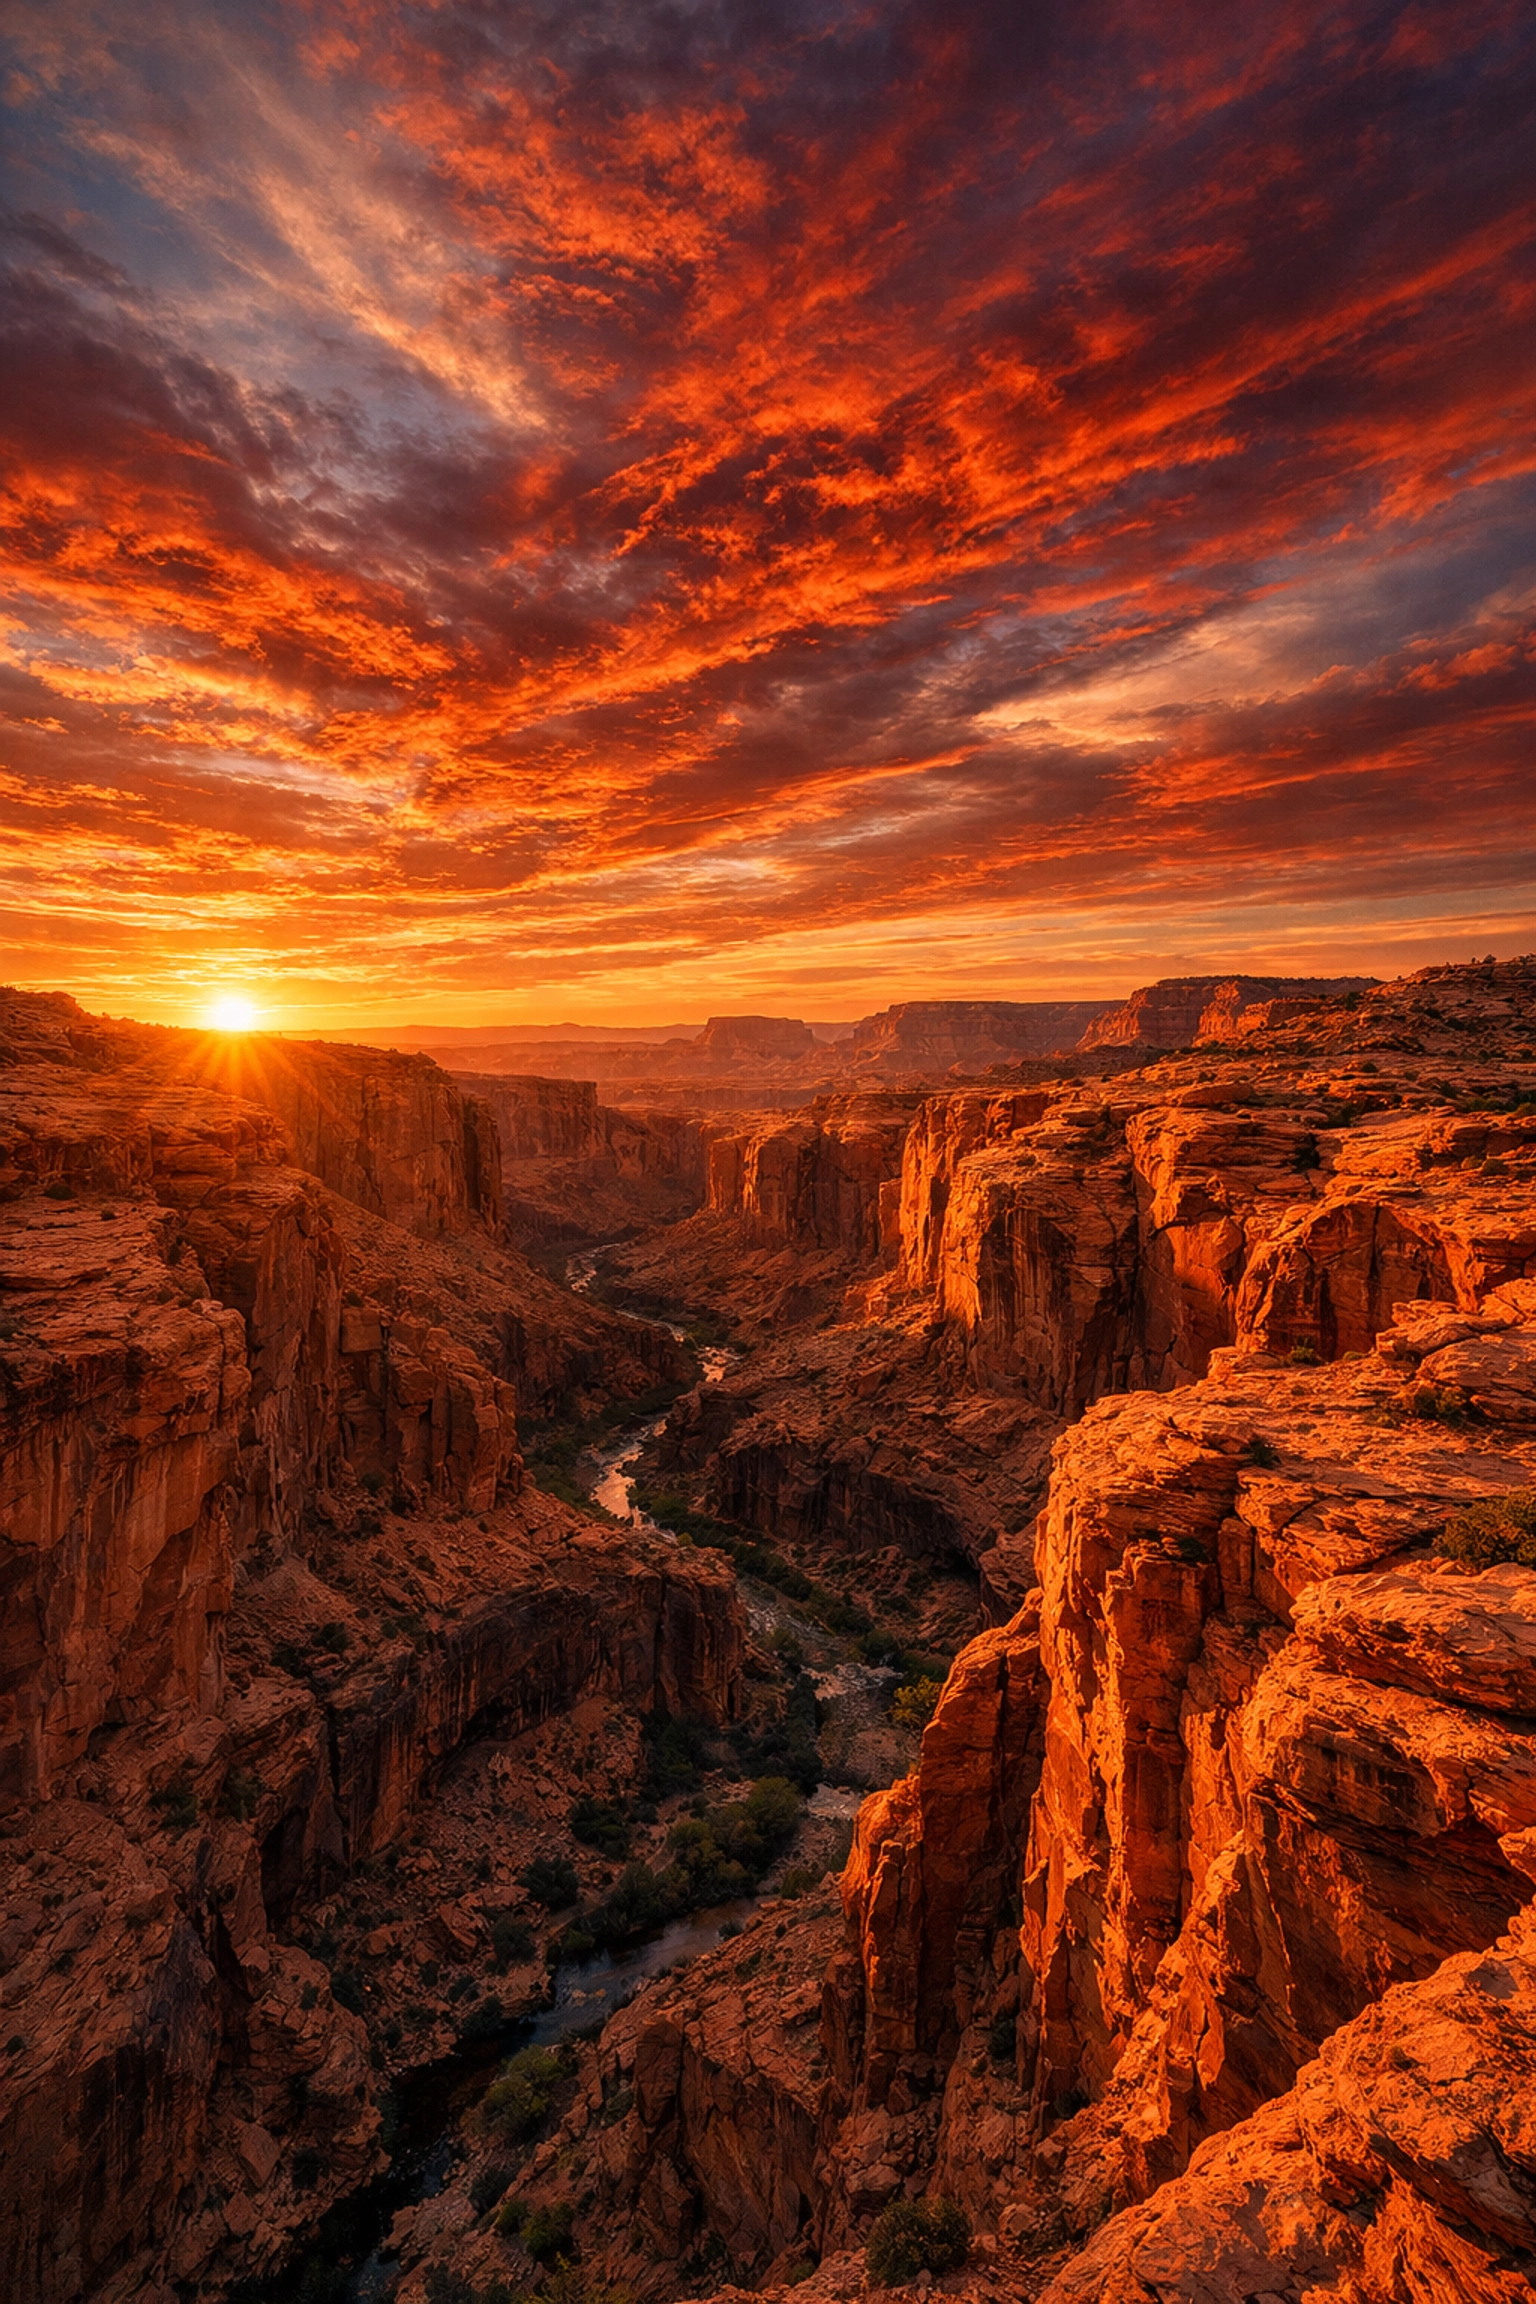
The best landscape photos usually happen when the weather is "bad." Storm clouds, fog, mist, and even rain can add incredible mood and atmosphere to your shots. Some of the most stunning work at www.edinstudios.com was likely shot during transitions: right before a storm breaks or just as the sun is fighting its way through a thick fog.
The "Golden Hour" (the hour after sunrise and before sunset) is famous for a reason, but the "Blue Hour" (the time just before sunrise and just after sunset) is where the real magic happens. Don't pack up your tripod as soon as the sun dips below the horizon. Stay. Wait for the light to turn deep blue and purple.
Bonus Mistake: The "Static" Tripod
Once a landscape photographer sets up their tripod, they often treat it like it’s cemented into the ground. They stay in that one spot for an hour, taking fifty variations of the exact same composition.
The Fix: Keep Moving
Even if you think you’ve found the "perfect" spot, keep looking. Move five feet to the left. Move ten feet closer to the water. Change your height. Try a vertical orientation instead of a horizontal one. Many photographers find that their best shot of the day wasn't the one they planned, but the one they "found" while walking back to the car.
For more inspiration on how to transform your visual storytelling, check out how cinematic techniques can be applied beyond just buildings and into the great outdoors.
Final Thoughts
Landscape photography is a patient man's game. It’s about 10% gear, 20% technical skill, and 70% just being in the right place at the right time: and knowing what to do when that moment happens.
If you can stop falling into the wide-angle trap, start watching your edges, and learn to respect the light (even when it’s "bad" weather), you’ll see a massive jump in the quality of your work. Stop worrying about having the latest $3,000 lens and start worrying about the story you’re telling with the lens you already have.
Now, grab your gear, check your histogram, and go get dirty. The best shots aren't going to take themselves. If you need a bit more guidance on where to start, you can always browse our post-sitemap for more tutorials and gear guides. Happy shooting!


