

Landscape photography seems like the easiest gig in the world until you actually try to do it. You see a beautiful mountain, you point your camera, you click, and then you get home only to find a flat, messy image that looks nothing like the epic scene you remembered.
We’ve all been there. Even the pros at Shut Your Aperture have thousands of "delete-worthy" files sitting on old hard drives. The truth is, great landscape photography isn't just about showing up; it’s about avoiding the subtle traps that turn a potential masterpiece into a "meh" snapshot.
Whether you are shooting on a Sony Alpha a6000 or a high-end medium format rig, the principles remain the same. If you want to stop taking "tourist photos" and start creating art that people actually want to hang on their walls, you need to fix these seven common mistakes.
1. The "Safety First" Aperture Trap
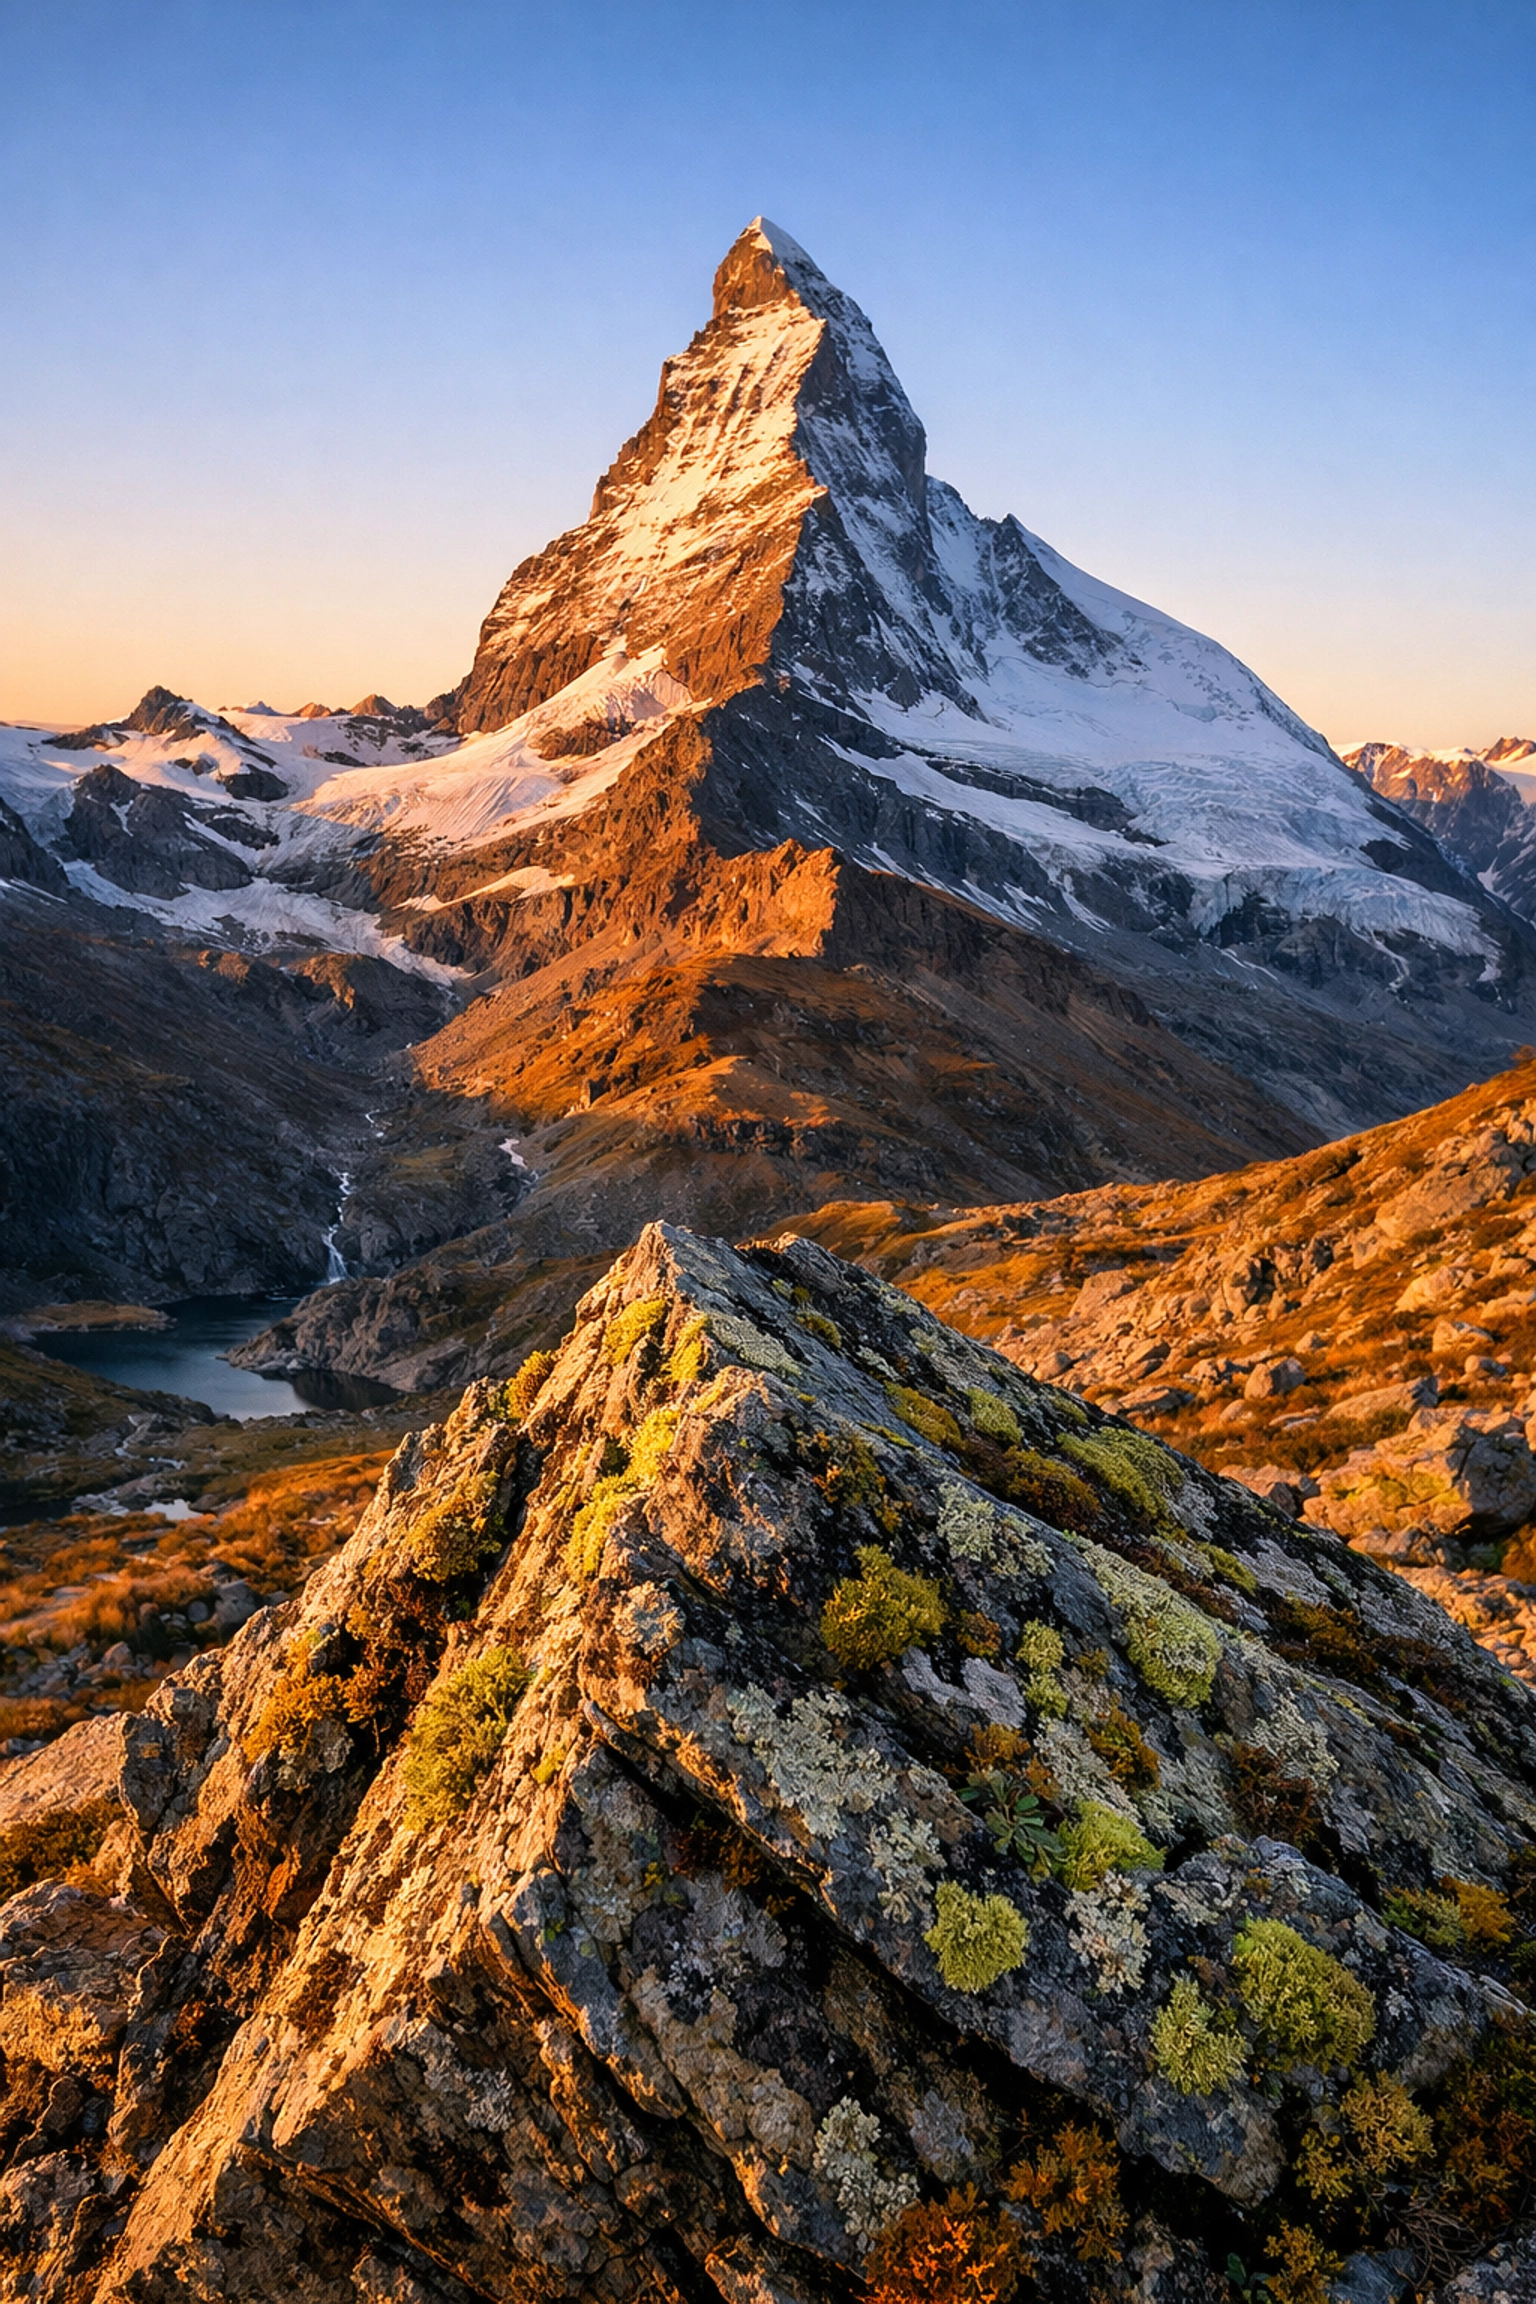
Most beginners are told that if they want everything sharp, they should shoot at f/8 or f/11. While that’s generally "safe," it’s often a mistake when you have elements very close to your lens.
The Mistake: You assume that f/8 will cover everything from the blade of grass three inches from your lens to the mountain three miles away. It won’t. When you shoot at these "middle-of-the-road" apertures, you often end up with soft foregrounds or blurry corners. On the flip side, some photographers are terrified of diffraction and refuse to go past f/11, leaving their depth of field insufficient.
The Fix: Don’t be afraid to stop down. If you have a compelling foreground element, you might need f/16 or even f/22 to get the necessary depth of field. Yes, diffraction (the slight softening of an image at very small apertures) is a real thing, but a tiny bit of diffraction is much better than a completely blurry foreground.
If you really want to level up, look into focus stacking. Take three shots: one focused on the foreground, one on the midground, and one on the background, then merge them in post. This gives you tack-sharp focus from front to back without the softening effects of f/22. For more gear-specific advice on lenses that handle these apertures well, check out the Nikon lens sale to find glass that stays sharp.
2. Thinking Everything Must Be Sharp
Wait, didn't I just say everything should be sharp? Context is everything.
The Mistake: Thinking that landscape photography is a rule-bound quest for infinite focus. Many photographers forget that "intimate landscapes" or "painterly landscapes" are just as valid as the grand, sweeping vistas. By forcing everything to be sharp, you lose the ability to use subject isolation to tell a story.
The Fix: Embrace the blur. Sometimes, focusing on a single wildflower while letting the mountains fade into a creamy bokeh creates a much more emotional image. Using a wide aperture like f/2.8 or f/4 can help simplify a "busy" scene and draw the viewer's eye exactly where you want it. This is a technique often used by pros featured at PhotoGuides.org to create depth without clutter.
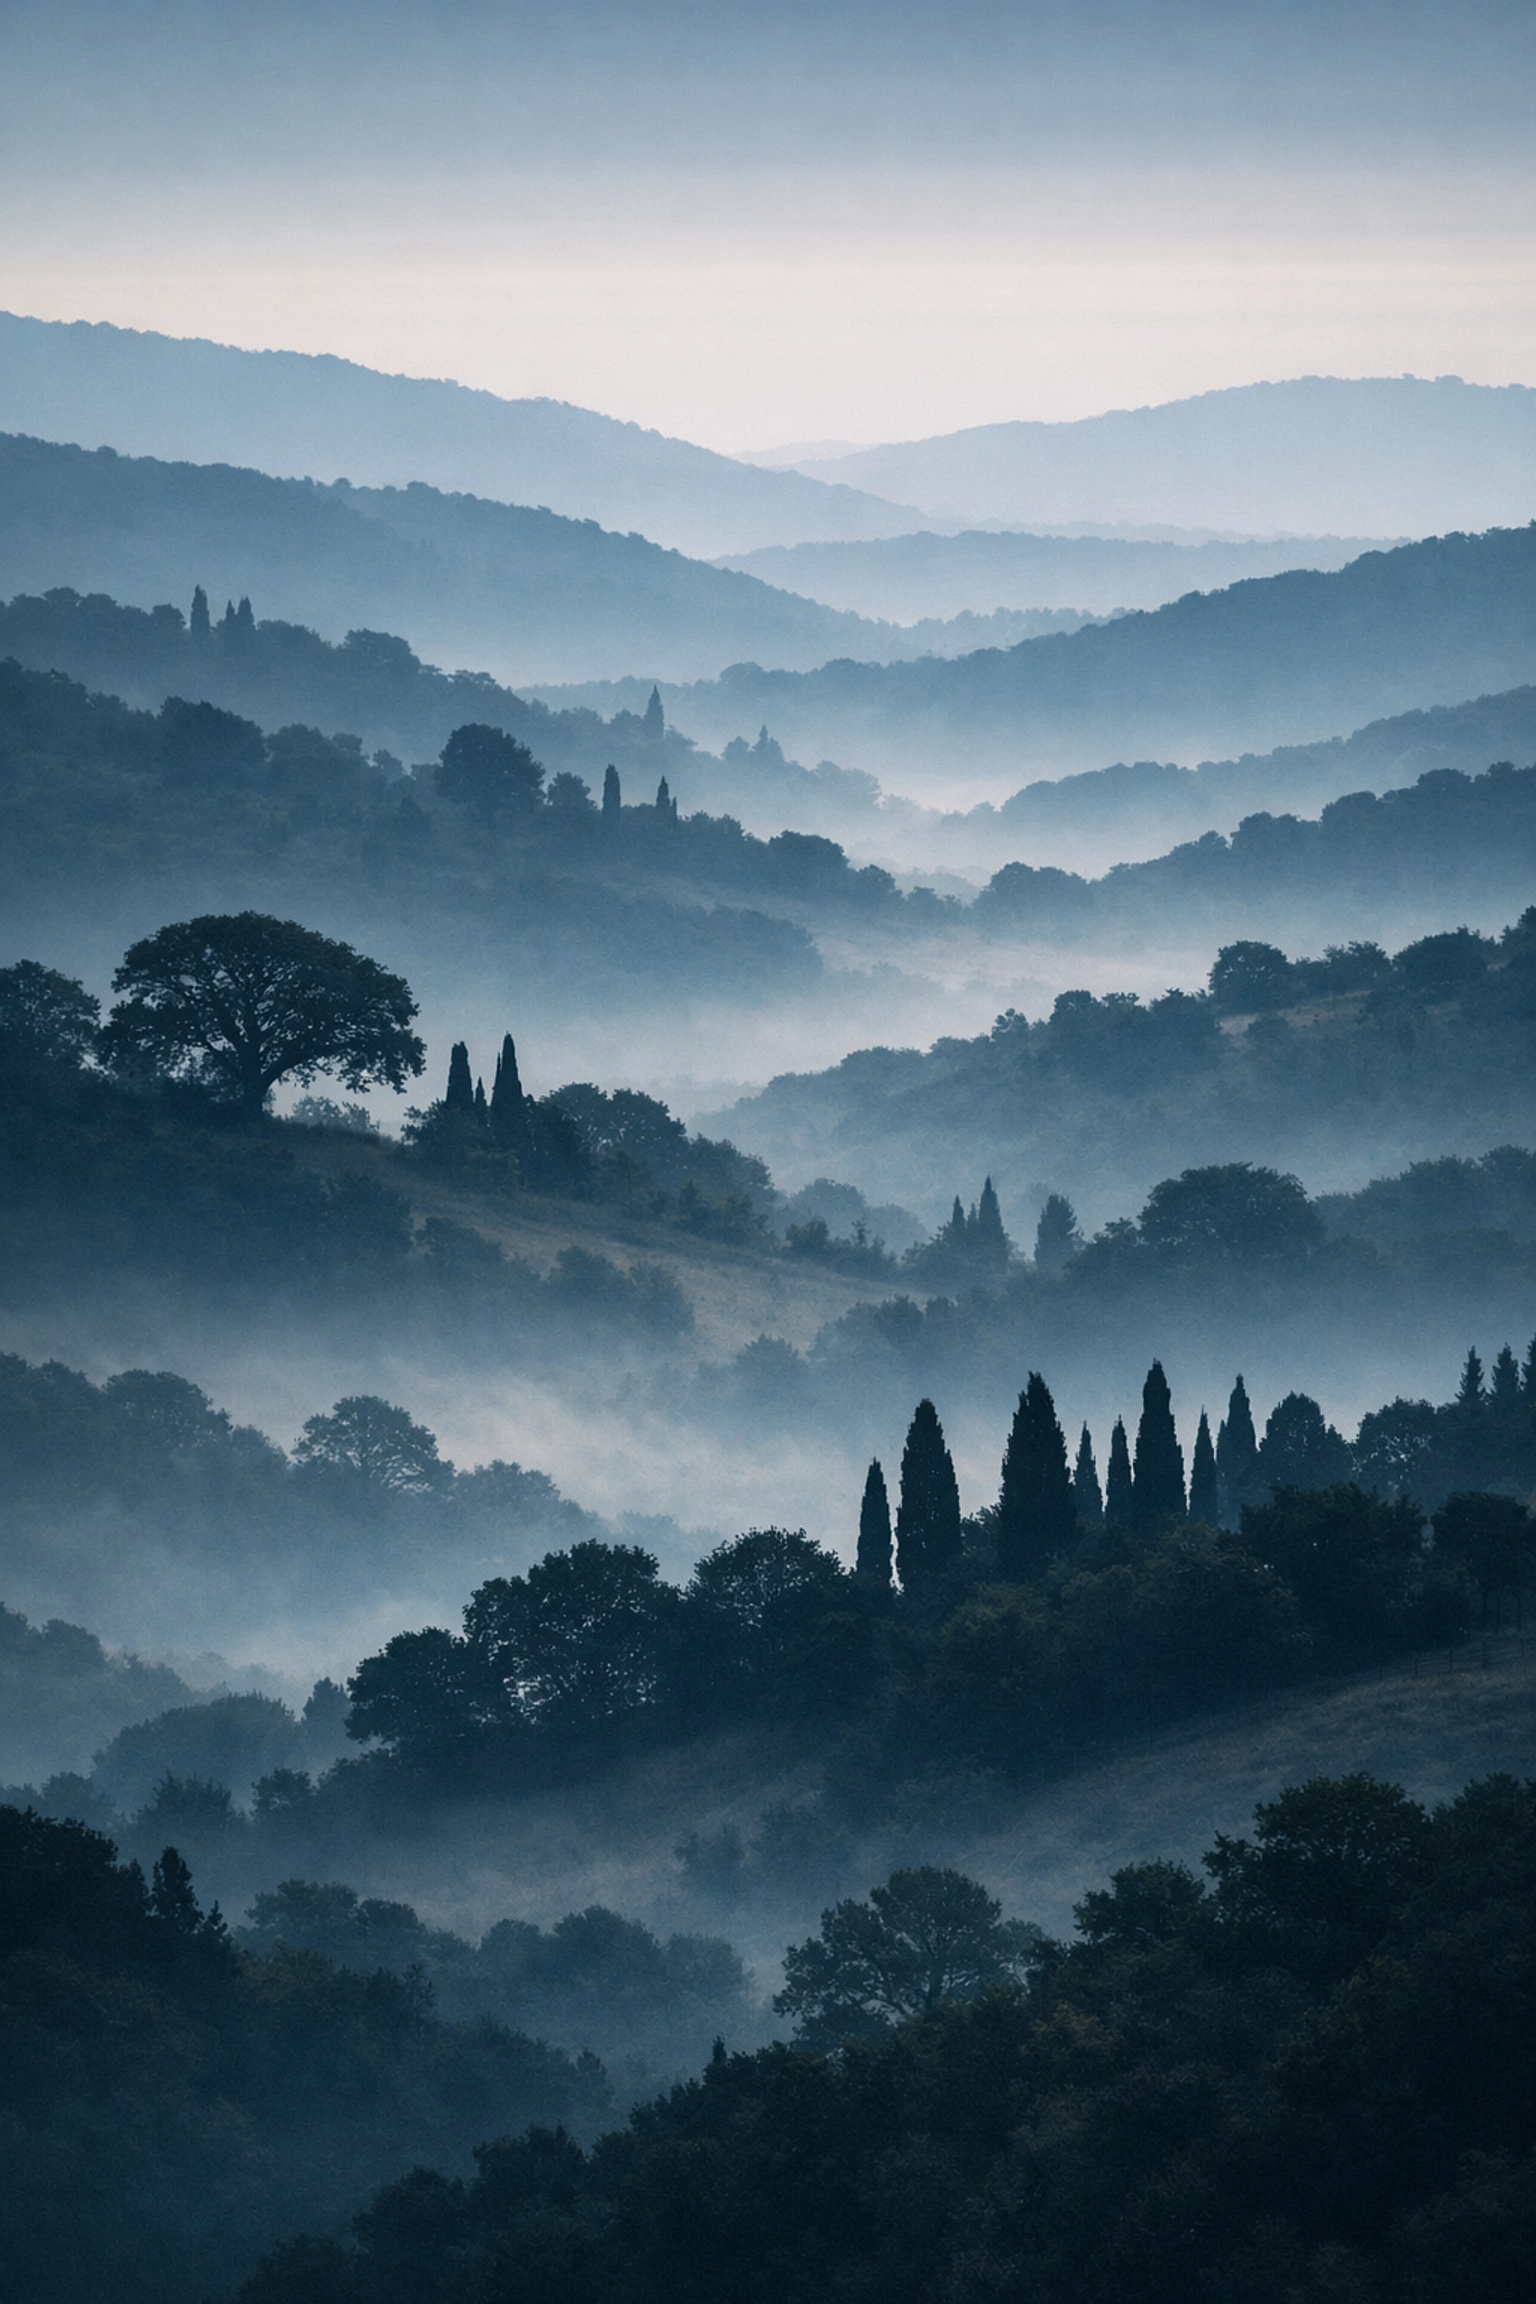
3. The Wide-Angle Obsession
When we see a massive landscape, our first instinct is to grab the widest lens we own. We want to "get it all in."
The Mistake: Wide-angle lenses make everything look smaller and further away. If you’re shooting a stunning mountain range with a 14mm lens, those massive peaks often end up looking like tiny anthills in the top third of your frame. You also end up pulling in a lot of "empty" space: like boring dirt or uninteresting sky: that adds nothing to the composition.
The Fix: Try a telephoto lens for landscapes. Using a 70-200mm lens allows you to compress the scene. It brings the background closer to the midground, making mountains look more imposing and patterns look more geometric. If you must use a wide-angle, you have to get uncomfortably close to your foreground. If there’s a rock or a flower you like, your lens should practically be touching it.
If you find yourself stuck in a rut with traditional perspectives, consider taking to the air. Drones are the skies of tomorrow and offer a completely different way to compress the landscape from above.
4. Including "Visual Noise" and Distractions
A great photograph is often about what you leave out of the frame rather than what you put in.
The Mistake: We get so caught up in the "epicness" of the sunset that we don't notice the trash can in the corner of the frame, the stray branch poking in from the side, or the messy footprints in the sand. These distractions pull the viewer's eye away from the subject and make the photo feel "accidental" rather than "intentional."
The Fix: Before you click the shutter, do a "four-corner check." Look at every corner of your viewfinder. Is there anything cutting into the frame that shouldn't be there? If so, move your tripod. If you can’t move, consider if you can "clean" the scene physically (pick up that stray piece of trash) or if you’ll need to do it in post-processing.
Minimalism is your friend. You can find inspiration for clean, intentional compositions at blog.edinchavez.com, where the focus is often on the soul of the scene rather than the clutter.
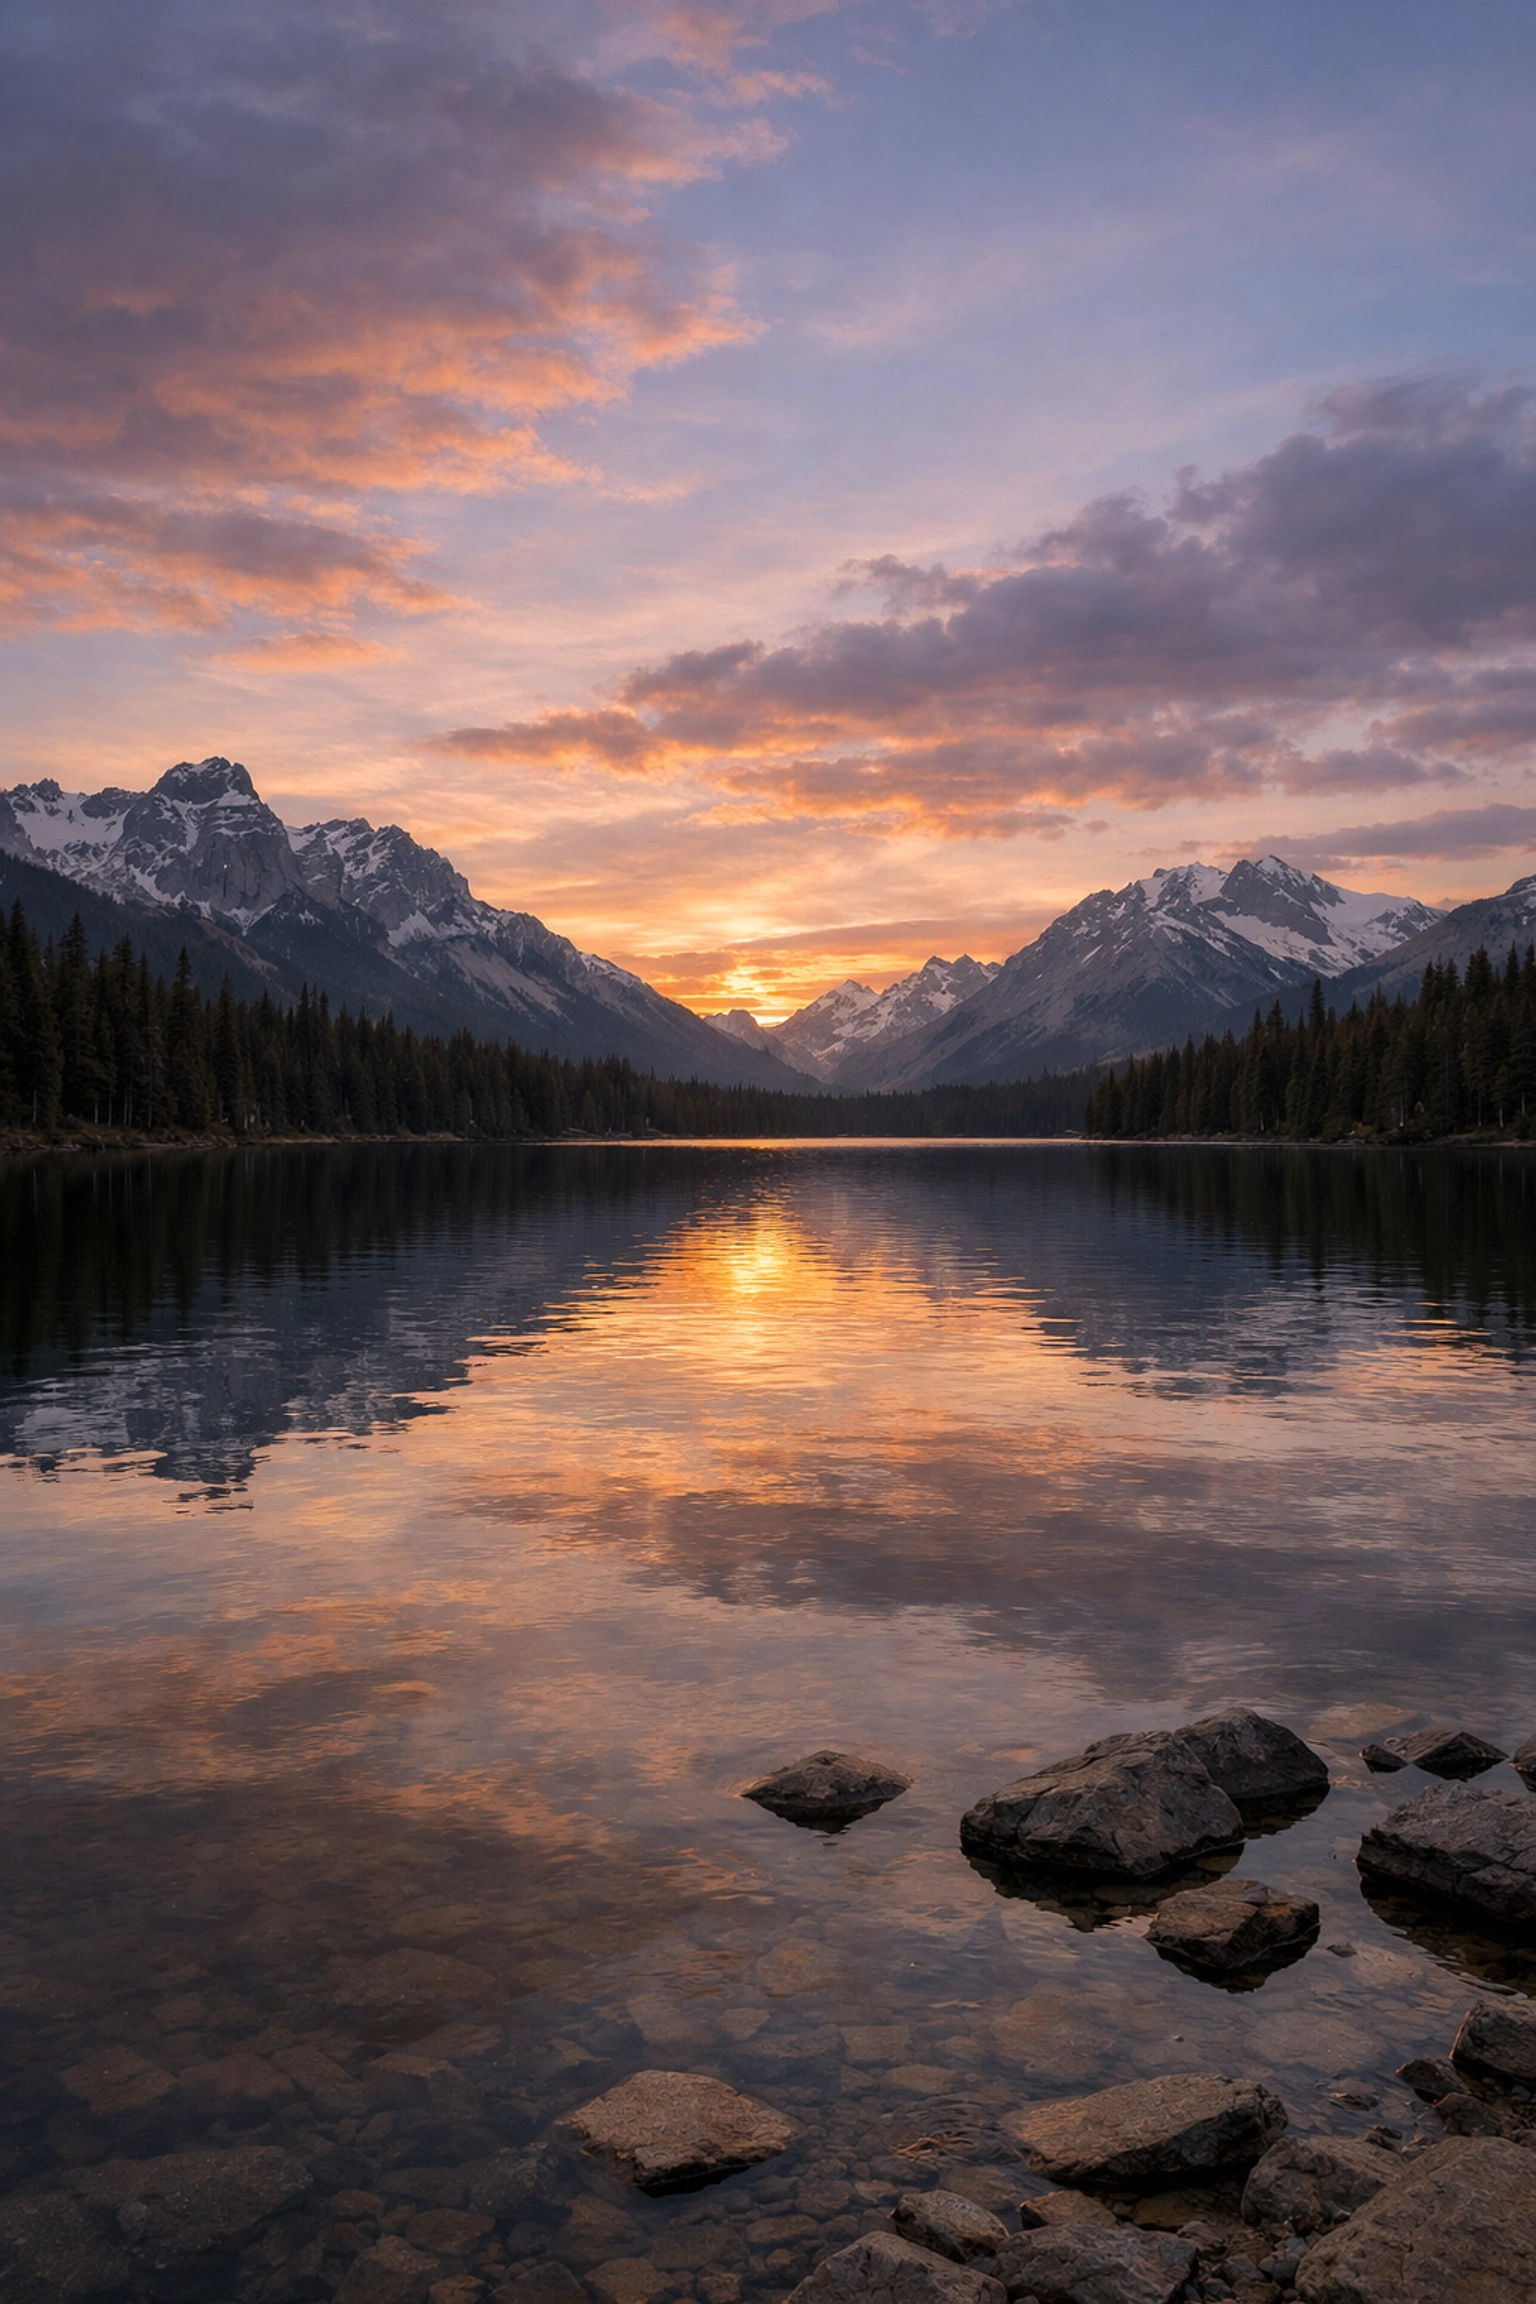
5. The "Clarity and Saturation" Overdose
We’ve all seen those photos on Instagram that look like they were dipped in radioactive waste. The grass is neon green, and the sky is a bruised purple.
The Mistake: Using saturation and clarity as a crutch for a weak composition. When a photo doesn't "pop" the way we want, the temptation is to crank the sliders to 100. This results in "halo" effects around trees and a loss of natural texture. It looks cheap and screams "amateur."
The Fix: Use restraint. If you use software like Luminar, utilize the AI tools to enhance the scene naturally rather than globally blasting the saturation. Instead of the saturation slider, try using the HSL (Hue, Saturation, Luminance) sliders. This allows you to selectively boost the blues in the water without making the green trees look like they’re from an alien planet.
Actually, a great tip is to walk away from your computer for ten minutes after you finish an edit. When you come back with "fresh eyes," you'll usually realize you went a little too far and end up pulling the sliders back by 20%. For more pro-level post-processing techniques, check out ProShoot.io.
6. Lazy Cropping and Horizon Placement
The way you frame your shot dictates how the viewer feels when they look at it.
The Mistake: Putting the horizon line exactly in the middle of the frame is the most common "boring" mistake. It splits the photo in half and leaves the viewer wondering what the subject actually is: the sky or the land? Also, many photographers stick to the default 3:2 aspect ratio of their camera, even when the scene would look much better as a panoramic or a 4:5 vertical.
The Fix: Use the Rule of Thirds as a starting point, but don't be afraid to break it. If the sky is incredible, give it two-thirds of the frame. If the foreground textures are the star of the show, push the horizon to the top third.
Treat cropping as a secondary compositional tool. Sometimes a photo that feels "off" just needs a tighter crop to remove dead space. Think of your travel photographic memory: what was the one thing that caught your eye? Crop into that. Don’t feel married to the original dimensions of your sensor.
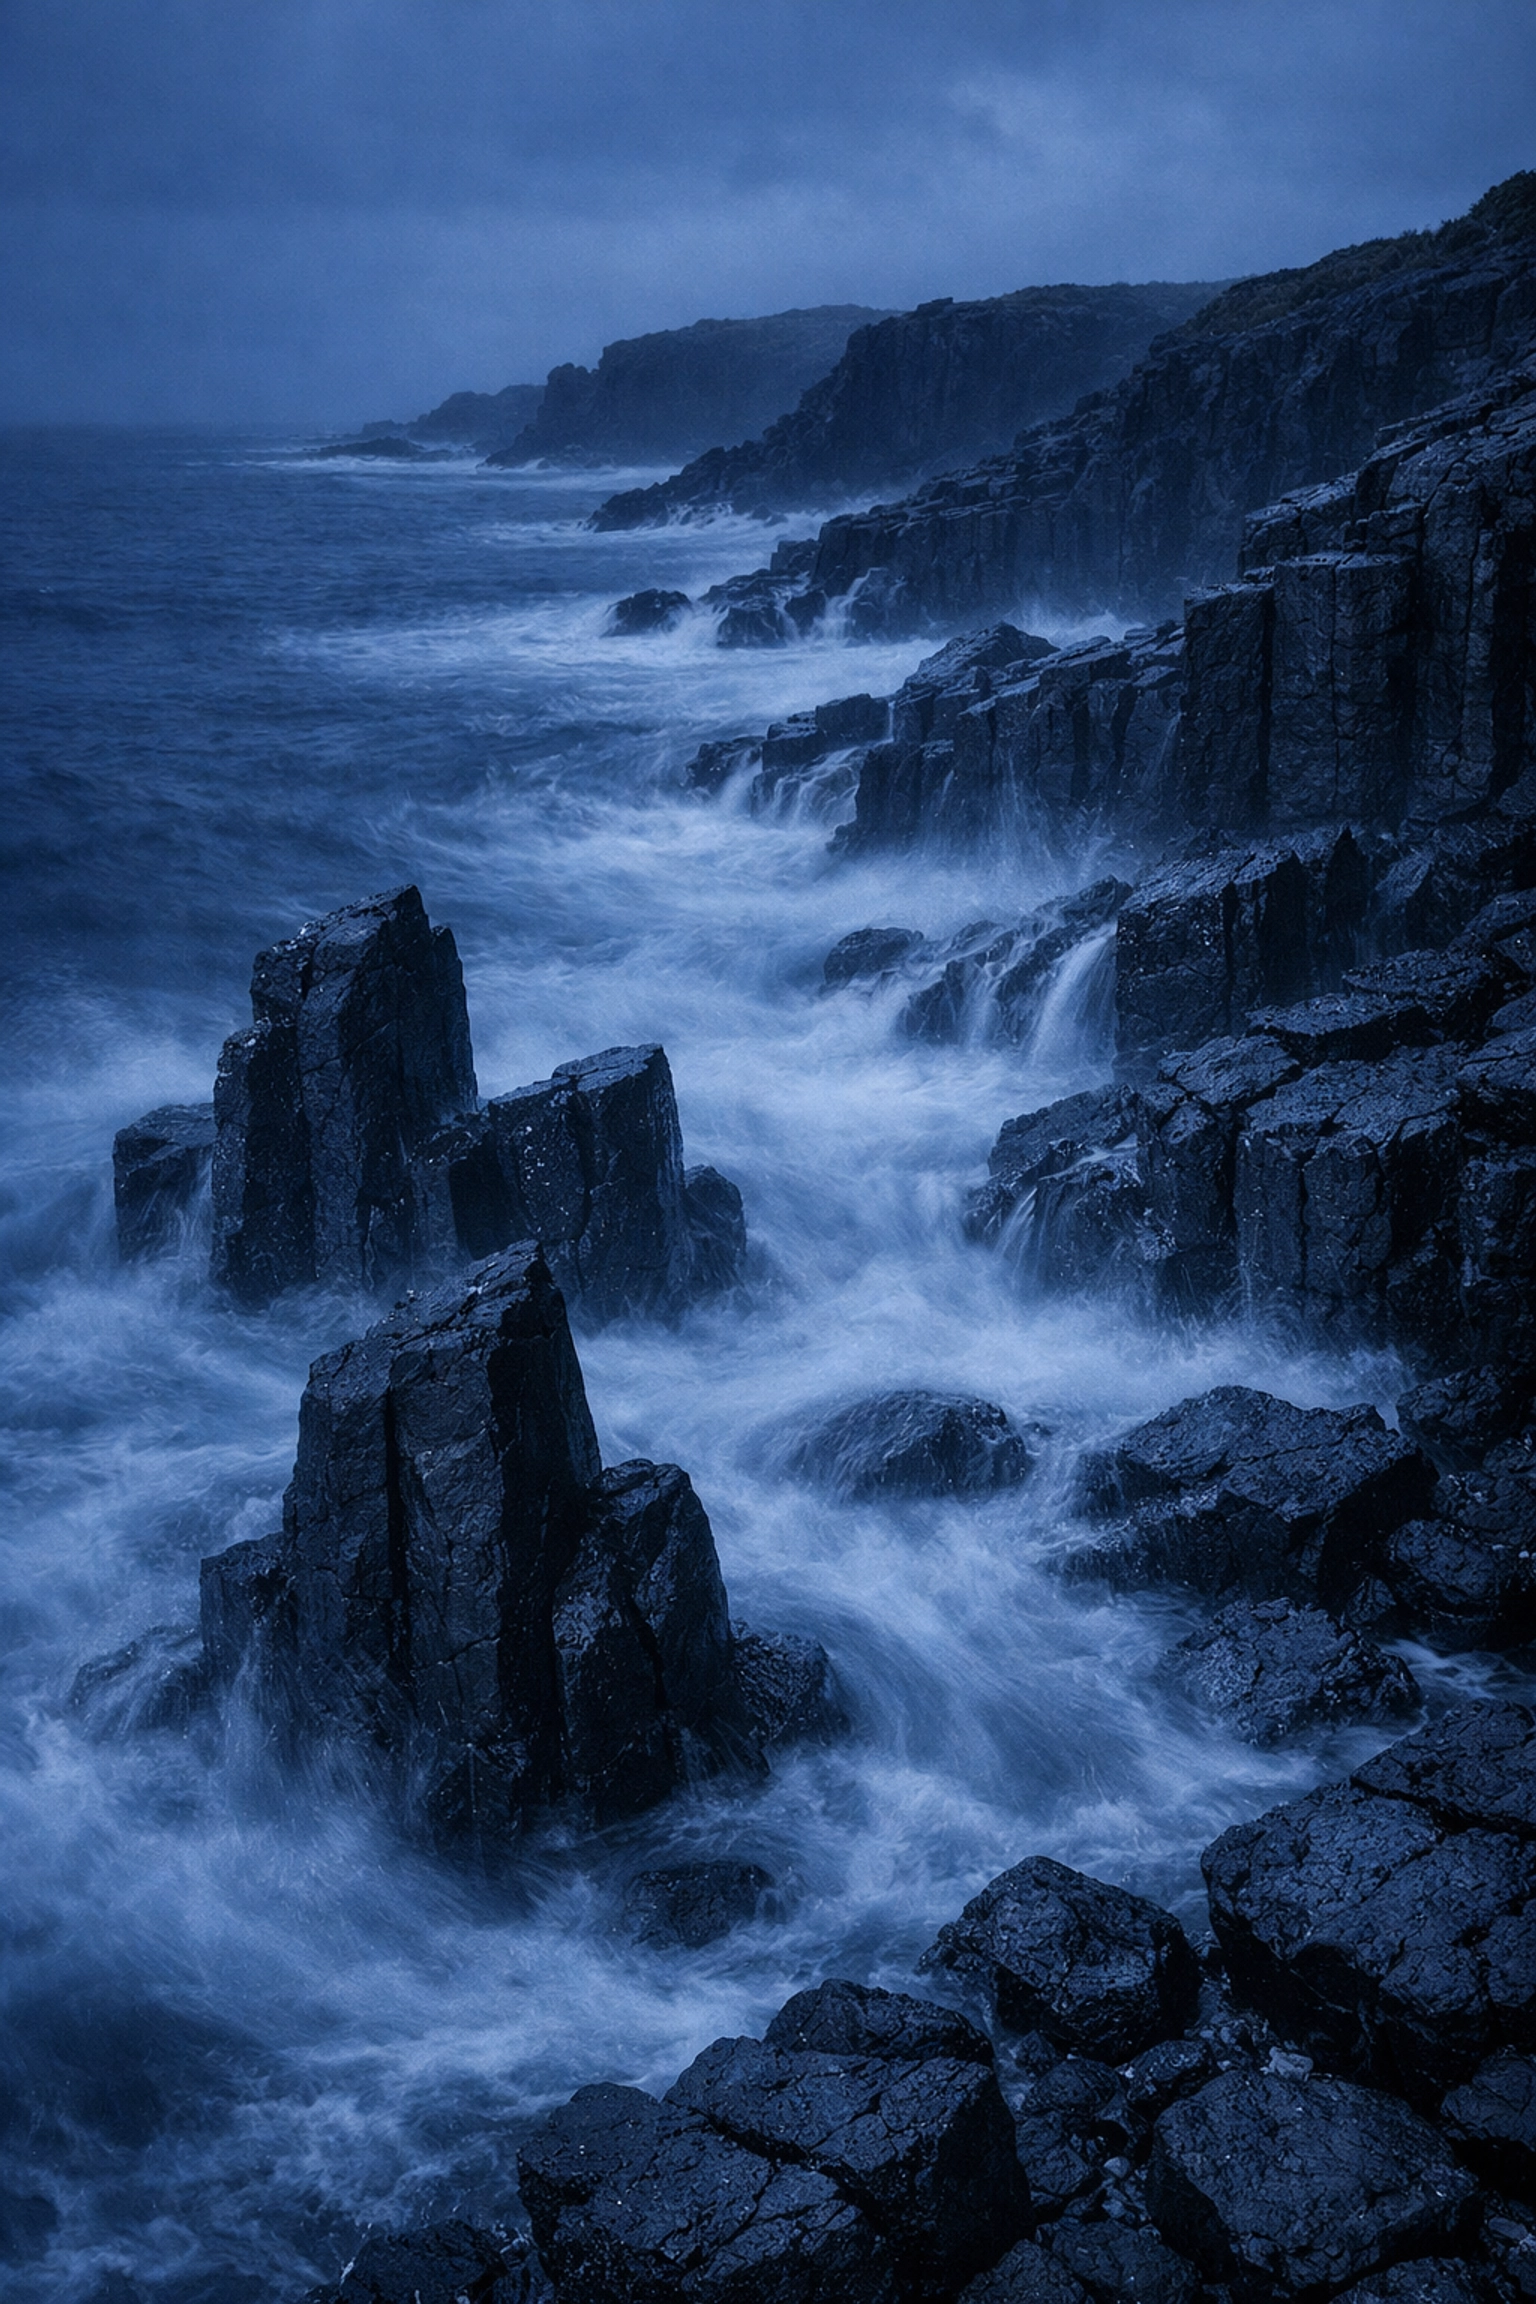
7. Over-Processing and Excessive Noise Reduction
In an effort to make photos look "clean," many photographers end up making them look "plastic."
The Mistake: When shooting in low light (like Blue Hour or Astro), noise is inevitable. Many people try to eliminate every single grain of noise using heavy-handed noise reduction. This "smears" the fine details: like the texture of rocks or the leaves on a tree: leaving the image looking like a muddy painting.
The Fix: A little bit of grain is fine. In fact, a bit of texture can make a landscape feel more "real" and tactile. Modern software like Luminar has excellent "denoise" tools that use AI to preserve details while removing color noise, but even then, less is more.
If you are struggling with noise, the real fix happens in the field, not on the computer. Use a sturdy tripod and a lower ISO. If you need a refresher on why your images might be coming out "muddy," look into the specs of your gear. Even an older Olympus E-M10 can produce stunning, clean landscapes if you understand its ISO limits.
Bonus: Stop Chasing the "Iconic" Shot
Social media has a way of making us feel like we need to visit the exact same spots as everyone else and take the exact same photo.
The Mistake: Showing up to a famous location, seeing fifty other tripods, and lining up to take the same photo that has been taken a million times. When you do this, you’re not creating; you’re duplicating.
The Fix: Use the famous spot as a starting point, then go for a walk. Turn around. Look at what everyone else is ignoring. Some of the most compelling landscape work comes from the "in-between" moments: the way the light hits a random hill on the drive to the national park, or the textures of a dried-up riverbed.
Landscape photography is a marathon, not a sprint. It’s about patience, scouting, and occasionally failing. If you want to see how a professional handles the pressure of a shoot, take a look behind the scenes of some creative projects to see the level of planning involved.
Final Thoughts
Landscape photography is a dance between technical precision and creative soul. By fixing these seven mistakes, you’re clearing the path for your own style to emerge. Stop worrying about having the newest Nikon D4s and start worrying about your composition, your light, and your willingness to try a different focal length.
Next time you’re out in the field, remember:
- Check your depth of field (f/16 isn't the enemy).
- Experiment with selective focus.
- Put the wide-angle away and try a zoom.
- Clean your frame of distractions.
- Ease up on the saturation sliders in Luminar.
- Be intentional with your horizon and crop.
- Let your images breathe: don't over-process the life out of them.
Now, grab your gear, get outside, and go shoot something beautiful. Just make sure the horizon is straight.


