
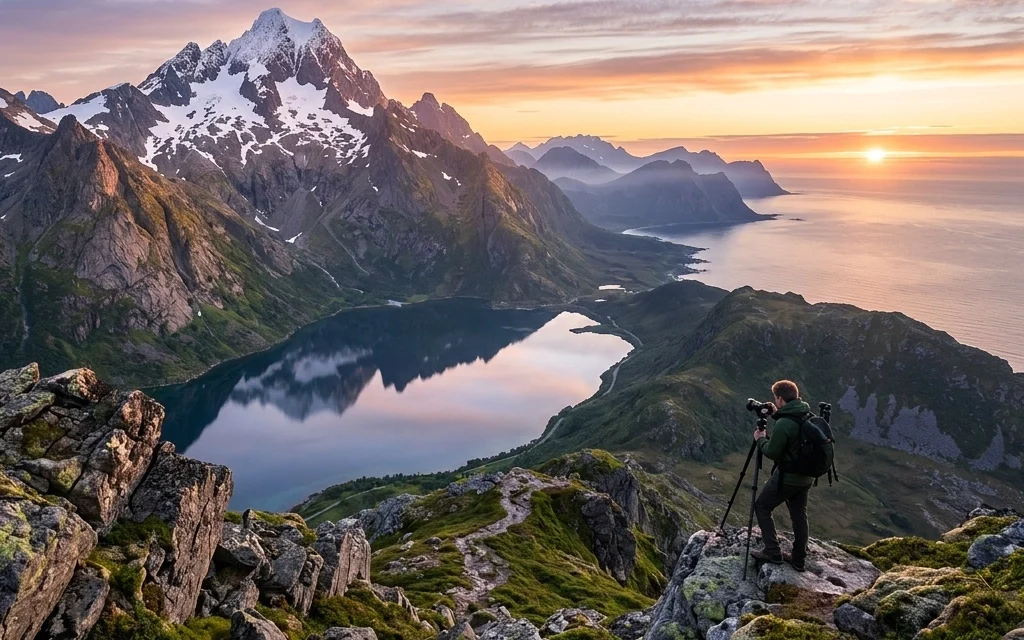
We’ve all been there. You wake up at 4:00 AM, hike three miles in the dark, freeze your toes off waiting for the sun, and finally capture what you think is a masterpiece. Then you get home, pull the files up on a big screen, and… oof. The horizon is crooked, the foreground is a blurry mess, and the colors look like a unicorn threw up on a mountain range.
Landscape photography seems simple on the surface: just point at the pretty sunset, right? Not exactly. It’s a game of millimeters, seconds, and patience. Whether you are a beginner or someone who has been shooting for years, small habits can sabotage your shots.
At Shut Your Aperture, we want you to stop coming home with "almost good" photos. Let’s dive into the seven most common mistakes people make in the field and, more importantly, how to fix them so your portfolio actually stands out.
1. The "Drunken" Horizon
There is nothing that ruins a professional-looking landscape faster than a crooked horizon. If the ocean looks like it’s draining out of the left side of your frame, your viewers are going to feel physically uncomfortable. It’s a subtle mistake, but it’s a glaring one.
Even if you think you have a steady hand, the terrain often tricks our eyes. We tend to align the camera with a sloping hill or a cloud line instead of the actual level horizon.
The Fix:
Stop guessing. Most modern cameras have a built-in electronic level (often called a "Virtual Horizon"). Turn it on and leave it on. If your camera doesn’t have that, use the grid overlay in your viewfinder. Align your horizon line with one of the horizontal grid lines.
If you still mess it up in the field, you can fix it in post-processing. However, remember that rotating an image requires a crop, which means you’ll lose resolution and potentially cut off the edges of a perfect composition. Getting it right in-camera is always the goal. For more tips on getting the technicals right, check out PhotoGuides.org.
2. Fear of the "High" F-Stop (Insufficient Depth of Field)
A lot of photographers get stuck in the "sweet spot" of their lens, usually around f/8. While f/8 is often the sharpest point of a lens, it’s frequently not enough to get a sharp landscape from the blades of grass at your feet to the mountains ten miles away.
I see a lot of people shooting at f/5.6 or f/8 because they’re afraid of "diffraction": a technical phenomenon where very small apertures (like f/22) can actually make an image slightly softer. While diffraction is real, a blurry foreground because of a shallow depth of field is a much bigger problem.
The Fix:
Don’t be afraid to stop down to f/11, f/13, or even f/16. If you have a prominent subject in the foreground and a massive mountain in the background, you need that extra depth.
If f/16 still isn't getting everything sharp, it might be time to learn "focus stacking." This involves taking multiple shots at different focus points and blending them later. But for 90% of your shots, just choosing a narrower aperture will solve the issue. If you're looking for top spots for stunning nature imagery, you'll want that sharpness to capture every detail.
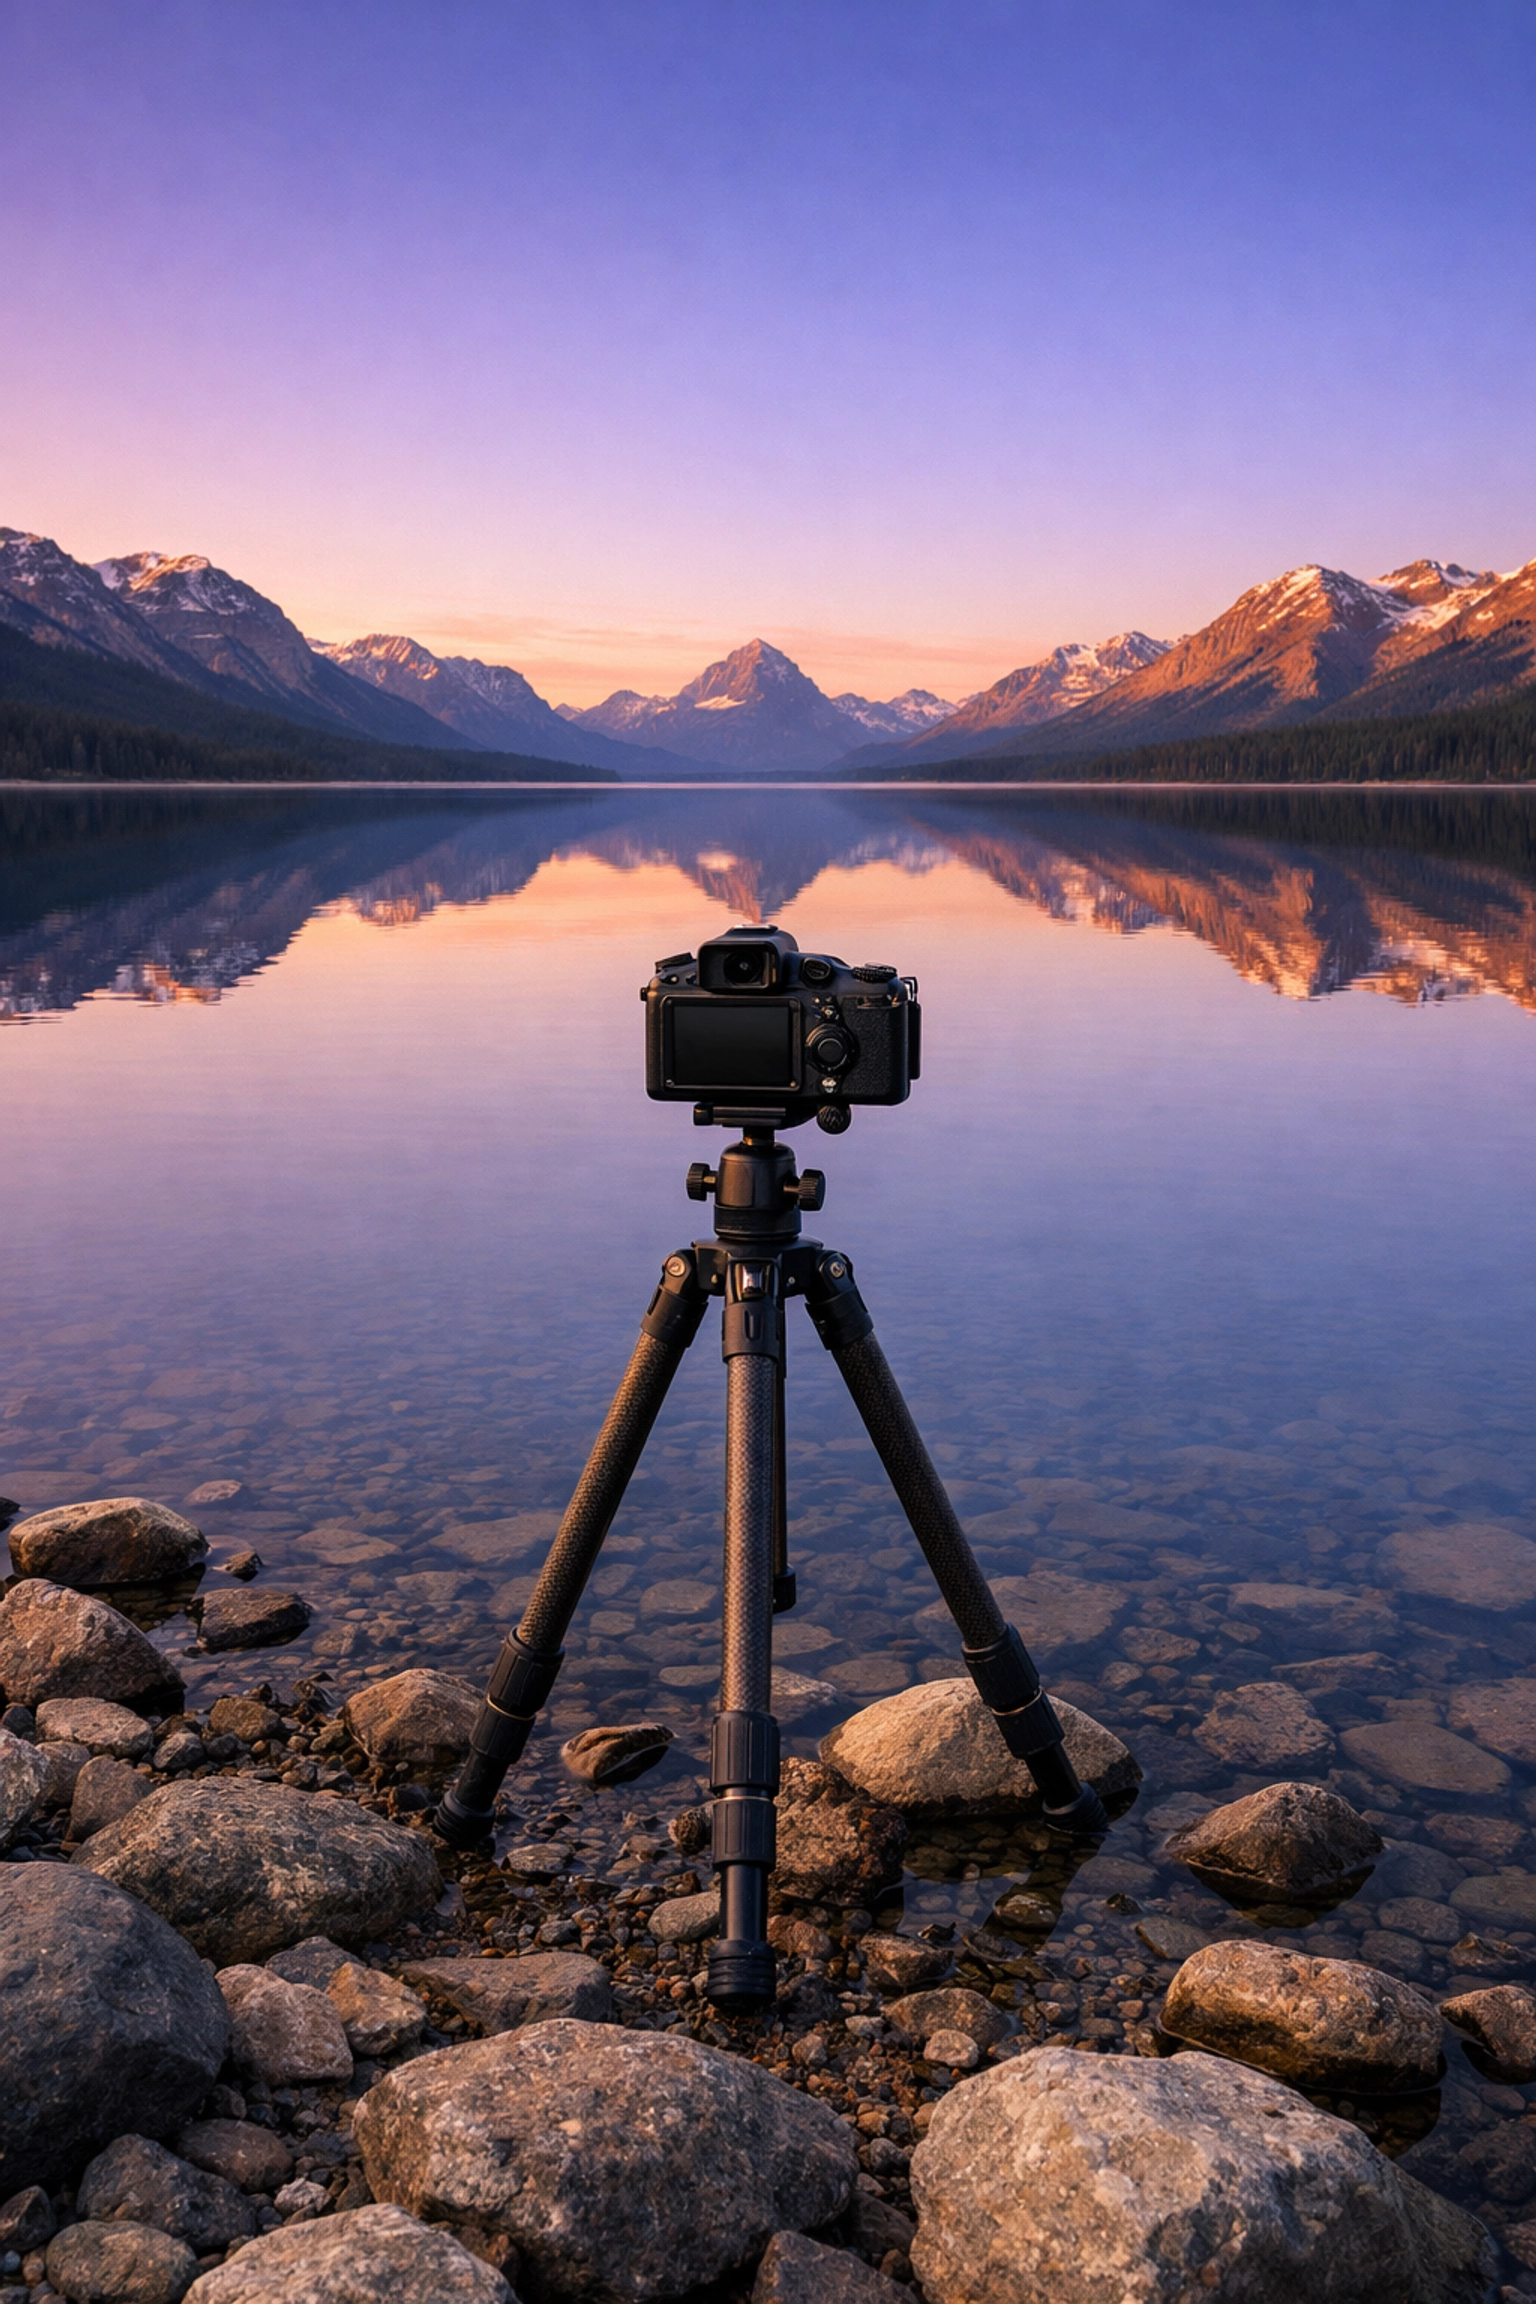
3. Treating Your Tripod Like an Option
I get it. Tripods are heavy, they’re annoying to carry, and they take time to set up. But if you want professional-tier landscape photos, you need one. Period.
The mistake most people make is trying to shoot "golden hour" or "blue hour" handheld. As the light fades, your shutter speed slows down. Even if you have "steady hands," micro-jitters from your heartbeat or a light breeze will soften your image. If you’re shooting at f/11 to get that depth of field we just talked about, your shutter speed is going to be even slower.
The Fix:
Use a sturdy tripod. Don't buy the $20 plastic one from the big-box store; it’ll shake in a light breeze. Get something carbon fiber if you can afford it, or a solid aluminum one if you're on a budget.
When you're on the tripod, don’t forget to:
- Turn off Image Stabilization (it can actually cause blur when the camera is already stable).
- Use a 2-second timer or a remote shutter release so you don’t shake the camera when you press the button.
- If you're looking for secluded paradises to enhance your photography portfolio, you'll likely be hiking: find a tripod that balances weight and stability.
4. The Wide-Angle Trap
When people think "landscape," they immediately reach for their widest lens. They want to capture everything. The problem? When you capture everything, you often end up with a photo of… nothing.
Wide-angle lenses push everything away from the camera. That massive, majestic mountain in the distance? On a 14mm lens, it looks like a tiny pebble. Wide-angle shots often feel empty and lack a sense of scale unless you have something very close to the lens to lead the eye.
The Fix:
Try a telephoto lens for landscapes. Seriously. Using a 70-200mm lens allows you to "compress" the scene. It makes the background elements look huge and helps you pick out interesting patterns and textures that get lost in a wide shot.
When you do use a wide-angle lens, make sure you have a clear foreground subject: a rock, a flower, a piece of driftwood: that is literally inches away from your glass. This creates a sense of depth and pulls the viewer into the scene. For more on finding unique perspectives, see how to discover ethereal landscapes for captivating shots.
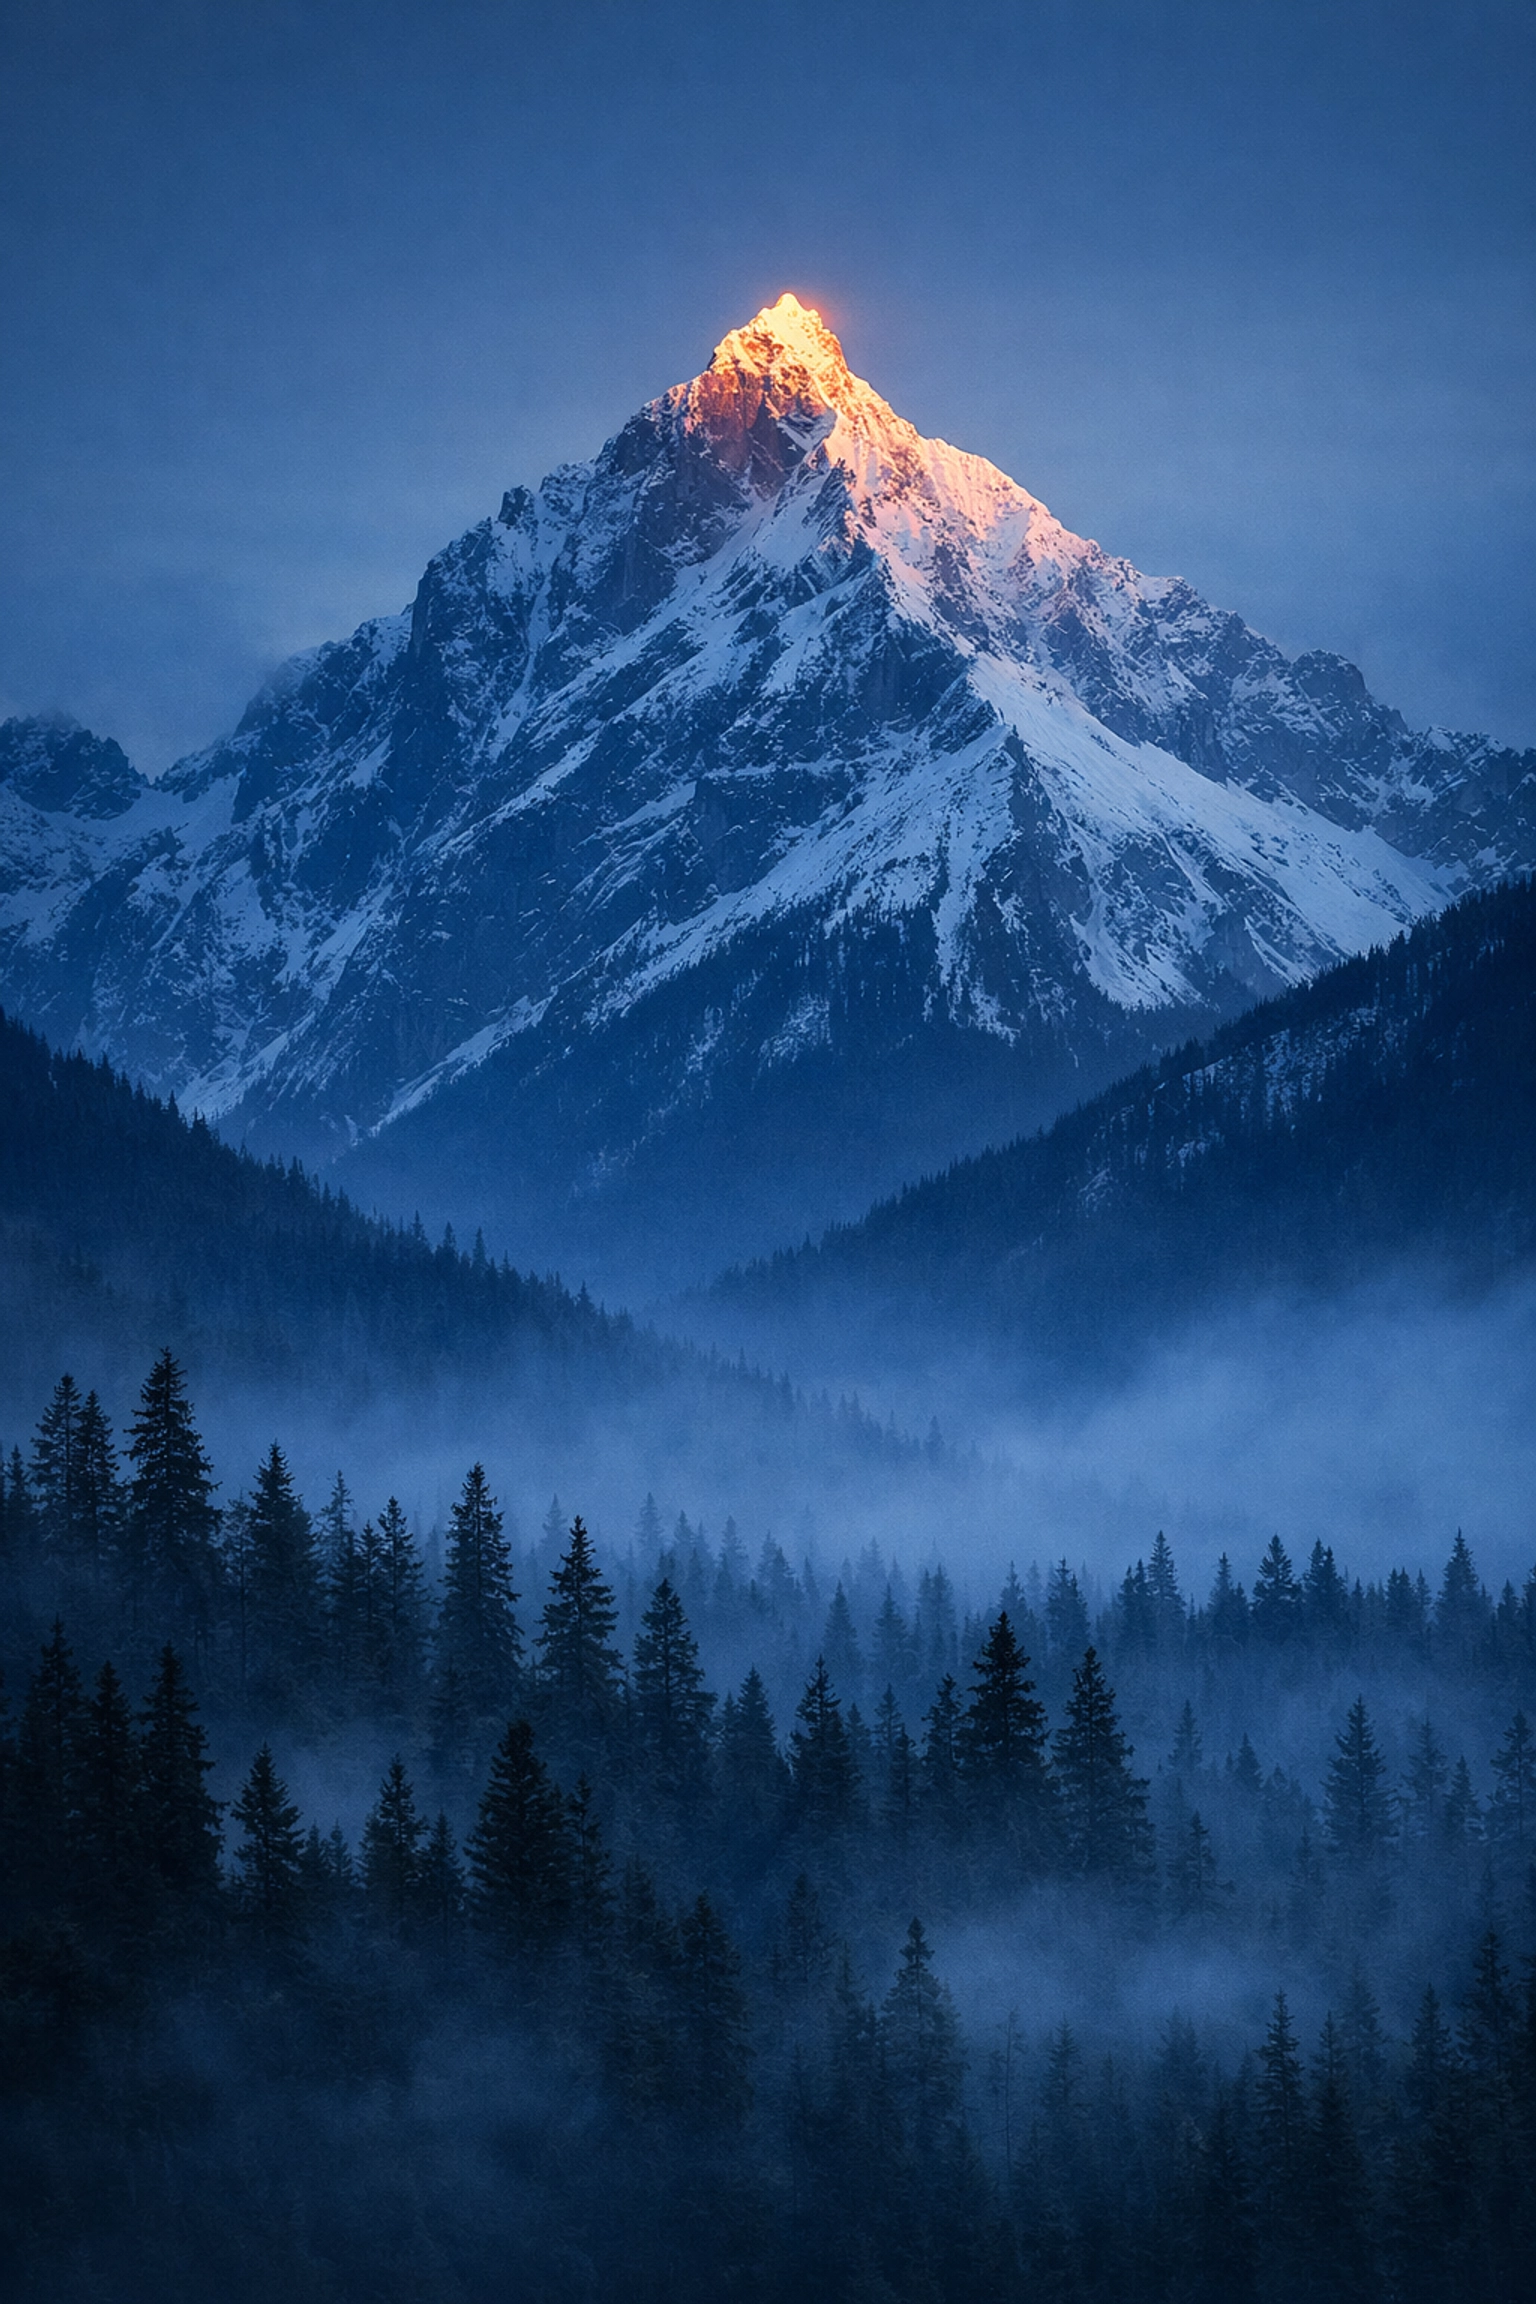
5. Lacking a Clear Subject
A pretty sunset isn't a subject; it's a background. One of the biggest mistakes in landscape photography is the "aim and pray" method. Photographers see a beautiful view and just point the camera in that general direction without deciding what the actual star of the show is.
If the viewer's eye wanders around the frame without landing on anything specific, they’ll get bored and move on. You need a "hook."
The Fix:
Before you click the shutter, ask yourself: "What am I actually taking a picture of?" Is it that specific jagged peak? Is it the reflection in that puddle? Is it the way the light is hitting that one tree?
Once you identify the subject, use composition techniques to highlight it.
- Leading Lines: Use a path, a river, or a fence to point toward the subject.
- Rule of Thirds: Place your subject off-center to create more visual interest.
- Framing: Use overhanging branches or rock arches to "frame" your main subject.
If you're looking for inspiration on what subjects to hunt for, check out lesser-known vistas for enigmatic photos.
6. Messy Borders and Bad Crops
Check your corners! A common mistake is ignoring the edges of the frame. You might have a gorgeous mountain in the center, but if there’s a random half-cutoff trash can, a stray branch, or a bright white spot in the corner, it will distract the viewer.
Additionally, many photographers stick to the default aspect ratio of their camera (usually 3:2). Sometimes the scene doesn't fit that box.
The Fix:
Do a "border patrol" before you take the shot. Run your eyes around the edges of the viewfinder. If there’s something distracting, move your tripod a few inches or zoom in slightly to crop it out.
In post-processing, don't be afraid to experiment with different aspect ratios. A panoramic 16:9 crop can make a mountain range look much more epic, while a 4:5 vertical crop is often better for social media and emphasizes height. You can see examples of different framing styles on Edin’s personal blog at blog.edinchavez.com.
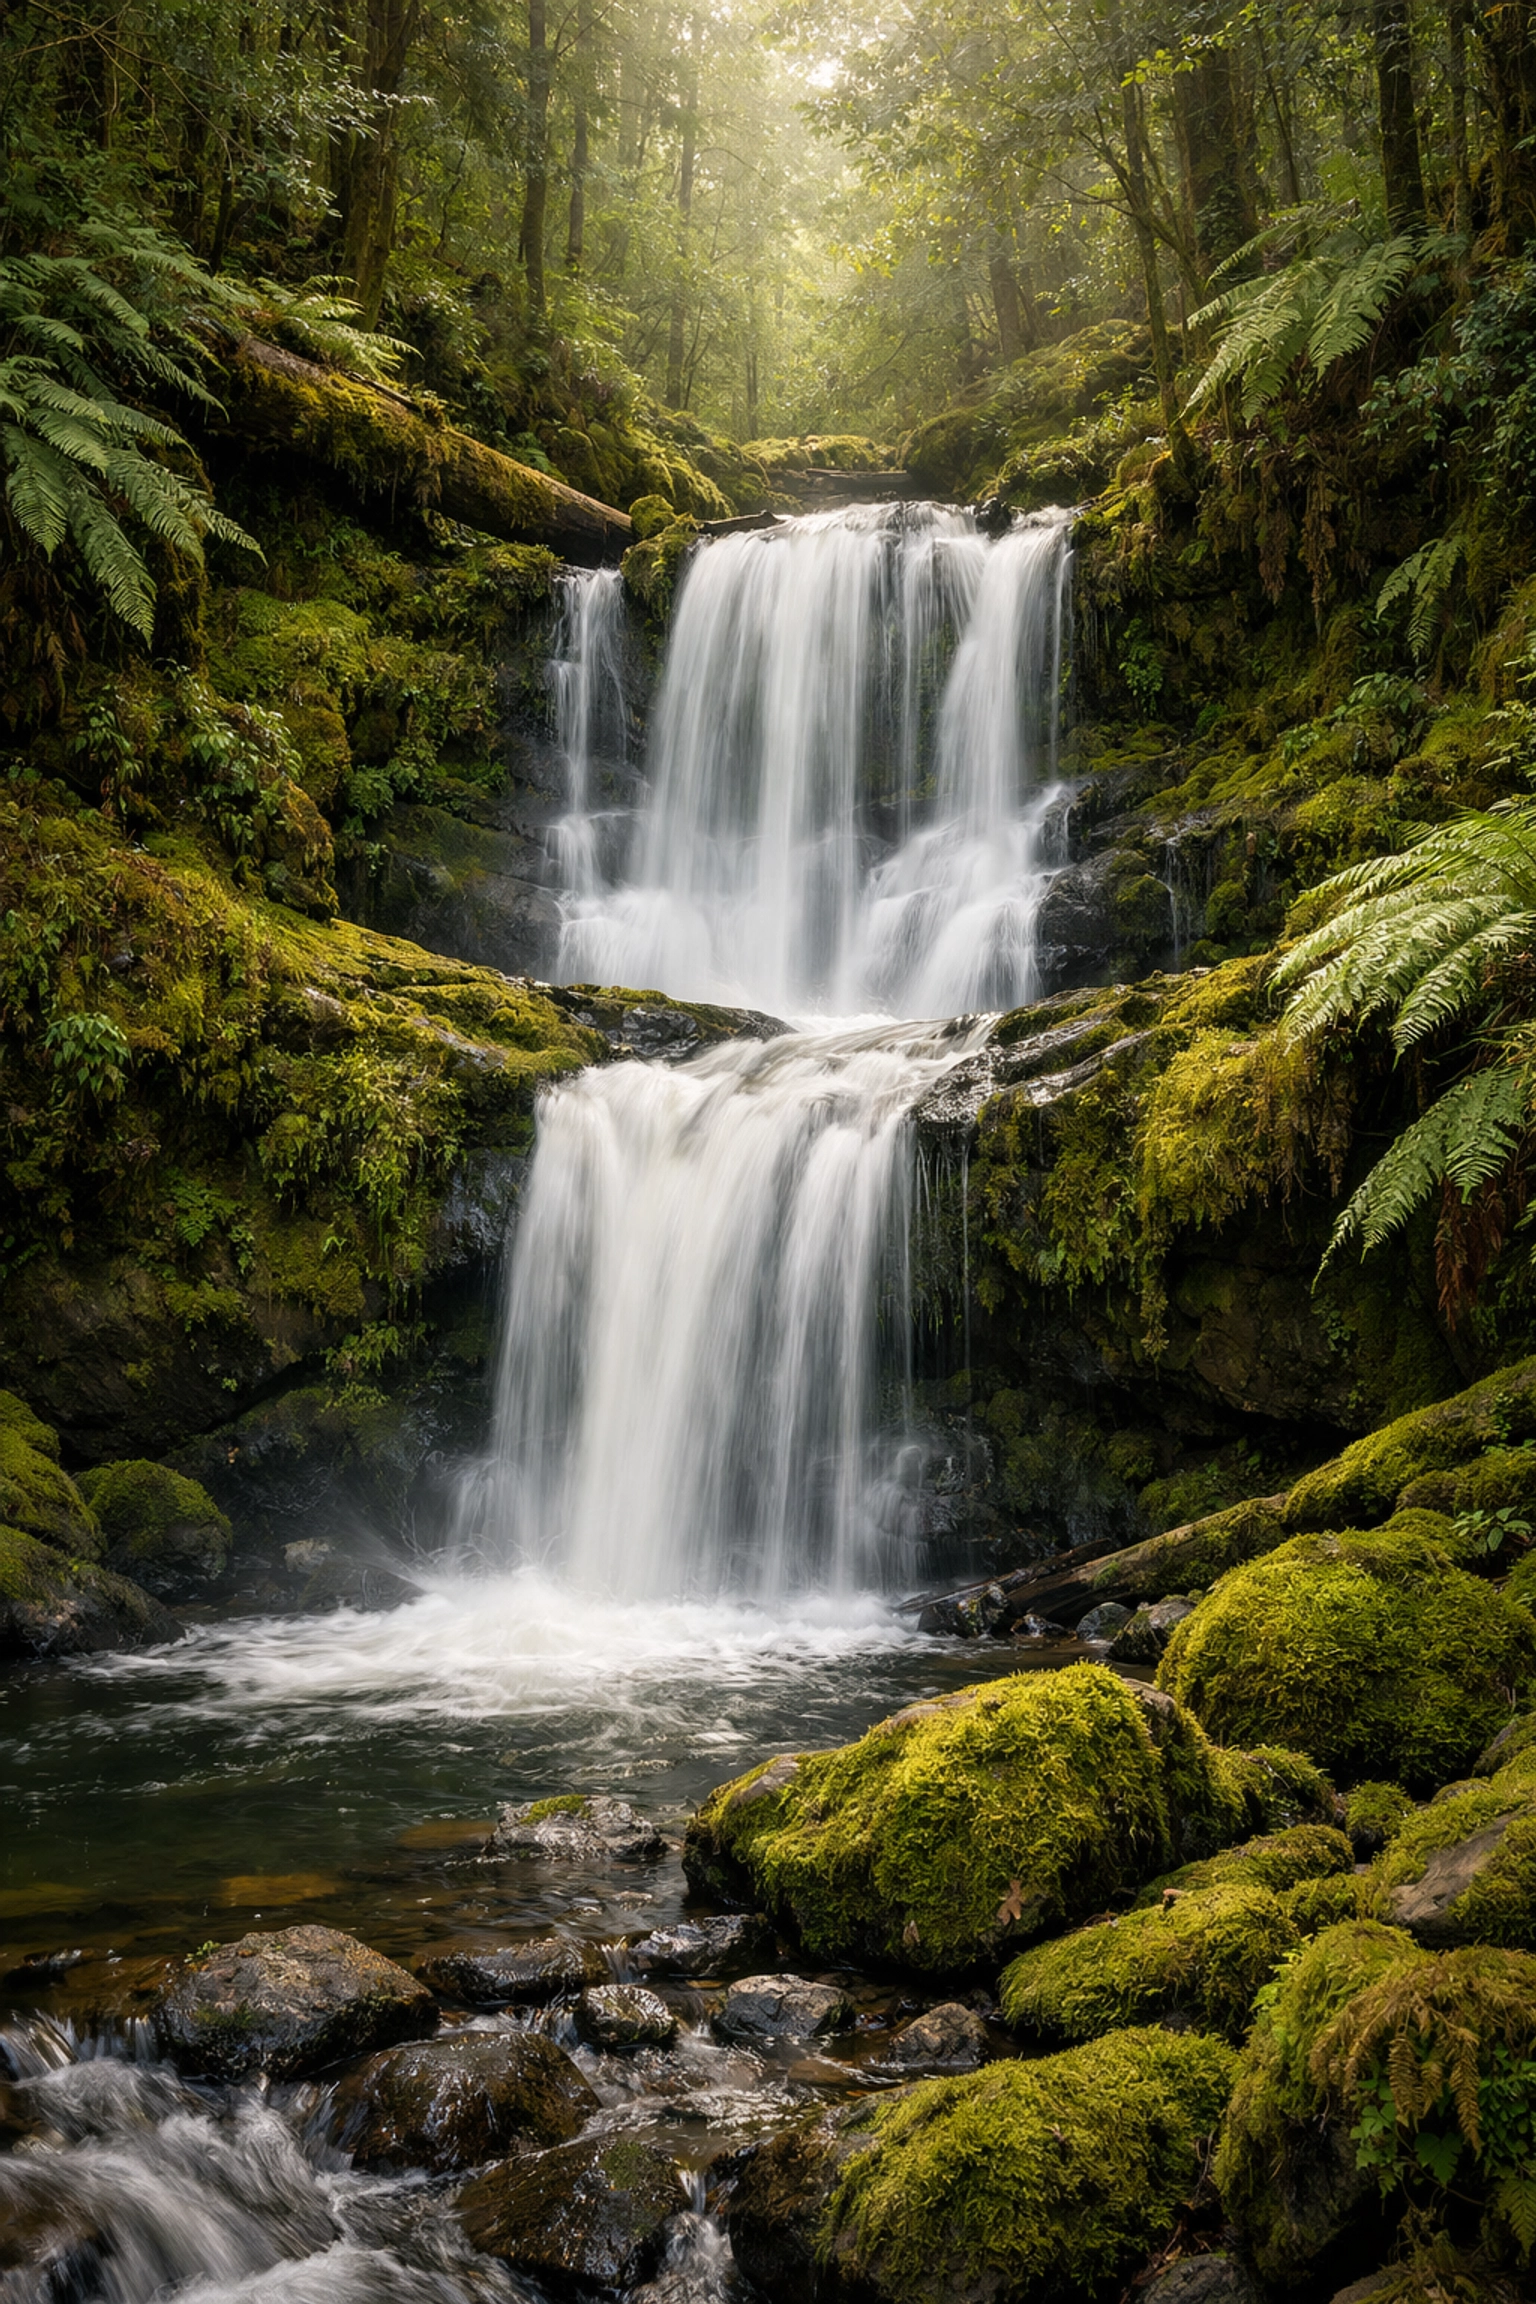
7. Over-Processing (The "Deep-Fried" Look)
We live in the age of HDR and "Saturation: +100." It’s tempting to push those sliders until the photo pops, but there’s a fine line between a vibrant photo and one that looks like a neon nightmare.
Common post-processing sins include:
- Haloing: Bright white lines around mountains caused by too much "clarity" or "shadow recovery."
- Radioactive Greens: Pushing saturation so far that the grass looks like it’s glowing in the dark.
- Crushed Details: Using too much noise reduction until the landscape looks like a watercolor painting.
The Fix:
Edit with a light touch. A good rule of thumb is to push a slider until it looks "just right," and then back it off by 10-20%. Use the "Vibrance" slider instead of "Saturation": it’s smarter and targets the less-saturated colors first without killing skin tones or already-bright areas.
If you want powerful results without the headache, I highly recommend using Luminar. Its AI-based tools like "Sky Replacement" and "Accent AI" are great, but the real magic is in how it handles light and structure naturally. Just remember: the goal is to enhance what was there, not create a fake reality. For professional-grade editing and gear advice, proshoot.io is another fantastic resource.
Summary: Slow Down to Speed Up
Landscape photography is a slow sport. The best shots don't come to people who run around snapping 500 photos in ten minutes. They come to the people who take the time to level their tripod, choose the right f-stop, and wait for the light to hit their clearly defined subject.
If you stop making these seven mistakes, I promise your "hit rate" will skyrocket. You’ll spend less time trying to "save" photos in Photoshop and more time enjoying the view.
If you're ready to find some hidden gem locations for travel photography to test these new skills, we've got plenty of guides to get you there. And if you're ever in need of a studio space for your post-processing or gear prep, check out edinstudios.com.
Now, go grab your gear, check your horizon, and shut your aperture (to f/11, preferably). Happy shooting!


