

We’ve all been there. You’re standing on the edge of a cliff, the sun is dipping below the horizon, painting the sky in colors you didn't even know existed, and you think, "This is it. This is the shot that’s going to make me famous." You click the shutter, look at the back of the screen, and… it looks like a muddy mess.
Landscape photography seems simple on the surface, just point the camera at something pretty, right? Wrong. It’s a discipline of patience, technical precision, and a bit of luck. But mostly, it’s about avoiding the common traps that turn a majestic vista into a snapshot.
At Shut Your Aperture, we want you to stop taking "okay" photos and start taking "wow" photos. Let's break down the seven most common mistakes landscape photographers make and, more importantly, how you can fix them today.
1. The "F-Stop Fear": Not Stopping Down Enough
One of the biggest killers of a great landscape shot is a blurry foreground. You find a killer leading line, maybe some cool rocks or a stream, but when you get home and look at the image on a big monitor, the background is sharp but the front is a soft, mushy disaster.
A lot of photographers get hung up on "diffraction." They hear that shooting at f/11 or f/16 will make their images less sharp because of physics. While there is a tiny bit of truth to that, a tiny bit of diffraction is way better than a completely out-of-focus foreground.
How to Fix It:
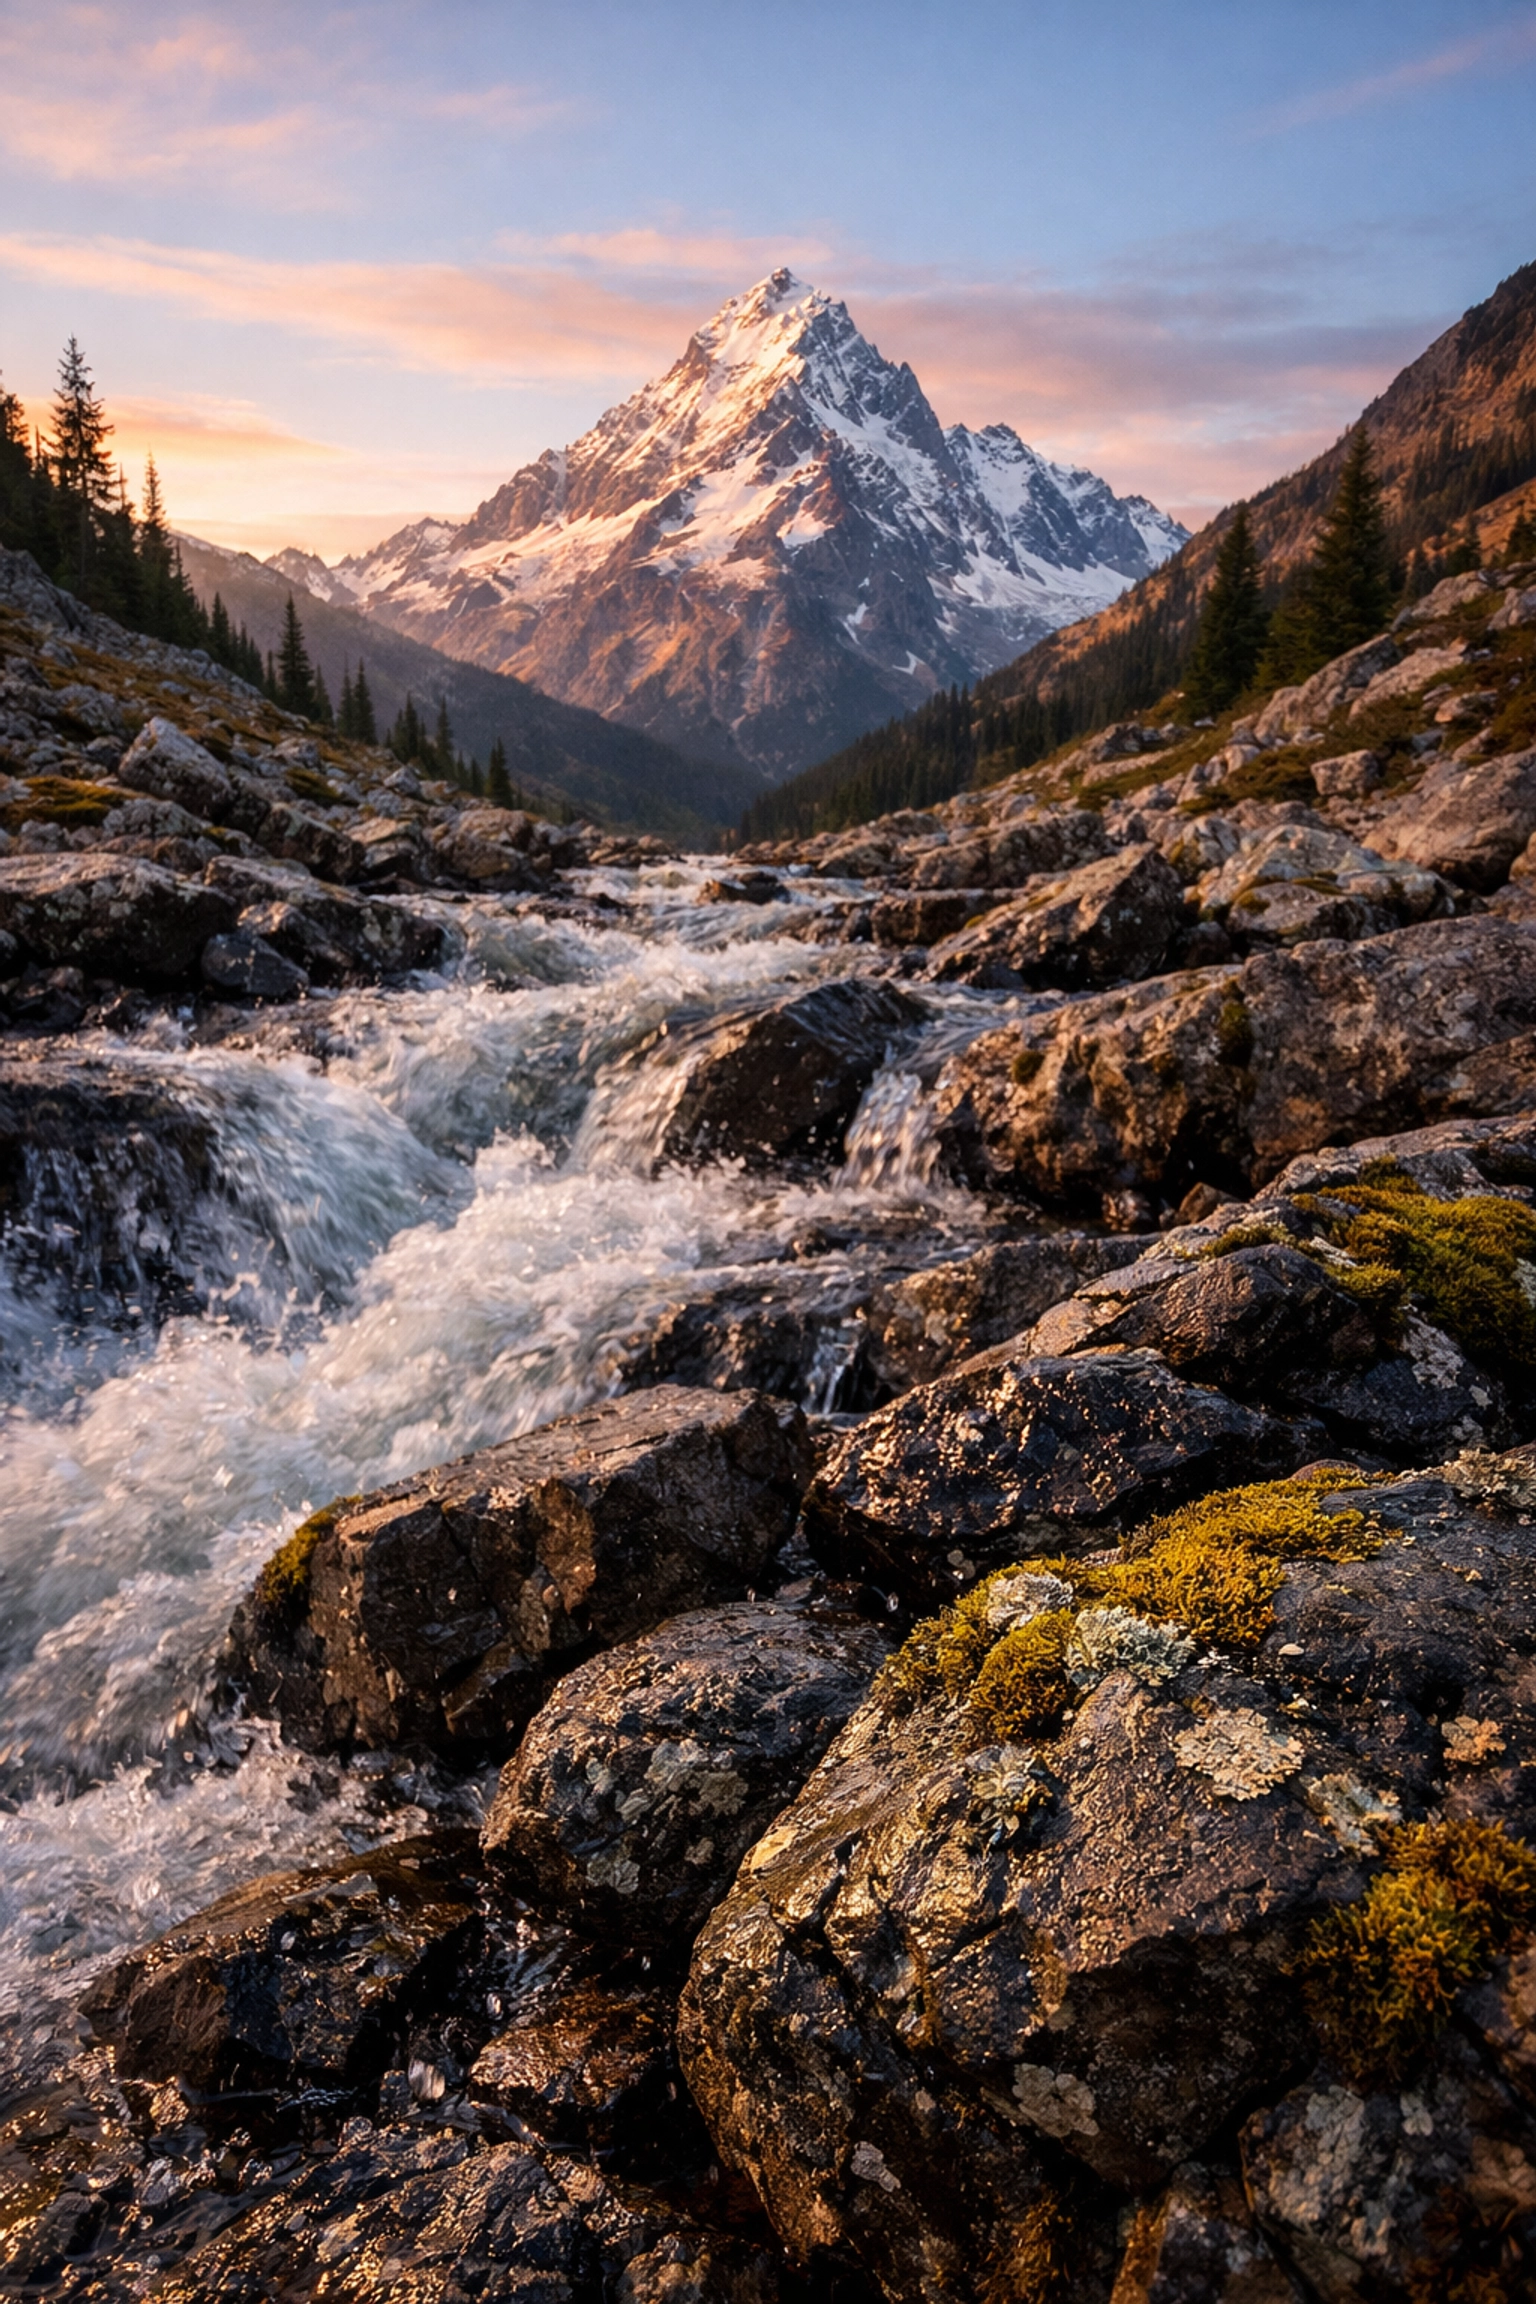
Don’t be afraid of the higher f-numbers. If you have elements close to your lens, you need that deep depth of field. Start at f/11. If the foreground is still soft, bump it to f/16. If you’re really struggling with a scene where things are inches from your lens and miles in the distance, it might be time to learn focus stacking.
When you're out there, use your camera's zoom function on the LCD to check the corners and the foreground after you take the shot. If you're shooting water photography, getting that crispness in the ripples near your feet is vital for a sense of scale. You can also check out our best camera settings for stunning water landscapes for more gear-specific advice.
2. The Obsession with "Sharp Everything"
Wait, didn't I just say to stop down? Yes, but here is the twist: not every landscape needs to be sharp from front to back. A common mistake is falling into a "formula." Photographers often think: Landscape = f/11 + Wide Angle + Tripod.
This mindset kills creativity. Sometimes, the story of the landscape is in the details. By forcing everything to be sharp, you might be distracting the viewer from the actual subject of your photo.
How to Fix It:
Embrace the "intimate landscape." Use a telephoto lens and a wider aperture (like f/4 or f/5.6) to isolate a single tree, a mountain peak, or a pattern in the sand. Selective focus creates a painterly, ethereal quality that stands out in a sea of wide-angle shots.
If you’re looking for inspiration on how to use this more artistic approach, check out these ethereal landscapes for captivating shots. Sometimes, a little bit of blur in the right place makes the image feel more like a dream and less like a map.
3. The "Skittles" Effect: Over-Saturation
We’ve all seen them on Instagram. Landscapes where the grass is neon green, the sky is a bruised purple, and the rocks look like they’re glowing from within. Over-saturation is the quickest way to make a professional photo look amateur. It usually happens because the photographer is trying to "fix" a boring light situation in post-processing.
If the light was flat when you took the photo, cranking the saturation slider to +50 isn't going to save it; it’s just going to make it look radioactive.
How to Fix It:
Be subtle. If you feel like your image needs a punch, try using the HSL (Hue, Saturation, Lightness) sliders instead of the global saturation tool. If the sunset is a bit dull, maybe just bump the oranges and reds by 5 or 10 points.
A great tool for managing color without going overboard is Luminar. Its AI tools are great for enhancing what’s already there rather than painting over it with digital neon. Use Luminar to enhance textures and contrast, which often gives the "pop" you’re looking for without the fake color. For more tips on processing, you can always visit PhotoGuides.org.
4. Disaster with Dynamic Range: Blown Highlights and Crushed Shadows
Digital cameras are amazing, but they aren't as good as the human eye at seeing detail in both bright highlights and deep shadows at the same time. A common mistake is trying to save a photo where the sun is a giant white hole or the shadows are just solid black blocks of "nothing."
When you try to "pull up" shadows that are too dark, you get a ton of digital noise. When you try to "pull down" blown-out highlights, you get a weird, muddy grey.
How to Fix It:
Learn to read your histogram. That little graph on your camera is your best friend. Make sure the "mountain" of the graph isn't touching the far right (blown highlights) or the far left (crushed shadows).
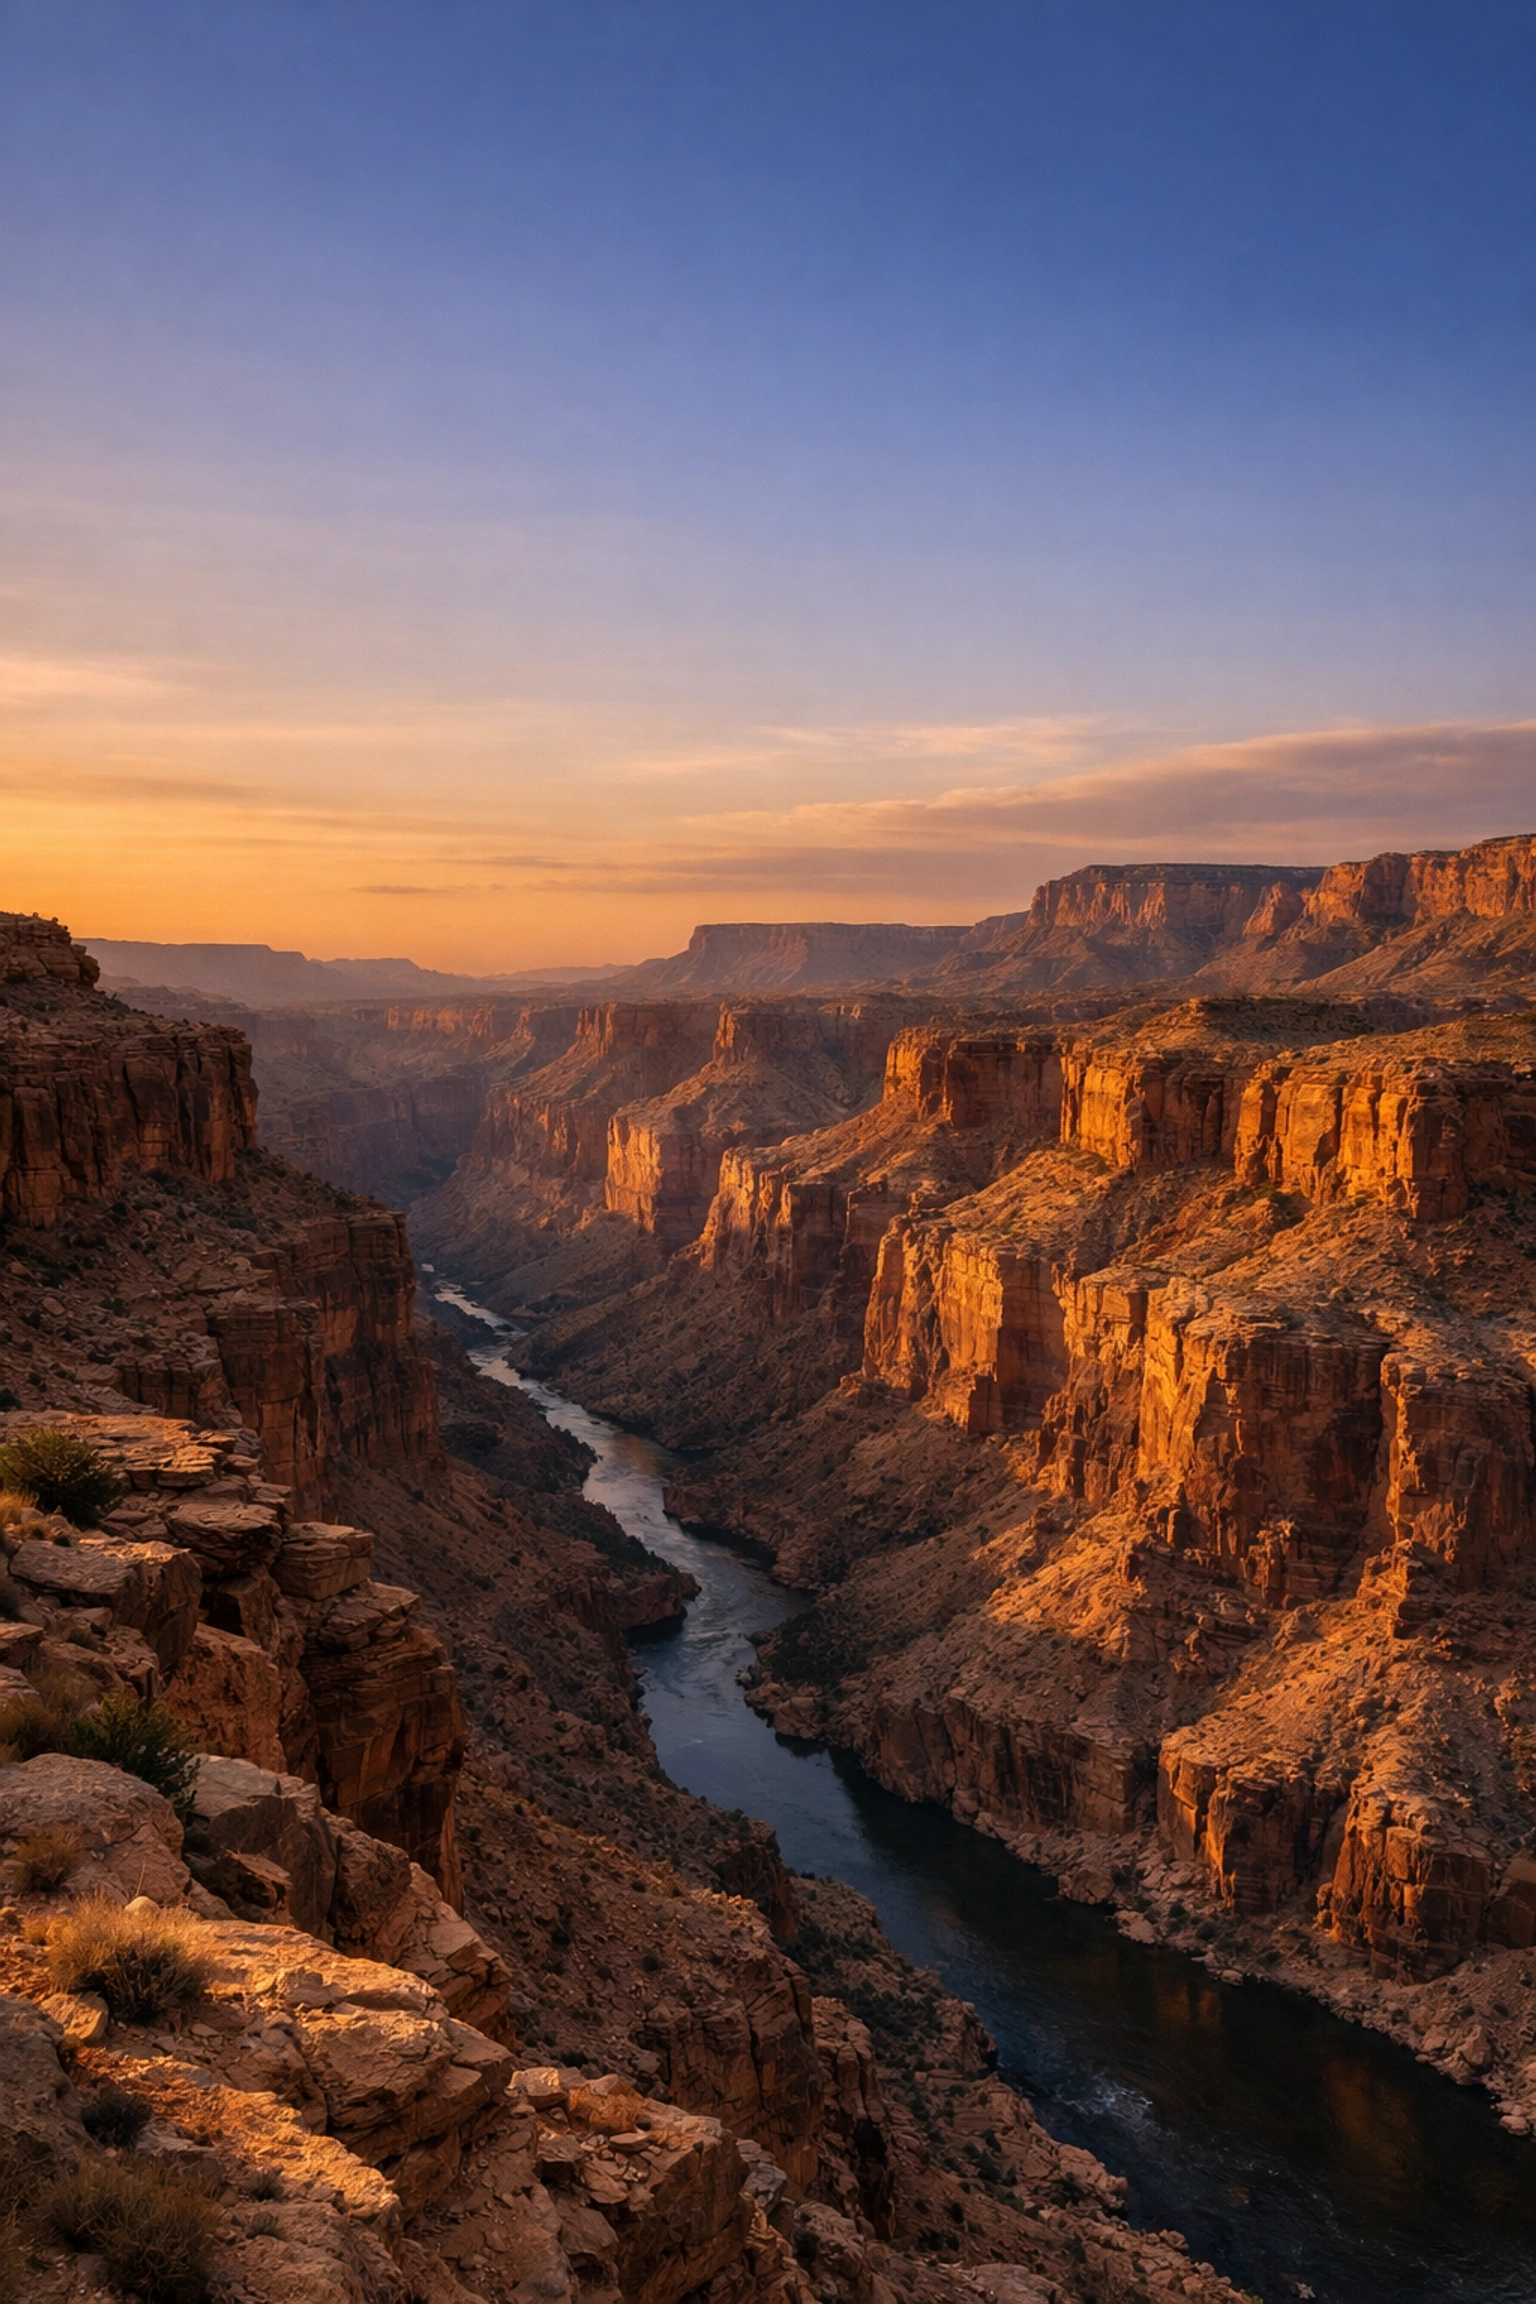
If the scene is too high-contrast, like during a majestic sunset, consider bracketed exposures. Take one shot for the sky, one for the middle ground, and one for the shadows, then blend them later. This is a core technique used by pros you'll find on proshoot.io and blog.edinchavez.com.
5. Over-Smoothing: The Noise Reduction Trap
Low light is the natural habitat of the landscape photographer. We shoot at blue hour, at night, and in deep forests. This often leads to "noise" or grain in the image. The mistake here is getting aggressive with noise reduction software.
If you push noise reduction too far, your landscape starts to look like a plastic 3D render. You lose the texture of the rocks, the individual leaves on the trees, and the crispness of the stars.
How to Fix It:
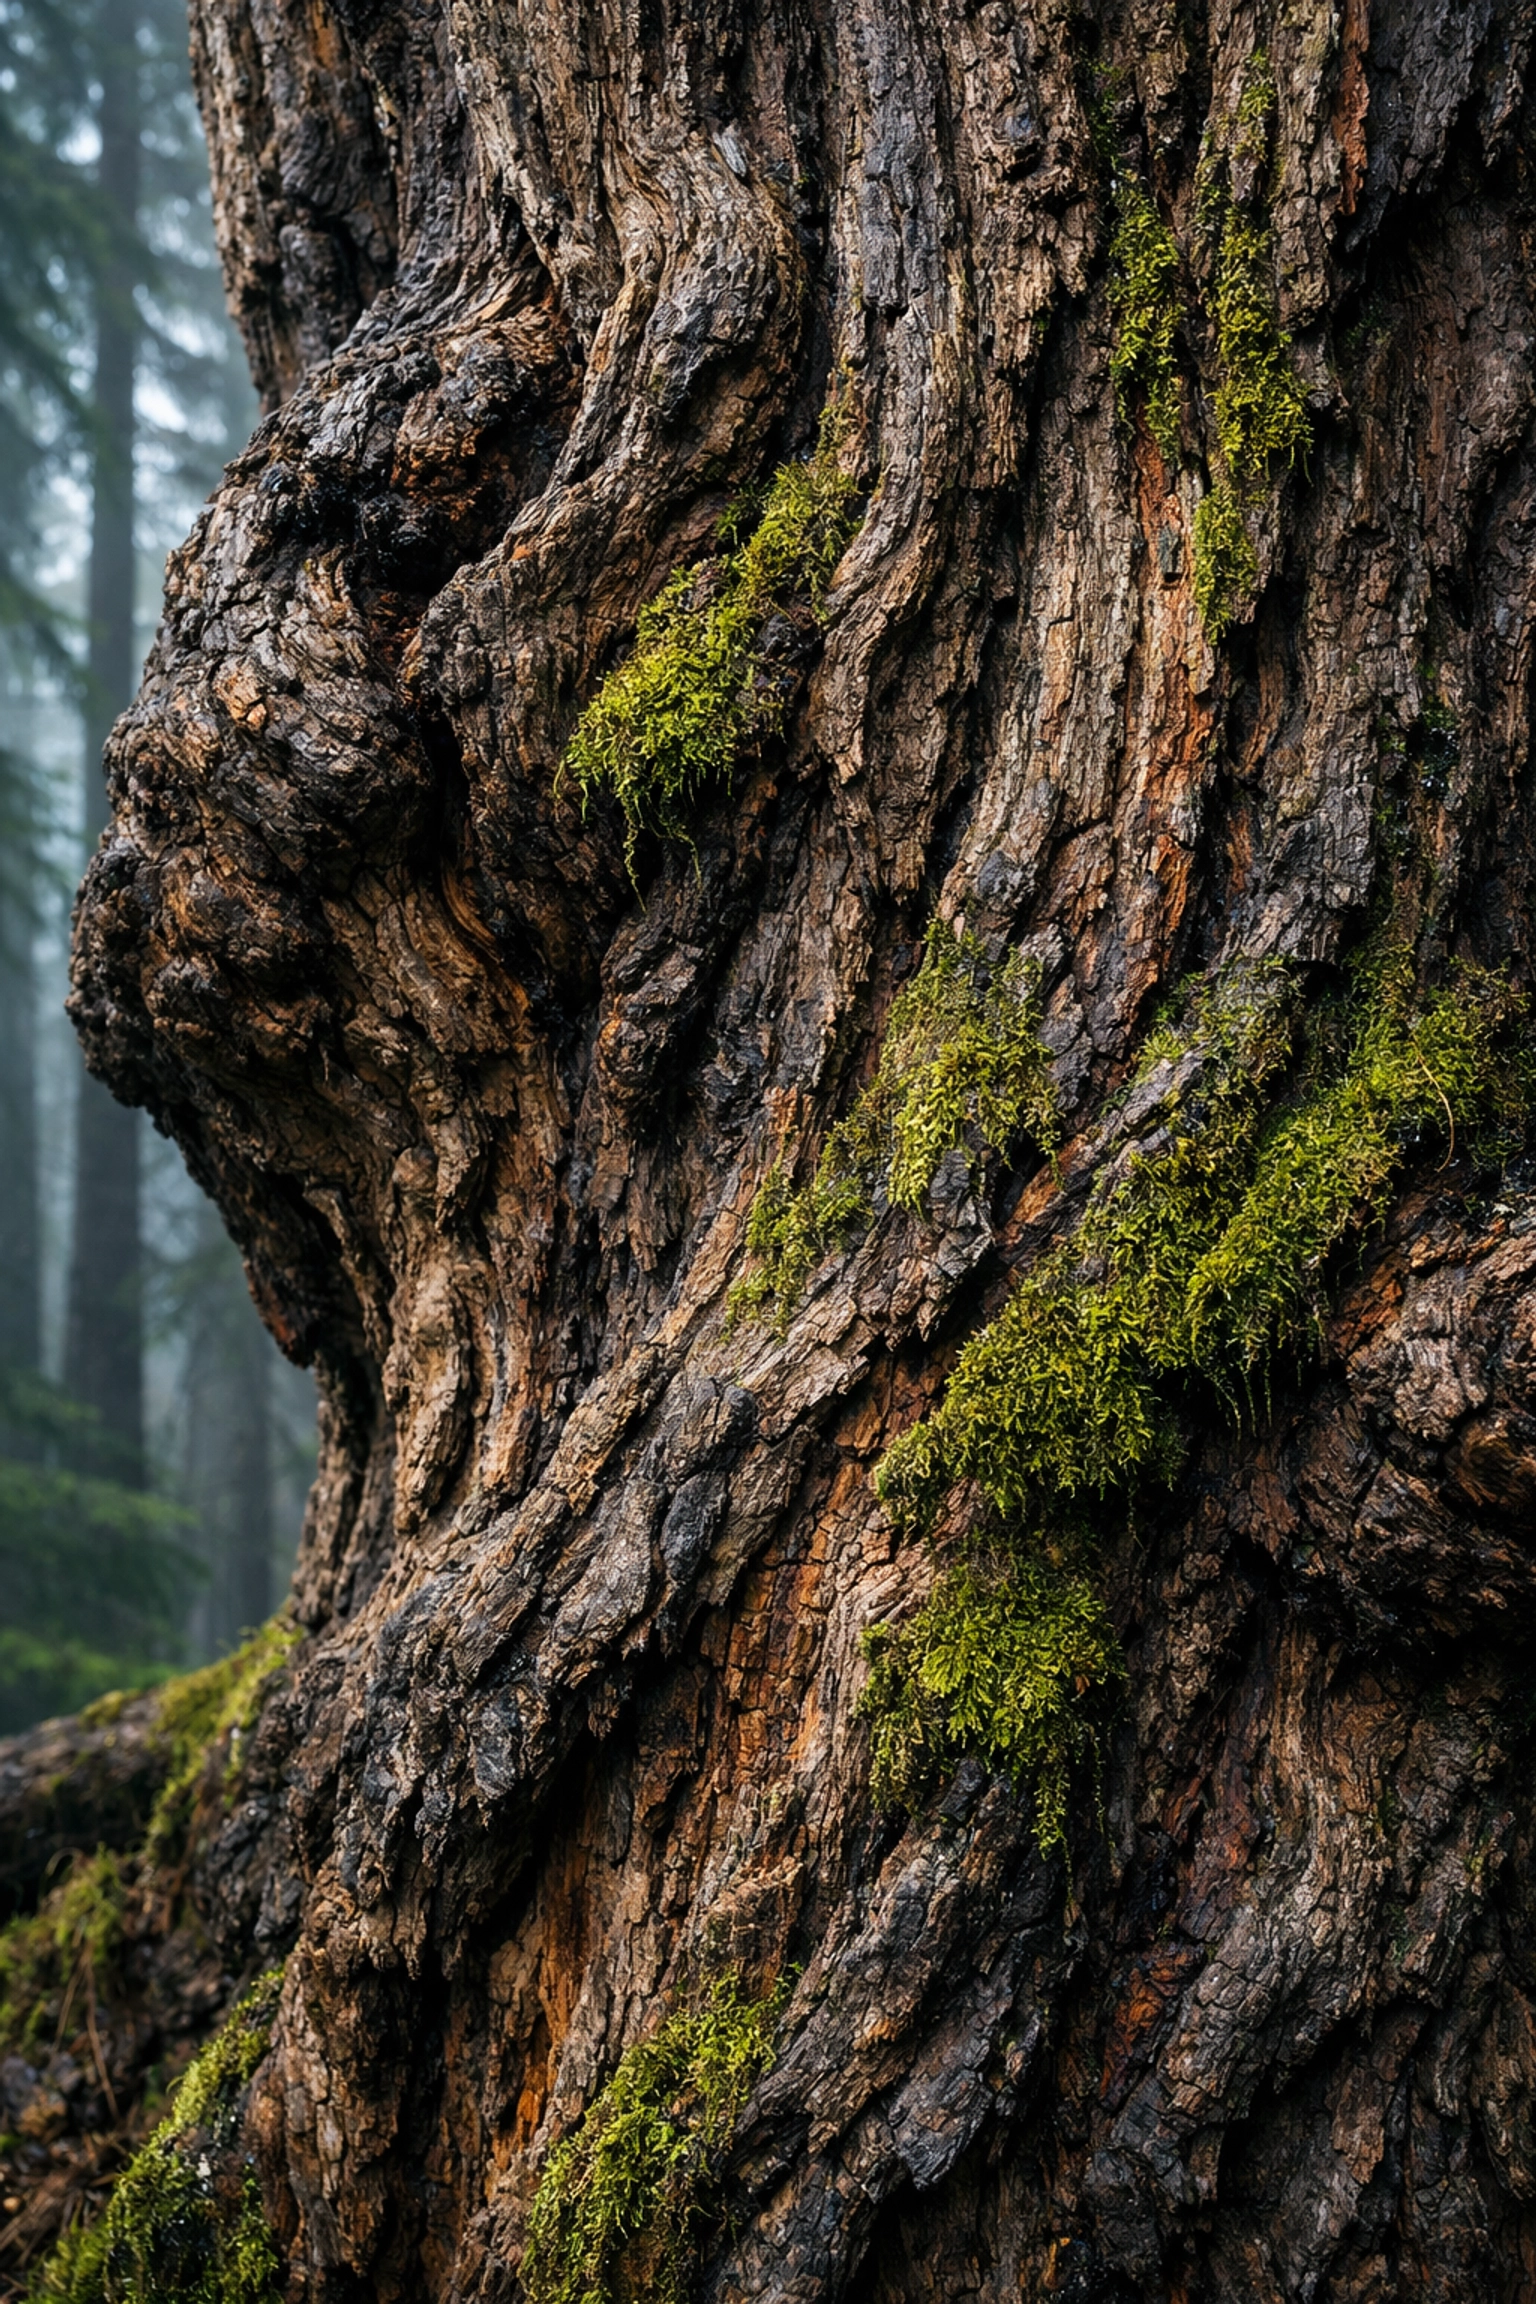
A little bit of grain is fine. In fact, grain can actually give an image a sense of "perceived sharpness." When editing, apply noise reduction selectively. You might want to smooth out a clear blue sky, but leave the texture in the foreground rocks alone.
If you’re using Luminar, use the masking tools to apply de-noise only where it's actually needed. And remember, a sharp photo with a bit of noise is always better than a blurry photo that’s "clean." If you want to see how texture can actually improve an image, read about using rare textures for tangible aesthetic photography.
6. Compositional Clutter: Including the "Mess"
When we stand in a beautiful place, our brains naturally filter out the trash can, the power lines, or the stray branch in the corner of our eye. But the camera sees everything. One of the biggest mistakes is failing to "clean up" the frame before clicking the shutter.
Distracting elements pull the viewer’s eye away from your subject. If there’s a bright white rock in the very corner of your frame, that’s where people will look, not at the beautiful mountain in the middle.
How to Fix It:
Slow down. Landscape photography isn't a race. Once you set up your tripod, do a "perimeter check." Look at all four corners of your viewfinder. Is there a branch poking in? Move the tripod six inches. Is there a footprint in the sand? Smooth it out (if it's ethical to do so).
Simplicity is almost always better. If an element doesn't help tell the story of the location, get rid of it. This is especially important when shooting in hidden gem locations where the goal is to show the pristine nature of the spot.
7. Lazy Cropping and Wonky Horizons
This sounds like a "beginner" mistake, but you’d be surprised how many experienced photographers mess this up. A horizon that is even 1 degree off-level can make a viewer feel physically uneasy. It’s like a crooked picture frame on a wall, you just can't look at anything else until it's fixed.
Similarly, many photographers stick to the standard 3:2 aspect ratio because that’s what the camera spits out. But not every landscape fits that box.
How to Fix It:
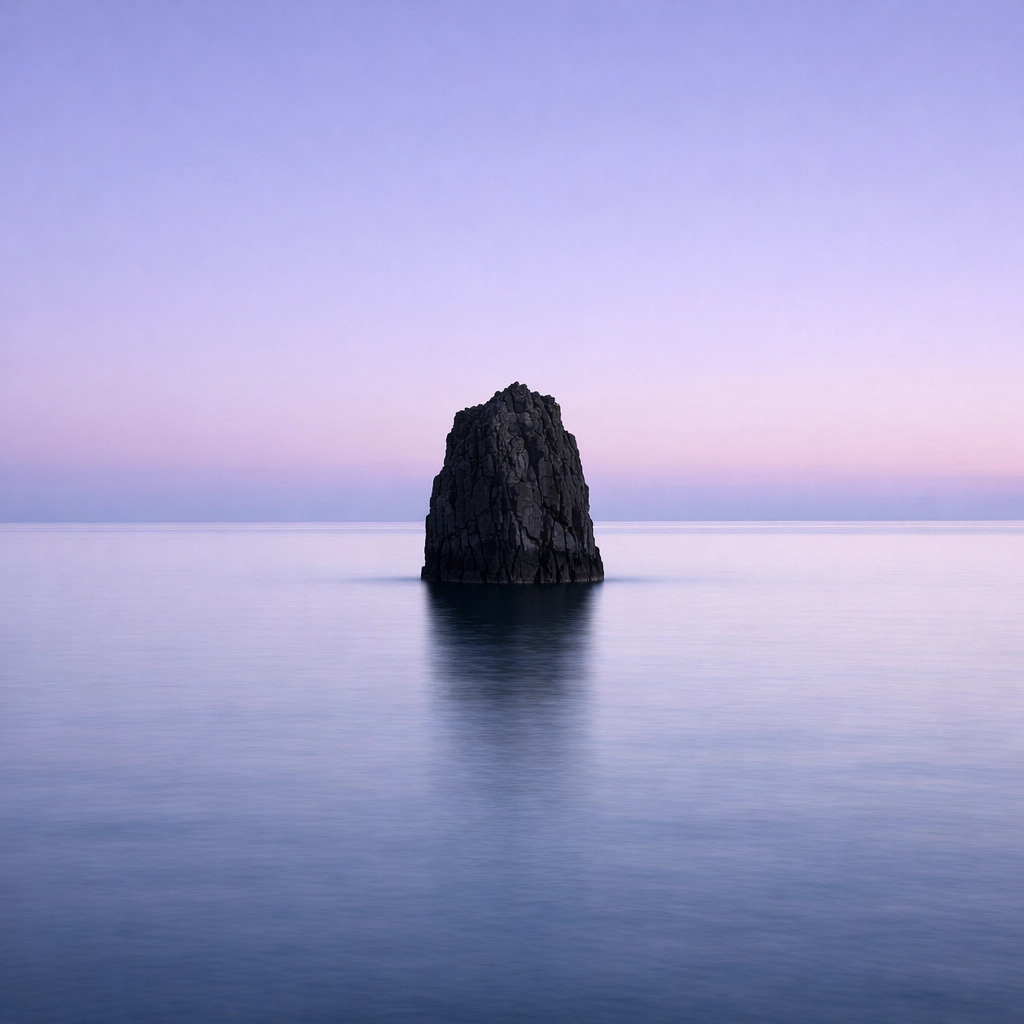
First, turn on the electronic level in your camera's viewfinder. Use it every single time. If you’re shooting coastal escapes, the ocean horizon must be perfectly flat. Water doesn't slope!
Second, don’t be afraid to crop in post-processing. Sometimes a panorama (16:9) or a vertical 4:5 crop can completely transform a "messy" photo into a masterpiece. Treat the crop tool as a second chance at composition. You can see some masterfully cropped work over at edinfineart.com to see how different ratios change the mood of a photo.
Bonus Tip: The "Rule of Thirds" Prison
The Rule of Thirds is a great starting point, but many photographers get stuck in it. They think they have to put the horizon on the top third line. But what if the sky is boring and the foreground is incredible? Or what if the reflection in a lake is perfectly symmetrical?
The Fix: Break the rules once you understand them. If you have a perfect reflection, put the horizon right in the middle. If the sky is a dramatic storm, give it 80% of the frame.
Moving Forward
Landscape photography is a journey, and honestly, we’re all still learning. Even the pros at edinstudios.com are constantly refining their craft. The key is to be intentional. Don't just "take" a photo; "make" a photo.
Next time you’re out in the field, run through this mental checklist:
- Is my f-stop high enough for the foreground?
- Is my horizon level?
- Is there any "trash" in the corners?
- Am I over-relying on saturation?
If you can avoid these seven mistakes, you’re already ahead of 90% of the people out there with a camera. Now, get out there and find some secluded paradises to practice on.
And hey, if you find a killer shot, make sure to tag us. We love seeing what the community is up to. If you need more gear advice, don't forget to check out our essential water photography gear guide.
Happy shooting! (And don't forget to link up with Sonny on social media: he's always looking for new blog features to share with the crowd!)


