
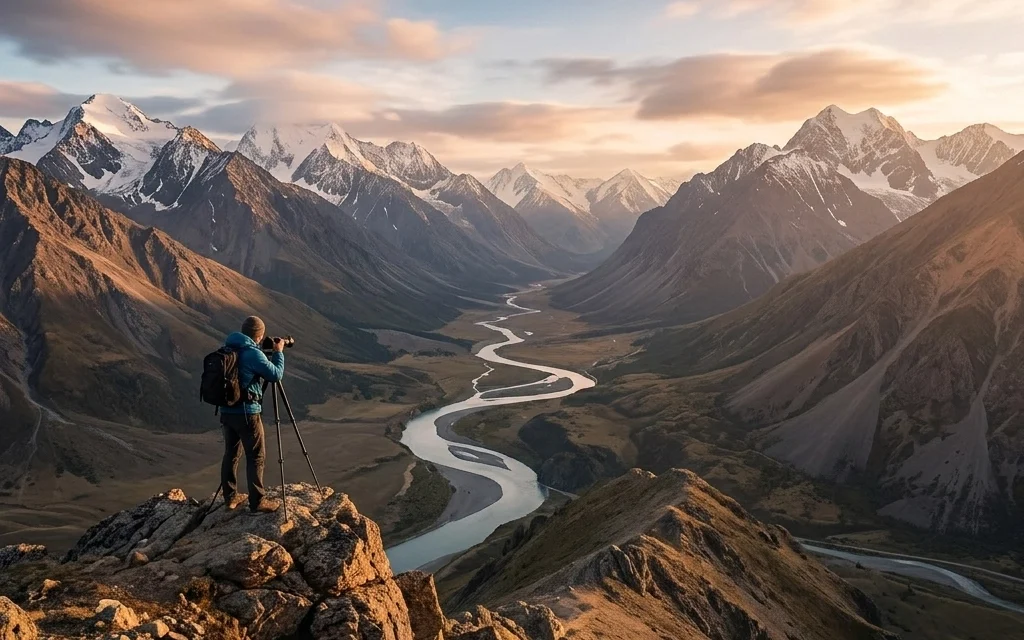
Let’s be honest: landscape photography looks a lot easier than it actually is. You see a beautiful mountain, you point your camera at it, and you click the shutter. Then you get home, open the file on your computer, and… it looks flat. Boring. Maybe even a little crooked.
Don’t sweat it. We’ve all been there. Even the pros at PhotoGuides.org started by making the same basic errors. Landscape photography is a craft that requires patience, planning, and a bit of technical know-how. If your shots aren't popping the way you want them to, you’re likely falling into one of a few common traps.
At Shut Your Aperture, we want to help you turn those "meh" snapshots into gallery-worthy art like you’d see over at Edin Fine Art. Here are the seven most common mistakes people make with landscape photography and exactly how to fix them.
1. The "Drunken" Horizon
There is nothing that ruins a majestic mountain range faster than a tilted horizon. If the ocean looks like it’s about to leak out of the left side of your frame, you’ve got a problem. A crooked horizon is distracting and instantly tells the viewer that the photographer wasn't paying attention to the details.
How to Fix It:
Most modern cameras have a built-in electronic level. Use it. If your camera doesn't have one, turn on the grid overlay in your viewfinder or on your LCD screen. Align the horizon line with one of the horizontal grid lines.
If you realize you messed up after the fact, you can fix it in post-processing. Most editing software has a "Straighten" tool. Just keep in mind that when you rotate an image to straighten it, you lose a bit of the edges due to cropping. To avoid this, get it right in the field. If you’re shooting with a wide lens, be extra careful: distortion can make the center look straight while the edges look slanted.
2. Using the "Wrong" Lens (The Wide-Angle Trap)
When people think of landscape photography, they immediately reach for the widest lens they own. While wide-angle lenses are great for capturing vast expanses, they can also make everything in your frame look small and distant. If you’re standing in front of a massive mountain and use a 14mm lens, that mountain might end up looking like a tiny hill in the background.
How to Fix It:
Don’t be afraid to use a telephoto lens for landscapes. Using a 70-200mm lens allows you to compress the scene, making distant layers look closer together. This is great for shooting rolling hills, misty forests, or mountain peaks.
Experiment with different focal lengths. Sometimes the best "landscape" is a tight shot of a specific texture or a single tree on a ridge. If you want to dive deeper into gear choices, check out the Ultimate Guide to Event Photography Gear for a breakdown of how different lenses change the vibe of a shot.
3. The Midday Meltdown
Lighting is everything. If you are out shooting at 1:00 PM on a clear, sunny day, your photos are going to have harsh shadows and blown-out highlights. This "flat" lighting is the enemy of depth. It washes out colors and makes the most dramatic landscape look ordinary.
How to Fix It:
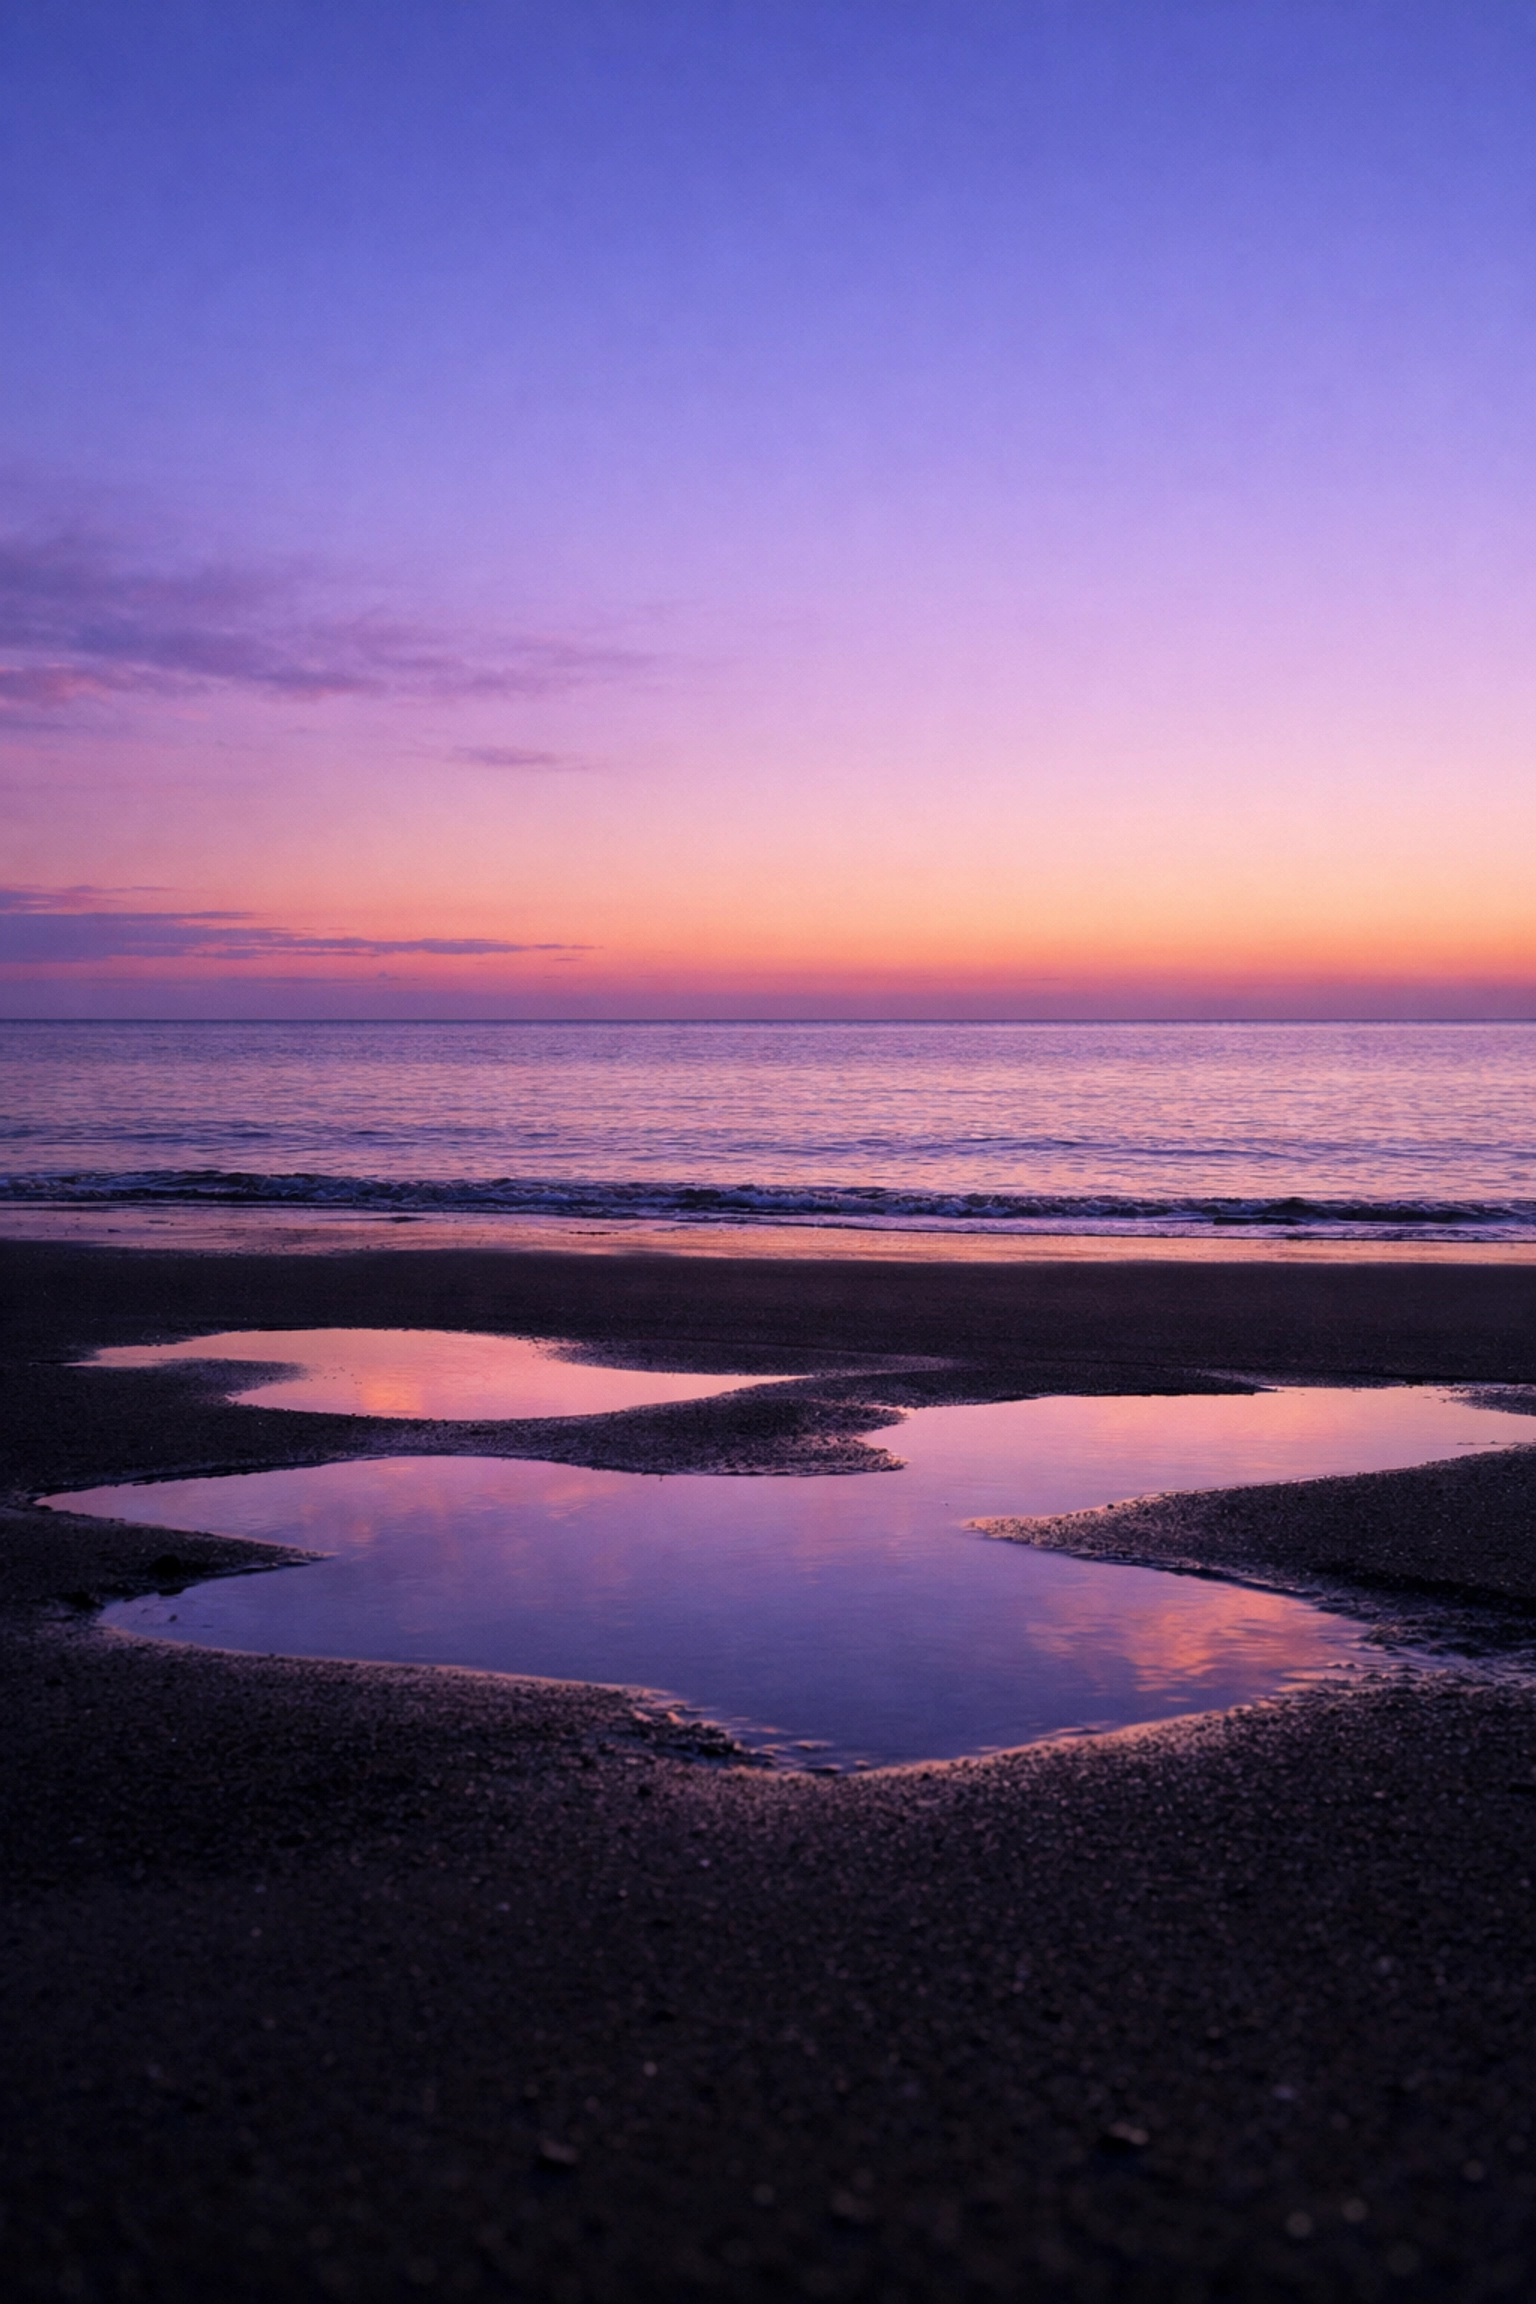
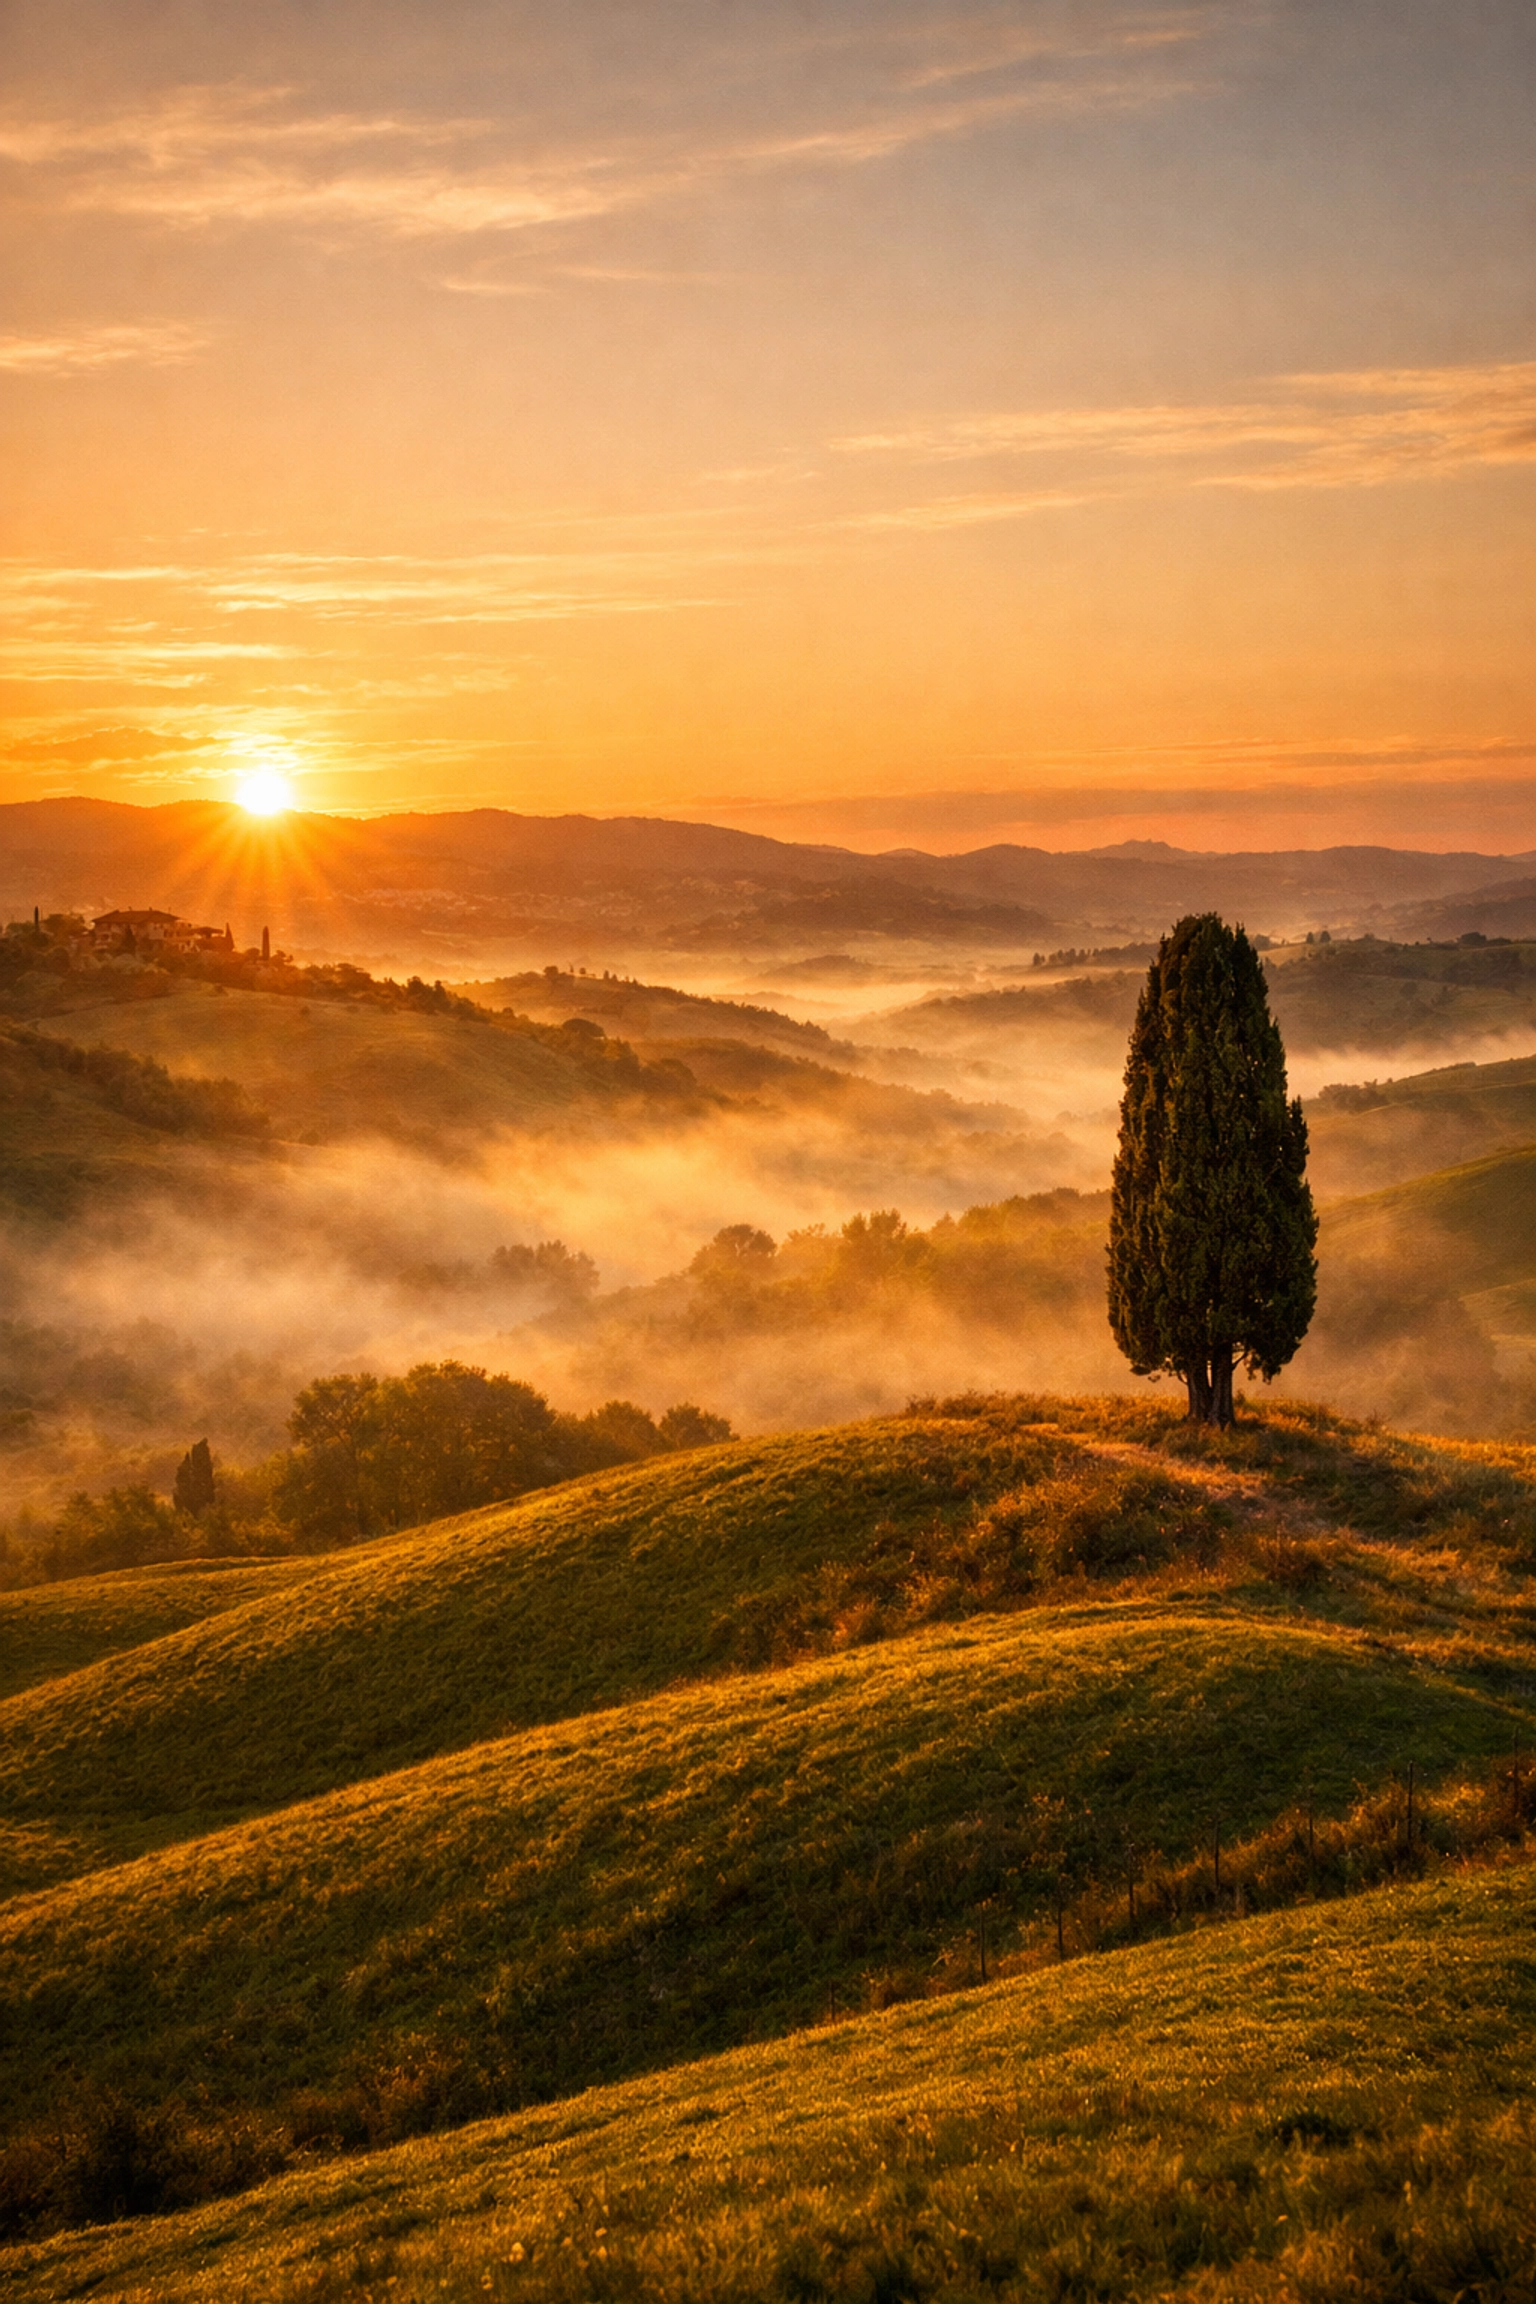
Shoot during the Golden Hour: the hour after sunrise and the hour before sunset. The light is softer, warmer, and hits the landscape at an angle, creating shadows that define the shape of the land.
If you find yourself stuck with a boring sky or flat light, you don't have to delete the photo. You can use tools like Luminar to enhance the mood. In fact, learning how to manipulate your sky in post-production is a game-changer. Check out our guide on Mastering Sunrise Sky Gradients in Photoshop to see how you can bring that morning glow back into your images.
4. No Clear Subject (The "Where Do I Look?" Problem)
A common mistake beginners make is taking a photo of "everything." They see a beautiful valley and just point the camera into the void. Without a focal point, the viewer’s eye wanders around the frame with nowhere to land. A photo of everything is often a photo of nothing.
How to Fix It:
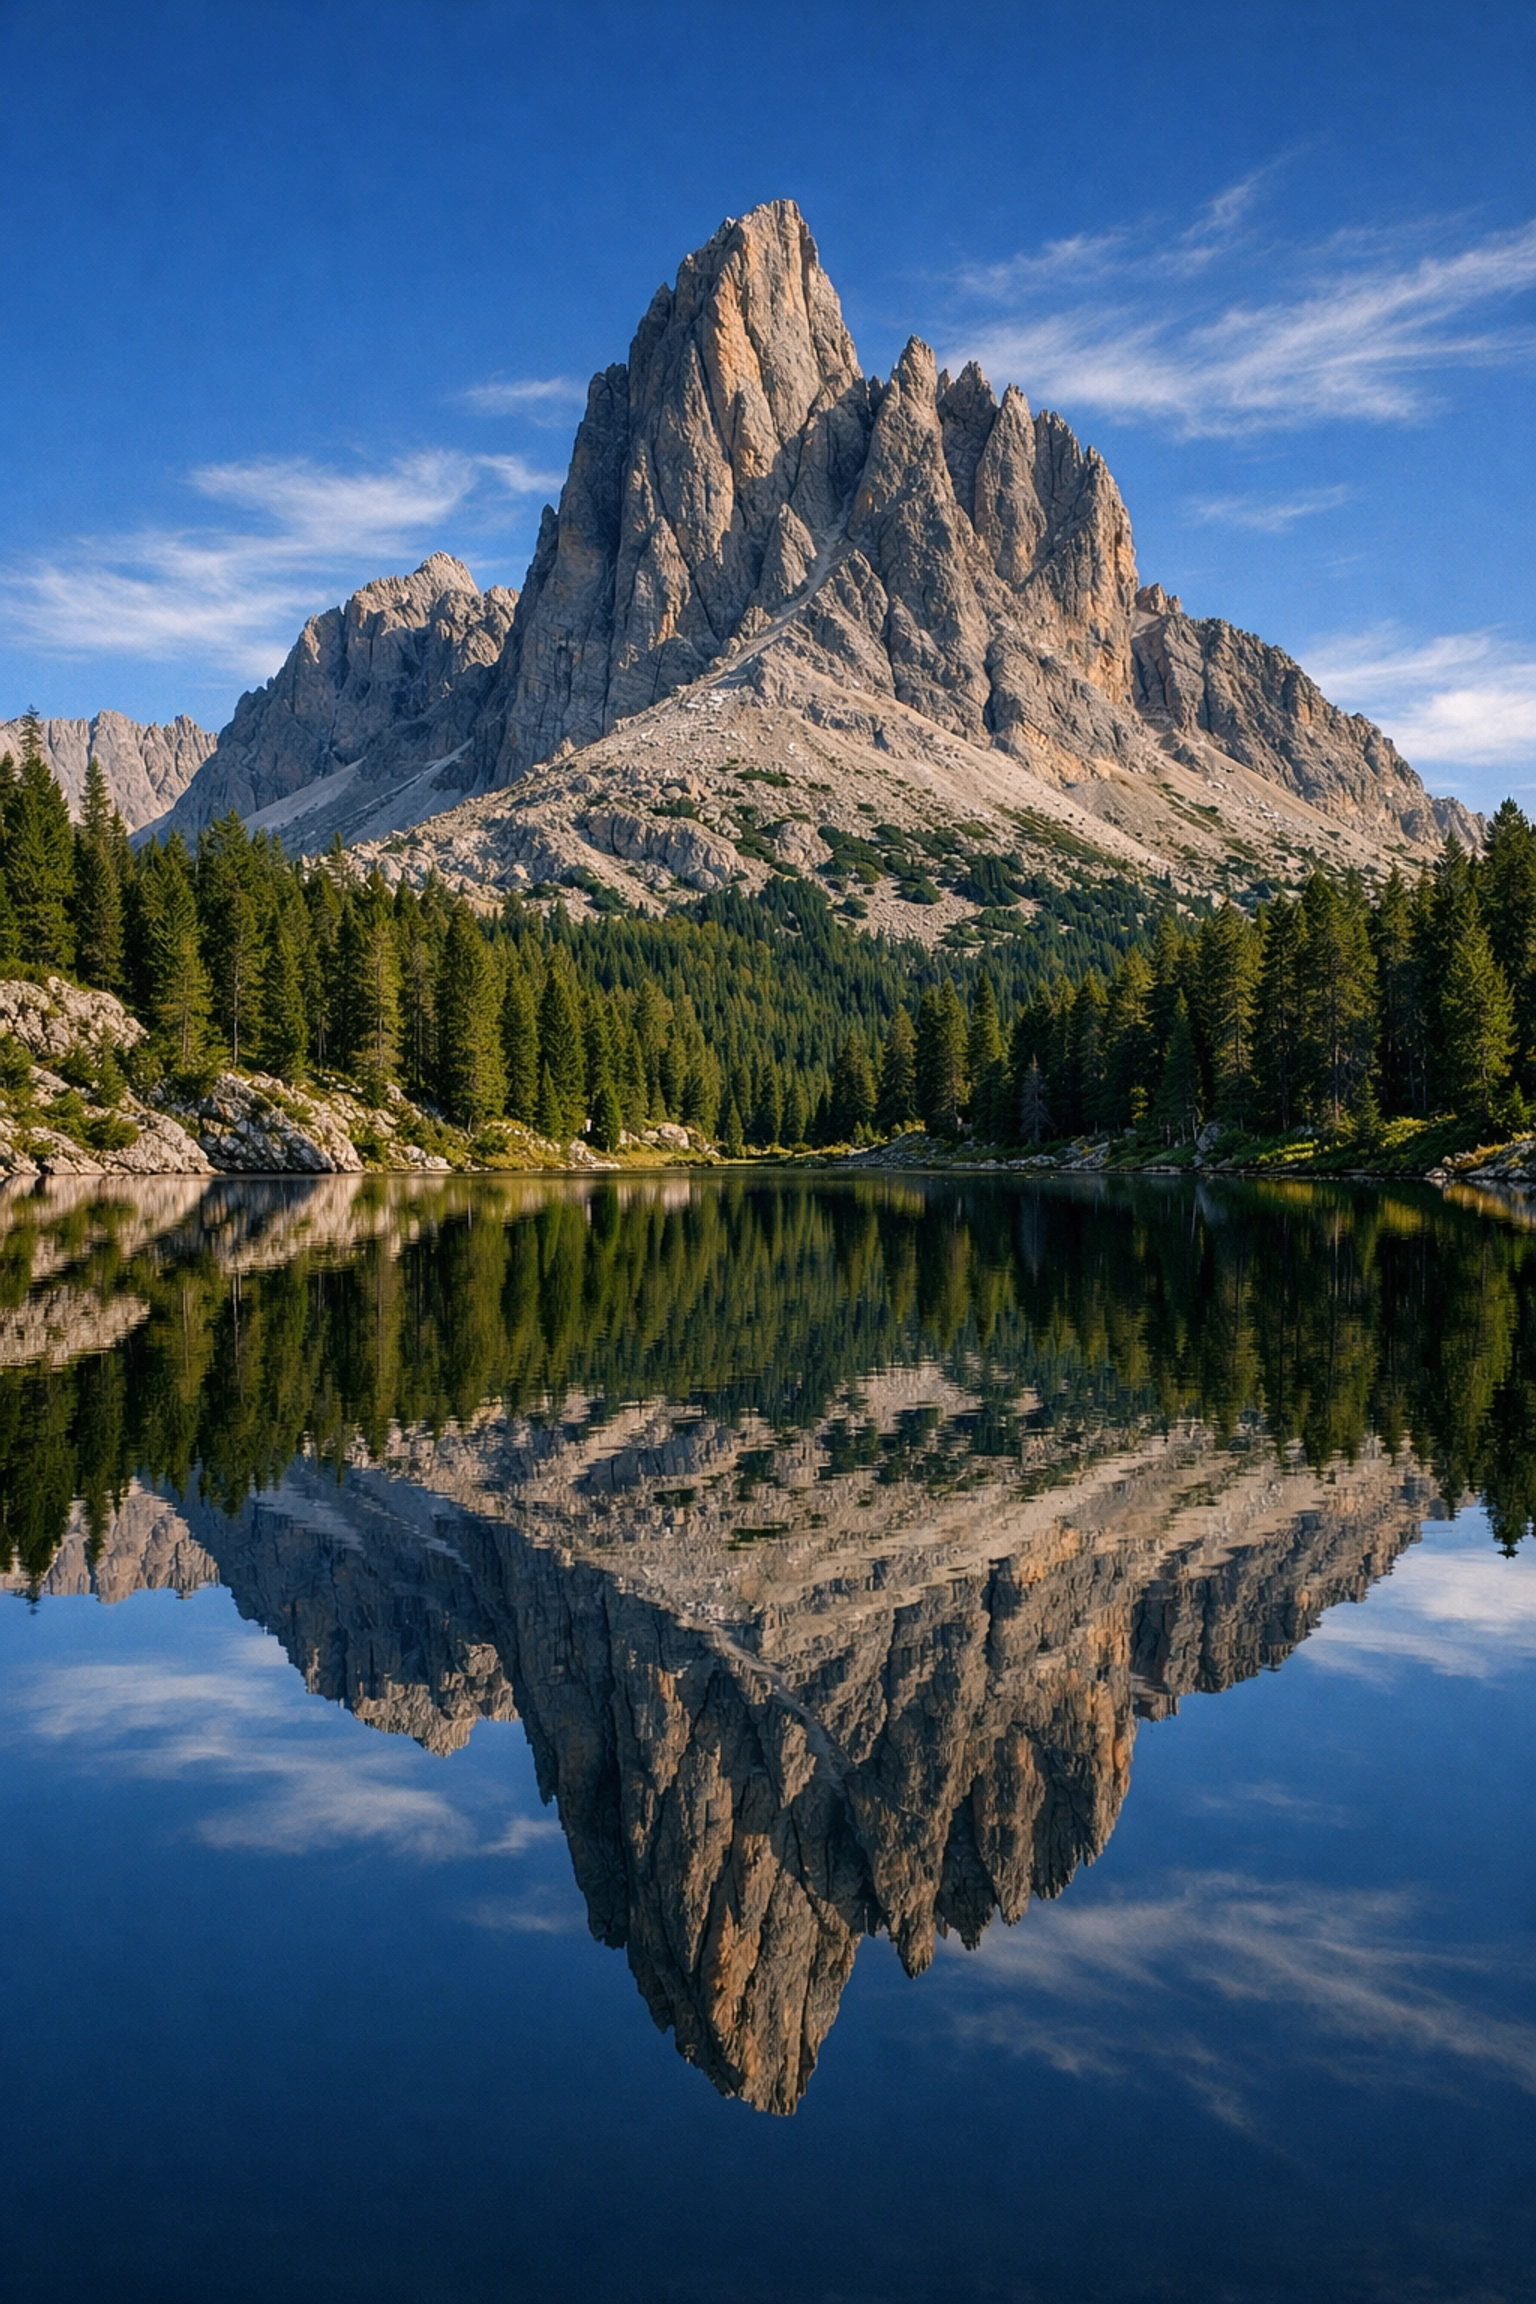
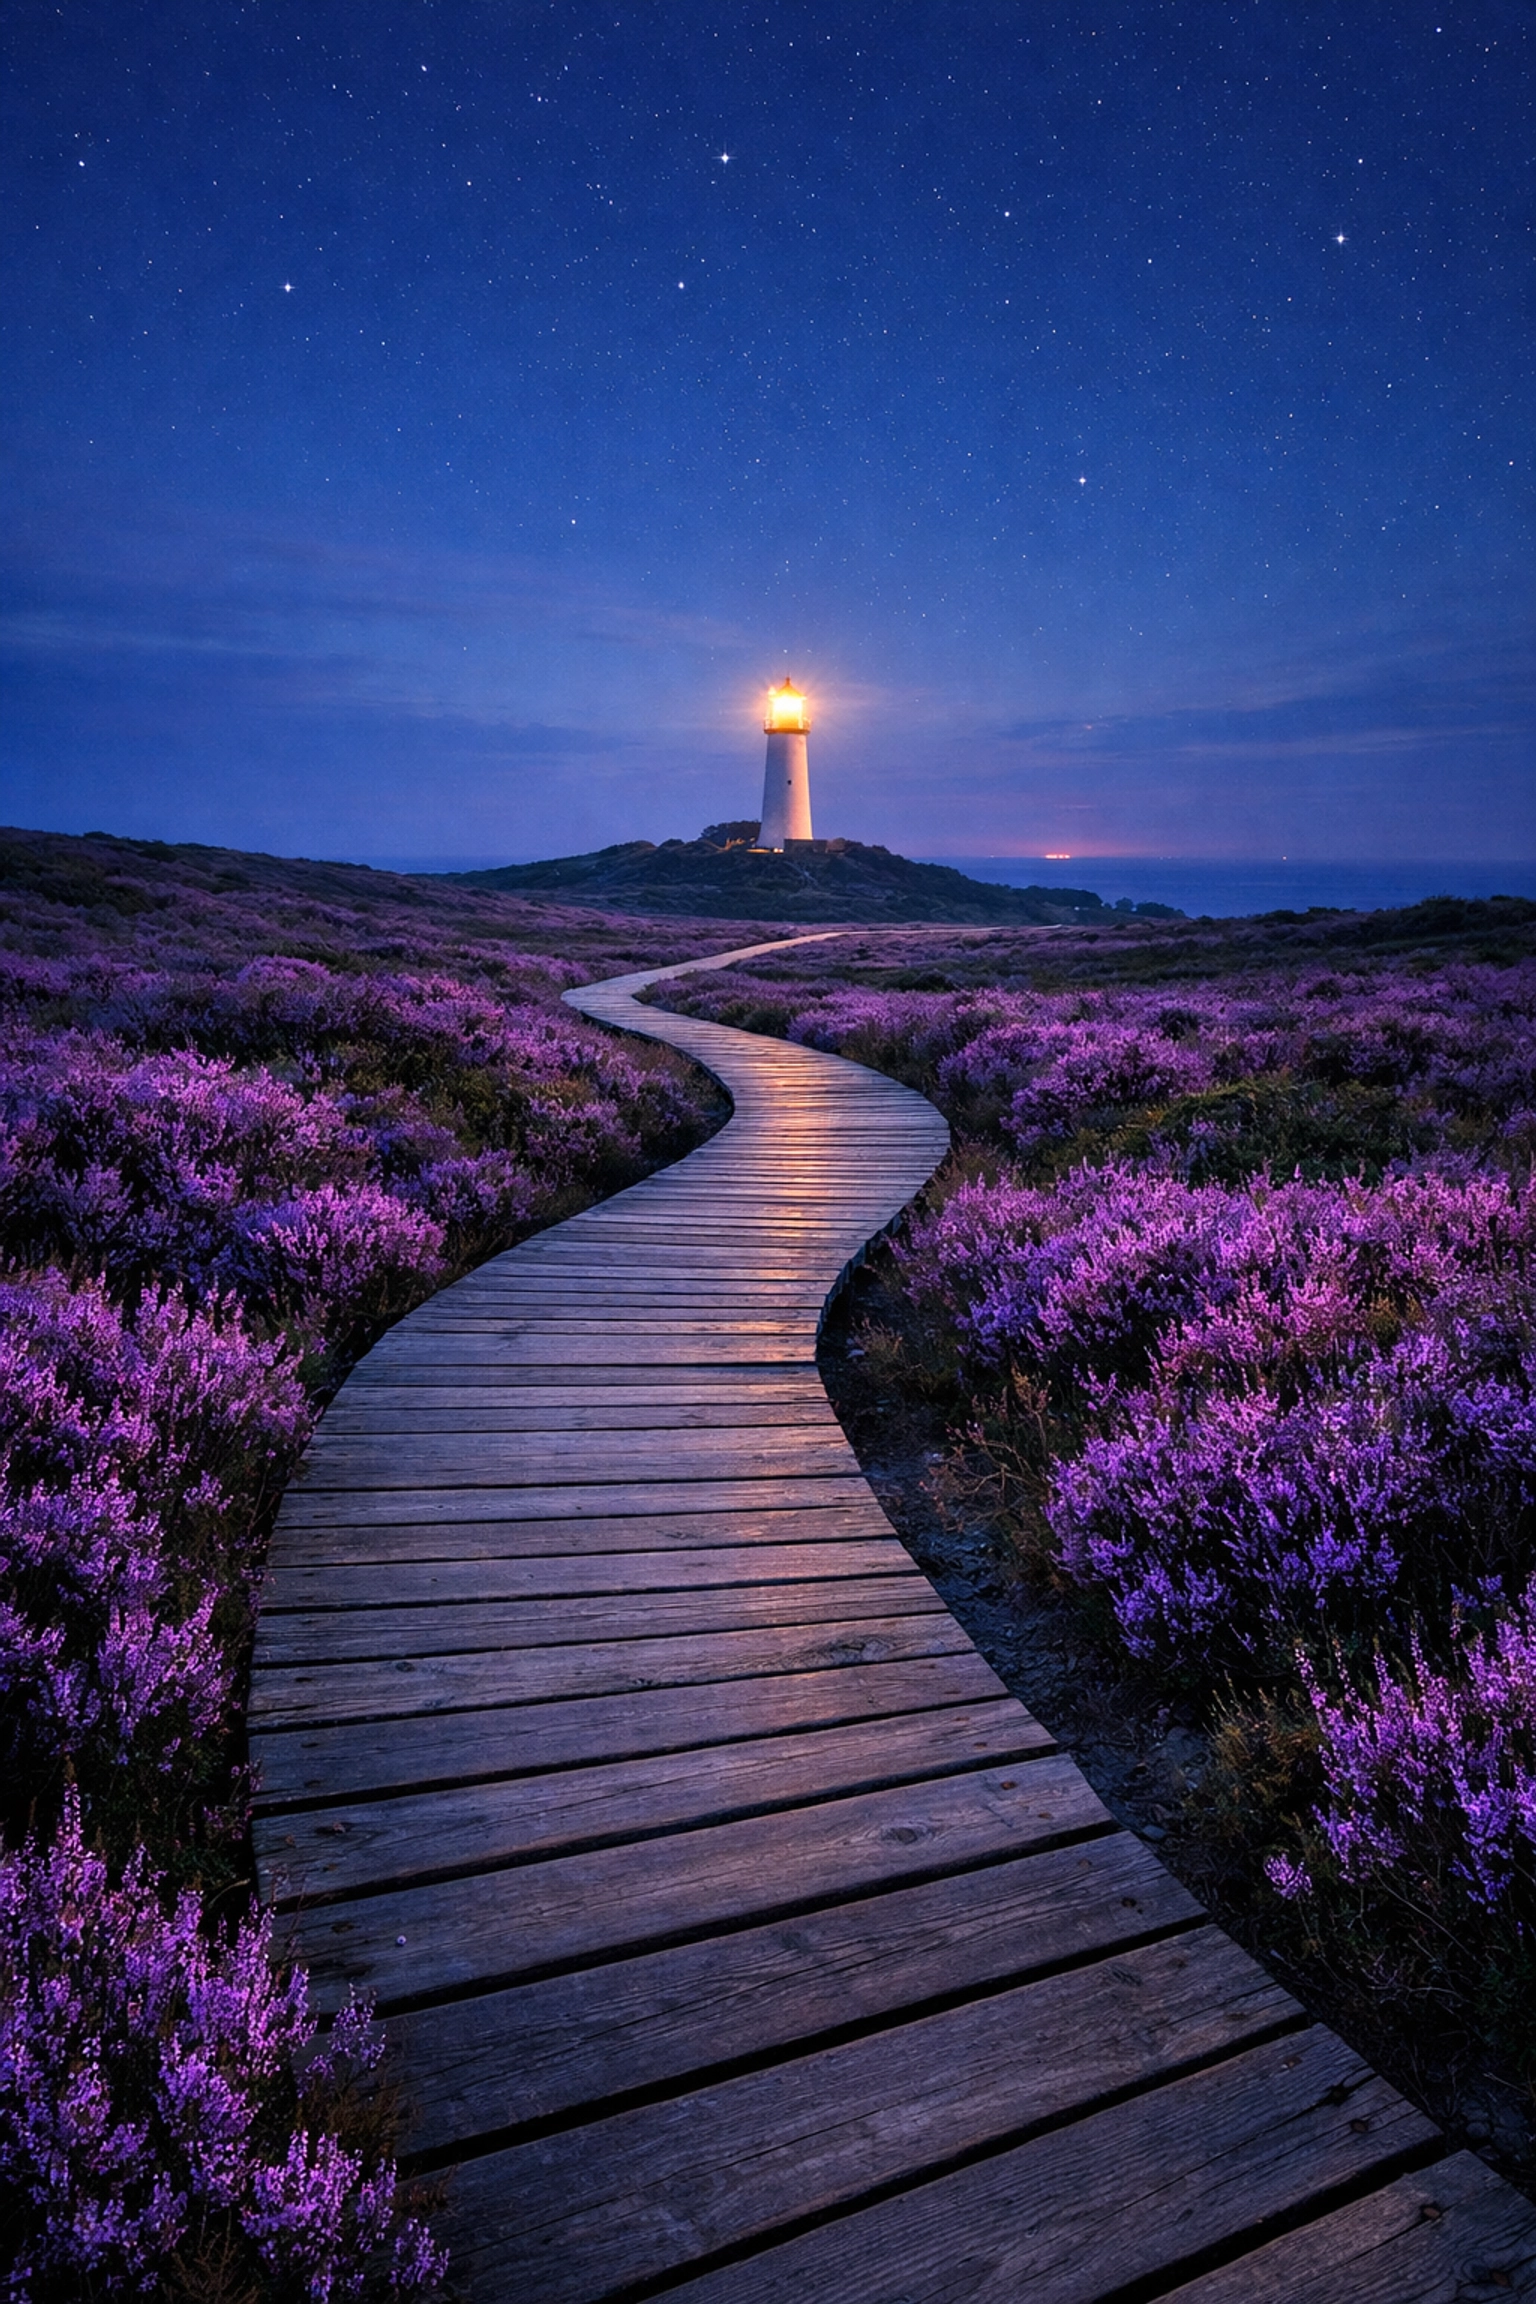
Find a "hero" for your shot. It could be a unique rock formation, a lone tree, a winding path, or a person standing on a cliff. Once you have your subject, use the Rule of Thirds to place it in a compelling spot within the frame.
Don't forget the foreground. Including a rock or some flowers in the bottom third of your frame adds a sense of 3D depth to a 2D image. It leads the viewer's eye from the bottom of the photo into the distance. For more inspiration on building professional-grade compositions, take a look at www.proshoot.io.
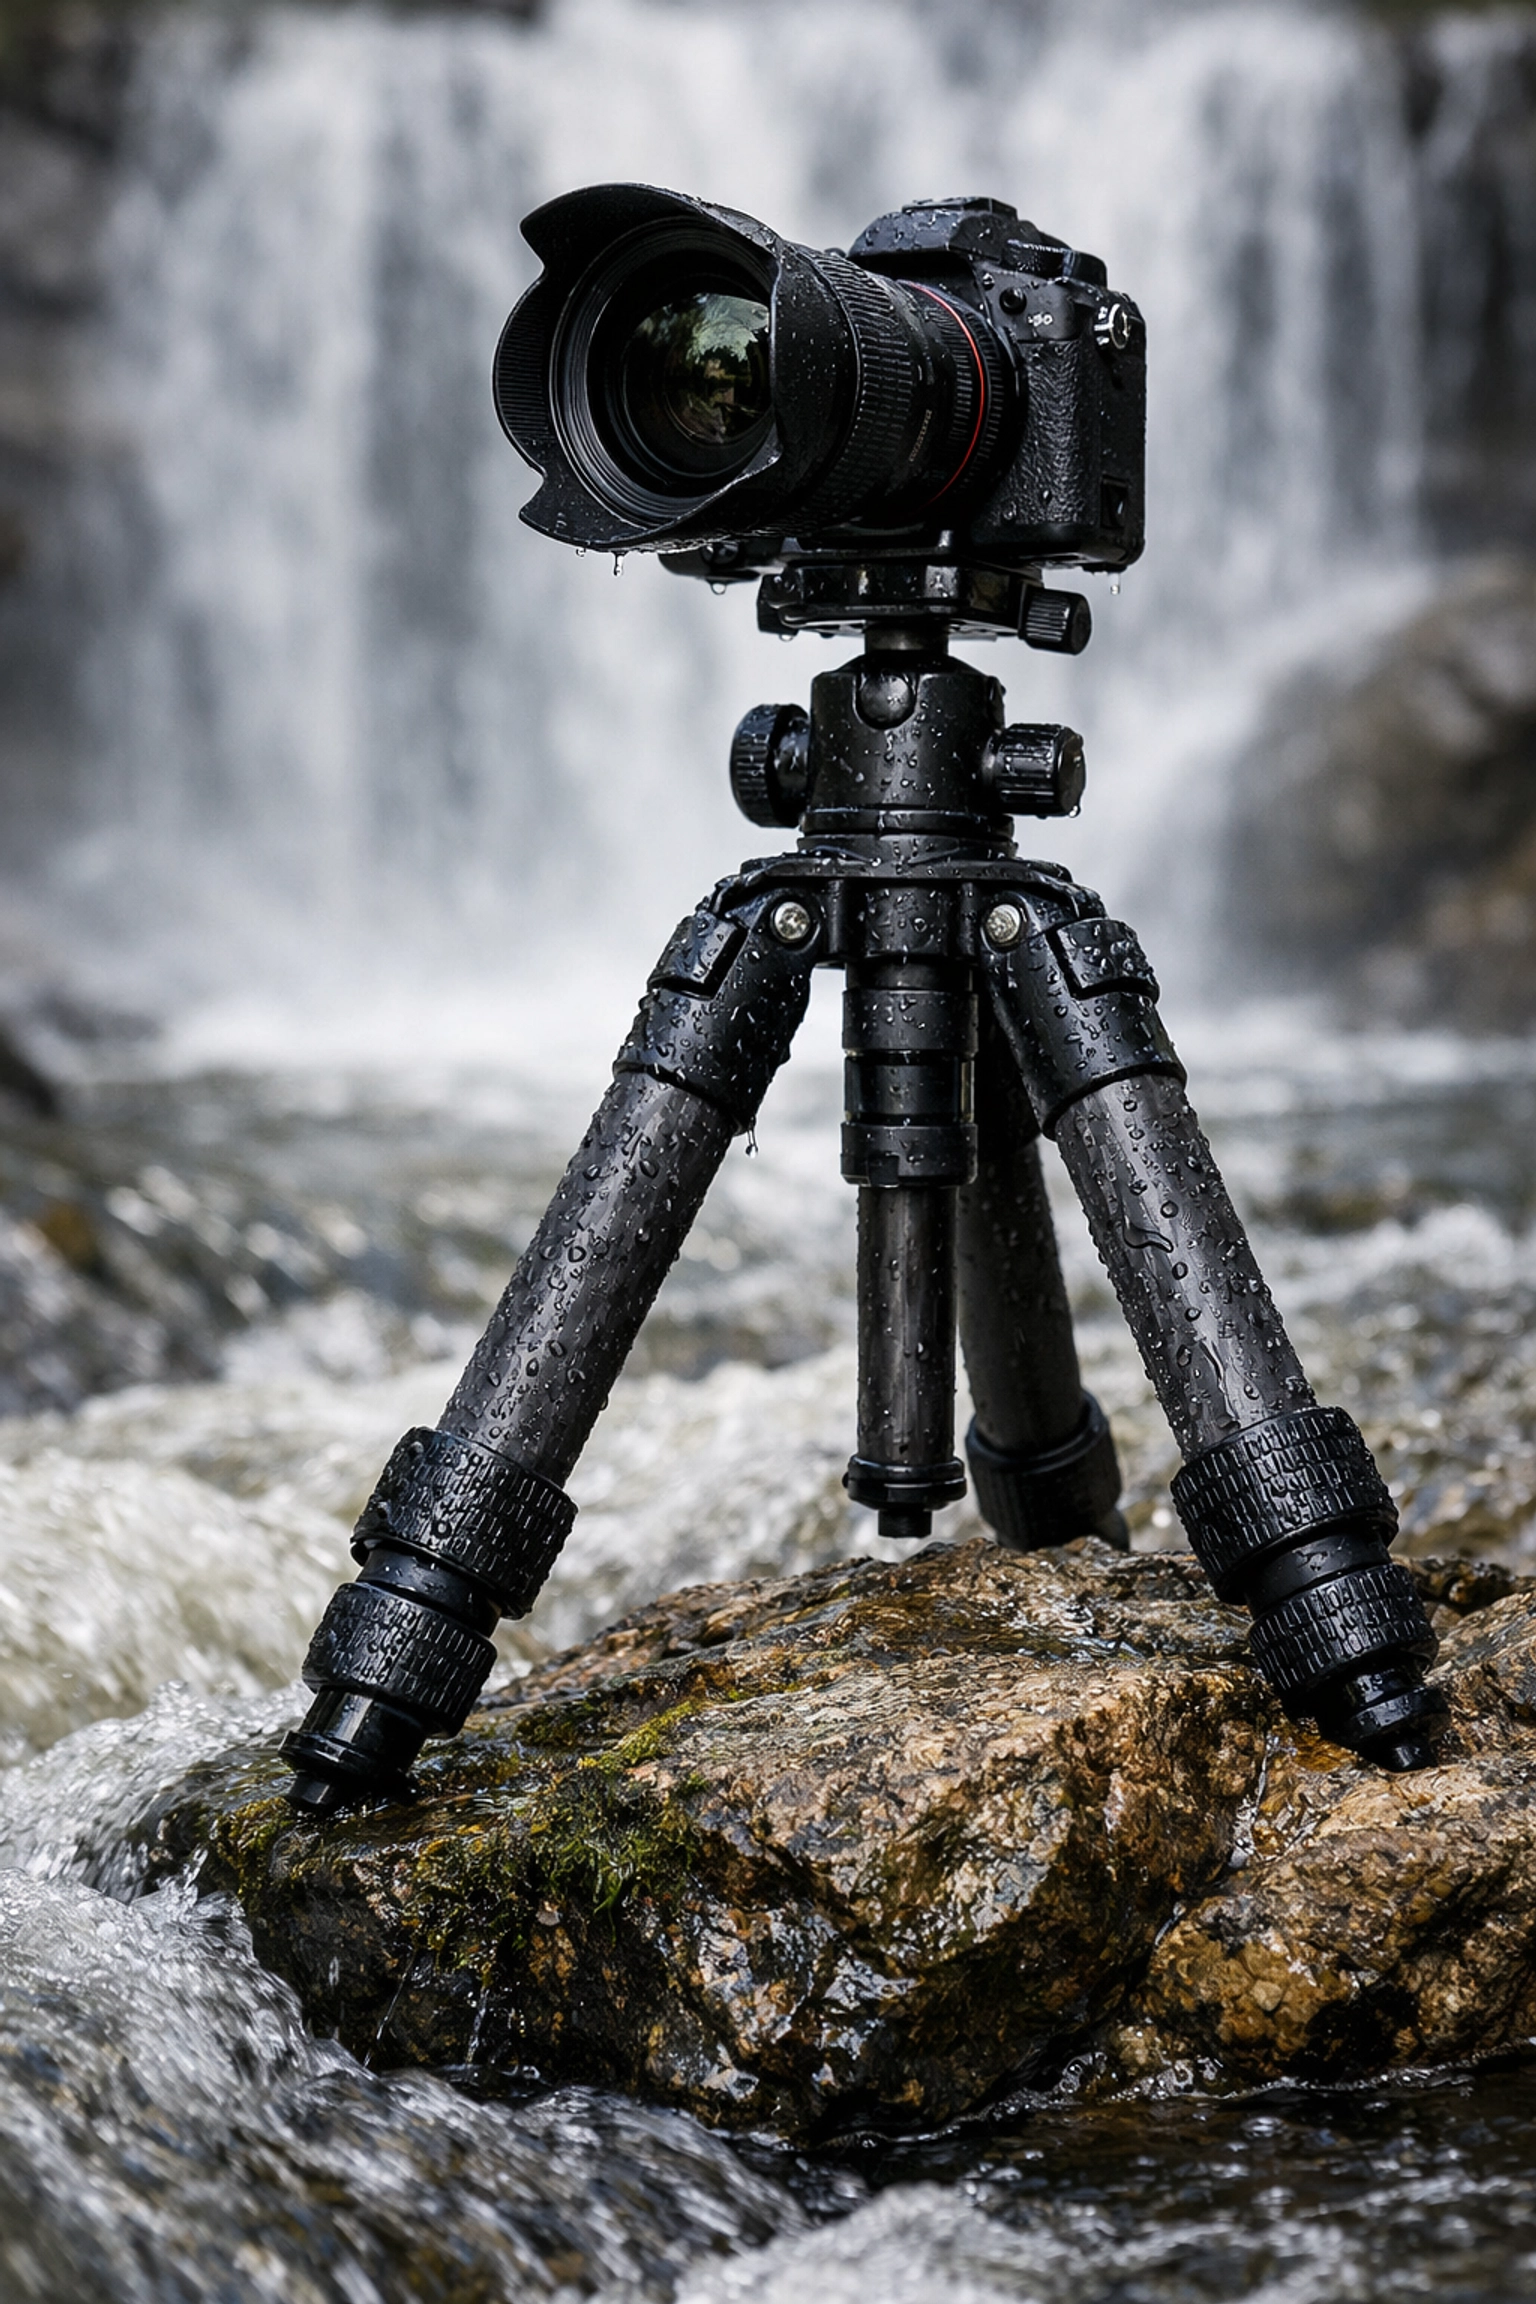
5. Buying a Cheap, Flimsy Tripod
You spent thousands on a high-resolution camera and sharp lenses, and then you put them on a $30 plastic tripod you bought at a drugstore. This is a recipe for blurry photos. Even a slight breeze or the vibration of the camera’s mirror moving can cause "camera shake," which ruins sharpness.
How to Fix It:
Invest in a sturdy, high-quality tripod. Look for something made of carbon fiber or high-grade aluminum. It needs to be heavy enough to stay still in the wind but light enough that you’ll actually want to carry it on a hike.
Using a tripod also forces you to slow down. When you have to physically set up your gear, you spend more time thinking about the composition and the settings. If you’re shooting long exposures: like waterfalls or the night sky: a tripod isn't optional; it’s a requirement. If you’re into night photography, you might want to learn about Mastering Night Sky Filters in Photoshop to make those stars really pop.
6. Ignoring the Edges of the Frame
I call this "peripheral blindness." We get so focused on the mountain in the middle of the frame that we don't notice the stray branch poking in from the left, or the trash can sitting in the bottom right corner. These distractions pull the viewer’s attention away from your beautiful subject.
How to Fix It:
Before you click the shutter, do a "border patrol." Run your eyes along all four edges of the frame. If you see something distracting, move your camera slightly or zoom in to crop it out. It’s much easier to move your tripod six inches to the left than it is to spend an hour in Photoshop trying to clone out a telephone wire.
If you do end up with a messy sky or distracting elements in the upper part of your frame, you can always look into Quick Guide Sky Replacement in Photoshop to clean things up.
7. The "Deep Fried" Edit (Over-Processing)
Post-processing is a huge part of modern photography, but it’s easy to go overboard. We’ve all seen those photos where the saturation is turned up to 100, the shadows are pulled up so high there’s no contrast left, and the sky looks like it belongs on another planet (and not in a good way). This leads to "halos" around trees and mountains and a "crunchy," noisy texture.
How to Fix It:
Less is often more. Start by getting your exposure and white balance right. If you want to make a dramatic change, like adding an aurora or a galaxy, do it with technique rather than just sliding every bar to the right.
We have some great tutorials on how to do this naturally. For example, if you want a more ethereal look, check out Create Aurora Borealis Effect in Photoshop or Create a Galaxy Sky in Photoshop. The key is to make the edit look like it could have actually happened. If you’re using Luminar, use the "Amount" slider to back off your effects until they look realistic.
Bonus Tip: Lack of Planning
If you just show up at a location and hope for the best, you’re gambling. The best landscape photographers spend hours: sometimes days: planning. They know exactly where the sun will rise, what the tide will be doing, and whether or not a storm is rolling in.
How to Fix It:
Use apps like PhotoPills or The Photographer’s Ephemeris to track the sun and moon. Check the weather obsessively. Sometimes the best photos happen right after a storm clears when the light is dramatic and the clouds are breaking.
Also, scout your locations. Use Google Earth or browse through blog.edinchavez.com to see how other photographers have captured a spot. Knowing the terrain before you arrive in the dark for a sunrise shoot will save you from tripping over rocks or missing the best angle.
Putting It All Together
Landscape photography is a journey. You’re going to make mistakes. You’re going to forget your tripod plate, you’re going to get rained on, and you’re going to take photos that are slightly out of focus. That’s all part of the process.
The difference between a hobbyist and a pro is the willingness to fix those mistakes. Start by leveling your horizons. Then, start thinking about your lighting and composition. Once you have the shot, use post-processing as a tool to enhance the reality, not replace it (unless you’re going for a specific creative effect, like Crafting Skies in Photoshop).
If you’re looking to push your creative boundaries even further, we have a ton of resources on specialized techniques. Whether you want to learn about Mastering HDR Sky Backgrounds in Photoshop or even Creating a Shooting Star Effect in Photoshop, the goal is always the same: to create an image that makes people stop scrolling and actually look.
If you need professional space to work on your post-processing or even a studio setup, head over to www.edinstudios.com. In the meantime, get outside, watch your frame edges, and stop shooting in the middle of the day!
Landscape photography isn't about the gear you have; it’s about how you see the world. Fix these seven mistakes, and you’ll start seeing it a whole lot clearer. Happy shooting!


