Landscape photography seems easy on paper. You find a pretty mountain, point your camera, and click, right? If only. Most of us have come home from a trip, looked at our SD cards, and realized our epic mountain vista looks like a flat, boring, crooked mess.
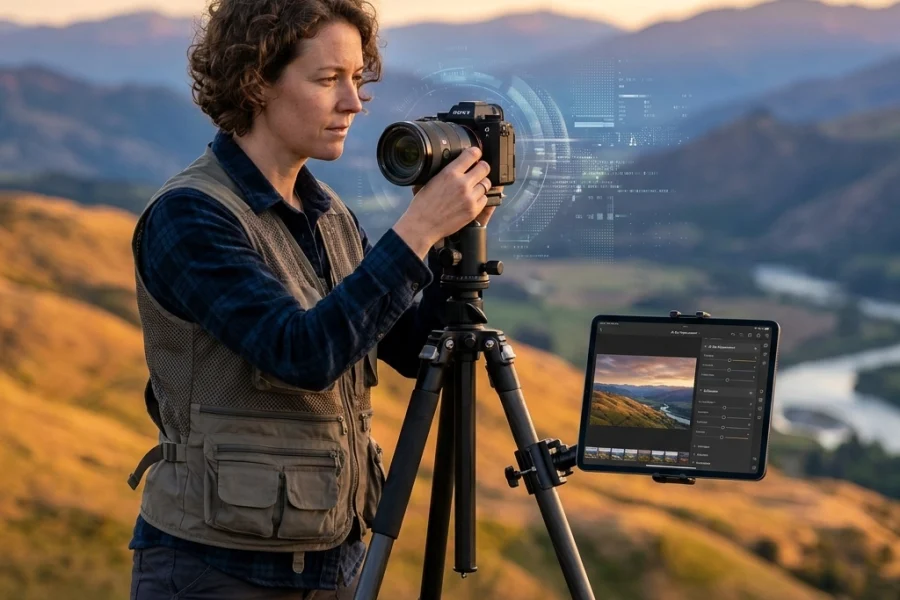
Trust me, I’ve been there. At Shut Your Aperture, we see thousands of photos, and the same mistakes pop up over and over again. The good news? They are all easy to fix. Whether you are shooting on a high-end Panasonic Lumix S5 II or a Sony A7 IV, the principles remain the same.
Let’s dive into the seven most common landscape photography mistakes and how you can stop making them today.
1. The Crooked Horizon (The Sea is Leaking!)
There is nothing that ruins a professional landscape photo faster than a crooked horizon. If your ocean looks like it's about to drain out of the left side of the frame, you’ve got a problem. It’s a small detail, but our brains are hardwired to notice when things aren't level.
How to Fix It:
Most modern cameras have a built-in electronic level. Turn it on. If your camera doesn’t have one, use the grid lines in your viewfinder or on your LCD screen. Align the horizon with one of the horizontal lines.
If you still mess it up in the field, don't panic. You can fix it in post-processing using the crop tool. However, remember that straightening an image requires a slight crop, which means you might lose some of those beautiful details at the edges. For more technical deep dives on gear that helps with stability, check out some of the resources at PhotoGuides.org.
2. No Clear Main Subject
A common mistake is thinking that the "scenery" is the subject. A "pretty view" isn't a subject; it’s a setting. When a viewer looks at your photo, their eyes need a place to land. Without a focal point: a lone tree, a jagged rock, a lighthouse, or even a person: the eye just wanders aimlessly around the frame until the viewer gets bored and scrolls past.
How to Fix It:
Before you even set up your tripod, ask yourself: "What is the hero of this shot?" Once you identify it, use composition techniques like the Rule of Thirds to place that subject in a position of power.

If your subject is feeling a bit flat, you can use Luminar to add some "Relight" or "Structure" specifically to that area to make it pop. By giving the viewer a clear destination for their eyes, you turn a snapshot into a story.
3. The Wide-Angle Addiction
We get it. You bought a 14mm or 16mm lens because you wanted to "get it all in." But wide-angle lenses have a sneaky way of making huge mountains look like tiny pimples in the distance. They push everything away from the camera, leaving you with a massive, empty middle ground that does nothing for your composition.
How to Fix It:
Don't be afraid to zoom in. Some of the best landscape shots are taken with telephoto lenses (70-200mm). Telephoto lenses compress the scene, making distant mountains look massive and imposing.
Next time you’re out, try this: shoot your wide-angle shot, then swap to a longer lens and look for "images within the image." You’ll often find much more compelling compositions by focusing on the details rather than the whole vista. If you're looking for inspiration on how these compressed shots look in a professional setting, take a look at the galleries on Edin Fine Art.
4. Ignoring the Edges of the Frame
I call this "Border Patrol." You’re so focused on the beautiful sunset or the mountain peak that you don't notice the stray tree branch creeping in from the left or the piece of trash sitting in the bottom right corner. These "edge distractions" pull the viewer's eye away from your subject and make the photo feel cluttered.
How to Fix It:
Develop a "four-corner check" habit. Before you click the shutter, run your eyes around the four corners and the four edges of your viewfinder. If you see something distracting, move your camera slightly or physically remove the distraction (if it's just a loose branch or some litter).
Cleaning up your edges in the field saves you hours of cloning and healing in Photoshop later. It’s all about intentionality. For more tips on refining your eye, I frequently post behind-the-scenes thoughts on blog.edinchavez.com.

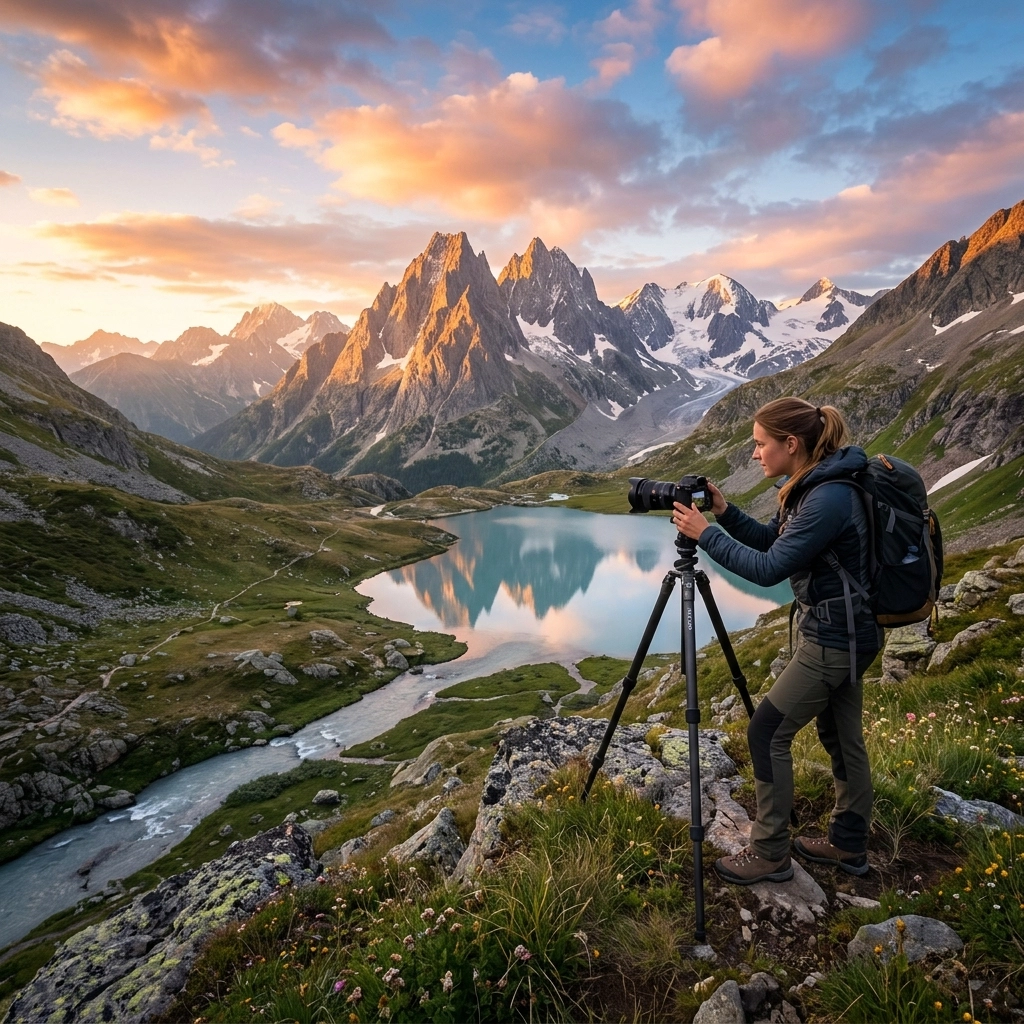
5. Weak Foregrounds
A great landscape photo has three layers: a foreground, a middle ground, and a background. Most beginners focus entirely on the background and middle ground, leaving the foreground empty. This makes the photo feel two-dimensional and flat.
How to Fix It:
Get low. If you find a cool rock, some wildflowers, or even some interesting patterns in the sand, get your camera down to their level. Use these elements to lead the viewer’s eye into the scene.
A strong foreground element provides a sense of scale and depth. It makes the viewer feel like they could step right into the photo. This is especially important when using those wide-angle lenses we talked about earlier: if you're going wide, you need something close to the lens to anchor the shot.
6. Shooting at the Wrong Time of Day
Mid-day sun is the enemy of the landscape photographer. It creates harsh shadows, blown-out highlights, and "flat" colors. If you’re out shooting at 2 PM on a cloudless day, your photos are likely going to look like postcards from the 90s: and not in a cool, retro way.
How to Fix It:
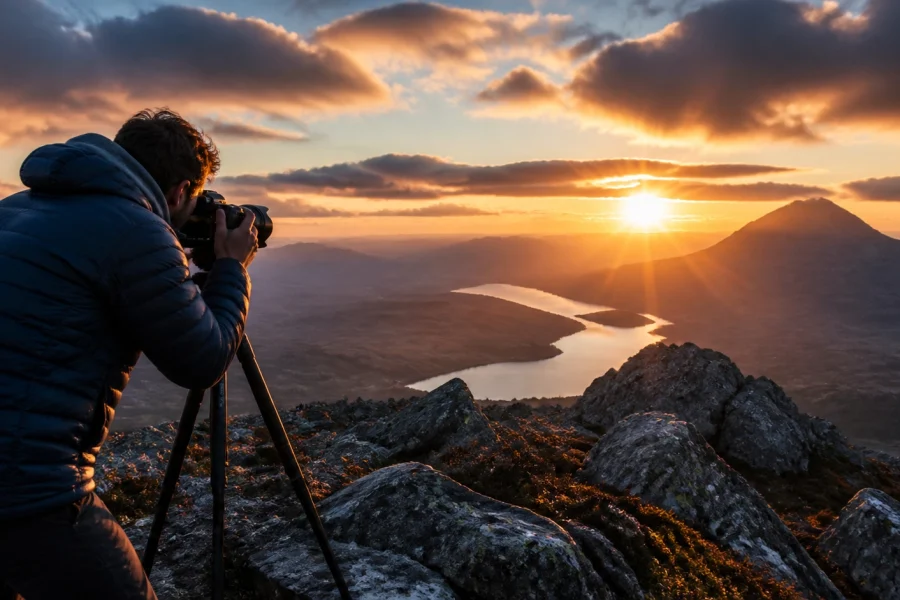
Chase the light. The "Golden Hour" (the hour after sunrise and the hour before sunset) provides soft, warm light that adds texture and dimension to the landscape. Don't pack up as soon as the sun goes down, either. The "Blue Hour" (the period of twilight) offers a moody, ethereal glow that can be even more magical.
If you must shoot during the day, look for interesting weather. Storm clouds, fog, or even a light drizzle can provide the drama that a clear blue sky lacks. You can also use tools like Luminar to replace a boring sky with something more dramatic, but nothing beats the real thing.

7. Over-Editing (The "Crunchy" Look)
We’ve all seen them: the photos where the sky is a terrifying shade of neon blue, the grass looks like it’s glowing in the dark, and there’s a weird white "halo" around every mountain peak. This is the result of over-editing. Specifically, over-using the saturation, clarity, and HDR sliders.
How to Fix It:
Less is more. Editing should enhance what is already there, not create a fake reality. If you find yourself pushing sliders to 100, take a step back.
A good rule of thumb? Once you think you’ve finished editing your photo, walk away from your computer for ten minutes. When you come back with fresh eyes, you’ll usually realize you went a little too far. Lower the opacity of your adjustments or dial back the saturation by 10-15%. You want people to say "What a beautiful place," not "What a crazy edit."
If you’re struggling with halos or "crunchy" textures, pay close attention to your masking. Using AI-powered tools in Luminar can help you apply adjustments more naturally to specific areas without ruining the edges.

Bonus: Forgetting the Human Element
Sometimes, a landscape is so vast that the human brain can't actually comprehend how big it is. Without a sense of scale, a 1,000-foot cliff can look like a 10-foot rock.
How to Fix It:
Put a person in it. (Or a tent, or a car). Including a human element gives the viewer an immediate sense of scale. It also adds a sense of adventure and "story" to the image. It transforms the photo from "here is a mountain" to "here is what it feels like to stand in front of this mountain."
I’ve been coordinating with Sonny, our Social Media Manager, and he’s going to be sharing some great examples of this "scale" technique on our Instagram soon. Be sure to look out for those posts so you can see how we apply this in the real world.
Putting It All Together
Landscape photography is a marathon, not a sprint. It’s about patience, scouting, and occasionally getting your boots muddy. By avoiding these seven mistakes, you’re already ahead of 90% of the people out there with a camera.
- Keep it level – Use your camera's internal tools.
- Find a subject – Don't just shoot "at" the view.
- Vary your focal length – Try a telephoto for a change.
- Watch your edges – Clean up the frame before you click.
- Layer your composition – Foreground is king.
- Patience for light – Sunrise and sunset are your best friends.
- Edit with a light touch – Don't let the sliders win.
If you’re looking to upgrade your gear to better handle these challenging environments, check out our full breakdown of the latest mirrorless cameras. And for more general photography advice, the Shut Your Aperture sitemap is loaded with tutorials.
Now, grab your gear, check the weather, and get out there. The perfect shot is waiting, you just have to make sure you don't trip over these common mistakes on your way to getting it.

Happy shooting! (And seriously, check your horizon.)