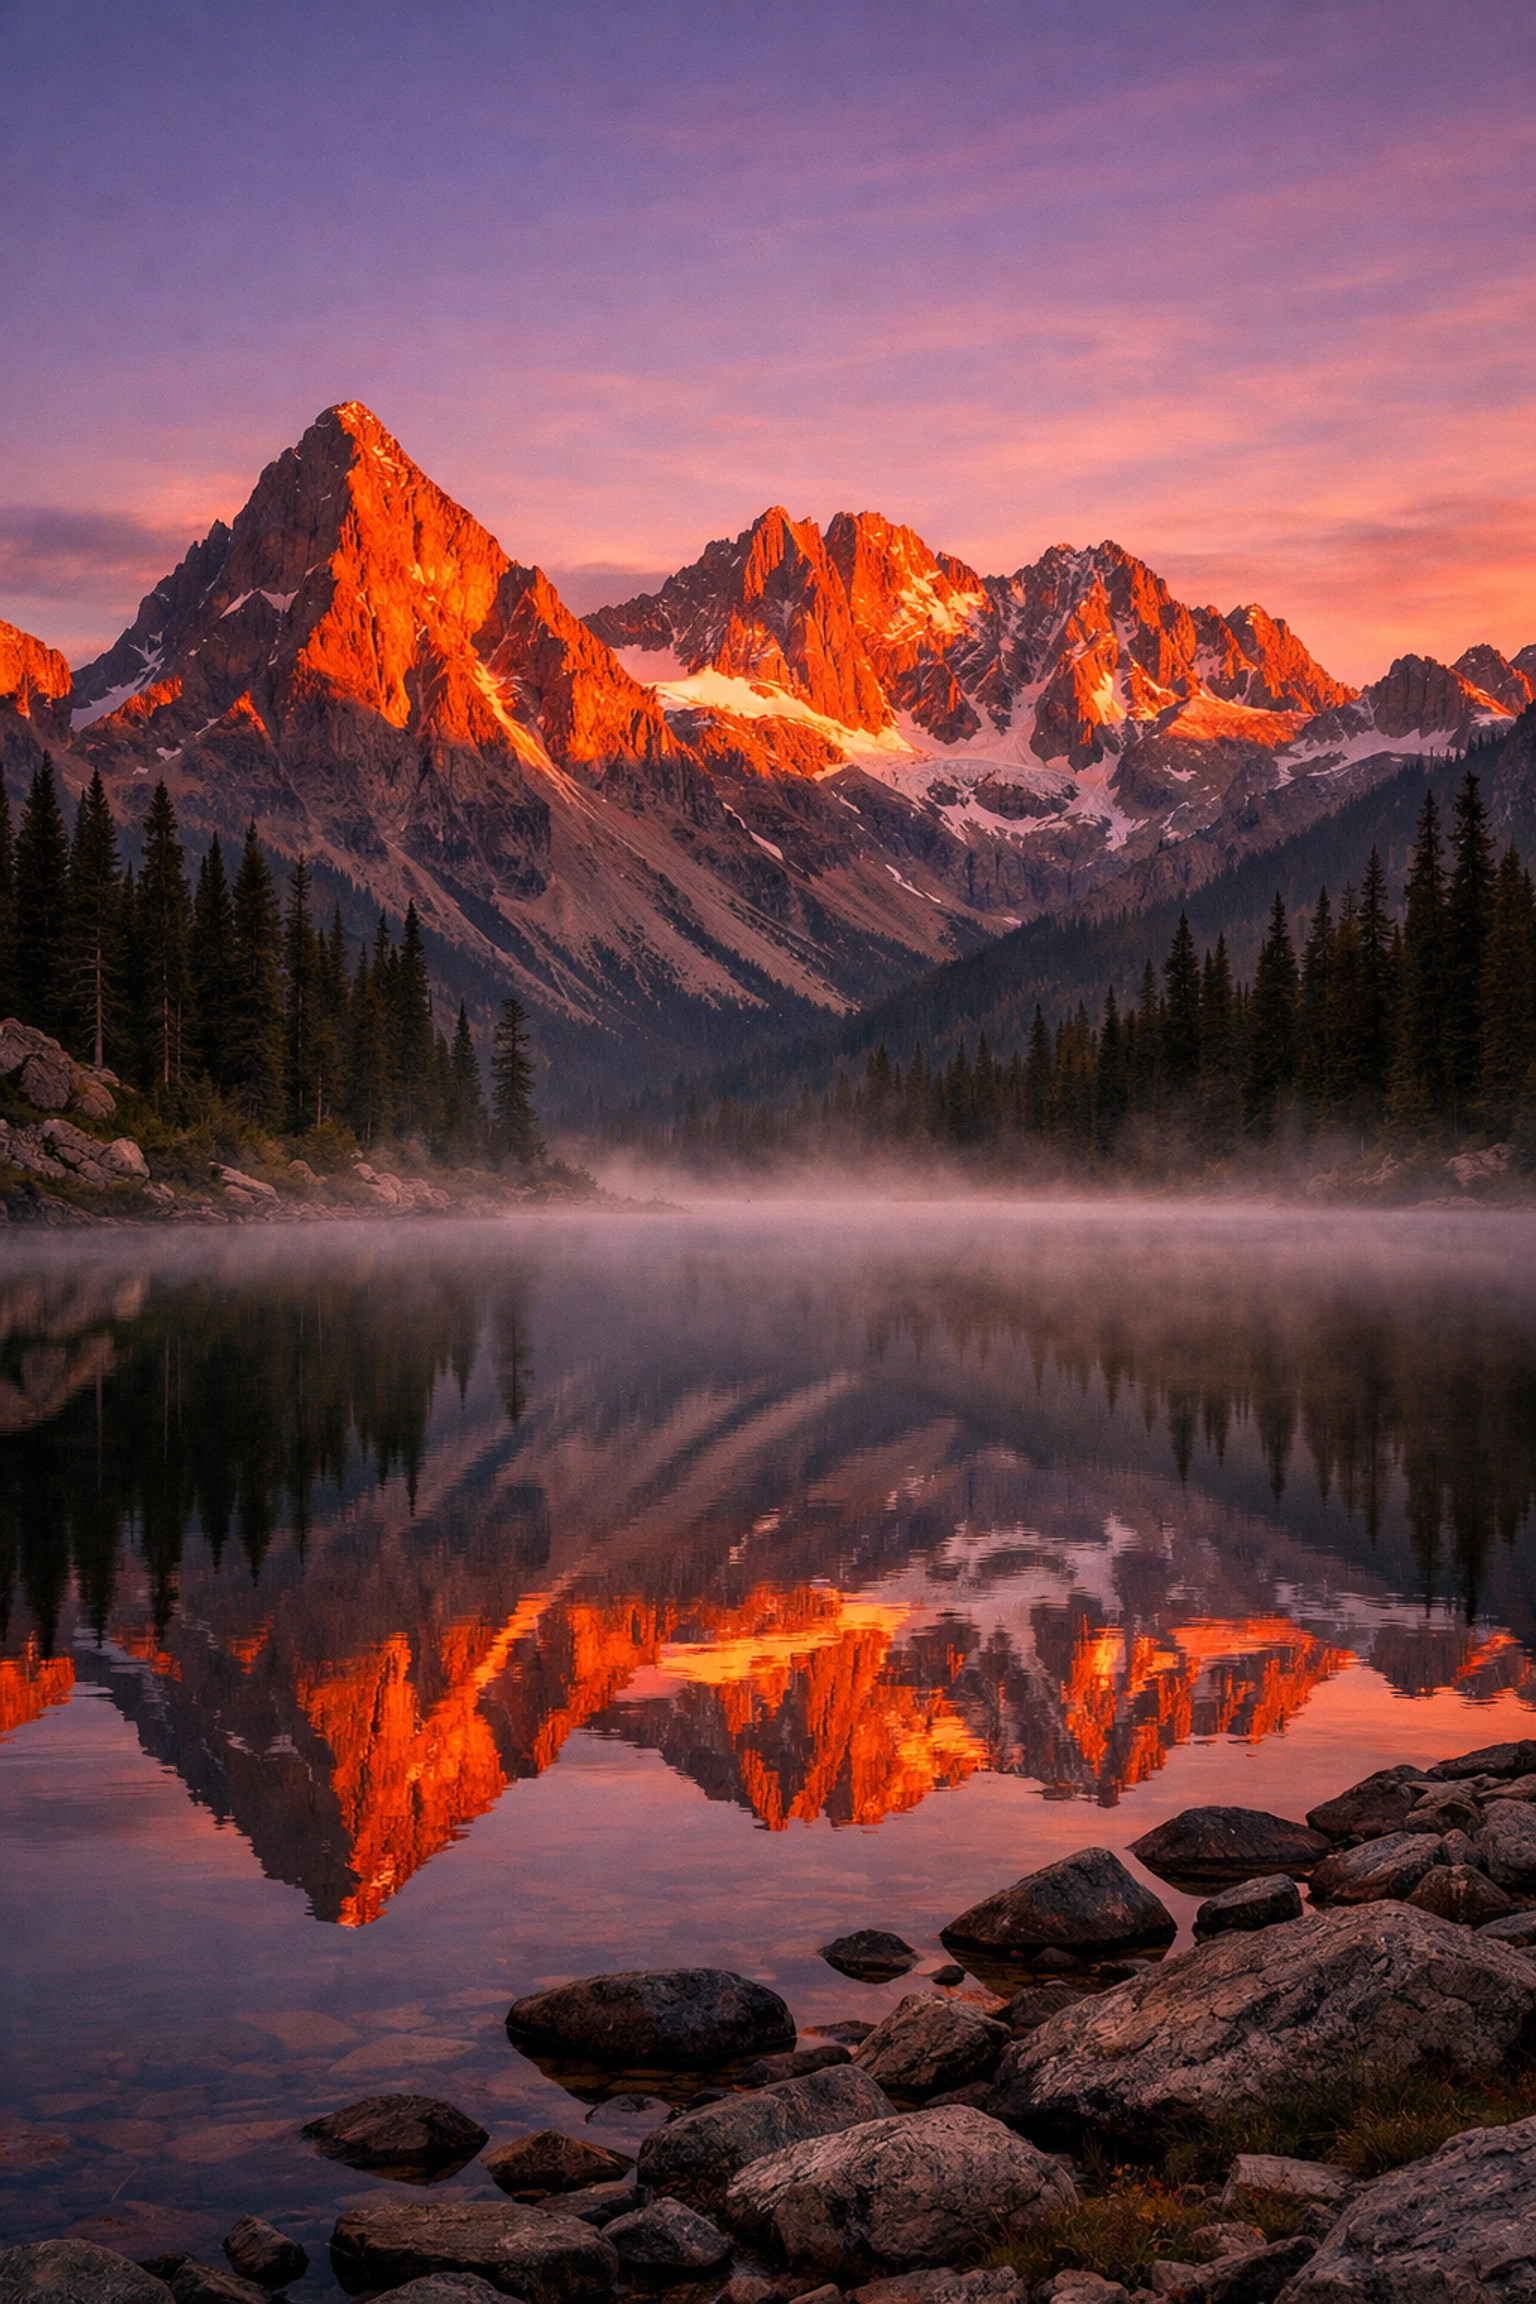
We’ve all been there. You’re standing on the edge of a cliff, the sun is dipping below the horizon, and the sky looks like it’s been painted by a caffeinated god. You click the shutter, feeling like the next Ansel Adams. Then you get home, open the file on your computer, and… it’s just okay. Or worse, it’s a total disaster.
Landscape photography seems simple on the surface: just point at the pretty mountain and shoot, right? Wrong. It’s actually one of the most technical and frustrating genres of photography out there. But here’s the good news: most of the "bad" shots you’re taking are caused by a few common mistakes that are incredibly easy to fix.
I’m Edin Chavez, and I’ve spent years traveling the world capturing landscapes. I’ve made every mistake in the book so you don’t have to. Let’s dive into the seven mistakes you’re making and how to fix them before your next golden hour.
1. The "Drunken" Horizon
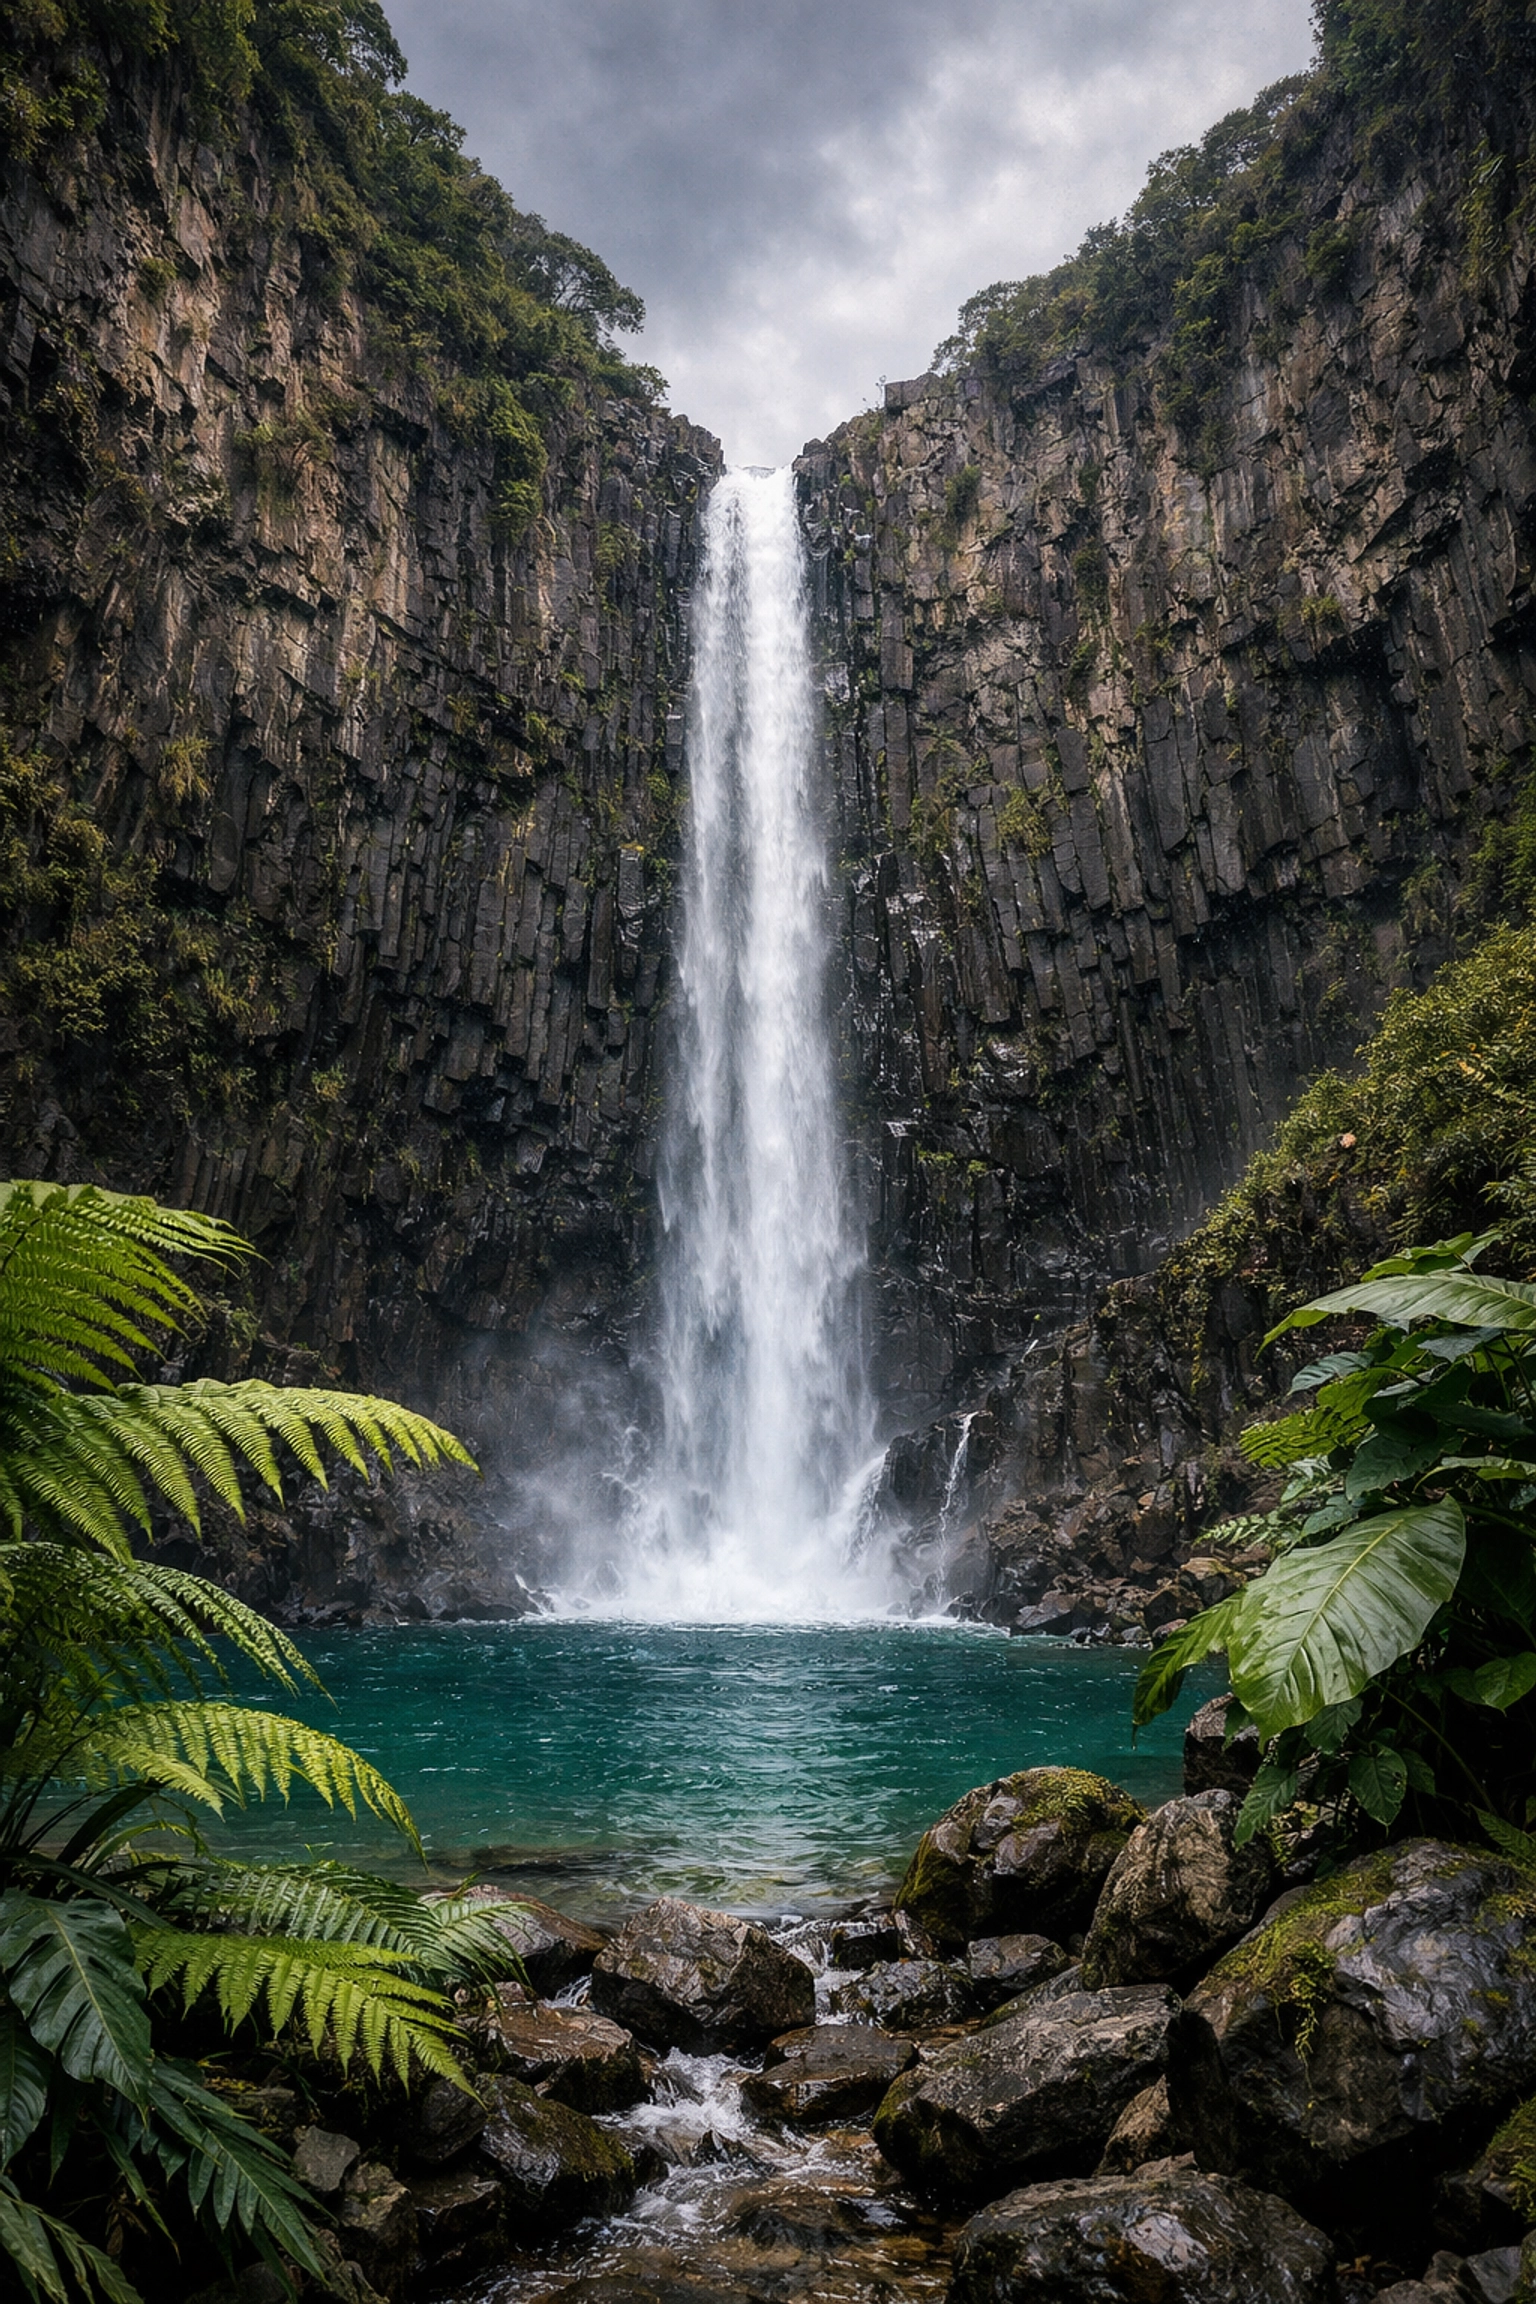
There is nothing: and I mean nothing: that screams "amateur" louder than a crooked horizon. It doesn't matter if you captured the most majestic waterfall in the world; if the water looks like it’s sliding off the side of the earth, the photo is ruined.
Our brains are hardwired to look for a level horizon. When it’s off by even a degree, it creates a subconscious feeling of unease for the viewer.
The Instant Fix:
First, turn on the grid lines in your viewfinder or on your LCD screen. Most modern cameras have an electronic level (a "virtual horizon") built right in. Use it. If you’re using a tripod, make sure the legs are stable and the head is leveled.
If you still mess it up in the field, don't panic. You can fix this in about two seconds during post-processing. Software like Luminar has an amazing "Composition AI" tool that can automatically detect the horizon and straighten it for you. Just remember that straightening a photo requires a slight crop, so always leave a little extra room around your edges when shooting.
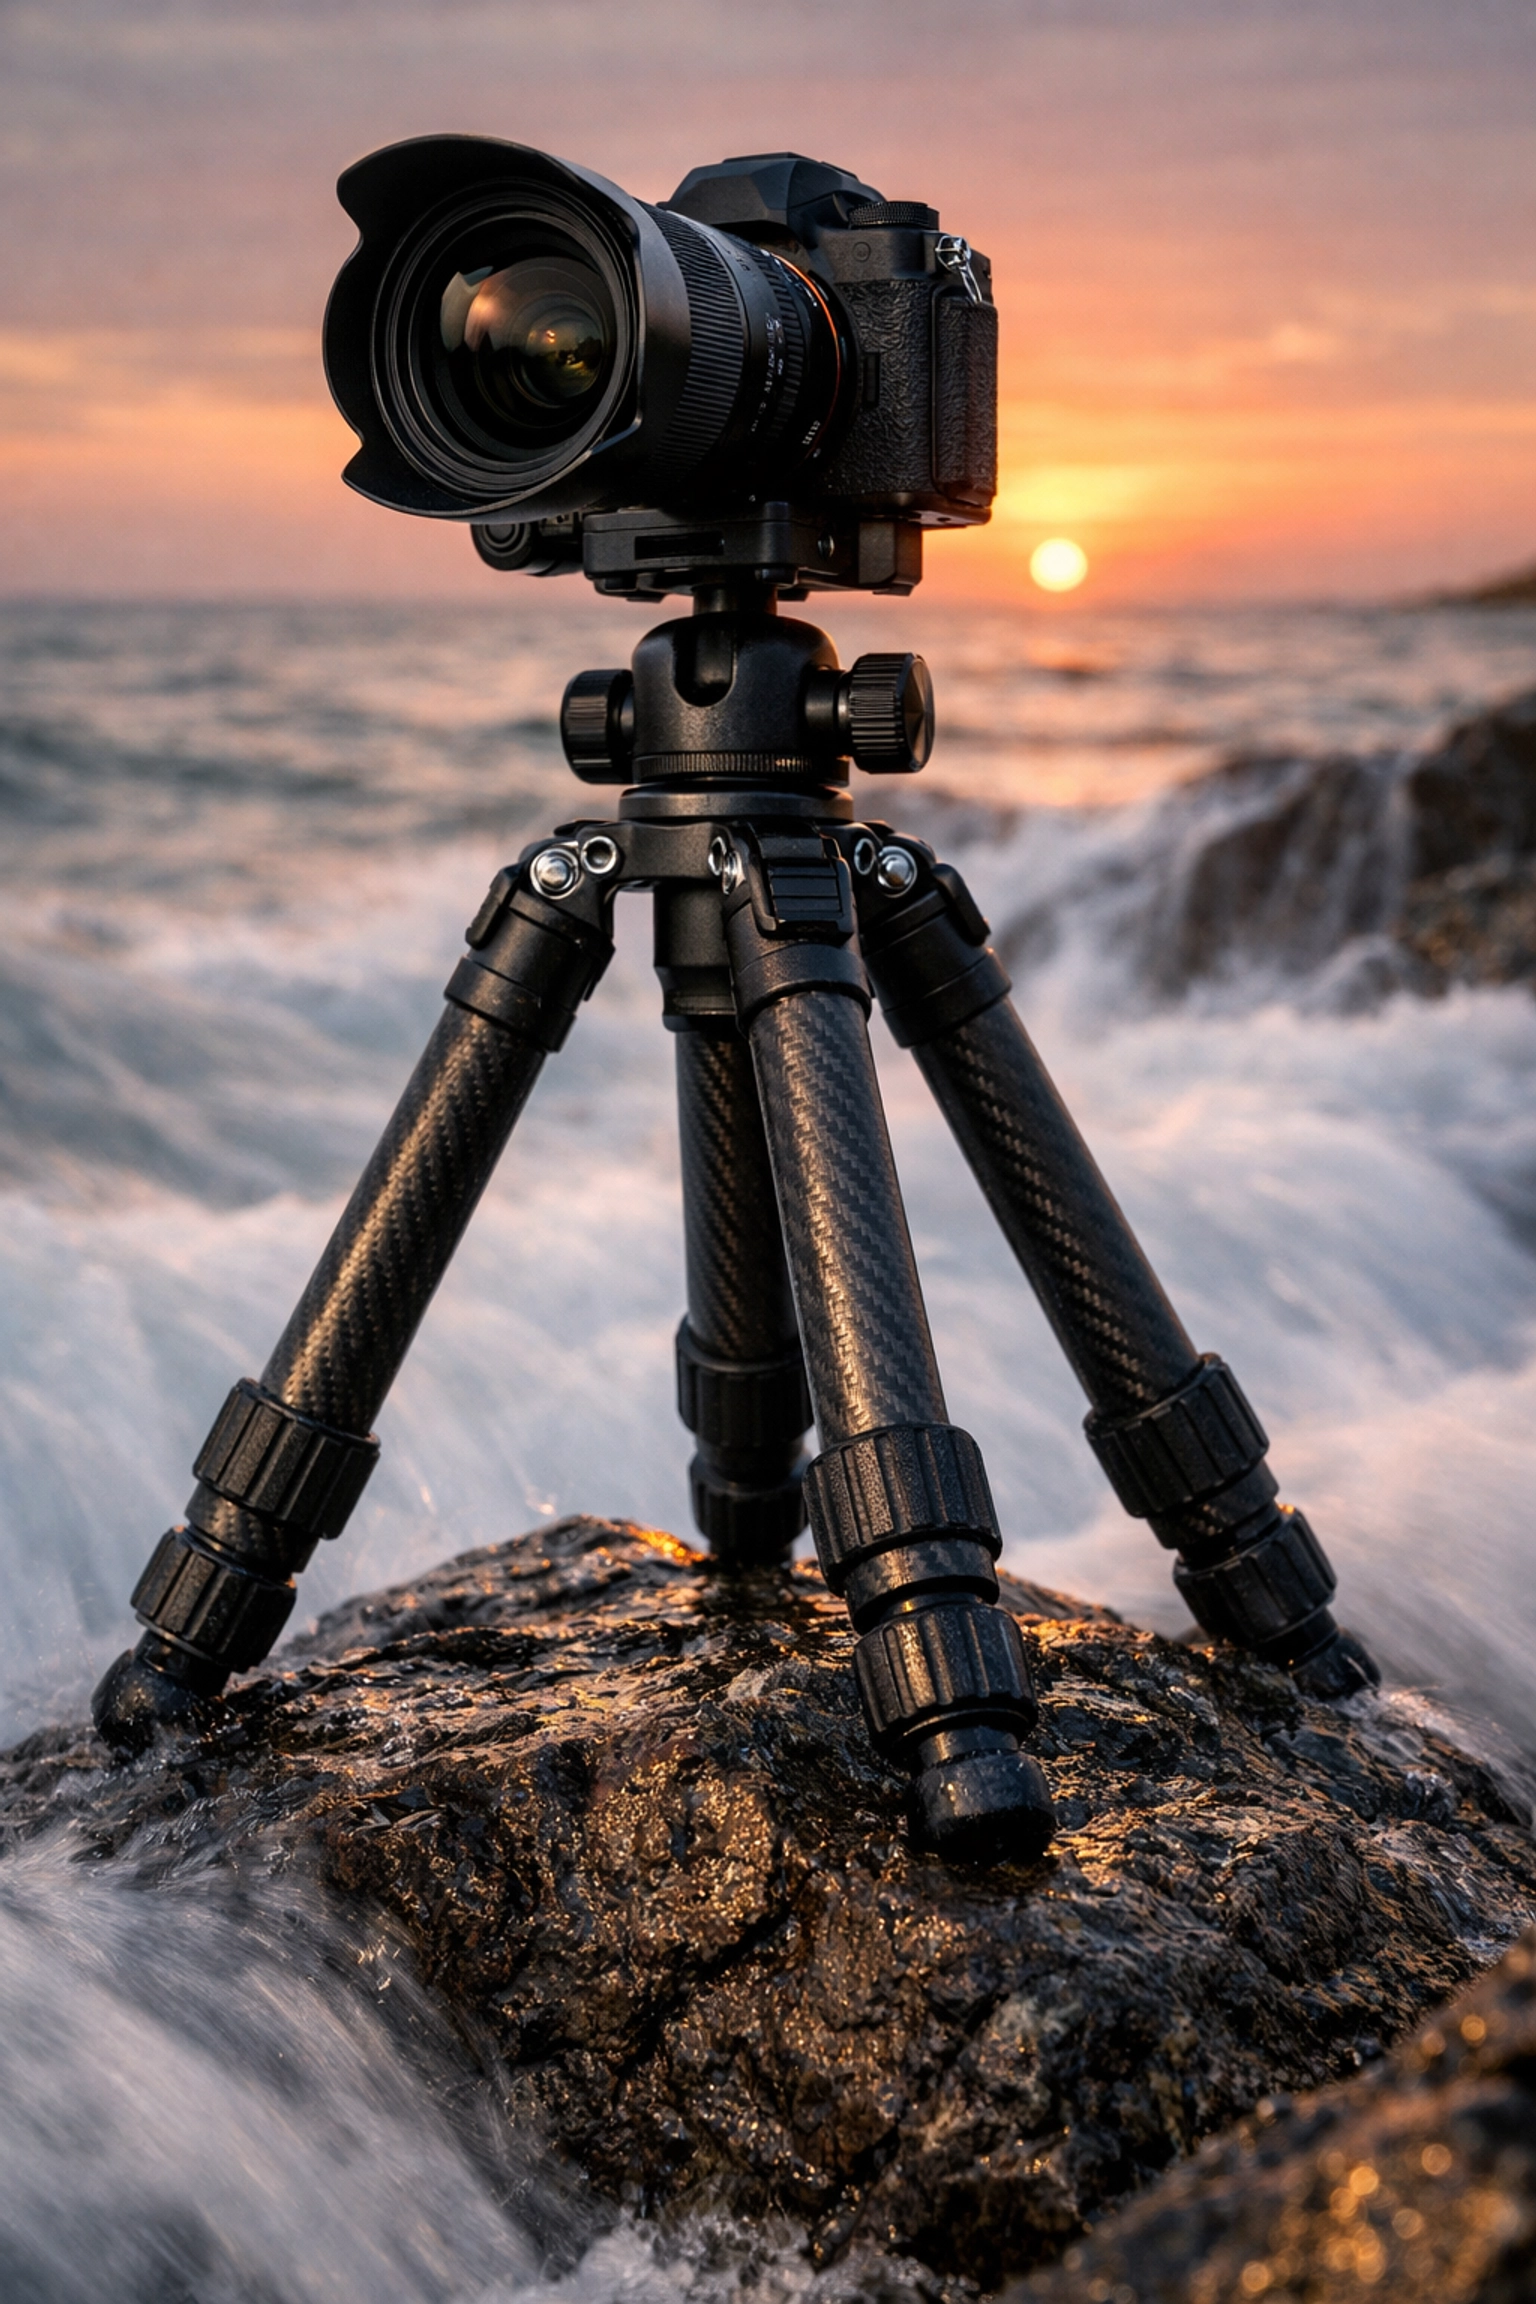
2. Using a "Noodle" Tripod (or No Tripod at All)
I see this all the time: someone spends $3,000 on a high-end mirrorless camera and then sticks it on a $20 plastic tripod they bought at a drugstore. That tripod is basically a noodle. The slightest breeze or the vibration from your shutter will cause camera shake, leading to soft, blurry images.
Landscape photography often requires small apertures (like f/11 or f/16) to keep everything in focus, which means slower shutter speeds. If you aren't perfectly still, you aren't getting a sharp shot.
The Instant Fix:
Invest in a solid tripod. It doesn't have to cost a thousand bucks, but it should be made of aluminum or carbon fiber and feel sturdy. If you're looking for gear recommendations, check out proshoot.io for some real-world reviews.
If you’re caught without a tripod, use the "2-second timer" or a remote shutter release. Even the act of pressing the shutter button creates enough vibration to blur a long exposure. Also, if you’re still shopping for the right rig, take a look at how to choose the best mirrorless cameras in 2026 to ensure your body and lens stabilization are up to par.
3. The "What Am I Looking At?" Problem
A pretty sunset isn't a subject. A mountain range isn't necessarily a subject. One of the biggest mistakes beginners make is capturing a "grand" scene that has no focal point. The viewer’s eye wanders around the frame with nowhere to land, gets bored, and moves on.
The Instant Fix:
Before you click the shutter, ask yourself: What is the hero of this photo? Is it a specific jagged rock? A lonely tree? A winding path?
Once you find your subject, use composition techniques to highlight it. The Rule of Thirds is a great starting point, but don't be afraid to try more advanced methods. For more on this, check out our guide on unleashing creativity with framing techniques. Adding a strong foreground element: like a rock or some flowers: can also give the image depth and lead the viewer’s eye right to your main subject.
4. Shooting at High Noon
Light is the most important element in photography. You can be at the most beautiful location on Earth, but if the lighting is flat and harsh, your photo will look like a boring postcard. Shooting in the middle of the day creates deep, ugly shadows and blown-out highlights.
The Instant Fix:
Stop sleeping in. The best light happens during the "Golden Hour" (just after sunrise and just before sunset) and the "Blue Hour" (just before sunrise and just after sunset). This is when the light is soft, directional, and full of color.
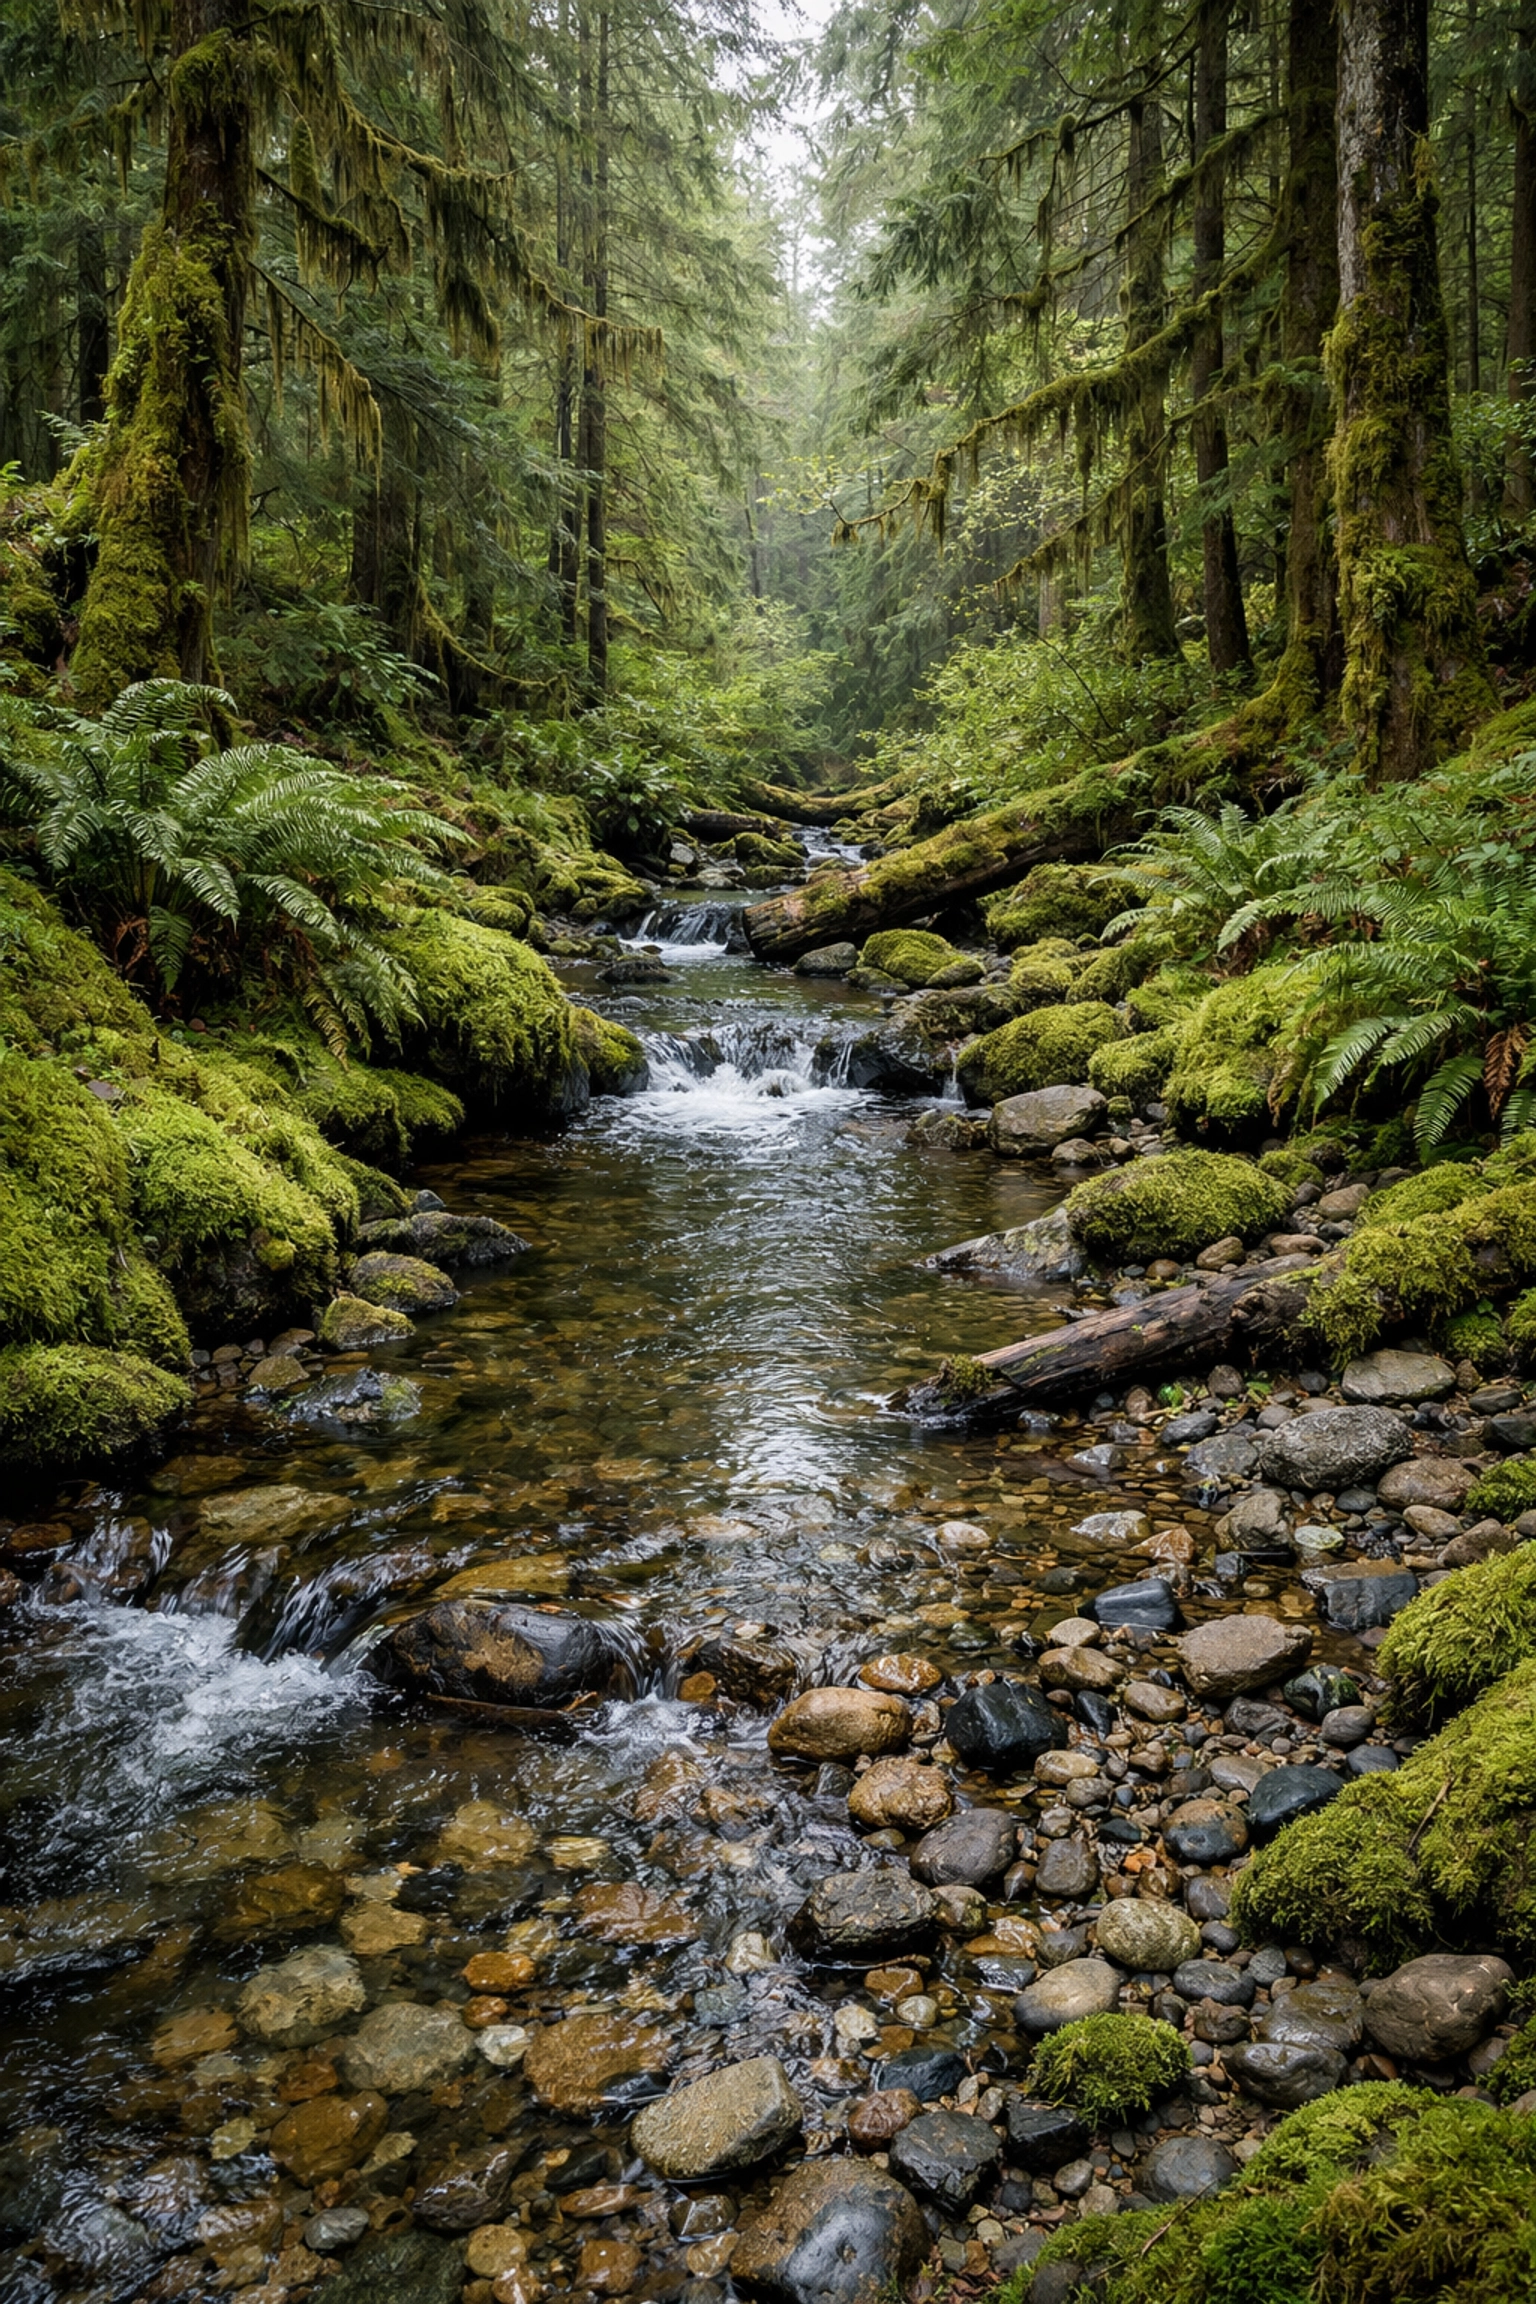
If you have to shoot during the day, look for overcast skies. Clouds act as a giant softbox, which is actually perfect for shooting waterfalls or forests. For more tips on timing your shots, especially while traveling, read our post on mastering the art of travel photography.
5. Ignoring the Edges (Border Patrol)
You’re so focused on the mountain in the middle of your frame that you don't notice the stray tree branch poking in from the left or the trash can in the bottom right corner. These distractions pull the viewer’s attention away from the beauty of the landscape.
The Instant Fix:
Practice "Border Patrol." Before you take the shot, run your eye all the way around the edges of the viewfinder. If there’s something distracting, move your camera slightly, zoom in, or physically move the object if you can.
If you missed it in the field, you can use the generative erase tools in Luminar to clean up those edges. It’s a lifesaver for removing those pesky branches or tourists who wandered into your frame. Keeping your frame clean is a hallmark of professional work, similar to the precision needed in portrait photography techniques.
6. Over-Processing (The "Crunchy" Look)
We’ve all seen those photos on Instagram where the grass is neon green, the sky is a weird shade of purple, and every detail is sharpened to the point where it looks "crunchy." Over-editing is the quickest way to ruin a great landscape.
While landscape photography almost always requires some post-processing (especially if you're shooting in RAW), the goal is to enhance the natural beauty, not create a cartoon.
The Instant Fix:
Less is more. If you find yourself pushing the saturation slider to +50, take a break. Walk away from the computer for ten minutes, come back, and look at the photo again. You’ll probably realize you went too far.
Focus on contrast, white balance, and subtle color grading. If you want to keep up with the latest in editing tech without overdoing it, stay updated with today's photography news and software updates. Using AI tools like those in Luminar can help you achieve a balanced look because they are designed to recognize natural light patterns.
7. Thinking Landscapes Must Be Horizontal
This is a mental trap. Because it's called "landscape" orientation, we assume all landscape photos have to be wide. But some of the most powerful outdoor images are shot vertically (portrait orientation).
Shooting vertically allows you to include more foreground and sky, which can emphasize the height of a mountain or the depth of a canyon. Plus, let’s be real: vertical photos look much better on mobile phones and social media.
The Instant Fix:
Every time you find a composition you like, try shooting it both ways. Rotate your camera 90 degrees and see how it changes the feel of the scene. You’ll be surprised how often the vertical version is the winner. For more on how to optimize your shots for the modern digital world, check out our tips on mastering mobile photo tricks.
Bonus Tip: The Importance of Planning
Mistakes often happen when we are rushed. If you show up to a location five minutes before the sun sets, you’re going to scramble, forget to level your tripod, and miss the best composition.
Use apps like PhotoPills or The Photographer’s Ephemeris to see exactly where the sun will be at any given time. I also recommend checking out PhotoGuides.org for location-specific tips before you head out. Planning takes the stress out of the process, allowing you to focus on the art.
Why These Fixes Matter
Landscape photography is a patient man's game. It’s about the connection between you and the environment. When you stop making these technical errors, you free up your brain to be creative. You start seeing light differently, and you start telling stories with your images rather than just taking "pictures of stuff."
I’ve been working closely with Sonny, our Social Media Manager, to make sure we’re showing off these techniques in action on our channels. If you’re struggling with a specific shot, don't be afraid to experiment. Photography is a journey, not a destination. Whether you're capturing authentic emotions in travel photography or the rugged peaks of the Andes, the principles remain the same.
The Gear Factor
While gear isn't everything, knowing your equipment is. If you're still using an old DSLR and thinking about making the jump to mirrorless, now is the time. The dynamic range and autofocus capabilities of modern cameras make fixing exposure and focus mistakes much easier. You can see how the latest tech is changing the game in our article on why new releases will change your workflow.
And remember, if you're ever in doubt about your settings, shoot in RAW. It gives you the most data to work with in post-production, allowing you to recover shadows or highlights that might have seemed lost.
Final Thoughts
Landscape photography is meant to be fun. It’s an excuse to get outside, breathe some fresh air, and witness the world at its best. Don't let these seven mistakes discourage you. Every pro you admire has a hard drive full of crooked, blurry, and over-edited photos. The difference is they learned how to fix them.
So, grab your tripod (the sturdy one!), wait for the golden hour, check your borders, and keep that horizon straight. You’ll see an immediate improvement in your work. For more inspiration on different styles of photography: from black and white wedding photography to sports photography tips: be sure to browse through our latest tutorials.
Now get out there and shut your aperture! (But, you know, maybe keep it at f/11 for the landscapes). For more of my personal work and fine art, feel free to visit www.edinfineart.com or see what we’re up to at www.edinstudios.com. Keep shooting, keep learning, and most importantly, keep enjoying the view.