
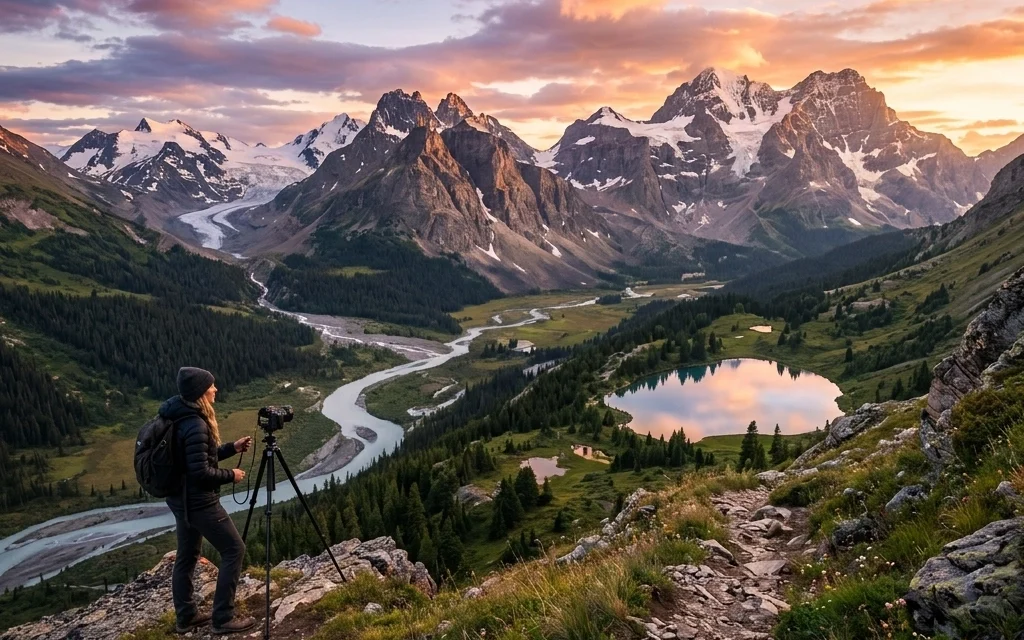
We’ve all been there. You wake up at 4:00 AM, hike three miles in the dark, wait for the sun to crest over the mountains, and click that shutter. You think you’ve captured a masterpiece, but when you get home and pull the files up on your monitor, they just look… meh.
It’s frustrating. Landscape photography looks easy on Instagram, but out in the wild, it’s a game of millimeters and milliseconds. The difference between a "wow" shot and a "delete" shot usually comes down to a few common blunders that even experienced shooters make.
I was chatting with Sonny, our Social Media Manager here at Shut Your Aperture, and he mentioned that these are the exact issues he sees people complaining about in our comments section every day. So, he’s going to be linking this guide across our socials to make sure everyone is on the same page.
If you’re ready to stop taking snapshots and start making art, here are the seven biggest landscape photography mistakes and exactly how to fix them today.
1. The "Drunken" Horizon
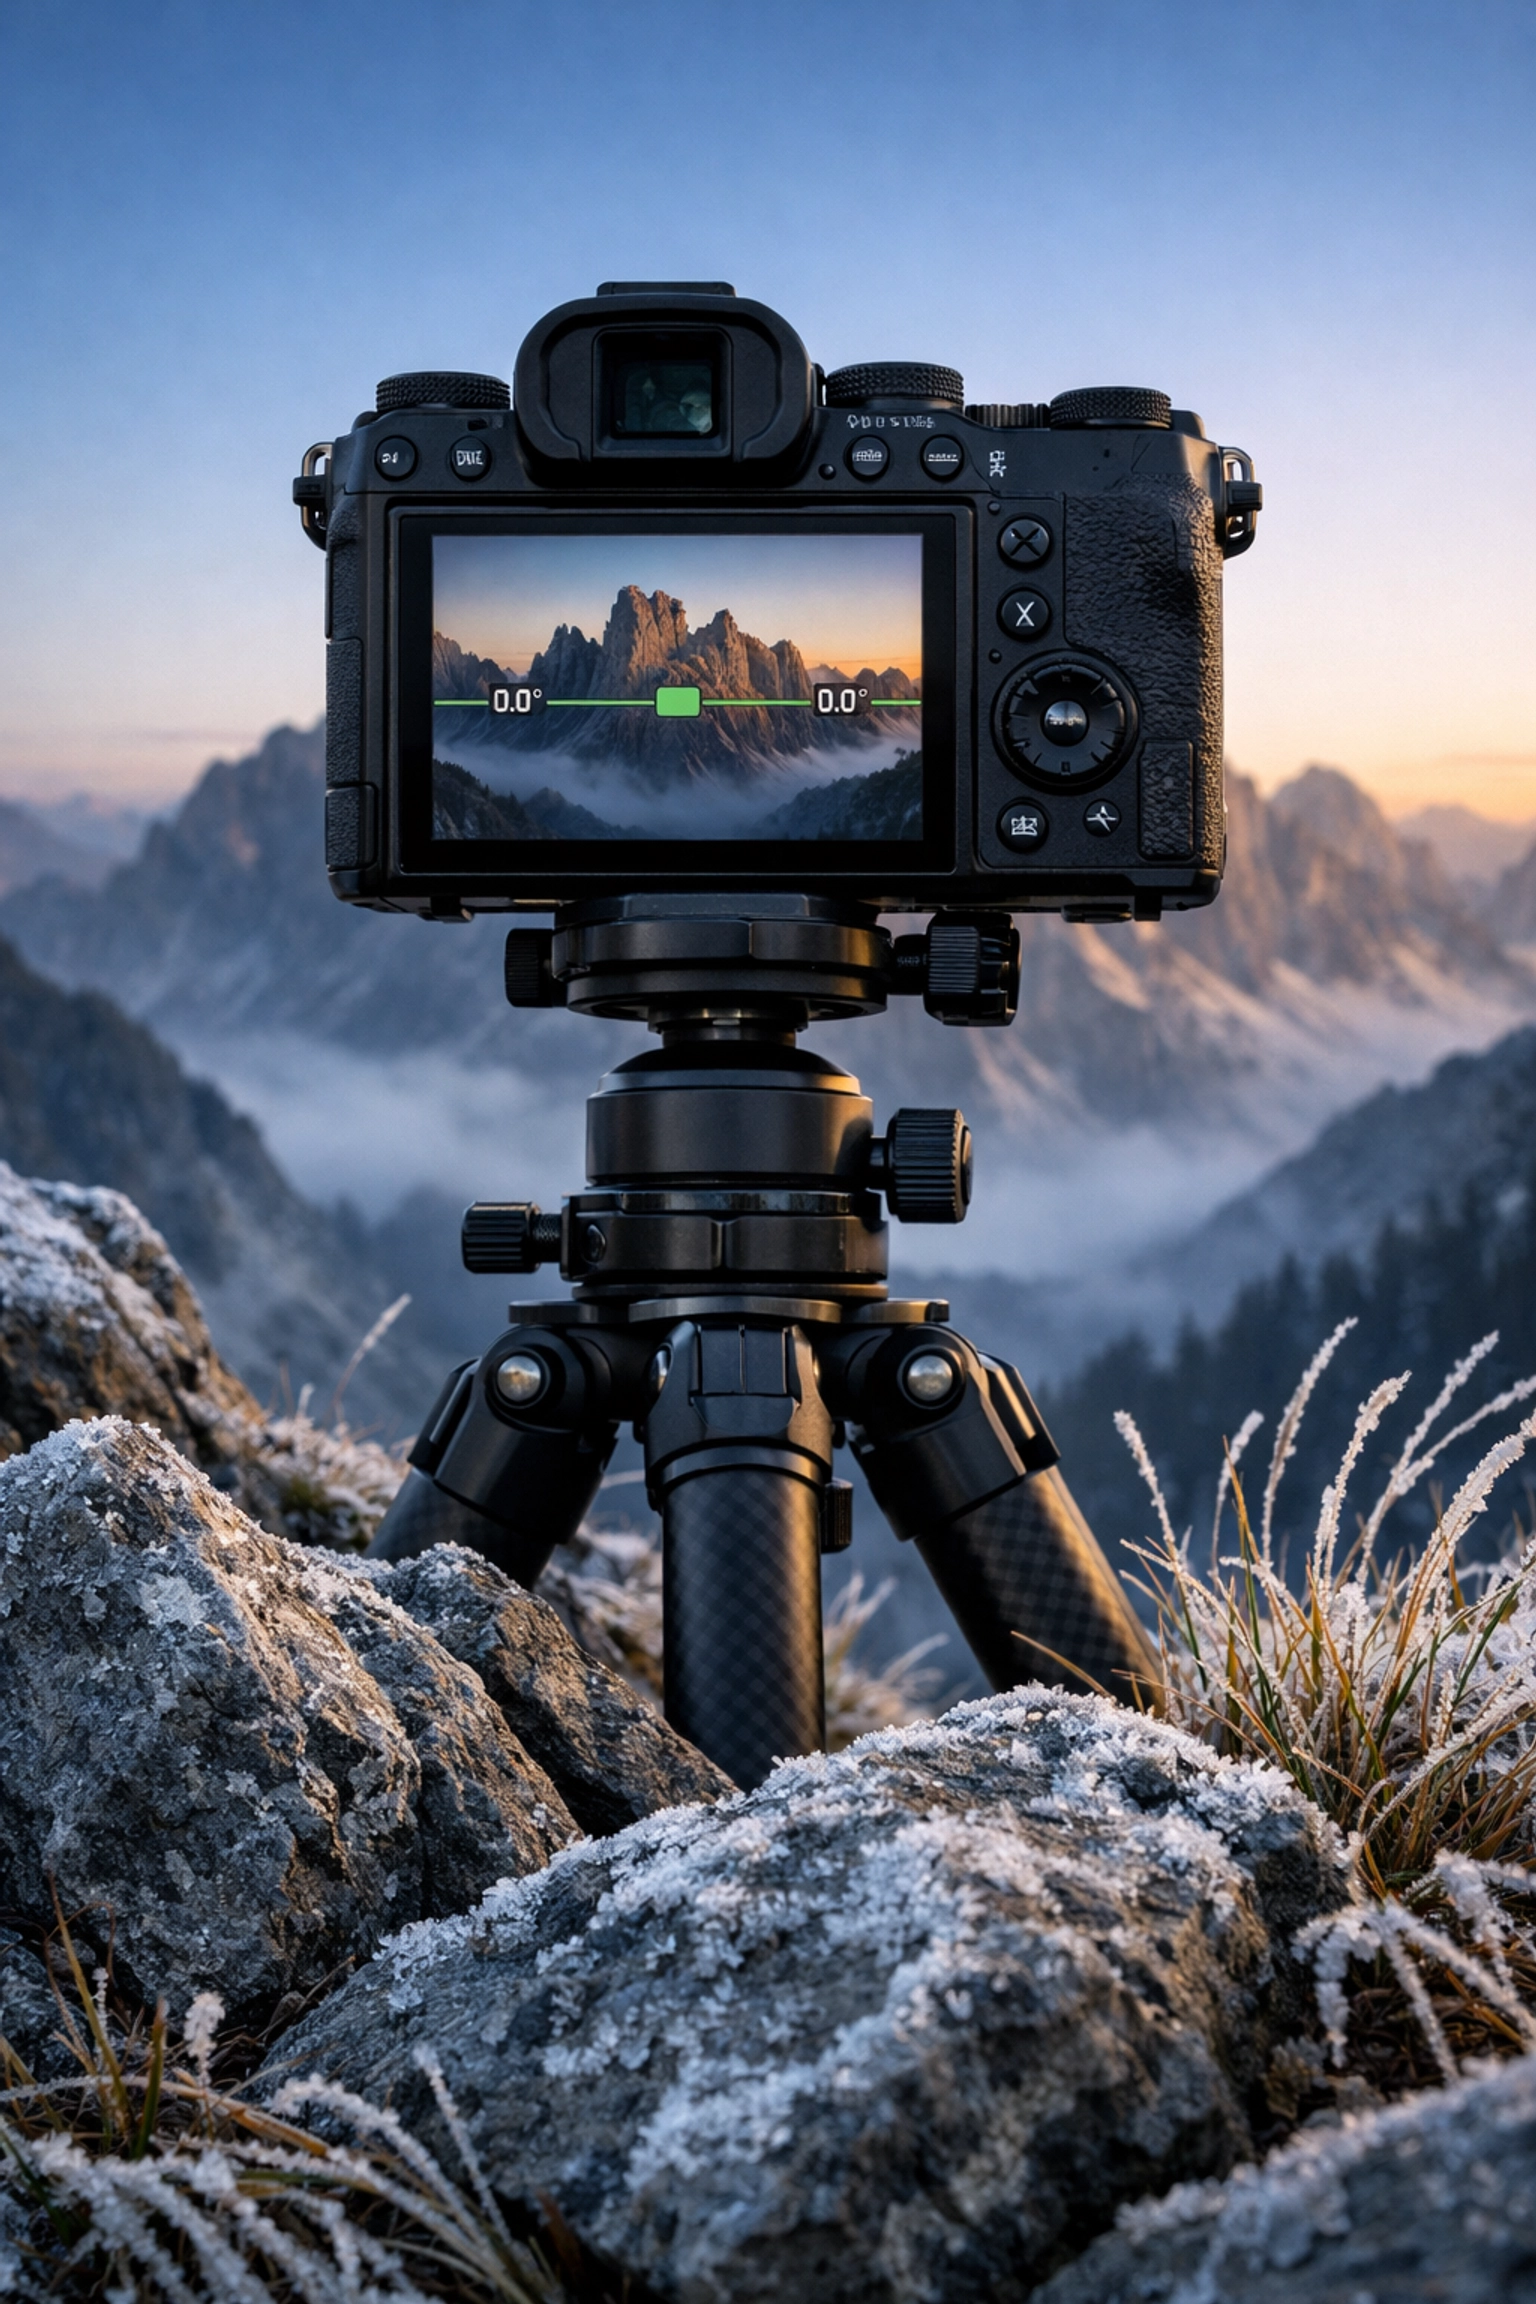
There is nothing: and I mean nothing: that ruins a beautiful vista faster than a crooked horizon. It’s the visual equivalent of a nail on a chalkboard. Even if it’s only off by one or two degrees, the human brain is hardwired to notice when things are out of level. It creates a sense of "gravity leak," where the viewer feels like the water or the mountains are about to slide right out of the frame.
The Fix:
Most modern cameras have a built-in electronic level (the "virtual horizon"). Turn it on and use it. If you’re shooting with an older camera or just want to be precise, use your grid lines. Align the horizon with one of the horizontal lines in your viewfinder.
If you’ve already taken the shot and it’s tilted, don't worry. You can fix this in post-processing using tools like Luminar. Most editing software has an "Auto Level" button that works wonders. Just keep in mind that straightening an image requires a crop, which means you’ll lose a bit of the edges of your frame. It’s always better to get it right in the field.
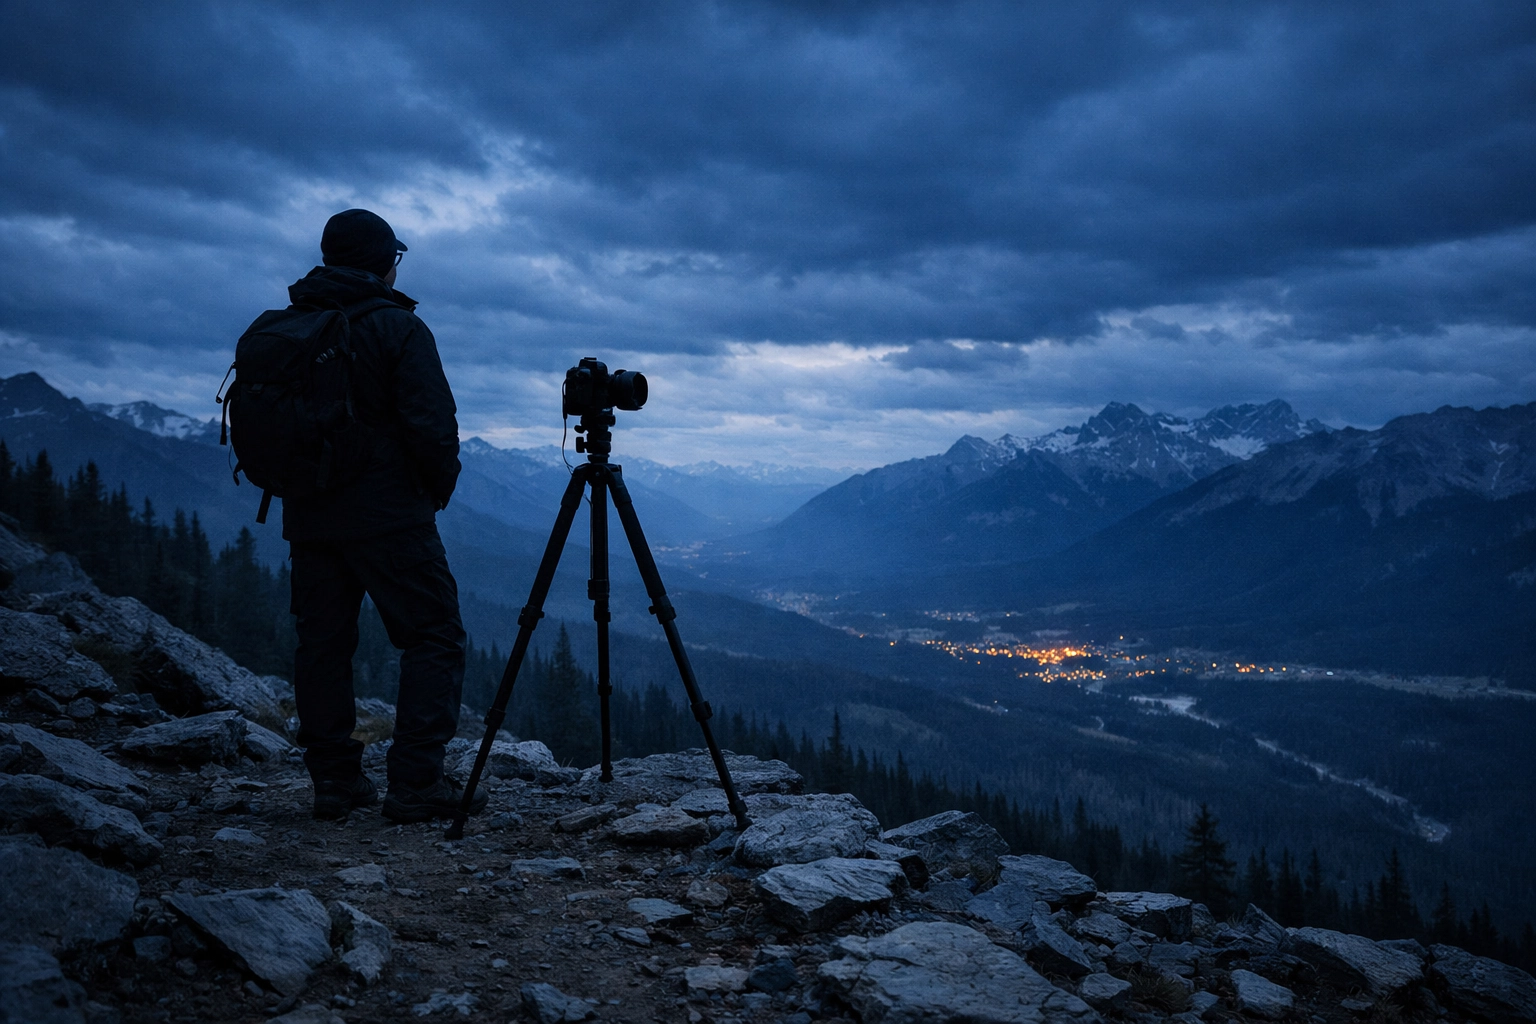
2. Using a "Cheap" Tripod (or Skipping It Entirely)
I get it. Gear is expensive. After dropping a few thousand on a body and a lens, spending $500 on a set of carbon fiber legs feels like a gut punch. So, many photographers buy a $40 plastic tripod from a big-box store or, worse, they try to "hand-hold" their shots in low light.
Landscape photography demands sharpness. If you’re shooting at sunrise or sunset, your shutter speeds are naturally going to be longer. Even the steadiest hands in the world will introduce "micro-shake," which turns your sharp mountain peak into a blurry mess. Cheap tripods are often worse because they vibrate in the wind.
The Fix:
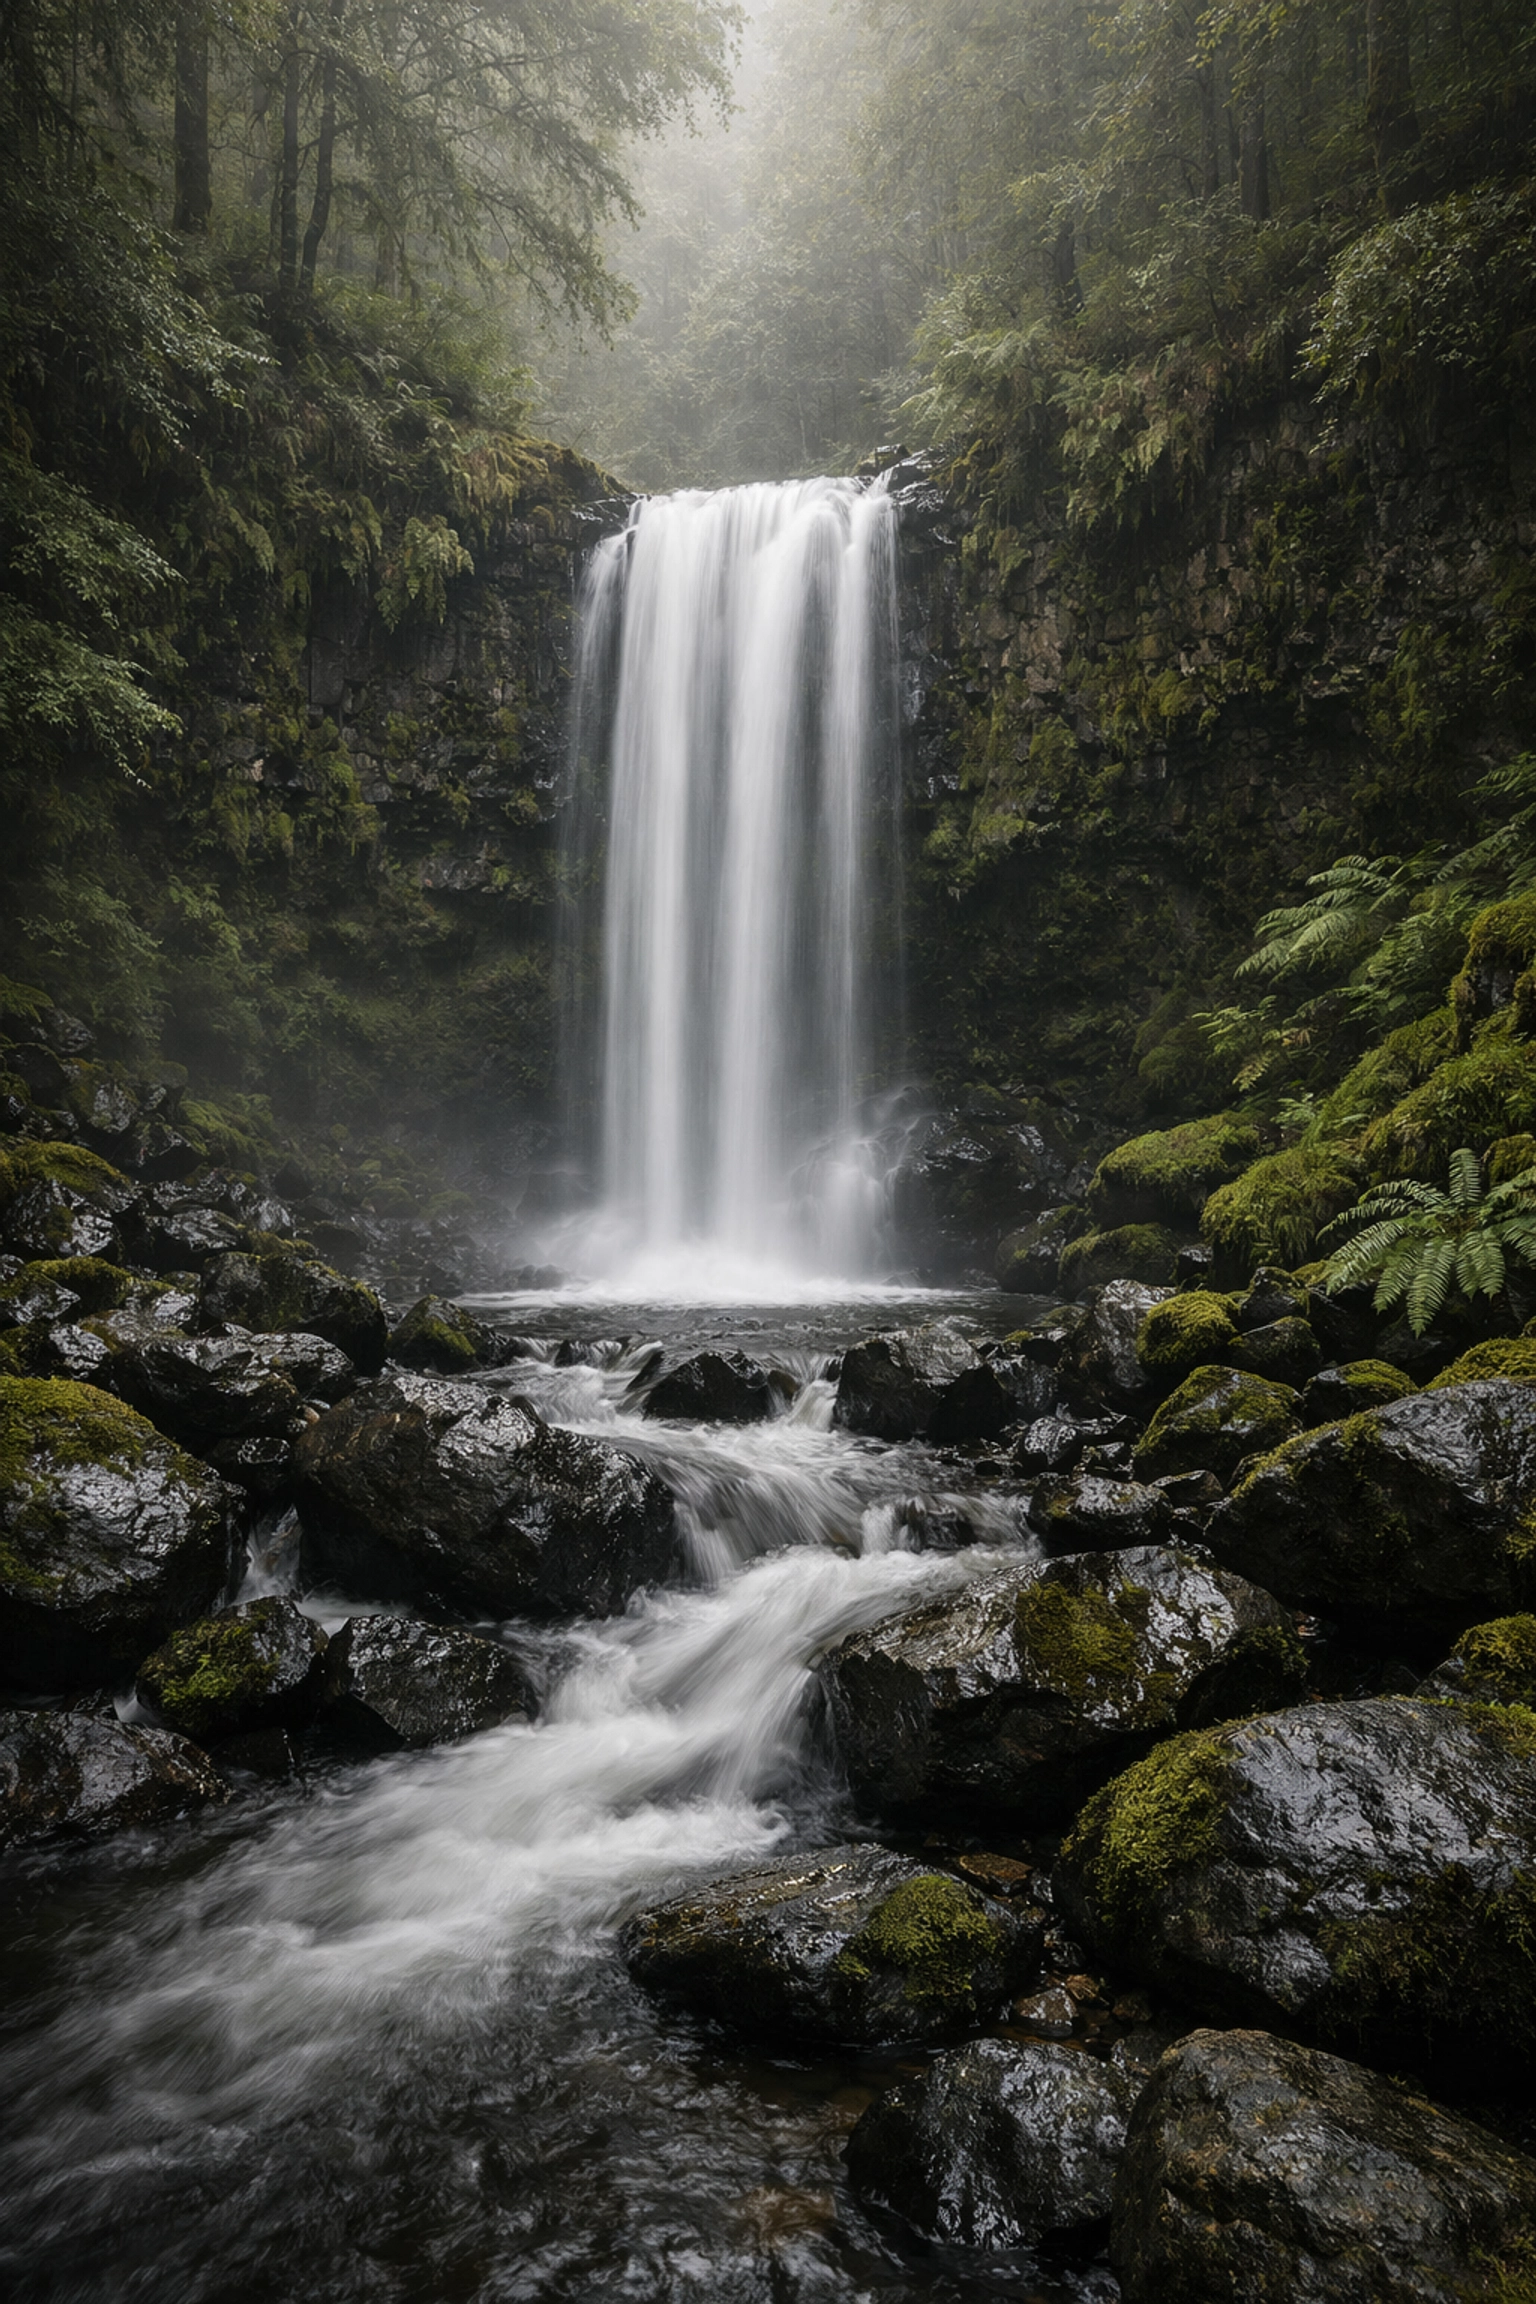
Invest in a solid tripod. You don’t need the most expensive one on day one, but avoid the plastic junk. Look for something made of aluminum or carbon fiber with a sturdy ball head. A good tripod isn't just a stand; it’s a creative tool that allows you to explore water photography techniques like long exposures.
Pro Tip: If you’re stuck with a less-than-stellar tripod, hang your camera bag from the center column hook. The extra weight will lower the center of gravity and help stabilize the rig against the wind.
3. The "High Noon" Heartbreak
The most common mistake beginners make is thinking that a "bright, sunny day" is the best time for photography. In reality, midday sun is a landscape photographer's worst enemy. It creates harsh, high-contrast shadows and blown-out highlights. It flattens the terrain and sucks the life out of the colors.
If you’ve ever wondered why your photos of top spots for majestic sunset photography look so much better than your afternoon shots, this is why.
The Fix:
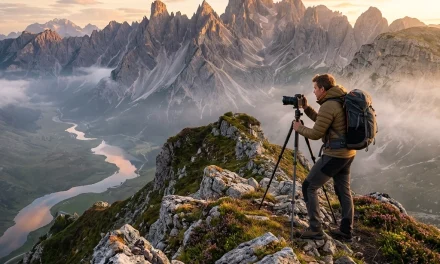
Chase the Golden Hour. This is the period shortly after sunrise and just before sunset. The light is softer, warmer, and hits the landscape at an angle, creating shadows that reveal texture and depth.
If you absolutely have to shoot during the day, look for weather. A storm rolling in or heavy cloud cover can act as a giant softbox, creating a moody, atmospheric look that works perfectly for discovering ethereal landscapes.

4. No Clear Focal Point
A common trap in landscape photography is the "everything" shot. You see a beautiful mountain range, a lake, and a forest, and you try to capture it all in one wide frame. The problem? Without a clear subject, the viewer’s eye has nowhere to land. They end up looking at the photo for two seconds before moving on because they aren't sure what they’re supposed to be looking at.
A landscape is more than just a wide-angle view of nature; it’s a composition that needs a "hero."
The Fix:
Before you click the shutter, ask yourself: What is the subject of this photo? Is it that lone tree? Is it the reflection of the peak in the water? Is it the way the light is hitting that specific rock?
Once you identify the subject, use composition rules like the Rule of Thirds or Leading Lines to point the viewer directly toward it. If you need more help with this, check out PhotoGuides.org for some deep dives into composition theory.
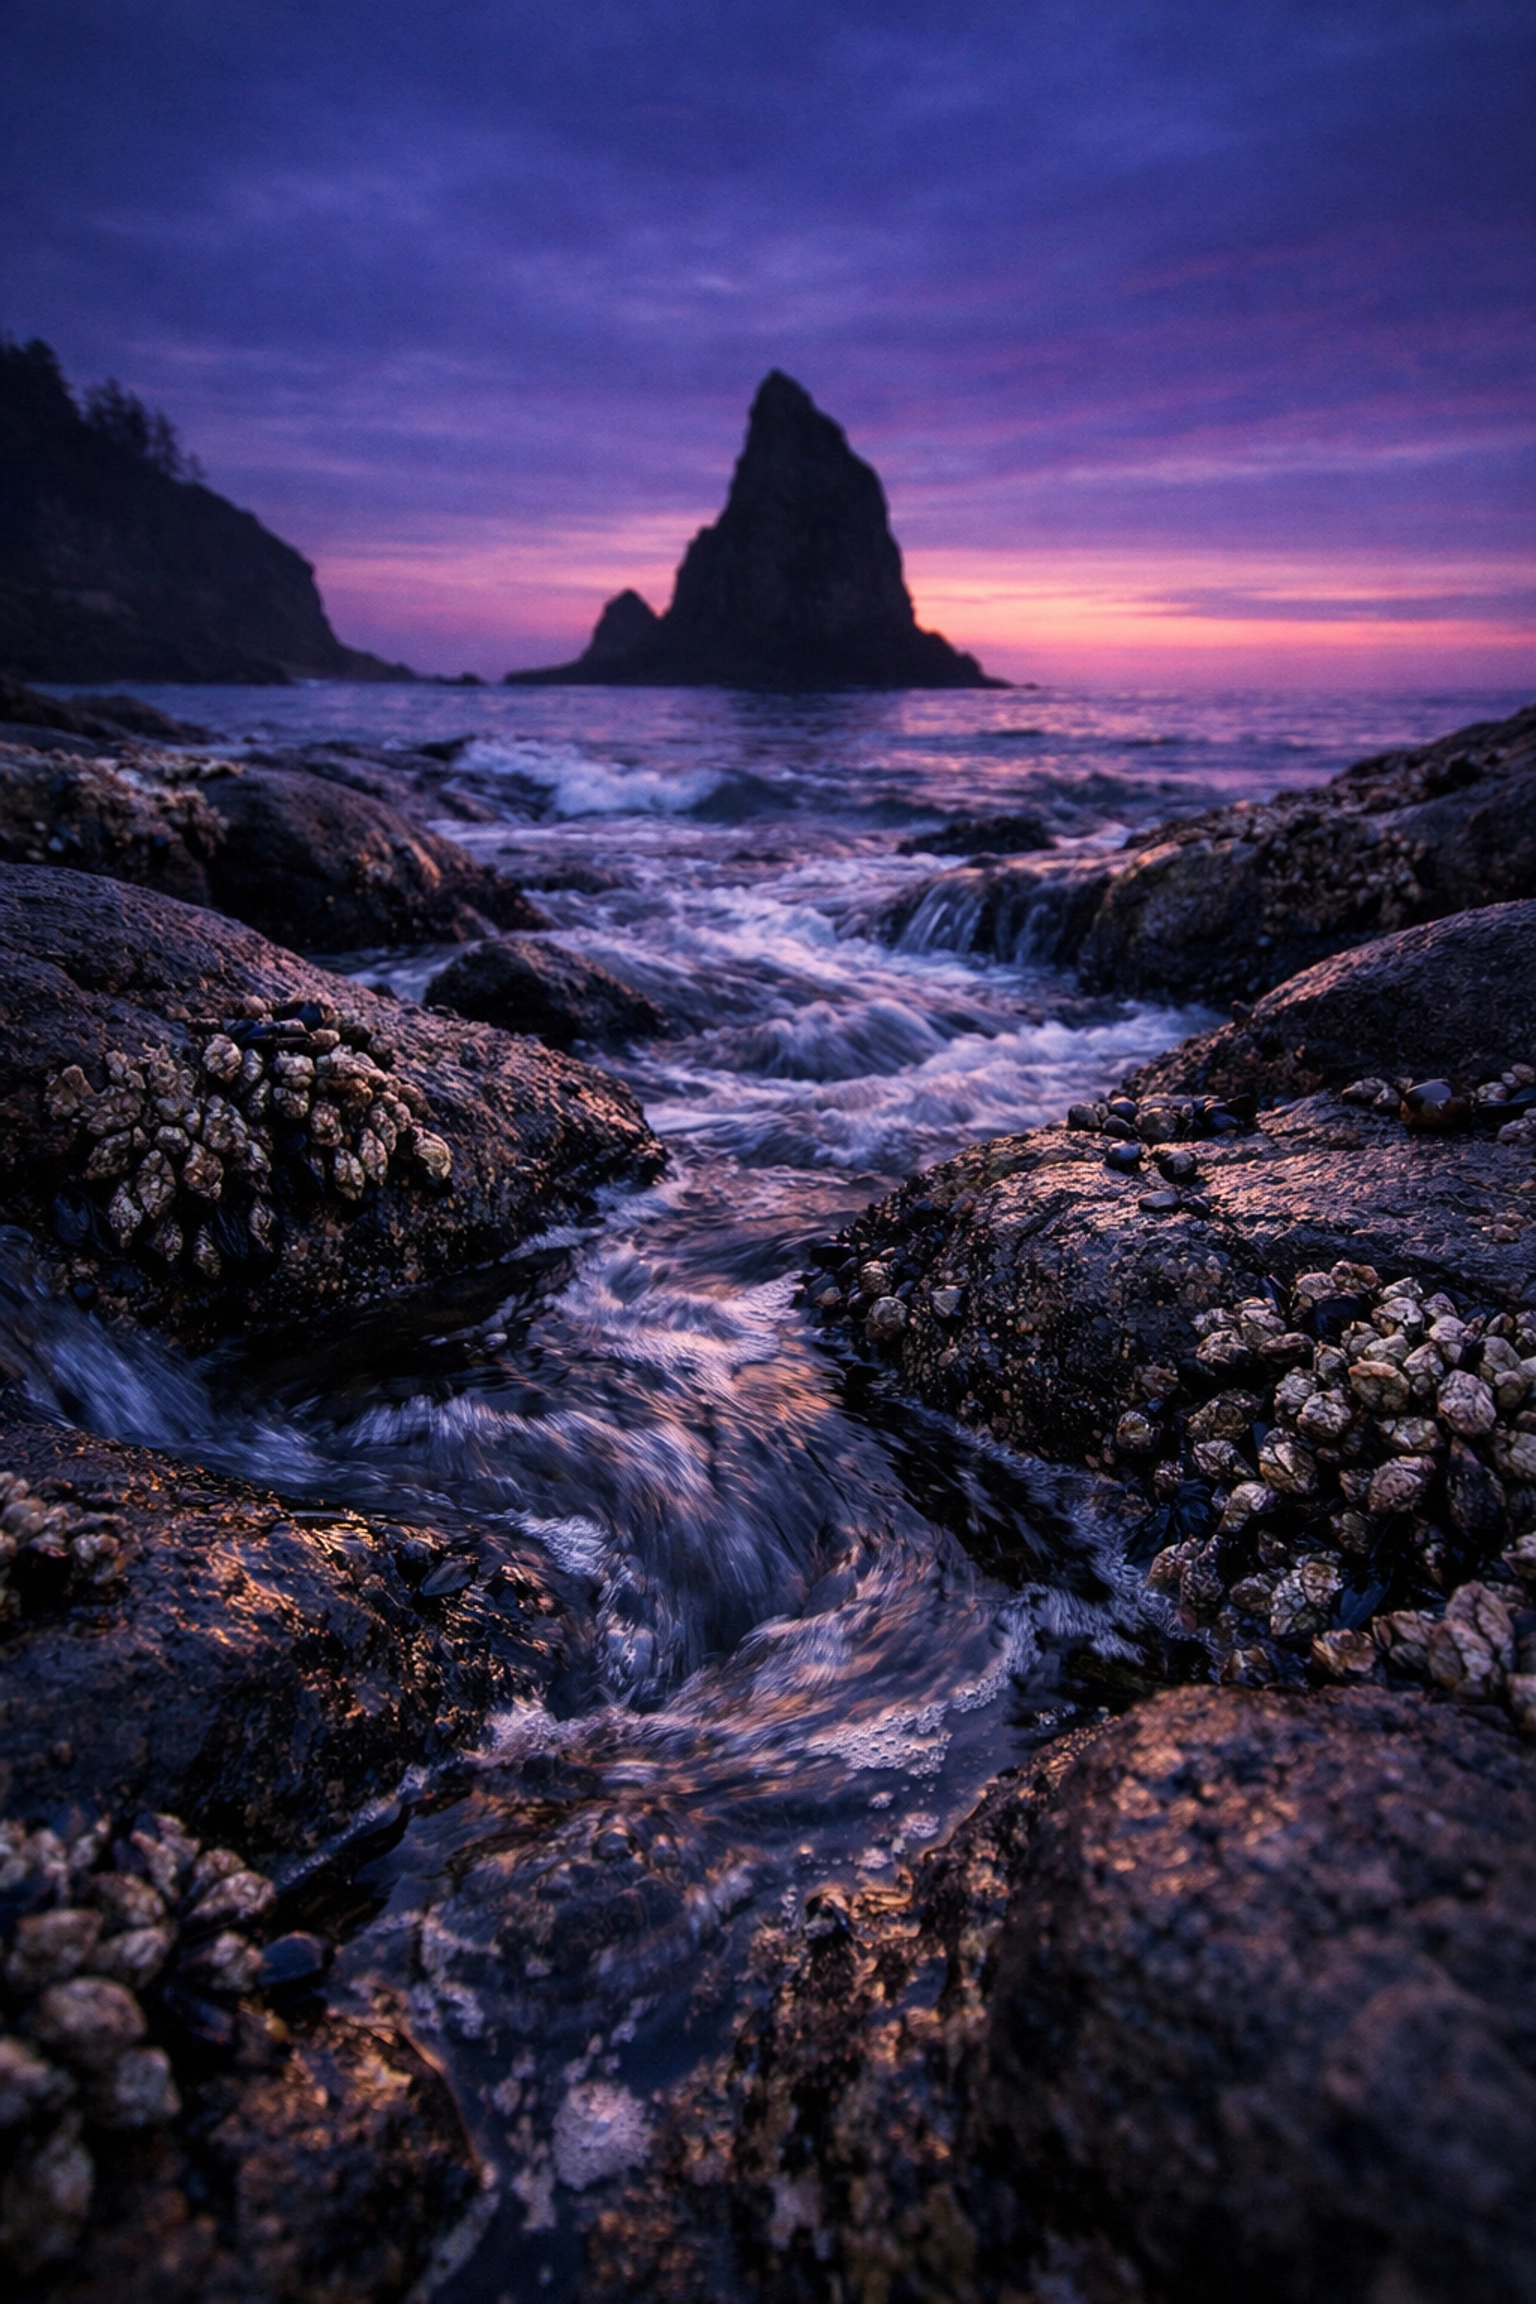
5. Forgetting the Foreground
If you want your photos to feel three-dimensional, you need layers. Most people focus entirely on the "background" (the mountains or the sunset) and forget that the bottom third of their frame exists. A photo with no foreground feels flat and distant. It’s like looking at a postcard instead of standing in the scene.
A strong foreground gives the viewer an "entry point" into the image. It provides scale and context.
The Fix:
Get low. Point your camera down and find something interesting within ten feet of you. It could be a patch of wildflowers, a jagged rock, or even the patterns in the sand. By including these elements in the foreground, you create a sense of depth that leads the eye into the background.
This is especially important when you’re shooting water photography from lakes to oceans. Using a rock in the foreground with water flowing around it creates a much more dynamic image than just a flat horizon of the sea.
6. Over-Processing and the "Nuclear" Look
We’ve all seen them: the photos where the grass is neon green, the sky is a bruised purple, and everything has so much "Clarity" applied that it looks like a 3D render from 2004.
Post-processing is a vital part of the workflow, but it’s easy to go overboard. When you over-saturate your colors or push your HDR settings too far, you lose the "soul" of the landscape. It stops looking like a place someone can visit and starts looking like a cartoon.
The Fix:
Less is usually more. When you’re editing, try this trick: once you think the photo is perfect, back off the Saturation and Vibrance sliders by 10%.
Instead of global adjustments, try using "masking" to edit specific parts of the image. Software like Luminar uses AI to help you mask skies or water automatically, allowing you to enhance the sunset without making the trees look radioactive. For more tips on maintaining a natural look while still having a unique style, take a look at our guide on using rare textures for tangible aesthetic photography.
7. The Lack of Planning (Winging It)
Great landscape photos aren't usually the result of luck. They are the result of homework. If you just show up at a trail at 2:00 PM and hope for the best, you’re probably going to be disappointed. You might miss the best light, the tide might be out, or the sun might set behind a hill you didn't know was there.
The Fix:
Start planning your shoots before you even leave the house. Use apps like PhotoPills or The Photographer’s Ephemeris to see exactly where the sun and moon will be at any given time. Check the weather: not just for "sun," but for cloud cover and wind speed.
Scout your locations virtually using Google Earth or check out our lists of hidden gem locations for travel photography to find spots that aren't over-photographed. The more you know about a location before you arrive, the more you can focus on the creative side of things once you’re there.
Bonus Tip: Clean Your Sensor!
There is nothing worse than getting home and realizing your beautiful sky is covered in "dust bunnies." Landscape photographers often shoot with narrow apertures (like f/11 or f/16), which makes every tiny speck of dust on your sensor visible.
The Fix:
Check your sensor regularly. Take a photo of a plain white wall or the clear blue sky at f/22 and zoom in. If you see dark spots, it’s time for a cleaning. You can find professional cleaning kits on sites like proshoot.io.
Putting It All Together
Landscape photography is a marathon, not a sprint. It takes time to train your eye to see the foreground, the light, and the subject all at once. But by avoiding these seven mistakes, you’re already miles ahead of the average hobbyist.
Remember, the best camera is the one you have with you, but the best photo is the one you actually put effort into planning. Whether you're exploring picturesque coastal escapes or just shooting in your local park, keep these tips in mind.
If you want to see some of the gear Edin uses to get his award-winning shots, head over to edinstudios.com or check out his latest fine art pieces at edinfineart.com.
Now, grab your tripod, check your horizon, and get out there. The light is waiting. For more inspiration on where to go next, don't miss our guide on secluded paradises to enhance your photography portfolio. And if you're stuck on what settings to use for your next trip to the beach, our best camera settings for stunning water landscapes has you covered.
Happy shooting! Be sure to tag us in your shots so Sonny can see your progress: we love seeing the "after" shots once you've fixed these common mistakes. Keep an eye on the blog for our next installment, where we'll dive deeper into the world of urban photography.


