
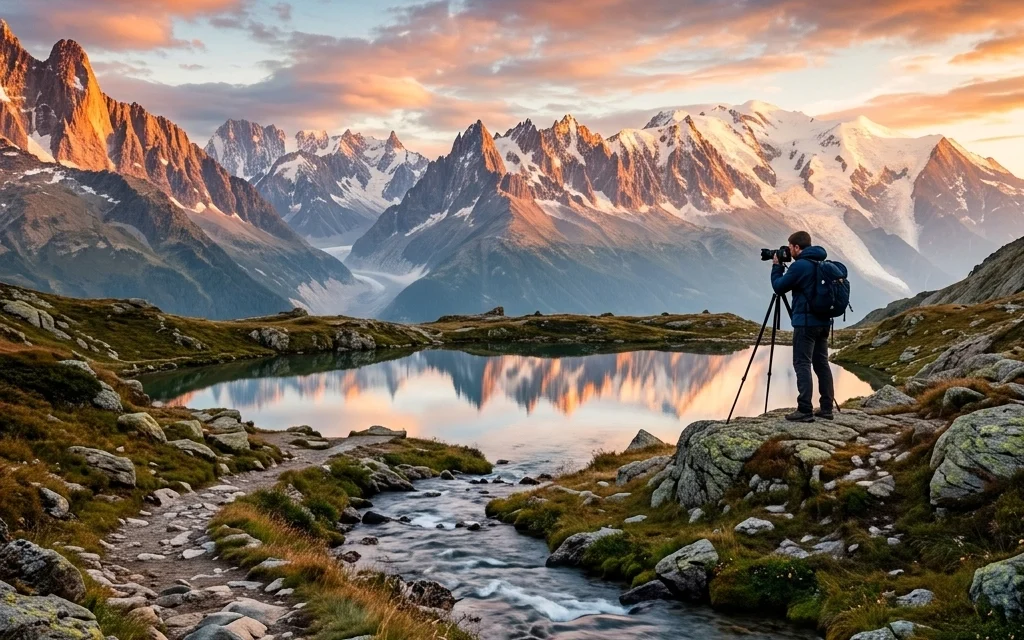
Landscape photography is one of those things that looks deceptively easy from the outside. You find a pretty mountain, you stand in front of it, and you click the shutter. Boom, National Geographic, right?
Not exactly. If you’ve ever come home from a trip to the Rockies or a coastal escape only to find your photos look flat, blurry, or just plain "meh," you aren’t alone. We’ve all been there. I’ve spent years dragging tripods through the mud only to realize I left my ISO at 1600 or missed the focus on a foreground rock.
The difference between a snapshot and a gallery-worthy masterpiece often comes down to a few tiny adjustments. We’re going to dive into the seven most common mistakes landscape photographers make and, more importantly, how you can fix them before your next golden hour trek.
1. The Fear of Diffraction (And Missing Depth of Field)
There is a lot of talk in the photography world about "diffraction." If you aren't a gear nerd, diffraction is just a fancy way of saying that if you stop your lens down too far (like f/22), the image actually starts to get a little bit softer because of how light bends through the tiny opening.
Because of this, a lot of photographers get scared. They stay at f/5.6 or f/8 because they want that "tack sharp" center. But here’s the reality: insufficient depth of field is a much bigger killer of landscape photos than diffraction.
If you have a beautiful wildflower in the foreground and a mountain in the back, and that flower is blurry, the photo is ruined. A tiny bit of diffraction at f/16 is barely noticeable, but a blurry foreground is a glaring error.
The Fix: Don’t be afraid to stop down. Use f/11 or f/16 when you have elements close to your lens. If you’re really struggling to get everything sharp, it might be time to learn focus stacking. But for starters, just stop down. For more technical deep dives on sharpness, check out PhotoGuides.org.

2. Defaulting to the Ultra-Wide Lens Every Single Time
We get it, you bought that 14-24mm lens and you want to use the whole thing. You see a massive vista and you want to "fit it all in."
The problem with ultra-wide lenses is that they make everything look far away. That majestic mountain range? Now it looks like a tiny pebble on the horizon. Wide lenses also tend to pull in a lot of "empty" space, boring skies or messy foregrounds that don’t add to the story.
Sometimes the best landscape shot is actually a tight crop. Using a telephoto lens (like a 70-200mm) allows you to compress the scene, making mountains look more imposing and isolating interesting patterns in the terrain. This is especially true when exploring lesser-known vistas where the "big picture" might be cluttered, but the details are magical.
The Fix: Before you mount the wide-angle, try zooming in. Look for the "photograph within the photograph." Compression is your friend. If you want to see how this looks in a professional gallery setting, take a look at Edin Fine Art for examples of varied focal lengths.
3. The "Neon Grass" Syndrome (Oversaturation)
We’ve all done it. You open up your editing software, and the sunset looks a little dull. You crank that saturation slider to +50 and suddenly the sky is screaming purple and the grass looks like it’s from a radioactive planet.
Oversaturation is the hallmark of a beginner. It’s often used to compensate for a weak composition or bad lighting. If the light wasn't good when you took the shot, no amount of orange slider is going to make it look "natural."
The Fix: Be subtle. I rarely move the global saturation slider more than +5 or +10. Instead, use HSL (Hue, Saturation, Luminance) sliders to target specific colors. If you want a more intelligent way to enhance your colors, Luminar has some incredible AI tools that enhance "vibrance" and "accent" without making your photo look like a cartoon.
4. Being Too Aggressive with Noise Reduction
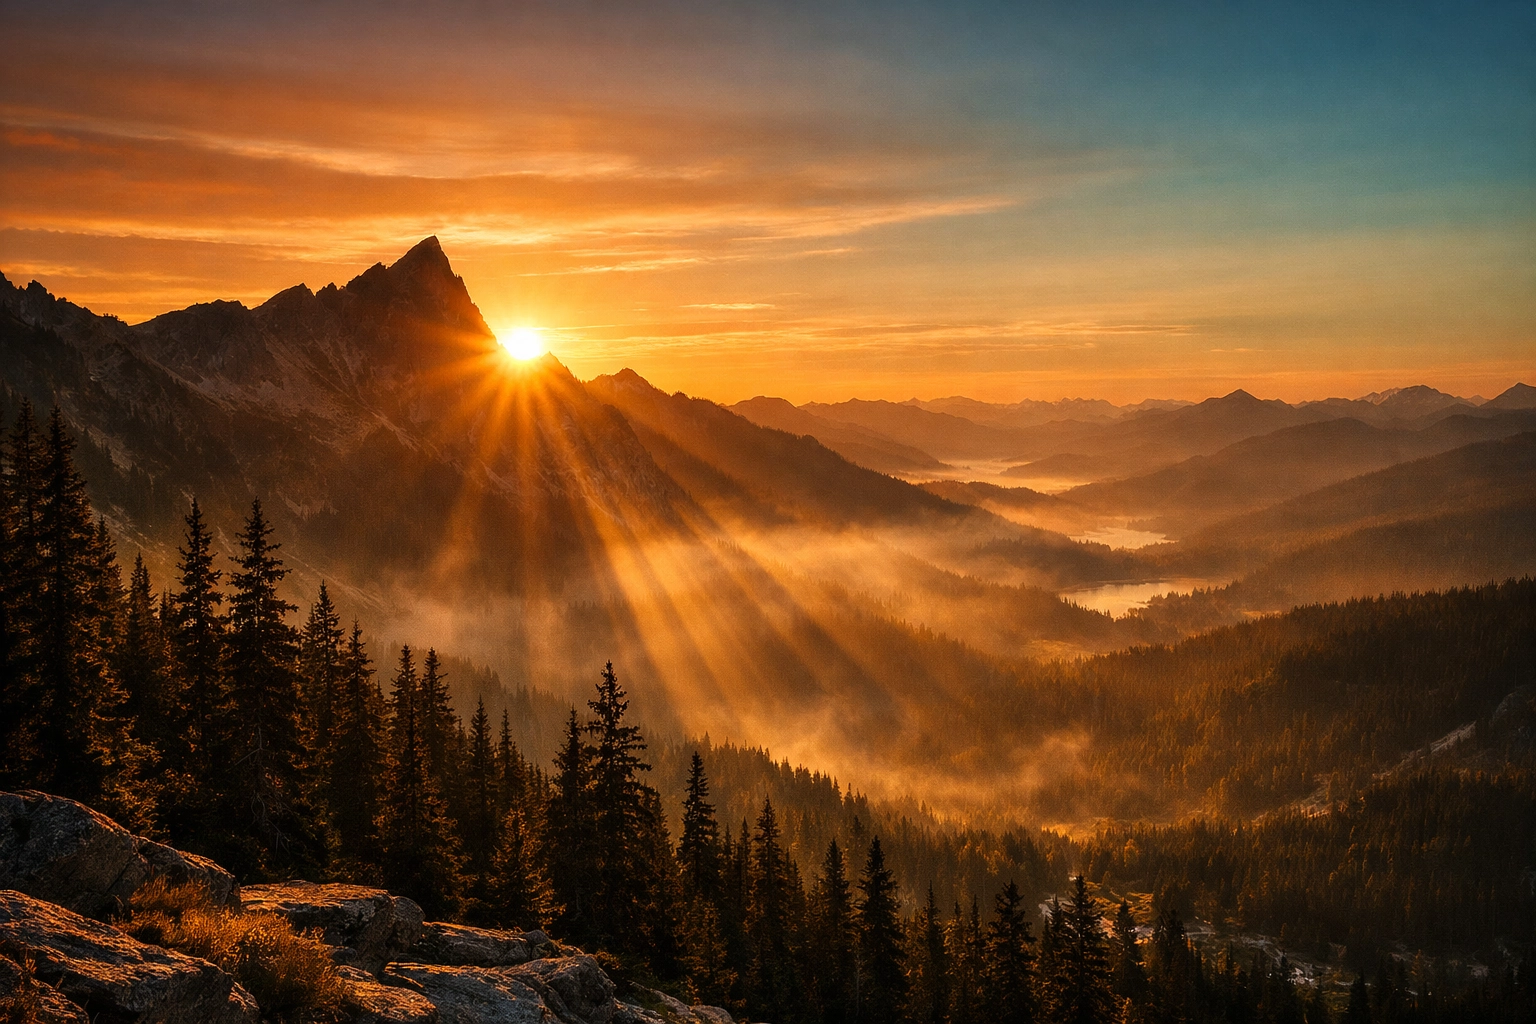
In an effort to get "clean" shots, especially in low-light majestic sunset photography, photographers often go way too heavy on the noise reduction.
When you slide that "Luminance" noise reduction to the right, you aren't just getting rid of grain; you’re getting rid of texture. Your rocks start to look like plastic, and your trees look like blobs of green paint. A little bit of grain (noise) is actually okay. It gives the photo a sense of organic "grit" and preserves the fine details.
The Fix: Zoom in to 100% when applying noise reduction. Apply just enough to take the "edge" off the noise, but stop before the details start to smear. Sometimes, leaving the noise in is better than having a "waxy" looking landscape.
5. Ignoring the "Distraction" in the Corner
You’ve found the perfect hidden gem location, the light is hitting the peaks perfectly, and you fire off the shot. You get home, put it on a big monitor, and realize there’s a bright white trash can in the corner, or a stray branch poking into the top of the frame.
Landscape photography is as much about what you exclude as what you include. Messy compositions with footprints in the sand, fallen twigs, or power lines can break the "immersion" for the viewer.
The Fix: Do a "border check" before you press the shutter. Run your eyes along the edges of your viewfinder. Is there anything cutting into the frame that shouldn't be there? If so, move your tripod a few inches. It’s much easier to move a branch in person than to try and "content-aware fill" it later. For more on finding clean, pristine spots, check out secluded paradises.
6. Mishandling Blown Highlights
Digital sensors are great, but they hate bright white light. If you overexpose your highlights (like the area right around the sun), that data is gone forever. It turns into "clipping," where the pixels are just pure white.
A common mistake is trying to "save" these blown highlights in post-processing by dragging the highlight slider all the way down. This usually results in a weird, muddy gray patch that looks completely unnatural.
The Fix: Protect your highlights in-camera. Use your histogram! It’s better to have a slightly dark photo that you can brighten up than a bright photo with "dead" white spots. If you're shooting high-contrast scenes, consider bracketed exposures. For more on managing difficult light, see our guide on mastering light and water.
7. Thinking Everything Must Be Sharp
Wait, didn't I just say Mistake #1 was not having enough depth of field? Yes, I did. But the opposite is also a mistake.
Some photographers get so obsessed with "front-to-back sharpness" that they forget about the beauty of subject isolation. Sometimes, a shallow depth of field can add a sense of mystery or "ethereal" quality to a shot. If you are shooting ethereal landscapes, a slightly blurred background can help focus the viewer’s eye on a specific subject, like a single tree or a unique rock formation.
The Fix: Ask yourself what the "hero" of the shot is. Does the background add to the story, or is it distracting? If it's distracting, open up that aperture to f/4 or f/2.8 and let the background melt away.
A Deep Dive into Water Photography Mistakes
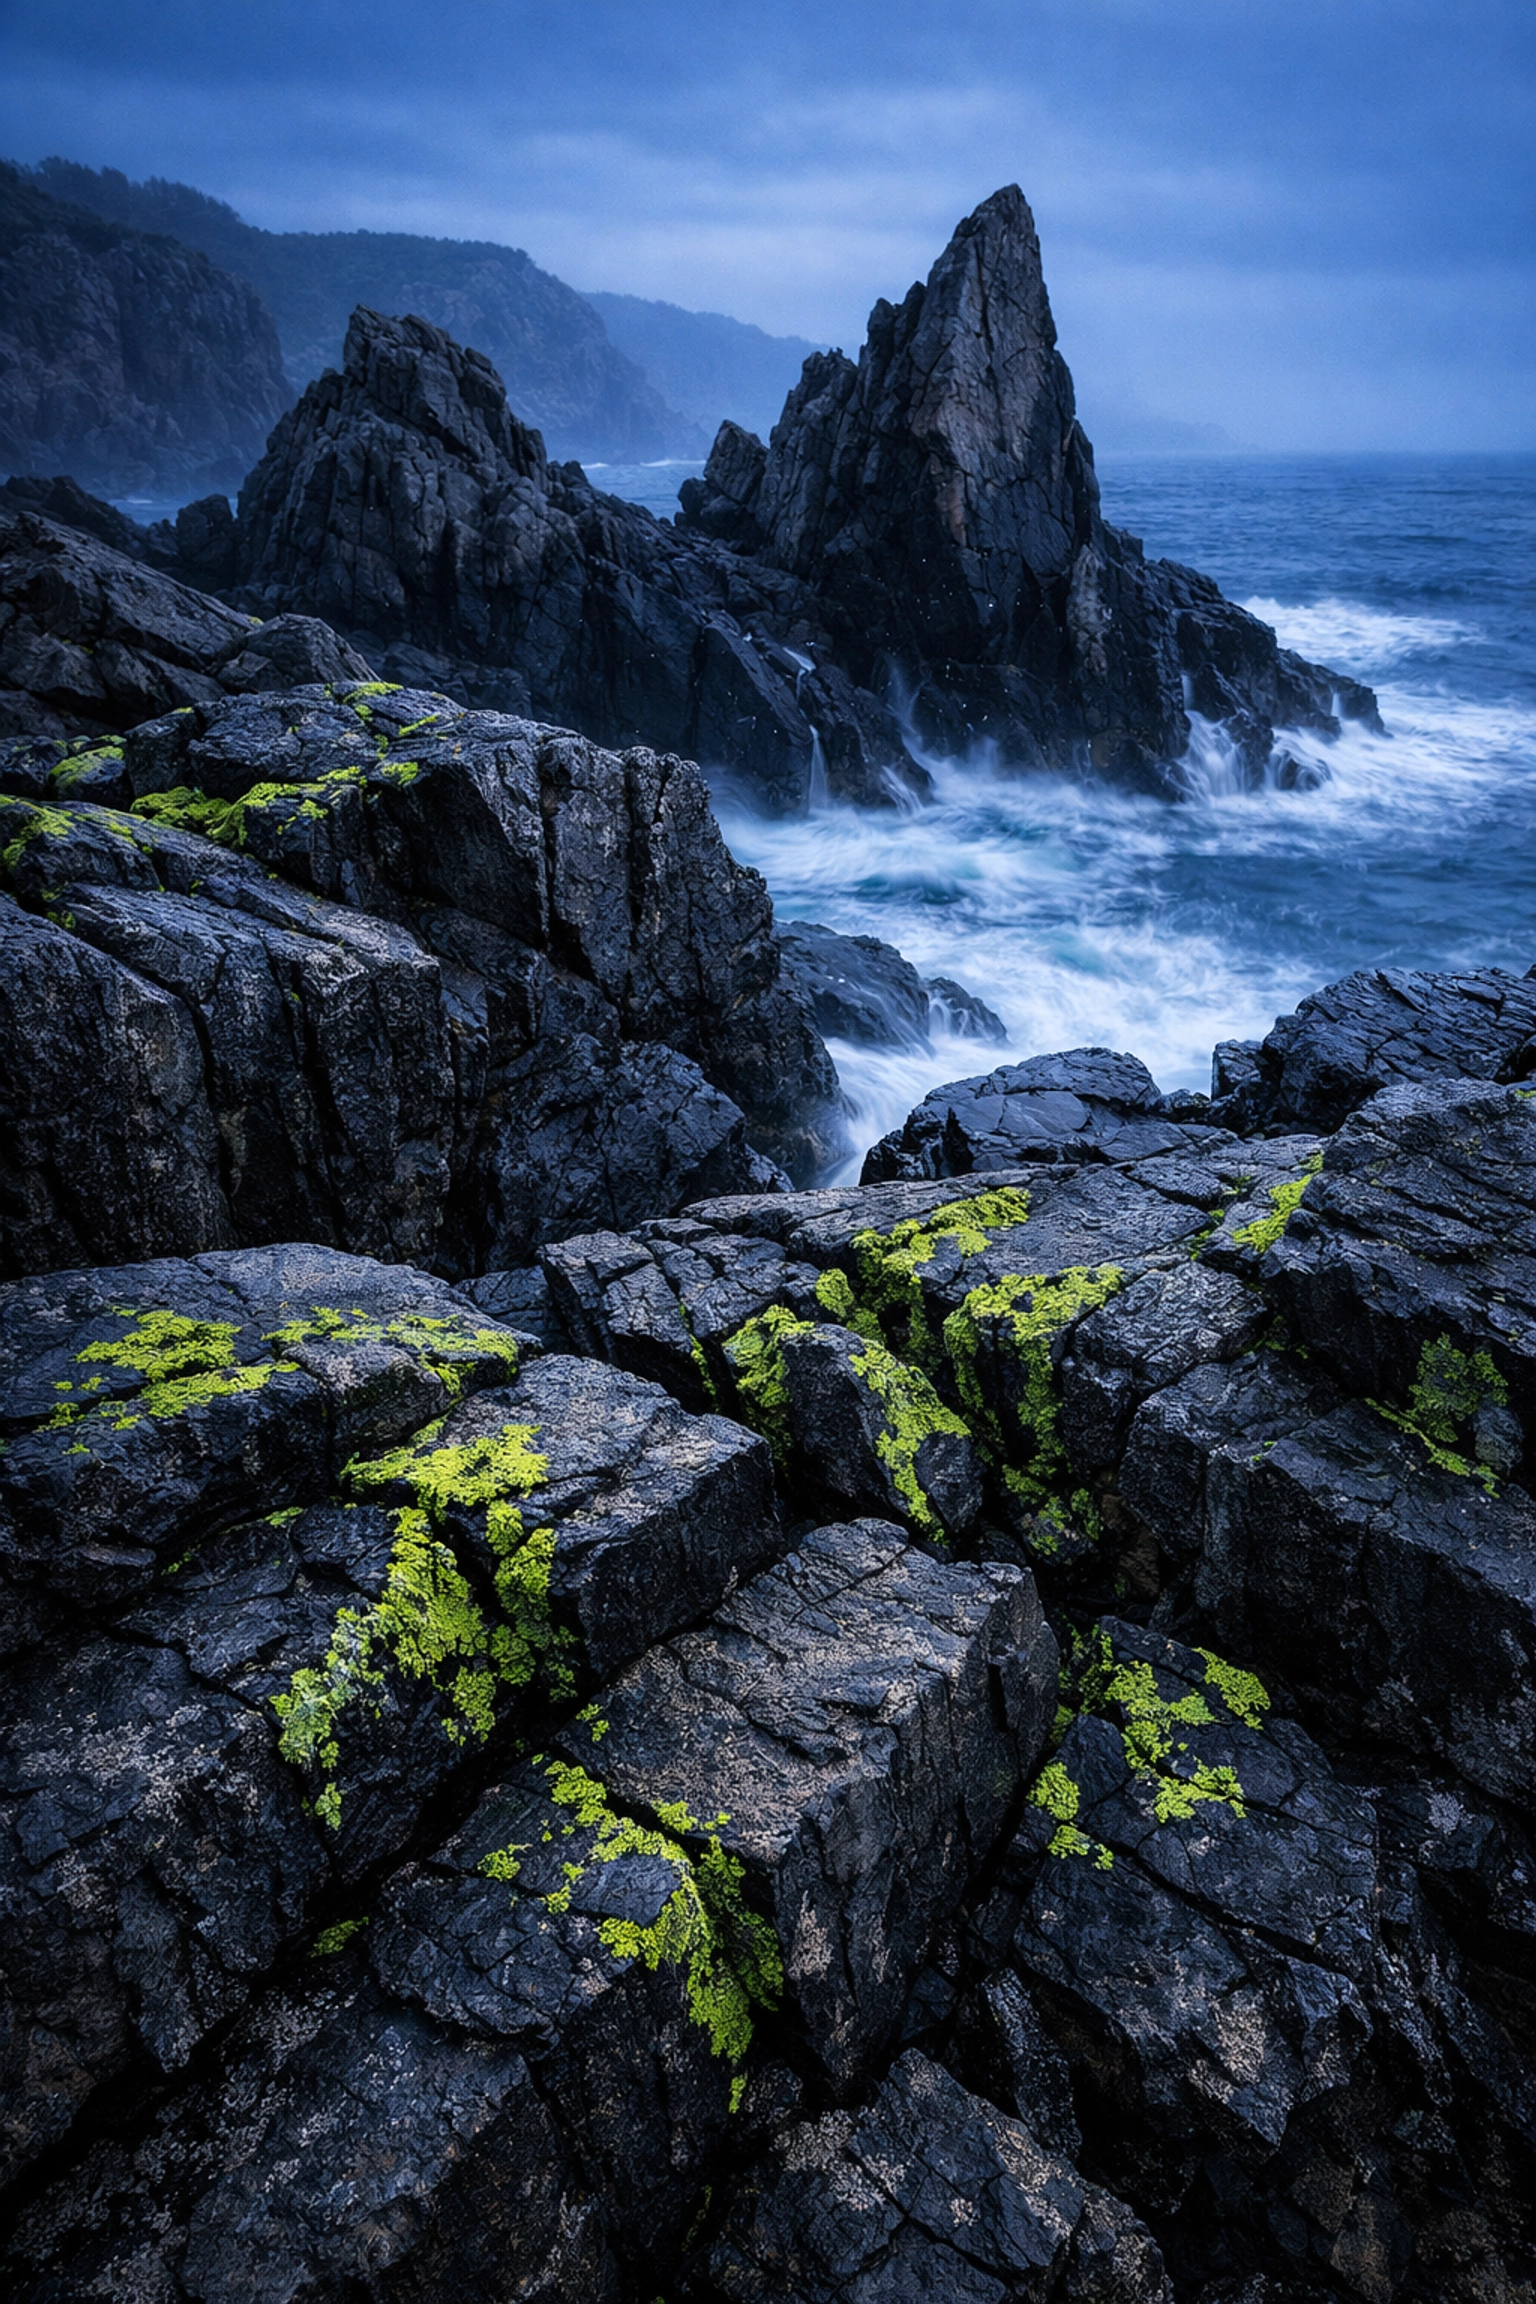
Since water is a staple of landscape photography: from lakes to oceans: it deserves its own "mistake" sub-section.
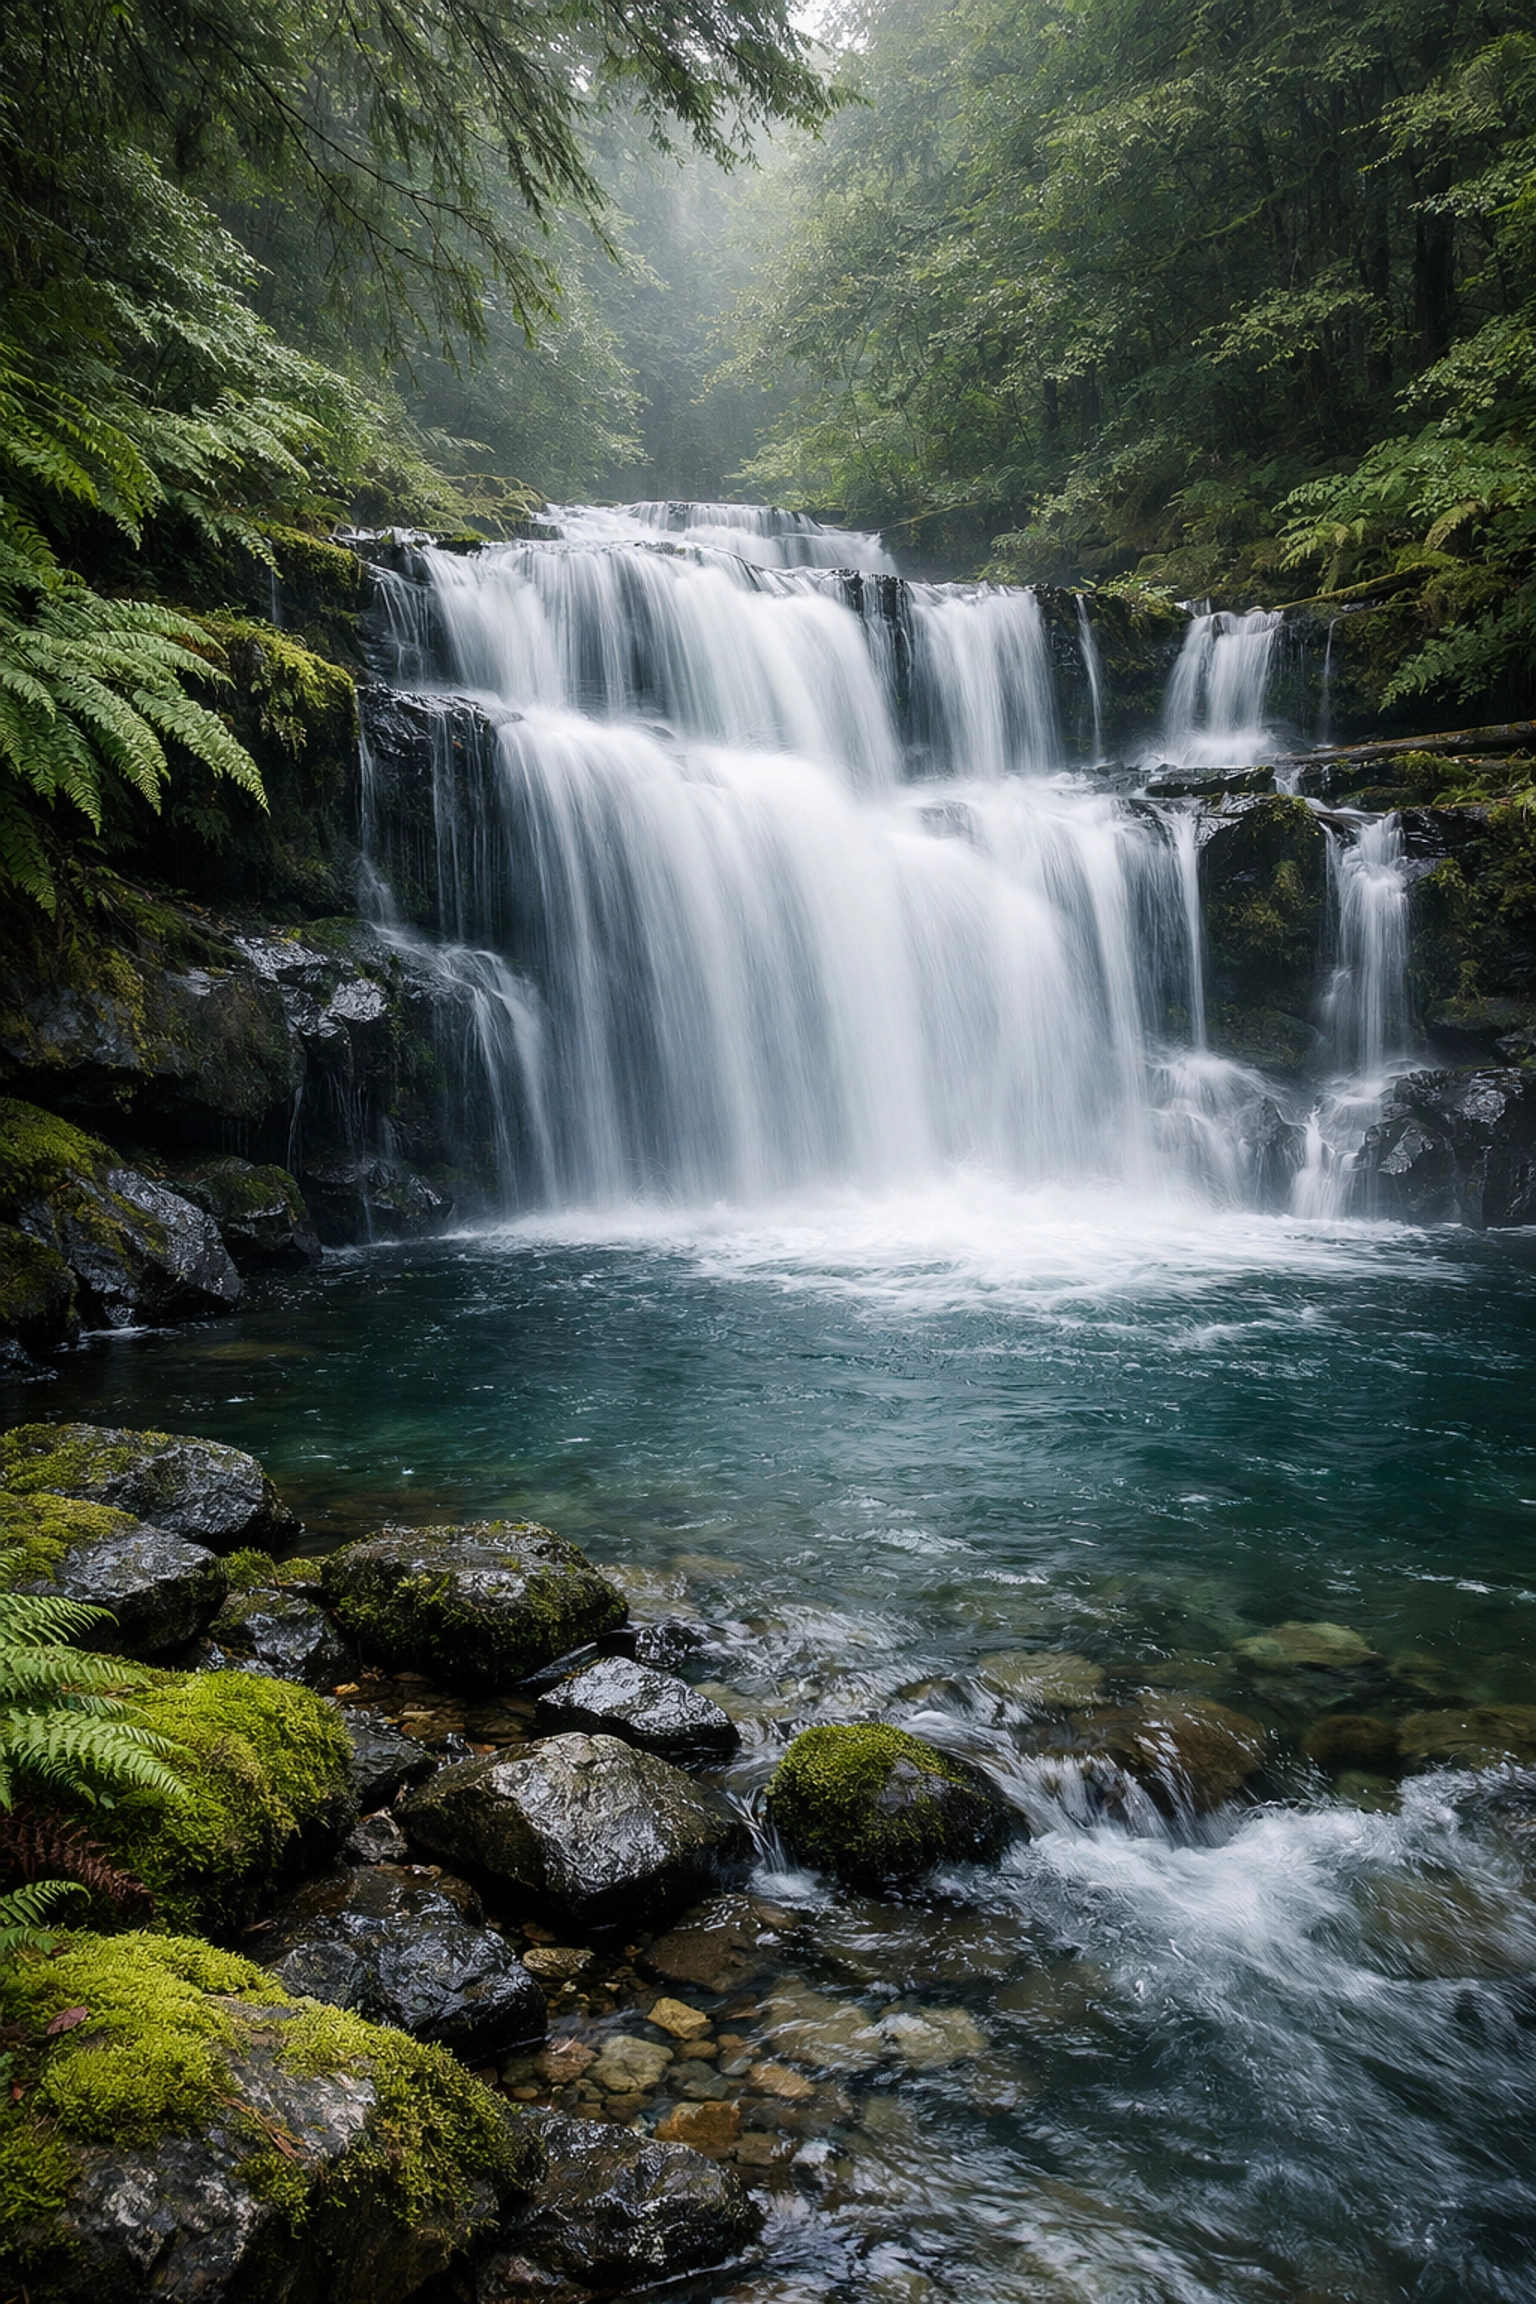
The biggest mistake people make with water is the "shutter speed middle ground." If you shoot at 1/10th of a second, the water isn't frozen, but it isn't smooth either. It just looks like a blurry mess.
The Fix: You either want to freeze the action (1/1000s or faster) to see the beauty in motion or go for a long exposure (1 second to 30 seconds) to get that silky, misty look. Don't forget your essential gear, like a solid ND filter and a sturdy tripod. If you're unsure about the technical side, we have a full water photography guide that covers all the bases.
The Myth of the "Perfect" Camera Setting
I get asked all the time: "What are the best settings for landscapes?"
There is no such thing. The best camera settings depend entirely on the light and the story you're trying to tell. However, if you're looking for a starting point, try this:
- ISO 100: Keep it low for maximum dynamic range and minimum noise.
- Aperture f/11: Usually the "sweet spot" for depth of field without too much diffraction.
- Tripod + Timer: Even at fast shutter speeds, using a 2-second timer prevents "shutter shock" from your finger pressing the button.
If you’re out in the field and things feel overwhelming, just simplify. Stop worrying about the gear and start looking at the light. Check out Edin Studios or Edin’s personal blog at blog.edinchavez.com for more inspiration on how to simplify your workflow.
Final Thoughts for Your Next Trek
Landscape photography is a marathon, not a sprint. You're going to make mistakes. You're going to hike four miles at 4 AM only to find out you forgot your tripod plate (we’ve all been there).
The key is to learn from the shots that don't work. Next time you’re out, try to break your habits. If you always shoot wide, try a telephoto. If you always shoot at f/22, try f/11. And most importantly, spend more time looking at the scene with your eyes than through the viewfinder.
When you do get home and start the editing process, remember that tools like Luminar are there to enhance the mood you captured, not to create it from scratch.
If you're looking for more gear recommendations or specific techniques, jump over to ProShoot.io for professional-grade gear reviews.
Now, quit reading this and go pack your bag. Those stunning nature spots aren't going to photograph themselves. Be sure to tag us in your shots: I’d love to see how you’ve fixed these common mistakes!
(P.S. I'll be coordinating with Sonny, our Social Media Manager, to share some of your "Before and After" shots on our Instagram, so keep an eye out for his posts!)


