
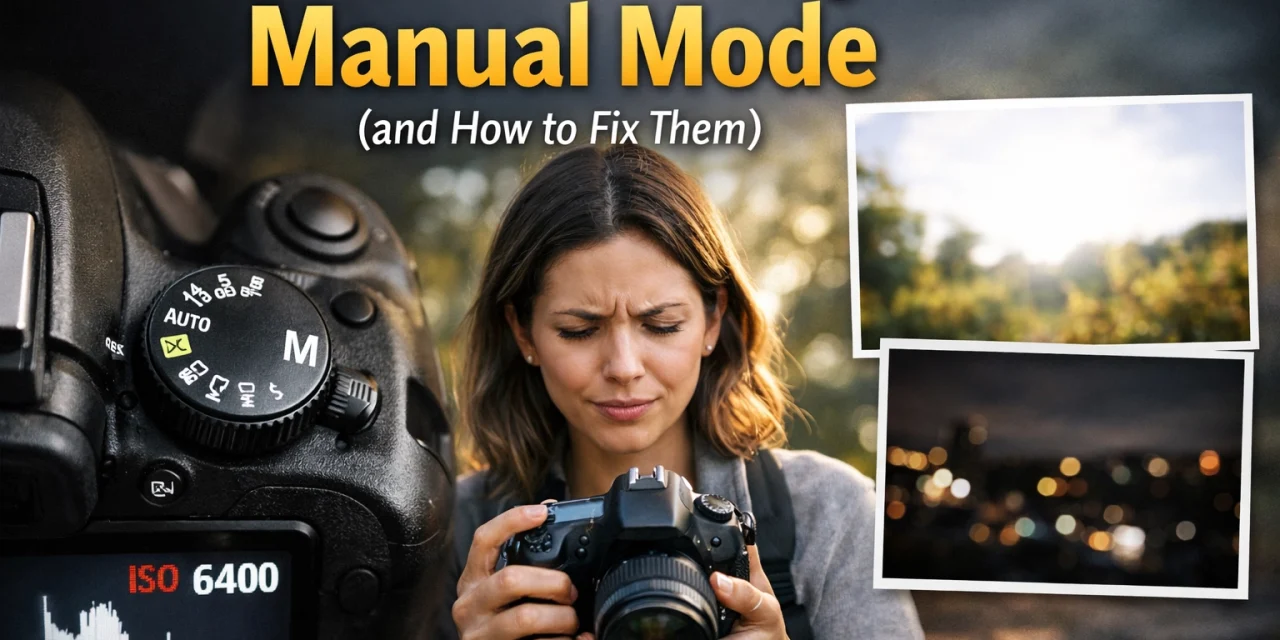
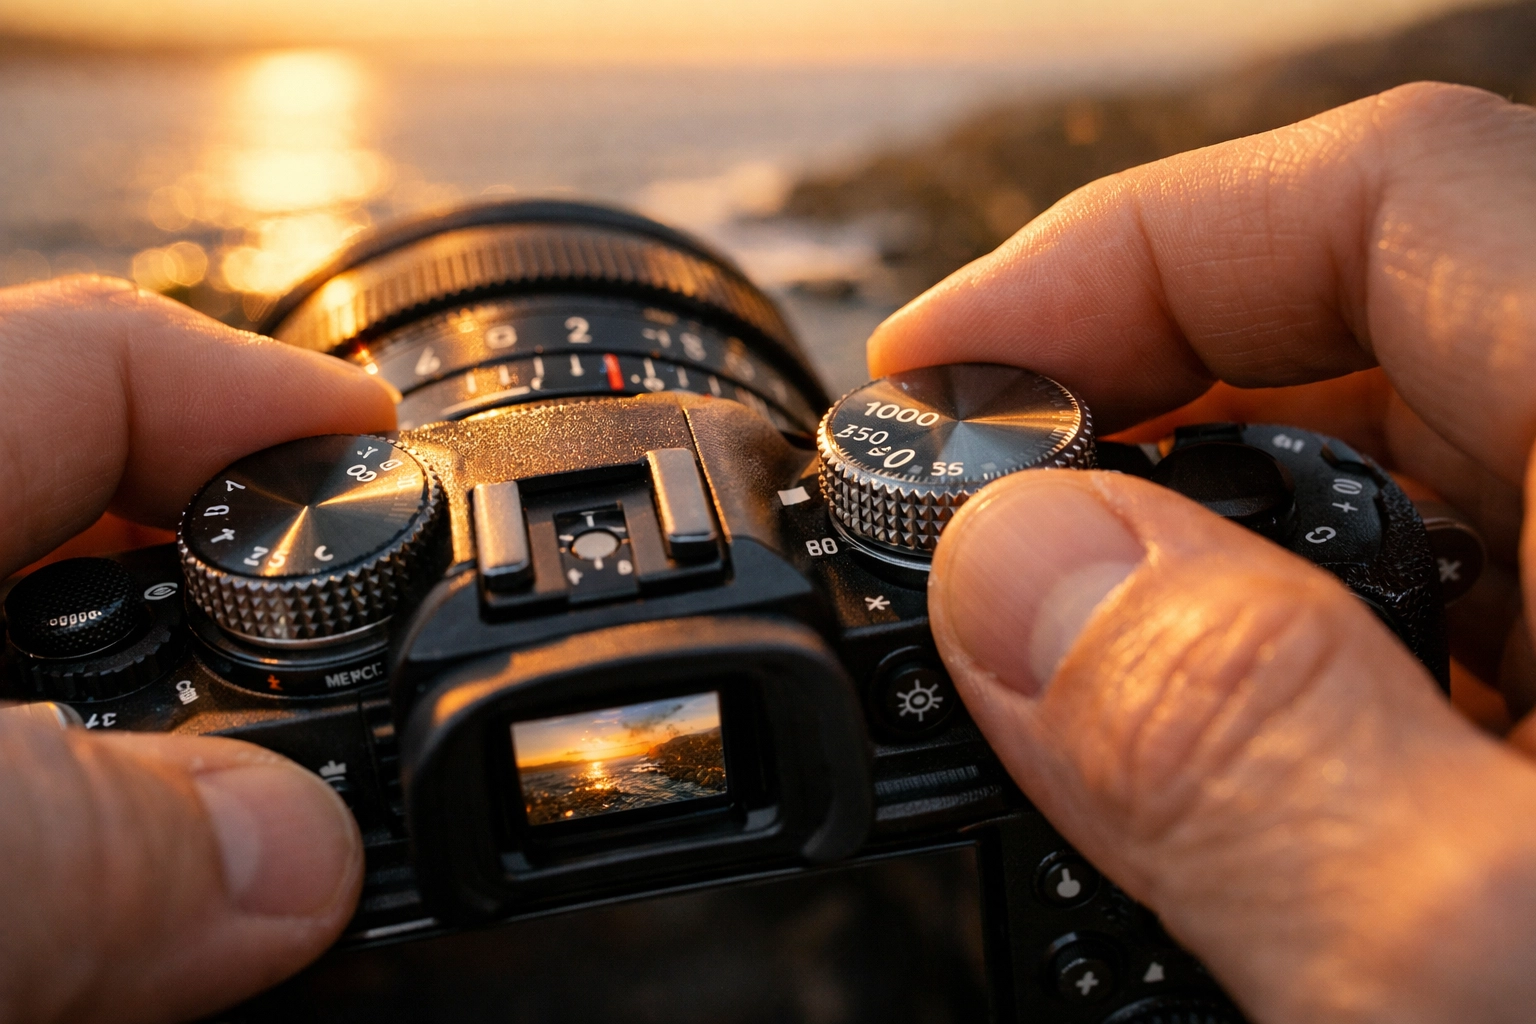
Switching that dial to "M" for the first time feels like a rite of passage. You’ve probably heard that "real photographers" only shoot in Manual Mode. So, you take the plunge, start twisting dials, and suddenly… your photos look worse than they did on Auto.
Don't panic. We’ve all been there. Shooting in manual isn’t about being a gear snob; it’s about taking total creative control over your light and depth. But there is a learning curve, and most beginners (and even some pros) fall into the same traps.
If you’ve been struggling to get the exposure right or your images keep coming out blurry despite having the best mirrorless cameras, you’re probably making one of these common mistakes. Let’s break them down and get your photography back on track.
1. The "ISO 100 or Bust" Mentality
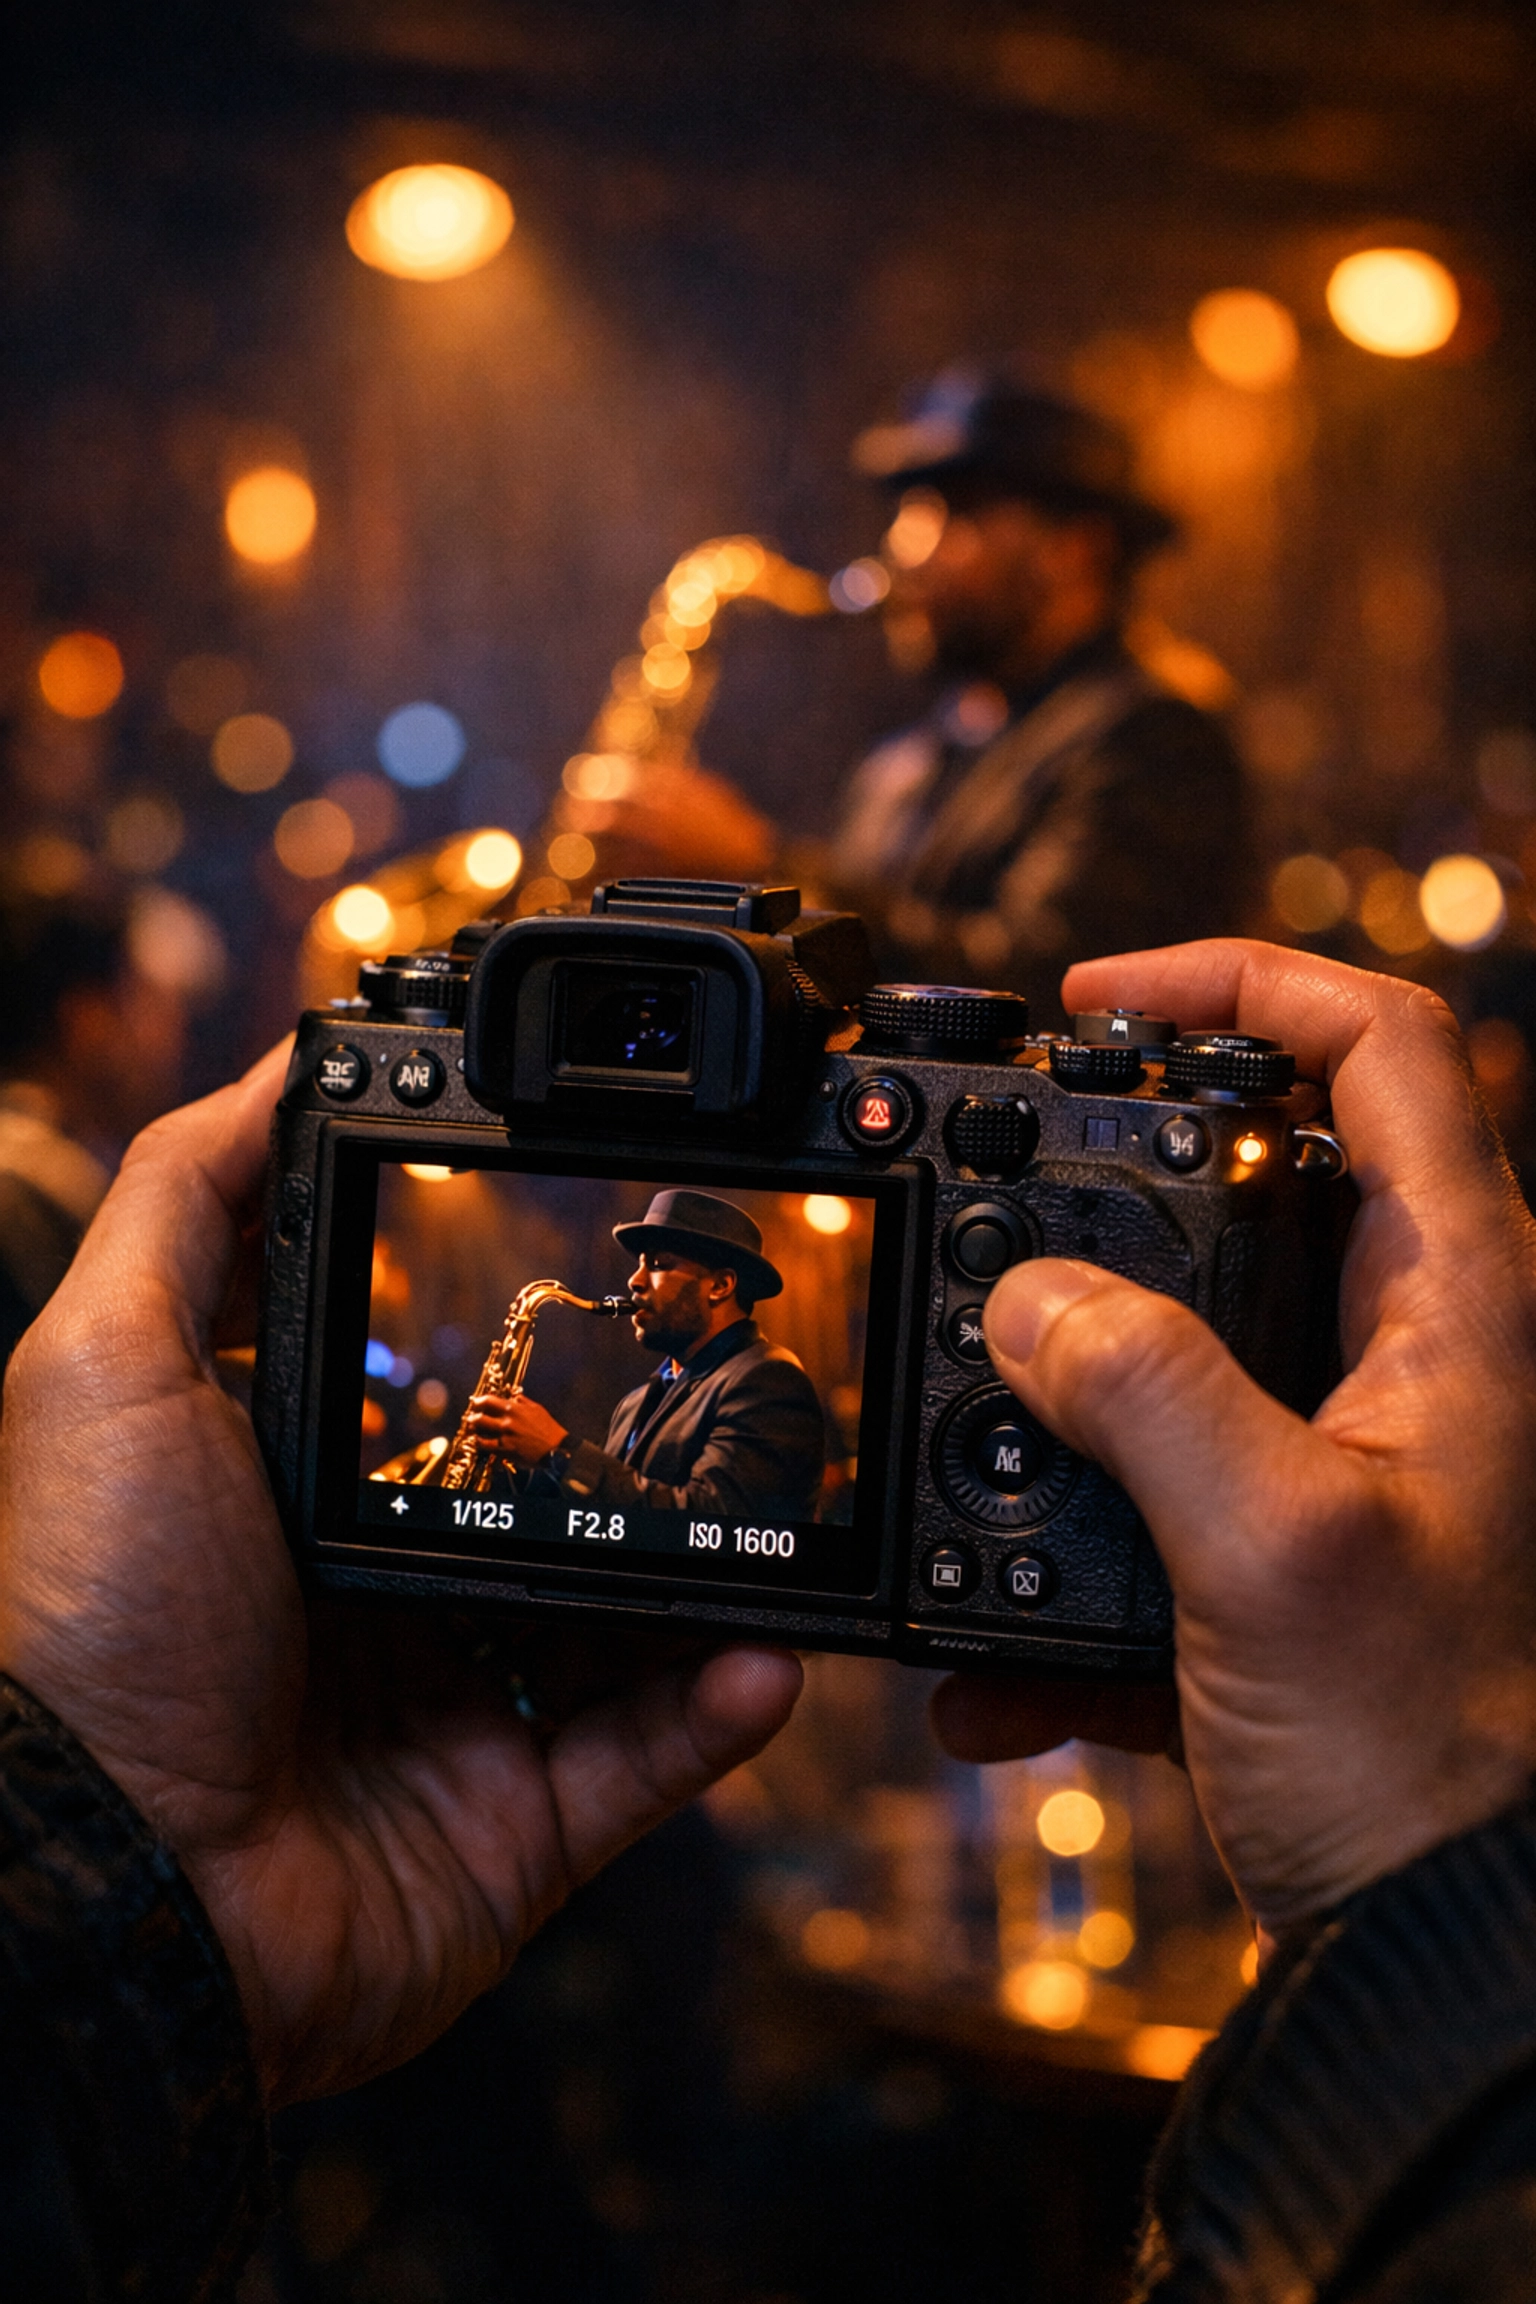
We get it. You’ve been told that ISO 100 is the "cleanest" setting and that anything higher will turn your photo into a grainy mess. While it’s true that a lower ISO provides the best image quality, being too scared to raise it is one of the biggest mistakes you can make.
When you refuse to budge from ISO 100 in low-light situations, you’re forced to use a dangerously slow shutter speed or a super wide aperture that might ruin your depth of field. The result? A blurry photo or one that is so underexposed you can’t see anything.
How to Fix It:
Modern cameras are absolute beasts. If you are looking at camera comparison insights, you’ll see that newer sensors handle high ISO levels like a champ. Don’t be afraid to push it to 800, 1600, or even 3200 if the scene demands it.
A sharp photo with a little bit of noise is always better than a blurry photo with zero noise. Plus, if you do end up with some grain, you can easily clean it up in post-processing using Luminar. Their AI-powered noise reduction tools are a lifesaver for high-ISO shots. For more technical details on sensor performance, check out PhotoGuides.org.
2. Ignoring the Reciprocal Rule (The Shutter Speed Slump)
You’re in Manual Mode, you’ve set a nice aperture for a shallow background, and you’ve kept your ISO low. But when you look at the back of the screen, the image is soft. Not "out of focus" soft, but "camera shake" soft.
This happens because your shutter speed is too slow for handheld shooting. Many photographers forget that as their lens gets longer (zooming in), the camera becomes more sensitive to tiny hand movements.
How to Fix It:
Follow the "one over the focal length" rule. If you’re shooting with a 50mm lens, your shutter speed should be at least 1/50th of a second. If you’re zoomed in at 200mm, you need at least 1/200th of a second to keep things crisp.
If you’re still struggling with sharpness, it might be time to look into essential camera accessories for 2024, like a solid tripod or a better strap system. If you want to dive deeper into sharpening techniques, proshoot.io has some great resources on maintaining gear for maximum performance.
3. Trusting the Internal Light Meter Blindly
Your camera is smart, but it’s also a bit of a liar. When you’re in Manual Mode, you’re looking at that little scale in your viewfinder that goes from -3 to +3. Your goal is usually to get that little tick mark right in the center, right?
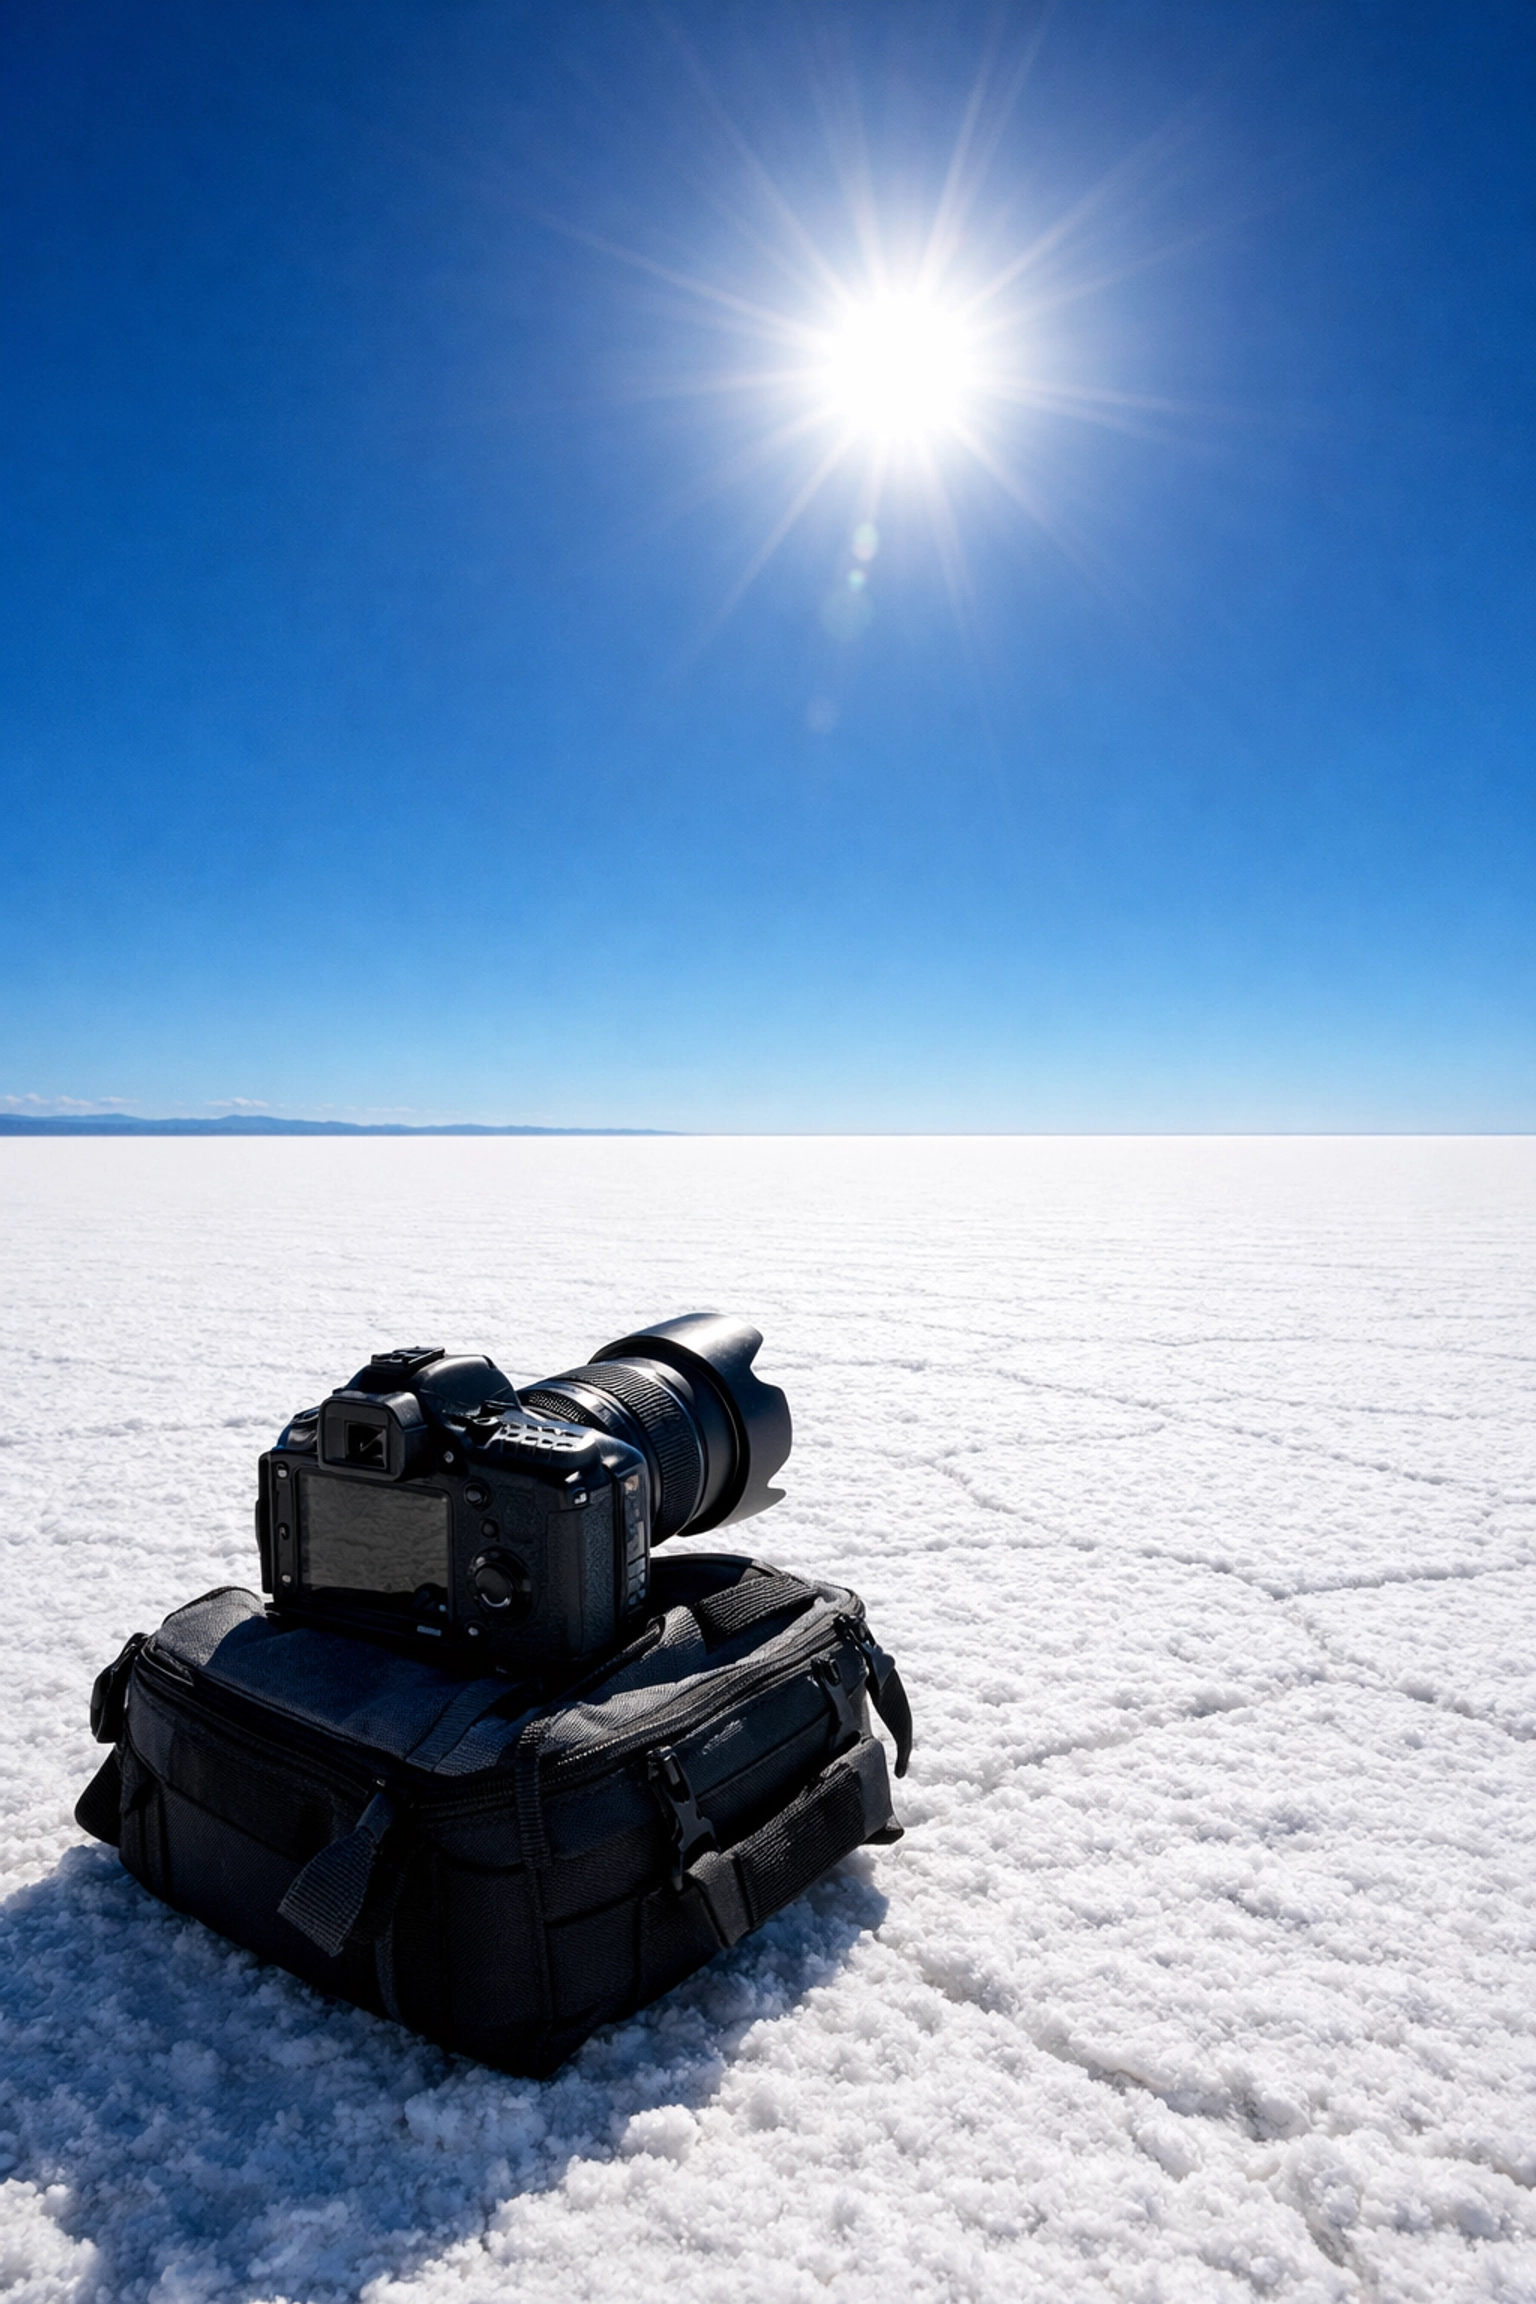
Not always. Your camera’s light meter wants everything in the world to be a neutral, middle gray (18% gray). If you’re shooting a snowy landscape, the camera thinks the bright white snow is "too bright" and tries to darken it to gray. If you’re shooting a black cat in a coal cellar, the camera thinks it’s "too dark" and tries to brighten it to gray.
How to Fix It:
Use your eyes, not just the meter. If you’re shooting something very bright, you may need to intentionally "overexpose" according to the meter to keep the whites white. This is where checking your histogram comes in handy.
If you find that your exposures are consistently off, practicing in different environments, like during USA road trips, is the best way to learn how light behaves. You can also see how pros handle tricky lighting by checking out Edin Studios Photography Reviews for real-world examples.
4. Letting the Camera Pick the Focus Point
This is a classic. You’ve spent all this time mastering the exposure triangle, aperture, shutter speed, and ISO, but you’ve left your focus mode on "Auto-Area." You press the shutter, and the camera decides to focus on a random leaf in the foreground instead of your subject’s eyes.
Manual Mode is about control. If you are controlling the light but letting the camera control the focus, you’re only doing half the job.
How to Fix It:
Switch to Single Point AF or a smaller zone. You should be the one deciding exactly where the focus lands. For portraiture, this is almost always the eye closest to the camera. For landscapes, it might be a third of the way into the scene.
Taking control of focus is one of our top photography tips for a reason, it’s the difference between a "snapshot" and a professional photograph. If you're using one of the professional photography cameras, you likely have a joystick or touch screen to move that point around quickly. Use it!
5. Leaving Image Stabilization ON While Using a Tripod
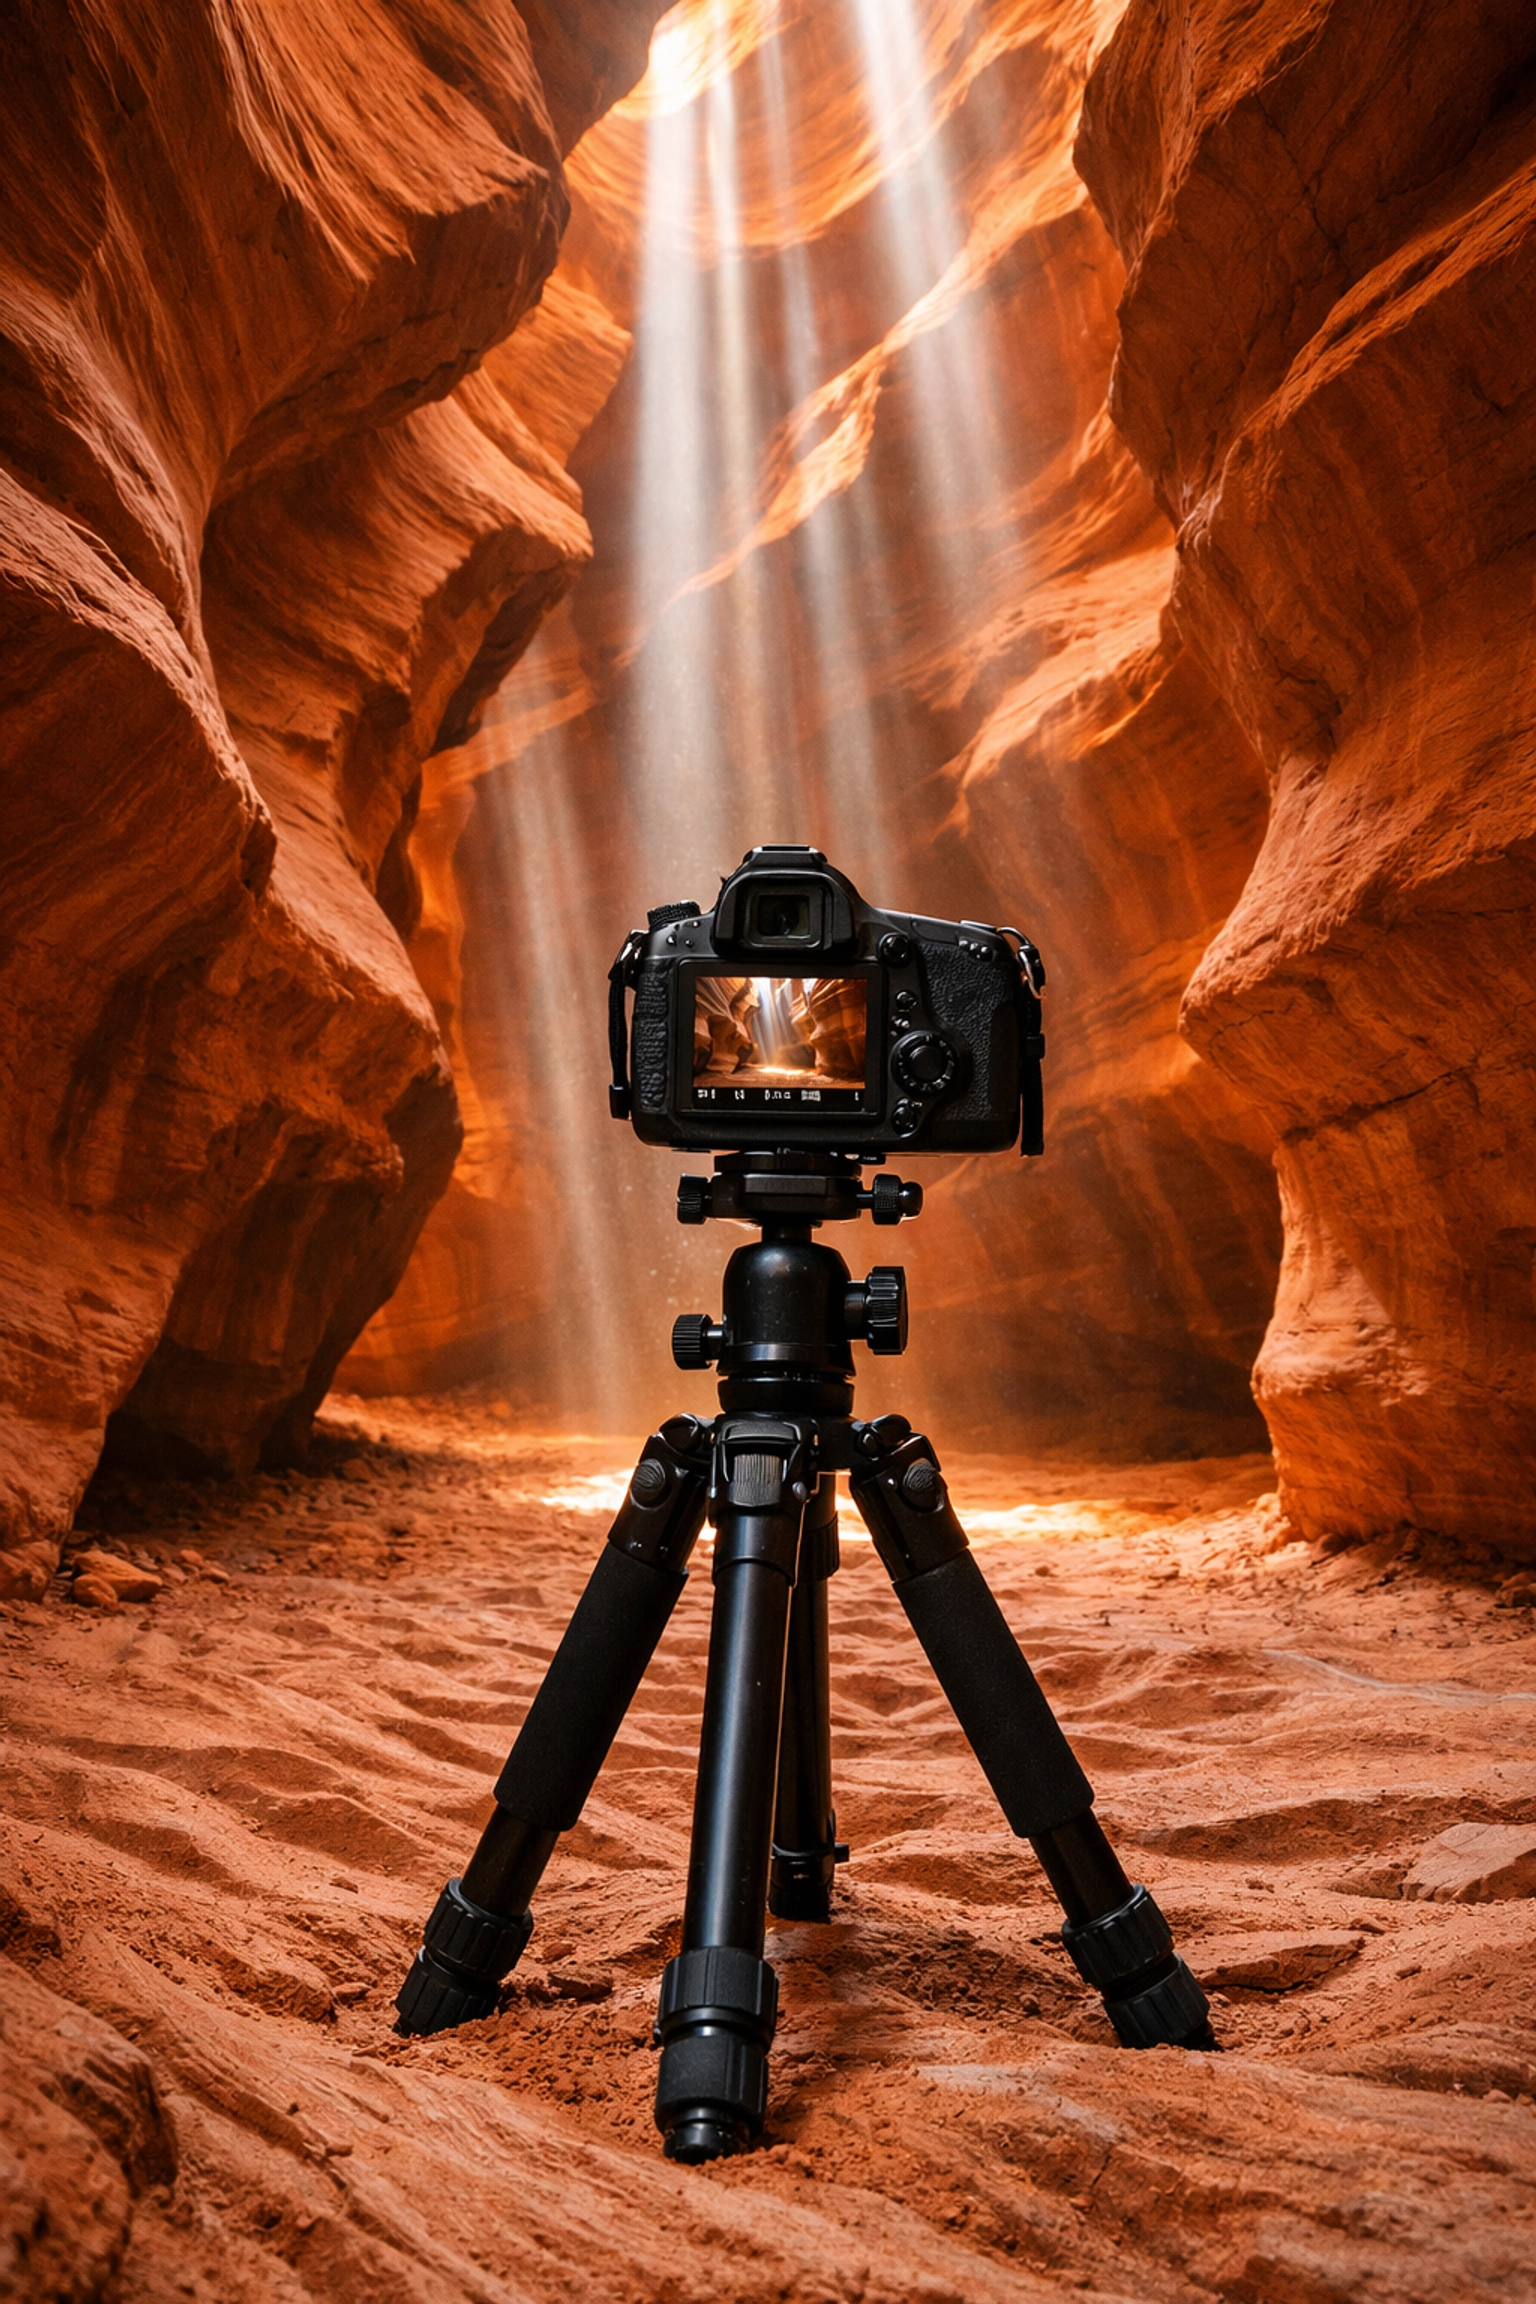
Wait, isn’t stabilization a good thing? Usually, yes. When you’re handheld, Vibration Reduction (VR) or Image Stabilization (IS) is a miracle worker. But when your camera is locked down on a sturdy tripod, that stabilization system can actually cause blur.
Since there is no movement to compensate for, the internal elements of the lens might start "searching" for movement, creating a tiny internal vibration. This leads to a slight softening of the image that can drive you crazy when you're trying to figure out what went wrong.
How to Fix It:
It’s a simple habit: Tripod on, Stabilization off. This is a crucial step when mastering canyon and gorge travel photography, where long exposures are common.
If you find your gear is acting up or the switches feel sticky, consult a camera maintenance guide to keep everything in top shape. You can also find more gear-specific advice at blog.edinchavez.com.
6. Being a Manual Mode Snob
There is a common misconception that you are "lesser" photographer if you use Aperture Priority (Av or A) or Shutter Priority (Tv or S). Because of this, many people stay in Manual Mode even when it’s hurting their work.
If you’re shooting a football game or birds in flight, the light is changing constantly as clouds move or as you track the subject from sun to shade. If you’re fumbling with your dials in Manual Mode while the action is happening, you’re going to miss the shot.
How to Fix It:
Know when to use the right tool for the job. Manual Mode is great for landscapes, studio work, or any situation where the light is consistent. But for fast-moving action, don't be afraid to use Aperture Priority. It allows you to set the depth of field while the camera handles the tiny exposure adjustments for you.
Even those using the best action cameras 2024 often rely on semi-auto modes to capture the moment without overthinking the settings. For high-end fine art work, like what you’ll find at edinfineart.com, Manual is usually the way to go because precision is everything. But for the "run and gun" moments, give yourself a break.
7. The Auto-ISO Confusion
A lot of photographers think they are shooting in Manual Mode, but they have ISO set to "Auto." While this is a valid technique (often called Manual + Auto ISO), it can lead to some confusing results if you don't understand how your camera’s metering system is interacting with your manual settings.
If you set your Aperture and Shutter Speed manually but leave ISO on Auto, the camera will still try to hit that "middle gray" exposure we talked about earlier. If you then try to change your shutter speed to make the image darker, the camera will just raise the ISO to compensate, keeping the brightness exactly the same.
How to Fix It:
If you want total control, you have to control all three pillars of the exposure triangle. If you are going to use Auto-ISO, you must use Exposure Compensation to tell the camera if you want the image brighter or darker than the meter suggests.
Learning the balance of these three settings is the key to choosing the best camera in 2024 for your specific style. Whether you're interested in best 4k video cameras or top dslr cameras in 2024, the physics of light remains the same.
Practice Makes Perfect (and a Little Help Doesn't Hurt)
Manual Mode isn't a destination; it's a tool. The goal is to get to a point where you don't have to think about the dials anymore: they just become an extension of your hands.
If you find yourself making these mistakes, don't sweat it. The best way to learn is to get out there and fail a few times. Take some shots, see what went wrong, and try again. And remember, even if you mess up the exposure a bit, shooting in RAW gives you the flexibility to fix things later. Tools like Luminar can help you recover shadows and highlights that you might have missed in the heat of the moment.
If you're still looking for the right gear to start your manual journey, check out our guide on the best cameras for beginners or browse some top camera deals for every photographer.
For more inspiration and high-end production insights, you can always visit edinstudios.com. Now, grab your camera, turn that dial to M, and go make some mistakes. It’s the only way to get better.


