
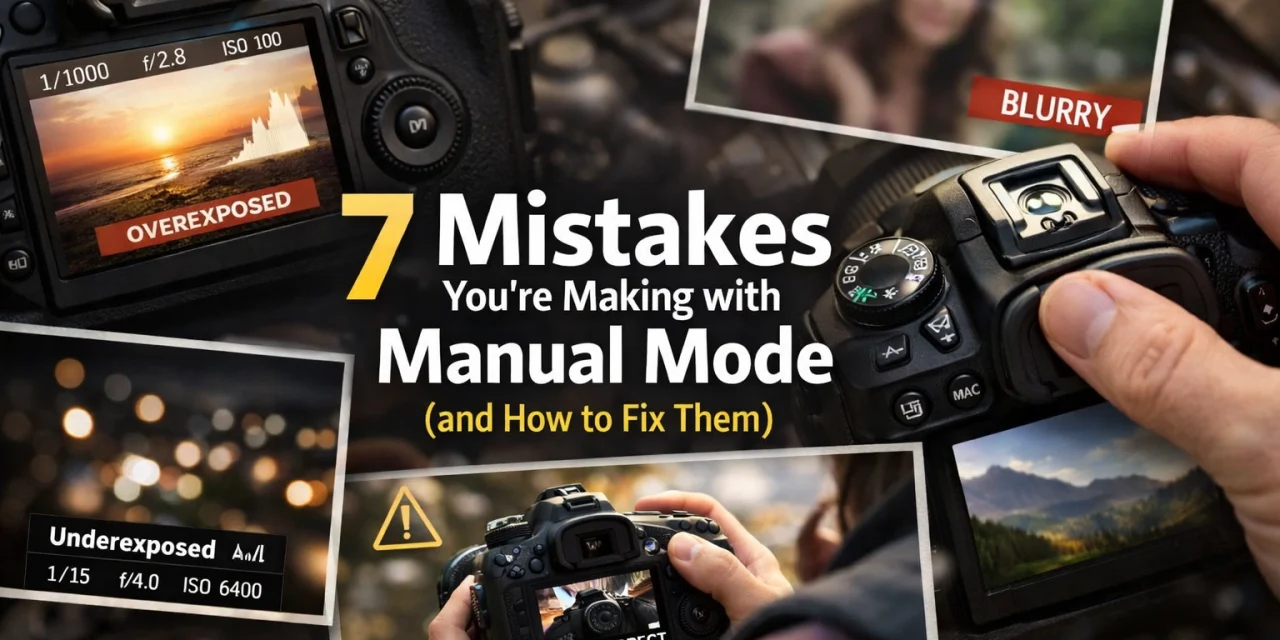
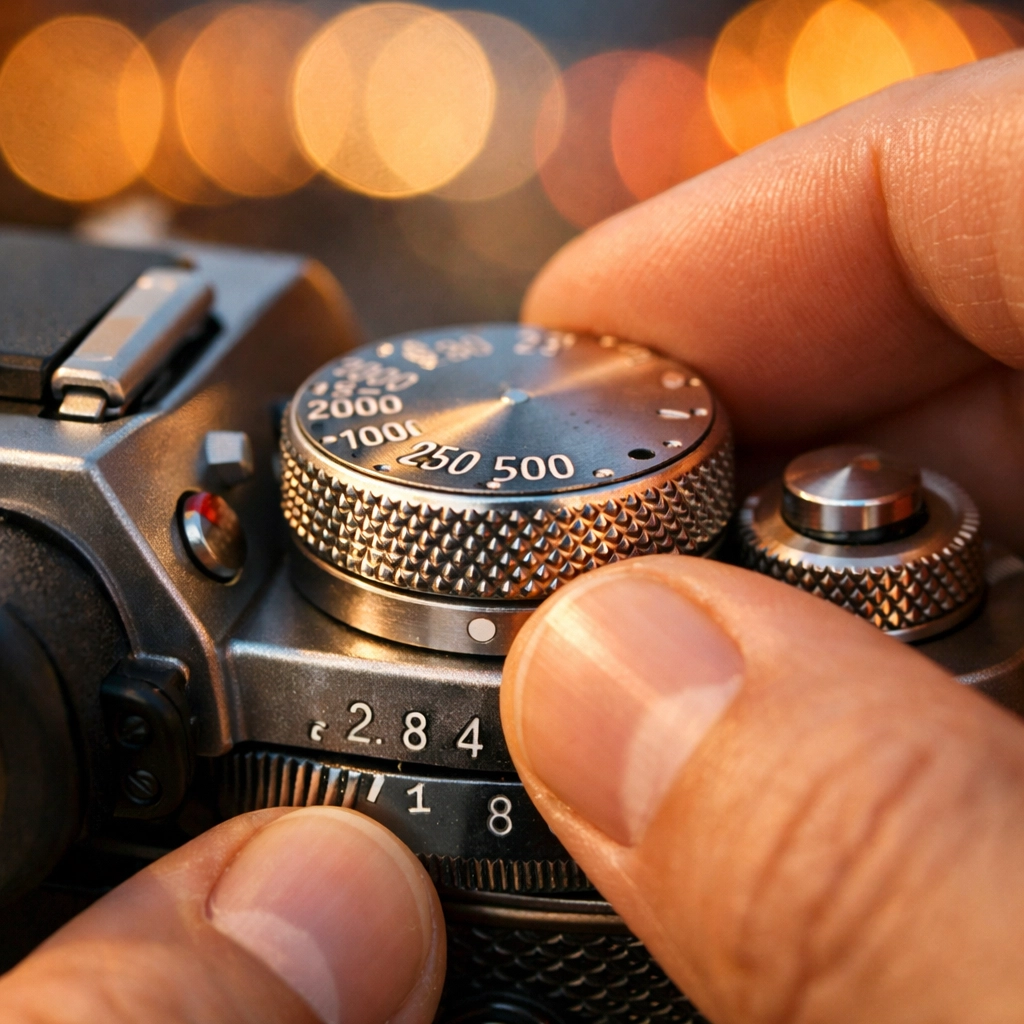
So, you finally worked up the courage to click that dial over to "M." Welcome to the big leagues. Switching to Manual Mode is like taking the training wheels off your bike, it’s exhilarating, a little scary, and there’s a high probability you might crash into a bush once or twice. But once you master it, you have total creative control over your images.
The problem? Most photographers treat Manual Mode like a math exam they’re trying to pass rather than a creative tool. They get bogged down in technicalities or carry over old habits from the "Auto" days that just don't work here. If your photos are coming out too dark, too blurry, or just plain "meh," you’re likely falling into one of these common traps.
Let’s break down the seven mistakes you’re probably making with Manual Mode and, more importantly, how to fix them so you can start shooting like a pro.
1. The ISO Phobia: Not Raising it High Enough
For years, the "golden rule" of photography was to keep your ISO at 100 no matter what. People were terrified of "noise" or "grain." While that was great advice back in 2005 when sensors were primitive, sticking to it today is one of the biggest mistakes you can make.
Modern digital cameras are incredible. Whether you’re shooting on a entry-level mirrorless or a high-end DSLR from www.proshoot.io, your sensor can likely handle ISO 1600, 3200, or even 6400 with very little loss in quality.
The Fix:
Don’t be afraid of the dark. It is far better to have a sharp, well-exposed photo with a little bit of digital noise than a blurry or underexposed photo at ISO 100. Why? Because underexposing an image and trying to "save" it in post-processing actually introduces more ugly noise than if you had just raised the ISO in the first place.
If you do find a bit of grain in your high-ISO shots, you can easily clean it up using Luminar. Their AI-driven noise reduction is a lifesaver for those low-light handheld shots. Check out some of the tech reviews in our Tech category to see how different sensors handle these jumps.
2. Using a Shutter Speed That’s Too Slow
This is the #1 cause of "I thought I nailed it" heartbreak. You look at the back of your camera, the photo looks sharp, but then you get home, open it on a 27-inch monitor, and it’s a blurry mess. This usually happens because your shutter speed was too slow to compensate for your shaky hands.
When you’re in Manual Mode, you’re responsible for the "Reciprocal Rule." If you’re shooting handheld, your shutter speed should generally be at least 1/focal length.
The Fix:
If you are shooting with a 50mm lens, your shutter speed should be at least 1/50th of a second. If you’re zoomed in at 200mm, you need at least 1/200th. This is a baseline. If you have shaky hands or you're caffeinated, double it. If your subject is moving, like a bird or a skater, you’ll need much faster speeds, regardless of your lens. For more deep dives into the technical side of gear, head over to PhotoGuides.org.
3. The "Magic Settings" Myth
I see this all the time on Pinterest and Instagram: "The Best Settings for Portraits" or "The Secret Settings for Sunsets." Here’s the cold, hard truth: there is no such thing as universal settings.
Lighting is fluid. It changes by the minute, by the cloud cover, and by the direction you’re facing. If I give you my settings for a beach sunset in California, they won't work for a beach sunset in Florida if there’s more humidity or different cloud density.
The Fix:
Stop looking for a "plug and play" formula. Instead, learn the relationship between the three pillars of the exposure triangle. Manual Mode isn't about memorizing numbers; it's about reacting to the light in front of you. If you want to see how varied settings can be in the wild, check out our Photos category to see a range of work from different environments.

4. Letting the Camera Decide Where to Focus
Just because you’re in Manual Exposure mode doesn't mean you have to use manual focus (though you can!). However, a huge mistake is leaving your focus points on "Auto."
When you let the camera choose the focus point, it usually hunts for the closest object or the one with the most contrast. This is how you end up with a perfectly sharp tree branch and a blurry bride. If you’re putting in the effort to control the light, you need to control the point of interest too.
The Fix:
Switch your focus mode to "Single Point AF" (or the equivalent on your brand). This allows you to manually move that little square in your viewfinder directly onto your subject’s eye or the specific flower you’re shooting. This ensures your creative intent matches the technical execution. For examples of tack-sharp professional work, take a look at www.edinfineart.com.
5. Ignoring the Light Meter (or Trusting it Too Much)
Inside your viewfinder, there’s a little scale with a "0" in the middle and "+/-" on the sides. That’s your light meter. Many beginners either ignore it entirely and guess, or they treat the "0" like the absolute truth.
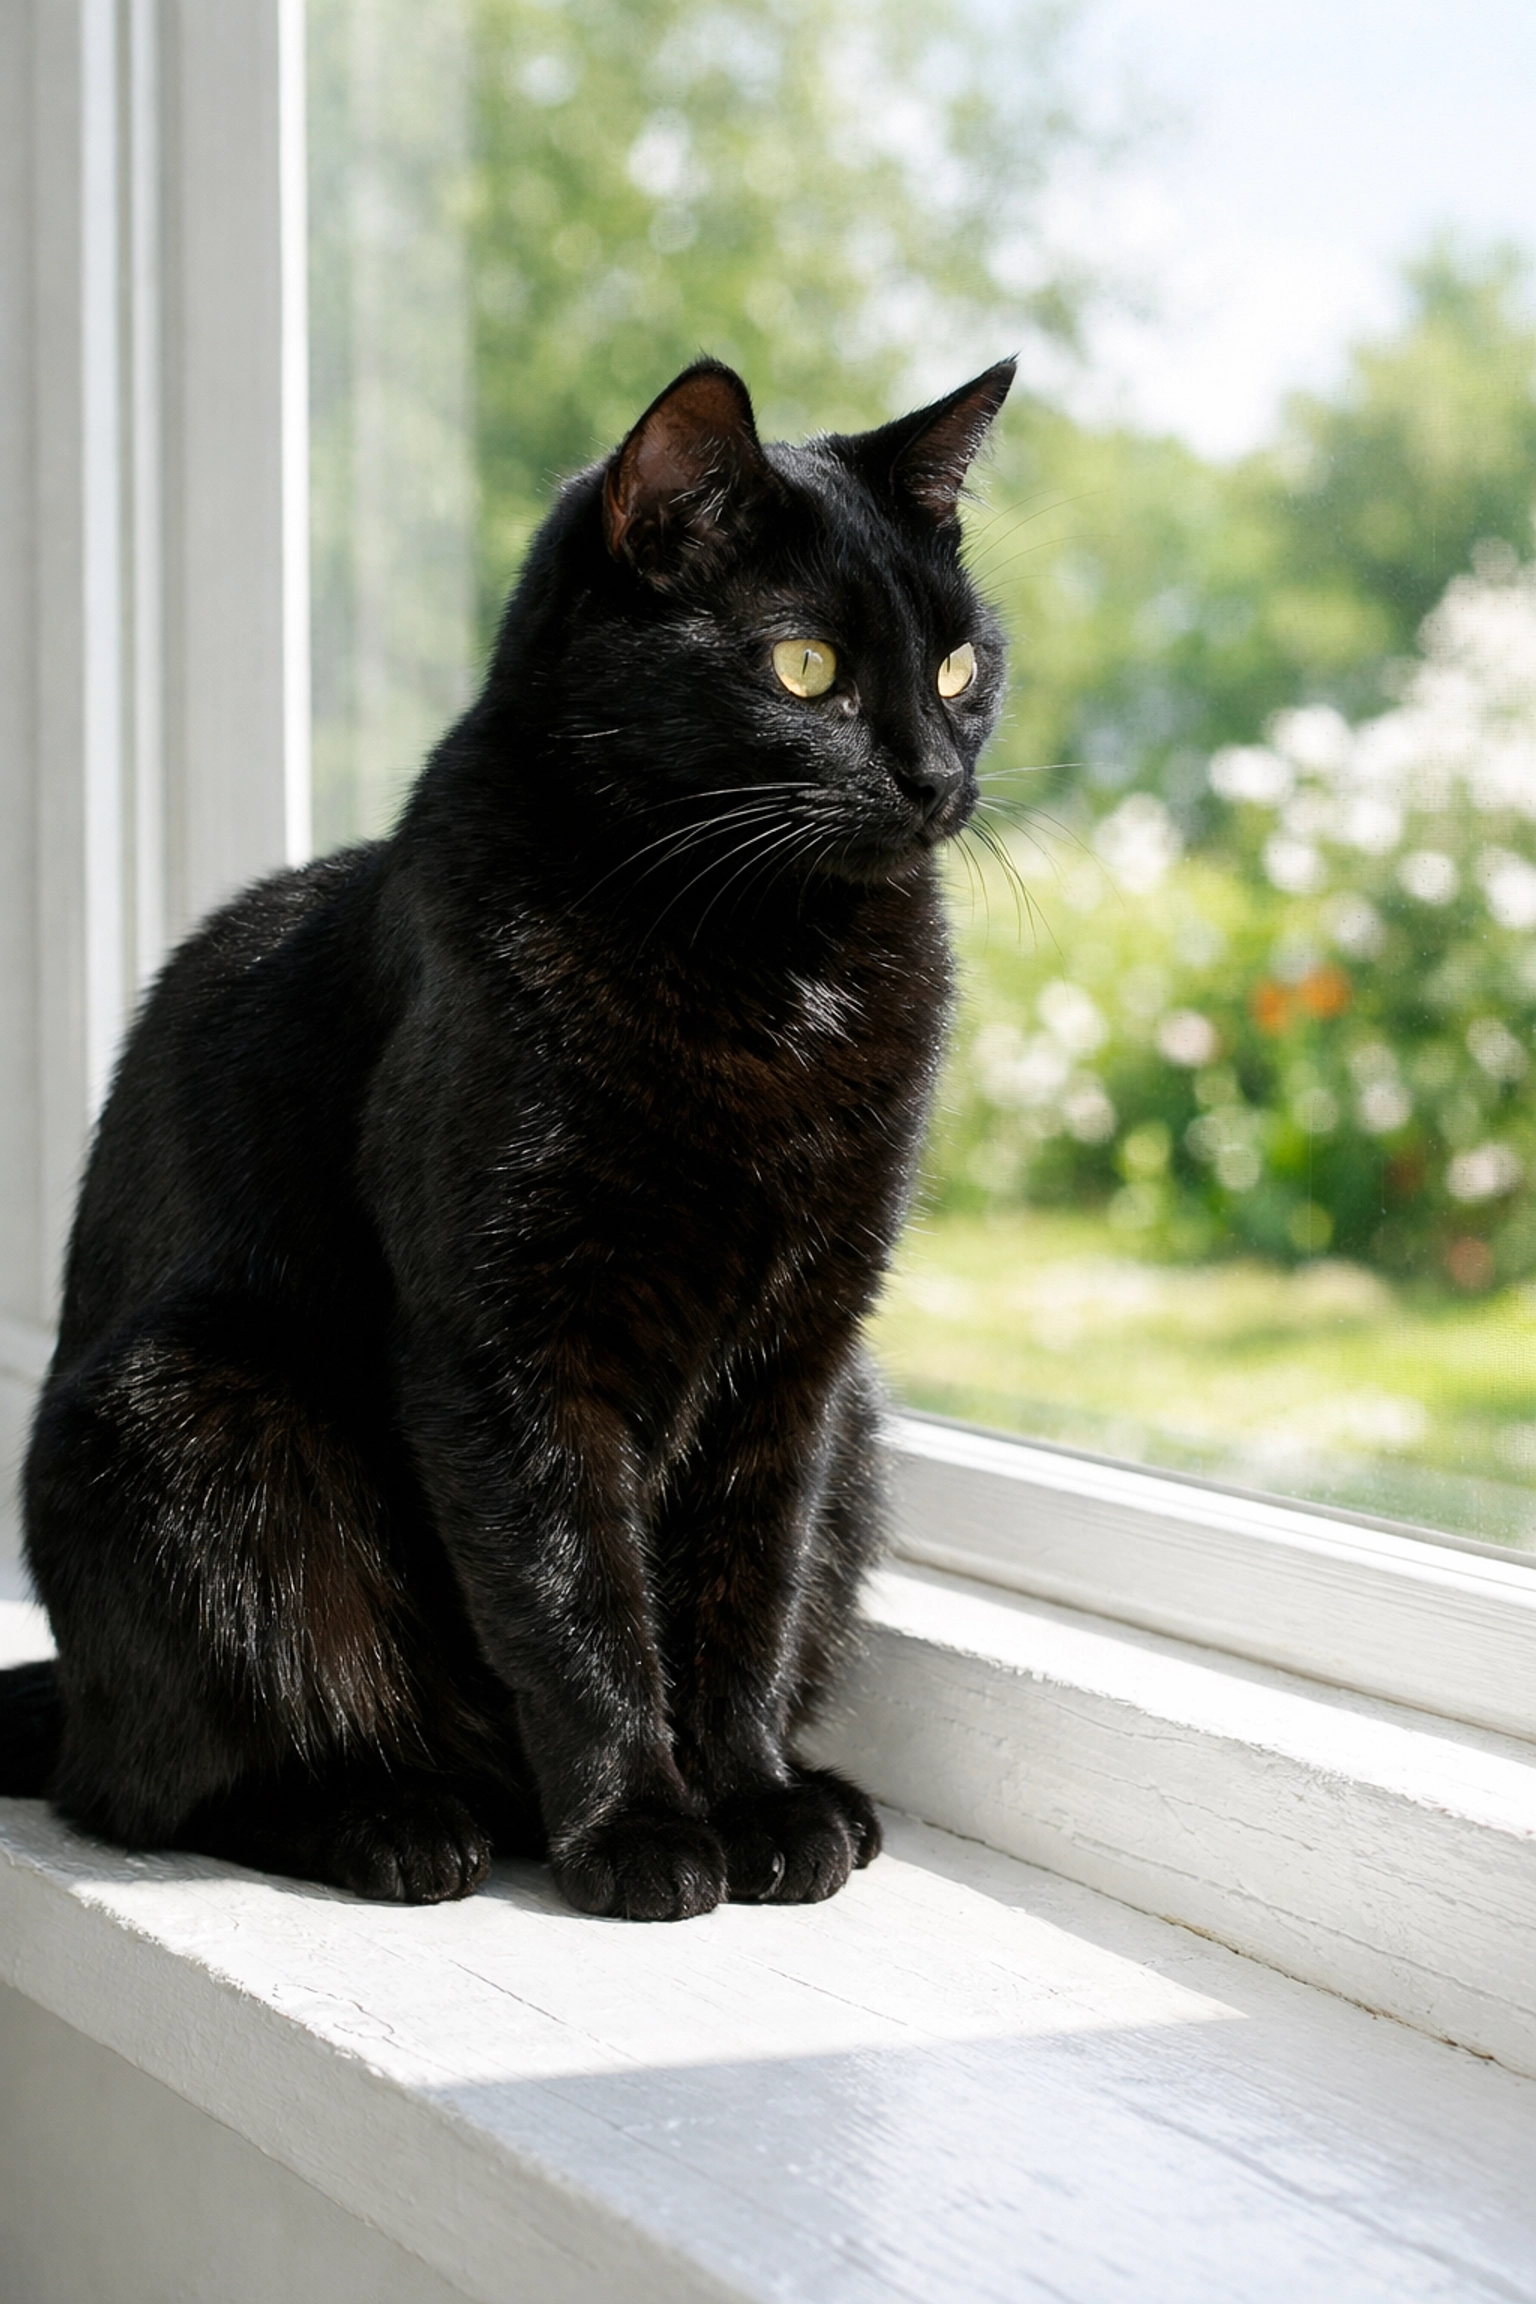
The problem? Your camera’s light meter is "dumb." It wants to turn everything into 18% neutral gray. If you’re shooting a snowy landscape, the camera thinks, "Whoa, way too bright!" and tries to underexpose it to make the snow gray. If you’re shooting a black cat in a coal mine, it tries to overexpose it to make the cat gray.
The Fix:
Learn to use Exposure Compensation or simply "read" your meter. If you’re shooting something very bright, you might need to intentionally move your meter to +1 or +2 to keep the whites white. If you’re shooting a moody, dark scene, you might want it at -1. Don't be a slave to the "0." This is especially important in landscape photography, where the sky and ground can confuse the meter easily.
6. Failing to Balance the Exposure Triangle
Manual Mode is a zero-sum game. If you change one thing, something else usually has to change to keep the balance: unless you want the exposure to shift.
A common mistake is opening up the aperture (low f-stop) to get that creamy, blurred background but forgetting to speed up the shutter or lower the ISO. The result? A giant white blob of overexposure. Or, you might increase your shutter speed to catch a fast-moving subject but forget to open your aperture, leaving you with a pitch-black frame.
The Fix:
Think of the exposure triangle as a seesaw. If you take light away by using a faster shutter speed, you have to "give" light back by opening the aperture or increasing the ISO. Practice this until it becomes muscle memory. When you hear the "click-click" of your dials, you should instinctively know which way to turn the other one. If you want to see how the pros handle these trade-offs in real-time, browse through our Behind the Scenes section.
7. Leaving Image Stabilization ON While Using a Tripod
This one feels counter-intuitive. You’d think having "Steady Shot" or "Vibration Reduction" on would always be a good thing, right? Wrong.
Image stabilization (IS) is designed to look for movement and counter it. When your camera is locked down on a sturdy tripod, there is no movement. The IS system sometimes gets "confused" and starts looking for vibrations that aren't there. This creates a feedback loop where the stabilization elements move internally, actually causing the very blur they were meant to prevent.
The Fix:
The moment your camera hits the tripod plate, turn the IS/VR switch on your lens (or in your camera menu) to OFF. It’s a small habit that makes a massive difference in the sharpness of your long exposures. For more tips on professional studio setups where tripods are a must, visit www.edinstudios.com.
Why Manual Mode is Worth the Struggle
It’s easy to get frustrated. You’ll miss shots. You’ll overexpose the sky. You’ll get home and wonder why you didn't just stay in "Program" mode. But here’s the thing: Manual Mode forces you to see light differently.
When you’re in charge of the settings, you start noticing how the sun hits a subject at 4:00 PM versus 5:00 PM. You start understanding the depth of field and how it can isolate a subject in a crowded street. You stop being a spectator and start being a creator.
If you’re struggling with the editing side once you’ve captured your manual shots, remember that tools like Luminar can help bridge the gap while you’re learning. It’s a great way to see what "could have been" if your exposure was just a hair off.
Leveling Up Your Skills
If you really want to fast-track your progress, check out some of the long-form tutorials in our How-To section. We cover everything from the basics of gear to advanced techniques in product photography.
Manual Mode isn't about perfection; it's about persistence. The more you fail, the more you learn why things work. Eventually, you won't even think about the dials: you'll just be thinking about the art.
For more inspiration and stories from the field, you can always check out blog.edinchavez.com to see how these principles are applied in professional travel and lifestyle photography.
Final Thoughts on Mastering the Dial
Transitioning to manual is the single biggest leap you can take in your photography journey. It’s the difference between "taking" a picture and "making" a picture. Avoid these seven mistakes, keep your gear clean, and keep shooting.
Don't forget to sync up with our social media updates for more quick tips and community challenges. We’re constantly sharing new insights to help you shut your aperture and open your mind to what’s possible behind the lens.
Happy shooting!


