Many photographers overlook the impact of lighting on their fine art creations, but effective lighting techniques can dramatically transform your work. By understanding how natural light and artificial sources interact with your subjects, you can enhance textures, colors, and moods in your images. This post will explore various lighting methods that not only improve your compositions but also elevate your artistic vision, empowering you to capture stunning photographs that resonate with viewers.
Key Takeaways:
- Utilize natural light for soft, shadowed effects that enhance textures.
- Experiment with artificial lighting to create mood and distinct focal points.
- Incorporate reflectors to manipulate and soften light direction.
- Use backlighting to create silhouettes and add depth to compositions.
- Explore the use of colored gels to evoke emotions and establish atmosphere.
- Master the use of critical lighting angles for dynamic contrasts.
- Adjust white balance settings to influence the overall tone of your images.

Understanding Light in Photography
Light serves as the foundational element in your fine art photography, directly influencing mood, clarity, and depth. Mastering its nuances allows you to create dramatic compositions or subtle, serene images. Observing the quality, direction, and intensity of light can elevate your artistry, making each photograph a distinct expression of your vision.
Natural Light vs. Artificial Light
Your choice between natural light and artificial light greatly impacts your photography. Natural light, with its dynamic qualities, changes throughout the day, offering endless possibilities from soft sunrises to harsh midday rays. Conversely, artificial light grants you control over intensity and direction, allowing for consistent results and diverse creative avenues. Understanding these differences will help you effectively juxtapose or harmonize lighting techniques in your work.
The Color Temperature of Light
The color temperature of light, measured in Kelvin (K), profoundly affects the mood of your photographs. Warmer tones (below 3000K) impart feelings of comfort and intimacy, while cooler tones (above 5000K) evoke a sense of clarity and detachment. By adjusting your camera’s white balance settings, you can accurately capture the essence of any scene, particularly in fine art where emotion is pivotal.
Your Guide to Color Temperature in Photography
| Temperature (K) | Color Tone |
| 1000 – 3000 | Warm (yellow/orange) |
| 3100 – 4500 | Neutral (white) |
| 4600 – 6500 | Cool (blue/white) |
| Above 6500 | Very cool (blue) |
Understanding the spectrum of color temperature enables you to select the right light for your creative intention. For instance, in portraiture, a warm tone can enhance skin tones, while cooler temperatures can lend a more modern, artistic feel. Specific lighting sources, such as daylight or LED lights, deliver different color temperatures that shape viewer perception, helping you communicate the desired atmosphere in your fine art photography.
Significance of Color in Mood and Tone
| Mood | Associated Colors |
| Warm & Inviting | Reds, Oranges, Yellows |
| Cool & Calming | Blues, Greens |
| Dramatic & Mysterious | Pinks, Violets |
| Neutral & Balanced | Whites, Grays |

Essential Lighting Equipment
To master your art, selecting the right lighting equipment is imperative. From natural light modifiers to advanced artificial lighting kits, having the appropriate tools can significantly impact your results. Invest in quality equipment that matches your style and subject matter to elevate your fine art photography.
Types of Light Sources
Different light sources offer unique effects and applications in fine art photography.
- Natural light – Soft, versatile, and readily available.
- Continuous light – Perfect for consistent exposure and easy adjustments.
- Flash – Provides powerful bursts for freezing motion.
- LED lights – Energy-efficient with adjustable color temperature.
- Studio strobes – Ideal for high-impact portraits and controlled settings.
Recognizing the advantages of each type helps you choose the best source for your specific artistic vision.
| Type | Description |
| Natural Light | Utilizes sunlight for ethereal effects. |
| Continuous Light | Gives a preview of shadows and highlights. |
| Flash | Quick bursts ideal for dynamic subjects. |
| LED Lights | Flexible, long-lasting, and energy-efficient. |
| Studio Strobes | High power output for large setups. |
Modifiers and Reflectors
Modifiers and reflectors significantly shape the quality of light by softening shadows, enhancing highlights, or redirecting light. Using these tools allows for greater control over your lighting setup, tailoring it to achieve the precise look you envision. Experiment with softboxes, umbrellas, and bounce boards to see how they can transform your photographs.
Employing modifiers such as softboxes can soften harsh light, reducing the contrasts that may detract from your subject. Umbrellas can diffuse light broadly, creating a more even illumination, while reflectors can redirect existing light, enhancing specific areas in your composition. Understanding how to manipulate these tools expands your creative possibilities and elevates your fine art photography.
The Role of Shadows
Shadows play a pivotal role in fine art photography, transforming a flat image into a compelling narrative. They create visual intrigue, leading the viewer’s eye and shaping the overall interpretation of a scene. A well-placed shadow can enhance your subject’s details, add drama, and evoke a sense of mystery, often elevating the composition beyond mere representation.
Creating Depth and Dimension
Incorporating shadows can significantly enhance depth and dimension in your photographs. By casting shadows at varying angles, you can create layers and a sense of three-dimensionality. This effect draws the viewer into the image, inviting them to explore the interaction between light and dark, while emphasizing the contours of your subject matter.
Using Shadows to Enhance Mood
Shadows can define the emotional landscape of your work. A dark, looming shadow may evoke feelings of suspense or foreboding, while soft shadows can impart a sense of calm or nostalgia. The relationship between light and shadow sets the stage for atmosphere and narrative tone, affecting how your audience interacts with the image.
Consider how shadows can shape the emotional context of your photographs. For instance, in a portrait, the gentle shadow cast across a subject’s face may evoke introspection or vulnerability, whereas harsh shadows can imply tension or conflict. Experimenting with your lighting setup allows you to manipulate this relationship, highlighting or obscuring elements within your composition to reinforce your desired mood. By thoughtfully controlling shadows, you deepen your audience’s connection to the image and invite a more nuanced interpretation of your work.

Advanced Lighting Techniques
Explore sophisticated lighting strategies that enhance the emotional and visual impact of your fine art photography. These advanced techniques will refine your skills and push your creative boundaries, allowing you to create stunning imagery that captures attention.
- Master the use of natural light
- Experiment with artificial light sources
- Incorporate reflectors and diffusers
- Utilize colored gels for mood
- Leverage shadows for depth
| Technique | Description |
| Three-Point Lighting | Uses key, fill, and back lights for balanced illumination. |
| Split Lighting | Illumination that creates one side lighted and the other in shadow. |
| Rembrandt Lighting | Achieves dramatic lighting with a specific triangular light pattern on the subject. |
Three-Point Lighting Setup
A Three-Point Lighting setup is fundamental for creating dimension in your portraits. This technique involves three key components: the key light, which provides the primary illumination; the fill light, which softens shadows; and the back light, which separates the subject from the background, adding depth and interest. Adjusting the intensity of each light allows you to control the mood and atmosphere of your shot effectively.
Split Lighting and Rembrandt Lighting
Utilizing Split and Rembrandt Lighting techniques brings dramatic effects to your photography. Split lighting divides the face into equal halves—one in light and the other in shadow—creating an intriguing visual contrast. Rembrandt lighting, on the other hand, produces a distinct triangle of light on one cheek, enhancing character and depth. Both styles offer dynamic options to accentuate features and convey emotion.
Split lighting is particularly effective for adding intensity and character, making it ideal for capturing mood-driven portraits. To achieve this look, position your light source to the side of your subject at a 90-degree angle. The dramatic shadow helps to sculpt the face, resulting in striking images. In contrast, Rembrandt lighting can create a more classic, artistic vibe. By adjusting the light to create a small triangle on the shadowed side of the face, you can evoke a sense of intrigue while maintaining a softer tonal quality. Together, these techniques expand your creative toolbox, helping you craft your unique visual voice in fine art photography.
Practical Tips for Fine Art Photography
Integrating effective lighting into your fine art photography enhances the overall aesthetic and emotional resonance of your work. Consider these practical tips to refine your approach:
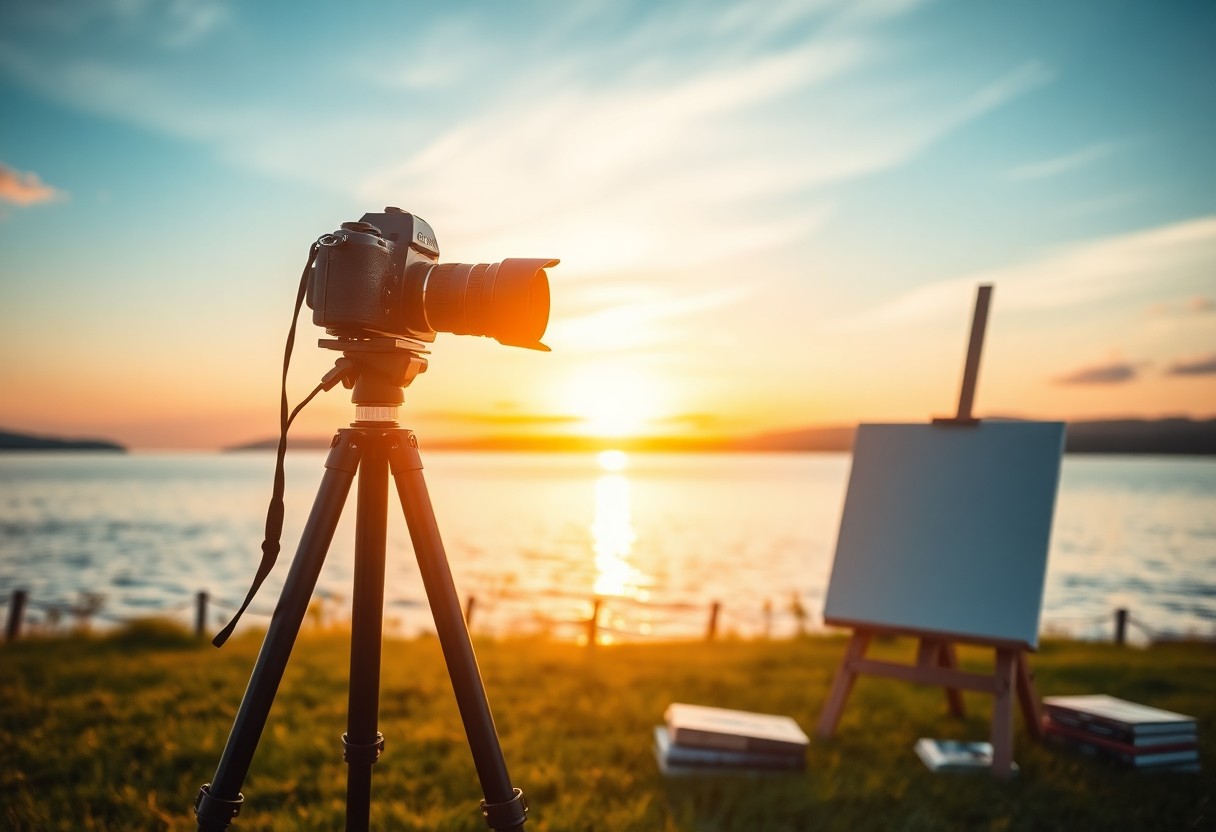
- Utilize natural light during golden hours for soft shadows.
- Experiment with artificial lighting to create dramatic effects.
- Incorporate reflectors to enhance light quality.
- Consider the effect of exposure settings on your composition.
Knowing how to manipulate these elements can significantly impact your final images.
Experimenting with Light Angles
Adjusting light angles can dramatically alter the perception of your subjects. By positioning the light source at various angles, you can create distinct shadows and highlights that bring depth and texture to your photographs. Experiment with side lighting for a dramatic effect or backlighting to create silhouettes, revealing the artistry in simple forms.
Balancing Light and Composition
Achieving harmony between light and composition is crucial for compelling fine art photography. Analyze how your lighting interacts with the elements in your frame. A well-placed light source can guide the viewer’s eye towards the focal point of your image, enhancing its impact. Take time to adjust your composition based on how light interacts with the scene, as this can elevate the overall storytelling aspect of your work.
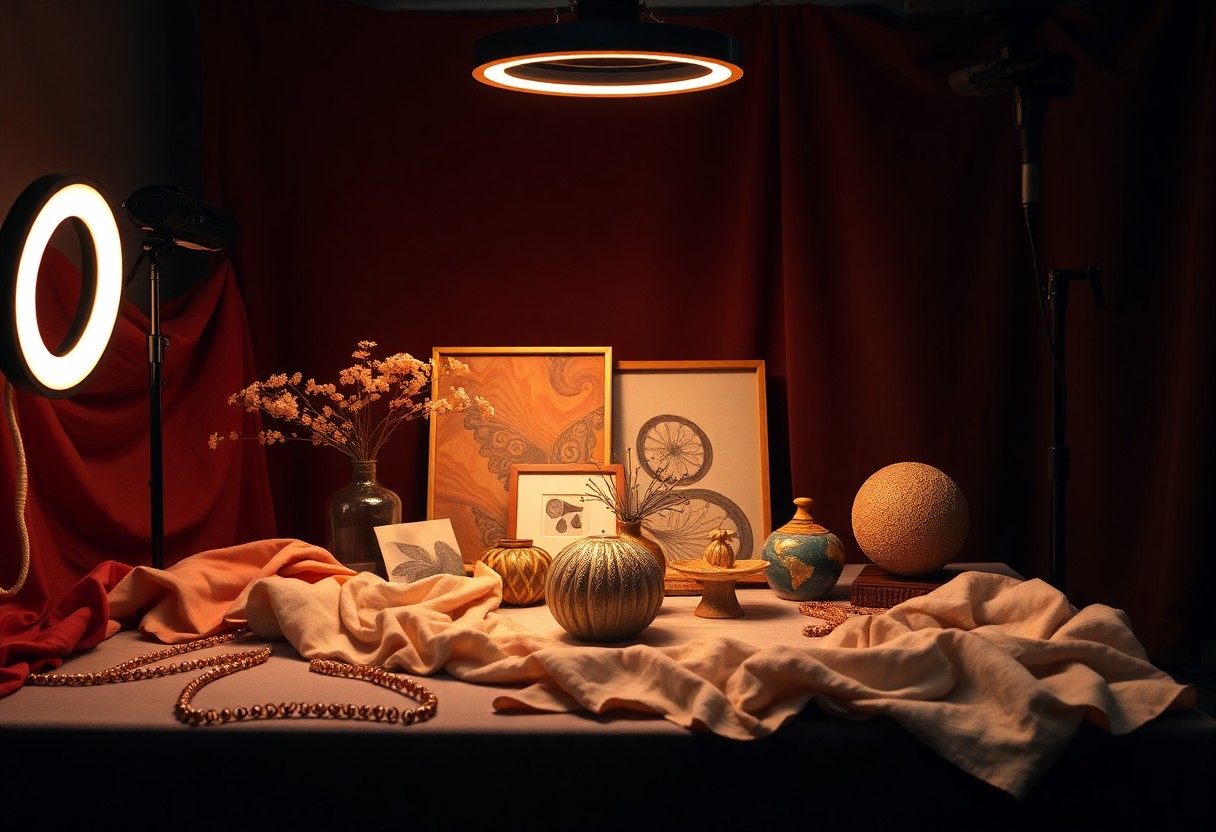
Effective balance between light and composition involves thorough attention to both the placement of your subject and the direction of light. For instance, in a still life setting, consider how sunlight filtering through a window can create interesting patterns and textures on your objects. The resulting interplay of light and shadow not only enhances depth but also adds layers of meaning, inviting viewers to engage more deeply with your art. This delicate interplay invites a reassessment of ordinary subjects, transforming them into captivating visual narratives.
Post-Processing Light Enhancements
Post-processing serves as a powerful tool in fine art photography, allowing you to refine and enhance the lighting within your images. By adjusting brightness, contrast, and color balance, you can bring out the depth and texture in your work, emphasizing specific elements that convey emotion and narrative. Utilizing software like Adobe Lightroom or Photoshop offers flexibility in achieving the desired luminosity and atmosphere, ultimately elevating the visual storytelling of your photography.
Editing Techniques for Light Adjustment
Utilize tools such as curves and levels to manipulate the tonal range in your image. Adjusting these settings can dramatically alter the perception of light, enhancing highlights while effectively managing shadows. Experiment with exposure adjustments and local edits for a more pronounced effect on specific areas, guiding the viewer’s eye to focal points and augmenting the overall mood of your composition.
Integrating Light Effects in Post-Production
Incorporating light effects such as glow or lens flare can add a layer of depth and intrigue to your photography. These effects enhance the ambient light quality and introduce an ethereal quality that can transform the emotional context of the piece. Careful application of these effects ensures they complement rather than distract, allowing you to maintain the integrity of your original vision.
When integrating light effects, consider their placement and intensity. Subtle adjustments can evoke different moods—soft glows project warmth and intimacy, while sharper flares can introduce drama and tension. Utilize blending modes in your editing software to fine-tune these effects for a seamless integration into your photograph. Layer masks also allow you to control the visibility of these effects in specific areas, enhancing your ability to direct viewer attention. Ultimately, striking the right balance will enhance your composition while retaining authenticity in your artistic expression.
Final Words
Ultimately, mastering lighting techniques can significantly enhance your fine art photography, allowing you to convey your vision more effectively. By experimenting with different light sources, angles, and modifiers, you can create captivating images that resonate with viewers. Understanding how light interacts with your subject will empower you to make informed decisions that elevate your work. Embrace these techniques, and watch as your photography transforms, showcasing your unique artistic voice and drawing your audience deeper into your creative expression.
FAQ
Q: What are the best lighting techniques to enhance fine art photography?
A: Techniques such as natural light, backlighting, sidelighting, and low-key lighting can significantly enhance fine art photography. Each technique creates different moods and highlights various aspects of the subject.
Q: How does natural light affect the mood of fine art photographs?
A: Natural light can create soft, diffused qualities that evoke tranquility, or harsh shadows that add drama. The time of day, such as golden hour, influences the warmth and softness of images.
Q: What is the significance of backlighting in fine art photography?
A: Backlighting can create silhouettes and highlight textures. It often adds depth and dimension, making subjects appear more three-dimensional and ethereal.
Q: Can artificial light be used effectively in fine art photography?
A: Yes, artificial light, such as studio flash or continuous lighting, can be controlled and directed to create desired effects, set moods, and highlight specific elements of a composition.
Q: How can I use shadows to enhance my fine art photographs?
A: Shadows can add depth, contrast, and intrigue to images. Experimenting with light placement can create interesting patterns and enhance the overall composition.
Q: What role does lighting play in color representation in fine art photography?
A: Different lighting conditions can affect color saturation and warmth. Understanding color temperature helps photographers convey emotions and intentions through their works.
Q: How can I practice different lighting techniques for my fine art photography?
A: Set up a controlled environment or go outdoors at different times of day. Experiment with various sources and angles of light to observe their effects on subjects and compositions.