Budget constraints shouldn’t stop you from capturing stunning images that rival professional work. With the right techniques and tools, you can elevate your photography skills without breaking the bank. This guide will equip you with vital tips on maximizing your equipment and unleashing your creativity, ensuring your photos shine while keeping your expenses in check. Dive in to discover how to achieve impressive results that showcase your unique vision.

Key Takeaways:
- Invest in a versatile lens for varying shooting conditions.
- Utilize natural light for creative and cost-effective lighting solutions.
- Learn basic editing techniques to enhance photos without expensive software.
- Explore DIY solutions for backdrops and props to elevate compositions.
- Join online photography communities for tips and feedback to improve skills.
Understanding Professional Photography
Professional photography goes beyond just having a good camera; it’s about mastering the elements that transform an ordinary shot into an extraordinary one. You must grasp the significance of light, composition, and storytelling. These core principles will elevate your work, whether you’re shooting portraits, landscapes, or events.
Key Factors for Stunning Images
To achieve stunning images, focus on key factors that significantly impact your results:
- Utilize natural light creatively.
- Pay attention to composition rules.
- Incorporate color theory effectively.
- Study your subject for emotion and detail.
Any of these elements can dramatically enhance the quality of your photography.
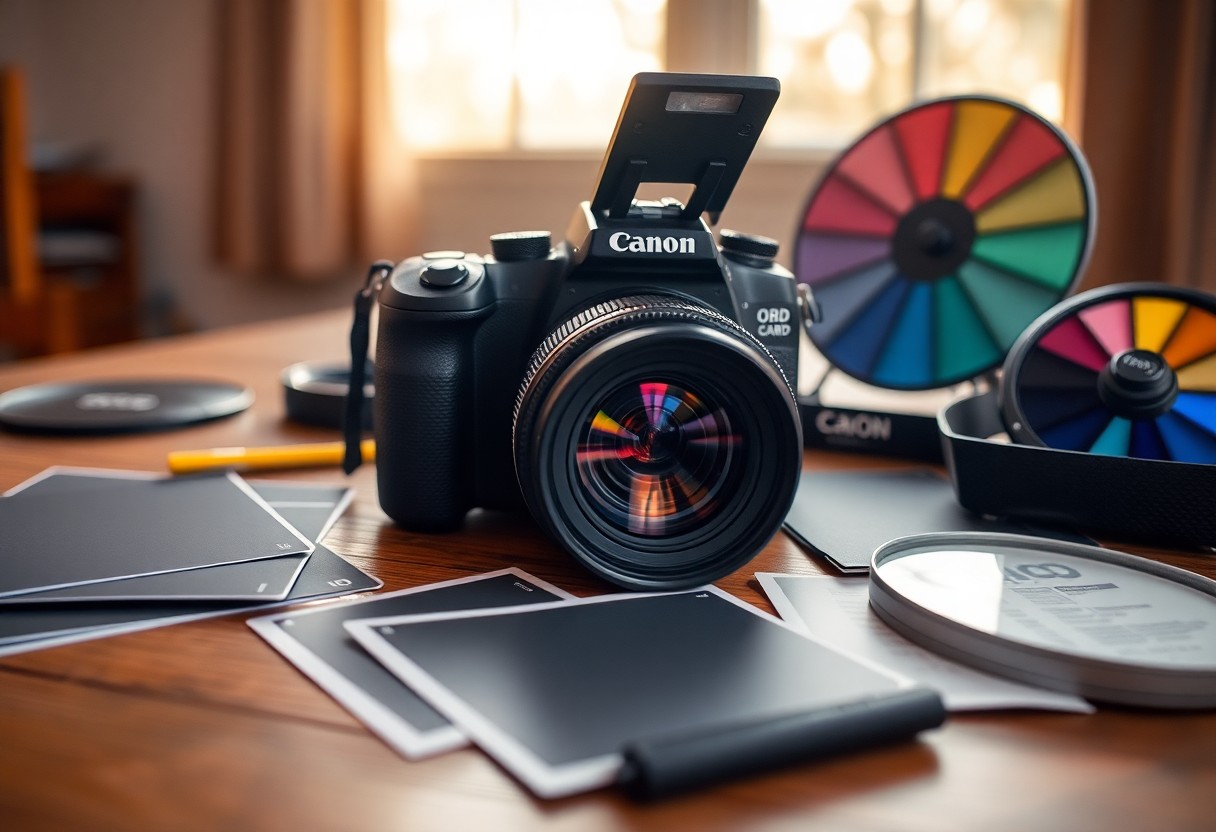
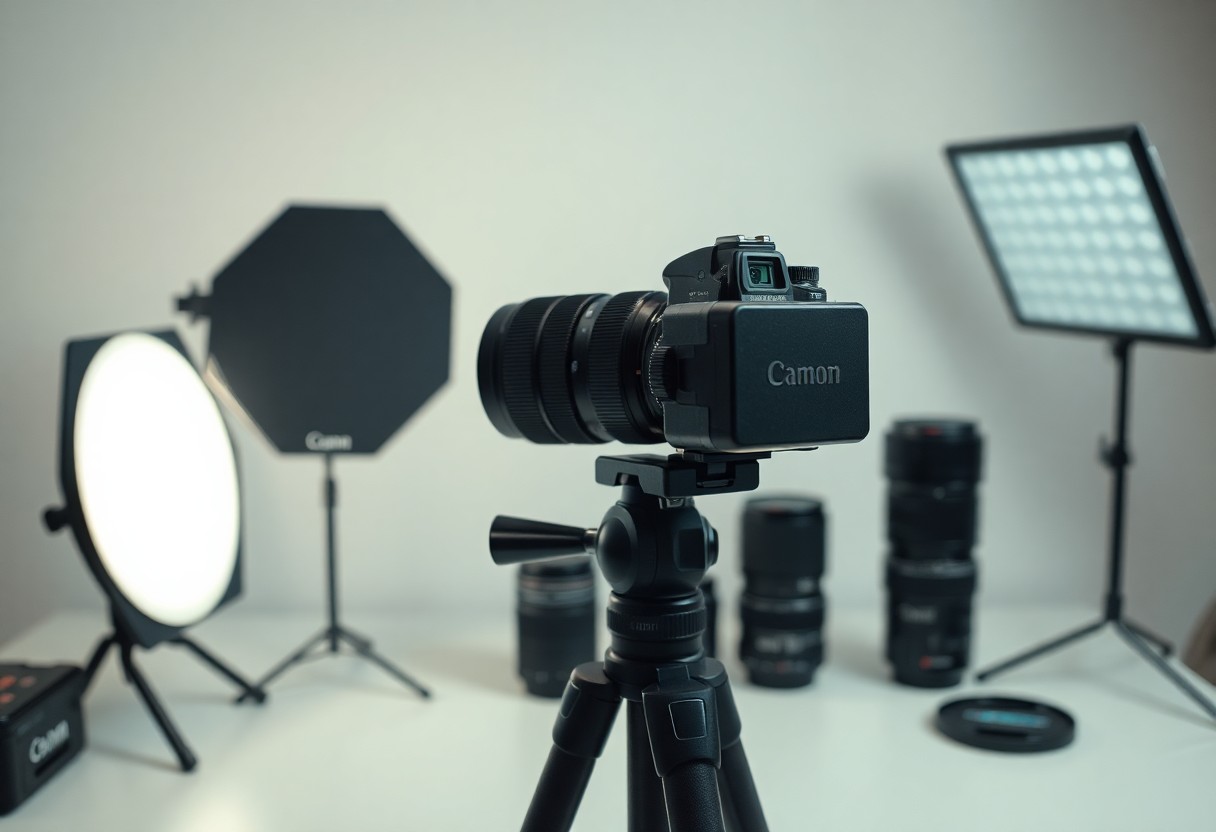
Essential Photography Equipment on a Budget
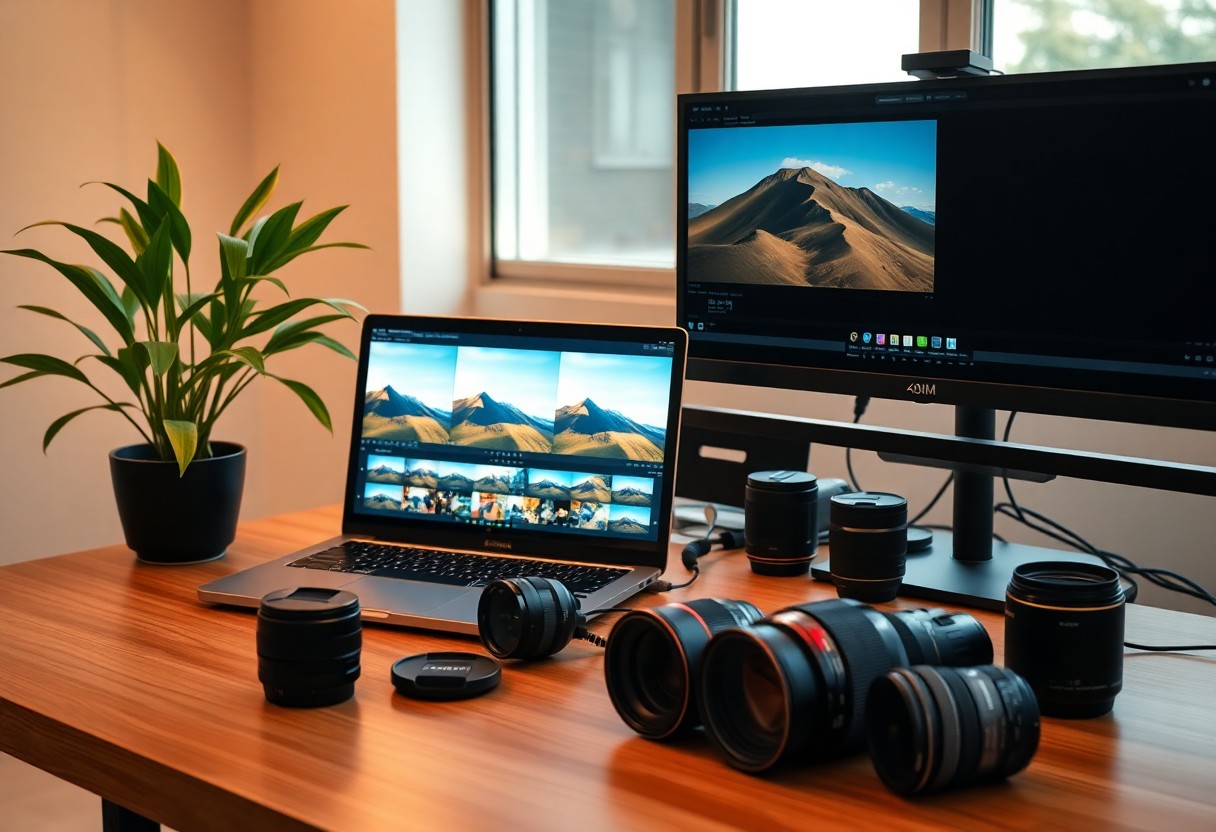
Investing wisely in important photography equipment can significantly impact your results without breaking the bank. A good camera, versatile lenses, and a sturdy tripod should be your priorities. Look for used options or budget-friendly brands that still offer reliable performance.
For instance, a beginner-friendly DSLR or mirrorless camera can often be found at reasonable prices, especially when purchasing second-hand. Additionally, a standard zoom lens provides great flexibility for various types of shots. Tripods can also be acquired affordably, providing stability for those long-exposure shots you may want to experiment with. Using such resources will allow you to produce quality images while keeping expenses low.
How-To Master the Fundamentals
Mastering the fundamentals is imperative for achieving stunning photography results on a budget. A strong grasp of camera settings and composition techniques allows you to create captivating images without needing expensive equipment. By understanding how to manipulate settings and apply proven composition strategies, you’ll elevate your photography skills while maximizing the potential of your gear.
Camera Settings Explained
Your camera’s settings play a pivotal role in determining exposure, focus, and overall image quality. Focus on mastering aperture, shutter speed, and ISO. Aperture controls depth of field, allowing you to create crisp subjects against a blurred background. Shutter speed captures motion, while a balanced ISO ensures clarity even in low light. Familiarize yourself with these settings to achieve the right look for each shot.
Composition Techniques for Better Photos
Effective composition can transform ordinary photographs into extraordinary works of art. Utilize techniques such as the rule of thirds, leading lines, and framing to enhance visual appeal. By positioning key elements off-center and guiding the viewer’s eye through your images, you bring a sense of balance and intrigue. Experiment with different angles and focal points to discover unique perspectives that showcase your subject.
Utilizing the rule of thirds involves dividing your frame into a 3×3 grid, positioning your subject along these lines or their intersections to create dynamic interest. Incorporating leading lines, such as roads or pathways, naturally draws the viewer’s gaze toward your main subject. Additionally, using natural elements to frame your subject adds depth and context, enriching the overall composition. Experimenting with these techniques will encourage you to think creatively, ultimately leading to more engaging photographs.
Tips for Using Natural Light
Utilizing natural light effectively can elevate your photography without breaking the bank. Pay attention to the quality of light—soft, diffused light creates flattering results, while harsh light can lead to unappealing shadows. Experiment with direction by moving your subject or changing your position to see how light changes the mood and tone of your images. Always consider the weather; overcast days provide ample, even lighting. Utilize natural reflectors like walls or water surfaces to bounce light. Any combination of these techniques can help you maximize the potential of your available light.
Best Times of Day for Shooting
The best times of day for shooting, often referred to as the “golden hour,” occurs shortly after sunrise and before sunset. During these periods, the light is soft, warm, and more flattering, enhancing the colors and reducing harsh shadows. Aim to shoot within an hour of sunrise or sunset for the most striking results. This natural lighting can add depth and dimension to your shots, allowing your images to pop with vibrancy. Any outdoor shoot planned for these times typically yields the most stunning results.
Creative Uses of Shadows and Highlights
Shadows and highlights are powerful elements in photography, offering a way to add depth, drama, and interest to your images. Utilize strong contrasts to create a dynamic composition; for instance, play with side lighting to elongate shadows and emphasize textures, enhancing the storytelling aspect of your photograph. Highlight the contours of your subject’s face or an object’s form by positioning it against a light source. Any creative exploration in this area not only enriches your portfolio but also hones your skills in manipulating light for dramatic effect.
By thoughtfully employing shadows and highlights, you can tell compelling visual stories that capture the viewer’s imagination. Use the interplay of light to your advantage; for example, shooting a portrait with light streaming from one side can create a beautiful, textured effect on skin, while strong backlighting can silhouette your subject, adding intrigue. Experiment with various angles and intensities; even the simplest objects can become captivating when illuminated creatively. Any effort to understand and manipulate these elements will significantly enhance your photographic impact.
Post-Processing Without Breaking the Bank
Achieving stunning photos often requires some level of post-processing, but you don’t need to spend a fortune on software. With many affordable or even free applications available, you can enhance your images professionally without exceeding your budget. Focus on tools that offer imperative features, such as color correction, cropping, and sharpening, to elevate your photography while keeping the costs low.
Affordable Software Solutions
Many affordable software solutions can meet your post-processing needs without draining your wallet. Programs like GIMP or Darktable provide powerful features similar to expensive counterparts like Photoshop, but at no cost. Additionally, subscription services like Adobe’s Creative Cloud often offer student discounts and occasional promotions, making advanced editing tools accessible on a budget.
Basic Editing Techniques for Quick Results
To swiftly enhance your photos, focus on basic editing techniques. Simple adjustments like adjusting the exposure, contrast, and saturation can dramatically improve your images. Cropping out distracting elements and straightening horizons also helps create a more polished look. With just a few clicks, you can turn a good shot into an outstanding one, allowing your photography to shine.
Start with adjusting the exposure to brighten dark areas without losing details, then tweak the contrast to make colors pop. Next, increase the saturation for a vibrant feel, but be careful not to overdo it. Cropping can instantly remove distractions from your frame, and straightening will ensure a professional appearance. These techniques take minimal time but yield a significant return in visual quality, all achievable within your budget.

Building a Portfolio on a Budget
Creating a standout portfolio on a budget is entirely achievable with some strategic planning. Focus on diversity by selecting a range of styles and subjects that showcase your versatility. Utilize natural lighting and accessible locations to minimize costs, and consider doing collaborative shoots with models or other creatives who are also looking to build their portfolios. By dedicating your time and creativity to projects that highlight your best work, you can develop a professional collection without a hefty price tag.
Showcasing Your Work Effectively
To effectively showcase your photography, curate a selection of your best images on an easily navigable platform like a personal website or Instagram. Use high-quality images, pay attention to the layout, and create a cohesive theme that represents your style. Leverage storytelling through captions to provide context and engage viewers, ensuring that your audience connects with your vision and intentions.
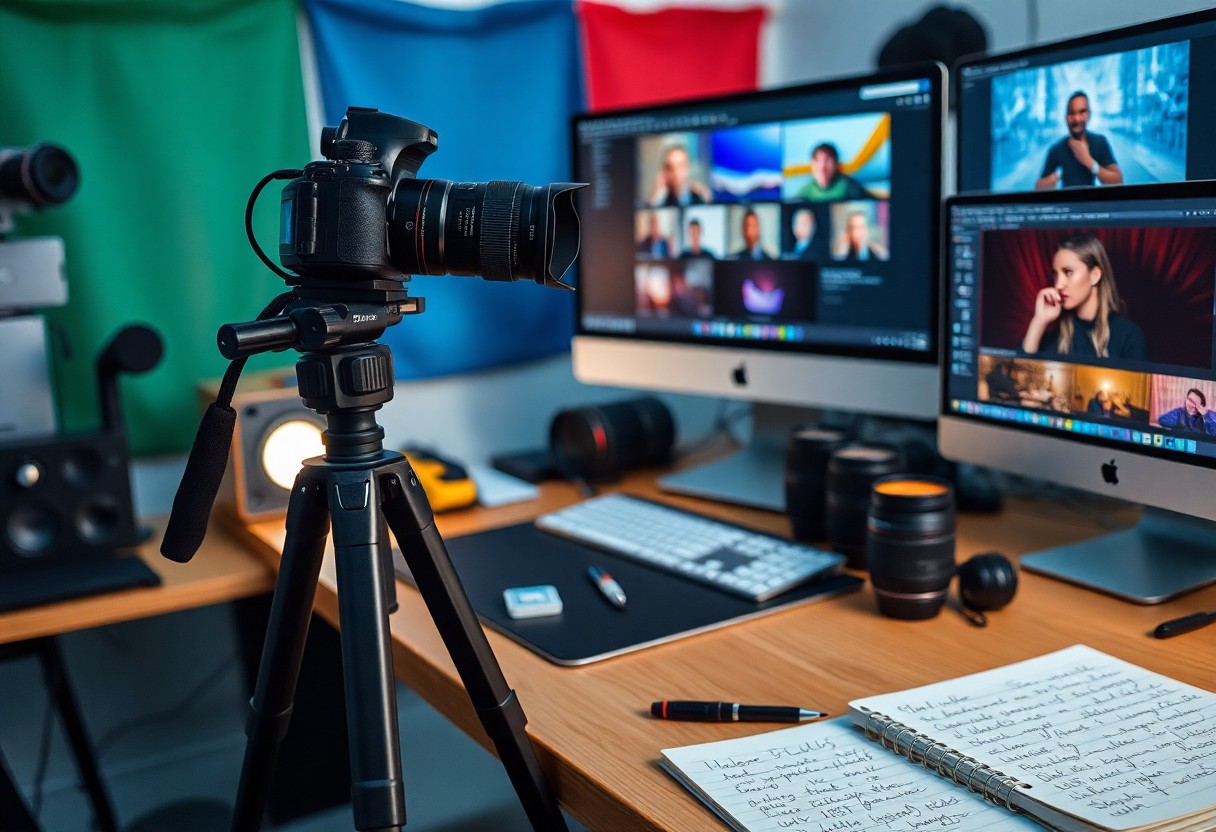
Networking and Collaborating with Others
Networking and collaborating can exponentially enhance your portfolio while keeping costs low. Join local photography groups, participate in online forums, and attend industry events where you can meet fellow creatives. Together, you can organize shoots, share resources, and even exchange skills, which helps build a robust portfolio without significant financial investment.
Engaging with other creatives opens many doors, allowing you to tap into diverse skill sets and ideas. For example, teaming up with a makeup artist can elevate your portrait photography, while collaborating with stylists can enhance fashion shoots. Attend local meetups or workshops to connect with peers who share your passion, offering mutual support and valuable feedback. These relationships not only enrich your portfolio but also lead to potential referrals and opportunities in your photography career.

Photography Community Resources
To further enhance your skills and connect with like-minded individuals, tapping into community resources can be invaluable. Engaging with photographers around you can provide insights, support, and even opportunities for collaboration, allowing you to learn and grow effectively without a hefty price tag.
Online Tutorials and Courses
Leveraging online tutorials and courses can accelerate your learning curve significantly. Websites like Udemy, Coursera, and YouTube offer a plethora of free and affordable courses tailored to every skill level. Whether it’s mastering camera settings or understanding composition, you can find structured learning paths that fit your budget, allowing you to practice and improve at your own pace.
Joining Local Photography Groups
Participating in local photography groups opens up countless opportunities for growth and networking. These groups often facilitate meetups, workshops, and photo walks, making it easy for you to collaborate with other photographers. Engaging with peers can also provide feedback on your work, helping you identify areas for improvement while cultivating a supportive community.
Local photography groups can significantly enrich your experience; they often comprise enthusiasts and professionals who share knowledge and resources. For example, many communities host regular events, such as photo challenges, where you can showcase your skills and receive constructive critiques. You could also benefit from shared equipment or tips on the best locations for shoots, thus enhancing your practical experience without stretching your budget. Groups often post online, making it simple to find one nearby using social platforms or Meetup.com, allowing you to immerse yourself in a vibrant photography culture.
Summing up
Taking this into account, achieving professional photography results on a budget involves strategic planning and resourcefulness. Focus on mastering the basics of composition and lighting, utilize affordable gear effectively, and leverage free or low-cost editing software. Invest time in learning through online tutorials and practice regularly to enhance your skills. By maximizing what you have and keeping your creativity at the forefront, you can produce stunning images that reflect your artistic vision without overspending.
FAQ
Q: What equipment do I need to start professional photography on a budget?
A: Start with a DSLR or mirrorless camera with manual controls, a sturdy tripod, and a basic lens. You can also use a smartphone with a good camera. Look for used or refurbished equipment to save costs.
Q: How can I improve my photography skills without expensive classes?
A: Utilize free online resources, such as YouTube tutorials, photography blogs, and forums. Practice regularly and engage in community challenges to refine your skills.
Q: What are some budget-friendly editing tools for my photos?
A: Explore free software like GIMP or Lightroom Mobile. Consider affordable subscription services like Adobe Creative Cloud when you’re ready for more advanced editing capabilities.
Q: How can I find good locations for photos without spending money?
A: Explore local parks, urban settings, or natural landscapes. Check for public events or festivals that provide interesting backdrops, or collaborate with models in community spaces.
Q: What tips can help me style my photography subjects without spending on props?
A: Use everyday items around your home for props. Encourage subjects to wear outfits they already own that match the theme or mood of the shoot. Utilize natural light for better results.