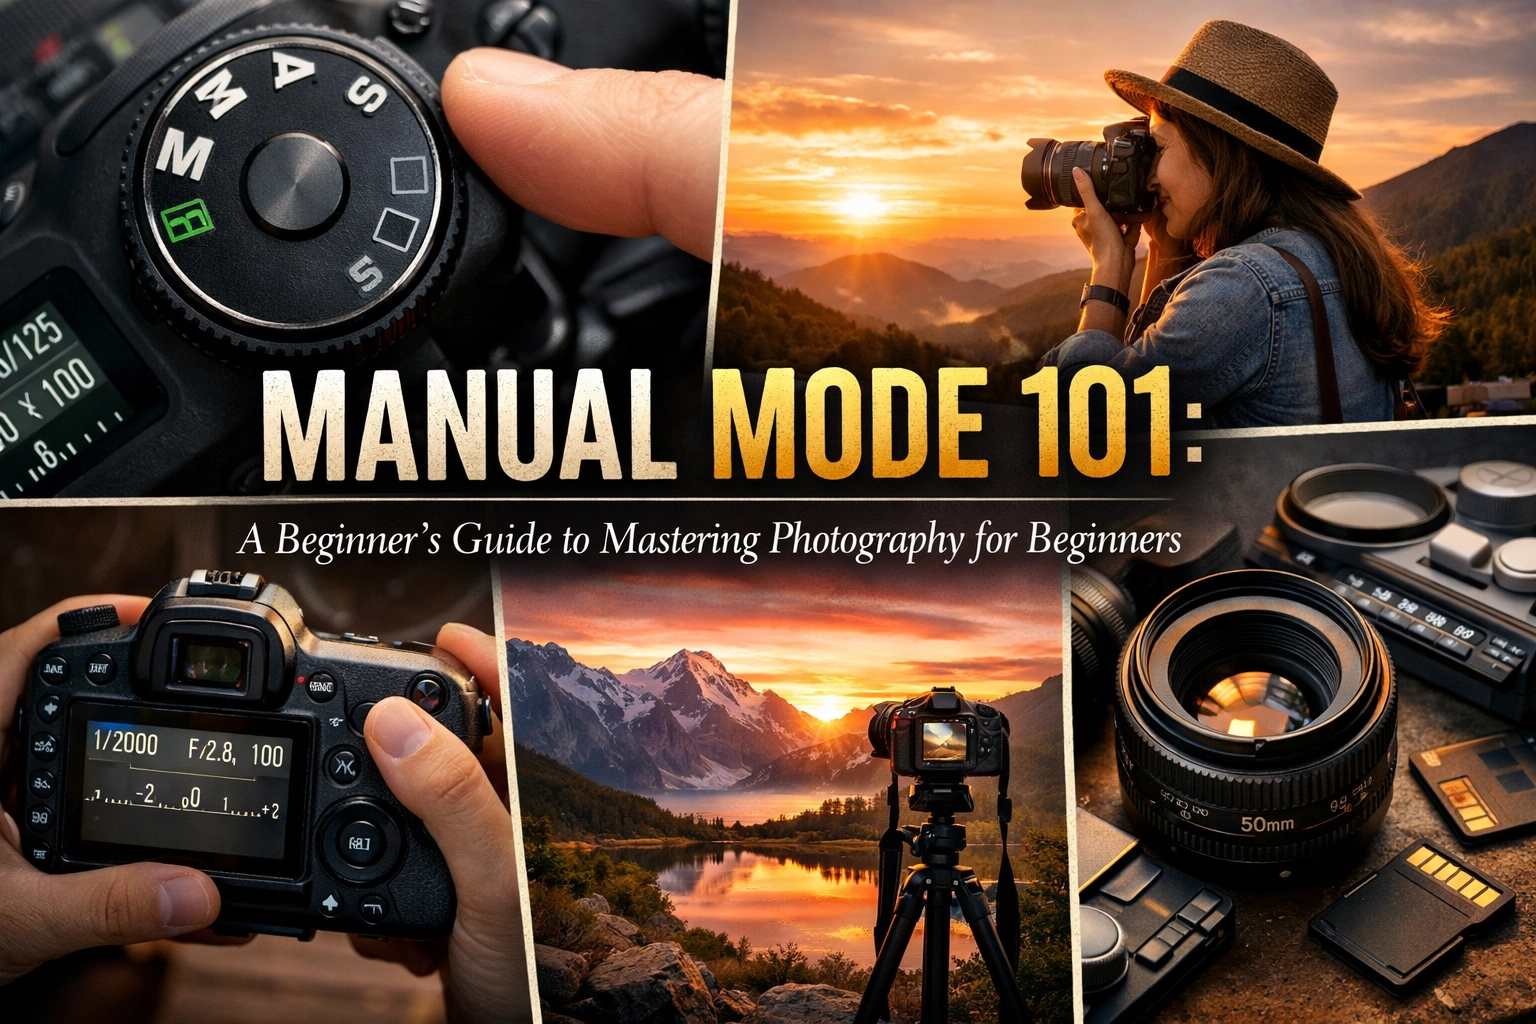
Category: TUTORIALS
There is a moment in every photographer’s journey where the "Auto" mode feels less like a helping hand and more like a set of golden handcuffs. You’re standing before a sunset that paints the sky in bruised purples and liquid gold, yet your camera insists on firing the flash or washing out the very colors that moved your soul. This is the call of the Manual Mode: a rite of passage for every fellow enthusiast who desires to move from taking snapshots to creating art.
Mastering manual mode is not merely about technical proficiency; it is about reclaiming your creative agency. It is the transition from being a spectator of light to becoming its conductor. In this guide, we will peel back the layers of your camera’s complexity, revealing the intrinsic beauty of the exposure triangle and how you can use it to capture the ephemeral magic of the world around you.
The Call of the Dial: Beyond the Green Square
For many, the "M" on the camera dial is a source of stoic intimidation. We look at it with a mix of reverence and fear, worried that we will miss the shot or produce a frame of pure black or blinding white. But I have tried every shortcut in the book, and I can tell you: nothing compares to the satisfaction of dialing in your settings and seeing the exact image you envisioned appear on the LCD.
The environment is your canvas, and natural light is your paintbrush. When you leave the camera in Auto, you are letting a computer chip decide how your story should be told. By moving to manual, you seize these moments with intention. If you are just starting out, you might find our ultimate guide to photography for beginners a great place to ground yourself before we dive deep into the mechanics of Manual Mode.
The Exposure Triangle: The Holy Trinity of Light
At the heart of every photograph lies the exposure triangle: three pillars that hold up the integrity of your image. These are Aperture, Shutter Speed, and ISO. They are interconnected in a delicate dance; when you move one, the others must react to maintain the balance of light.
Understanding these is the "brass tacks" of photography. Think of your camera sensor as a thirsty traveler and light as water. You need to provide the traveler with exactly enough water: not too little, or they go thirsty (underexposure), and not too much, or they drown (overexposure).
1. Aperture: The Sculptor of Light
Aperture is perhaps the most poetic of the three settings. It refers to the opening in your lens, much like the pupil of a human eye. It is measured in f-stops (e.g., f/1.8, f/8, f/16).
A low f-number (like f/1.8) means the "pupil" is wide open, drinking in vast amounts of light. This creates a shallow depth of field, resulting in that ethereal, blurry background we call bokeh. This is a game-changer for portraiture, as seen in the ultimate guide to professional headshots.
Conversely, a high f-number (like f/11 or f/16) narrows the opening, requiring more light but keeping the entire scene in sharp focus: from the blades of grass at your feet to the stoic mountains on the horizon.

2. Shutter Speed: The Arbiter of Time
If Aperture is about the volume of light, Shutter Speed is about the duration. It is the heartbeat of your camera. It dictates how long the sensor is exposed to the world.
A fast shutter speed (1/1000th of a second) freezes a moment in time: a bird in mid-flight or a splash of water suspended like diamonds. A slow shutter speed (1/2 second or longer) allows time to flow through the frame. This is how photographers create those silky waterfalls or the light trails of cars dancing through a city at night.
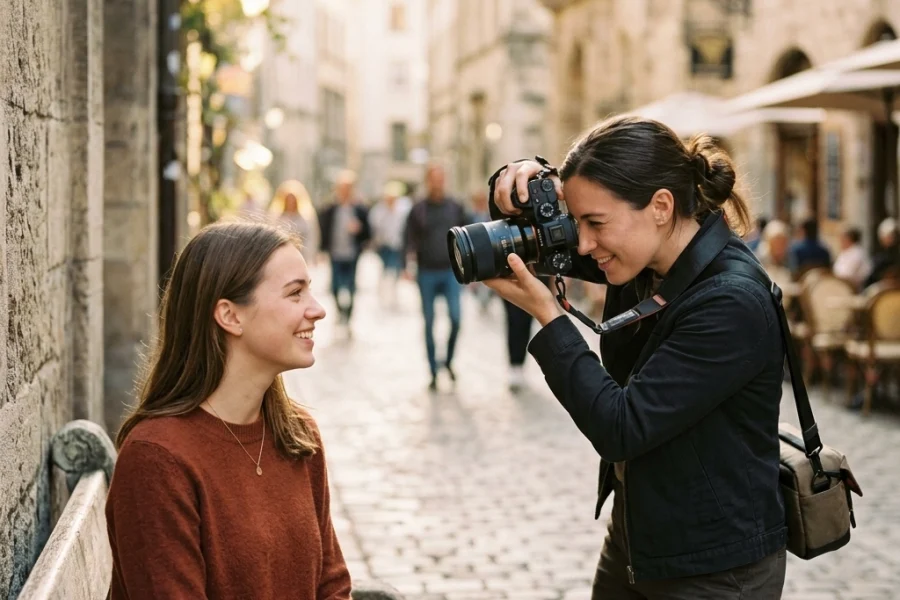
When you venture forth into street photography, mastering shutter speed allows you to choose between the crisp reality of a passerby and the blurred mystery of a crowd.
3. ISO: The Silent Sensitivity
ISO is the level of sensitivity your camera sensor has to light. In the days of film, you bought a specific "speed" of film. Today, we can change it with a dial.
- Low ISO (100-400): Best for bright, sun-drenched days. It produces the cleanest, highest-quality images.
- High ISO (1600+): Necessary for dark environments or "Blue Hour Brilliance." However, higher ISO introduces "noise" or grain, which can sometimes feel like a distraction from the intrinsic beauty of the shot.
Modern unsung heroes like the Nikon D850 have incredible ISO performance, allowing you to shoot in near darkness while maintaining a sense of reverence for the details.
The Balancing Act: How to Meter Your Scene
Now that we’ve delved into the individual components, it’s time to get down to the practice of balancing them. Your camera has a built-in guide called a Light Meter. When you look through the viewfinder, you’ll see a scale with a "0" in the middle and "+" or "-" on either side.
Your goal in Manual Mode is generally to get that little tick mark to sit at the "0."
- Set your Aperture first: Decide on your creative vision. Do you want a blurry background or a sharp landscape?
- Set your ISO: Keep it as low as possible based on the available light.
- Adjust your Shutter Speed: Dial this in until the light meter tells you that the exposure is balanced.
If you find your images are still coming out "wrong," you might be making some of the common mistakes in landscape photography. Don't be discouraged; the meter is a compass, but you are the captain.

Artistic Allure: Choosing Your Settings with Intent
Dear hobbyists, remember that "correct" exposure is subjective. Sometimes, you want to underexpose to create a silhouette that feels mysterious and moody. Other times, you want to "expose for the highlights" to ensure you don't lose the detail in a bright sky.
In HDR photography, we often take multiple manual exposures and blend them to capture the full range of light that the human eye can see but a single sensor cannot. This is where the technical meets the spiritual: capturing the world as it feels, not just as it is.
The Ritual of the First Shot
When you arrive at a location, take a moment to breathe. Don't just start clicking. Observe how the sun dances with the landscape. Is the light harsh and direct, or soft and diffused?
Once you’ve taken your first manual shot, check your histogram: the little graph on your screen. It’s a more reliable tool than the screen itself, which can lie to you in bright sunlight. If the graph is bunched up against the right side, your highlights are "blown out" (lost). If it’s crushed against the left, your shadows are "clipped."

Gear as Your Unsung Hero
While your vision is the most important tool, having the right equipment can make the manual journey smoother. Accessories like the Walley or high-quality filters can help you manage light in ways that settings alone cannot.
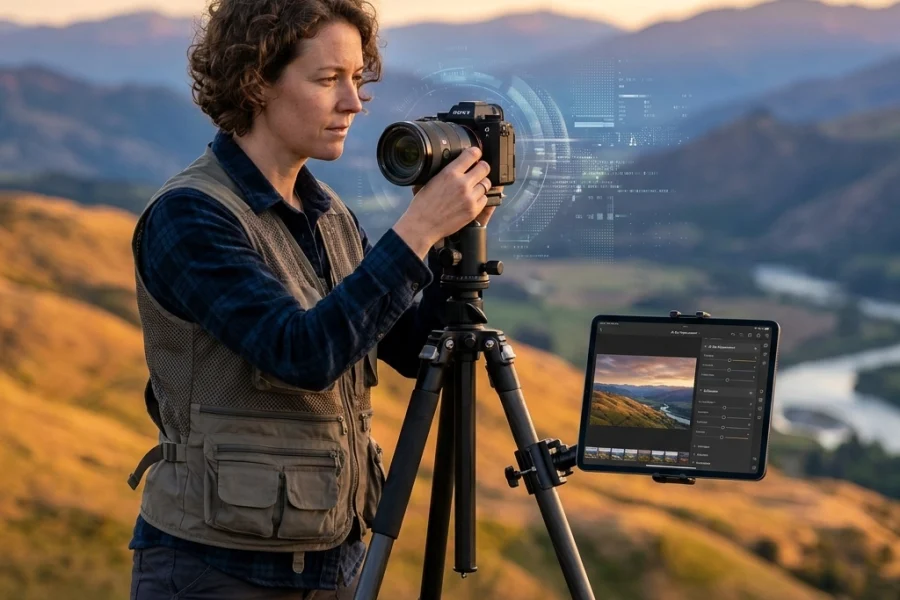
Furthermore, the post-processing stage is where you refine your manual captures. Software like Luminar 4 or other photography software allows you to pull out the hidden details in your RAW files: the data that Manual Mode worked so hard to preserve.
Common Manual Mode Questions
"Why is my photo blurry even though it's bright out?"
Check your shutter speed! If it’s lower than 1/60th of a second and you’re holding the camera by hand, your own heartbeat can cause blur. Use a tripod or increase your ISO to allow for a faster shutter.
"What is the best metering mode for beginners?"
I recommend Matrix (or Evaluative) metering. It looks at the whole scene and tries to find a happy medium. It’s a great baseline as you learn how to read light.
"When should I not use Manual Mode?"
If you are shooting fast-paced action where the light is changing every second: like a sports game or a wedding: you might use "Aperture Priority." But for everything else, the control of Manual Mode is unmatched.

Golden Hour Glory and Beyond
The most ephemeral light happens during the Golden Hour: that fleeting window just after sunrise or before sunset when the world is bathed in a warm, honey-like glow. In Auto mode, your camera might try to "fix" this warmth, turning it into a neutral, boring gray. In Manual mode, you can lock in your White Balance and exposure to preserve that warmth exactly as it was.
Venture forth during these times. Practice on simple subjects. A single flower, a park bench, or a friend’s portrait. You can see how experts like Joao Freire or Cory Richards use light to tell profound stories. Study their work and try to reverse-engineer their settings.
The Philosophical Reward of the Craft
The transition to Manual Mode is a metaphor for life. It is the moment you stop letting external "automatic" forces dictate your path and you take the controls into your own hands. It requires patience, a willingness to fail, and a deep reverence for the nuances of light and shadow.
When you finally master these three settings, you realize that the camera is not just a machine; it is an extension of your soul. You are no longer just documenting reality; you are interpreting it. You are capturing the ephemeral beauty of a world that is constantly changing, preserving it for eternity.
If you’re looking for more inspiration, check out some of our photo series or see how we’ve captured the world in Tiny Sydney.

Join the Community
Photography is a shared journey. We are all students of light, forever learning how to better see the world. If you’ve found a particular setting that works wonders for you, or if you’re struggling with a specific concept, drop me a line below! I’d love to hear about your progress. You can also explore more technical deep-dives in our tutorials section or find some incredible fine art inspiration here.
For those who want to see these concepts in action, our video library offers a more visual look at how to handle your gear in the field. And don't forget to check out blog.edinchavez.com for more personal stories from behind the lens.
Now, grab your camera, turn that dial to "M," and go capture something beautiful. The light is waiting for you.