

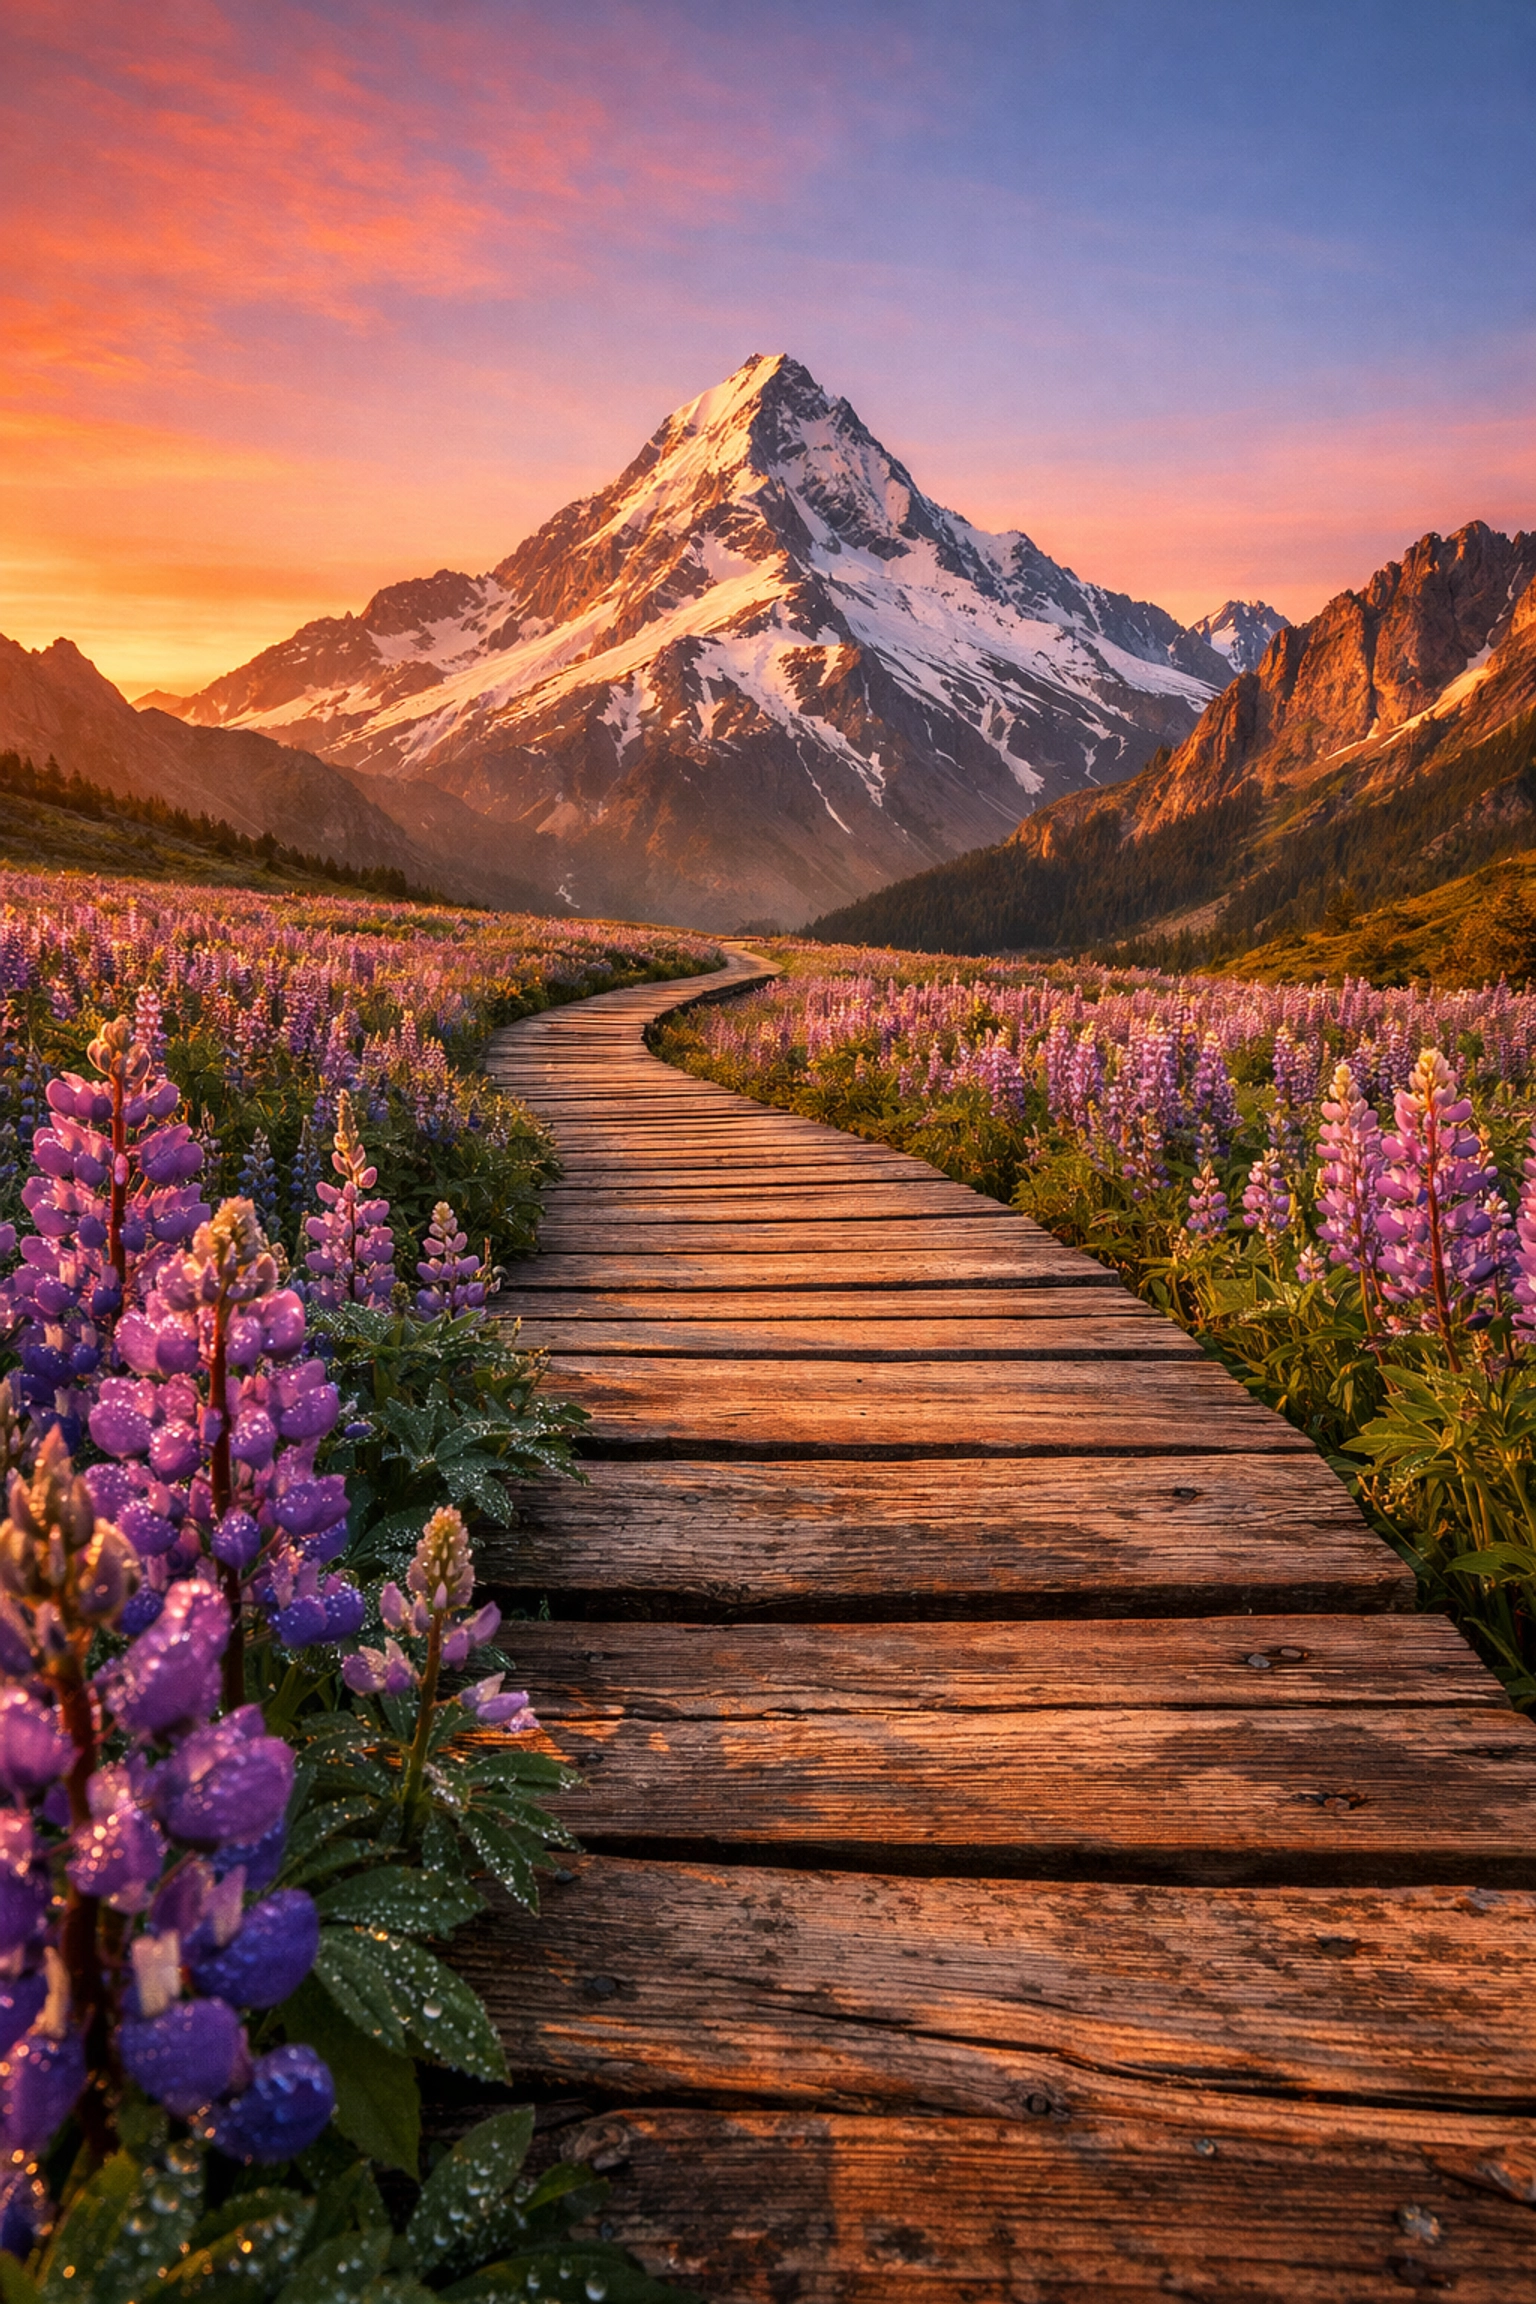
There is something almost spiritual about standing on the edge of a canyon just as the sun starts to peek over the horizon. The air is crisp, the world is quiet, and for a split second, it feels like the universe is putting on a private show just for you. But then comes the hard part: how do you take that massive, breathtaking moment and squeeze it into a tiny digital file without losing the soul of the scene?
Landscape photography is one of the most popular genres for a reason. It gets us outside, it challenges our patience, and it rewards us with stunning visuals. But if you’ve ever come home from a trip only to find your photos look flat, boring, or just plain "meh," you aren’t alone. Capturing the great outdoors is a lot more than just pointing your camera at a mountain and clicking the shutter.
In this ultimate guide, we’re going to break down everything you need to succeed: from the gear that won’t weigh you down to the composition secrets that make your viewers feel like they’re standing right there with you.
The Gear: What’s Actually in Your Bag?
Let’s get one thing straight: you don’t need a $10,000 setup to take a great photo. However, having the right tools for the job makes life a whole lot easier. When you’re hiking five miles into the wilderness, every ounce matters.
1. The Camera Body
Whether you’re using a high-end DSLR or a modern mirrorless system, you want something that gives you manual control. Mirrorless cameras are the current kings of landscape photography because they are lighter and offer incredible dynamic range. If you’re just starting out, even a solid point-and-shoot can do wonders if you know how to work it.
2. The Lenses
If you want those sweeping vistas, a wide-angle lens (anything from 14mm to 24mm) is your best friend. It lets you capture the scale of a mountain range or the vastness of a desert. But don’t sleep on telephoto lenses! Sometimes, zooming in on a single peak or a lone tree in a field creates a much more powerful image than a wide shot ever could.
3. The Tripod
This is non-negotiable. If you want those silky-smooth waterfalls or sharp shots during the "blue hour," you need a sturdy tripod. Wind is the enemy of sharpness, and holding a camera by hand during a three-second exposure is a recipe for a blurry mess.
Mastering the Technical Side
Before you can get creative, you have to get technical. If you’re still shooting on "Auto," it’s time to break that habit. Understanding how to master your camera’s manual mode is the first step toward becoming a pro.
The Exposure Triangle
Landscape photography is a balancing act between three things:
- Aperture: For landscapes, you usually want a deep depth of field. This means using a higher f-stop (like f/8 to f/11) to ensure everything from the grass at your feet to the mountains in the distance is sharp.
- ISO: Keep this as low as possible (usually ISO 100) to avoid digital noise. Landscapes are all about clean, crisp details.
- Shutter Speed: This is where the magic happens. A fast shutter speed freezes a crashing wave, while a slow shutter speed turns it into a misty dream.
Finding the Hyperfocal Distance
This sounds complicated, but it’s just a fancy way of saying "where should I focus?" If you focus on the farthest mountain, your foreground might be blurry. If you focus on the flower right in front of you, the background goes soft. Generally, you want to focus about one-third of the way into the scene to maximize sharpness across the board.
Composition: How to Tell a Story
A mountain is just a pile of rocks until you give it some context. Composition is how you guide the viewer’s eye through the frame.
The Rule of Thirds
Imagine your frame is divided into a 3×3 grid. Instead of putting the horizon right in the middle, try placing it on the top or bottom line. Put your main subject: like a lighthouse or a lone tree: on one of the intersections. It’s a simple trick that instantly makes an image feel more balanced and professional.
Leading Lines
Use nature to your advantage. A winding river, a path through the woods, or even the curve of a shoreline can act as a "leading line" that pulls the viewer’s eyes toward the focal point of your photo.
Foreground Interest
One of the biggest mistakes beginners make is ignoring the bottom of the frame. Adding a rock, a patch of wildflowers, or some interesting ice in the foreground gives your photo a sense of scale and depth. This is a technique often used in real estate photography to make rooms feel bigger, and it works exactly the same way for the great outdoors.
Learning from the Greats: The Peter Lik Influence
When you talk about landscape photography, it’s impossible not to mention the legends. Peter Lik has spent decades capturing some of the most iconic images on the planet. Whether you love his high-saturation style or not, there is no denying his impact on the industry.
Learning from Peter Lik’s iconic works can teach you a lot about patience and waiting for the "perfect" light. He often returns to the same spot dozens of times just to get the right conditions. You can dive deeper into the techniques behind Peter Lik’s landscape photography to see how he manages to make simple scenes look like high-end art.
For more inspiration on finding your own style, check out blog.edinchavez.com or explore the fine art world at www.edinfineart.com.
Timing is Everything
You could have the best gear and the best composition in the world, but if the light is bad, the photo will be bad. Midday sun is harsh, creates ugly shadows, and washes out colors.
The Golden Hour
This is the hour after sunrise and the hour before sunset. The light is soft, warm, and hits the landscape at an angle, creating long shadows that add texture and dimension to your shots.
The Blue Hour
Don't pack up as soon as the sun goes down! The "blue hour": the period of twilight when the sun is below the horizon: produces a cool, ethereal glow that is perfect for moody landscapes and cityscapes.
Scouting and Weather
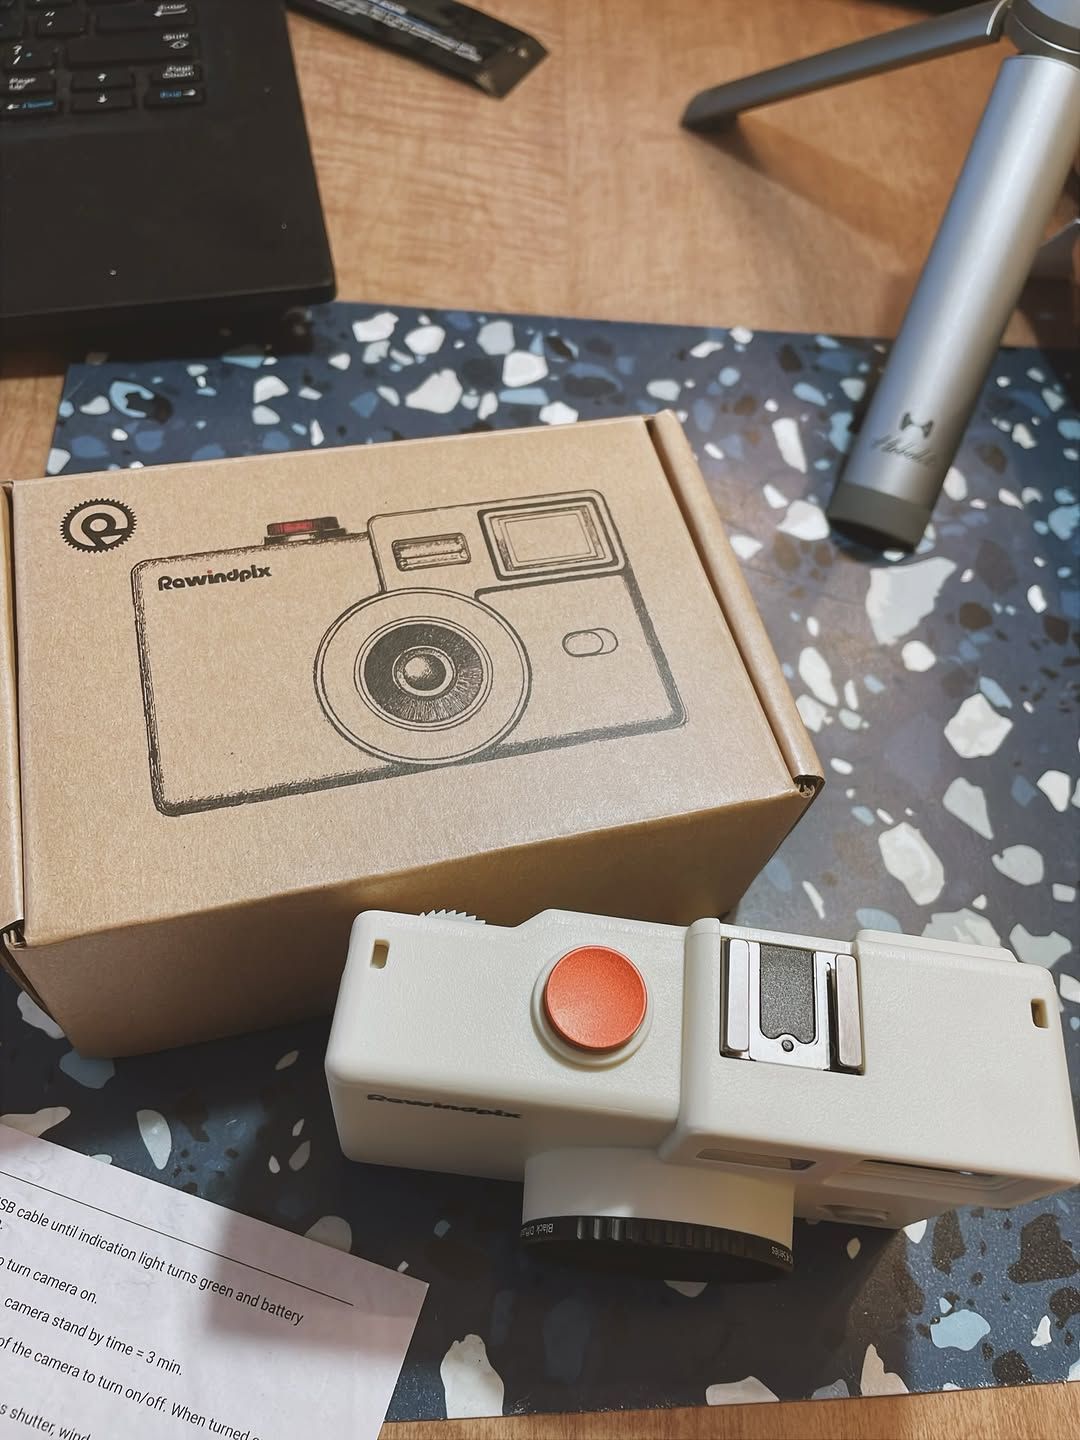
Successful landscape photographers are part-time meteorologists. Use apps to track cloud cover, sunrise times, and even the position of the Milky Way. Sometimes, the "worst" weather (like a passing storm) creates the most dramatic light. If you’re looking for gear that’s easy to carry while scouting, a minimalistic retro digital camera can be a great way to snap reference shots without lugging your full kit.

Post-Processing: Making it Pop
Taking the photo is only half the battle. The "digital darkroom" is where you really bring your vision to life.
Most pros shoot in RAW format, which captures all the data from the sensor without any processing. This means the image will look a bit flat out of the camera, but it gives you total control in editing.
When it comes to editing, Luminar is a game-changer for landscape photographers. Its AI-powered tools can enhance skies, add sun rays, and bring out details in the shadows that you didn't even know were there. The goal isn't to fake the scene, but to make it look the way it felt when you were standing there. For more technical tips on post-processing, PhotoGuides.org is an incredible resource.
The Intersection of Landscape and Real Estate
You might think landscape photography and real estate have nothing in common, but the principles are surprisingly similar. In both fields, you are trying to sell a "view." Whether it's a multi-million dollar mansion or a national park, the way you manipulate vistas and perspectives determines how the viewer perceives the space.
Using landscape techniques: like shooting at the golden hour or focusing on luminosity: can actually transform your property showcases. If you can capture the "vibe" of a location, you can capture the heart of a buyer.
Respecting the Great Outdoors
Finally, we have to talk about ethics. As landscape photographers, we have a responsibility to protect the places we shoot.
- Stay on the trail: Don’t crush delicate wildflowers just for "the shot."
- Leave no trace: If you brought it in, take it out.
- Respect wildlife: Give animals their space. No photo is worth stressing out an animal.
The community is shifting toward more sustainable practices, and it’s important to be a part of that. If you want to learn more about professional standards in various photography fields, www.proshoot.io and www.edinstudios.com are great places to see how the pros handle themselves on location.
Wrapping Up
Landscape photography is a journey, not a destination. You’re going to have days where the weather doesn't cooperate, your batteries die, or you just can't seem to find a good angle. That’s okay. Every "failed" trip is just a lesson in disguise.
Keep practicing, keep exploring, and most importantly, keep your eyes open. The world is a pretty amazing place, and you’re the one who gets to show it to everyone else.
If you’re looking for more tips to level up your game, don’t miss our list of 10 essential photography tips or take a deep dive into how luminosity plays a role in creating depth. Now, grab your gear, shut your aperture, and go get that shot!


