
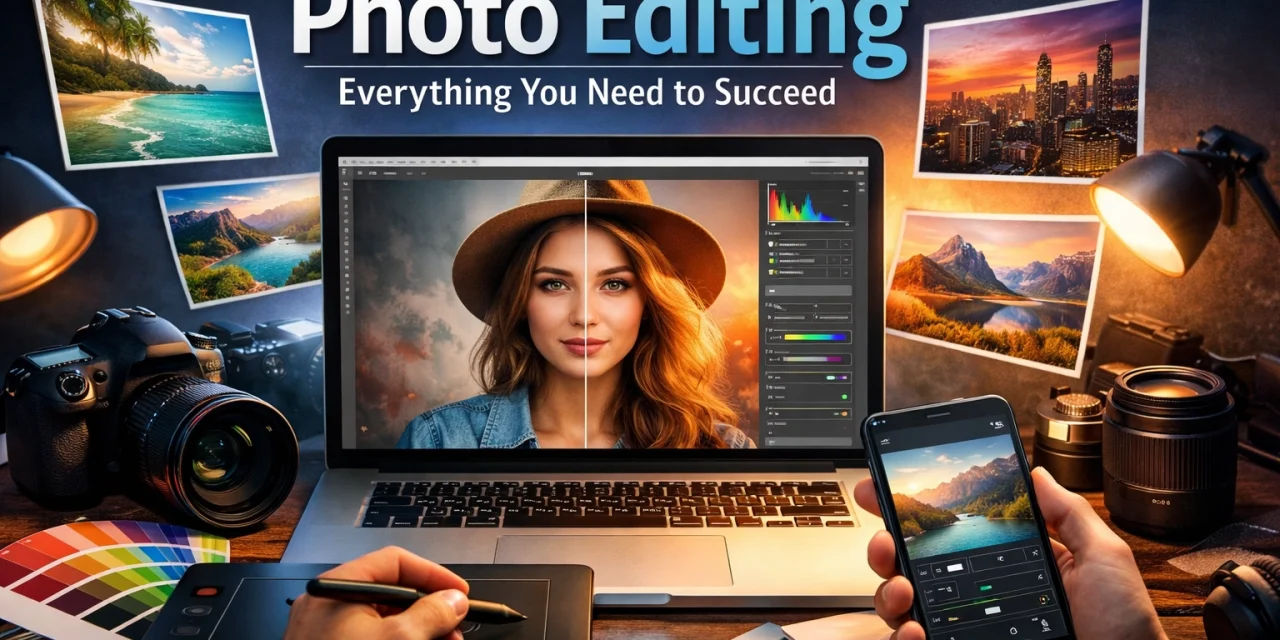
Let’s be real for a second: taking the photo is only half the battle. You can have the best camera in the world and find the most epic location, but if you aren't editing your shots, you're leaving a lot of potential on the table. Think of your raw image as a block of marble. It’s got everything it needs to be a masterpiece, but you still have to chip away the junk to find the statue inside.
At Shut Your Aperture, we believe that editing isn't about "faking" a photo. It’s about bringing back the emotion and the detail that your eyes saw, but your camera sensor couldn't quite capture perfectly. Whether you’re working on water photography or trying to unlock secrets to enchanting urban photography, mastering the edit is what separates the pros from the hobbyists.
The Foundation: Shooting in RAW
Before we even open an editing app, we have to talk about files. If you are still shooting in JPEG, we need to have a little chat. JPEG is a finished product; the camera makes decisions for you, throws away extra data, and bakes in the settings. RAW, on the other hand, keeps every bit of information the sensor grabbed.
When you shoot RAW, you have the "dynamic range" to recover a sky that looks totally white or pull detail out of a shadow that looks pitch black. It’s the difference between being able to save a shot and having to hit delete. Most modern cameras, and even some smartphones, support RAW. Use it. It’s the single best thing you can do for your editing process.
The Essential Photo Editing Workflow
Editing can feel overwhelming. There are a thousand sliders, and it’s easy to get lost. The key is to have a system. If you follow a logical workflow, you won't end up with a messy, over-processed image.
1. Crop and Straighten
The first thing I do is look at the edges. Is there a random trash can in the corner? Is the horizon slightly tilted? Nothing screams "amateur" like a crooked ocean. Fix your composition first so you aren't wasting time editing pixels you’re just going to cut out anyway.
2. Global Adjustments: The Big Three
Exposure, Contrast, and White Balance. These are the heavy hitters.
- Exposure: Start by making sure the overall brightness is right.
- Contrast: Give the image some "pop" by separating the lights and the darks.
- White Balance: This is where you fix the mood. If your shot looks too blue (cold) or too orange (warm), adjust the temperature until it feels natural. Or, get creative and lean into a specific mood.
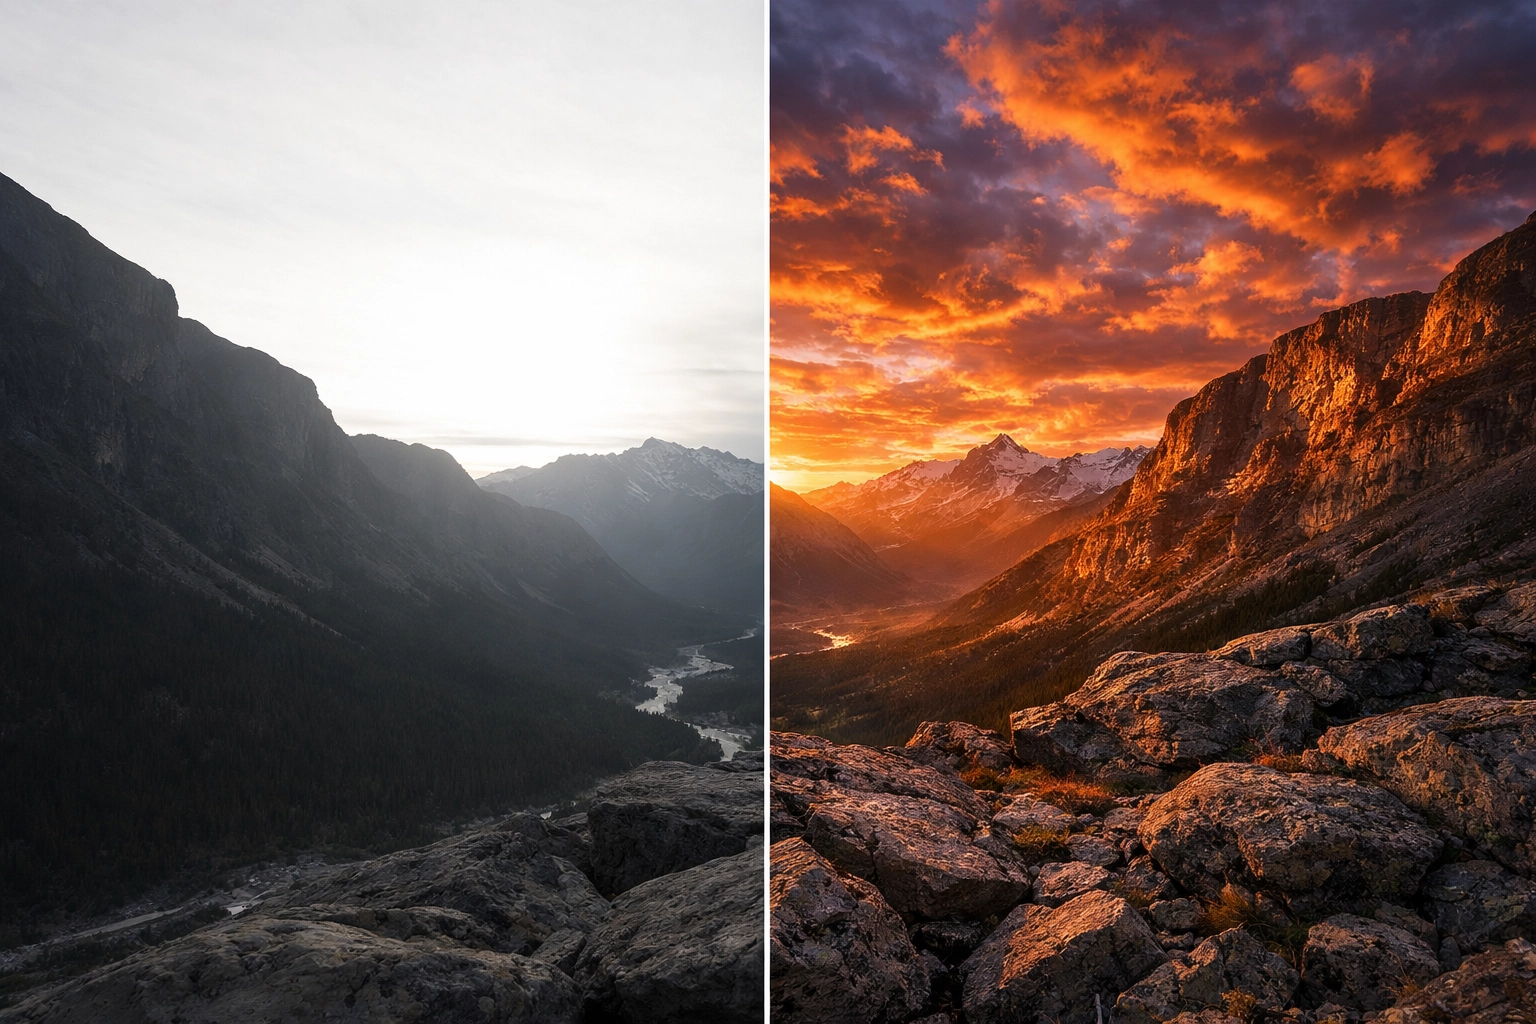
3. Highlights and Shadows
Once the global brightness is set, dive into the details. If you’re shooting majestic sunset photography, you’ll likely want to pull the highlights down to see the colors in the clouds and boost the shadows to see the foreground.
Choosing Your Software
There is no "one size fits all" when it comes to software, but a few tools definitely lead the pack.
Adobe Lightroom
This is the industry standard for a reason. It’s great for organizing thousands of photos and has every tool you need for a professional finish. If you want to learn more about the gear and tech behind great shots, PhotoGuides.org is a solid place to start.
Luminar
If you want to speed up your workflow with some seriously smart AI, Luminar is a game-changer. It handles things like sky replacement and skin retouching with a level of ease that used to take hours in Photoshop. It’s perfect for those who want professional results without spending all day behind a computer. Check out Luminar if you’re looking for a more intuitive, creative approach to your edits.
Mobile Apps
If you’re on the go, Snapseed and Lightroom Mobile are fantastic. They are powerful enough to handle serious edits while you’re sitting in a coffee shop or on a plane. I often use these when I’m scouting hidden gem locations for travel photography and want to post a quick preview.
Advanced Color Grading
This is where the magic happens. Color grading isn't just about making things "accurate": it's about making them "feel" a certain way.
- Vibrance vs. Saturation: Saturation cranks up every color. Vibrance is smarter; it targets the muted colors and leaves the already saturated ones (and skin tones) alone. Use Vibrance for a more natural look.
- HSL (Hue, Saturation, Luminance): This tool allows you to control individual colors. If the greens in your landscape look a bit too "neon," you can go into the Green slider, drop the saturation, and shift the hue toward yellow or blue. This is how you create a signature "look."
If you’re struggling with color, looking at high-end prints can help. I often check out Edin Fine Art to see how professional color grading translates to physical prints. It’s a great way to train your eye.
Editing Different Genres
Each type of photography requires a slightly different touch.
Landscapes
When editing landscapes, you often want to emphasize texture and depth. Be careful not to overdo the "Clarity" slider, though. Too much clarity makes your photo look crunchy and weird. If you’re just starting out, check out this guide on 7 mistakes you’re making with landscape photography.
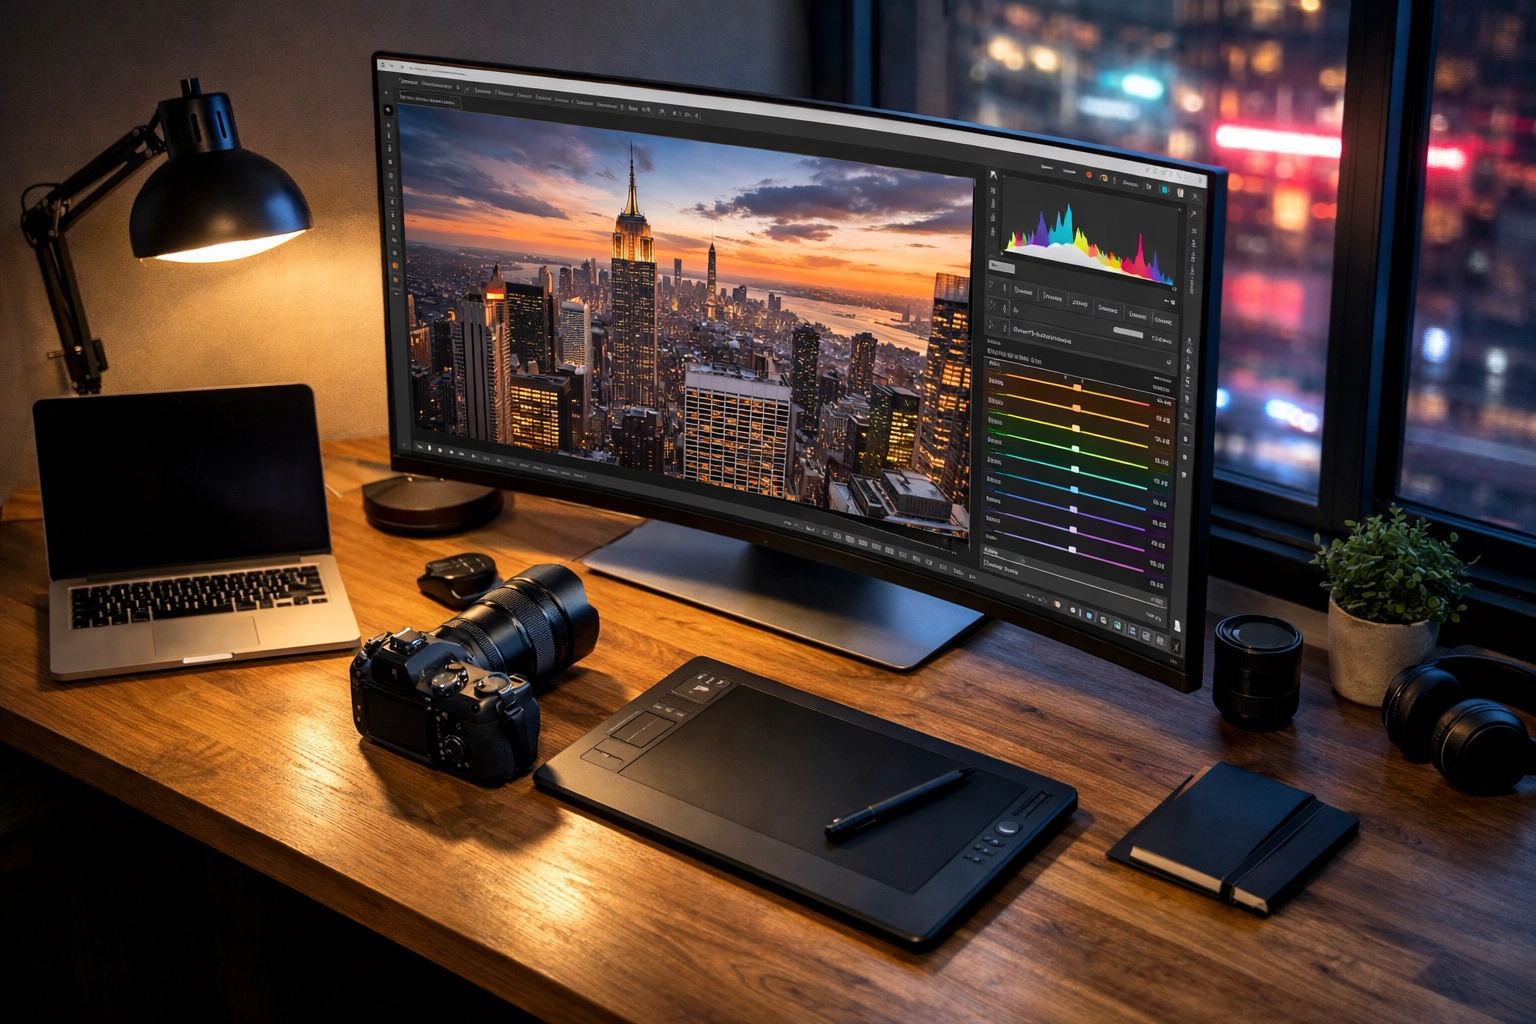
Urban and Architecture
Urban shots usually benefit from a bit more grit. Increasing the contrast and playing with "Dehaze" can help make buildings look sharp and imposing. For more on this, look at our tips to unlock secrets to enchanting urban photography.
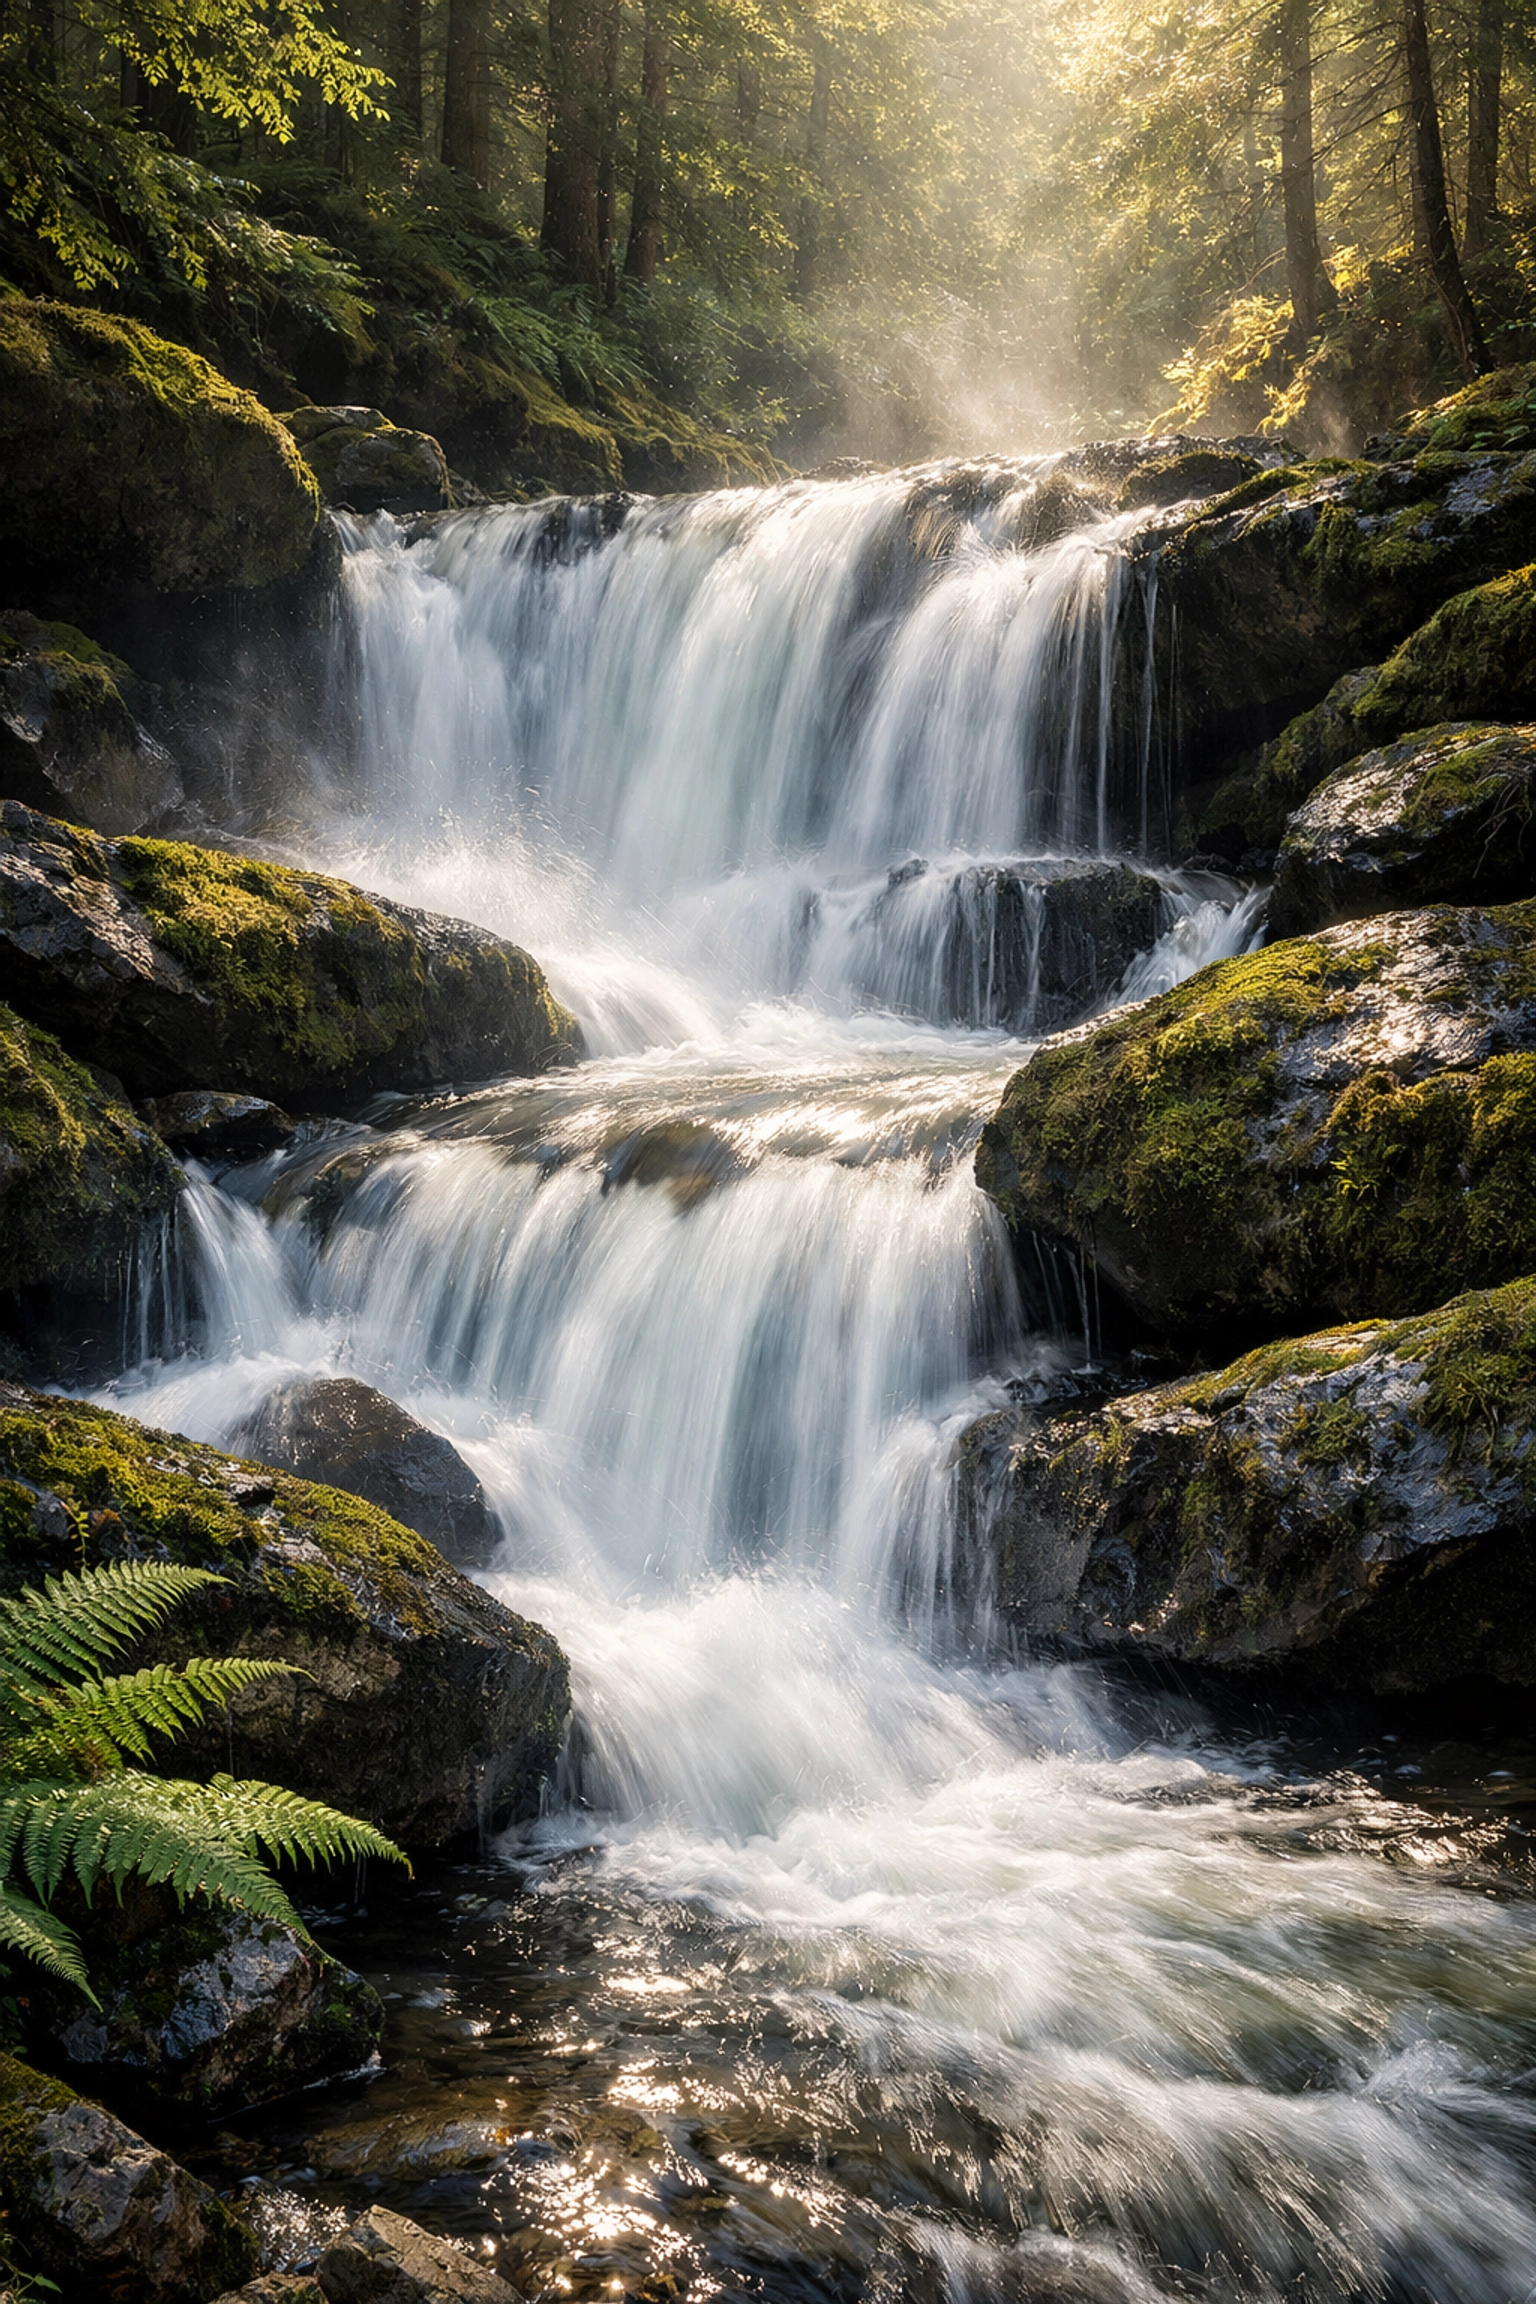
Water and Nature
Water is tricky. You want to maintain the flow without losing the detail. Whether you’re capturing beauty in motion or working in secluded paradises, your edit should focus on the highlights. Water reflects light, so managing those bright spots is key to a clean look.
Texture and Final Touches
Sometimes a photo feels "flat" even after you've nailed the colors. That’s where texture comes in. Adding a bit of grain can give a digital photo a more film-like, organic feel. Or, you can experiment with using rare textures for tangible aesthetic photography to give your work a unique edge.
Sharpening is the very last step. Zoom in to 100% and apply sharpening carefully. You want to enhance the edges, not create weird halos around your subjects. Most software allows you to "mask" the sharpening so it only hits the edges and leaves the smooth areas (like the sky) alone.
The Power of Presets
Presets are basically "recipes" for your photos. They aren't a "one-click fix," but they are an incredible starting point. They help you maintain a consistent style across your portfolio.
I usually apply a preset and then tweak the exposure and white balance to fit the specific shot. This saves a massive amount of time, especially if you’re editing a whole series from a blogger trip.
Common Mistakes to Avoid
- Over-Processing: The #1 mistake. If your photo looks like a neon fever dream, dial it back. Usually, when you think you’re done, move the "Amount" slider to 80%.
- Ignoring the Histogram: This little graph tells you if you're losing detail in your blacks or whites. Don't trust your eyes alone; trust the data.
- Bad Cropping: Don't cut off people's feet or the tops of buildings unless it's intentional. Give your subject room to breathe.
- Ignoring Noise: High ISO shots can get grainy. Use noise reduction tools: but sparingly. If you use too much, people will look like plastic dolls.
Efficiency and Ethics
As you get better, you’ll find yourself spending less time on each photo. This is good! You want to be behind the camera, not just the screen. For those looking to turn their passion into a business, ProShoot.io offers some great insights into the professional side of things.
Also, remember the ethics of editing. If you’re a journalist, your edits should be minimal. If you’re a fine artist, the sky is the limit. Know your purpose before you start sliding those bars.
Practice Makes Permanent
You won’t become a master editor overnight. It takes time to develop your eye. Go back to photos you edited a year ago and try editing them again. You’ll be surprised at how much your style has evolved.
If you’re looking for more inspiration or want to see the behind-the-scenes of professional shoots, head over to Edin’s blog. Seeing how other pros handle their workflow is one of the fastest ways to learn.
Photo editing is a journey, not a destination. It’s about finding your voice and telling your story. So grab your RAW files, fire up Luminar or Lightroom, and start creating something awesome.
Key Takeaways for Your Next Edit
- Always shoot in RAW. It gives you the "soul" of the photo to work with.
- Follow a sequence. Don't jump into color before you fix the lighting.
- Less is often more. Avoid the temptation to max out every slider.
- Focus on the mood. Use color grading to tell a story, not just to make things bright.
- Clean up the distractions. Use spot removal to keep the viewer’s eye on what matters.
Whether you are exploring lesser-known vistas or shooting picturesque coastal escapes, your editing is the final brushstroke on your canvas. Don’t rush it. Enjoy the process of seeing your vision come to life.


