
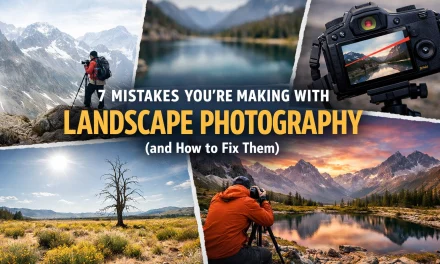
Let’s be honest: landscape photography looks easy from the outside. You find a pretty mountain, you stand there, you press a button, and boom, National Geographic, right?
Not exactly.
If you’ve ever come home from an epic trip, looked at your memory card, and felt like your photos were just… "meh," you’re not alone. We’ve all been there. Even Edin has spent hours hiking to a spot only to realize the light was flat or the composition was a cluttered mess.
The difference between a snapshot and a masterpiece isn't usually the gear (though a Sony Alpha a6000 mirrorless digital camera certainly helps). It’s usually about avoiding the tiny mistakes that scream "amateur."
Here are the seven most common mistakes people make with landscape photography and, more importantly, how you can fix them before your next adventure.
1. The "Wide-Angle Trap": Shooting Everything and Nothing
We love wide-angle lenses. They make everything look epic and huge. But the biggest mistake beginners make is slapping on a wide-angle lens and trying to fit the entire mountain range, the valley, the lake, and the sky into one single frame.
When you try to capture "everything," you often end up with a photo that has no clear subject. Everything looks small and far away. Your viewer’s eye just wanders around the frame with nowhere to land.
How to Fix It:
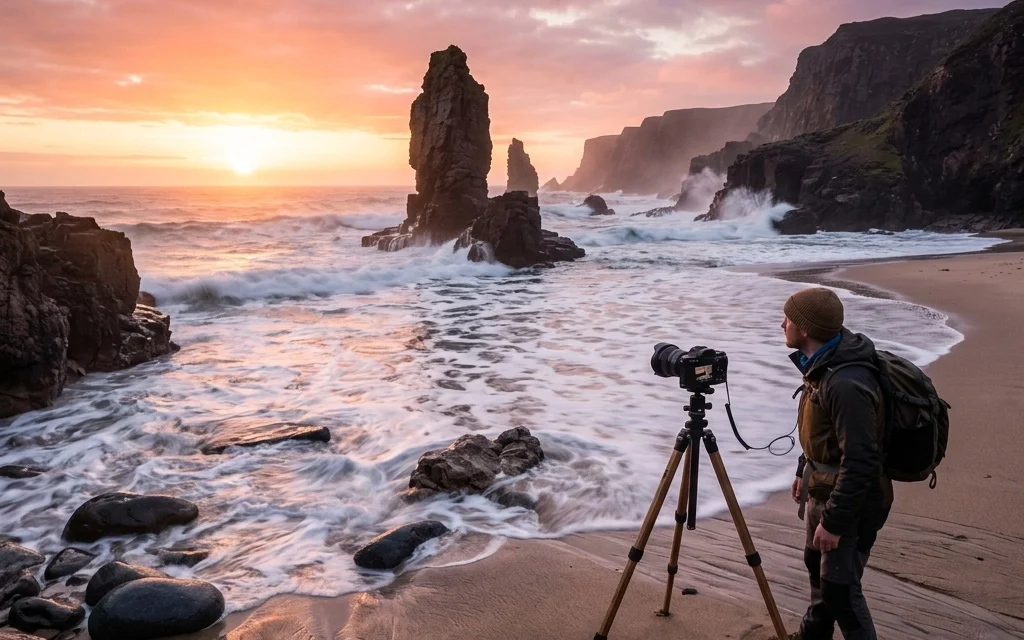
Stop standing in the parking lot. If you’re using a wide-angle lens, you need a strong foreground element to lead the eye. Find a rock, a flower, or a patch of interesting ice and get low, really low.
Alternatively, don’t be afraid to zoom in. Sometimes the real story is a tight shot of a single peak or a specific texture in the desert. If you’re planning a trip to test this out, check out our guide on the best time for USA road trips to find those wide-open spaces that demand better composition.
2. Ignoring the Foreground
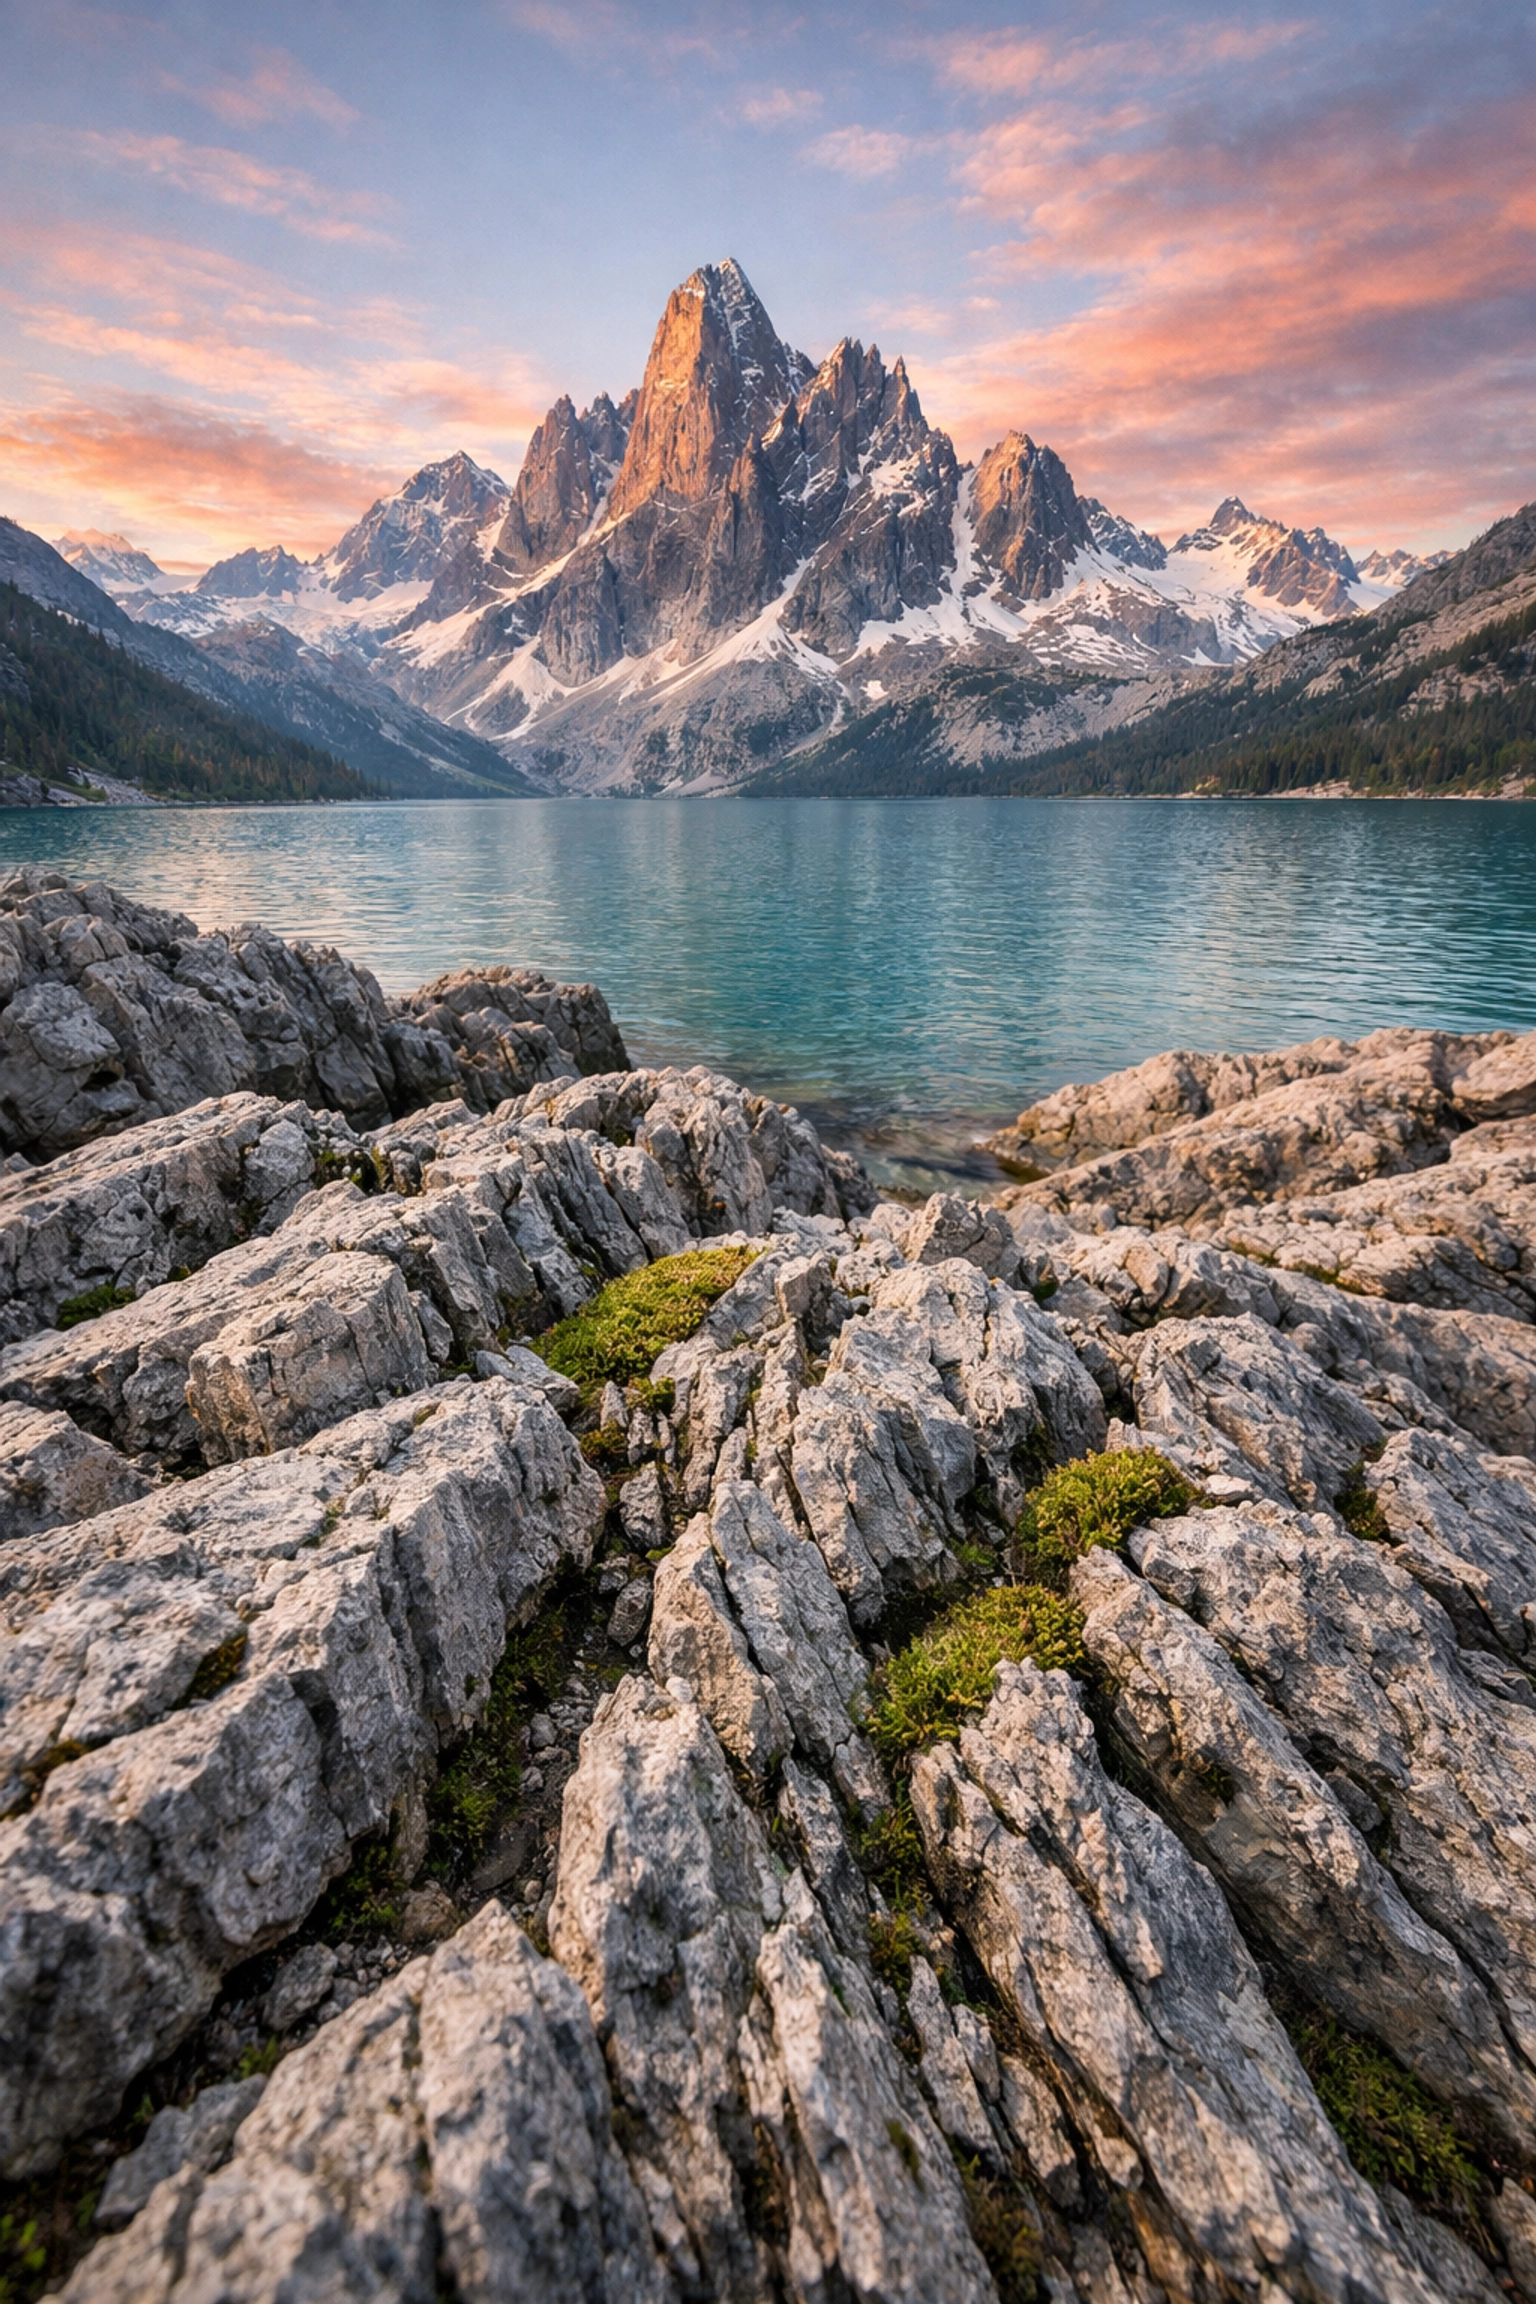
Building on the previous point, a flat foreground is a photo killer. If the bottom third of your image is just empty grass or boring water, your photo will lack depth. Landscape photography is about translating a 3D world onto a 2D surface. To do that effectively, you need layers.
How to Fix It:
Think in layers: Foreground, Middle ground, Background.
- Foreground: Adds scale and leads the eye.
- Middle ground: Provides context.
- Background: The "hero" of the shot.
If you’re struggling with this, look at the work of pros like Poliana Devane. Notice how she uses elements in the frame to create a sense of place. You can also find great composition tutorials over at PhotoGuides.org to help sharpen your eye for these layers.
3. The Aperture Dilemma: F/8 Isn’t Always Enough
There is a common myth that f/8 is the "sweet spot" for every lens. While many lenses are sharpest at f/8, it might not provide enough depth of field to keep your foreground flowers and that distant mountain both tack-sharp.
On the flip side, some photographers get scared of "diffraction" and refuse to go past f/11. While diffraction (a slight softening of the image at very small apertures) is real, it’s often less distracting than a blurry foreground.
How to Fix It:
If you have a subject very close to your lens and a mountain miles away, don't be afraid to stop down to f/13 or f/16. If you’re using high-end gear like a Nikon D4s or a Phase One IQ250, the sensor resolution is so high that you’ll want to ensure your focus is spot on.
Check your corners. If the corners are soft, you likely need a smaller aperture. If you need a lens that can handle these extremes, keep an eye on our Nikon lens sale updates to grab some high-quality glass.
4. Assuming Everything Must Be Sharp
Wait, didn't I just say you need everything sharp? Yes, for traditional landscapes. But one mistake is thinking that’s the only way to shoot.
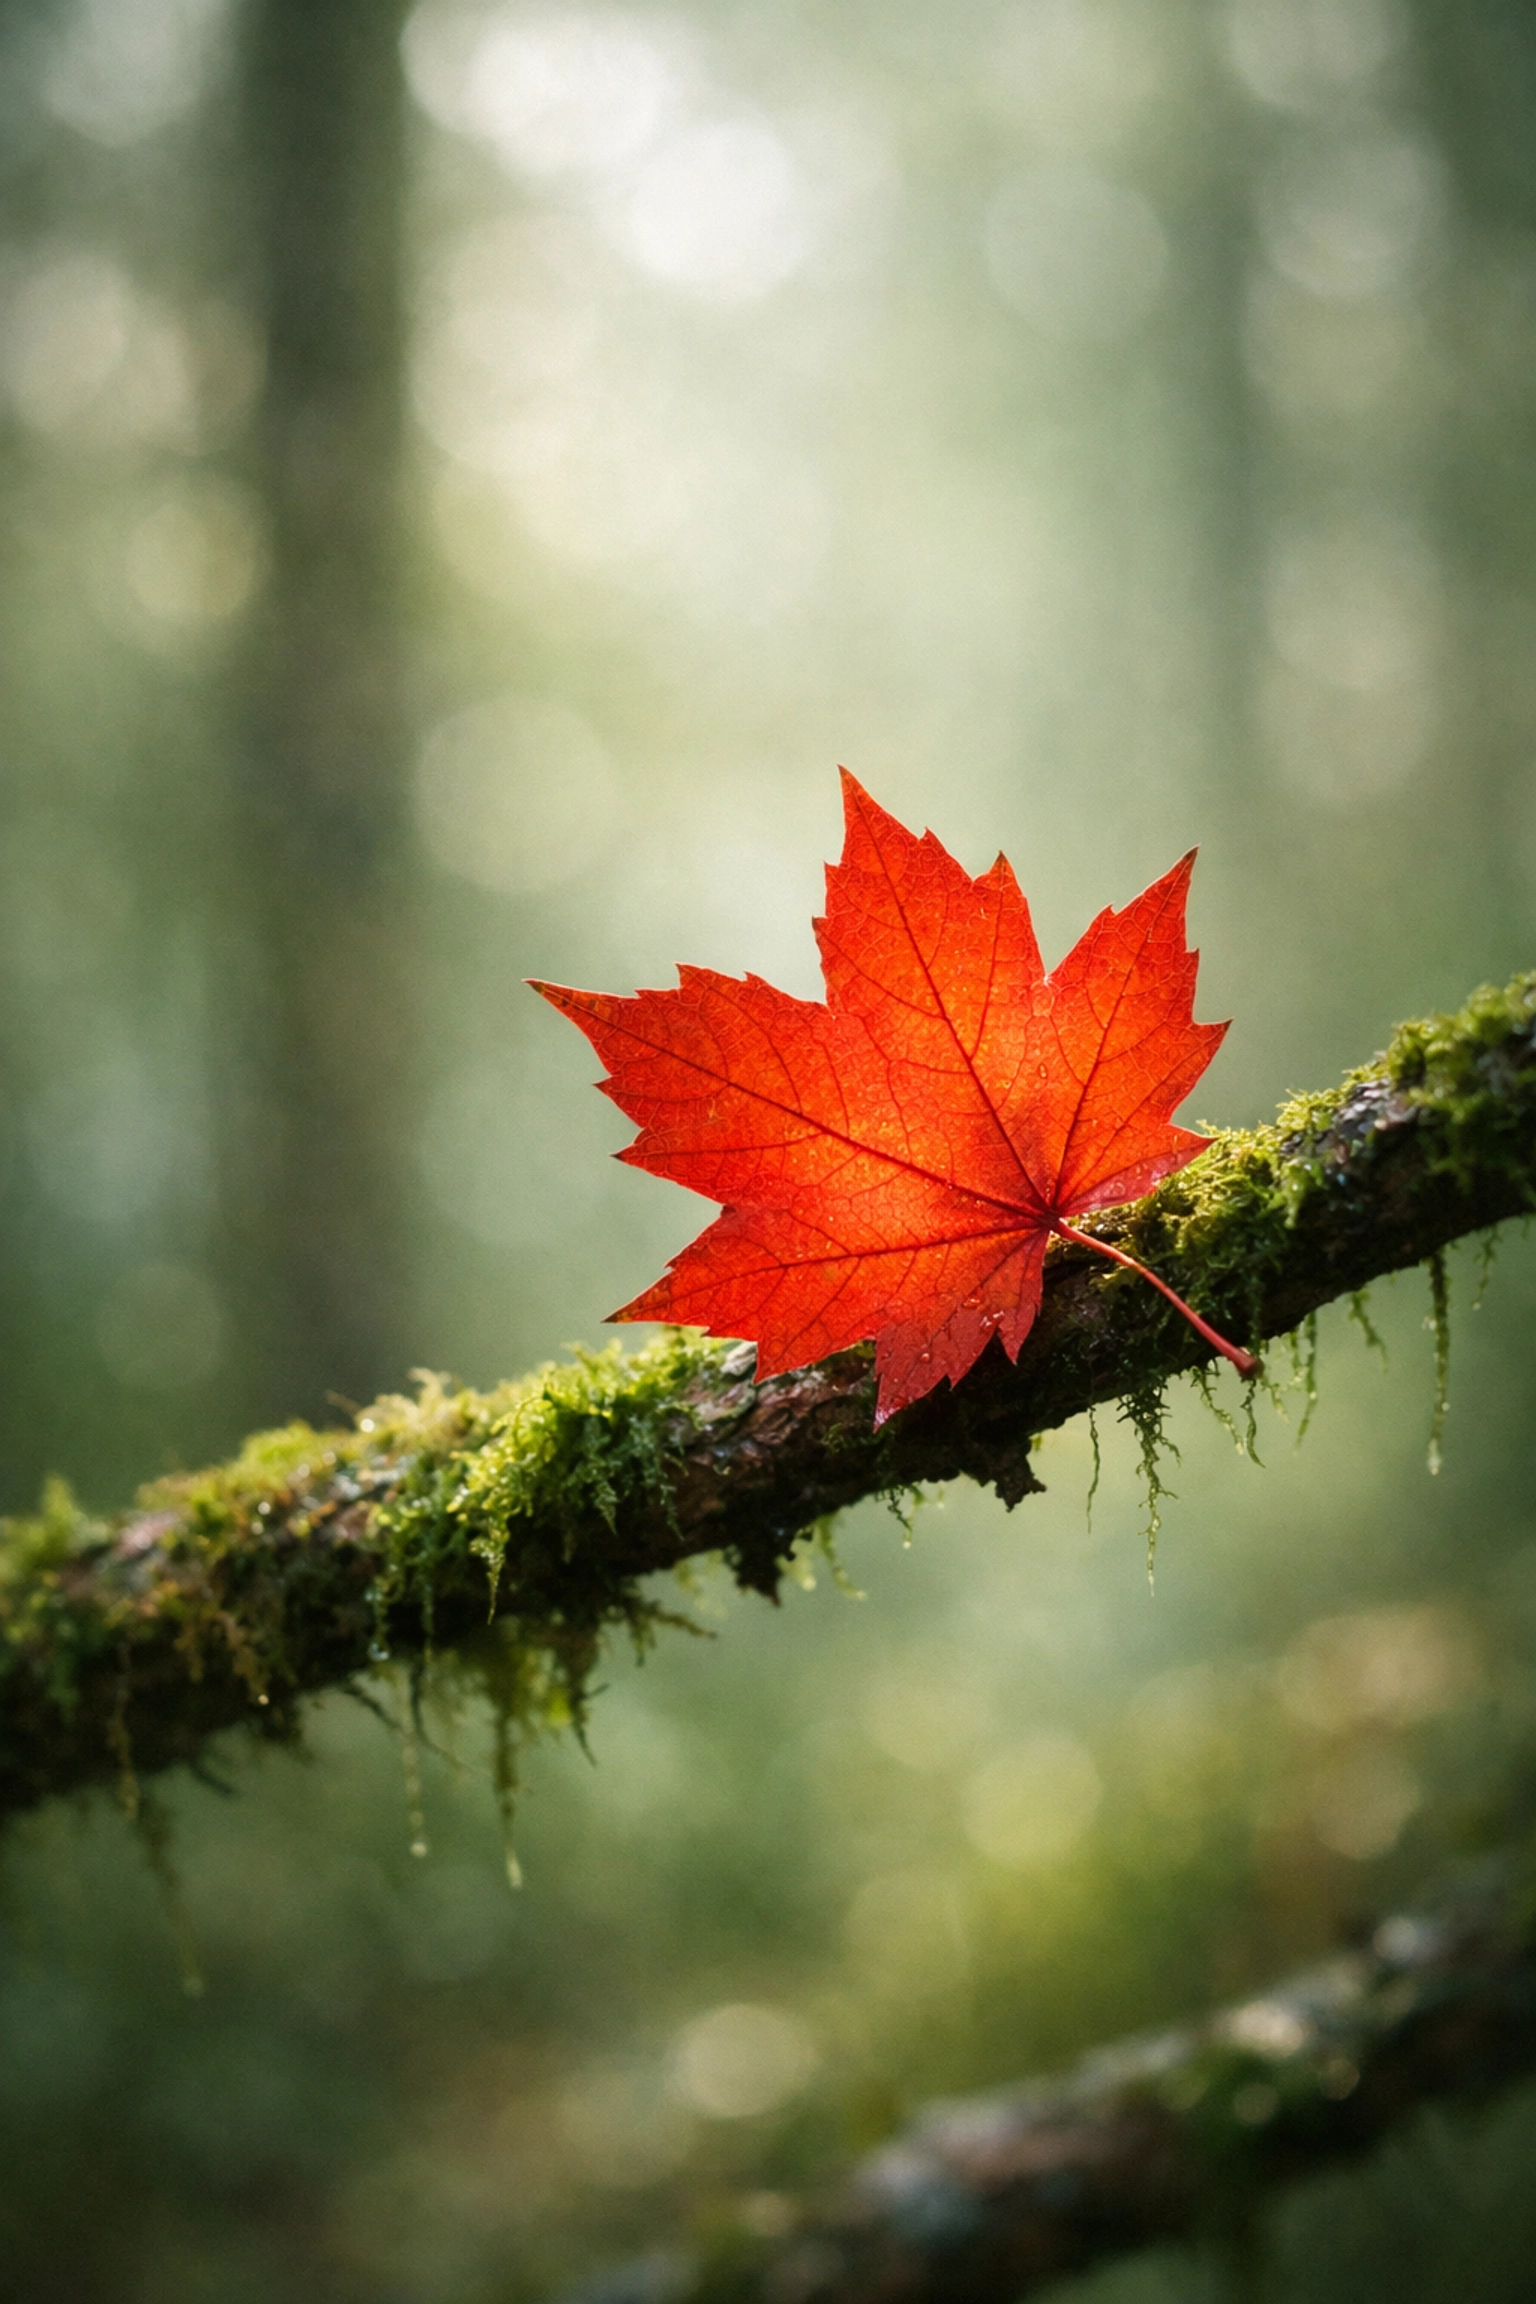
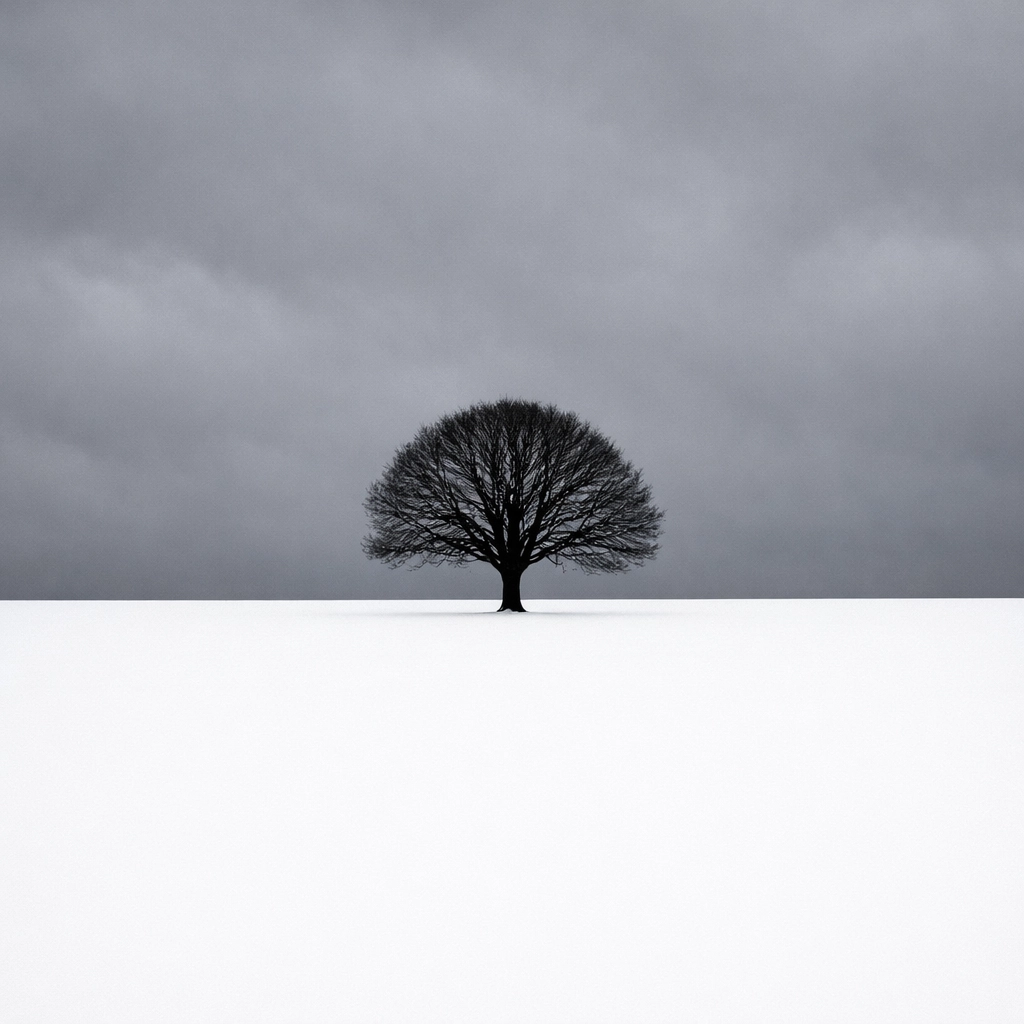
Some of the most emotive landscape photos use a shallow depth of field to isolate a specific detail, a single leaf caught in a stream or a lone tree in the fog. This "intimate landscape" approach can be way more powerful than a standard wide shot.
How to Fix It:
Experiment with "selective focus." Open your aperture up to f/2.8 or f/4 and focus on a specific texture. This is especially effective when you're traveling and want to capture a photographic memory of a specific moment rather than just a postcard view. It’s about the mood, not just the map coordinates.
5. The "Radioactive" Saturation Slider
We’ve all seen them on Instagram: landscapes where the grass is neon green and the sky is a shade of blue not found in nature. Over-processing is the fastest way to ruin a great photo. When you boost saturation too high, you lose detail in the color channels and make the image look like a cartoon.
How to Fix It:
Instead of the "Saturation" slider, use "Vibrance." Vibrance is smarter; it boosts the less-saturated colors without nuking the ones that are already bright.
Better yet, use targeted adjustments. If you’re using Luminar, utilize their AI-driven tools to enhance the sky or foliage naturally. Use HSL (Hue, Saturation, Luminance) sliders to tweak individual colors. If the yellows in the grass are too much, just pull the saturation down on the yellow channel specifically.
Keep it simple. As we say at Shut Your Aperture, simple is usually better. If you want to see how the pros handle color, check out the fine art prints at Edin Fine Art for some inspiration on natural yet punchy editing.
6. Leaving Visual Clutter in the Frame
A stray branch in the top corner, a trash can in the distance, or footprints in the pristine sand, these are the "noise" that distracts from your "signal." Landscape photography is as much about what you leave out of the frame as what you put in.
How to Fix It:
Do the "Border Patrol." Before you click the shutter, run your eye along all four edges of the viewfinder. Is there a half-cut-off tree branch? Is there a bright white rock in the corner that draws attention away from the mountain?
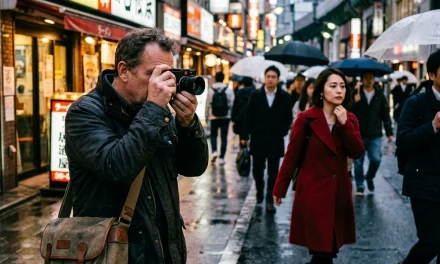
Move your tripod six inches to the left. Tilt down. Clean up your frame before you take the shot. It saves you hours in Photoshop later. If you're shooting in messy environments like Varanasi, India, finding a clean composition is a challenge, but it's what separates the pros from the tourists.
7. Bad Cropping and Wonky Horizons
Nothing kills a professional vibe faster than a crooked horizon. Even if it’s just one degree off, the human brain will notice it and feel like the water is "leaking" out of the photo.
Additionally, many photographers stick to the standard 3:2 aspect ratio because that’s what the camera spits out. But sometimes the sky is boring, or the foreground is messy, and a standard crop just isn't working.
How to Fix It:
Use the level in your camera! Most modern mirrorless cameras like the Fujifilm X-T1 or the Olympus E-M10 have an electronic level you can overlay on the screen.
In post-processing, don't be afraid to crop. A panoramic 16:9 crop can make a mountain range look much more majestic. Or try a 4:5 vertical crop for a more intimate, "tall" feeling. Experimenting with crops can reveal a much stronger composition hiding inside your original file. For more technical tips on post-processing workflows, head over to ProShoot.io.
Gear Doesn't Fix Technique (But It Helps)
While avoiding these mistakes is mostly about your "eye" and your brain, having the right tools makes the job easier. If you’re still rocking an old DSLR and struggling with dynamic range, it might be time for an upgrade. We’ve covered everything from the Hasselblad new camera announcements to the latest in drone photography.
But remember, even the most expensive gear won't help if you're making basic composition errors. Focus on the light, the layers, and the "cleanliness" of your frame.
Final Thoughts for Your Next Shoot
Next time you’re out in the field:
- Slow down. Don't just "spray and pray."
- Check your edges. Is there clutter?
- Think about the light. If the light is bad, even a Muhammad Ali iconic photo wouldn't look right.
- Use Luminar to enhance, not recreate, the scene.
Landscape photography is a journey. You’re going to make mistakes, heck, we still do. The key is to recognize them and adjust. For more behind-the-scenes looks at how professional imagery is created, check out Erik Johansson’s work or see how we handle high-end product shoots.
Now, stop reading this, grab your camera, and go find a mountain. Just remember to check your horizon! For more daily inspiration and tips, you can always visit Edin’s personal blog at blog.edinchavez.com.


