
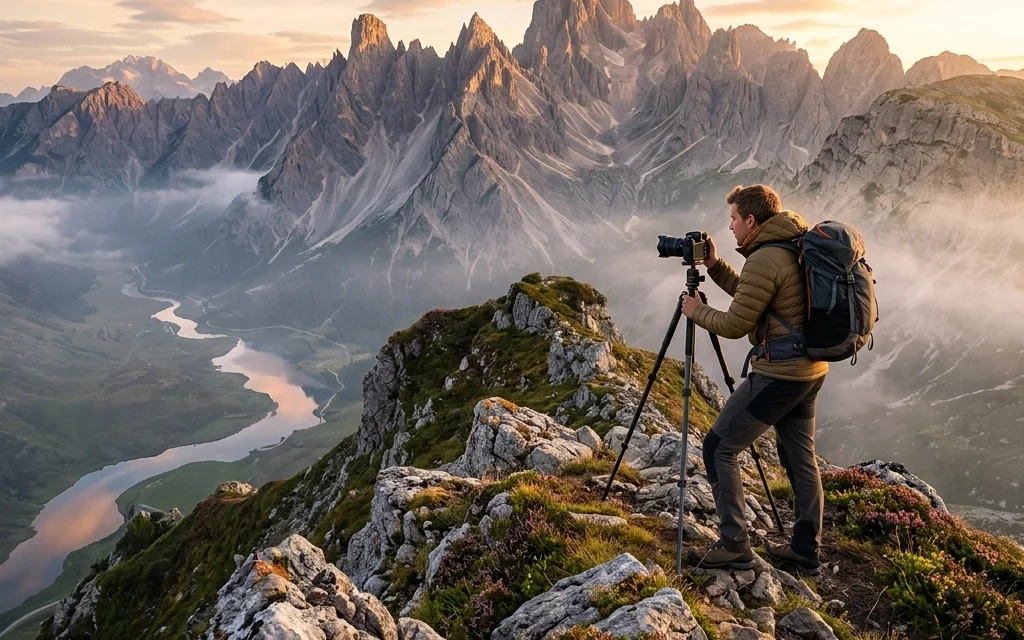
Landscape photography seems like it should be the easiest thing in the world. You find a big, beautiful mountain, you point your camera at it, and you press a button. The mountain isn't going anywhere. It’s not like a toddler who won't sit still or a bird that flies away the second you focus. It’s a giant rock. It just sits there.
But if you’ve ever come home from a trip to the Rockies or the desert and realized your photos look like flat, boring snapshots rather than the epic vistas you saw with your own eyes, you know the truth: landscape photography is hard.
I’ve been shooting for a long time, and I’ve made every mistake in the book. Twice. Maybe three times on a bad Monday. Most of the time, the difference between a "meh" photo and a "wow" photo isn't the camera you’re using; it’s the tiny mistakes you’re making during the shoot and in the edit.
Let’s break down the seven most common mistakes I see people making with landscape photography and, more importantly, how you can fix them right now.
1. You Have Zero Depth of Field (or the Wrong Kind)
A lot of beginners hear that you need a "deep depth of field" for landscapes. So, they set their camera to f/8 or f/11 and call it a day. But then they get home and realize the flowers in the foreground are a blurry mess, or the distant peaks look soft.
The mistake here is two-fold. First, f/8 isn't always enough if your foreground element is right in your face. Second, some people go the other way and crank it to f/22, which actually makes the whole image softer because of something called lens diffraction.
The Fix:
Don't just set it and forget it. If you have a subject very close to your lens (like a cool rock or some wildflowers), you might need to stop down to f/16 or use a technique called focus stacking. Focus stacking involves taking multiple shots at different focus points and blending them later.
If you want to learn more about how the pros handle these technical hurdles, check out the techniques behind Peter Lik’s landscape photography. He’s a master at making sure every inch of the frame is tack sharp.
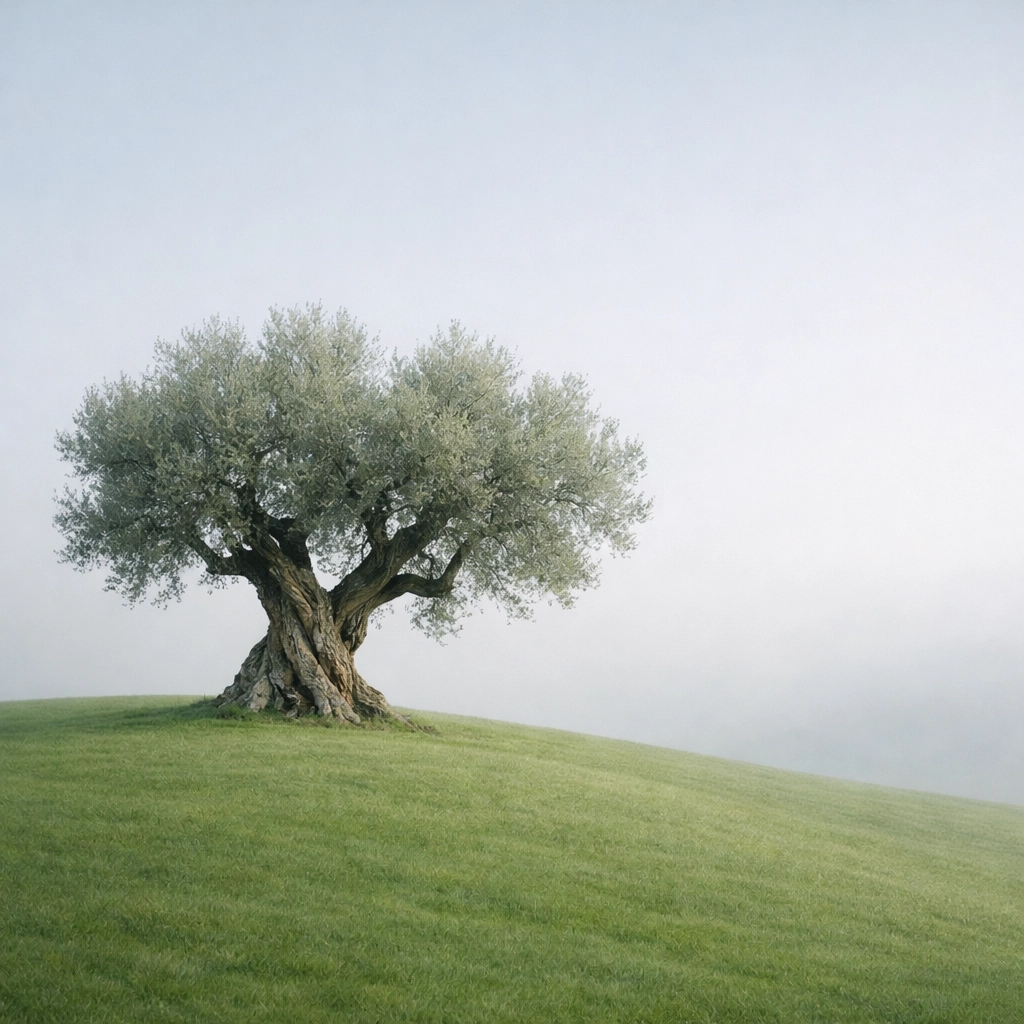
2. You Think Everything Has to Be Sharp
Wait, didn't I just say you need depth of field? Yes, for grand vistas. But the second mistake is assuming every landscape photo requires everything from front to back to be in focus.
Sometimes, landscape photography is about intimacy. If you’re shooting a single tree in a misty field or a detail in the forest, using a wide aperture (like f/2.8 or f/4) can create a beautiful, painterly look. This is called subject isolation. It helps the viewer’s eye land exactly where you want it to.
The Fix:
Ask yourself: "What is the story here?" If the story is the vastness of the canyon, go for sharpness. If the story is the delicate texture of a leaf against a blurred forest background, open up that aperture. Embracing a little "bokeh" in your landscapes can give your portfolio a much-needed variety. You can even use Luminar to enhance that atmospheric depth during post-processing if the natural light wasn't cooperating.
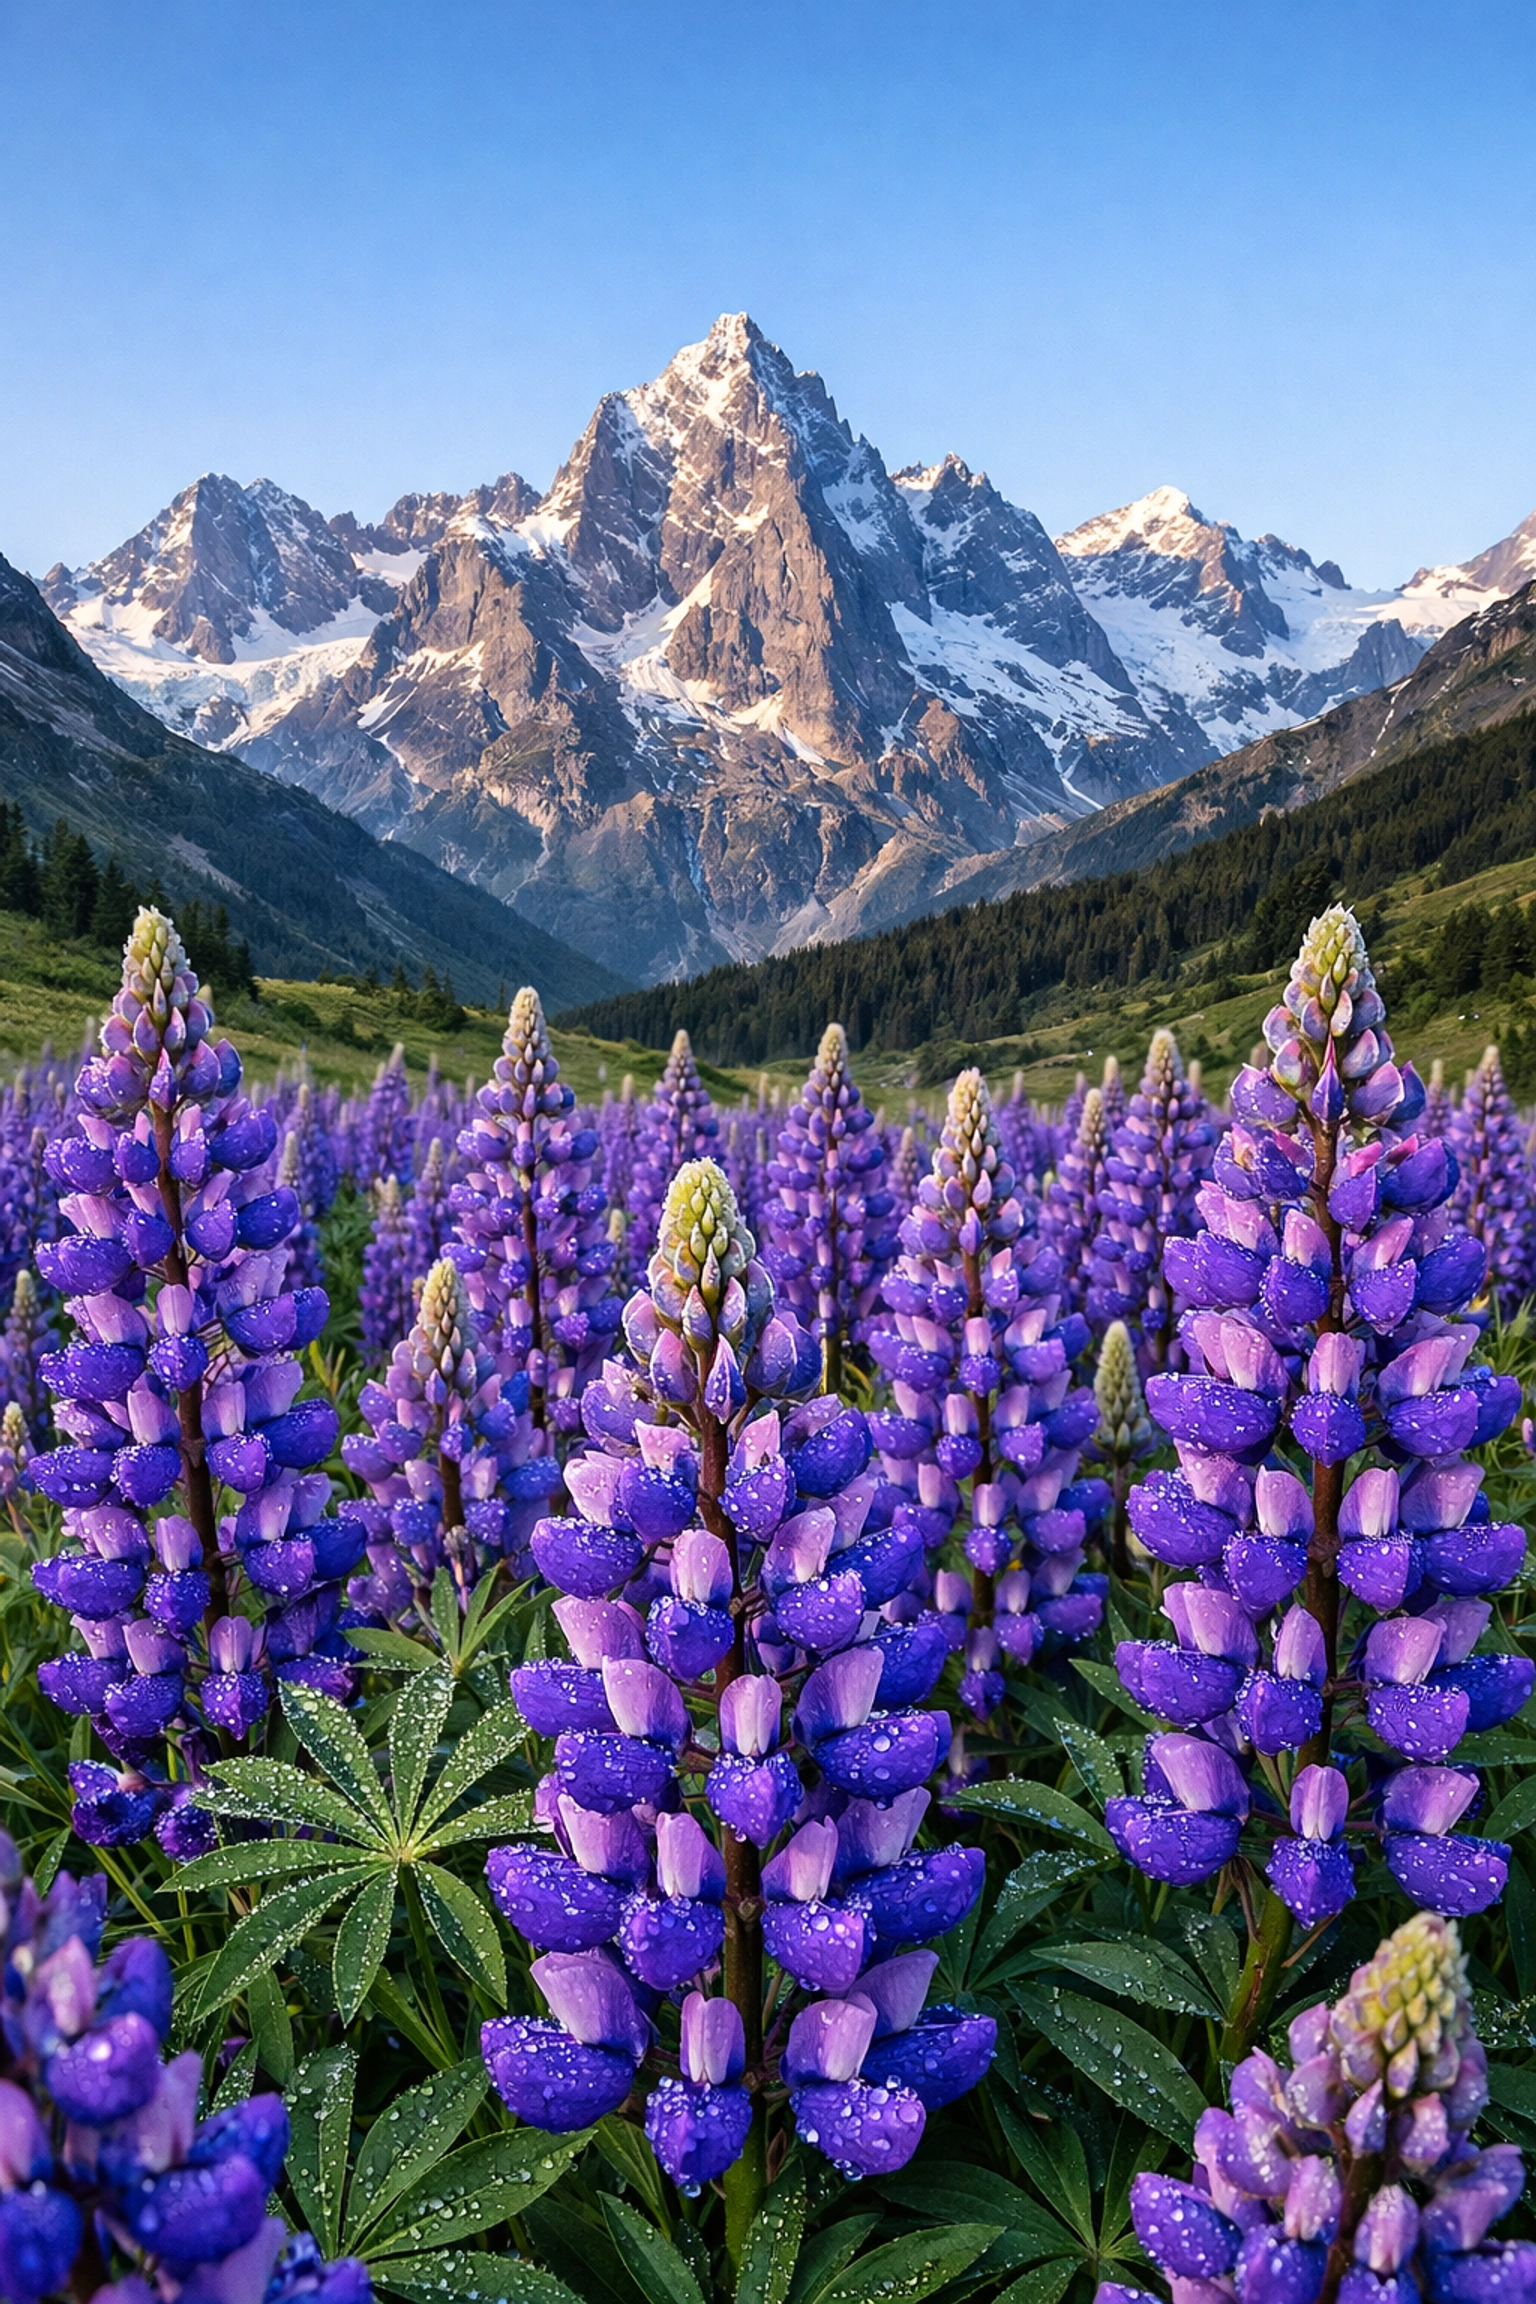
3. The "Clown Vomit" Saturation Trap
We’ve all been there. You get home, the RAW file looks a little grey, and you think, "I'll just bump the saturation slider to +50." Suddenly, the grass is neon green and the sky is a shade of blue that doesn't exist in nature. This is the hallmark of a rookie landscape photographer.
Over-saturating your colors kills the realism and makes your work look cheap. It’s a quick way to lose the trust of your audience.
The Fix:
Stop using the Saturation slider as your primary tool. Instead, use the Vibrance slider, which is more subtle, or better yet, use HSL (Hue, Saturation, Luminance) sliders. This allows you to target specific colors. If the yellows in the autumn leaves are dull, just boost the yellows. Don't turn the whole world orange in the process.
For a deeper dive into making your images look professional and high-end, take some lessons in landscape photography from Peter Lik to see how he manages color and light without making it look like a cartoon.
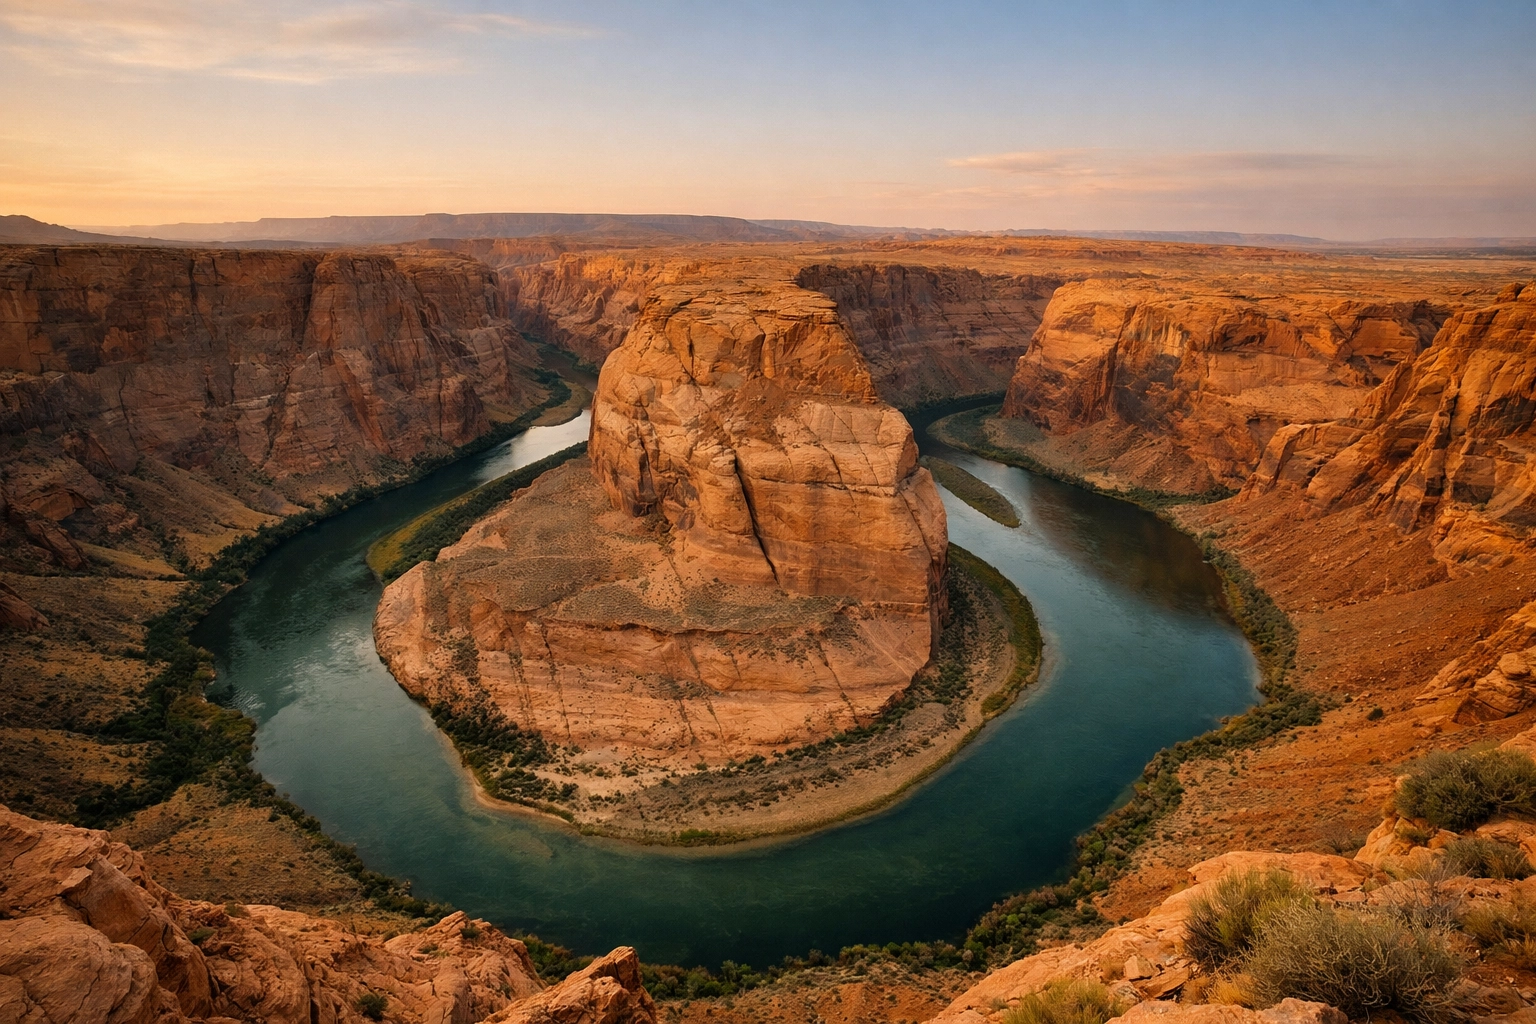
4. Ignoring the Histogram (and Blowing Highlights)
The sky is the most common victim here. You expose for the dark foreground, and suddenly the sky is a solid block of white. Once a highlight is "blown" (meaning it's 100% white with no data), you can't bring it back. It's gone. Forever.
The same goes for "crushing" your shadows. If you underexpose too much, you’ll get black blobs where the trees should be, and if you try to lift those shadows in editing, you’ll just get a bunch of digital noise.
The Fix:
Learn to read your histogram. It’s that little graph on the back of your camera. If the graph is touching the far right side, you're losing highlight detail. If it’s touching the far left, you’re losing shadow detail.
Try to keep the "mountain" of your histogram in the middle. If the scene has too much contrast (like a bright sunset), consider taking two exposures: one for the sky and one for the ground: and merging them. This is basic mastering photography 101. Also, software like Luminar has incredible AI tools specifically designed to recover highlights and balance exposure with one click.
5. Cleaning Your "Kitchen" (Composition Clutter)
Imagine you’re taking a photo of a stunning waterfall. It’s majestic. But in the bottom left corner, there’s a stray plastic bottle, and in the top right, there’s a random tree branch poking into the frame. These are distractions.
A landscape photo should be a curated experience. You aren't just a witness; you’re a director. If there are footprints in the sand that ruin the "untouched" vibe, or a power line cutting through your mountain range, it weakens the image.
The Fix:
Check your corners! Before you hit the shutter, run your eyes around the edges of the viewfinder. Move your tripod six inches to the left to hide that trash can behind a bush. Pick up the literal trash if you have to (and please do: leave no trace!).
If you missed something in the field, use the generative erase tools in Luminar or other editors to clean up the frame. For more on how composition impacts the viewer, you might find it interesting how shot composition affects buyer attraction in real estate: the principles of "clean" imagery are universal.
6. Over-Processing Your Noise Reduction
We all hate digital noise: that graininess that happens in low light. To fix it, many photographers go overboard with noise reduction sliders. The result? A photo that looks like it was made of melted wax. You lose all the texture in the rocks, the crispness of the pine needles, and the soul of the image.
Some noise is actually okay. It adds a bit of "grit" and makes the photo feel real.
The Fix:
Apply noise reduction selectively. Don't apply it to the whole image if you don't have to. Use masking to keep your sharp details (like the mountain ridges) untouched while smoothing out the flat areas (like the sky).
If you’re struggling with grainy images, it might be time to look at your timing. Shooting during the "Golden Hour" provides better light, which means lower ISO and less noise. Planning your trips around the best time for USA road trips can help you be in the right place when the light is most forgiving.
7. The Wonky Horizon and Bad Cropping
Nothing screams "amateur" faster than a crooked horizon. If the ocean looks like it’s draining out of the left side of the frame, you’ve failed. Beyond just being level, many photographers fail to use the crop tool to its full potential. They leave too much "dead space" at the bottom or top that doesn't add to the story.
The Fix:
Turn on the grid lines in your viewfinder. Seriously, it’s a game-changer. Most cameras have an electronic level: use it.
When you get to the editing stage, don't be afraid to experiment with aspect ratios. A standard 2:3 frame might not be the best fit. Maybe the scene wants to be a wide 16:9 panorama, or a classic 4:5 vertical. Strategic cropping can turn a decent photo into a masterpiece by focusing the viewer's attention. You can find more inspiration on how to frame your world by looking at Peter Lik’s iconic works through the years.
Landscape Photography is a Journey
Fixing these seven mistakes won't happen overnight. It takes practice and, honestly, a lot of "failed" photos to start seeing these things instinctively. The best thing you can do is get out there and shoot as much as possible.
If you want to keep improving, I highly recommend checking out resources like PhotoGuides.org for technical deep-dives or heading over to blog.edinchavez.com to see some of my personal adventures and the gear I use to get the job done.
Landscape photography is about more than just a pretty view; it’s about how you translate that view into a story. Avoid these common pitfalls, keep your sensor clean, and don't be afraid to get your boots muddy.
For more tips on the creative side of things, check out our post on Peter Lik: The Creative Process Revealed. It’s a great look into the mindset of a guy who has turned landscapes into a fine art empire. Now, grab your gear and get out there!


