
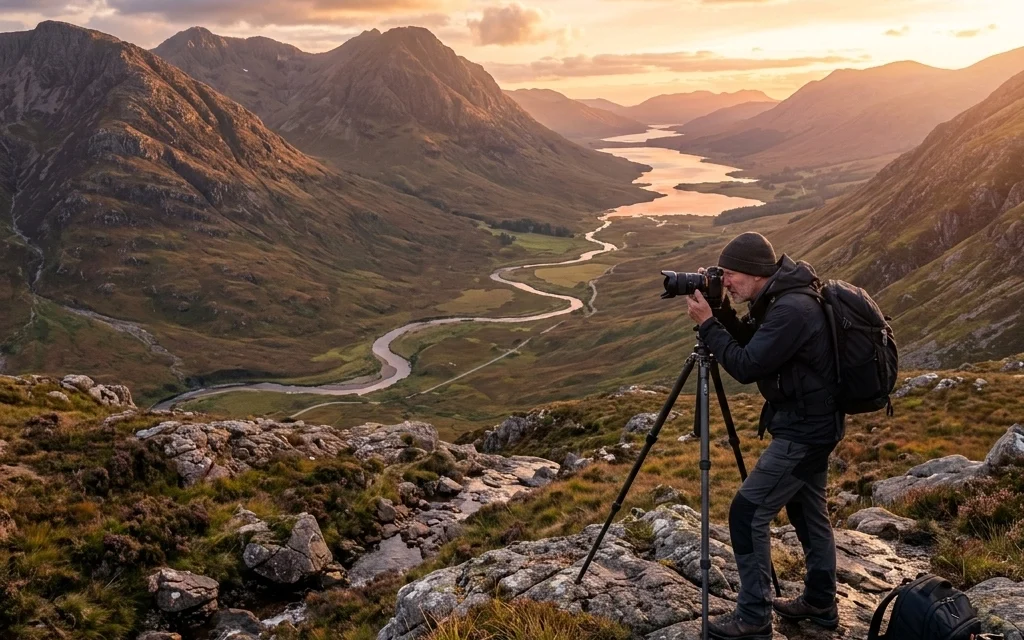
Landscape photography is more than just standing in front of a pretty mountain and clicking a button. If it were that easy, everyone with an iPhone would be Ansel Adams. It’s a craft that blends technical precision with a bit of soul, a lot of patience, and usually a pair of very muddy boots.
Whether you’re a beginner trying to figure out why your sunsets look like muddy orange blobs, or a seasoned pro looking to refine your workflow, this guide is for you. We’re going to break down the gear, the settings, the composition, and the "secret sauce" that turns a snapshot into a piece of fine art. At Shut Your Aperture, we believe in keeping things simple but effective. So, let’s get into it.
The Reality of Landscape Photography
Let’s be real for a second: landscape photography is 90% waiting and 10% shooting. You’ll spend hours hiking, scouting, and checking weather apps, all for a 15-minute window where the light hits just right. If you’re looking for instant gratification, maybe stick to professional corporate headshots. But if you’re looking for a way to connect with the world and capture its scale, there is nothing better.
Before you even touch your camera, you need to understand that the "perfect" landscape doesn’t exist until you create it through your lens. It’s about interpretation, not just documentation.
The Gear: What You Actually Need
There’s a common myth in the photography world: "Better gear makes better photos." That’s a lie. Better gear makes it easier to get high-quality files, but the vision comes from you. That said, having the right tools for the job helps a lot.
The Camera Body
You don’t need the most expensive mirrorless beast on the market. A solid DSLR or a mid-range mirrorless camera is plenty. What you really want is a sensor with a high dynamic range: the ability to capture detail in both the bright sky and the dark shadows. If you want to see what high-end gear can produce in the right hands, check out the prints at Edin Fine Art.
The Lens: Think Wide (and Long)
Most people assume landscape photography equals wide-angle lenses. While a 14mm or 24mm lens is great for capturing vast expanses, don’t sleep on telephoto lenses. A 70-200mm lens allows you to compress the scene, picking out patterns in the mountains or details in the trees that a wide-angle would lose.
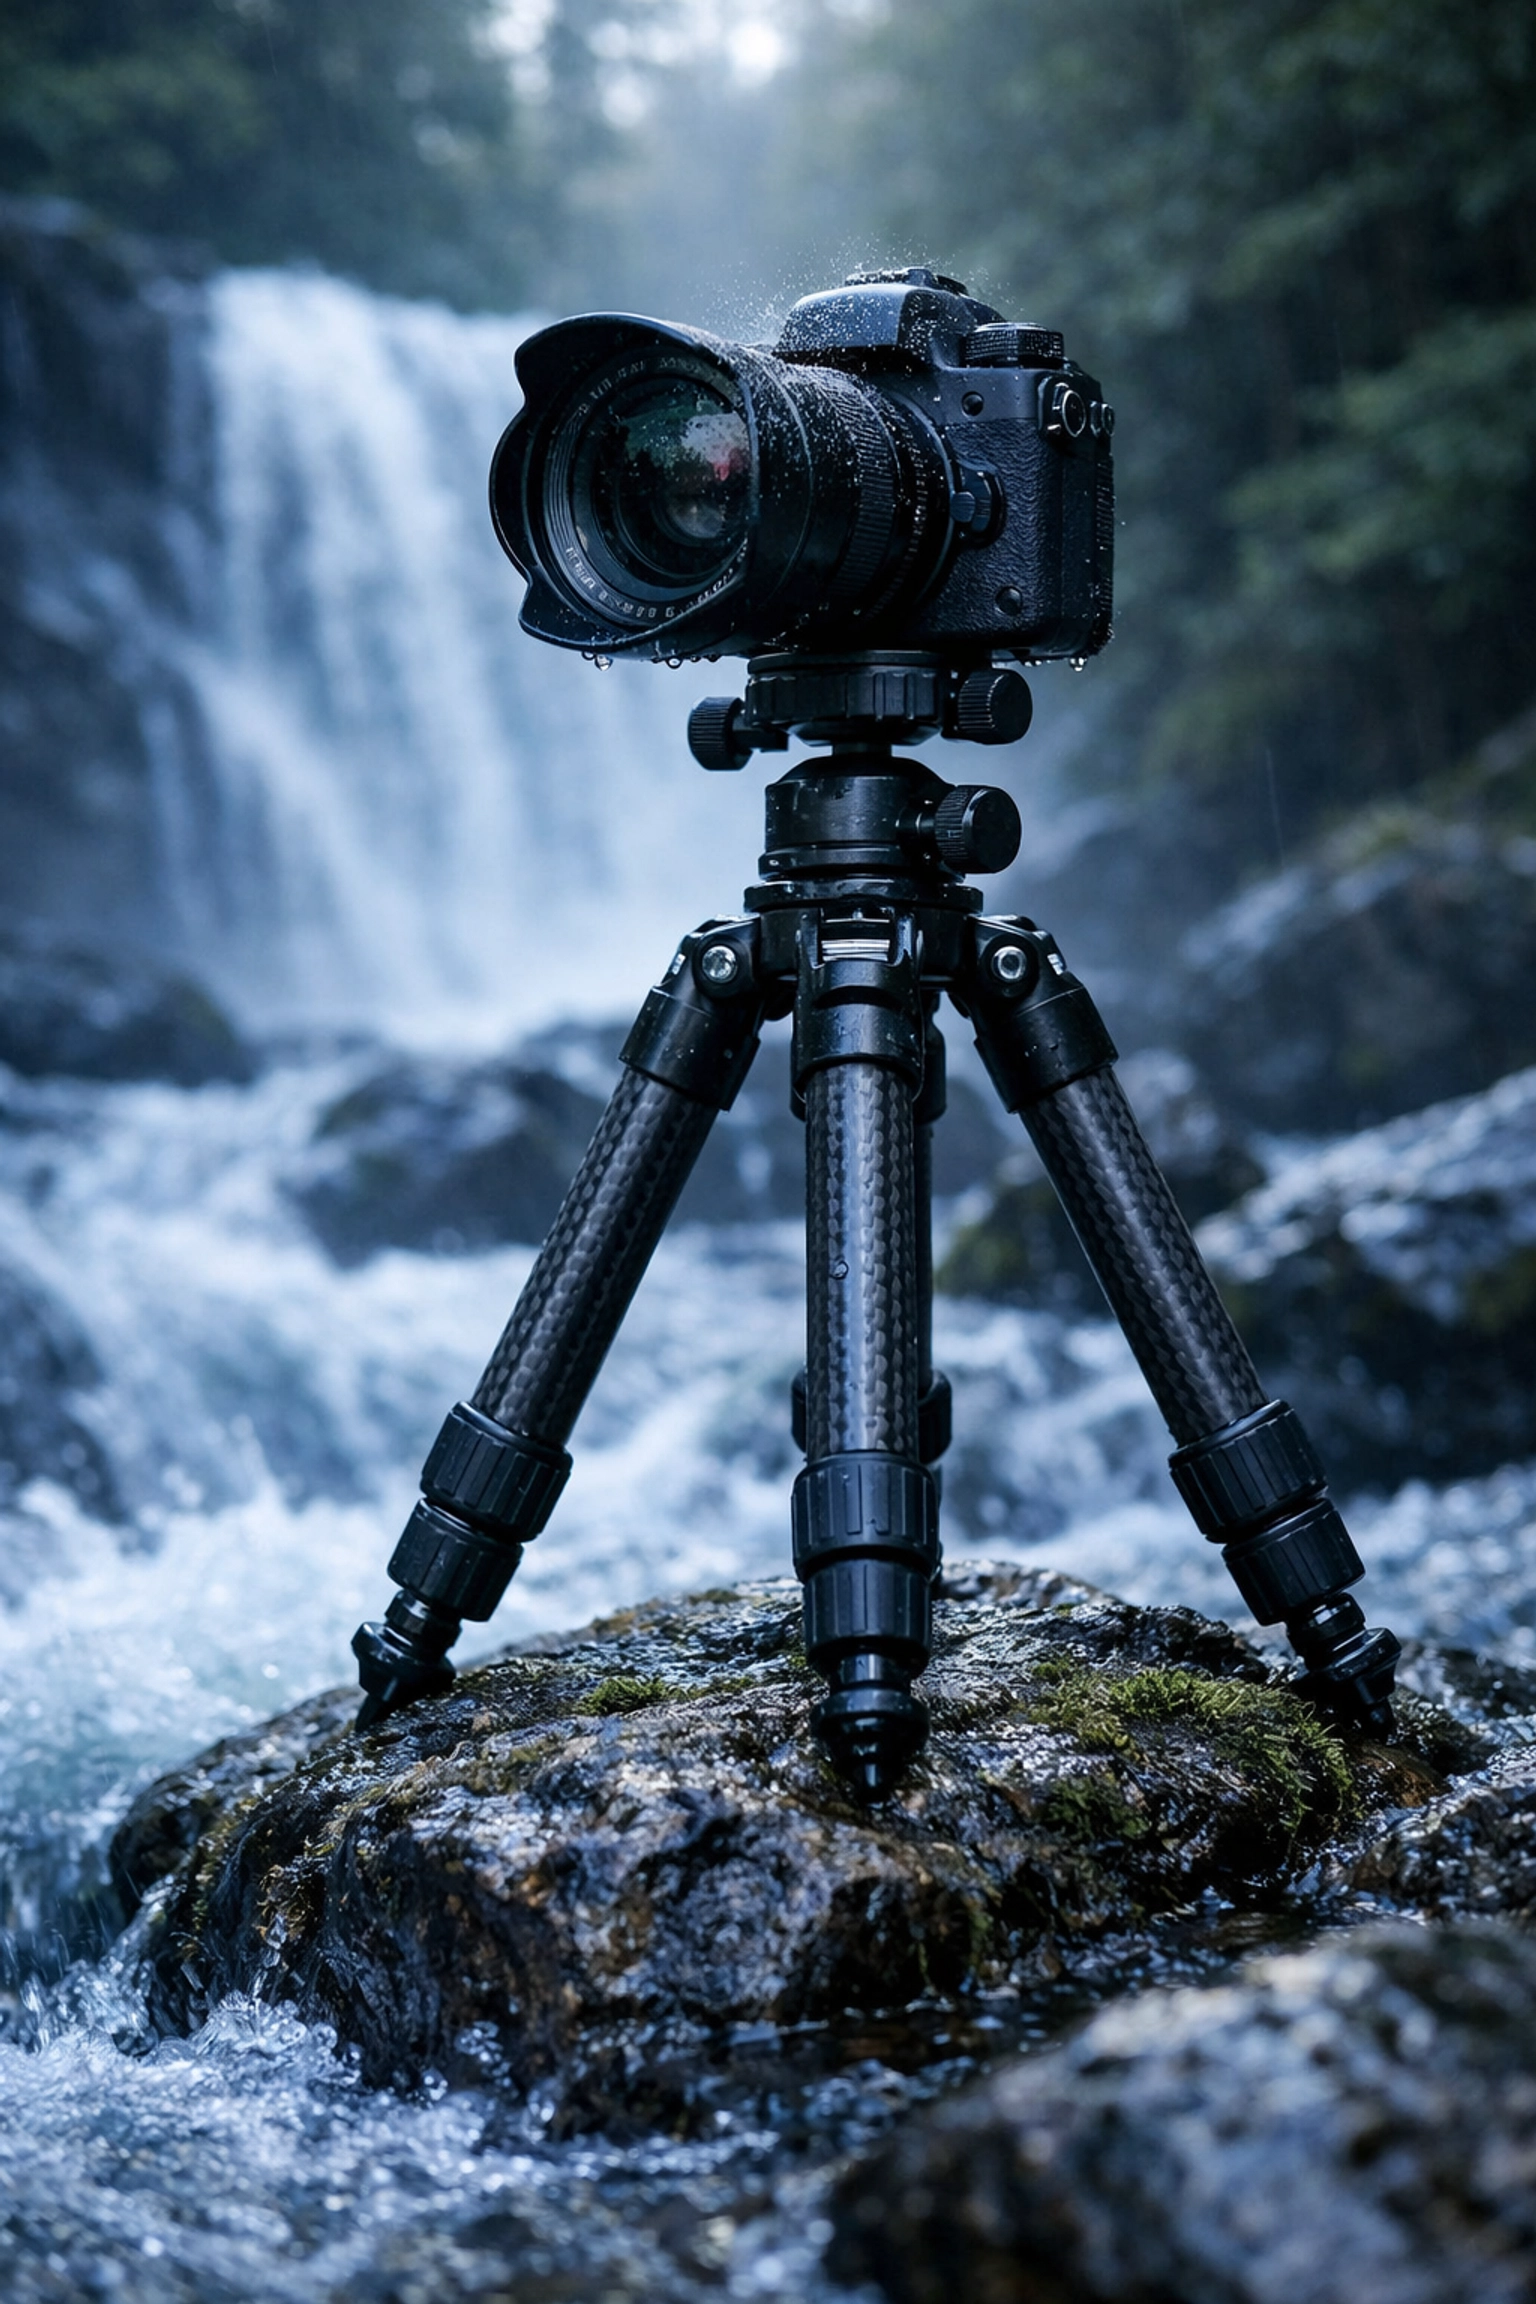
The Tripod: Your New Best Friend
If you buy one thing, make it a sturdy tripod. Landscape photography often happens in "the edges" of the day: dawn and dusk. This means low light and slow shutter speeds. If you’re hand-holding your camera at 1/4th of a second, your photos are going to be a blurry mess. Get a tripod that won’t blow over in a light breeze.
Nailing Your Camera Settings
Modern cameras are smart, but they aren't "standing on the edge of the Grand Canyon" smart. To get the best results, you need to take control of the settings.
Aperture: The Sweet Spot
For landscapes, you usually want everything from the blade of grass at your feet to the mountain in the distance to be sharp. This means you need a deep depth of field. Most landscape photographers live in the f/8 to f/11 range.
Avoid going all the way to f/22 if you can help it. While it sounds like it would make everything sharper, "diffraction" actually starts to soften the image at those tiny apertures. If f/11 isn't enough, consider focus stacking.
ISO: Keep It Clean
Noise is the enemy of a clean landscape. Keep your ISO as low as possible: usually ISO 100. Since you’re using a tripod, you don't need to bump your ISO to get a faster shutter speed.
Shutter Speed: The Creative Choice
Shutter speed is where you get to play. Do you want the water in the waterfall to look like frozen shards of glass? Use a fast shutter speed (1/500s). Do you want it to look like silky smooth mist? Use a slow shutter speed (2 seconds or more). This is where neutral density (ND) filters come into play: they’re basically sunglasses for your lens that let you use long exposures even in bright light.
Shoot in RAW
If you’re still shooting in JPEG, we need to have a serious talk. RAW files contain all the data your sensor captured. JPEGs are processed and compressed by the camera, throwing away half the information. When you get to the editing stage, you’ll want every bit of that data. For more technical deep dives, PhotoGuides.org is a fantastic resource.
The Art of Composition
Composition is the difference between a photo someone scrolls past and a photo someone hangs on their wall. It’s about leading the viewer’s eye through the frame.
The Rule of Thirds
Imagine your frame is divided into a 3×3 grid. Instead of putting the horizon right in the middle, try putting it on the top third line (to emphasize the foreground) or the bottom third line (to emphasize the sky). Put your main subject: a lone tree, a rock, a lighthouse: at one of the points where the lines intersect.
Foreground Interest
This is the most common mistake beginners make. They see a beautiful mountain and point the camera at it, leaving the bottom half of the photo as empty grass or dirt. Find something in the foreground: a rock, a flower, a puddle: to give the image depth. It gives the viewer a "stepping stone" into the scene.
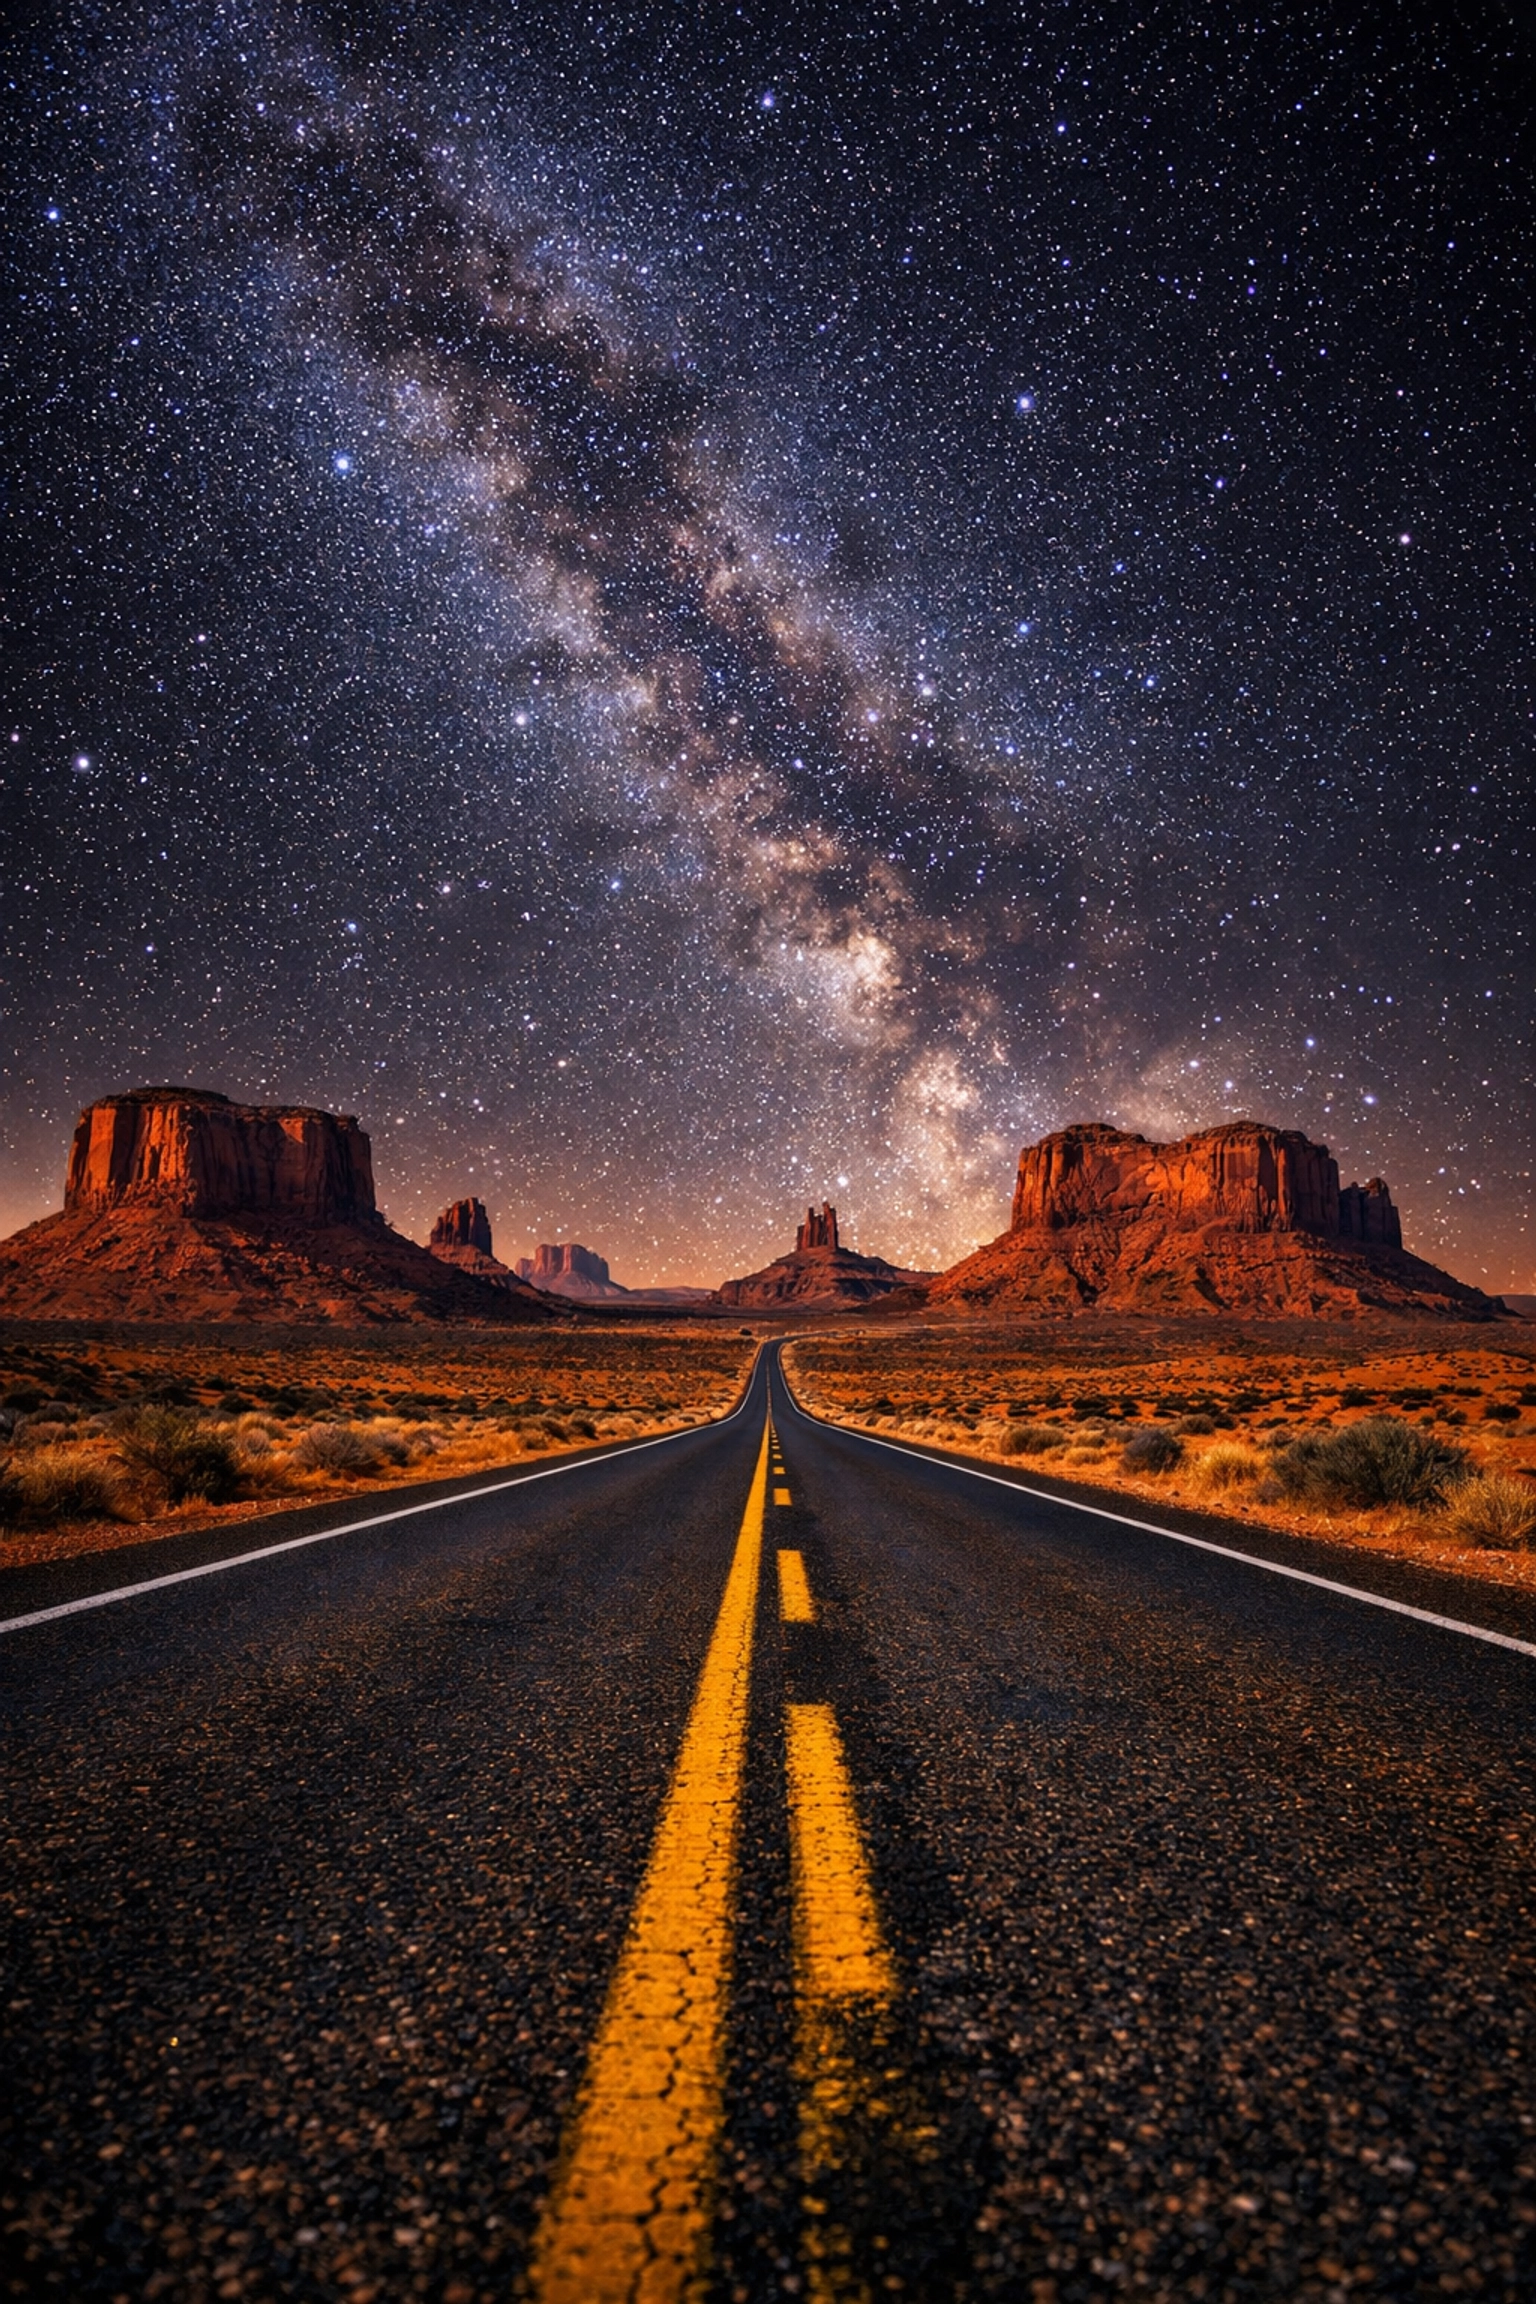
Leading Lines
Use roads, rivers, fences, or even shadows to lead the eye toward the main subject. A winding path that starts in the bottom corner and leads toward a mountain peak creates a powerful sense of journey.
Chasing the Light
You can have the best composition in the world, but if the light is flat and boring, the photo will be too.
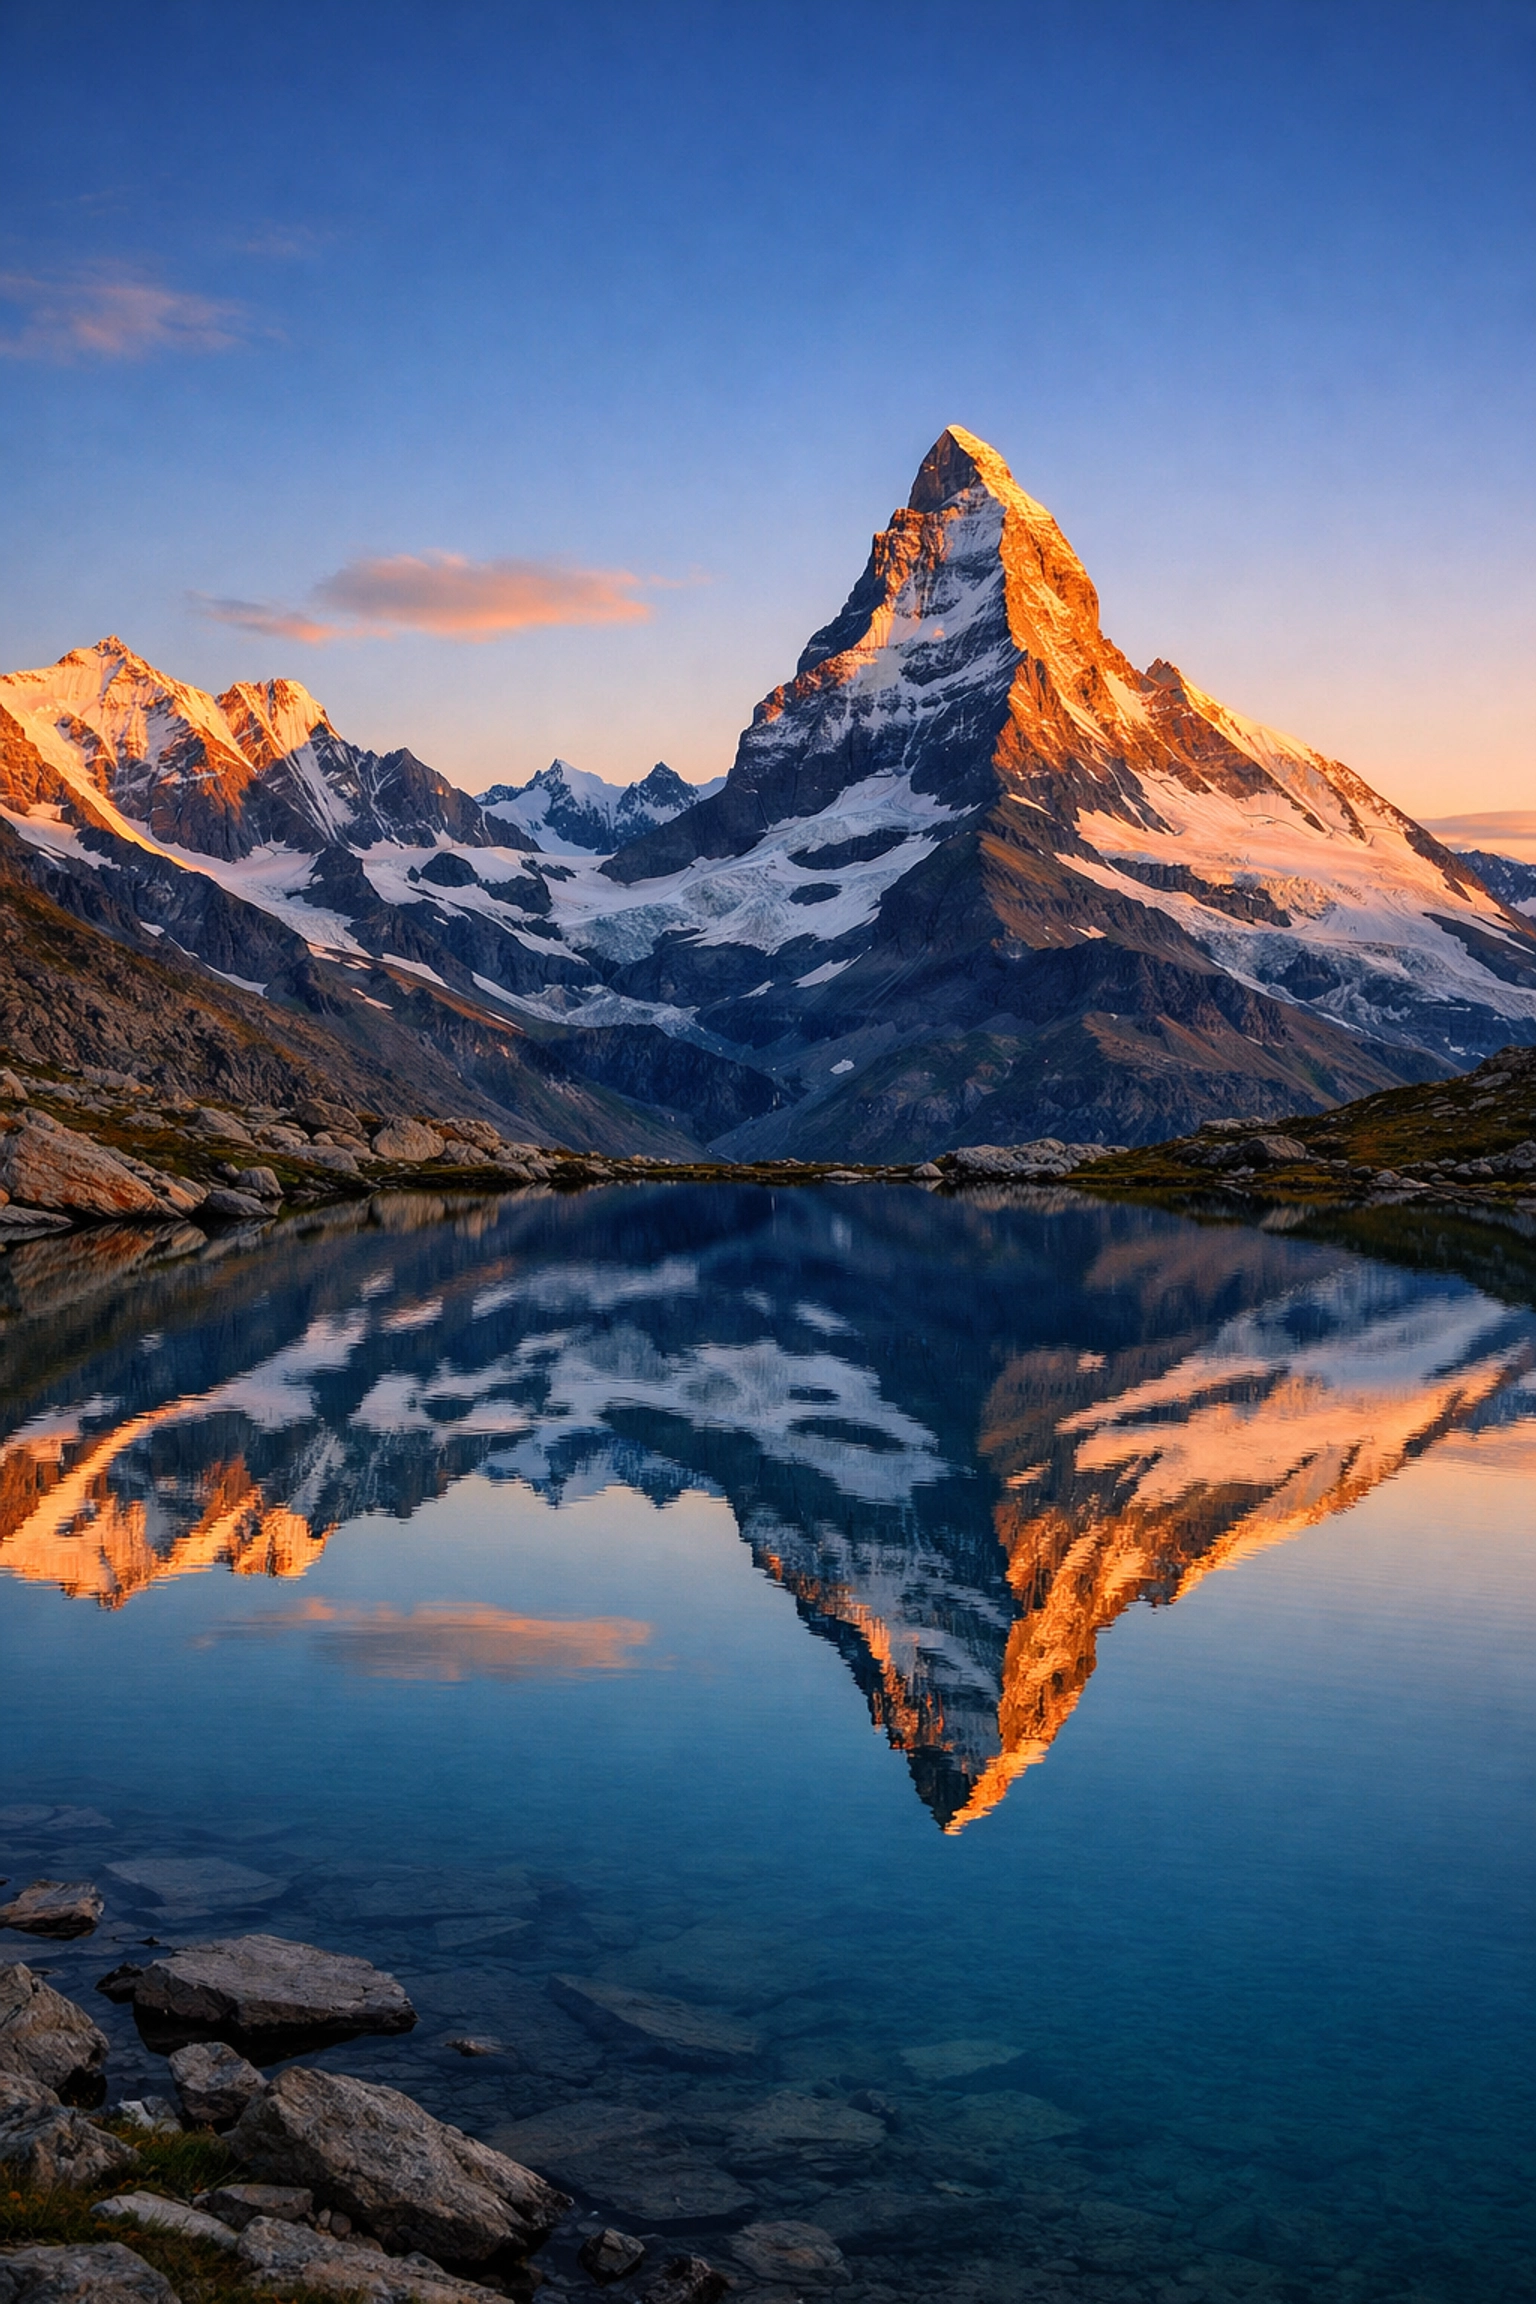
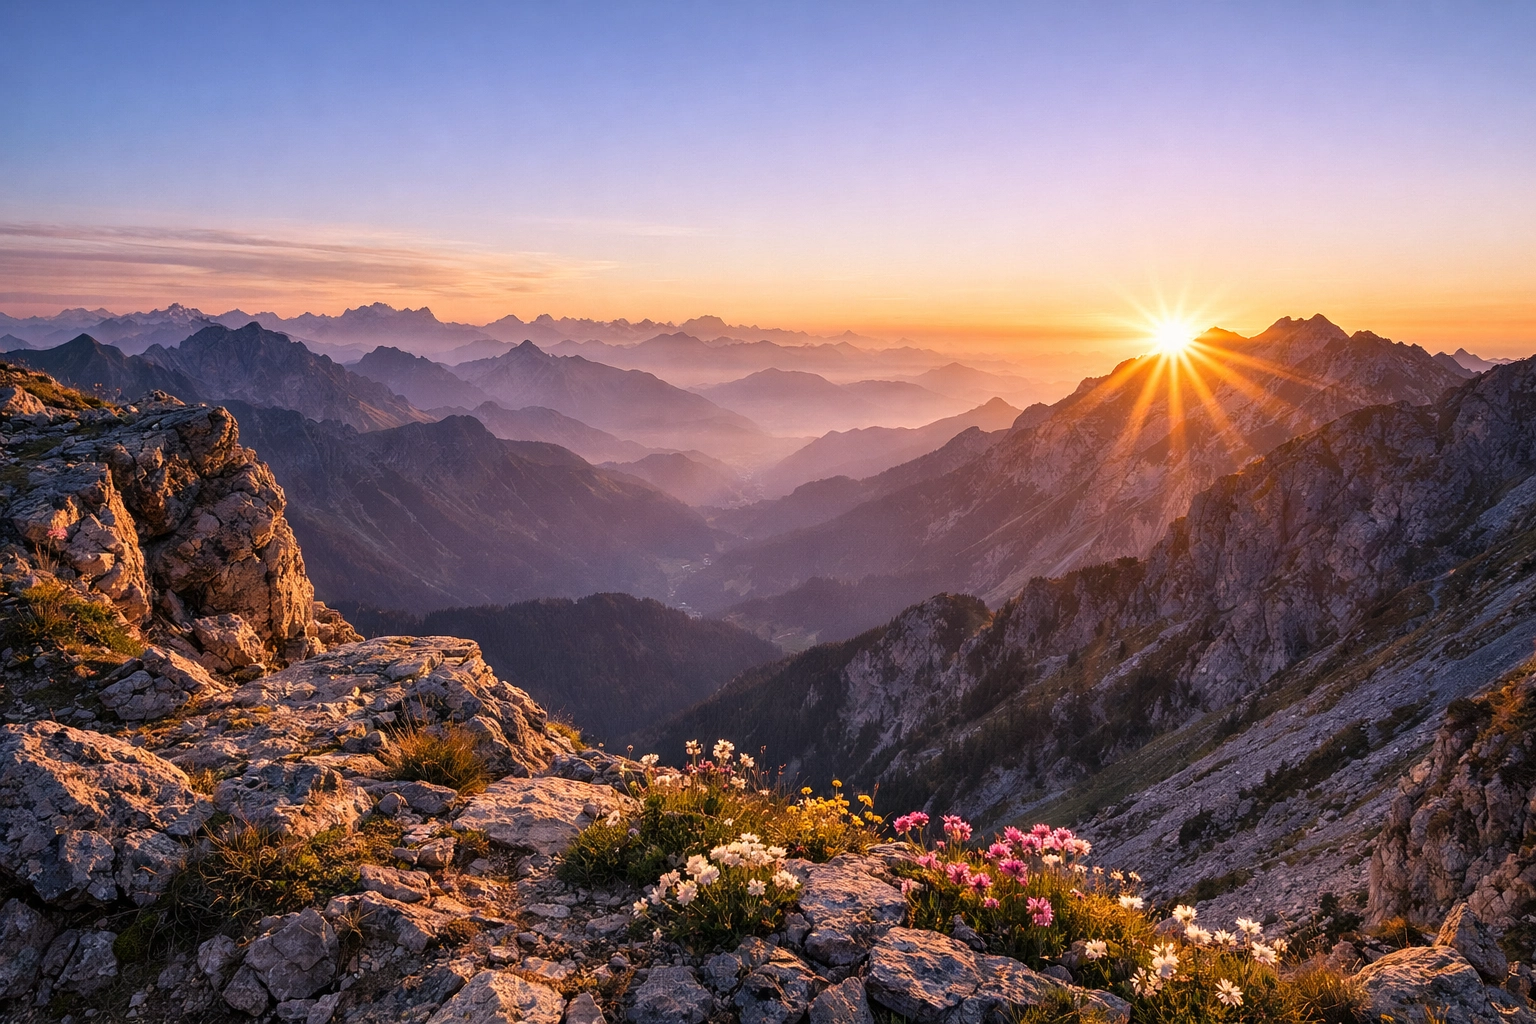
The Golden Hour
The hour after sunrise and the hour before sunset. The light is soft, warm, and creates long shadows that reveal the texture of the landscape. This is the "easy mode" of landscape photography.
The Blue Hour
The period just before sunrise or just after sunset. The sky turns a deep, moody blue, and the world feels quiet. It’s perfect for cityscapes or coastal shots where you want to capture the glow of artificial lights or the motion of the tide.
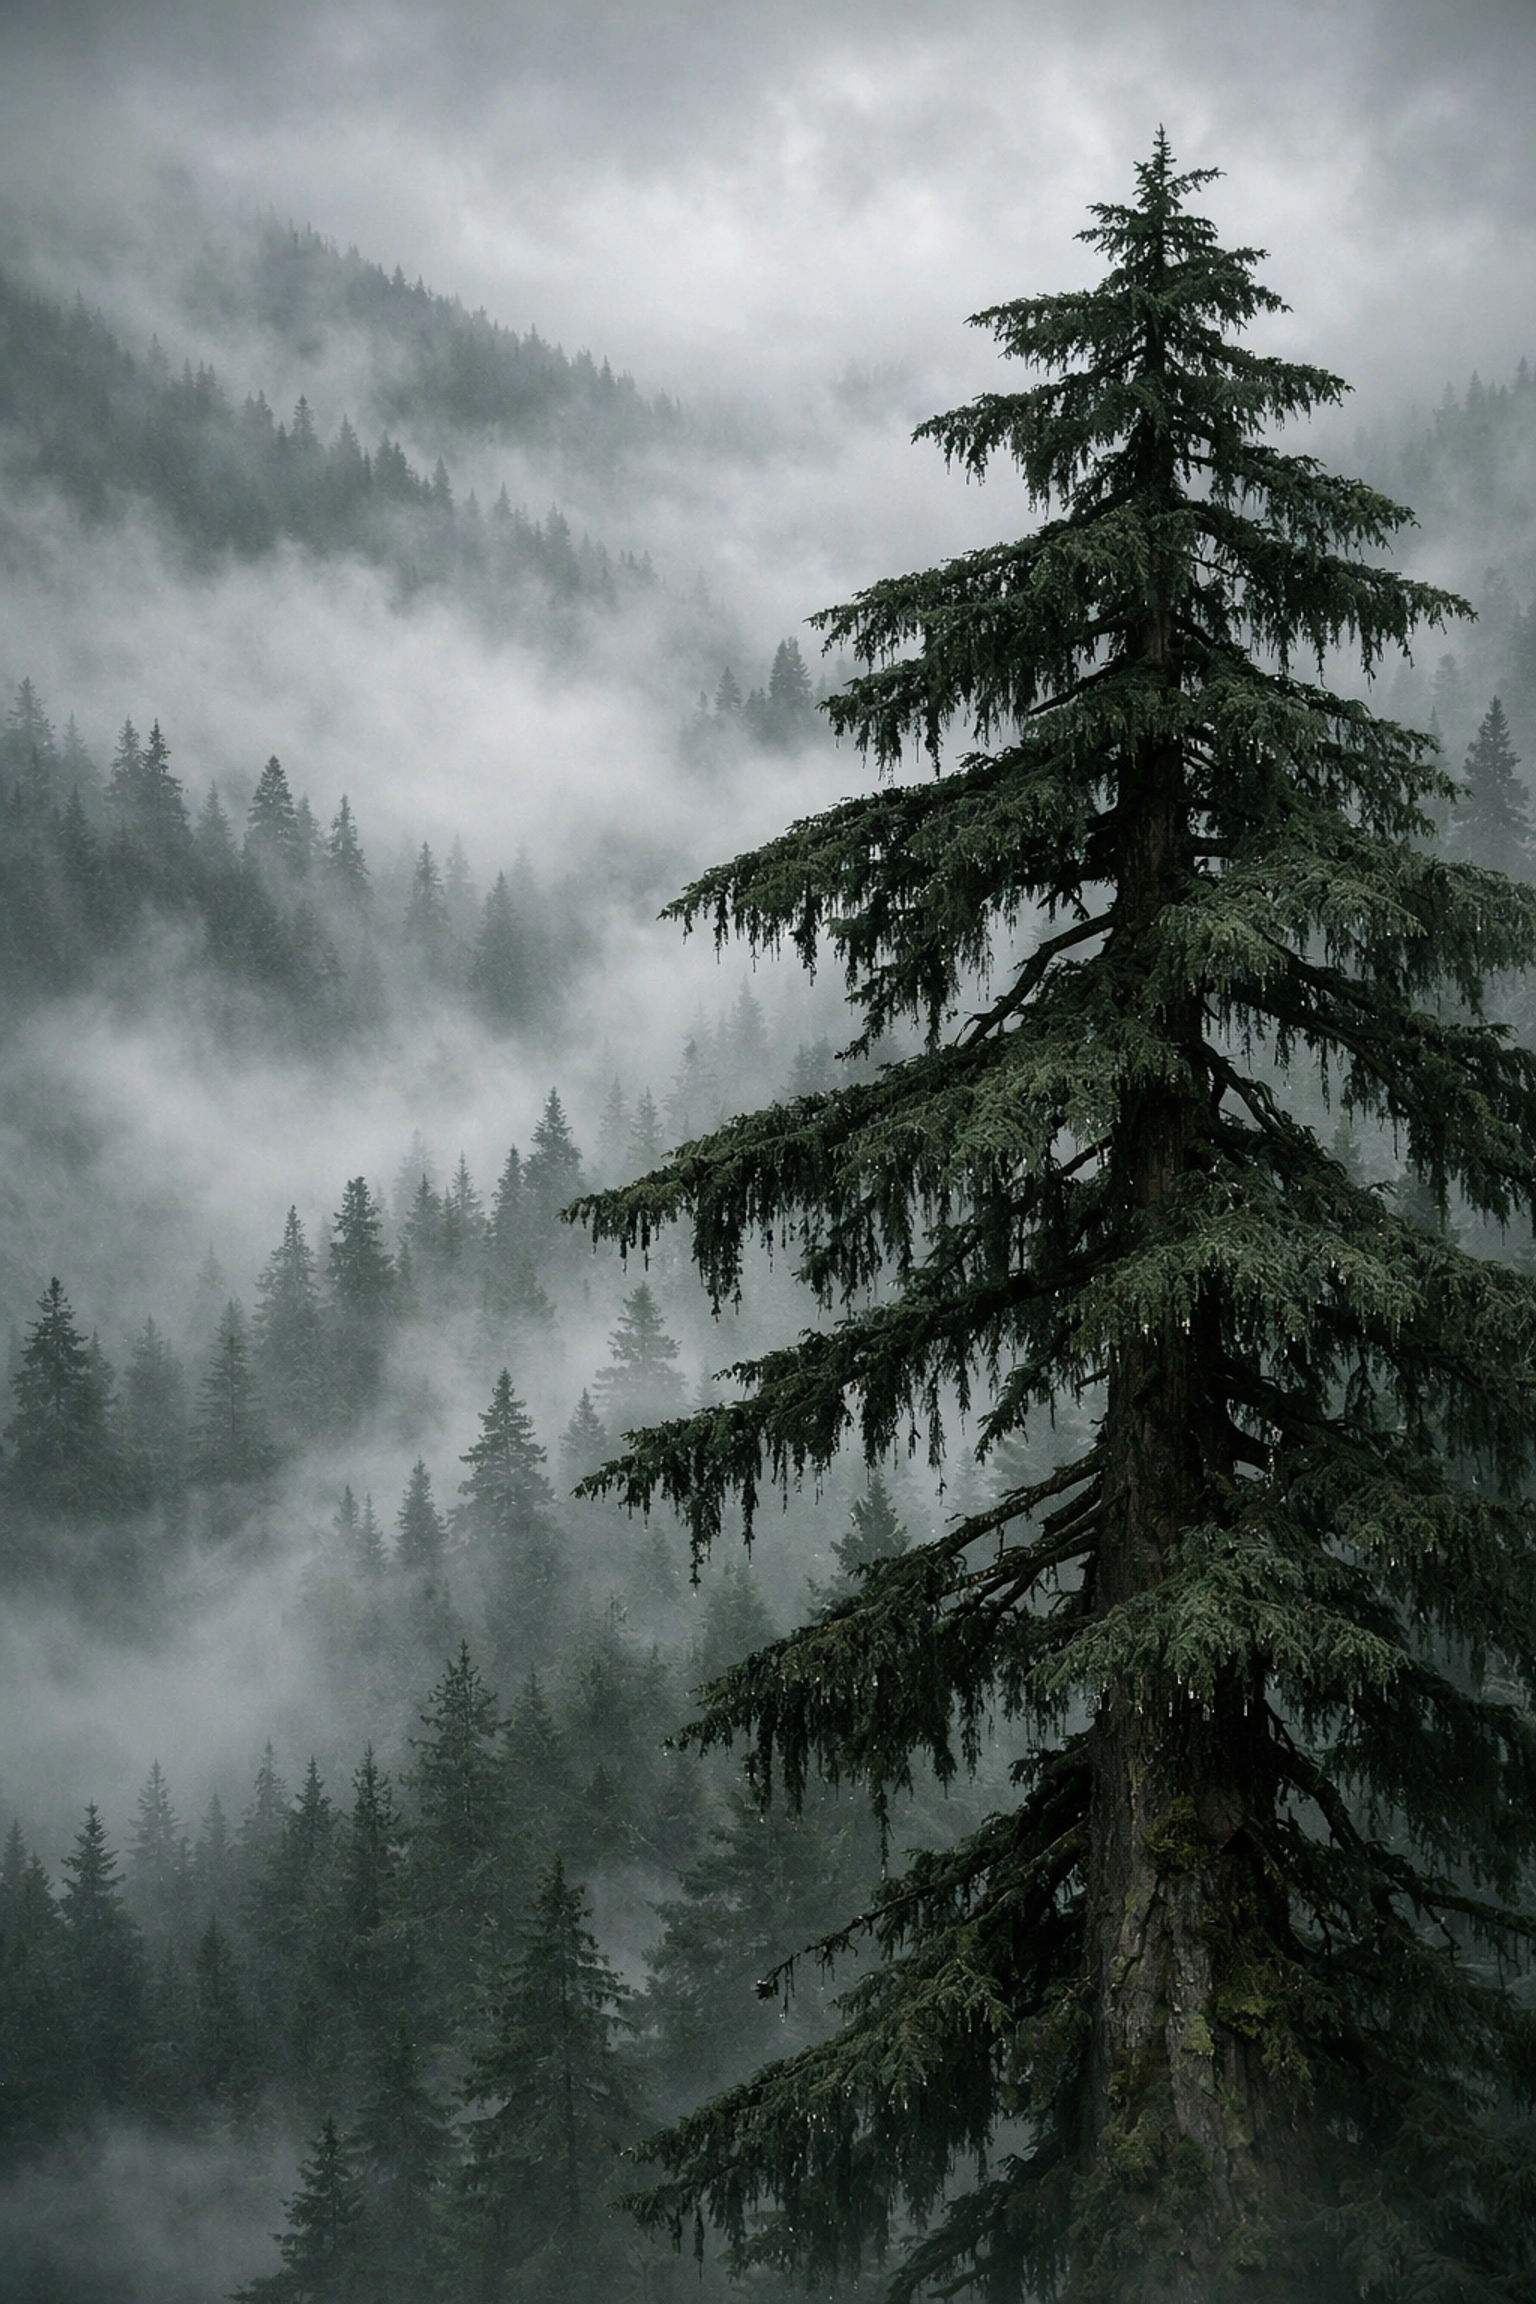
"Bad" Weather is Good Weather
Clear blue skies are actually the worst for landscape photography. They’re boring. Give me a storm brewing, some dramatic clouds, or some fog any day. Dramatic weather creates atmosphere. If you want to see some examples of how mood can transform a scene, check out Edin Chavez’s personal blog.
The Power of Post-Processing
Taking the photo is only half the battle. The second half happens at your computer. Modern landscape photography relies heavily on editing to bring out what the human eye saw but the camera couldn't quite capture.
Why We Edit
Our eyes have a much higher dynamic range than a camera sensor. When you stand in a canyon, you can see the bright sky and the dark crevices. The camera often chooses one or the other. Editing allows you to balance those levels.
The Tools
While Lightroom is the industry standard, many pros are moving toward more intuitive, AI-driven tools. Luminar is a game-changer for landscape photographers. It simplifies complex tasks like sky replacement (for those boring blue-sky days), AI-enhanced detail, and atmospheric effects without requiring a degree in Photoshop.
When editing, the goal is "enhanced reality," not "cartoonish fantasy." Boost the contrast, bring out the shadows, and maybe tweak the saturation: but don't go so far that the grass looks neon green. If you need help getting started with professional-grade editing, Edin Studios offers insights into the high-end production side of things.
Planning and Scouting: Don't Wing It
The best landscape photos are rarely accidents. They are the result of meticulous planning.
- Use Apps: Use Google Earth to scout locations from your couch. Use PhotoPills or The Photographer’s Ephemeris to see exactly where the sun and moon will rise and set on any given day.
- Check the Tide: If you’re shooting at the coast, knowing if the tide is coming in or going out is a matter of both safety and aesthetics.
- Arrive Early: If sunset is at 7:00 PM, you should be there at 6:00 PM. You need time to find your composition, set up your tripod, and wait for the light to do its thing.
Common Pitfalls to Avoid
Even the pros mess up sometimes. Here are a few things to keep an eye on:
- Wonky Horizons: There is nothing more distracting than a beautiful ocean scene where the water looks like it’s draining out of the side of the frame. Use the level tool in your camera or fix it in post.
- Too Much Stuff: Sometimes, less is more. If there are too many competing elements in your frame, the viewer won't know where to look. Simplify your composition.
- Ignoring the Histogram: Don't trust the image on your LCD screen; it lies, especially at night. Look at your histogram. If the graph is jammed up against the right side, you’ve "blown out" your highlights and lost detail in the sky.
- Forgetting to Look Behind You: Sometimes the best light isn't on the subject you're shooting, but on the scene behind you. Always take a 360-degree look before you pack up.
Final Thoughts: Finding Your Style
Landscape photography is a journey. Your first hundred shots might look like everyone else’s, and that’s okay. You have to learn the rules before you can break them. Over time, you’ll find yourself drawn to certain types of light, certain focal lengths, and certain editing styles.
Maybe you prefer the minimalist look of long-exposure seascapes, or maybe you love the chaotic texture of a deep forest. Whatever it is, lean into it. If you’re looking to turn your passion into a business, you might want to explore resources like ProShoot.io to see how the industry operates at a high level.
The most important thing is to get out there. You can read every guide on the internet, but you won't learn as much as you will by standing in a cold field at 5:00 AM waiting for the sun to peak over the horizon.
Grab your gear, check the weather, and go shut your aperture. The world is waiting.


