
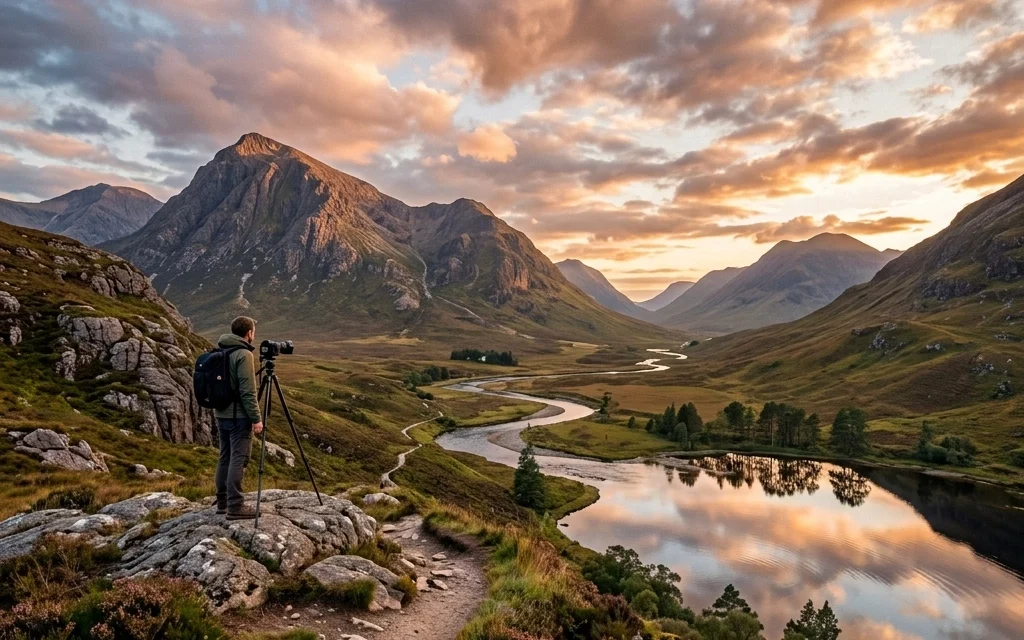
Let’s be honest: landscape photography looks easy from the outside. You just walk into a forest or stand on a beach, point your camera at something pretty, and click, right? Wrong. If it were that easy, everyone would have a National Geographic cover hanging in their living room.
The truth is, capturing the essence of the great outdoors is a mix of patience, technical skill, and a little bit of luck with the weather. Whether you’re just starting out or you’ve been chasing sunsets for years, there’s always something new to learn. At Shut Your Aperture, we believe in keeping things simple but effective.
In this guide, I’m going to break down the essential landscape photography tips you need to go from taking "nice" snapshots to creating gallery-worthy art.
1. Don’t Get Ghosted by Your Gear
People love to argue about gear. "Sony is better!" "No, Canon has the colors!" Here’s the secret: the best camera is the one you know how to use. However, for landscapes, there are a few pieces of kit that actually make your life easier.
The Camera
You don’t need a $6,000 body to get started. A solid DSLR or mirrorless camera with a decent sensor will do the trick. The key is having a camera that allows you to shoot in Manual mode and capture images in RAW format. If you’re looking for reviews on the latest tech, ProShoot.io is a great place to see what’s actually worth your money.
The Lenses
Most people think "landscape = wide-angle." While a 16-35mm lens is a staple for those epic, sweeping vistas, don't sleep on your telephoto lens. A 70-200mm can help you isolate specific peaks or patterns in the distance, creating intimate shots that wide lenses simply can’t see.
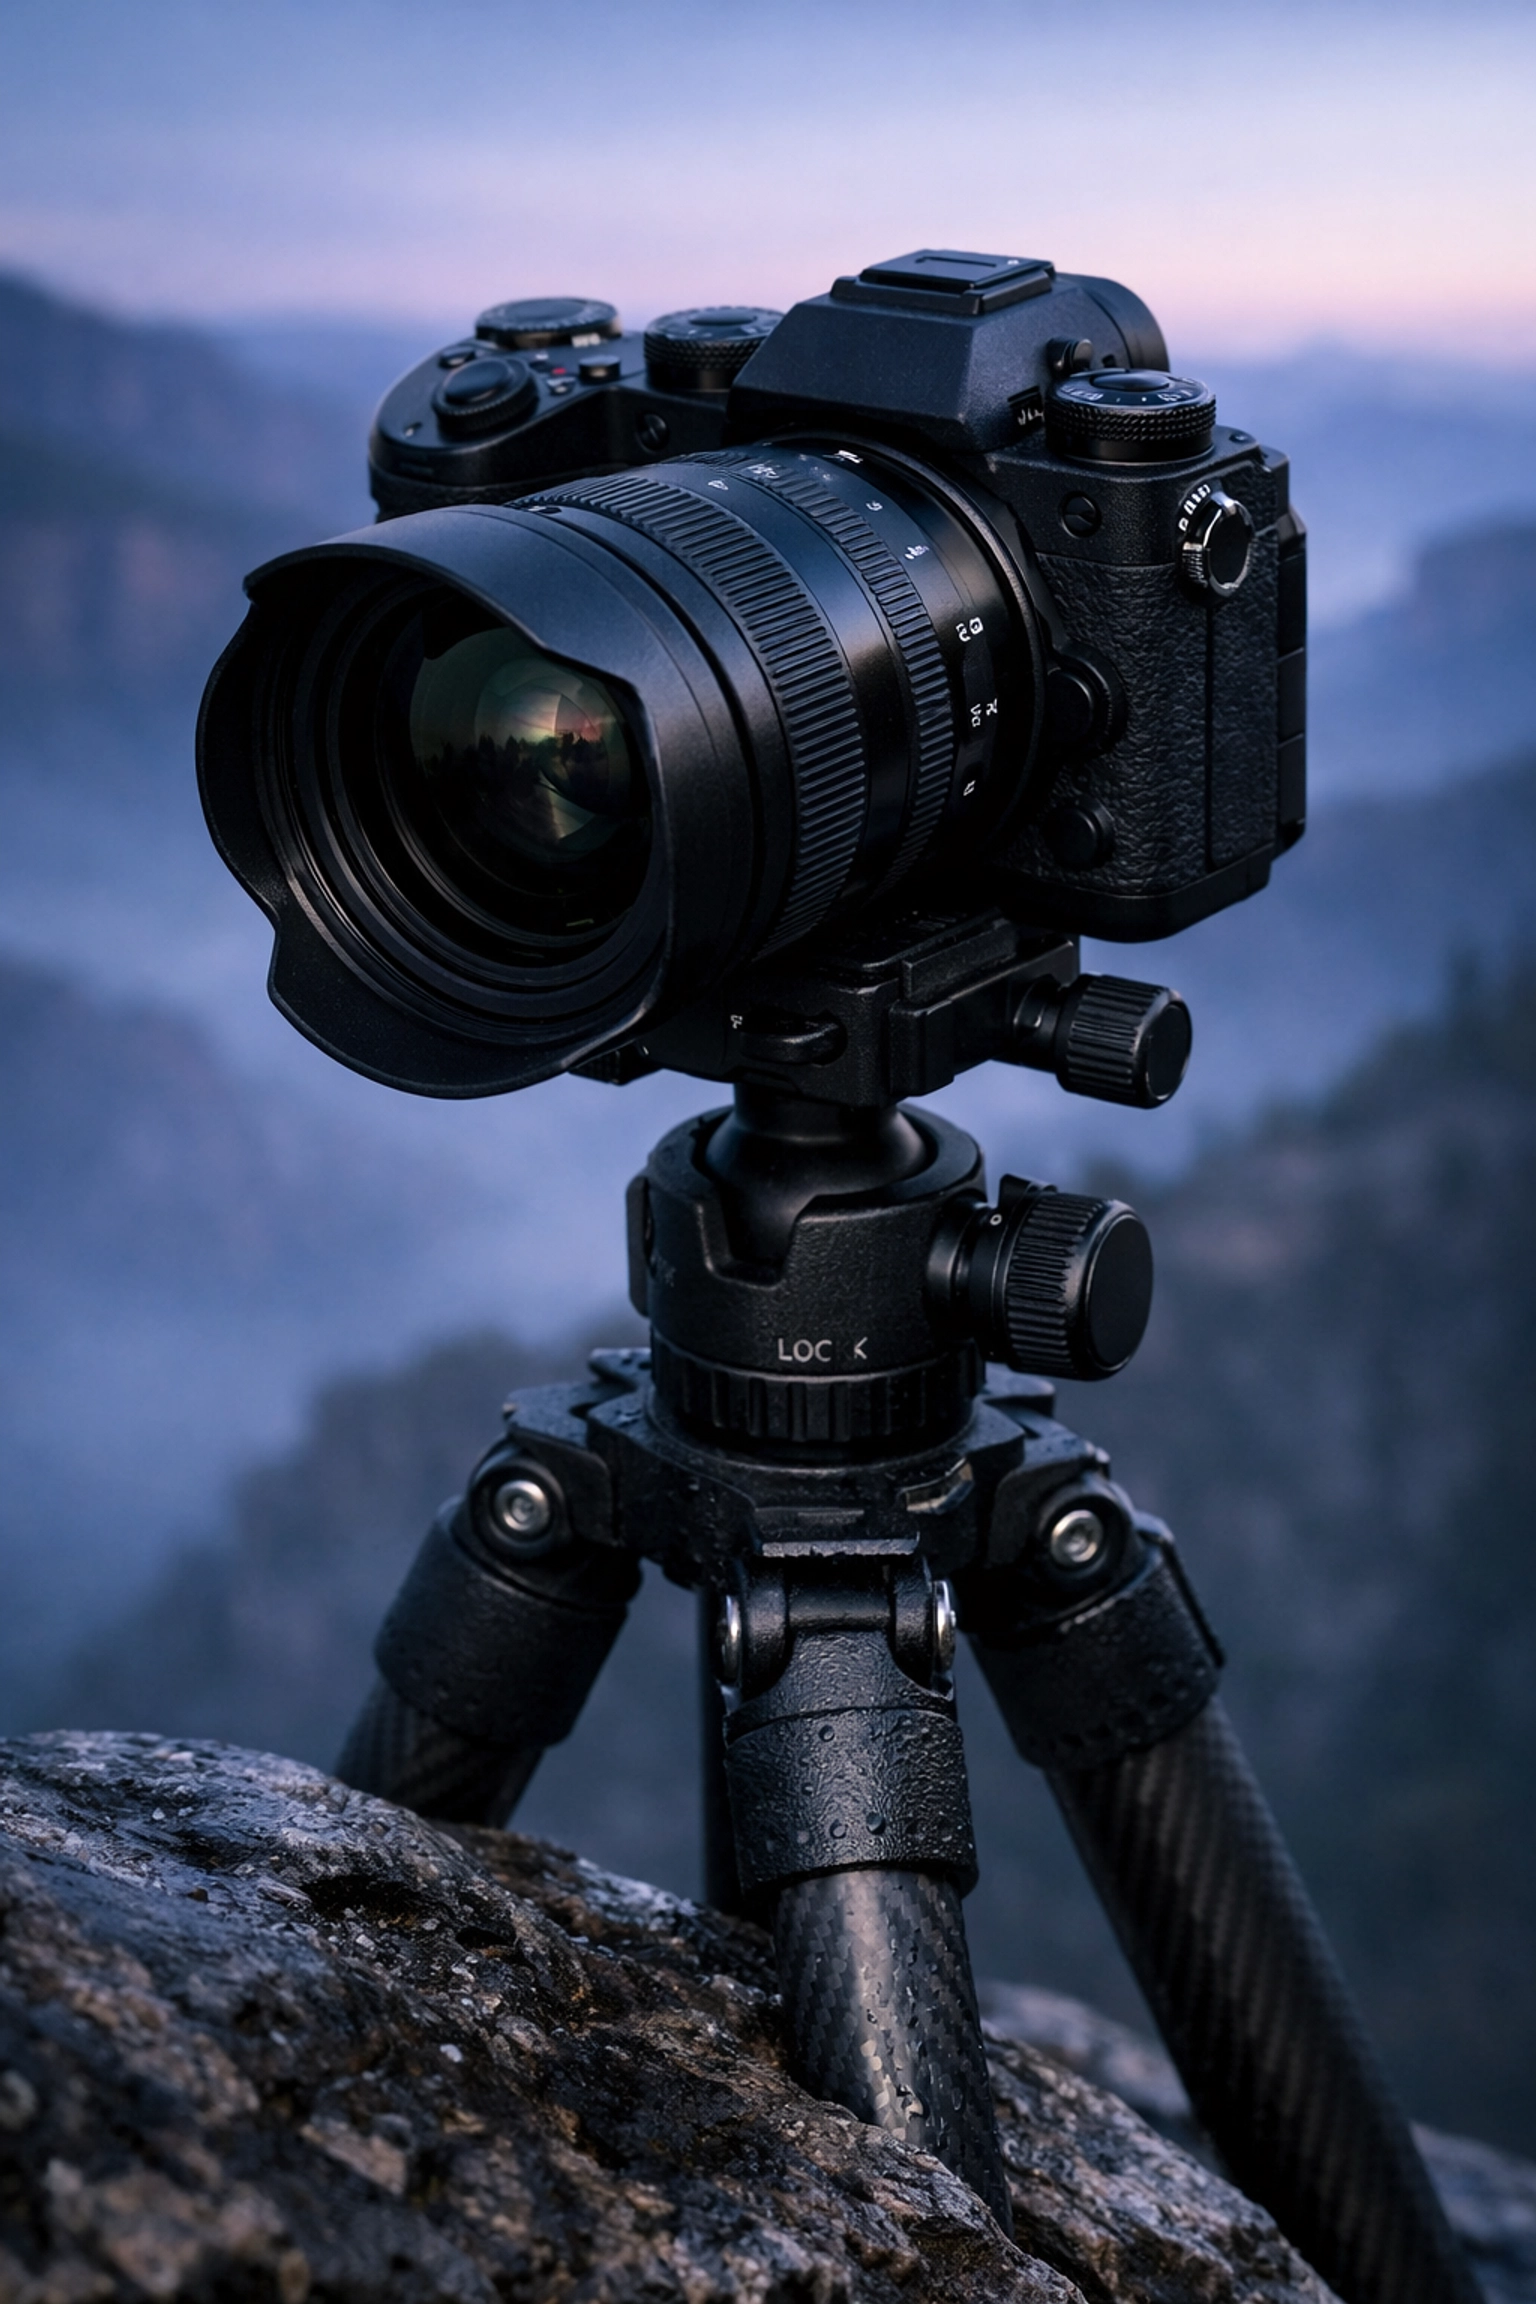
The Unsung Hero: The Tripod
If you take one thing away from this guide, let it be this: buy a sturdy tripod. Landscape photography often happens in low light: think sunrise or blue hour. To get those sharp images without a ton of digital noise (ISO grain), you need long shutter speeds. You can't hold a camera still for 2 seconds. A tripod isn't just a stand; it’s a tool for precision. It forces you to slow down and really look at your composition.
2. Master the "Landscape Triangle" Settings
Photography is just the manipulation of light. To master landscapes, you need to balance the three pillars of exposure: Aperture, ISO, and Shutter Speed.
Aperture (f-stop)
For landscapes, you usually want everything from the blade of grass in front of you to the mountain five miles away to be sharp. This is called deep depth of field. To achieve this, use a narrow aperture, typically between f/8 and f/11.
Going all the way to f/22 might seem like a good idea, but it often leads to "diffraction," which actually makes your image slightly blurry. Stick to the sweet spot of your lens, usually around f/11.
ISO
Keep your ISO as low as possible: usually ISO 100. This ensures your images are clean and free of grain. This is why the tripod we talked about is so important; when you have a low ISO and a narrow aperture, your shutter speed will naturally be slower.
Shutter Speed
Since you’re on a tripod and shooting static mountains, your shutter speed can be whatever it needs to be to get a good exposure. However, if there’s water or moving clouds, your shutter speed becomes a creative tool. Want that silky waterfall look? Leave the shutter open for 1 second or more. Want to freeze a crashing wave? Crank it up to 1/500th.
3. Composition: Leading the Eye
A pretty sunset is nice, but a well-composed photo of a "boring" field is often more powerful. You need to give the viewer a path to follow.
The Rule of Thirds
Imagine your frame is divided by two horizontal and two vertical lines. Placing your subject (like a lone tree or a mountain peak) at the intersections of these lines creates a more balanced and natural feel. For more deep dives into classic techniques, PhotoGuides.org has some excellent resources on traditional theory.
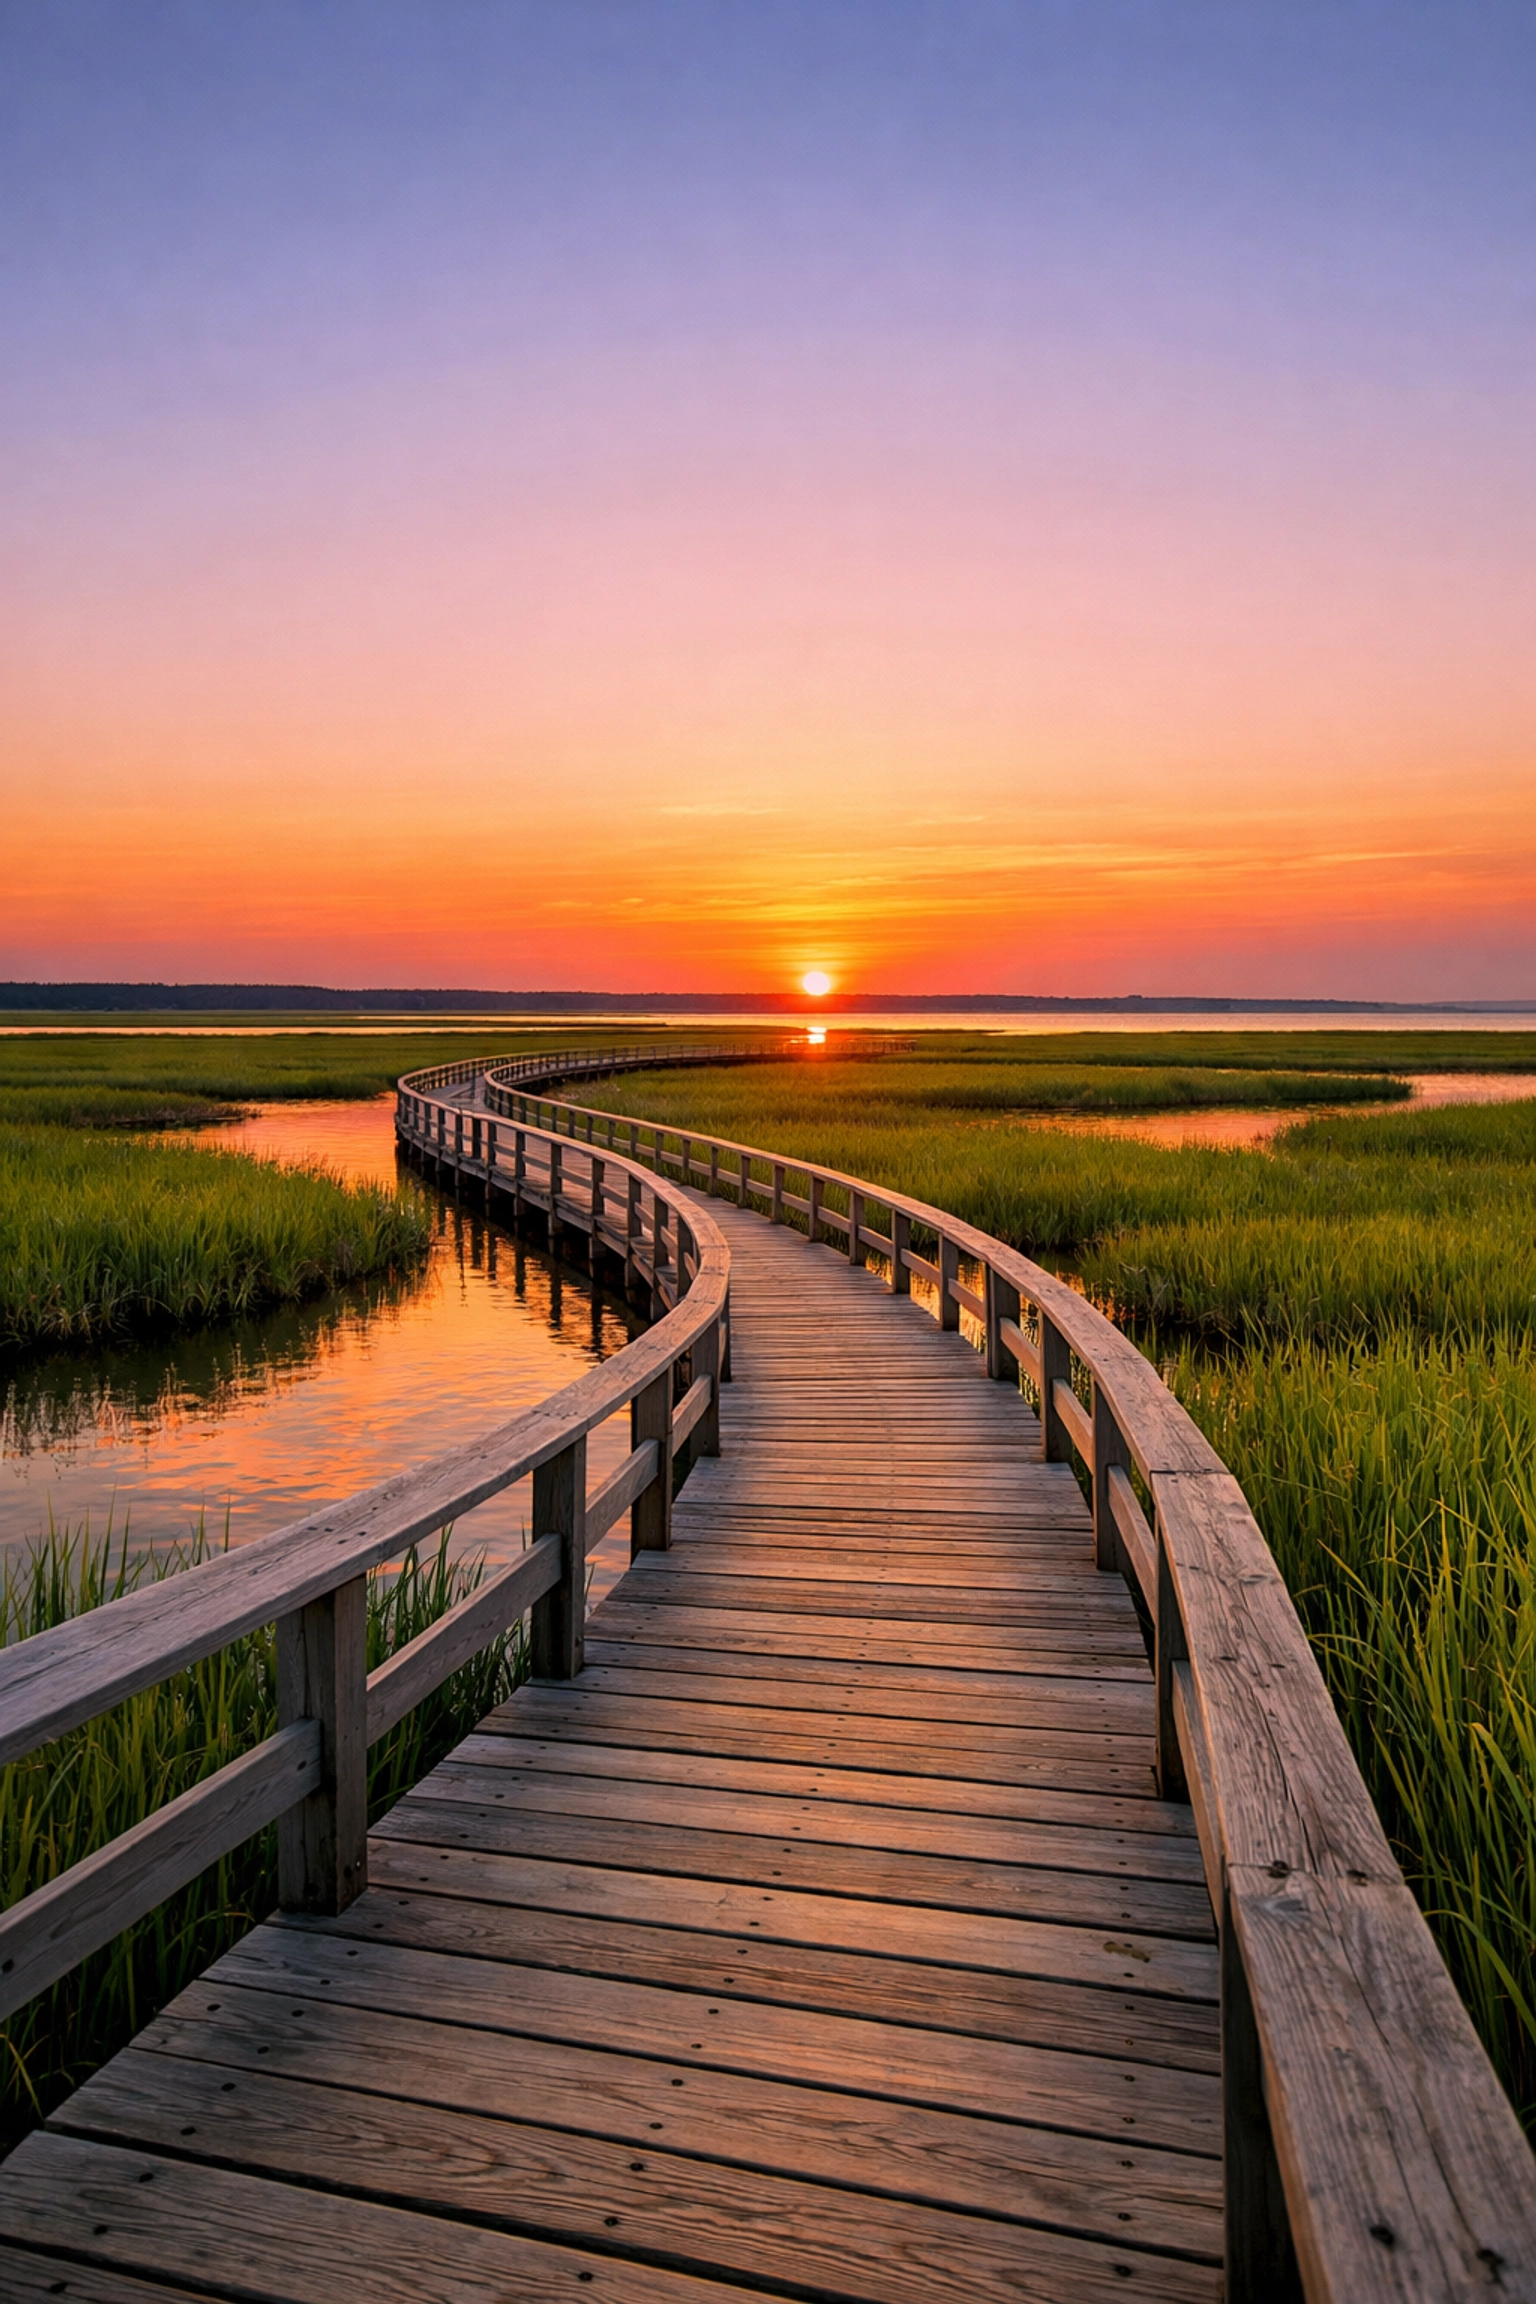
Leading Lines
Use elements in the environment to point toward your main subject. A winding path, a river, or even the shadows of a fence can act as "leading lines." They literally tell the viewer, "Look here."
Foreground Interest
This is the biggest mistake beginners make. They see a mountain and just point at it. But without something in the foreground: a rock, a flower, a piece of driftwood: the image feels flat. Foreground interest adds a sense of scale and three-dimensionality.
4. The Hunt for Great Light
You can have the best gear and perfect composition, but if the light is "flat" and boring, the photo will be too.
Golden Hour
This is the hour after sunrise and the hour before sunset. The sun is low, creating long shadows and a warm, golden glow. It’s the easiest time to get a great shot because the light is soft and directional.
Blue Hour
Don’t pack up as soon as the sun disappears! The 20-30 minutes after sunset (Blue Hour) provides a cool, moody light that is perfect for cityscapes or coastal shots.
Dealing with Midday Sun
Harsh midday light is usually a landscape photographer’s nightmare. It creates deep, ugly shadows. If you find yourself shooting at noon, try focusing on black-and-white photography or look for "intimate landscapes" in the shade of a forest. Even when things aren't going perfectly, you can still find a shot. We’ve seen photographers make similar errors in other niches too: check out these 7 mistakes people make with headshots to see how light and prep matter everywhere.
5. Planning and Weather: Being in the Right Place
Luck is just what happens when preparation meets opportunity. I spend more time looking at maps and weather apps than I do actually pressing the shutter button.
- Google Earth: Use it to scout locations and see how the light might hit a specific valley.
- PhotoPills: This is the "Swiss Army Knife" for photographers. It tells you exactly where the sun, moon, and Milky Way will be at any given time.
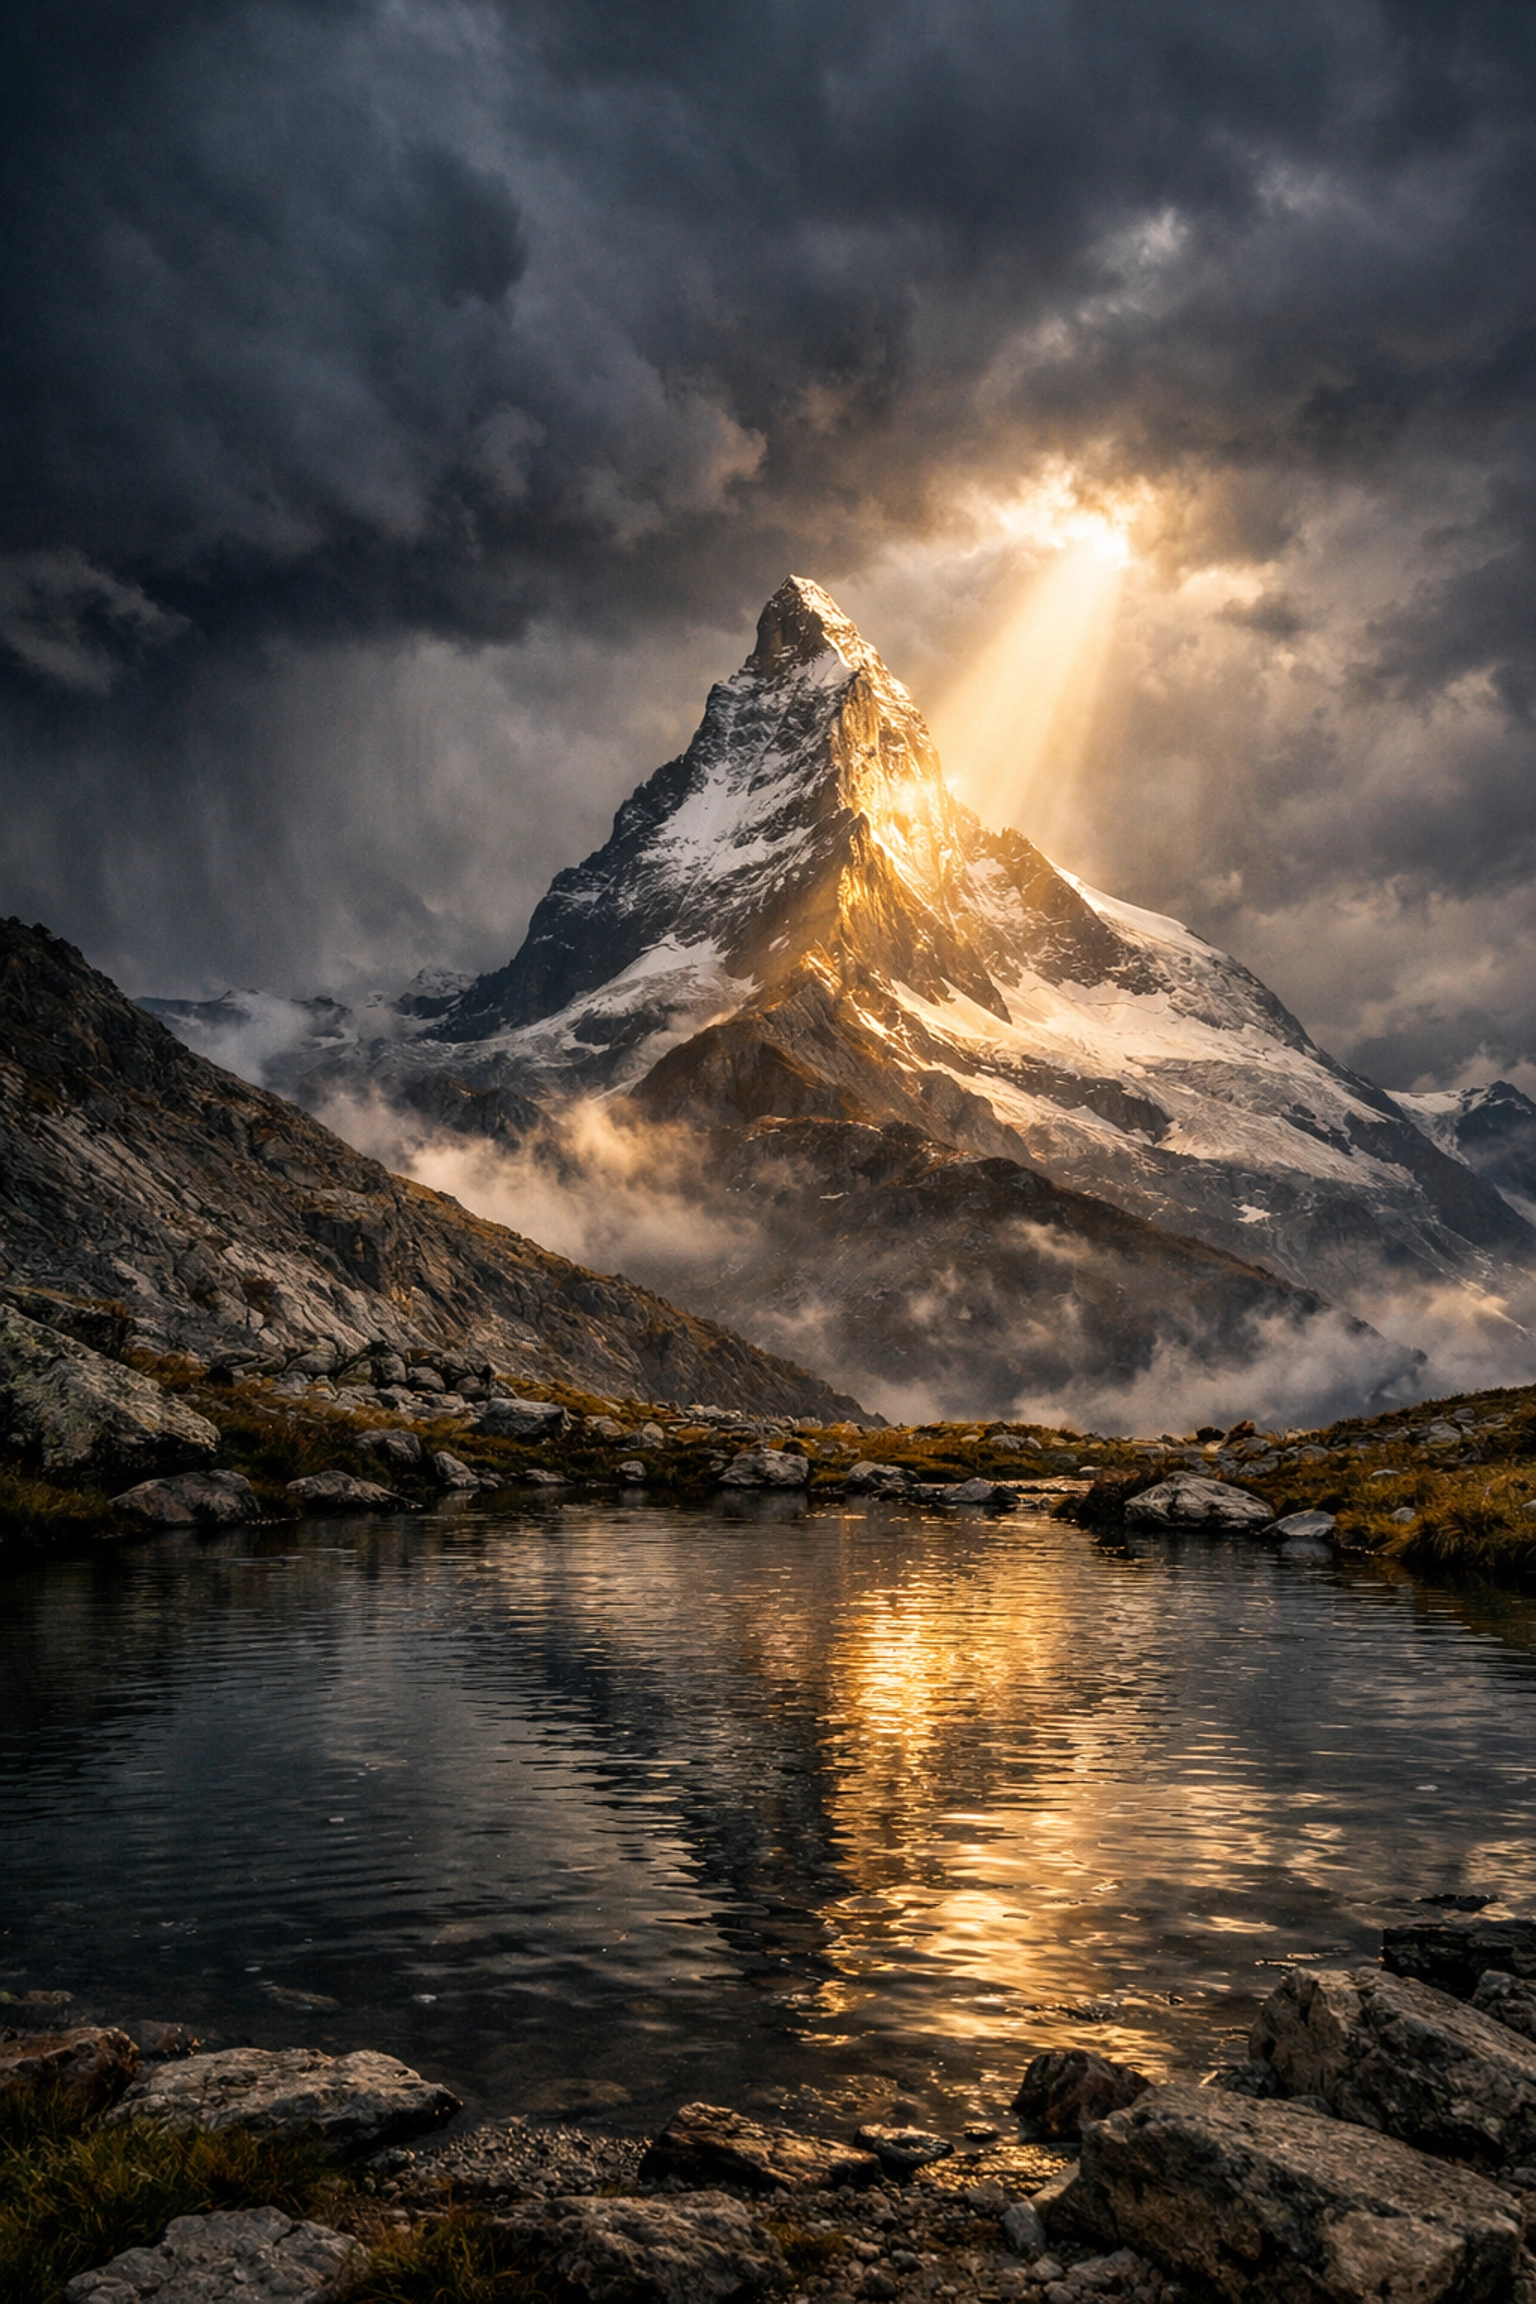
- Embrace "Bad" Weather: Clear blue skies are actually boring for landscapes. You want clouds. You want drama. Some of the best photos happen right after a storm breaks. If it’s raining, put a cover on your camera and get out there.
6. Advanced Techniques: Going the Extra Mile
Once you’ve nailed the basics, it’s time to play with some advanced techniques that separate the pros from the hobbyists.
Focus Stacking
Sometimes, even at f/11, you can't get everything sharp if your foreground object is just inches from your lens. Pros use "focus stacking": taking multiple shots at different focus points and blending them together later.
Long Exposure and ND Filters
Ever see those photos where the ocean looks like mist? That’s done with a Neutral Density (ND) filter. It’s essentially sunglasses for your lens, allowing you to keep the shutter open for 30 seconds or more even during the day.
Shooting RAW
Always, always shoot in RAW. A JPEG file throws away most of the data your camera captures. A RAW file keeps everything, giving you the power to recover shadows and highlights that would otherwise be lost.
7. Post-Processing: The Final Polish
Digital photography doesn't end when you click the shutter. The "digital darkroom" is where you bring your vision to life.
Editing isn't about "cheating"; it's about bringing the image back to how you felt when you were standing there. Cameras often struggle to capture the dynamic range our eyes see naturally.
I personally recommend using Luminar for landscape editing. It’s incredibly intuitive and has AI tools specifically designed to enhance skies and foliage without making them look fake. If you want to see what professional-grade landscape editing looks like when taken to the limit, check out Edin Fine Art for some serious inspiration.

Don't Overdo It
The biggest tip for editing? Know when to stop. It’s easy to get carried away with the saturation slider. If the grass looks like it’s glowing in the dark, back it off. You want your viewers to say "What a beautiful place," not "What a heavy-handed edit."
8. Find Your Unique Voice
The world doesn't need another identical photo of Horseshoe Bend or the Mesa Arch. While those places are beautiful, the real magic happens when you find your own perspective.
Try different heights. Get low to the ground. Climb a tree. Use a different lens than everyone else. Landscape photography is a personal journey. For more personal insights and stories from the field, you can follow my personal blog at blog.edinchavez.com or see my commercial work at Edin Studios.

Summary Checklist for Your Next Shoot
Before you head out the door, run through this quick list:
- Check the weather: Are there clouds? Is there a storm coming?
- Pack the tripod: Don't leave home without it.
- Format your cards: Make sure you have space for those big RAW files.
- Scout your spot: Use apps to know where the sun will set.
- Slow down: Once you’re there, sit for 10 minutes before even taking your camera out. Observe the light.
- Mind the edges: Look around the edges of your viewfinder. Is there a distracting branch sticking in? Move an inch to fix it.
Landscape photography is a marathon, not a sprint. You will have days where you wake up at 4:00 AM, hike five miles, and get absolutely nothing because the fog didn't lift. That’s part of the game. But when the light hits the peaks just right, and you capture that perfect moment of stillness, it makes every failed attempt worth it.
Keep it simple, keep shooting, and don't forget to shut your aperture (to f/11, preferably).


