
So, you finally bought that fancy camera. It looks great, it feels professional, and it probably cost a small fortune. But then you turned it on, saw a thousand buttons, and immediately switched it back to "Auto" mode. Don’t worry, we’ve all been there.
Welcome to Shut Your Aperture, the world’s most straightforward photography school. Our mission is simple: to stop you from being afraid of your gear and start making you a master of the craft. Whether you want to shoot professional portraits, epic landscapes, or just better photos of your dog, this guide is your roadmap. We’re diving deep into the world of photography tutorials, from the technical grit to the creative spark.
Why You Need Photography Tutorials (And Why "Auto" Is Your Enemy)
The "Auto" button is like a GPS that only takes you to the grocery store. It’s safe, but it’s boring. It doesn’t know if you want a blurry background or a crisp sunset; it just guesses based on the average light.
To create art, you need control. That’s where photography tutorials come in. By learning the "why" behind the "how," you transition from someone who takes pictures to someone who makes images. If you’re serious about your craft, checking out resources like PhotoGuides.org can offer extra perspectives, but we’re going to cover the heavy hitters right here.
The Foundation: The Exposure Triangle
Every single photo ever taken relies on three things: Aperture, Shutter Speed, and ISO. Think of these as a three-legged stool. If one leg is too short, the whole thing falls over.
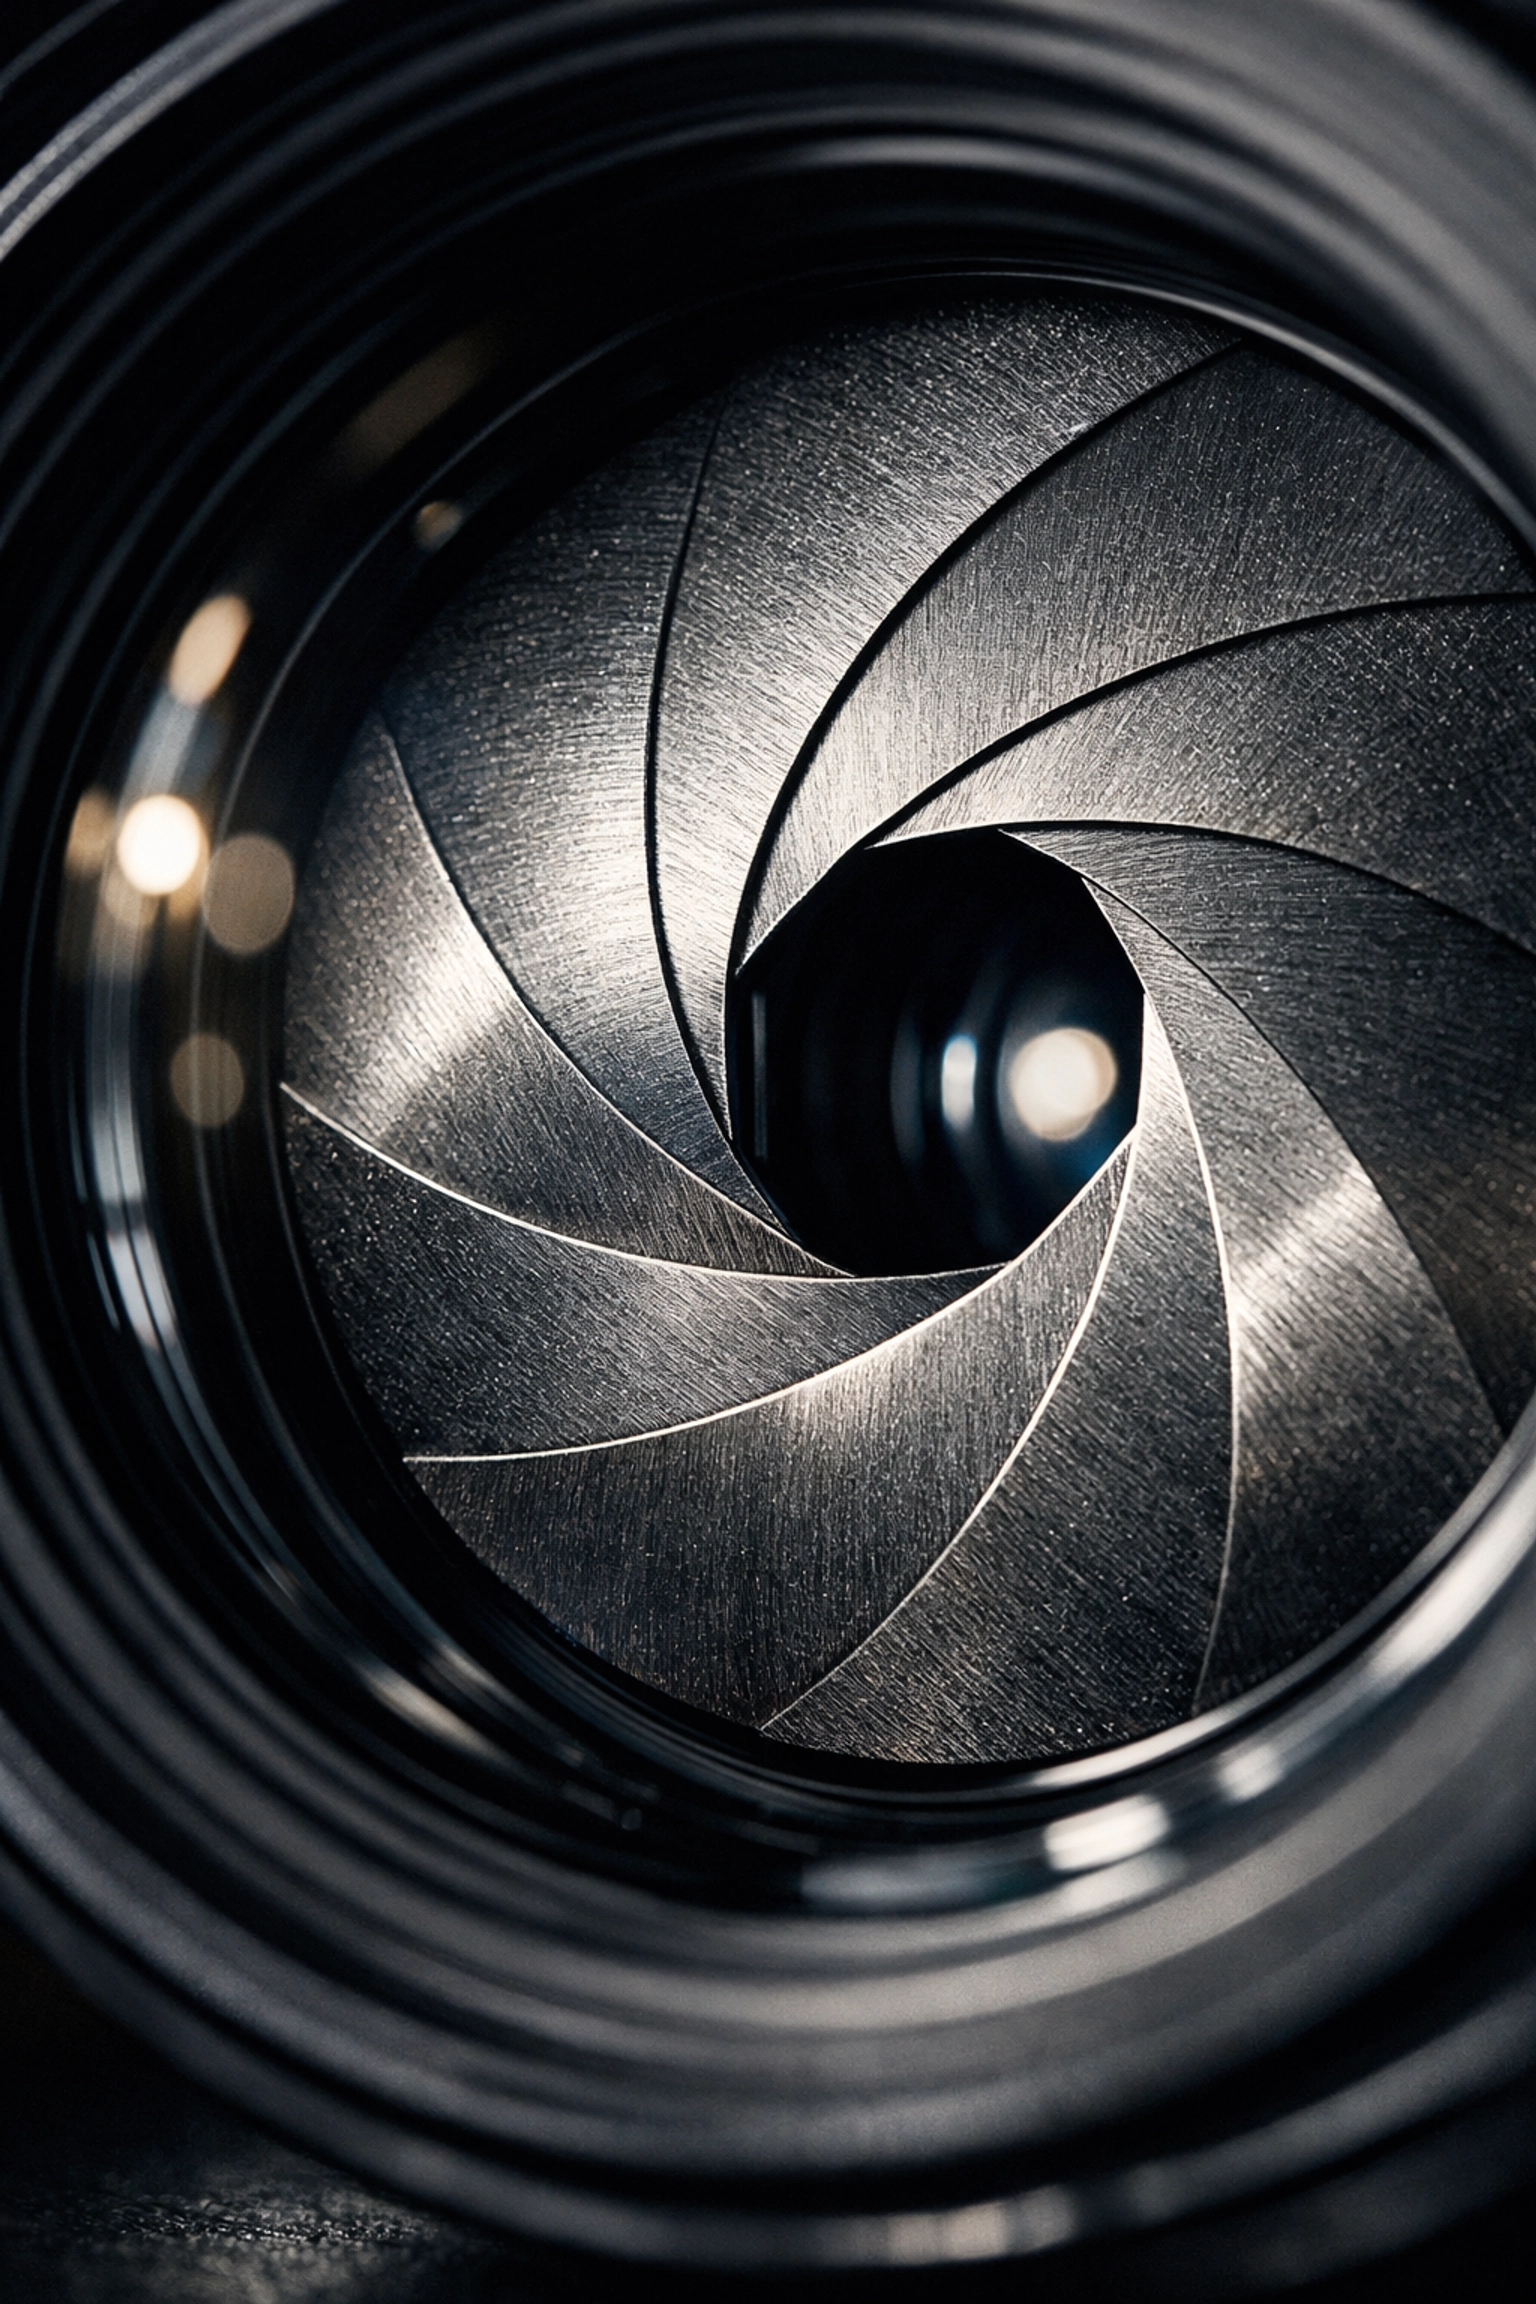
1. Aperture (The F-Stop)
Aperture is the opening in your lens. It controls two things: how much light enters and your "depth of field" (how much of the image is in focus).
- Low F-number (e.g., f/1.8): Wide opening, lots of light, blurry background (great for portraits).
- High F-number (e.g., f/16): Small opening, less light, everything in focus (great for landscapes).
2. Shutter Speed
This is how long your camera's sensor is exposed to light.
- Fast Shutter (e.g., 1/1000s): Freezes motion. Perfect for sports or birds in flight.
- Slow Shutter (e.g., 1/10s or longer): Blurs motion. This is how you get those silky-smooth waterfall photos.
3. ISO
ISO measures your camera sensor's sensitivity to light.
- Low ISO (100-400): Best for bright daylight. Results in clean, crisp images.
- High ISO (3200+): Used for low-light situations. Be careful, though; high ISO adds "noise" or grain to your photos.
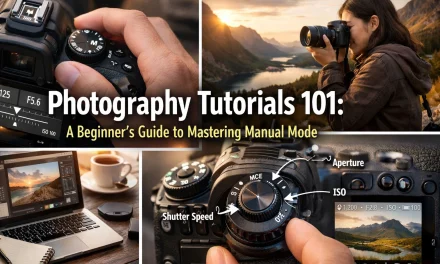
SEO Alt Text: An infographic explaining the exposure triangle, showing the relationship between aperture, shutter speed, and ISO for beginner photography tutorials.
How to Use Manual Mode Camera: A Step-by-Step Guide
Learning how to use manual mode camera settings is the "Level Up" moment for every photographer. It’s intimidating, but here is a simple workflow to get you started:
- Set your ISO first. If it’s sunny, go 100. If it’s cloudy, try 400. If you’re indoors, jump to 800 or 1600.
- Choose your Aperture. Do you want a blurry background? Go for the lowest number your lens allows. Want everything sharp? Set it to f/8.
- Adjust your Shutter Speed. Look through your viewfinder at the light meter (that little bar with a '0' in the middle). Dial your shutter speed until the marker hits the middle.
- Take the shot. Check your screen. If it’s too dark, slow down the shutter. If it’s too bright, speed it up.
Mastering this takes practice. If you want to see how professionals apply these settings in real-world scenarios, check out the galleries at blog.edinchavez.com.
Mastering Lenses: Your Eyes on the World
Your camera body is the brain, but the lens is the eye. Different lenses tell different stories.
- Wide Angle (14mm – 35mm): These are great for big landscapes or tight interior shots. They make everything feel expansive.
- Standard (50mm): Often called the "Nifty Fifty." It sees the world similarly to the human eye. It’s versatile and usually very "fast" (has a low aperture like f/1.8).
- Telephoto (70mm – 200mm+): These are for subjects far away. They also "compress" the image, making the background look closer to the subject.
If you’re looking to get into professional headshots, you’ll likely want something in the 85mm range. While you're at it, check out these 7 mistakes you’re making with professional corporate headshots to ensure you're using your gear correctly.
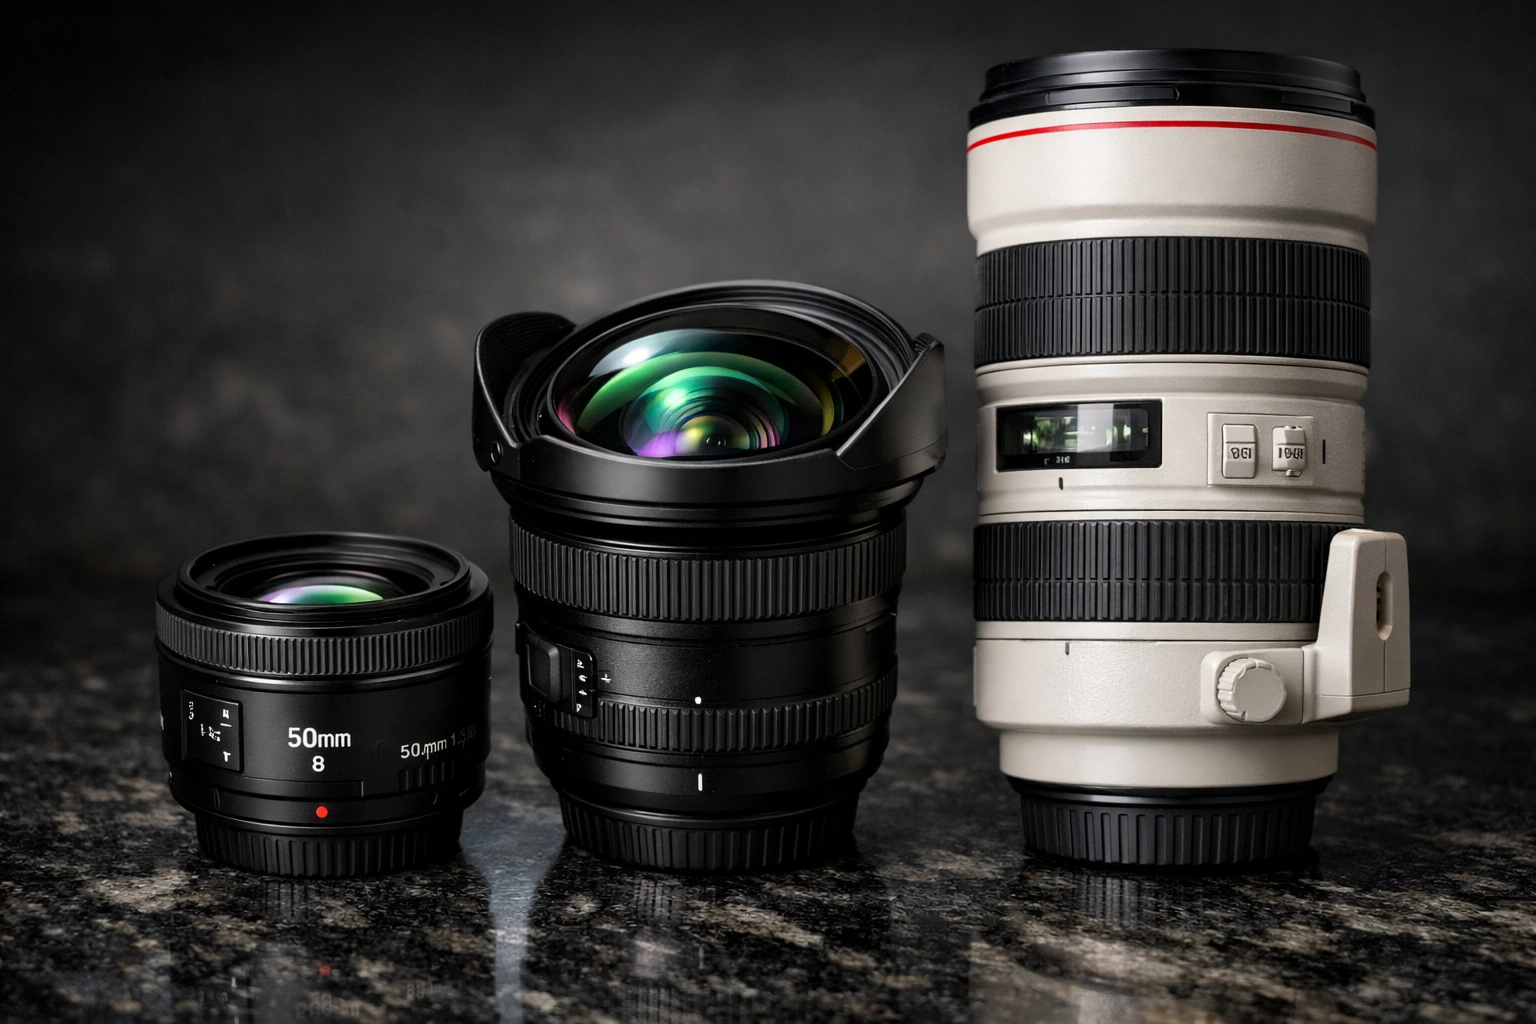
SEO Alt Text: A collection of different camera lenses including wide-angle, prime, and telephoto lenses on a wooden table, illustrating gear for photography tutorials.
Composition: The Secret Sauce of Great Photos
You can have the most expensive camera in the world, but if your composition sucks, your photo sucks. Composition is where the "art" happens.
The Rule of Thirds
Imagine your frame is divided into a 3×3 grid. Instead of putting your subject dead center, place them along the lines or at the intersections. This creates more balance and interest.
Leading Lines
Use natural lines (roads, fences, shadows) to lead the viewer’s eye toward your main subject. It creates a sense of depth and journey within the frame.
Framing
Look for "frames" within your frame: like a window, a doorway, or overhanging tree branches. This draws the viewer's eye directly to what matters.
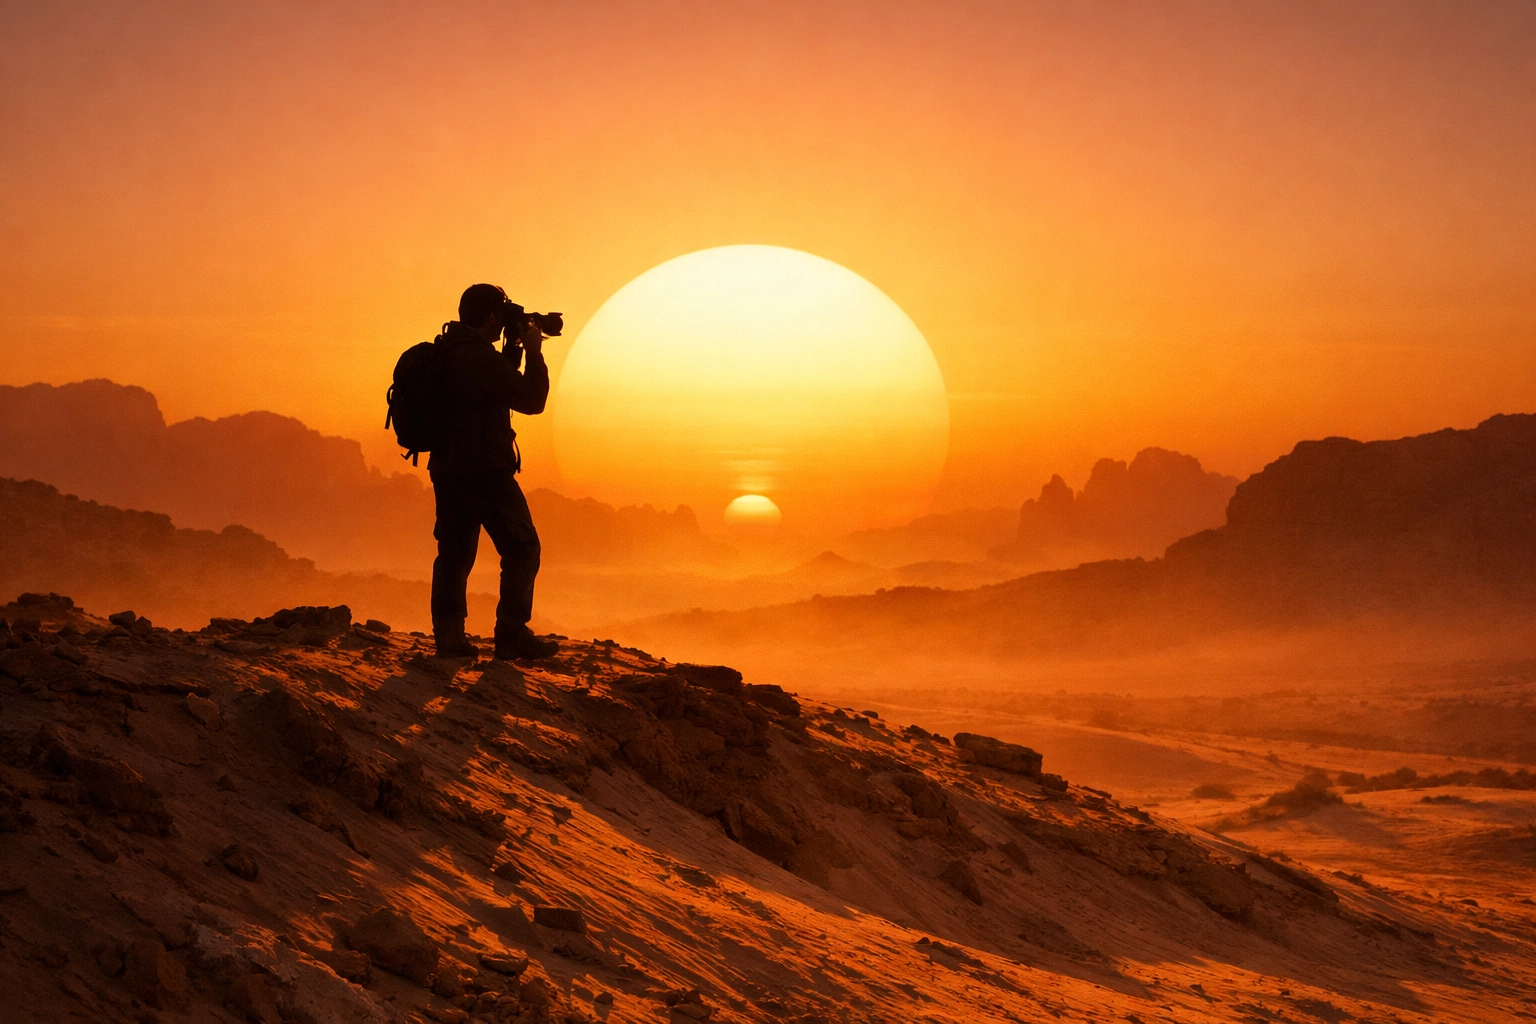
Lighting: The Photographer's True Tool
"Photography" literally means "writing with light." Without good light, you’re just shooting in the dark (literally).
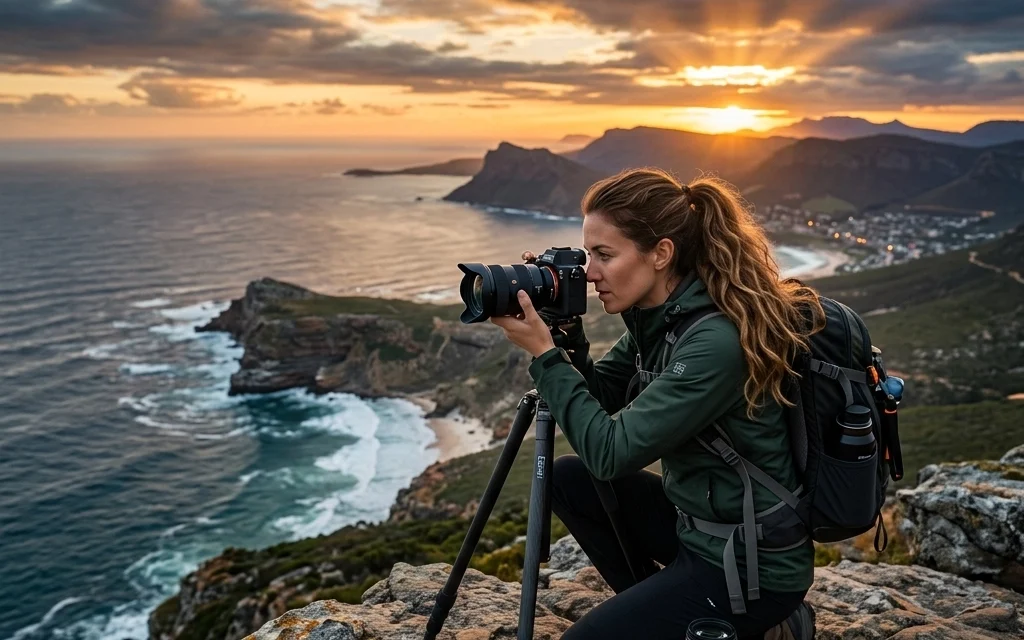
- Golden Hour: The hour just after sunrise or just before sunset. The light is soft, warm, and makes everyone look like a movie star.
- Blue Hour: The period just after sunset when the sky turns a deep, cool blue. It’s magical for cityscapes.
- Hard Light: Midday sun creates harsh shadows. Usually, you want to avoid this, but it can be used for dramatic, high-contrast black-and-white shots.
For those interested in high-end commercial work or studio lighting, www.proshoot.io is an incredible resource for seeing how the pros handle complex lighting setups.
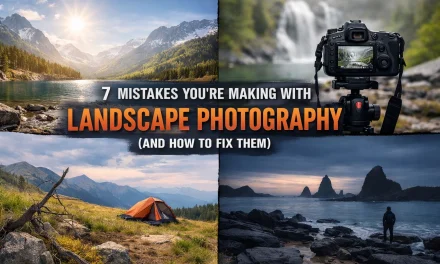
SEO Alt Text: A photographer capturing a landscape during the golden hour, showing how natural light enhances photography tutorials.
Post-Processing: Where the Magic Happens
Taking the photo is only 50% of the job. The other 50% happens in the edit. This isn't "cheating": it's an essential part of the digital darkroom.
When you shoot in RAW (which you should always do), the file contains a massive amount of data. Post-processing allows you to bring out the shadows, tame the highlights, and perfect the colors.
One of the most powerful and user-friendly tools on the market today is Luminar. It uses AI to simplify complex tasks like sky replacement or skin retouching, allowing you to focus on the creative side rather than the technical grind.
If you want to see what's possible with high-end editing and fine art printing, take a look at www.edinfineart.com to see how a RAW file can be transformed into a gallery-ready masterpiece.
Advanced Techniques to Separate You from the Pack
Once you've mastered the basics, it's time to experiment.
- Long Exposure: Use a tripod and a slow shutter speed to turn moving water into mist or car lights into streaks of fire.
- Macro Photography: Get up close and personal with the tiny world. Insects, flower petals, and textures become alien landscapes when viewed through a macro lens.
- Off-Camera Flash: Moving your flash away from the camera allows you to control the direction of light, creating depth and drama that a "pop-up" flash could never achieve. If you need a professional space to practice this, check out www.edinstudios.com.
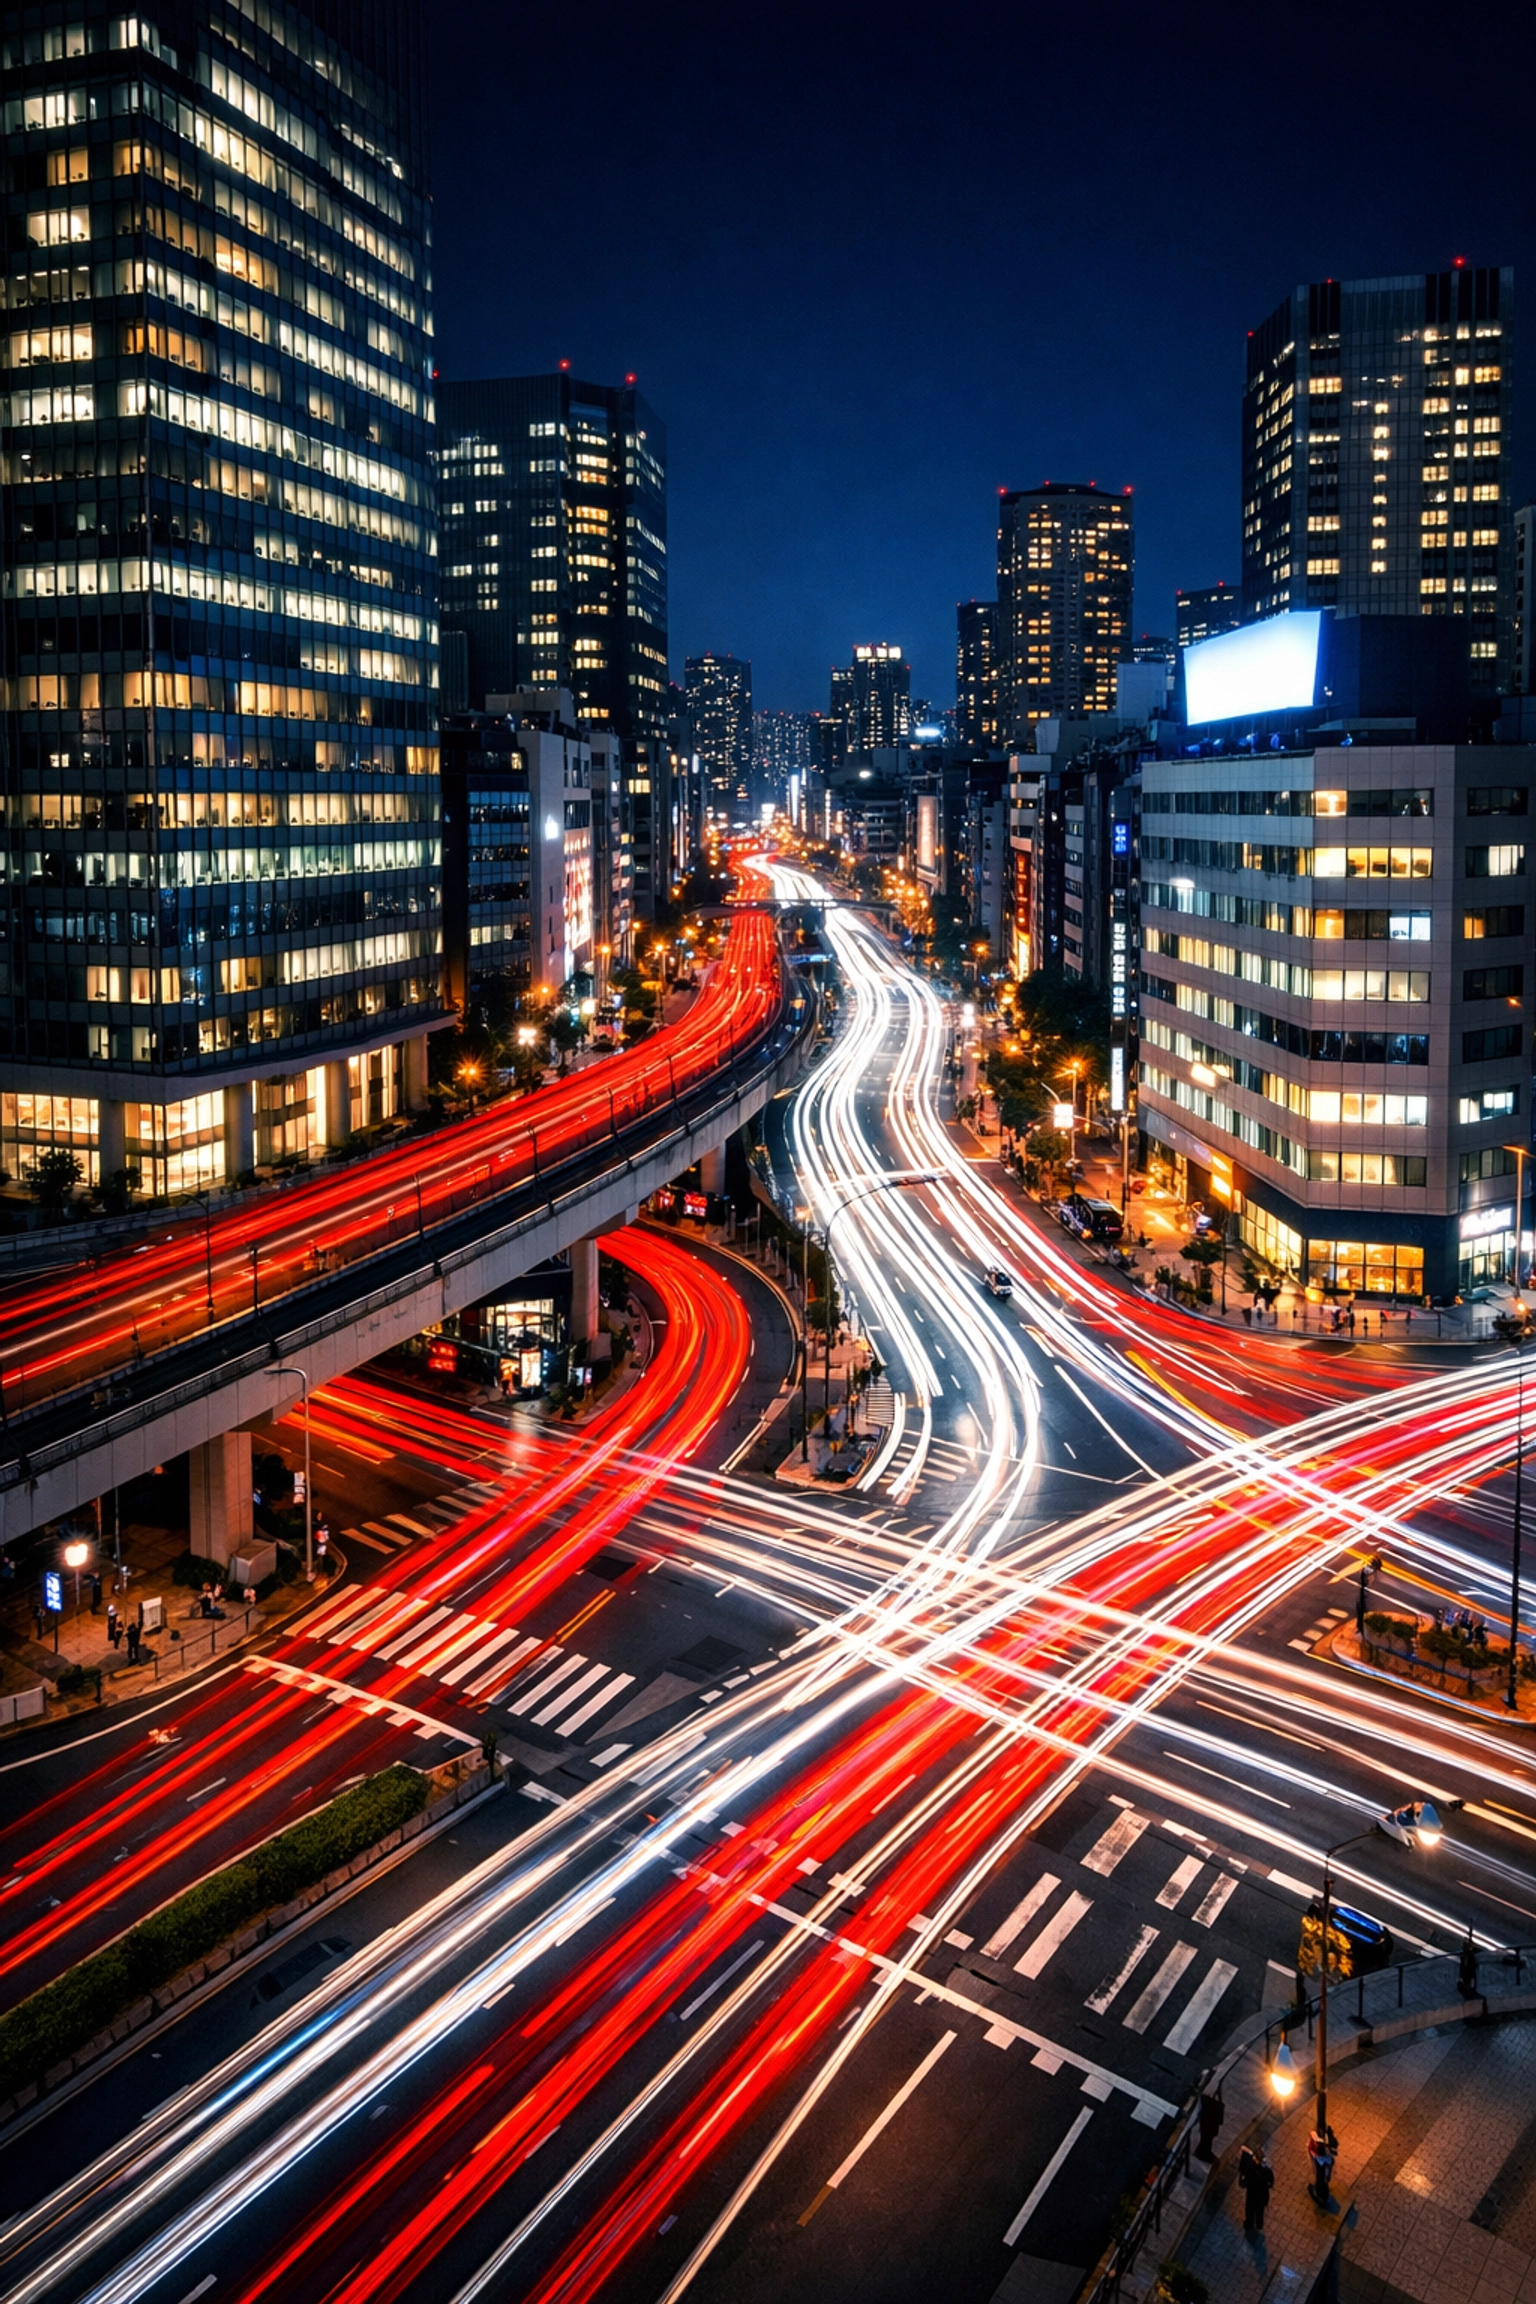
SEO Alt Text: A long exposure night photograph of city traffic showing light trails, a key technique in advanced photography tutorials.
Why Shut Your Aperture is Your Go-To Resource
There are a million photography tutorials online, so why listen to us? Because we cut through the noise. At Shut Your Aperture, we believe that photography shouldn't be gated behind confusing jargon and elitism.
We provide the tools, the community, and the inspiration to help you grow. From understanding the basics of how to use manual mode camera settings to navigating the business side of the industry, we’re here for every step of your journey.
Developing Your Unique Style
The end goal of any photography tutorial isn't to help you shoot like Edin Chavez or anyone else: it's to help you shoot like you.
- Experiment: Try every genre. Shoot street photography, then try portraits, then try macro.
- Analyze: Look at your favorite photos. Why do you like them? Is it the color? The mood? The lighting?
- Consistency: Shoot every single day. Even if it’s just with your phone. The more you "see" the world through a lens, the better your eye becomes.
Summary: Your Journey Starts Now
Photography is a lifelong journey. You never truly "finish" learning. There will always be a new technique to master, a new piece of gear to explore, or a new way to see the world.
By mastering the exposure triangle, learning your gear, and diving into post-processing with tools like Luminar, you are setting yourself up for success.
Stop leaving your creativity to chance. Turn that dial away from "Auto," shut your aperture (or open it!), and start creating the images you’ve always dreamed of. We’ll be here to help you every step of the way. Welcome to the family.


