
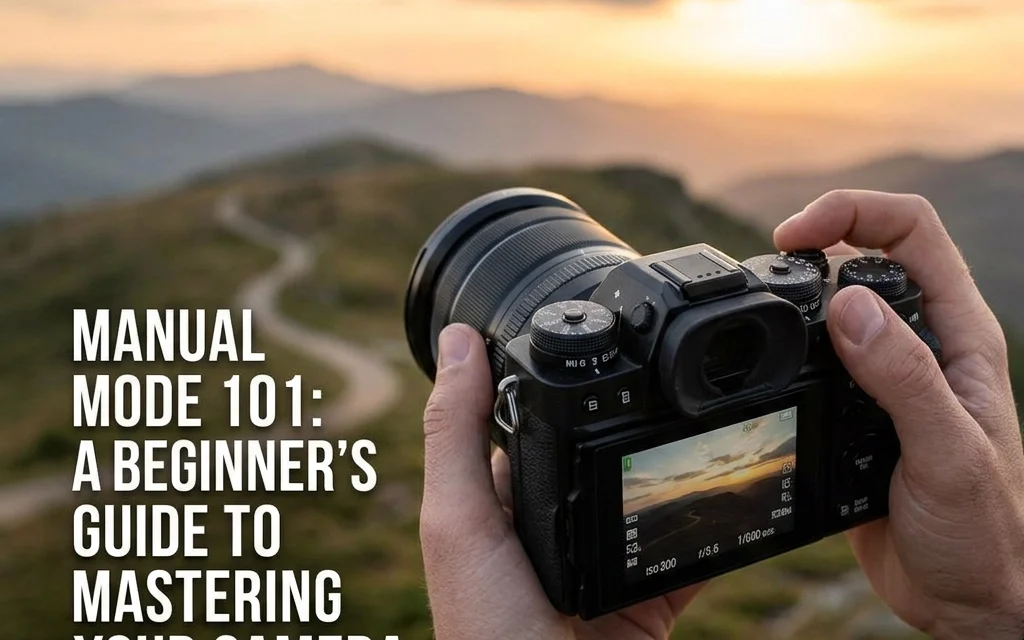
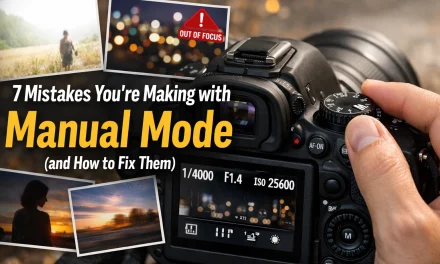
Let’s be real for a second. That little green “A” or “Auto” icon on your camera dial is like a security blanket. It’s comfortable, it’s safe, and it ensures you won’t end up with a completely black or white photo. But it’s also holding you back. If you’ve ever looked at a stunning photo with a creamy, blurred background or a shot of a waterfall where the water looks like silk and wondered, “Why doesn’t my camera do that?” the answer is simple: you need to take control.
Welcome to Manual Mode. It’s the moment you stop letting a computer chip decide how your memories look and start making those decisions yourself. It’s intimidating at first, sure. You might mess up a few shots. But once you understand the “Exposure Triangle,” you’ll never want to go back to Auto again.
In this guide, we’re going to break down the three pillars of photography, Aperture, Shutter Speed, and ISO, in a way that actually makes sense. No heavy jargon, just the stuff you need to know to start shooting like a pro.
The Mystery of the Exposure Triangle
Think of your camera sensor like a person sitting in a dark room. To see anything, that person needs light. Exposure is simply the amount of light that reaches your sensor. If there’s too much light, the photo is "overexposed" (too bright). If there’s too little, it’s "underexposed" (too dark).
The Exposure Triangle is made up of three settings that work together to balance that light:
- Aperture: How wide the lens opens.
- Shutter Speed: How long the lens stays open.
- ISO: How sensitive the sensor is to light.
If you change one, you usually have to change another to keep the balance. It’s a constant see-saw, but once you get the hang of it, it becomes second nature.
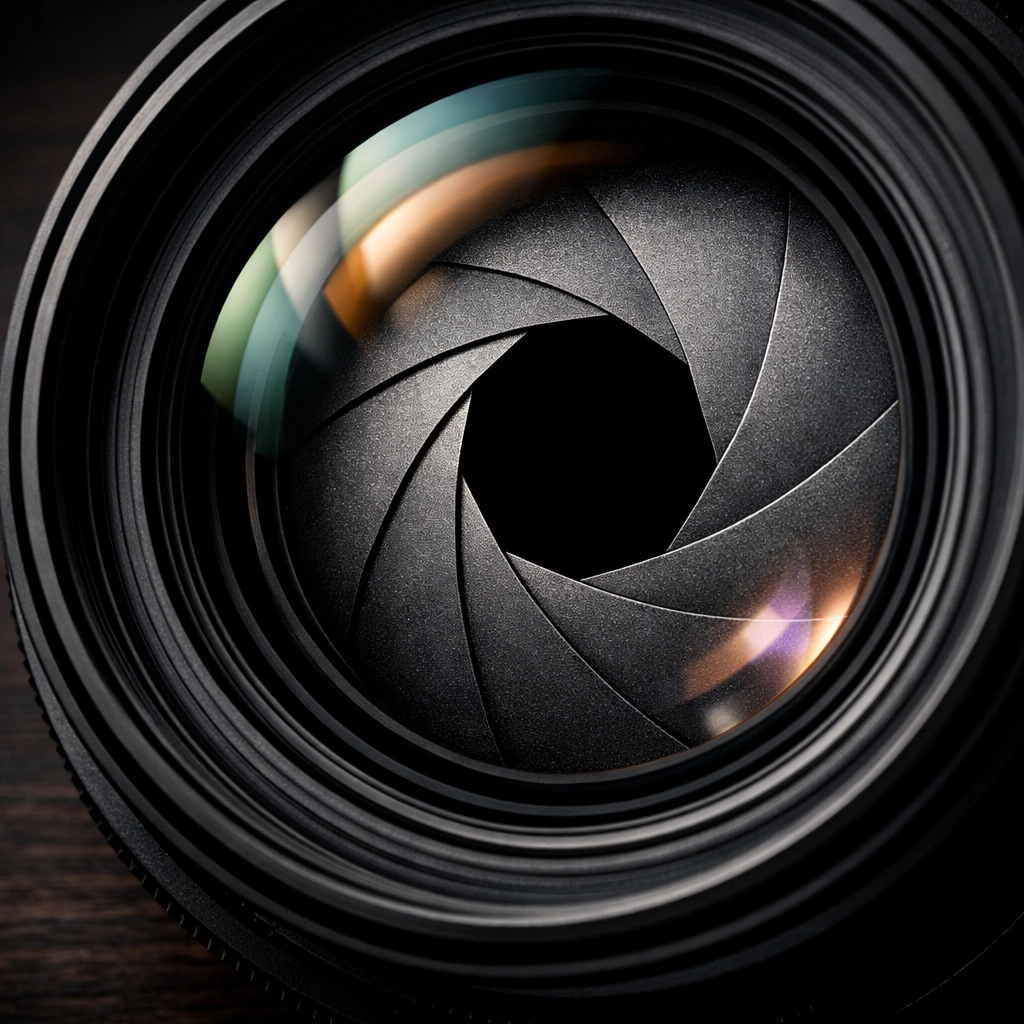
Aperture: It’s All About the "Look"
Aperture is usually the first thing photographers think about because it dictates the "vibe" of the photo. Technically, it’s the opening in your lens that lets light through. It’s measured in "f-stops" (like f/1.8, f/4, or f/16).
Here is the part that trips everyone up: Small numbers mean big openings.
- Low f-number (f/1.8, f/2.8): The lens is wide open. This lets in a ton of light and creates a "shallow depth of field." This is how you get those beautiful, blurry backgrounds (bokeh) while your subject stays tack-sharp. It’s perfect for portraits. If you are struggling with your portrait game, you might also want to check out these 7 mistakes you’re making with professional corporate headshots to see how settings play a role in professional work.
- High f-number (f/11, f/16): The lens opening is tiny. This lets in very little light but keeps everything in focus, from the blade of grass in front of you to the mountains in the distance. This is the go-to for landscape photography.
When you’re in Manual Mode, I usually recommend setting your Aperture first. Ask yourself: "Do I want a blurry background or do I want everything sharp?"
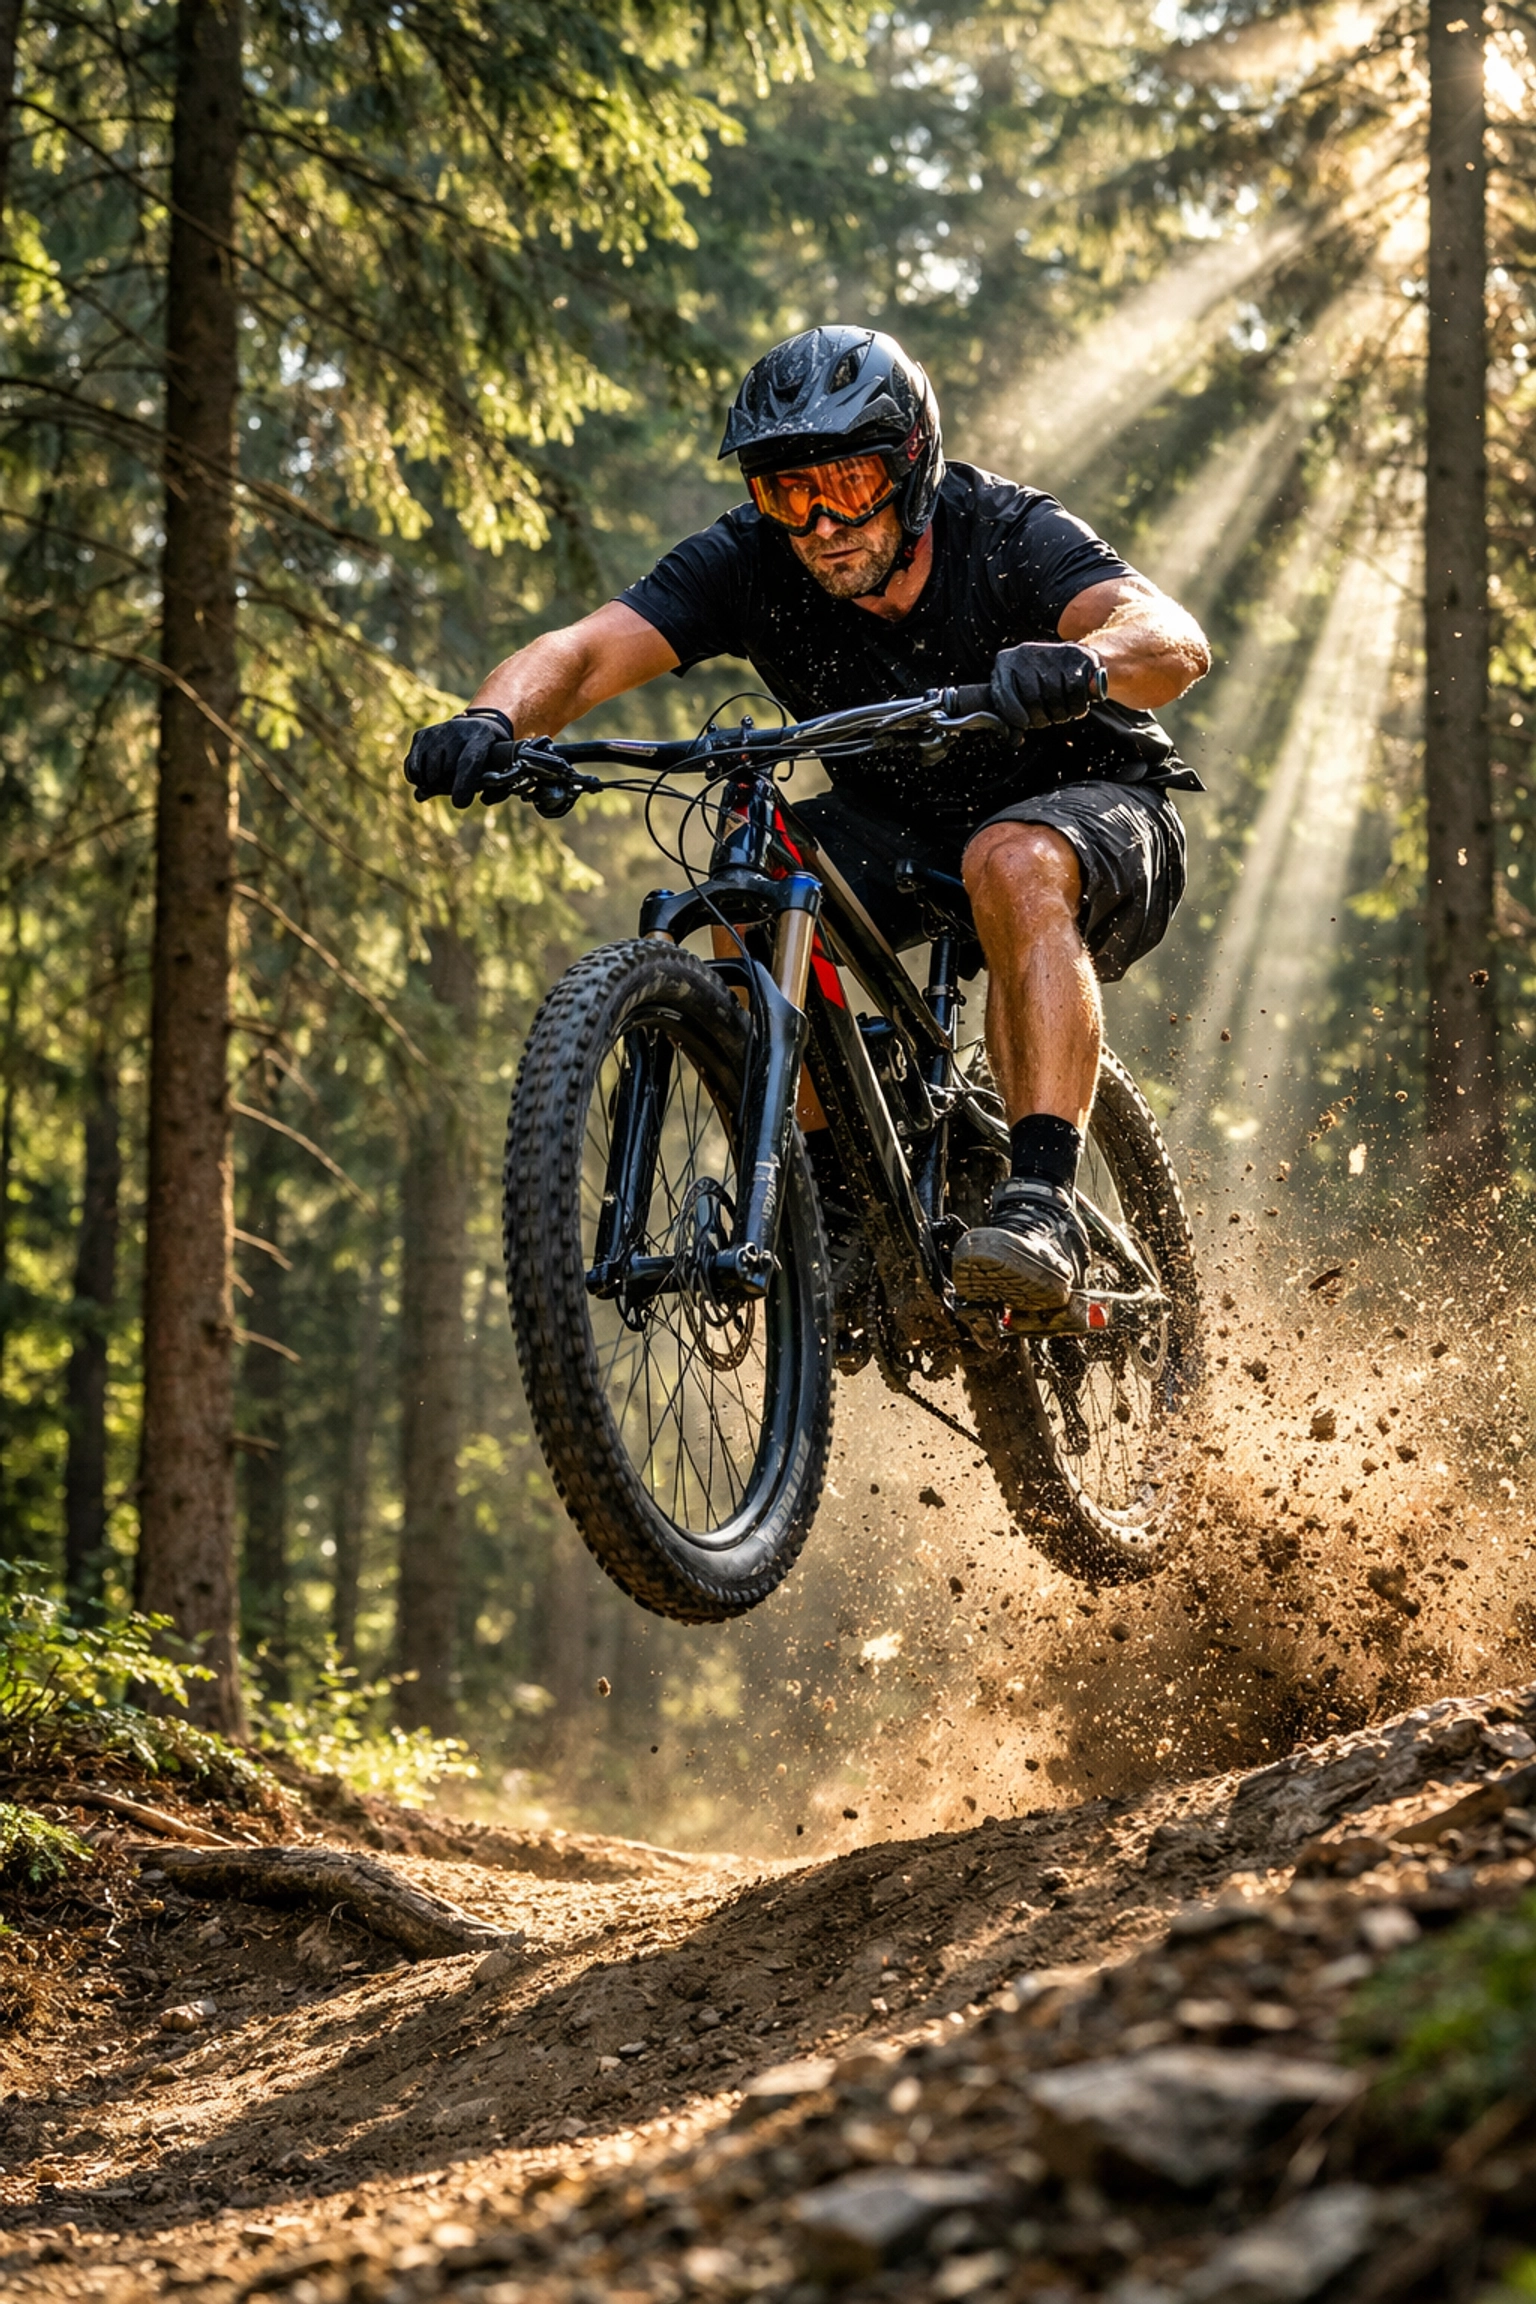
Shutter Speed: Freezing Time (or Not)
Shutter speed is exactly what it sounds like: the speed at which the shutter closes. It’s measured in fractions of a second.
- Fast Shutter Speed (1/1000, 1/4000): This freezes motion. If you’re shooting a sports game or a bird in flight, you need a fast shutter. Because the shutter is only open for a tiny fraction of time, it lets in very little light.
- Slow Shutter Speed (1/10, 1/30, or even several seconds): This lets in a lot of light but captures motion blur. If you move the camera or your subject moves while the shutter is open, things will get blurry. This is how photographers get those "light trails" from cars at night or silky smooth waterfalls.
A golden rule for beginners: if you’re holding the camera with your hands (not using a tripod), try to keep your shutter speed at 1/60 or faster. Anything slower and the natural shake of your hands will make the whole image look soft and blurry. For more deep dives into gear and technical tips, PhotoGuides.org is a fantastic resource to bookmark.
ISO: The Last Resort
ISO is your camera’s sensitivity to light. Back in the day of film, you bought "fast" or "slow" film. Now, you just turn a dial.
- Low ISO (100-400): Use this when you have plenty of light, like a sunny day at the beach. It produces the cleanest, crispest images.
- High ISO (1600, 3200, 6400+): Use this in dark situations when you’ve already opened your aperture and slowed your shutter as much as you can.
The catch? The higher the ISO, the more "noise" or grain you get in your photo. Modern cameras are getting incredibly good at handling high ISO, but you should still aim to keep it as low as possible for the best image quality. If you do end up with some grain, using a powerful editor like Luminar can help clean up that digital noise during post-processing.
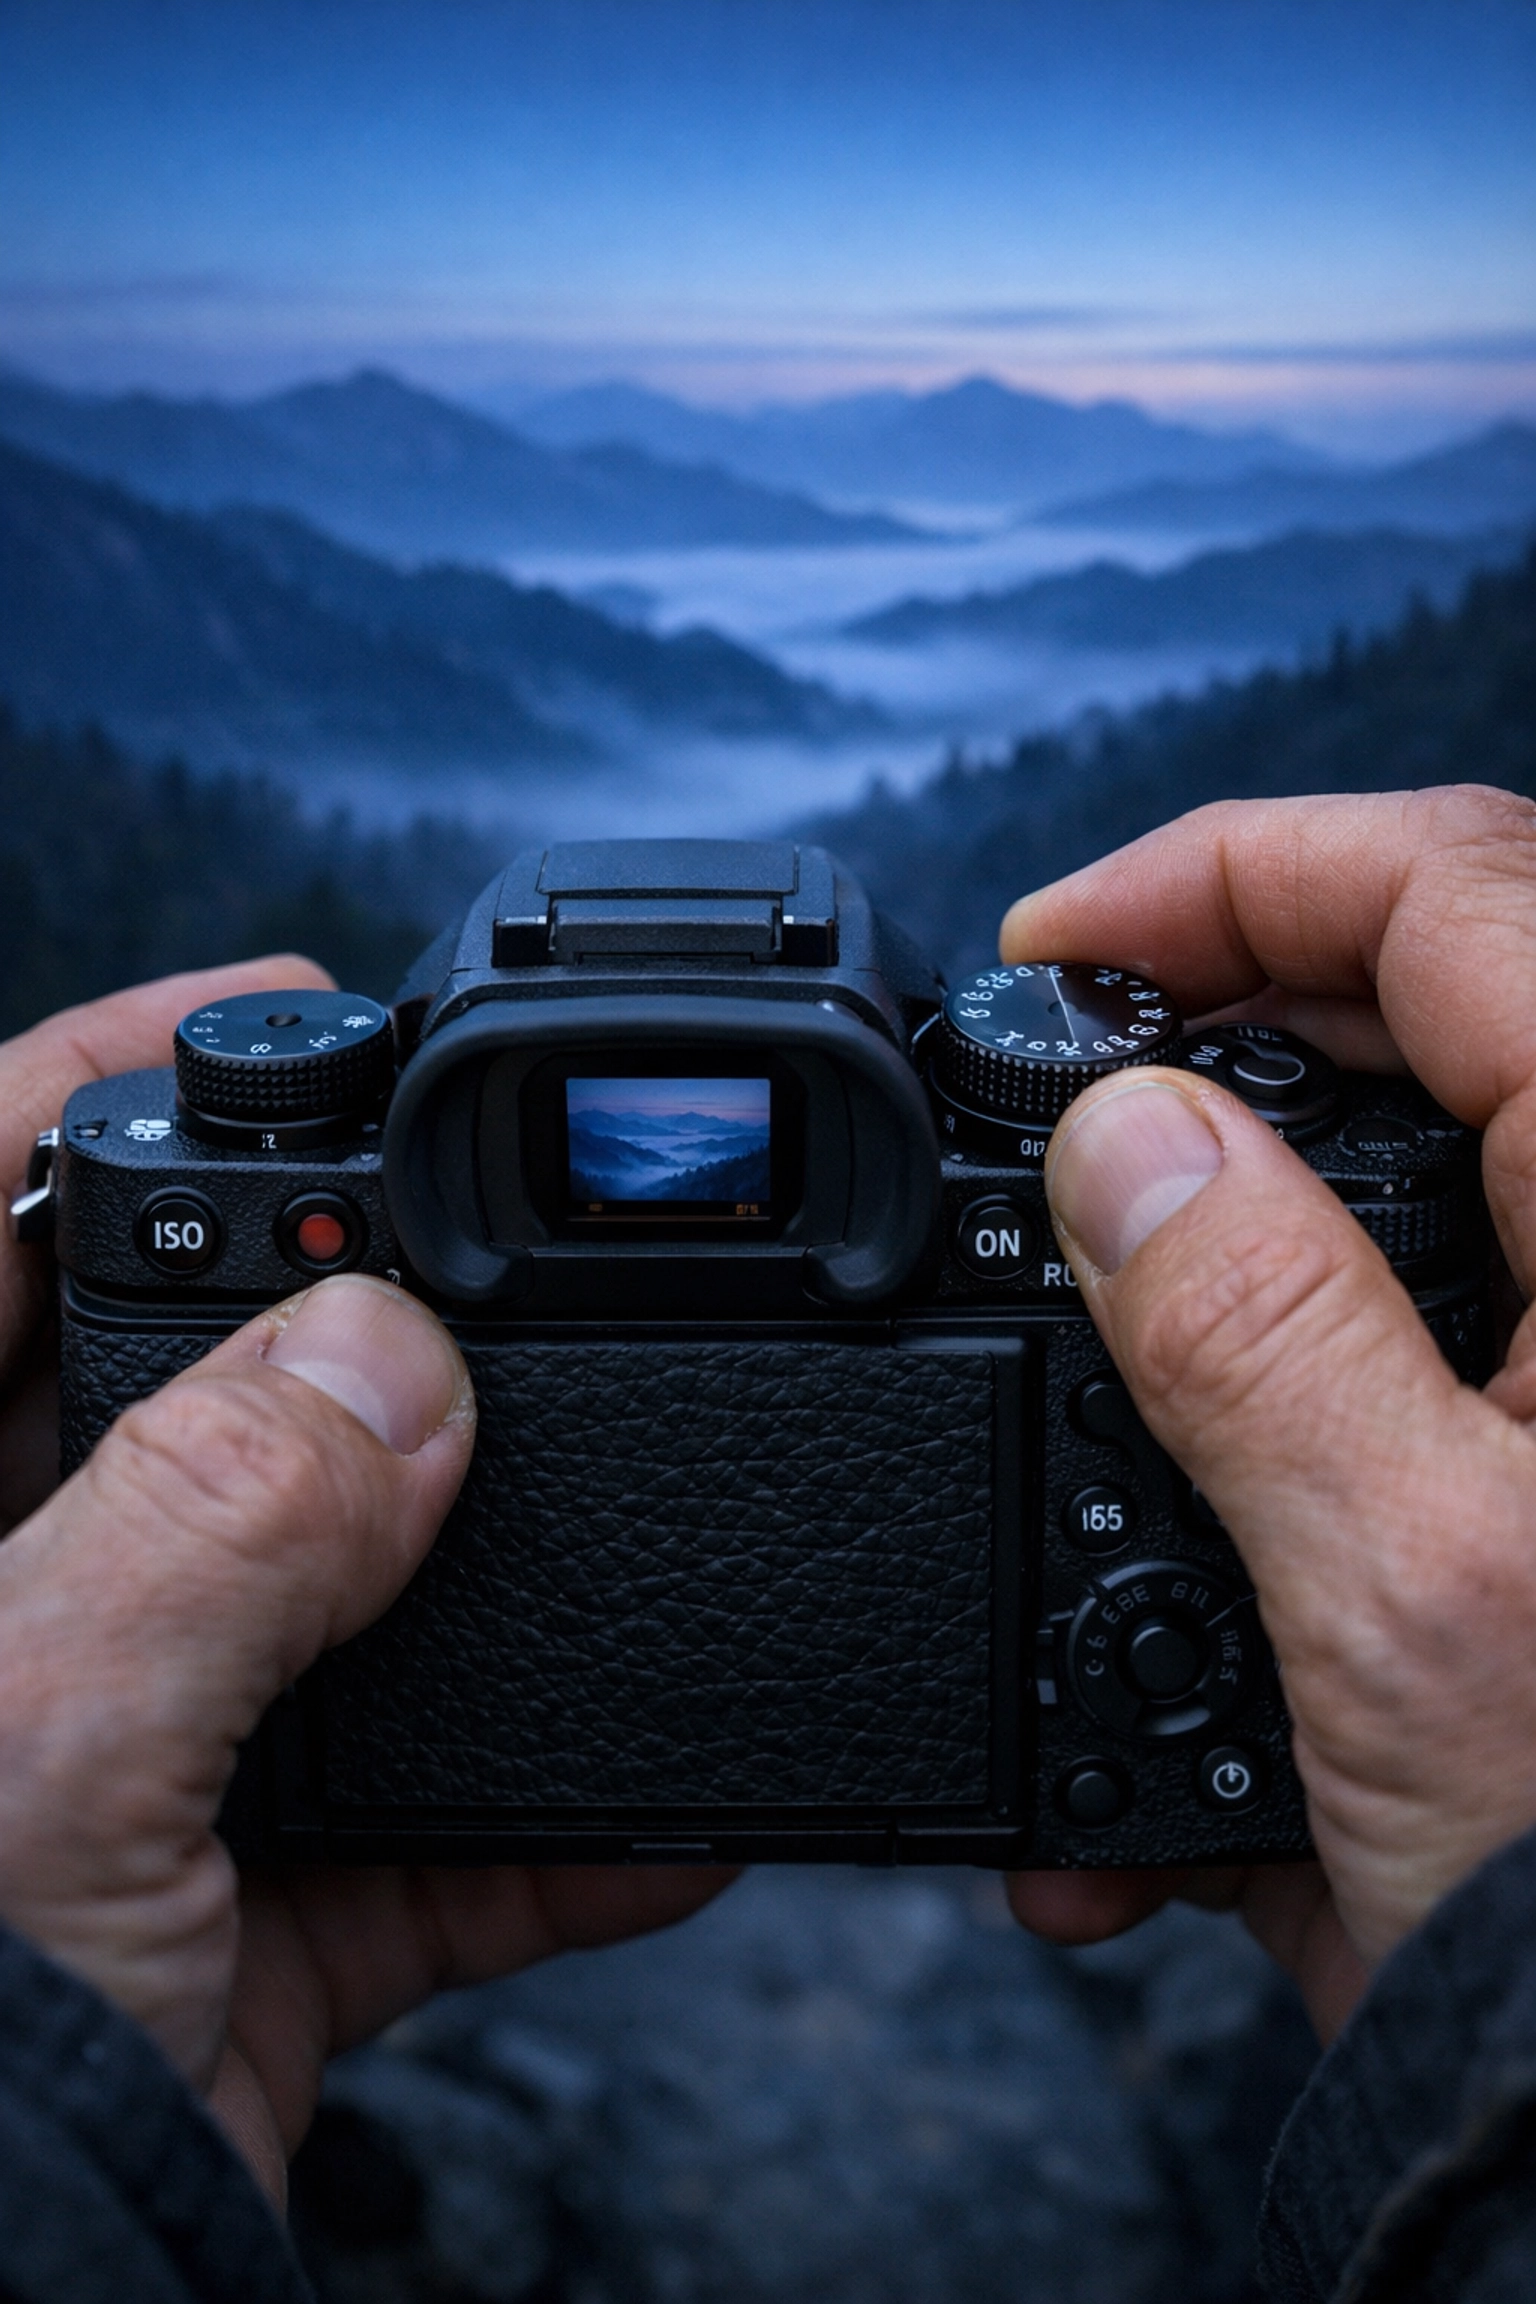
How to Actually Take a Shot in Manual Mode
Okay, enough theory. You’re standing outside, camera in hand, dial set to "M." What now? Follow this simple workflow:
- Set your Aperture. Do you want a blurry background (f/2.8) or a sharp landscape (f/11)?
- Set your ISO. Is it sunny? Set it to 100. Is it cloudy or are you in the shade? Try 400.
- Adjust your Shutter Speed using the Light Meter.
Look through your viewfinder. You’ll see a little scale with a "0" in the middle, some negative numbers on the left, and positive numbers on the right. This is your Light Meter.
As you turn your shutter speed dial, you’ll see a little ticker move along that scale. Your goal is to get that ticker right in the middle at "0."
- If it’s on the minus side, your photo will be too dark. Slow down your shutter.
- If it’s on the plus side, your photo will be too bright. Speed up your shutter.
Take the shot. Look at the screen. Not quite right? Adjust and try again. That’s the beauty of digital, it doesn't cost you a cent to mess up!
Practice Scenarios: Putting it All Together
Let’s look at how these three settings play out in real life.
Scenario A: A Portrait in the Park (Bright Sunlight)
- Goal: A sharp person with a soft, blurry background.
- Aperture: f/2.0 or f/2.8 (to get that blur).
- ISO: 100 (it’s bright, no need for extra sensitivity).
- Shutter Speed: Likely very fast, around 1/2000, because the wide aperture is letting in so much light.
Scenario B: A Sunset Landscape
- Goal: Everything from the foreground rocks to the horizon in focus.
- Aperture: f/11 (to keep the whole scene sharp).
- ISO: 100 or 200 (to keep the image clean).
- Shutter Speed: Since the sun is going down and your aperture is small (f/11), you’ll need a slower shutter speed, maybe 1/30. You might even need a tripod here! For high-end landscape inspiration, check out Edin Fine Art.
Scenario C: Indoor Birthday Party
- Goal: Capture the kids without them looking like blurry ghosts.
- Aperture: f/2.8 (as wide as your lens allows to let in light).
- Shutter Speed: 1/125 (fast enough to stop basic human movement).
- ISO: Since you’re indoors, you’ll likely need to bump this up to 1600 or 3200 to get a bright enough exposure.
Why Manual Mode Makes You a Better Photographer
When you shoot in Auto, the camera makes an educated guess. It sees a white wedding dress and thinks, "Wow, that's way too bright!" and it underexposes the shot, making the dress look grey. Or it sees a black cat and thinks, "It’s too dark in here!" and overexposes the shot, making the cat look muddy.
In Manual, you are the boss. You tell the camera exactly what to do. You start to see light differently. You’ll find yourself walking into a room and thinking, "This looks like an ISO 800 kind of day."
Beyond the technical stuff, Manual Mode gives you creative freedom. You can intentionally underexpose a shot to create a moody silhouette, or overexpose it for a "high-key" airy look. If you are looking to take your professional skills to the next level, or even start a photography business, ProShoot.io offers some great insights into the industry.
Don't Forget the "Fourth" Setting: RAW vs. JPEG
While not part of the Exposure Triangle, shooting in Manual usually goes hand-in-hand with shooting in RAW format.
A JPEG is a finished product. The camera takes the data, applies some contrast and sharpening, and throws away the rest to save space. A RAW file keeps all the data. If you accidentally underexpose a shot in Manual Mode, a RAW file gives you the data needed to "save" it in editing software like Luminar without losing quality. It’s like having the ingredients for a cake rather than a pre-baked one: you can still decide how much sugar to add.
Common Manual Mode Mistakes
Even pros mess up. Here are a few things to watch out for as you start your journey:
- Forgetting to Change Settings: You were just shooting outside in the sun, and now you’ve walked indoors. If you don't change your settings, your first indoor shot will be pitch black. Get into the habit of "resetting" your camera every time the light changes.
- Chasing the "Zero": The light meter isn't always right. If you’re shooting something very bright (like snow) or very dark (like a black dog), the meter might try to balance it to a neutral grey. Don't be afraid to click the dial one or two notches away from the center if it looks better to your eye.
- Ignoring the Histogram: The screen on the back of your camera can lie to you, especially if the brightness is turned all the way up. Learn to read the histogram: a little graph that shows you the distribution of light. If the graph is all scrunched up against the right side, you're losing detail in the highlights.
Final Thoughts: Practice is Everything
Mastering Manual Mode is like learning to drive a stick shift. At first, you’re thinking about the clutch, the gear, and the gas all at once, and it feels like you're going to stall. But eventually, you don't even think about it. You just drive.
The best way to learn is to get out there and fail. Set your camera to Manual, go into your backyard, and try to take a photo of a flower. Then take a photo of your dog running. Then go inside and try to take a photo of a candle.
If you want to see some real-world examples of how I use these settings in the field, head over to blog.edinchavez.com or check out the commercial work we do at Edin Studios.
Manual mode isn't about being a "purist": it's about having the tools to create exactly what you see in your head. So, turn that dial to "M," shut your aperture (or open it wide!), and start shooting. The world looks a lot better when you’re the one in control.


